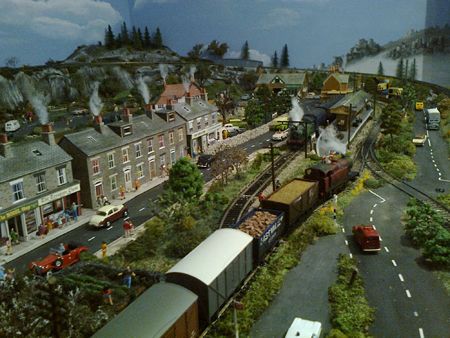
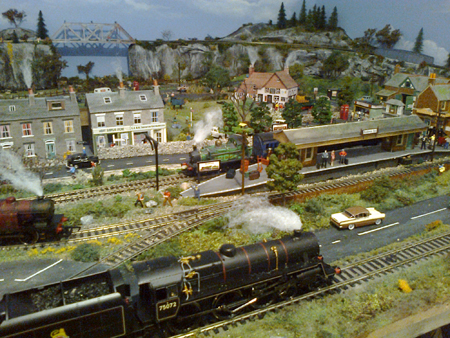
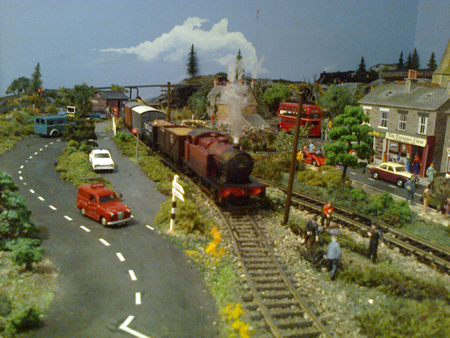
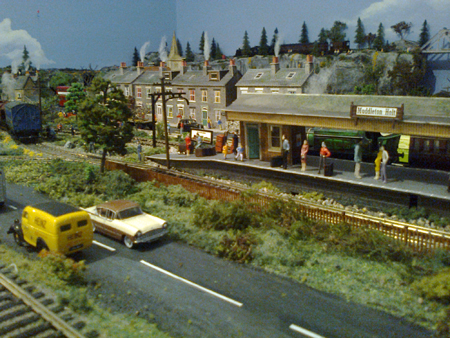
Stuart’s been busy with his OO scale steam locomotives – have a look at his pics:
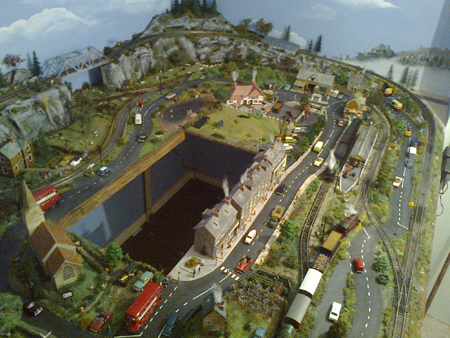
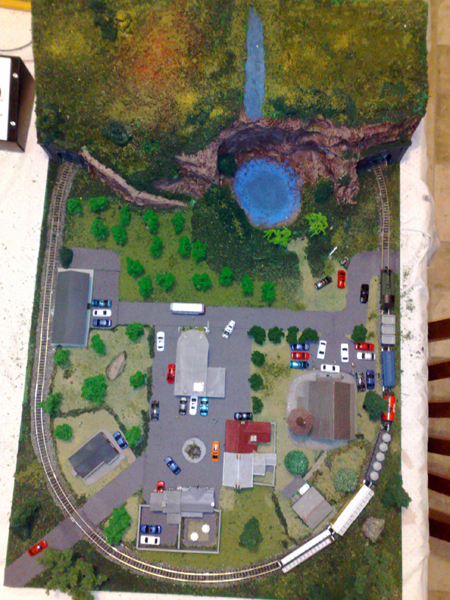
“Hi Alistair. More pics of the station area which is coming on now.
Still a lot of touching up to do, and always something else that needs doing; as you know it’s never really completed.
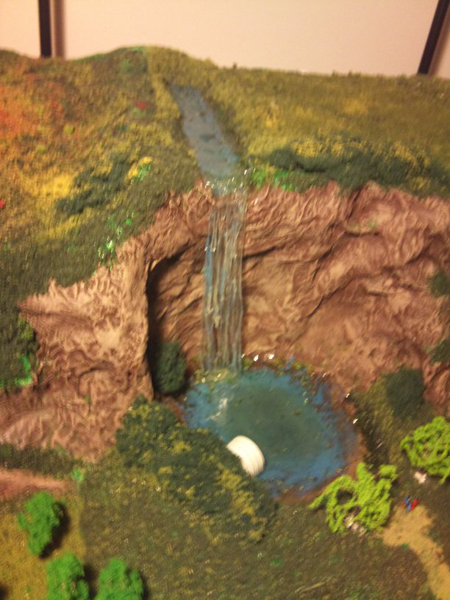
I have decided to make a small lake area in the middle of the model which can be lifted out and replaced whenever I need to get into the centre.
I have made some mistakes on this build, ie the climb for the train on the outside track is too steep for it to run without working the control, I have to speed it up on the incline and slow it down on the descend; however my next one will be bigger and better I hope, cos I have really got the bug now, this has certainly been a fantastic hobby.
A big thank you to everyone for sending in their tips, photo’s, videos and how to’s. There have been some fantastic ideas, will keep sending in new things.
Cheers
Stuart”
A big thanks to Stuart – looks like he’s having fun with those OO scale steam locomotives.
“Hi Alastair,
Here is a contribution for you.
I am an N scale modeller from Australia
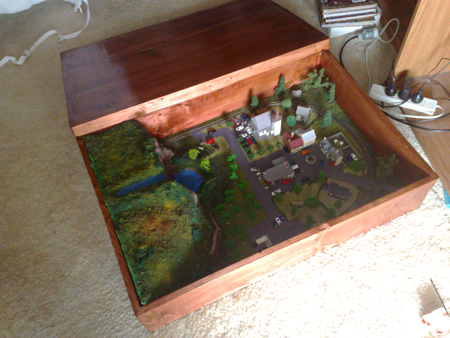
I have several small layouts that I show at our local rail shows every year. Currently I have completed a Small Coffee Table layout that is modeled vaguely on Germany/Europe.
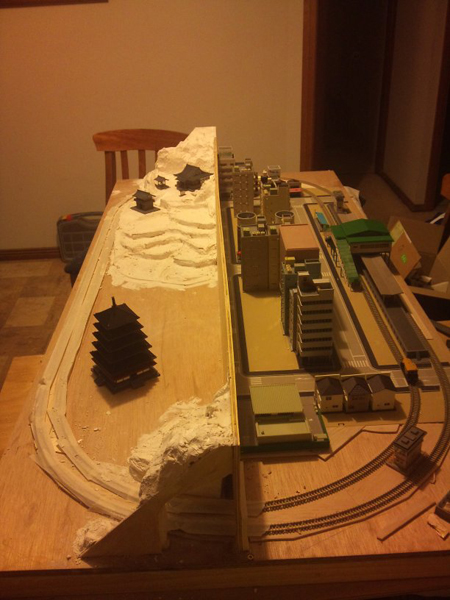
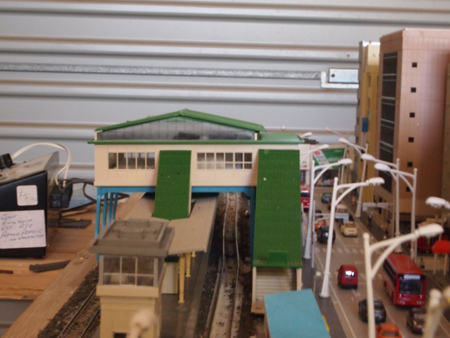
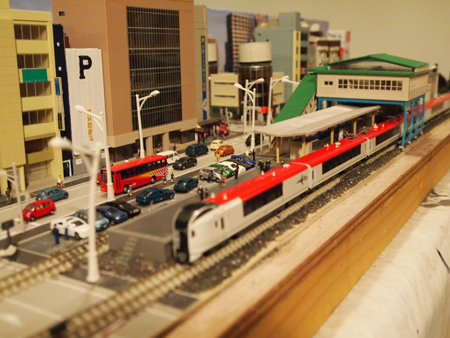
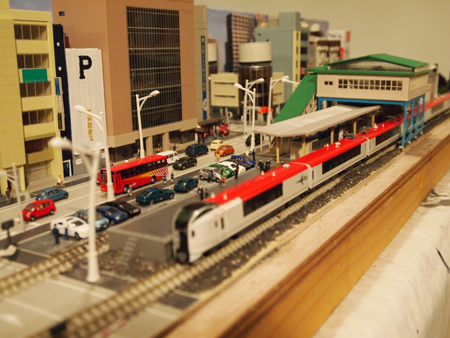
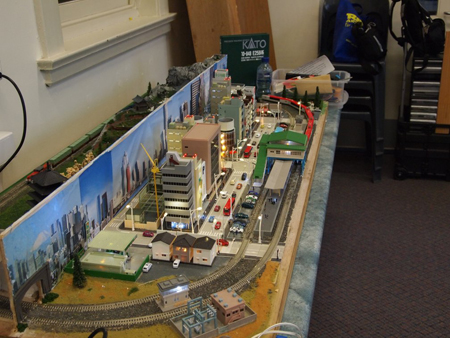
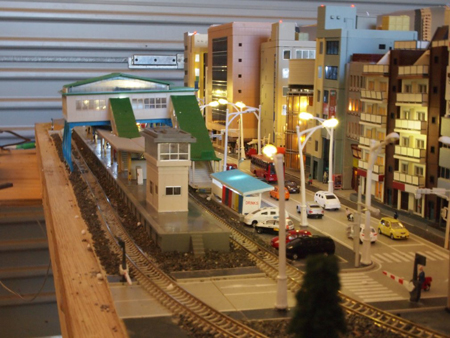
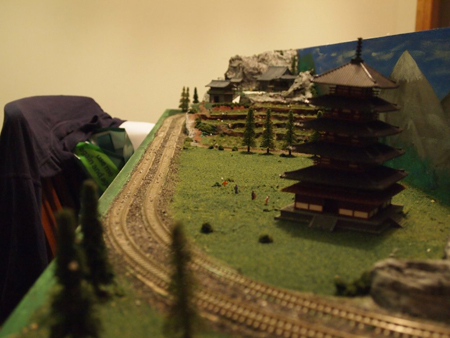
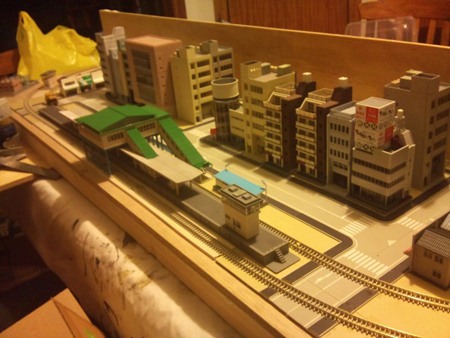
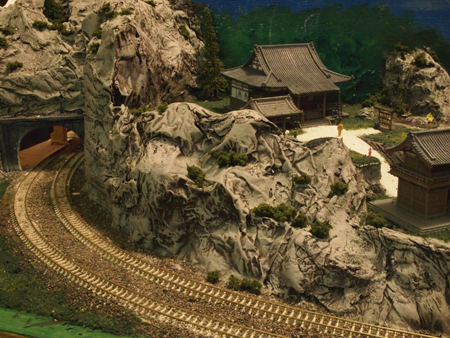
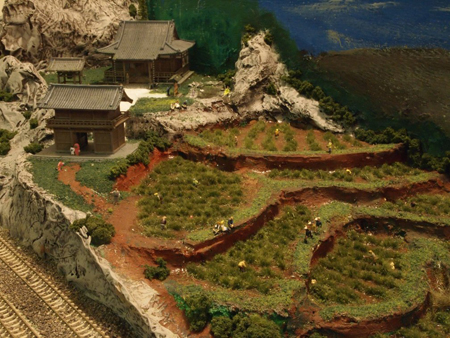
My other completed layout (as much as any layout is ever “completed”) is a two sided Japanese layout, with one side being urban the other rural. I found this a great way to have more detail in a small space.
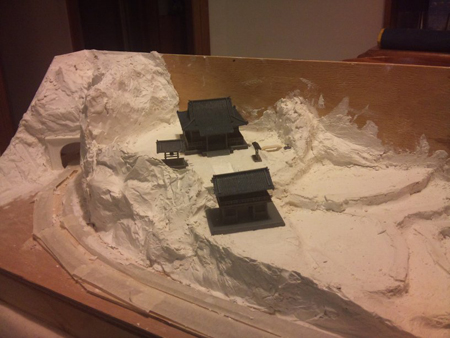
Mountains – I have a tip and trick for your readers. How I do mountains.
When doing mountains I do some things slightly different.
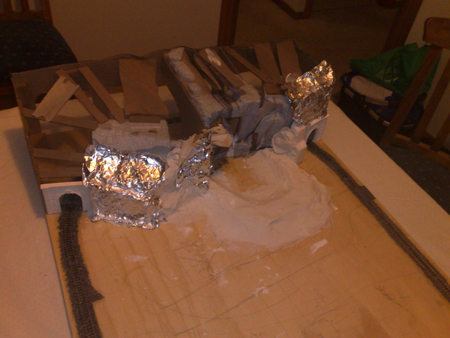
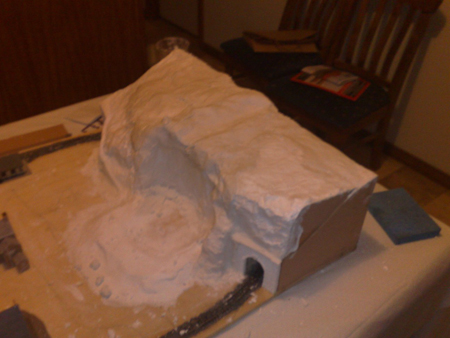
As usual I create my frame work using polystyrene foam, bits of cardboard or whatever is lying around. I then cover this in plastic fly wire (mesh) that I get by the roll from my local hardware store, securing it with tacks or a staple gun. To create my realistic mountain shapes, I use the following tools
• Plaster of Paris
• Cement render Tints
• Tin Foil (usually one foot squares (30cm by 30cm) folded into quarters. (15cm x 15cm)
• Wet Water (water with a couple of drops of dish detergent)
Once I have a good idea of the sorts of formations I want, I create as much as possible with the under frame to avoid unnecessary weight. (my layouts travel a lot)
I then mix up my plaster in small batches, usually three or four large tablespoons of plaster and one large teaspoon of Tint. These tints are available from your local hardware store and are used to shade the cement renders used in housing and concreting.
I use a chocolate brown for earth tones, and a terracotta for my Australian red desert scenes. I used a grey tint on the Japanese layout.
These tints make undercoats more effective, but also, if the layout is chipped and damaged, then in stead of a white showing through, I get an earth tone, which looks less obvious and more realistic.
Also, varying the amount of tint you use changes the shade of your plaster, which can create an effect all its own.
Once I have the Plaster/Tint mix at the right consistency I then spray the tin foil with the Wet Water.
I then place the plaster on the foil and place that, foil up plaster down on my framework. I then shape the foil to the contours I want, or leave the natural crinkle in the foil to generate a random pattern. (usually a little of both).
A batch of that size will allow for 2 or three patches at a time, so have that much foil ready.
It is important to note to do these patches away from each other, so as to not foul the foil. I usually work from each end and in the middle.
I then wait about 5 minutes for the plaster to set (once it is warm) and then gently peel the foil off, revealing a contoured area.
I then repeat with another batch in more small patches next to the ones I have created.
The foil can be pushed to follow the shape of the last patch, so each section is seemed with the last.
Also, Start at the bottom and work up.
Painting – To paint my mountains. I use a dark base coat, much darker than I want to end up with. I also have three shades of the colour I want, including two lighter than I want.
For example on my Japanese layout I used:
• Burnt umber undercoat (almost black grey)
• Grey (rock colour)
• Nimbus Grey (highlights)
• White. (highlights)
I start with a dark undercoat, usually watering it down so it soaks in all the little cracks, holes and crevasses the foil has created.
Once that is dry i use a technique called Dry Brushing to add the primary rock colour.
Dry brushing is a technique by which you place a little amount of paint on the brush, rubbing the brush on the palate to remove most of the paint leaving you with an almost “Dry Brush” and then gently brushing across the surface in quick strokes.
This causes the paint to adhere to the raised areas, but skip over the lower ones.
For my colour coat I tend to still have a fairly “wet Brush” but I make sure it is not running into the cracks.
Then I switch to my first highlight colour and do that with a very dry brush. You may have to work over areas a few times to get the shading you need.
Then I use my second highlight to just add to the very tips of the areas. This is usually a very subtle highlight.
This technique is worth practicing as it creates real dimension in your mountain work.
From there I would decorate with flocking, trees etc.
I hope your readers enjoy.
Grant”
A big thanks to Stuart and Grant.
That’s all for today folks.
Please do keep ’em coming.
Don’t forget the Beginner’s Guide is here. Is today going to be the day you make your start?
Best
Al
PS Latest ebay cheat sheet is here.




Just gotta love this stuff. These guys are great. Seems like with every new submission the quality goes up a notch.
Nice layout Stuart with so much detail added …and Grant you have made a noice job with your layout getting those hills with the contours …Dangerous Dave
Guys….. Look. Can you PLEASE post photos that are larger than these cell-phone thumbnail-things? I can hardly see them. I know that the modeling is great, but it would be greater if I could actually SEE it. More pixels, Please. Thank You!
Stuart
David said -seems like it goes up a notch- and I feel the same way. This Hobby takes planning, artistic, and manipulative skills and there are so many of you that are so talented to create such great layouts. Stuart you have a great layout.
Those who make the effort to make a great narrative in addition make this a great blog.
Grant
I’ll say it again- You N guys slay me. I dont know how you do it. Your very creative suggestions are not for just N guys. You created awesome layouts that are so interesting and very well done. Please lets see some more.
Big Al
Yeah-seems like it goes up a notch. Merci beaucoup.