“Al.
Couple shots of what I have been working on last few months.
Larry”
“Enjoyed your tips today. Here’s one on making an N-scale security fence with a concertina wire topping. I found an incomplete fence kit at a train show. Without enough posts, I made my own out of florist wire and bent the tops of them the length of a needle nose pliers. The incomplete kit had some nice brass wire mesh, but you can also use wedding veil cloth. I attached the posts to the mesh and sprayed it with metallic paint.
For concertina, I stripped 22 gauge wire and separated the strands. Each of the separated strands then were tightly wrapped around wire with the insulation still intact. The result is a beautiful coiled wire strand. It can be stretched (or not) to suit your needs across the posts that have a tiny dab of super glue on the tops. The great thing is that the topping does not have to be painted.
Mike”
“Hey al been subscribing to your tips and have to say they have been helpful but thought it was time for me to share a great tip I have got.
When modelling British road it is usually hard to make them realistic I have spent days trying different methods and came up with this one.
Use double sided foam tape to make shuttering, so you make the basic outline of the road and the paths along the sides of the roads too. The reason I use this is because it’s available cheaply in most pound stores and is inexpensive.
Next I use a very watery mix of regular plaster skim ( multi finish plaster) available in most DIY stores, it’s cheap and can be used for loads of different things. I use either a piece of card or you could buy he right tool tool spread the watery mixture to create the road. Once dry you can then remove the tape and it leave crisp clean edges. Once you have a road all the same layer I use matchsticks and stick them down with Pva to create curb stones for the path edgings and then repeat the same process of shuttering with thin plaster skim.
One finished the plaster can be painted with inexpensive black arcylic paint and is allowed to dry. When dry the surface can be lightly sanded with regular sandpaper to make the surface appear worn or lighter where traffic is more frequent.
Also another tip is if you want to shutter up to the side of buildings, it can be difficult because plaster gets on the buildings so what I tend to do it use a small paint brush with water to clean excess off the buildings once the road is finished but before it’s dried.
Hope this helps you modellers out there to create more realistic roads 🙂 May be a picture on its way just gotta set up the camera so will let you know .
Many thanks tim”
“Hi Al
I am a 70 year old retiree originally from the UK and now resident in Perth Western Australia.
With time on my hands I have just completed a 3 x 2.5 metre HO/OO layout which I started 18 months. My layout encompasses some 200 metres of wiring, operating 80 or more street and building lights through15 mobile phone transformers. Ironically however, I shall soon be doing a ‘Dave Howarth’ and starting over again as my layout has several shortfalls not identified in my original planning.
Before I rip it all up I would dearly like to send some pictures for possible inclusion in your weekly ‘round robin’ but am unsure what your preferred method is for receiving submission because as you know they take up a considerable amount of space for electronic transmissions. Your advice on this matter would be appreciated.
In the mean time I have taken the liberty of enclosing a few samples to hopefully whet your appetite.
Kind regards
Geoff”
Big thanks to everyone for today’s post. And good luck to Geoff with his new layout!
And if you’d like to start on your own layout adventure, the Beginner’s Guide is here.
Latest ebay cheat sheet is here.
Best
Al
PS More HO scale train layouts here if that’s your thing.
Need buildings for your layout? Have a look at the Silly Discount bundle.
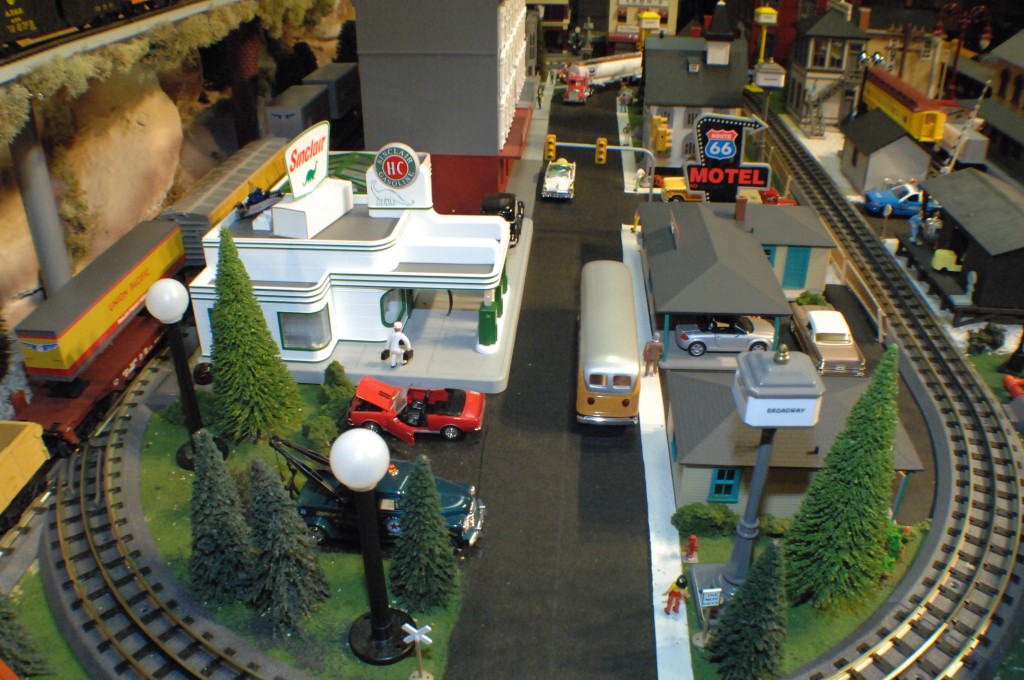
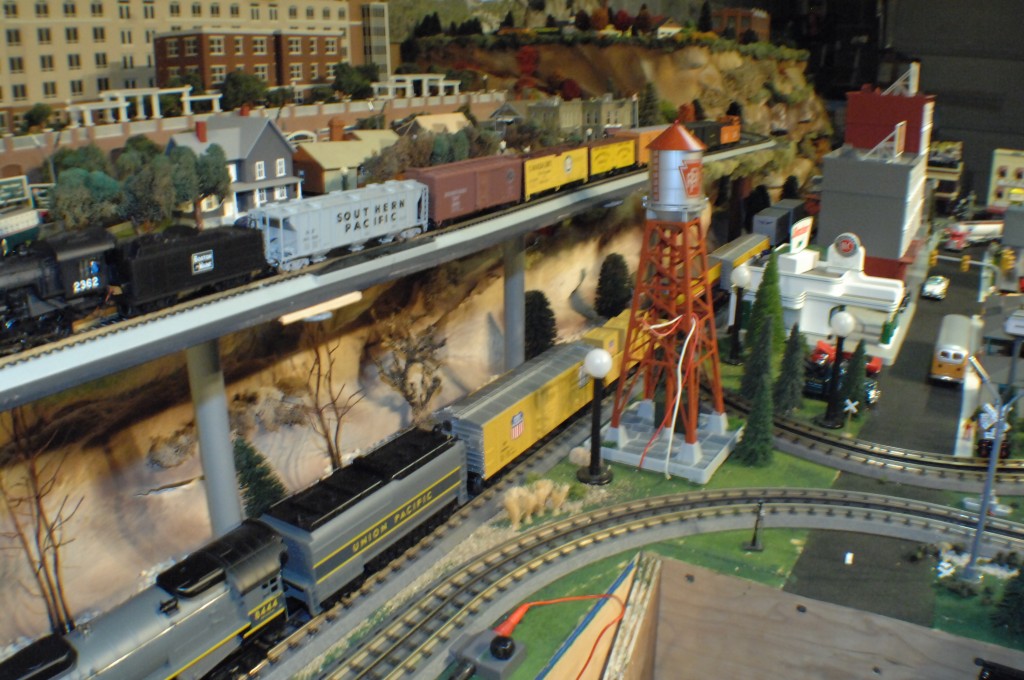
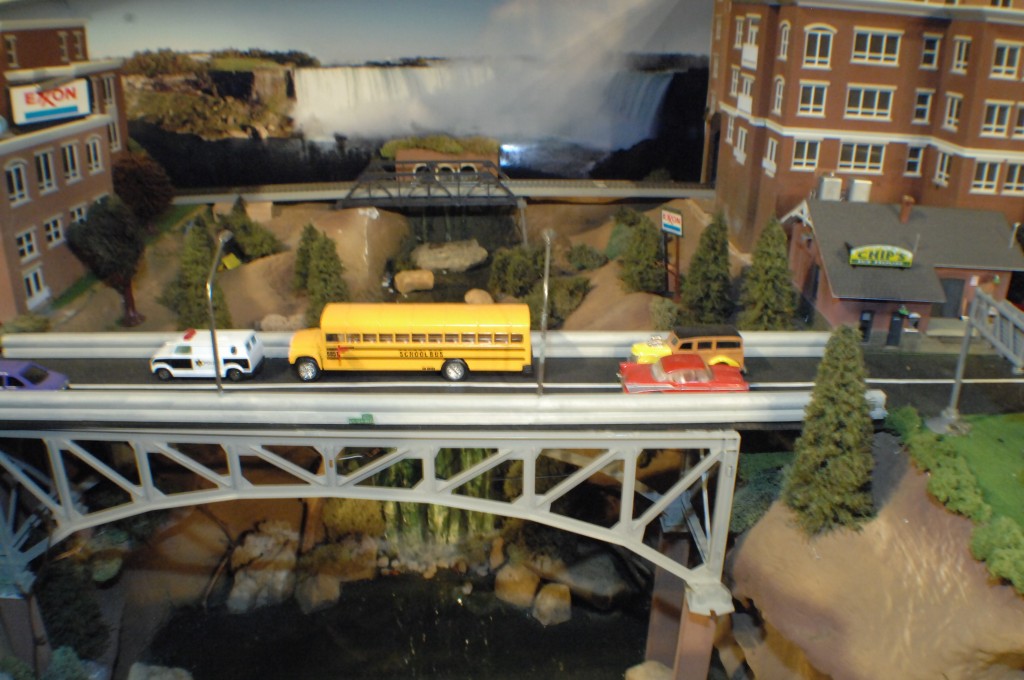
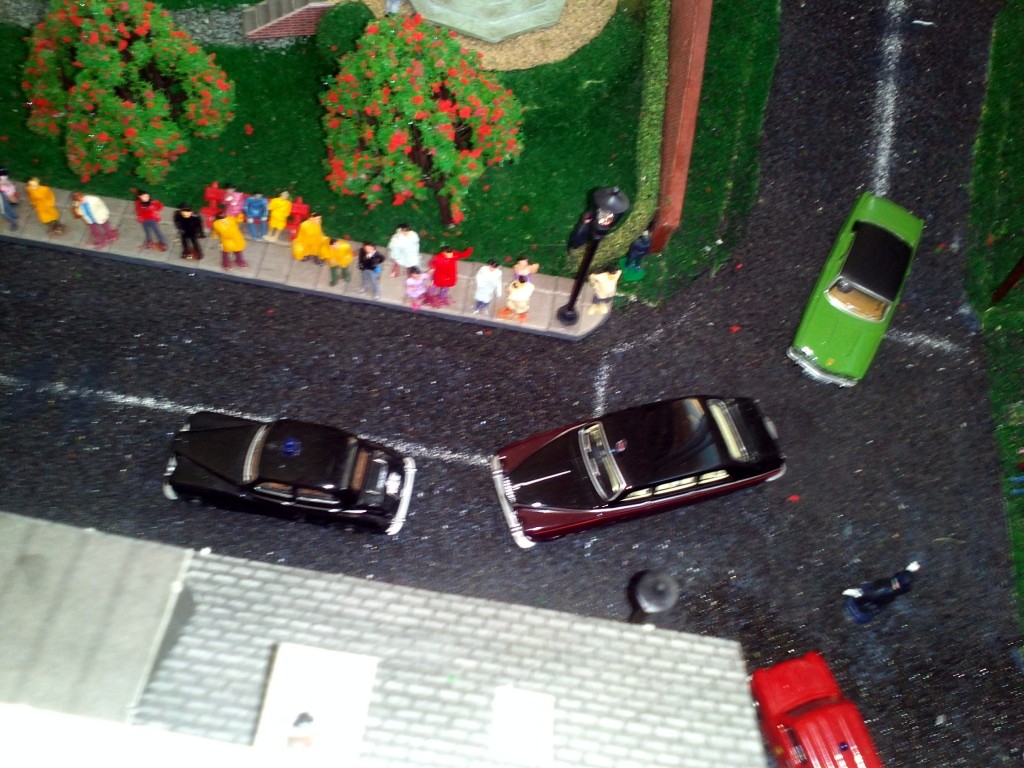
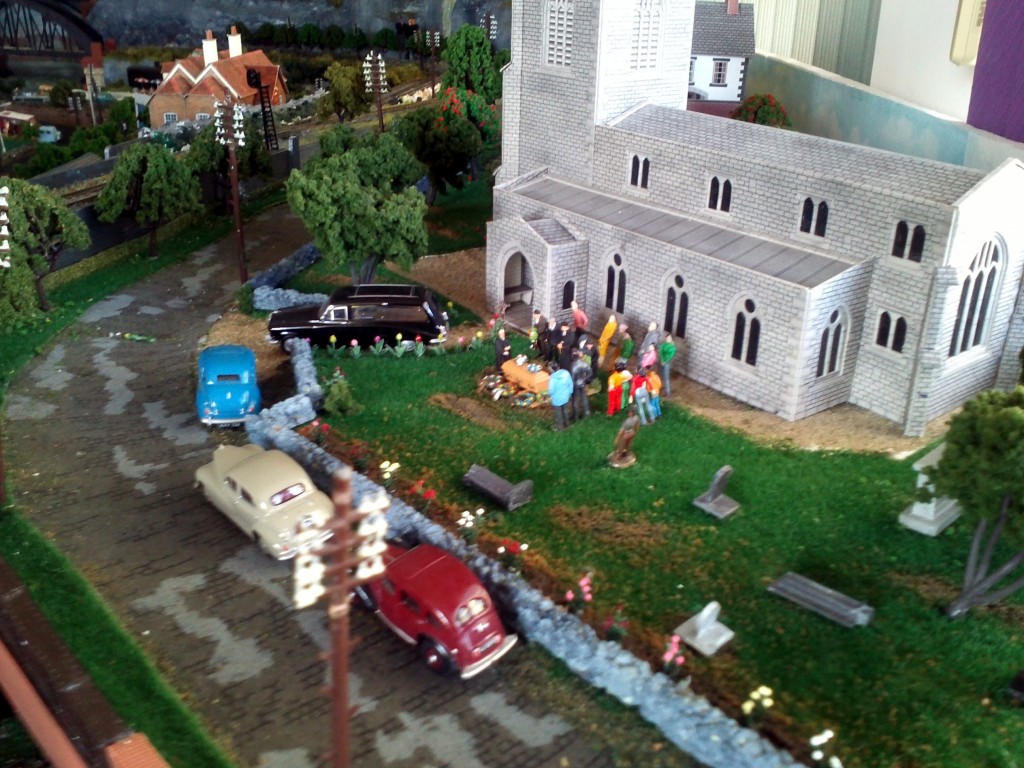
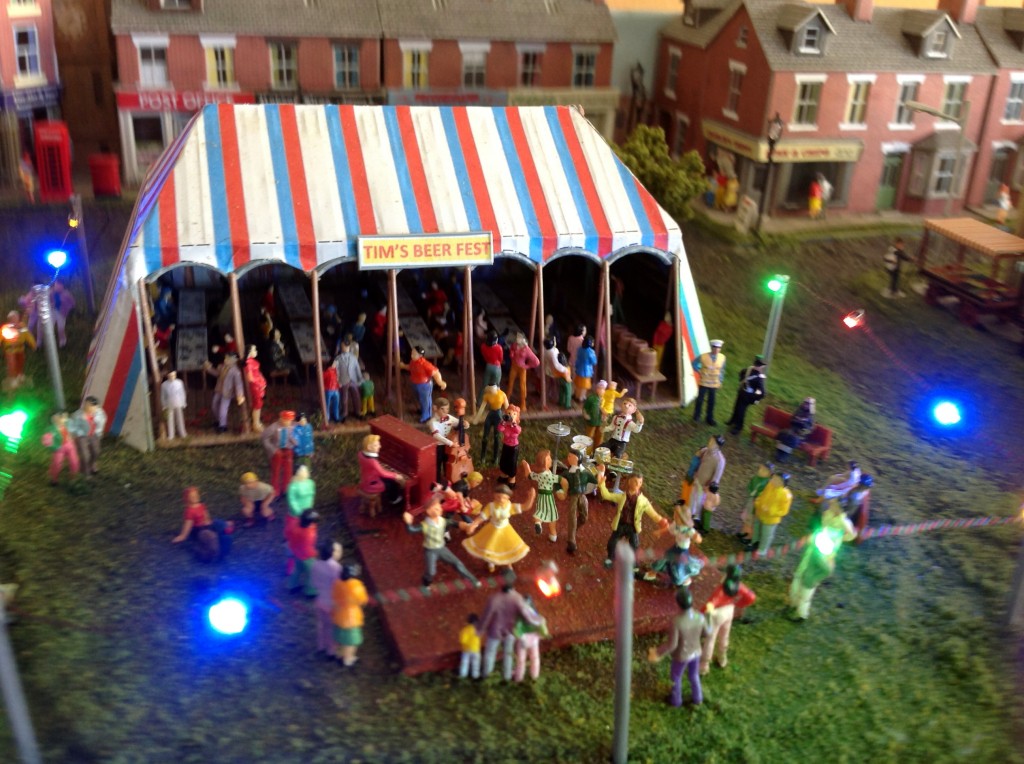
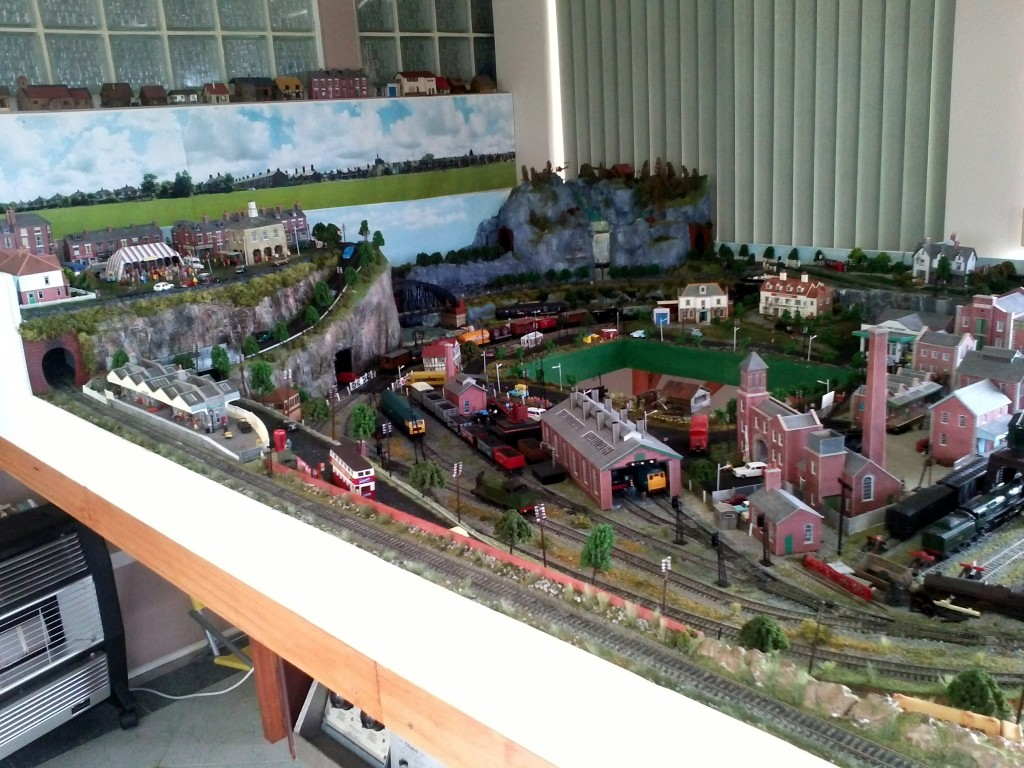
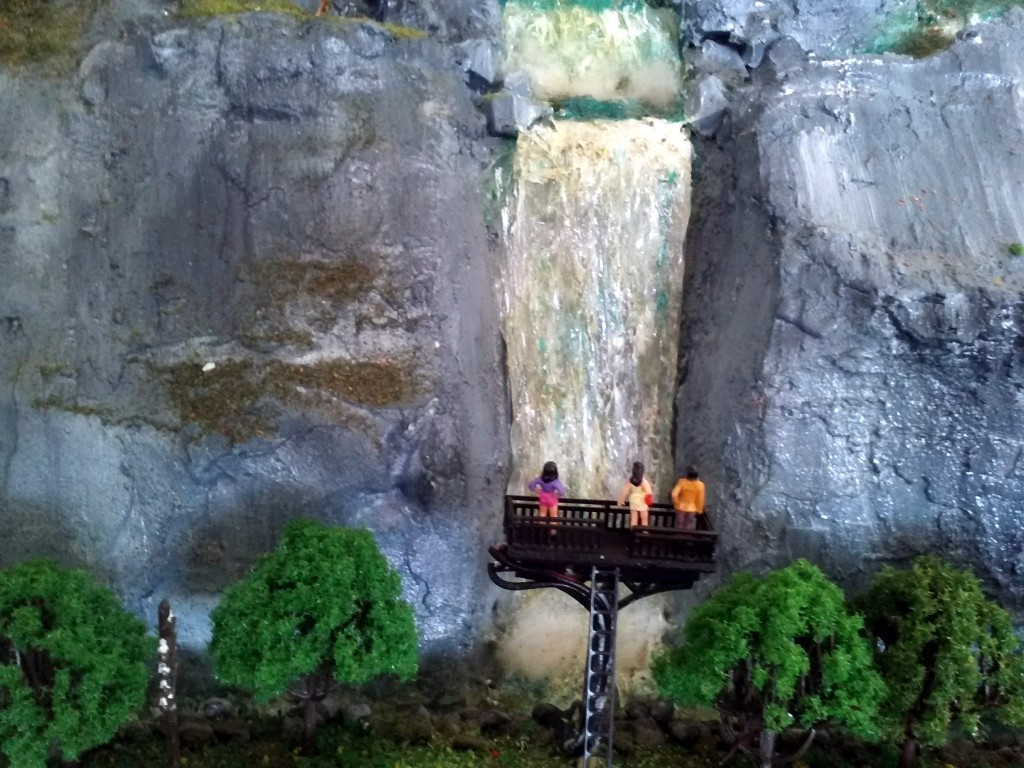

Nice work Geoff.
Interesting to see Niagara Falls (The Canadian Falls) as the backdrop behind Geoff’s “town” in the last picture. Where did you find the backdrop?
Cheers,
B
Wow Larry that is one clean layout.I really like it.not because its clean but well organized.really nice pieces in there.mind if I copy a few in wood.where ya get the sidewalks.alot of sidewalks for sale are way to wide for people and take up a lot of space.my sidewalks are about the same size.But I made my own from that strip tape you use to stick on the side of shelves and such,and use a iron to heat to stick.works real well for sidewalks and has that concrete grain to it when you paint it.thanks for the idea’s love your layout.
Oh just a comment.mountain climbers scaleing the cliffs be great.
promise last comment.your traffic is driving on the wrong side of the road.lol
okay im sorry really last one.does the street lights work.
Great layout Geoff, I think placing all the people,and many of them, makes the layout come alive.
What a great looking layout Al! Keep up the great work. I look forward to seeing your new one! You have created a new term amongst railway modellers – “Doing a Dave Howarth”!!
Geoff’s layout is obviously not HO but O scale three rail…
Hey Larry, love your large scale layout (working on a G scale myself). Hope to see more of your layout in the future. Video would be great if you can find the time.
thanks! Cary in KY
BOTH layouts look great, and i would be happy to see more of each.
It is apparent that Larry and Geoff put much thought into their layouts, as each iimmediately draws the viewer into the scene, looking for more…i even turned my tablet side to side, thinking i might see more from a “different angle”!
Larry and Geoff, thank you for sharing your handiwork with us…i hope the hobby continues to provide you with many years of enjoyment.
Dave, from NY
Geoff lay out looks great.track looks like older 3rail marklin.remembering my old days.
Great layout…….nice detail with plenty of figures……nice.
Geoff nice layout in particular like the road surface in the picture in front of the church. Just looks like the roads in Britain full of potholes and repairs. I’m sure you new layout will be a stunner.
Great layouts. Being an imbiber of fine beer, I really love Tim’s Beer Fest! Stay well. Cheers! NJ Mark
Great Layouts guys, nice details, Can’t wait to see the new layout.
Geoff: That’s a great looking layout you’ve put together in just 18 months. I especially like your clever use of so many figures to create the various scenes in your photos. Obviously, these photos predate the social distancing rules that have arrived with the coronavirus. 🙂
Larry, Nice layout. Why the 3-rail? Is that Marklin or Lionel?
Larry and Geoff, both of you have really nice layouts, great detail in both layouts. Nice job guys!!!!!
Ok!!!! I forgot to ask Larry where he found the beautiful waterfall background picture. Hope to see more pictures of your layout.
Did not know there was such a thing as 3-rail HO scale track and rolling stock. Are you sure it’s HO scale?
Tim,
Realistic British roads – what about the potholes!
Geoff, you’re going to do a Dave Howarth! Why, that layout looks great!! But I know what you mean. At least I HAVE to disassemble mine after the spider/vacuum cleaner incident (remember my post recently).
Best to all.
Brian, Wokingham, UK
It’s nice to see that other members enjoy working in “O” Scale. I think there is a lot more flexibility with the working rolling stock even though it does not allow for as much room on the layout. There is good and bad in all scales, but just nice to see others with that scale. I hope to post mine if I ever get it finished. It’s just been a long, expensive, drawn out project, but fun so far. Would like to get it finished for my son and his children’s sake, if not for mine.
really nice layout. goodwork.
nice