Bill’s been working on his model railroad benchwork.
“Hi Al
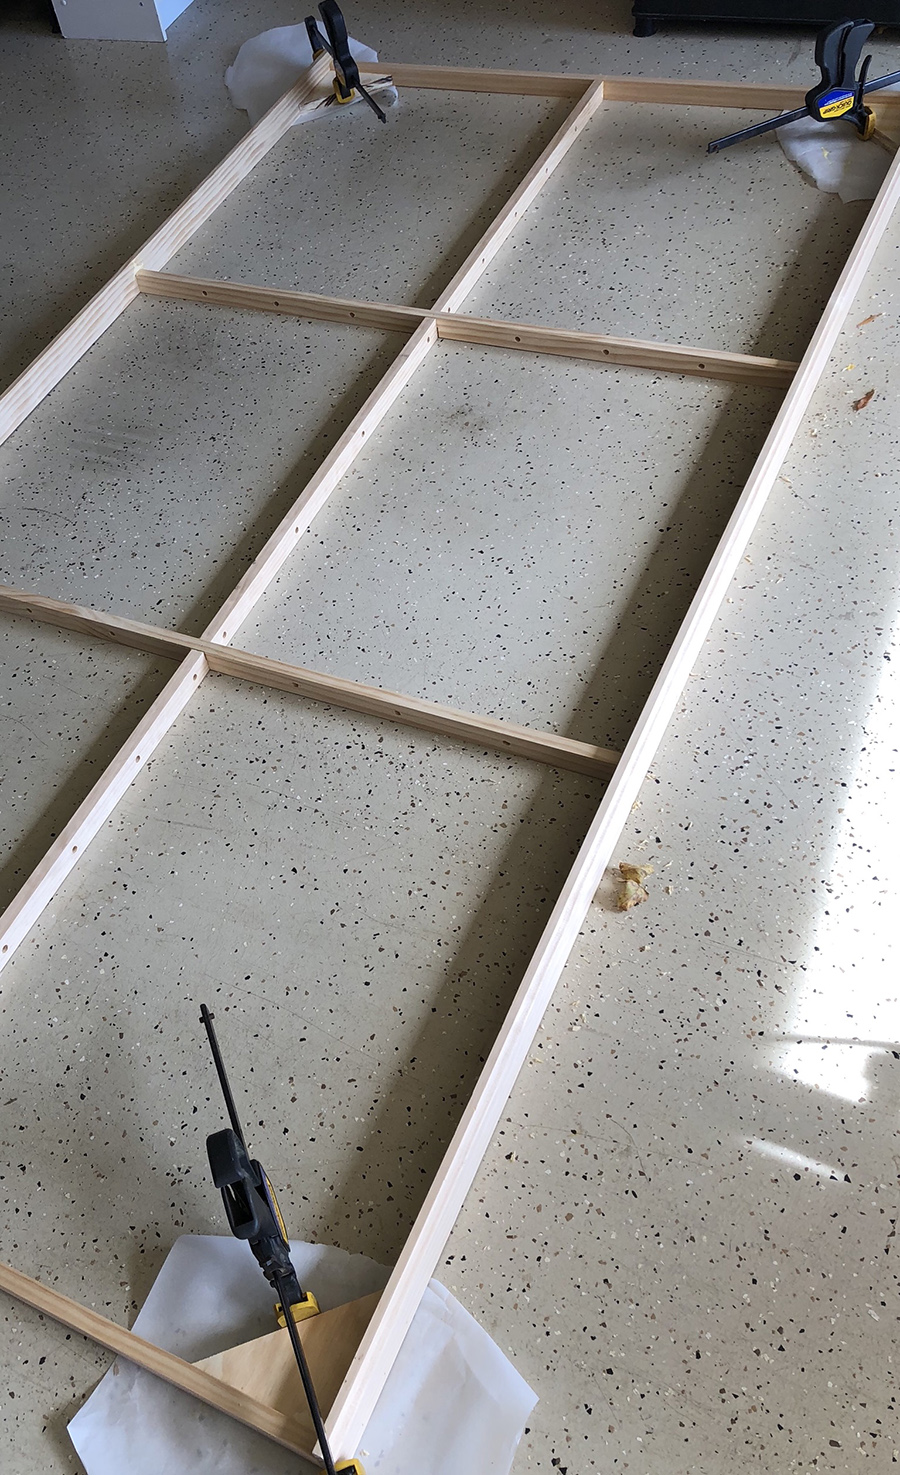
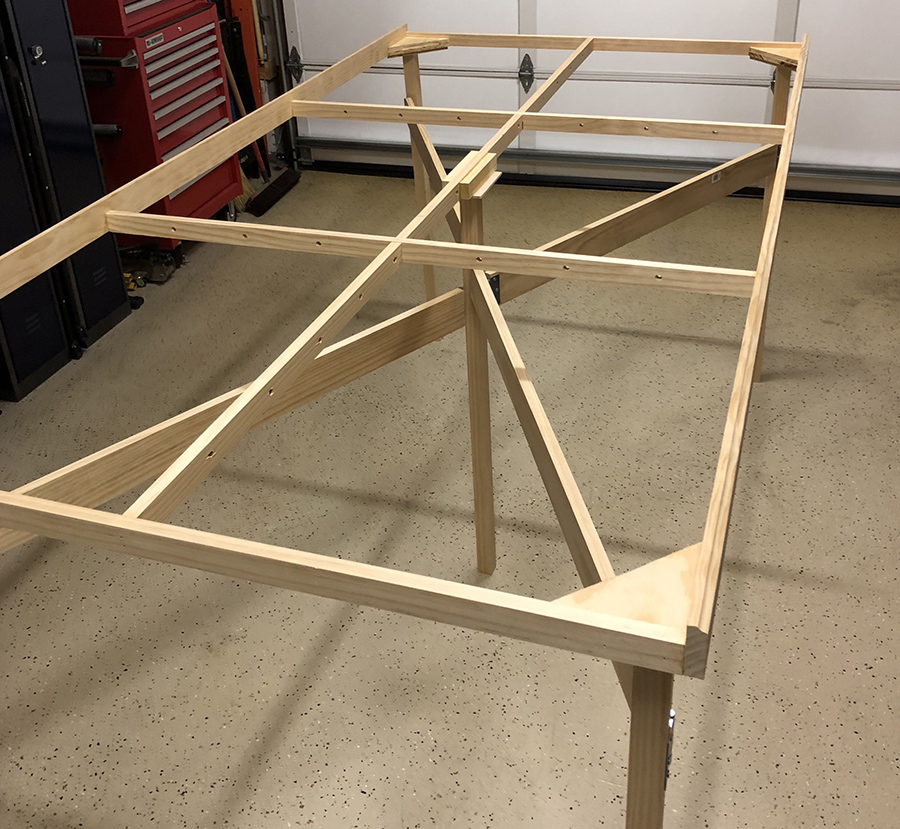
Over the past two weekends I’ve made great progress on the frame for the first section of my switching layout.
I need it to be lightweight as I have limited space that must be shared with my wife so it has to be portable.
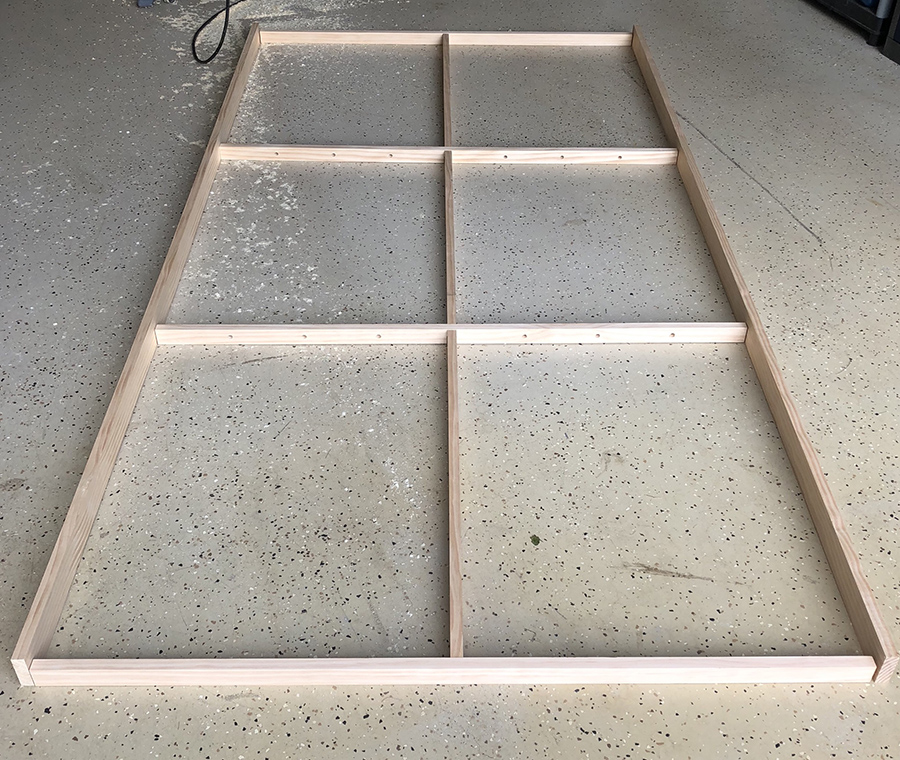
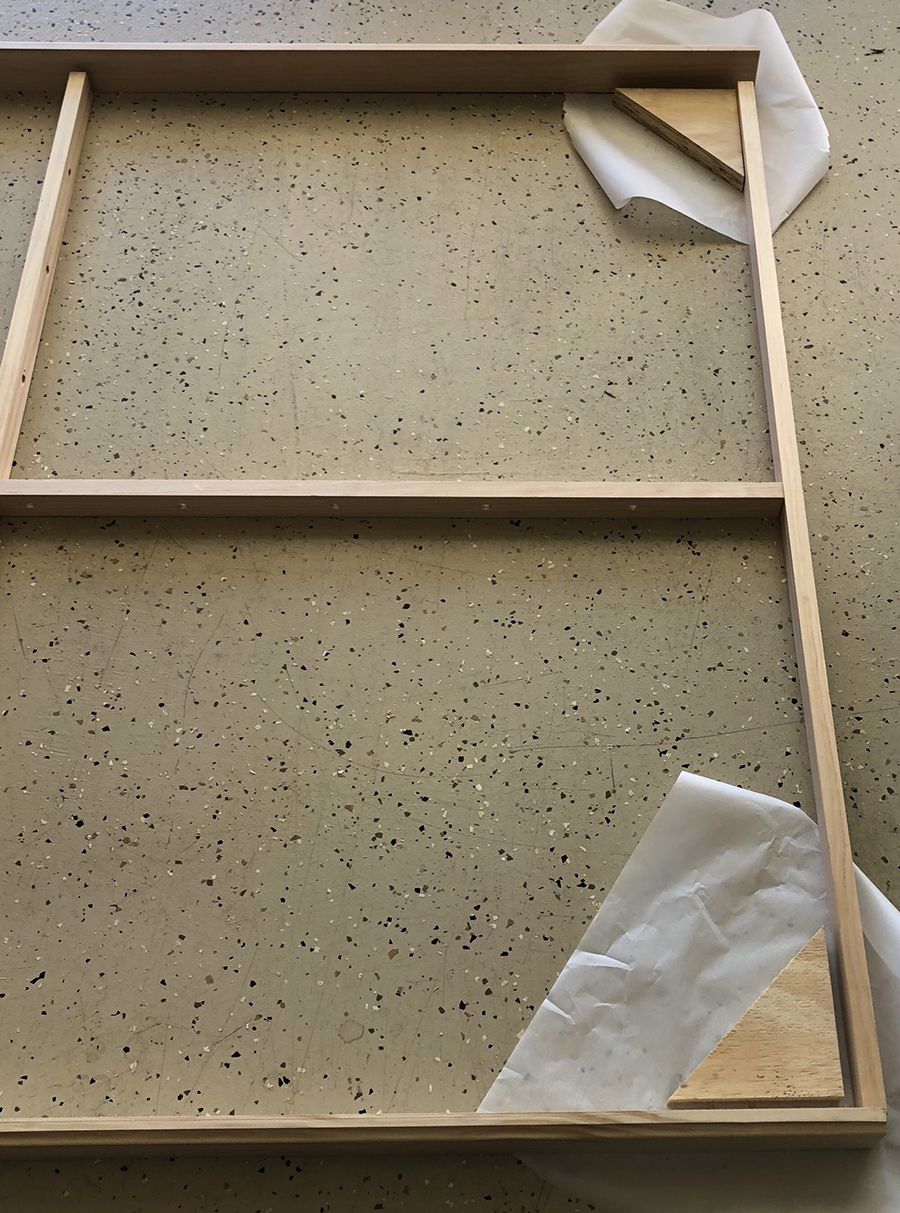
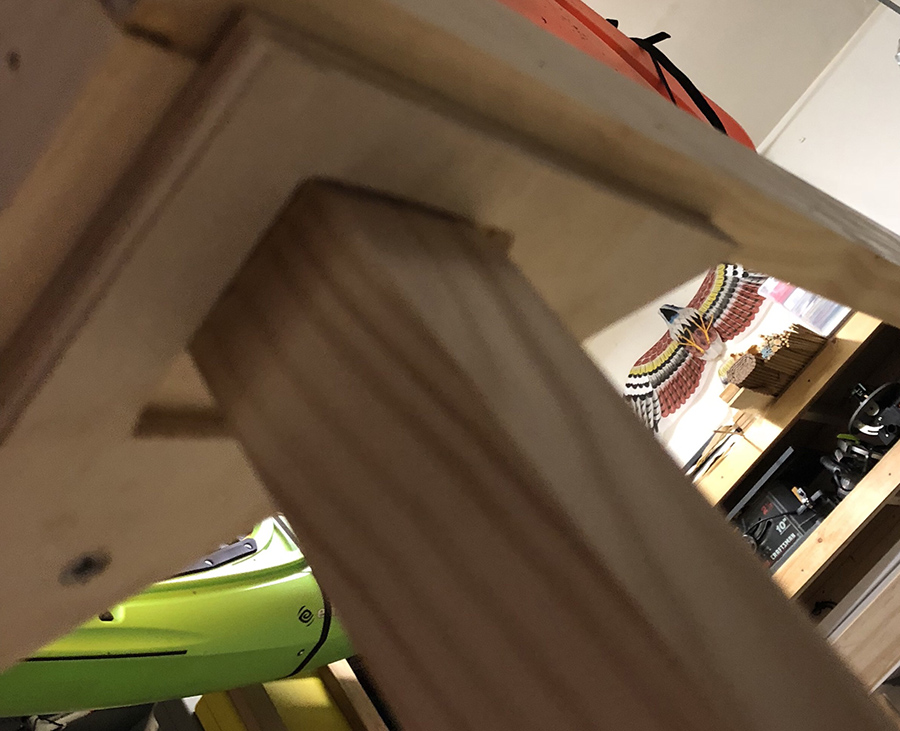
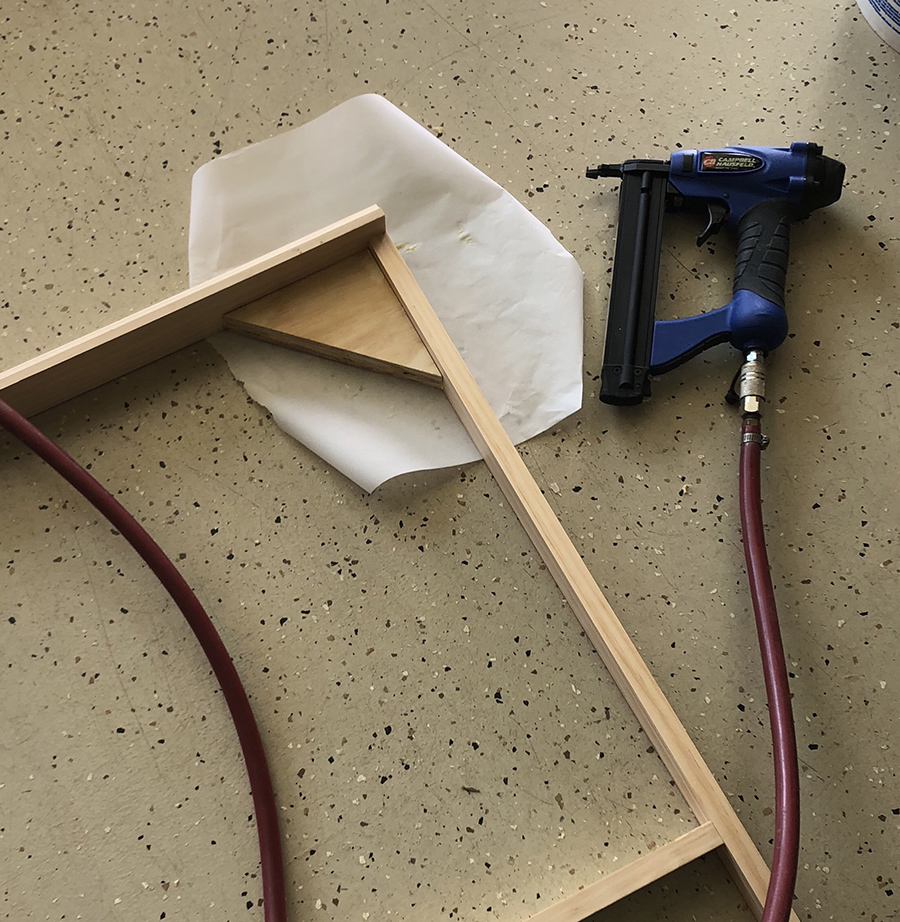
For materials I use 1×3 select pine if the sides and then 1×1.5 for the rest of the basic frame. I predrilled holes in the frame members to run wires through when I get to that point. For the legs I wanted something that could be made to fold so I can store it or take it places if I would go to a show at some point.
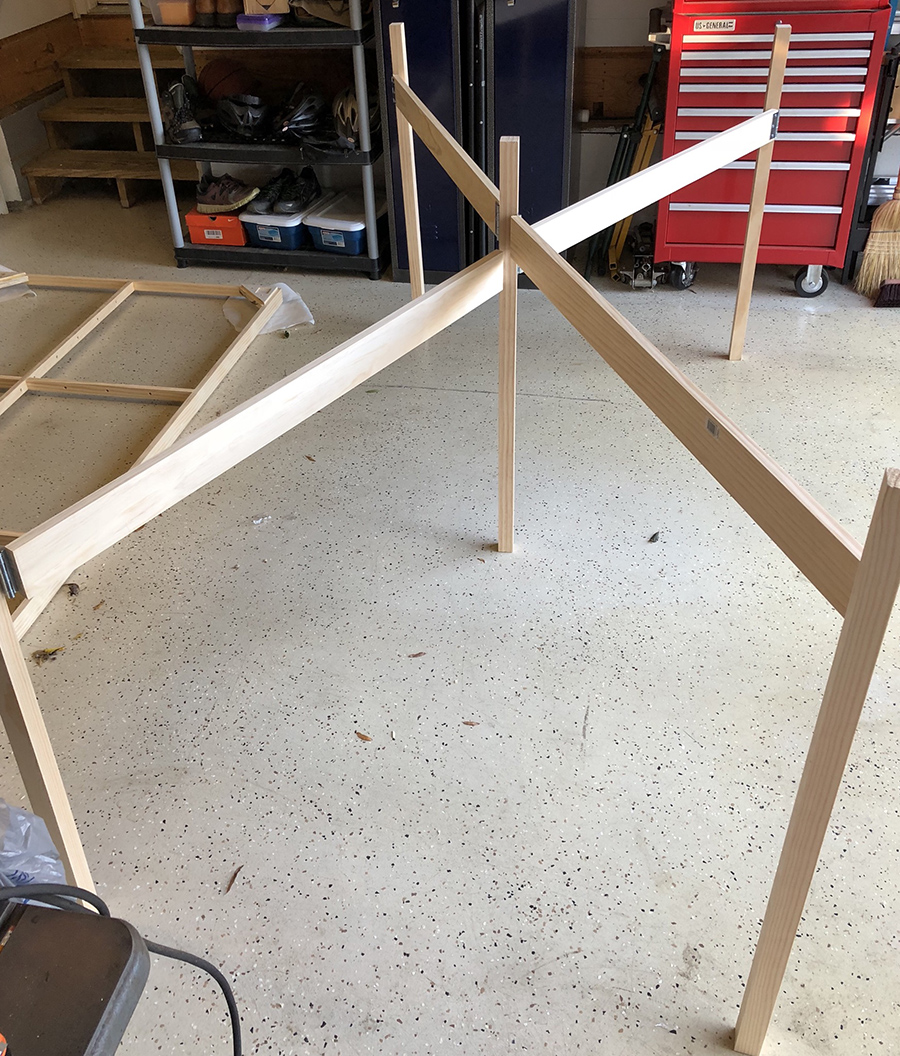
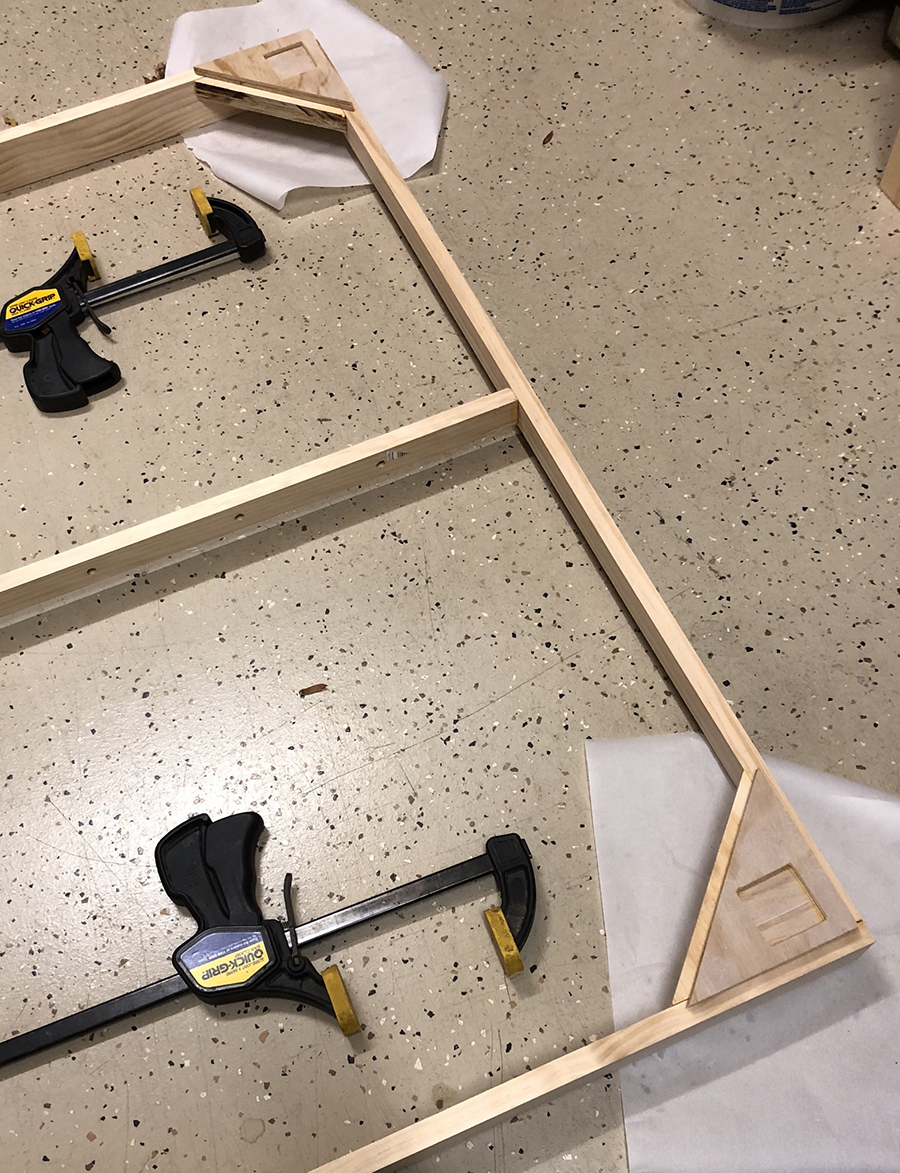
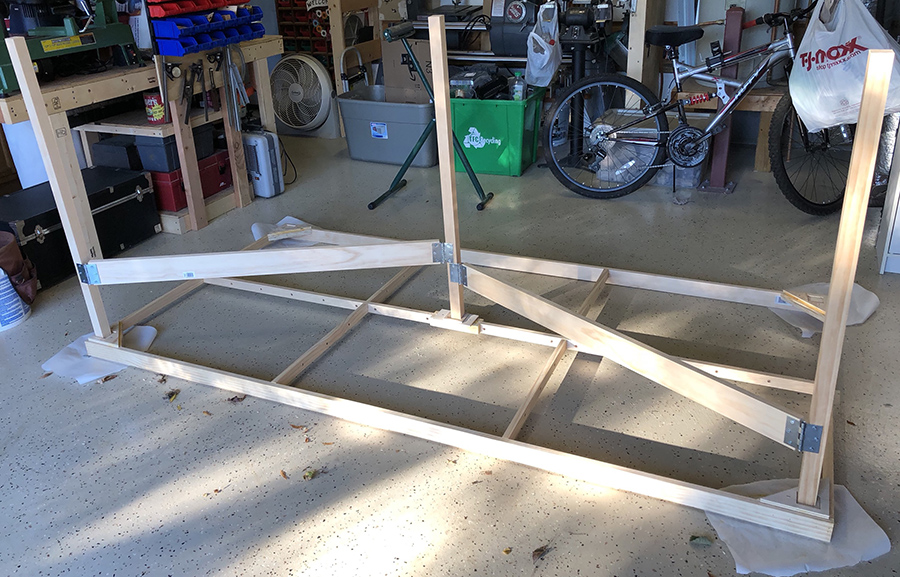
In the pictures you can see I used 1×4 and 1×1.5 square stock and a good number of hinges. In all five posts support the layout and those posts fit inside pockets on the underside of the lift out layout. I also have a 4×8!sheet of 7/323 plywood that will go under the 2 inch foam board. This is more so I can mount micro switch’s on the underside to route power to the turnouts. As it is the foam is nice and flat in the frame without the plywood insert.
The legs still need to have some removable cross bracing made to give it rigidity. And I will also add castors to the legs so I can move it around my garage better. So far I can lift the layout portion easily by myself but it will be a two person job when I start to put track and buildings on.
Once it get things farther along I’ll be back in touch.
Hope you enjoy seeing how I do my model railroad benchwork.
Thanks!
Bill in Richmond Virginia”

A big thanks to Bill.
Here’s another benchwork post that you might find helpful.
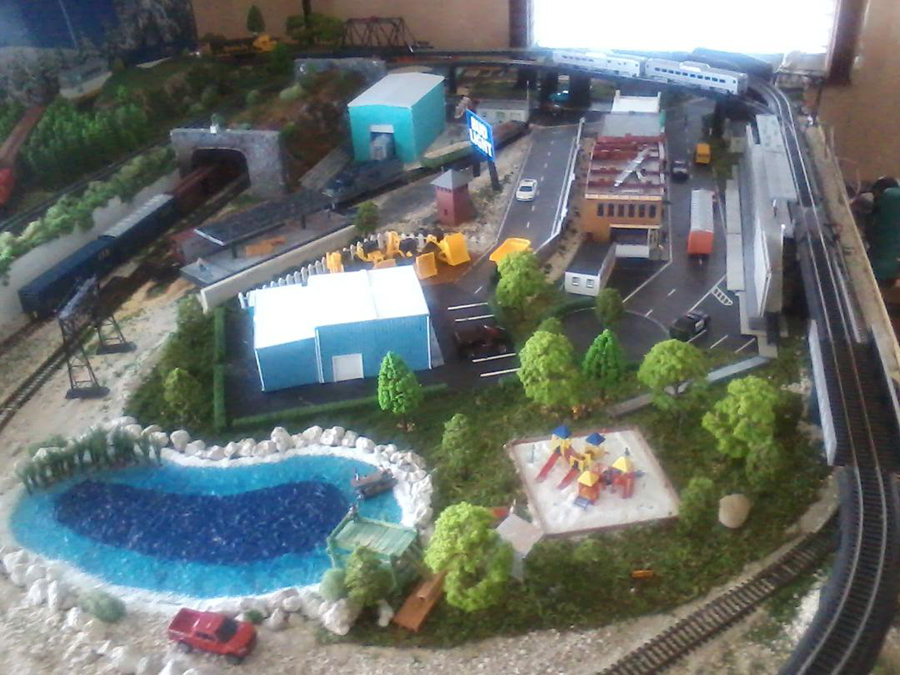
“My 8 month layout but i’m going to tear down and move to my cave man room and give the living room back to my better half. I need more length.
I’m going to make a Hudson river valley scene water and all thanks to watching everyone’s contributions and ideas on here.Who here is Familiar with upstate New York I’ll start with Harmon Shops ( Diesel Mechanics ) and work south to Ossining and maybe put a small percentage of Sing Sing prison in scene,we’ll see.
So here’s the present day layout.
Bob”
A big thanks to Bill and Bob.
That’s all for today folks.
Please do keep ’em coming.
And if today is the day you get started on your layout, the Beginner’s Guide is here.
Best
Al
PS Latest ebay cheat sheet is here.
PPS More HO scale train layouts here if that’s your thing.


This is for Bob and his new table.
One thing I would suggest is placing table leveler on the bottom of the legs.
Not all floor are straight and level. this way your table will be level.
Donj
Beautiful benchwork, Bill. I agree with Donj, levelers would save some problems down the road.
Nice work, going to keep that design in mind.
I REALLY like what you did for layout legs! I
I would like to know how the legs fold up for traveling.
I would also like to know the SIZE of your wooden legs.
THANKS for sharing your GREAT WORK!!!
Bill is a craftsman. Nice, nice work. What a talent he has! Don has a great idea for Bill & I hope Bill incorporates his idea.
Personally, I love to see build details!
One thing I like about the layouts you show is that they don’t have to be so perfect. We can enjoy our hobby without such total perfection and using “approved products.”
Hi it’s Bill
I thought about adding levelers and I do think it’s a good ideal but I will also keep casters as well so i can move it around in the garage easily as I set it up and not take it down too often. I do have an ideal for levelers so I’m future posts you may see that.
I’ll also take a picture of how the legs fold up for storage as well as the light weight bracing I already added.
For the legs I’m using 1 1/2 inch square stock. I did buy quality lumber that was very straight and true then clamped all the sticks together for about two weeks in the garage so it acclimated to the humidity. I did cut everything to size and clamped more to keep it all nice and straight.
Thx!
Bill in Virginia
Bob, I live not far from the Harmon yards, have recently looked into now defunct Hudson Valley rail lines. Would like to contact you. My nondescript layout will be under construction for a while. Berniedds.
I think adding a bit of Sing Sing prison would be an interesting touch. Great workmanship on the bench.
Ossining is my home and my hudson valley R/R is on the drawing board catch me on fb
HEY BILL—-thanks for the in progress photos….someday I might have to add legs to my layout, too! 🙂
—Jonathan….from Douglas, MA
The master craftman…we’ll done.
it’s always nice to see the behind the scenes effort that goes into build a sturdy layout platform..
I like your X frame approach, less lumber to bump into underneath.
I really like the leg design. I’d like to see a bit more detail especially how you did the measurements. I kept your post and illustrations from a few years ago of a similar table design. Great job! Thanks for sharing.
Bill,
Very clever benchwork. I’d have never thought of a five-leg layout support, but your implementation of it is really cool! What is the overall size of the table? Thanks for sharing your photos and narrative.
Bill, Never mind! I read your previous post and see it’s 4 x 8 feet. Also, this must be a very old post because I’v already seen the completed dual 4 x 8 switching layout years ago.
Bill, a leveler might be made from a 1/4-20 stud bolt and a nut. Instal mid leg on however many legs you think might need adjusting. Drill a clearance hole on one leg to allow travel. Put a large diameter washer ont the traveler side for the nut to work against. An open end wrench allows you to adjust the length of each leg. I would guess total travel of the adjustment might not exceed 1/2″ in either direction.
Hi Bill, Can you send me a picture of how the legs fold up for storage. I really liked this idea as I don’t have much room in my garage. Thank you. Rocky