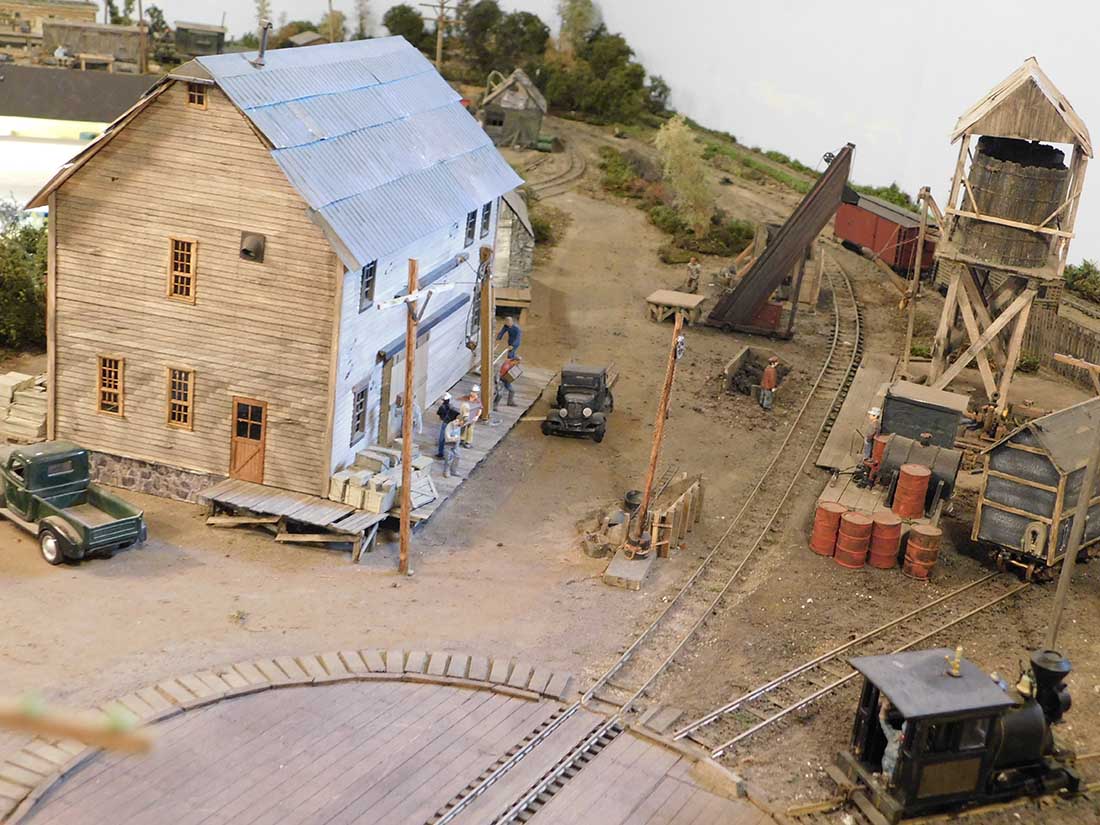
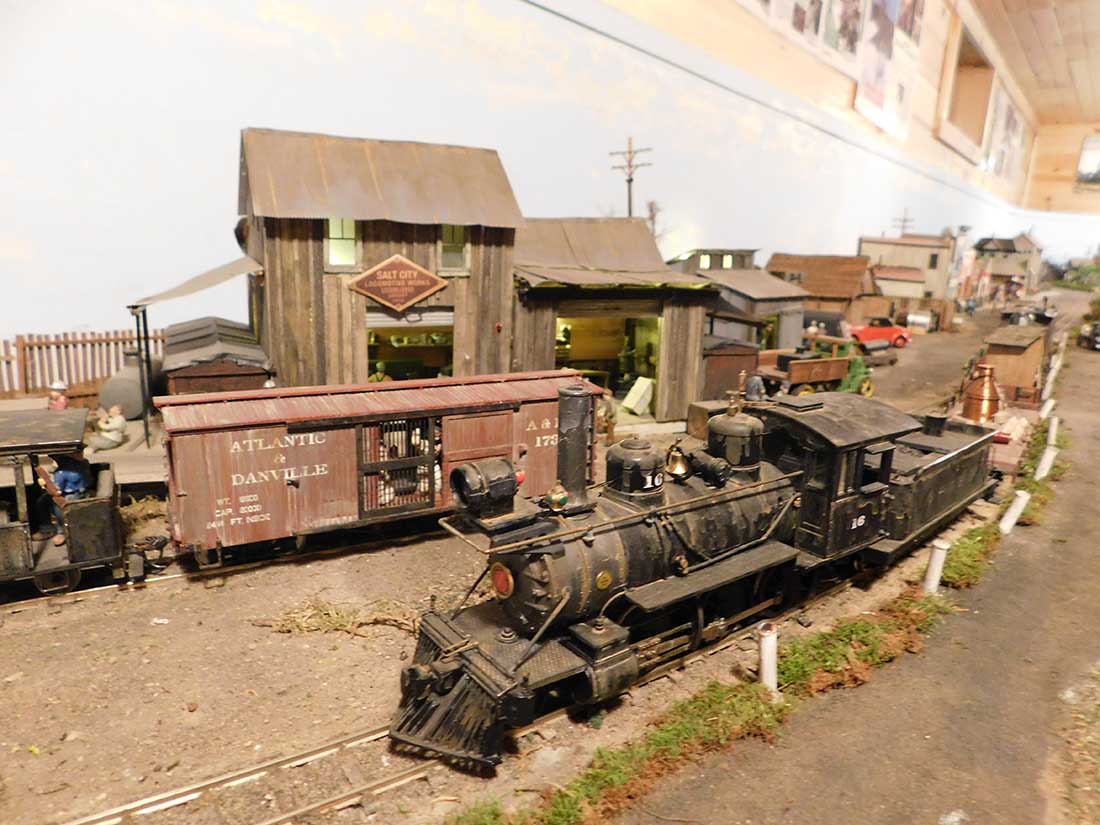
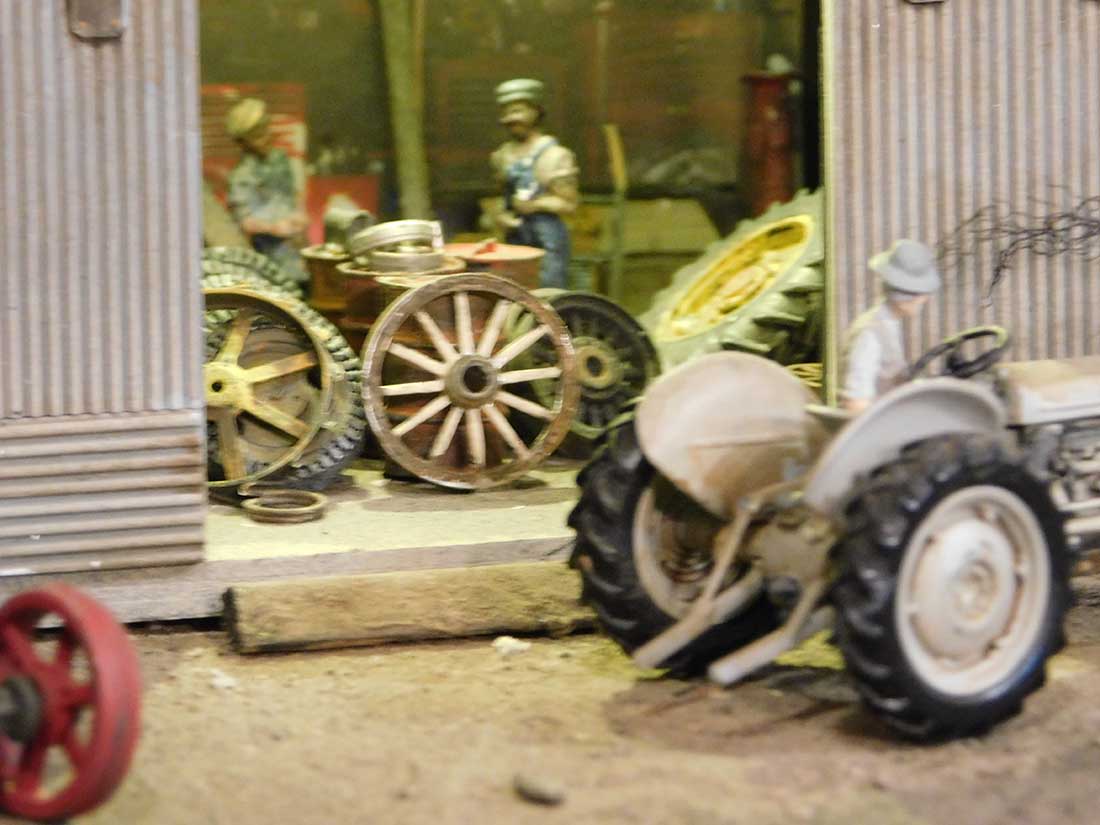
This is ‘part 2’ of Tom’s latest pics on his On30 locomotives.
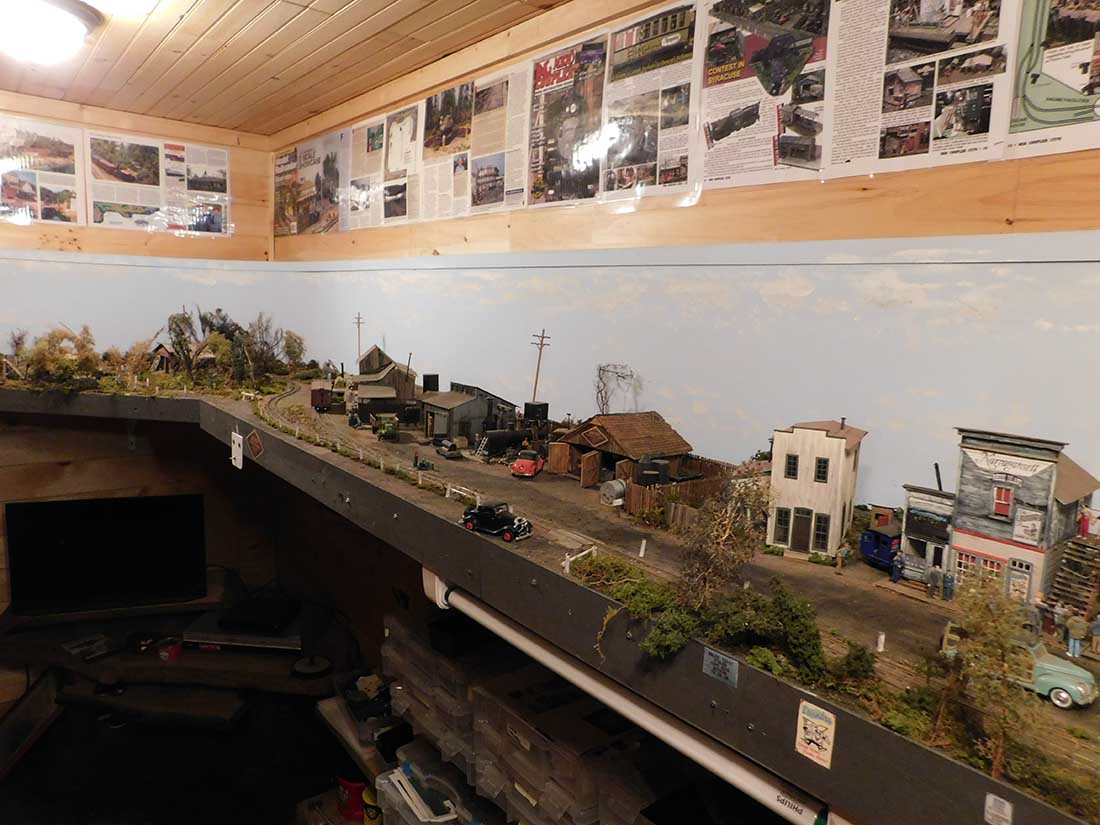
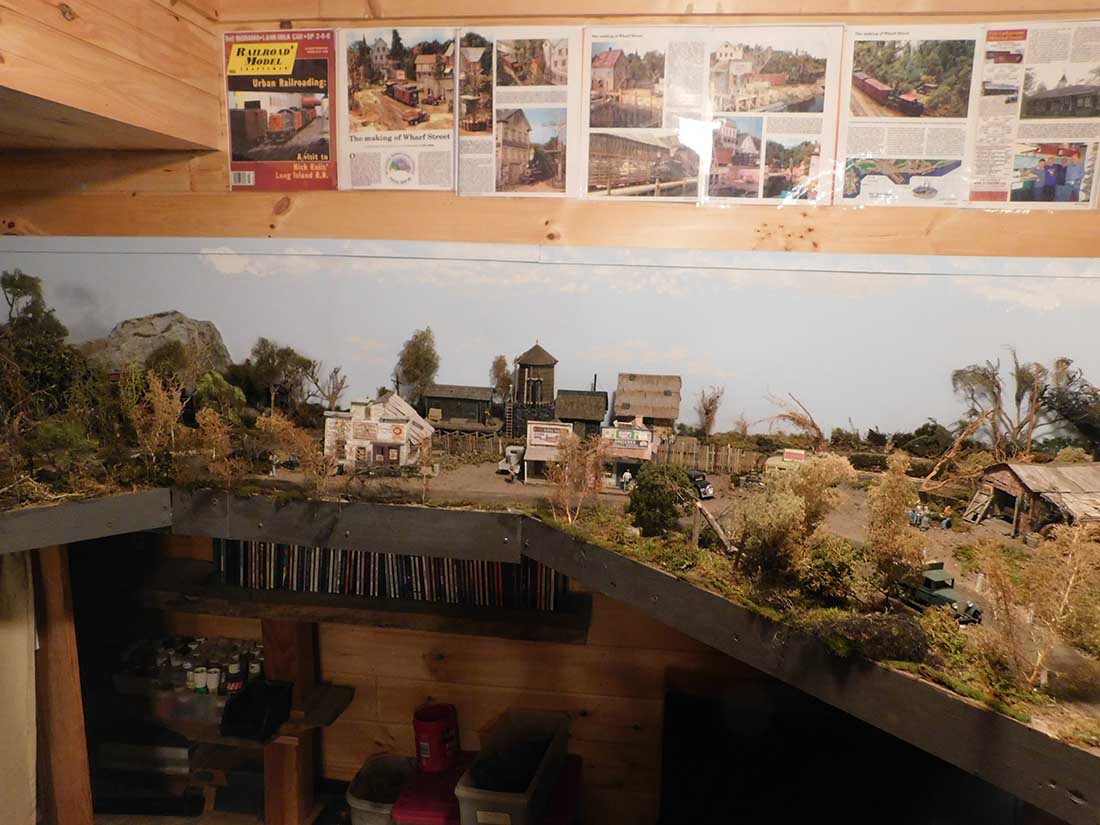
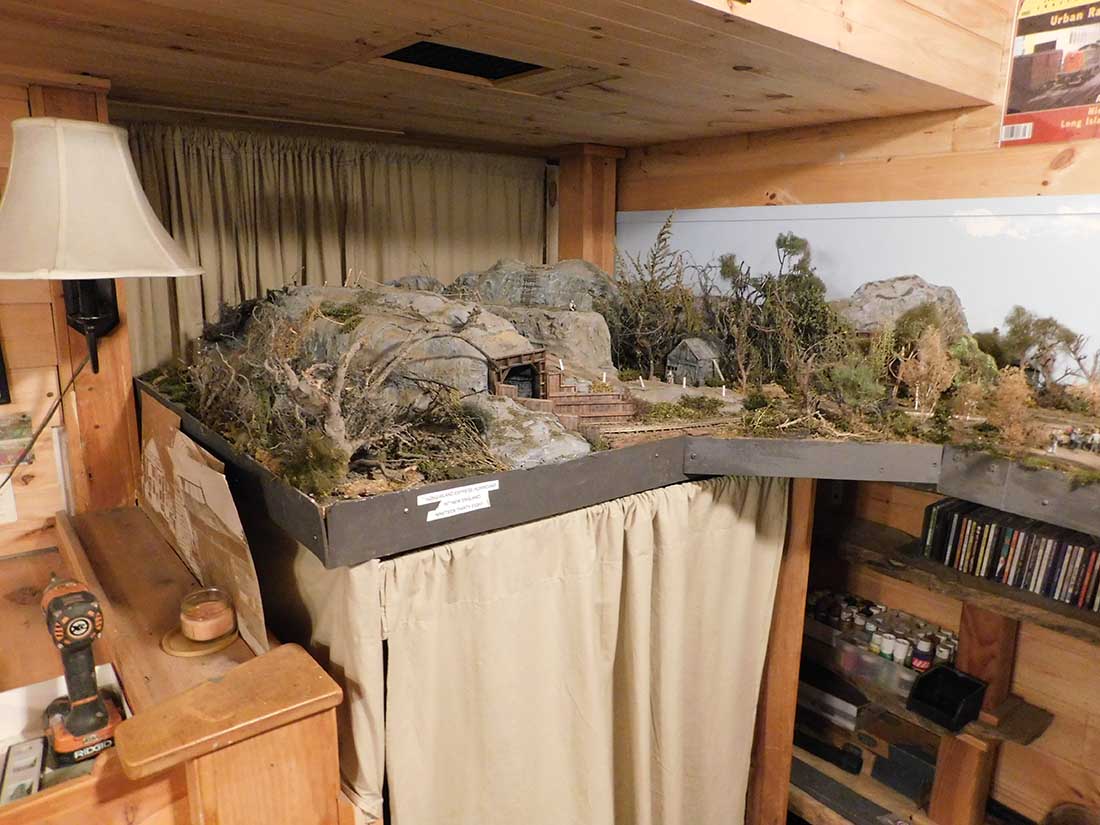
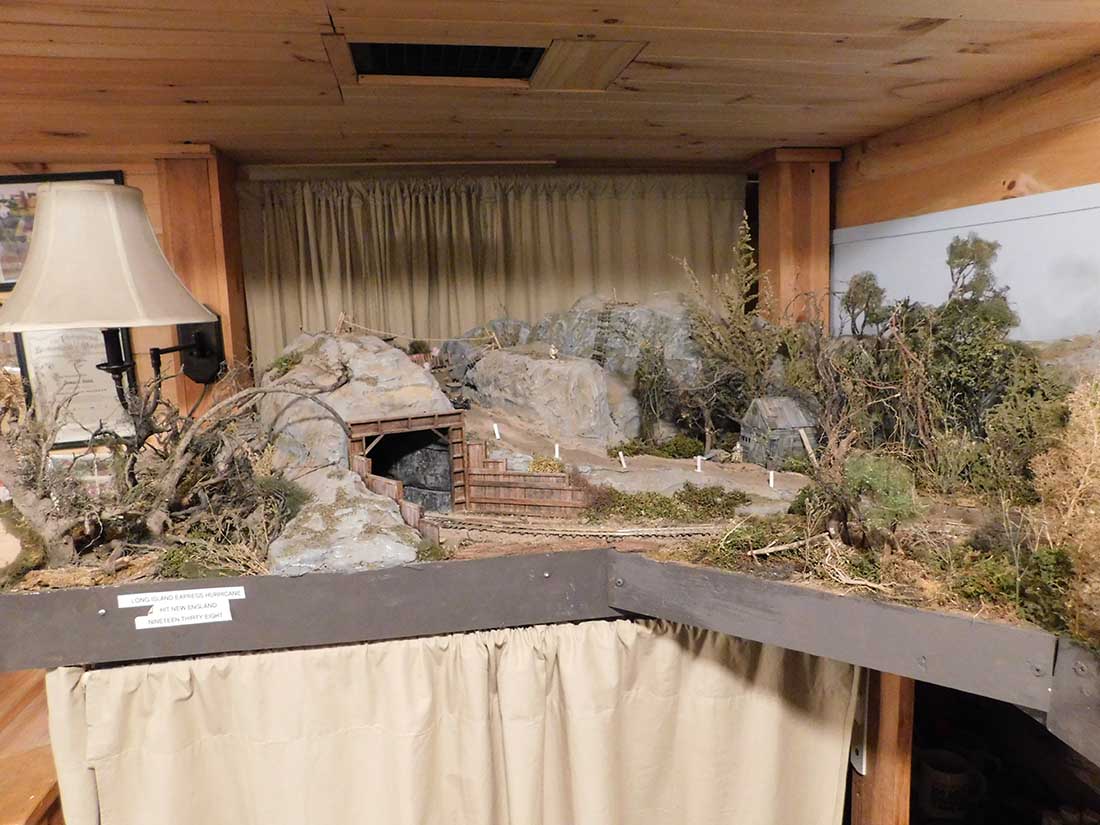
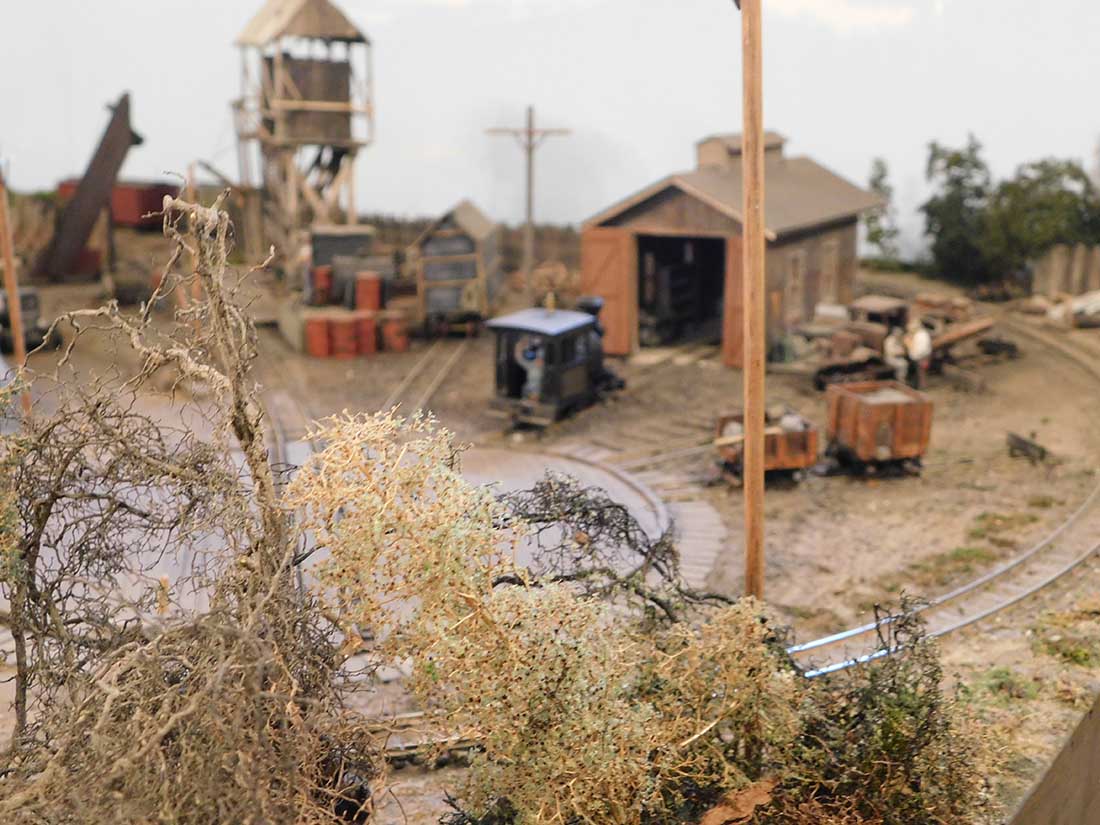
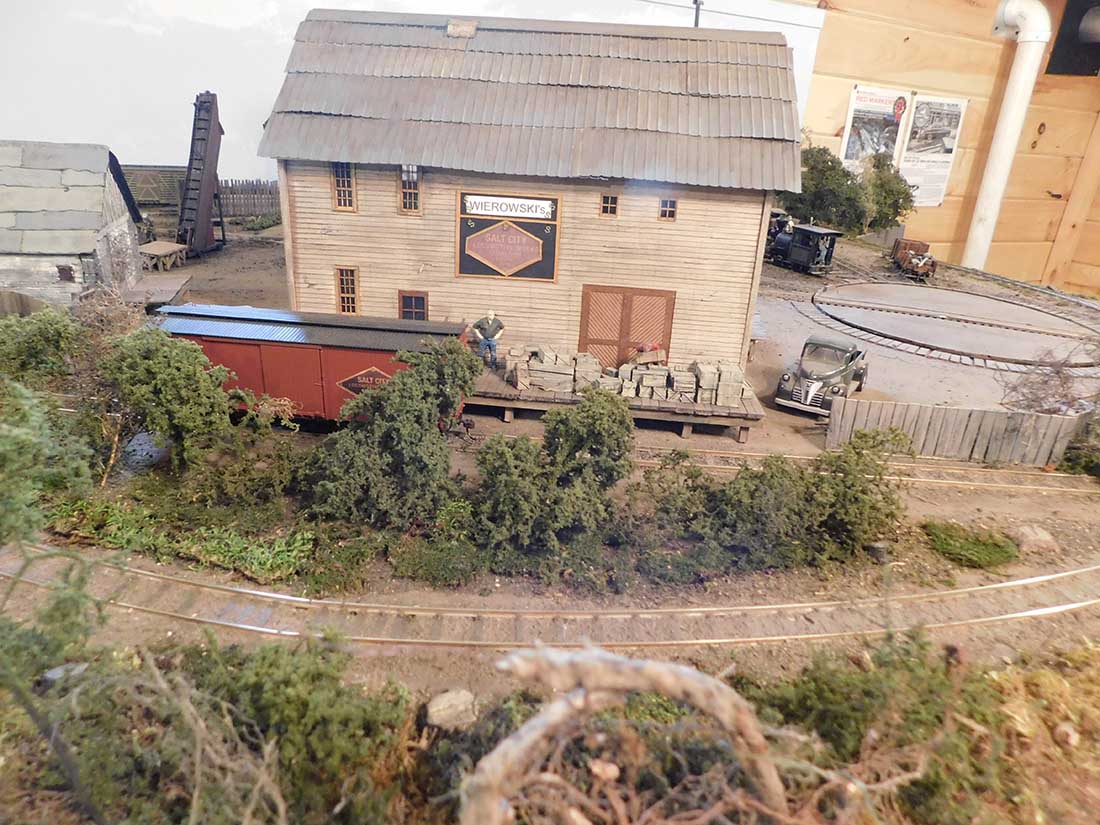
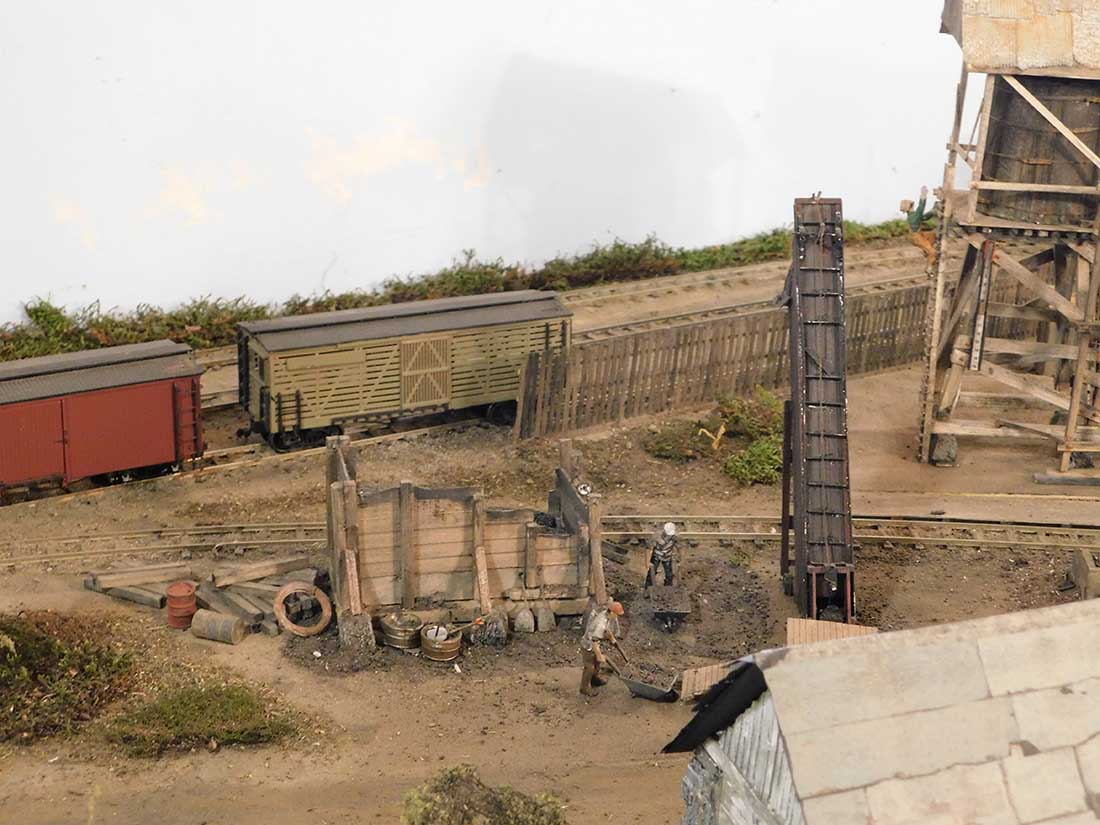
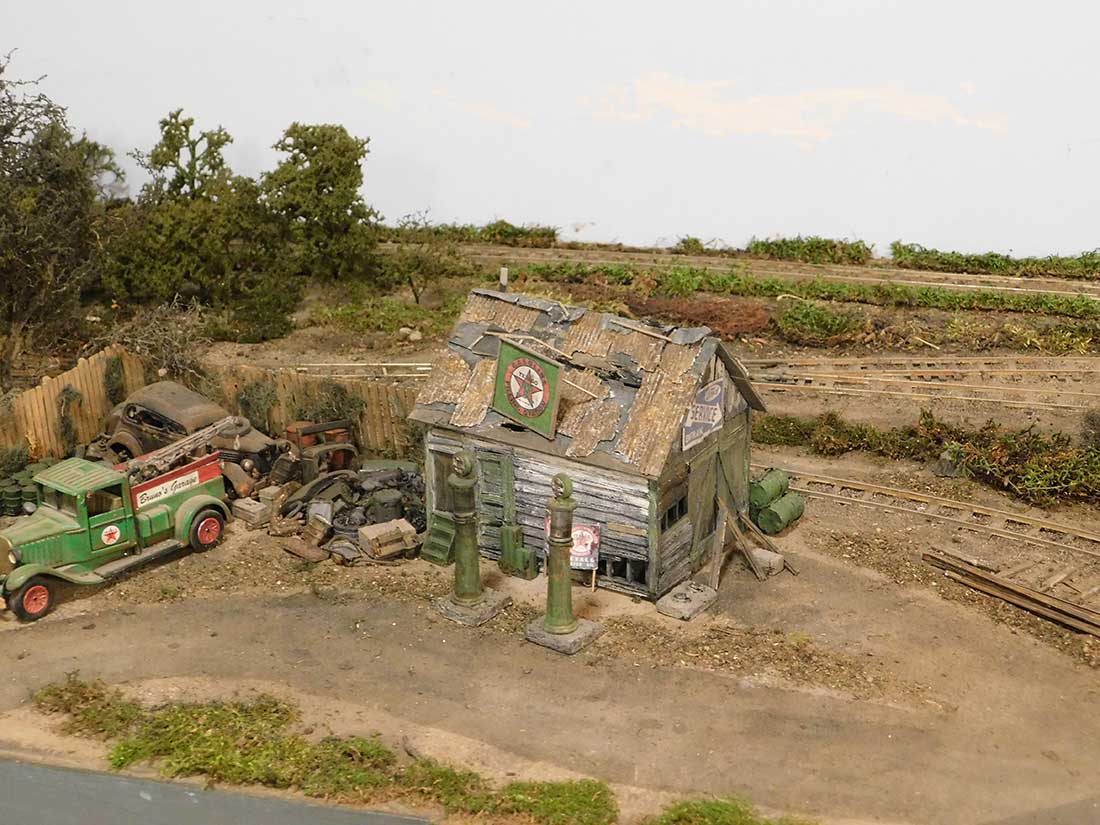
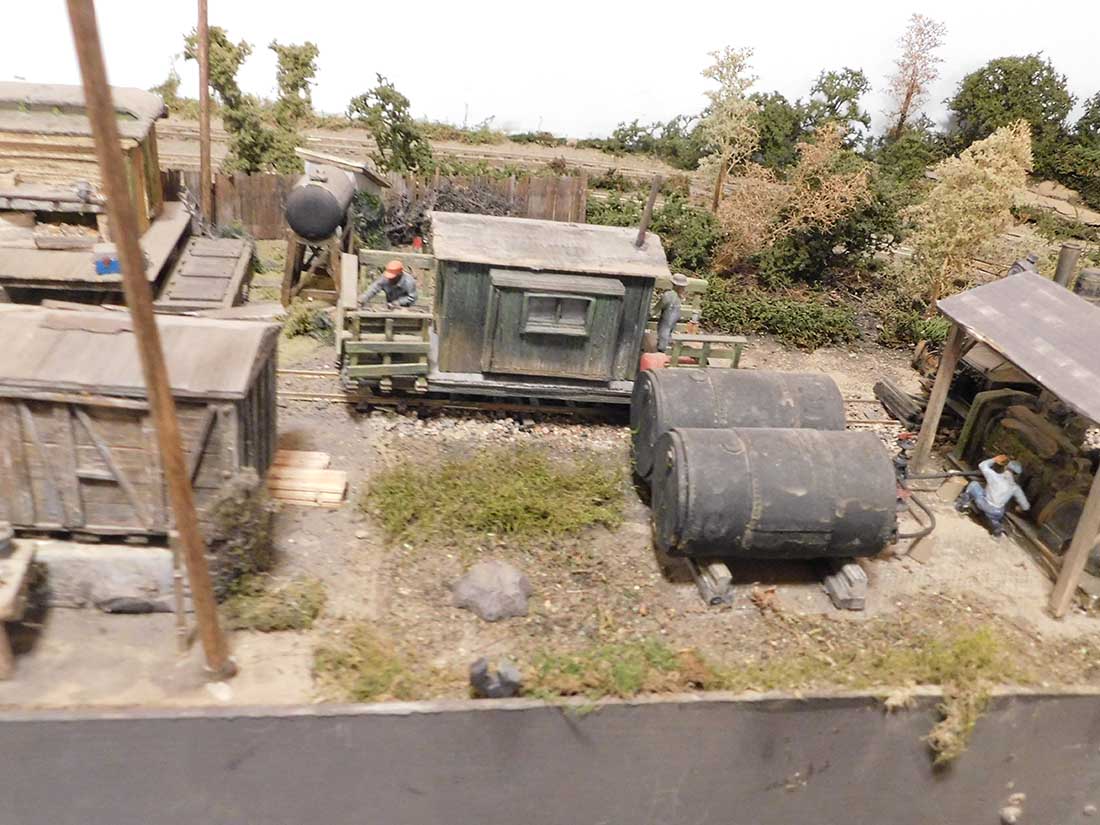
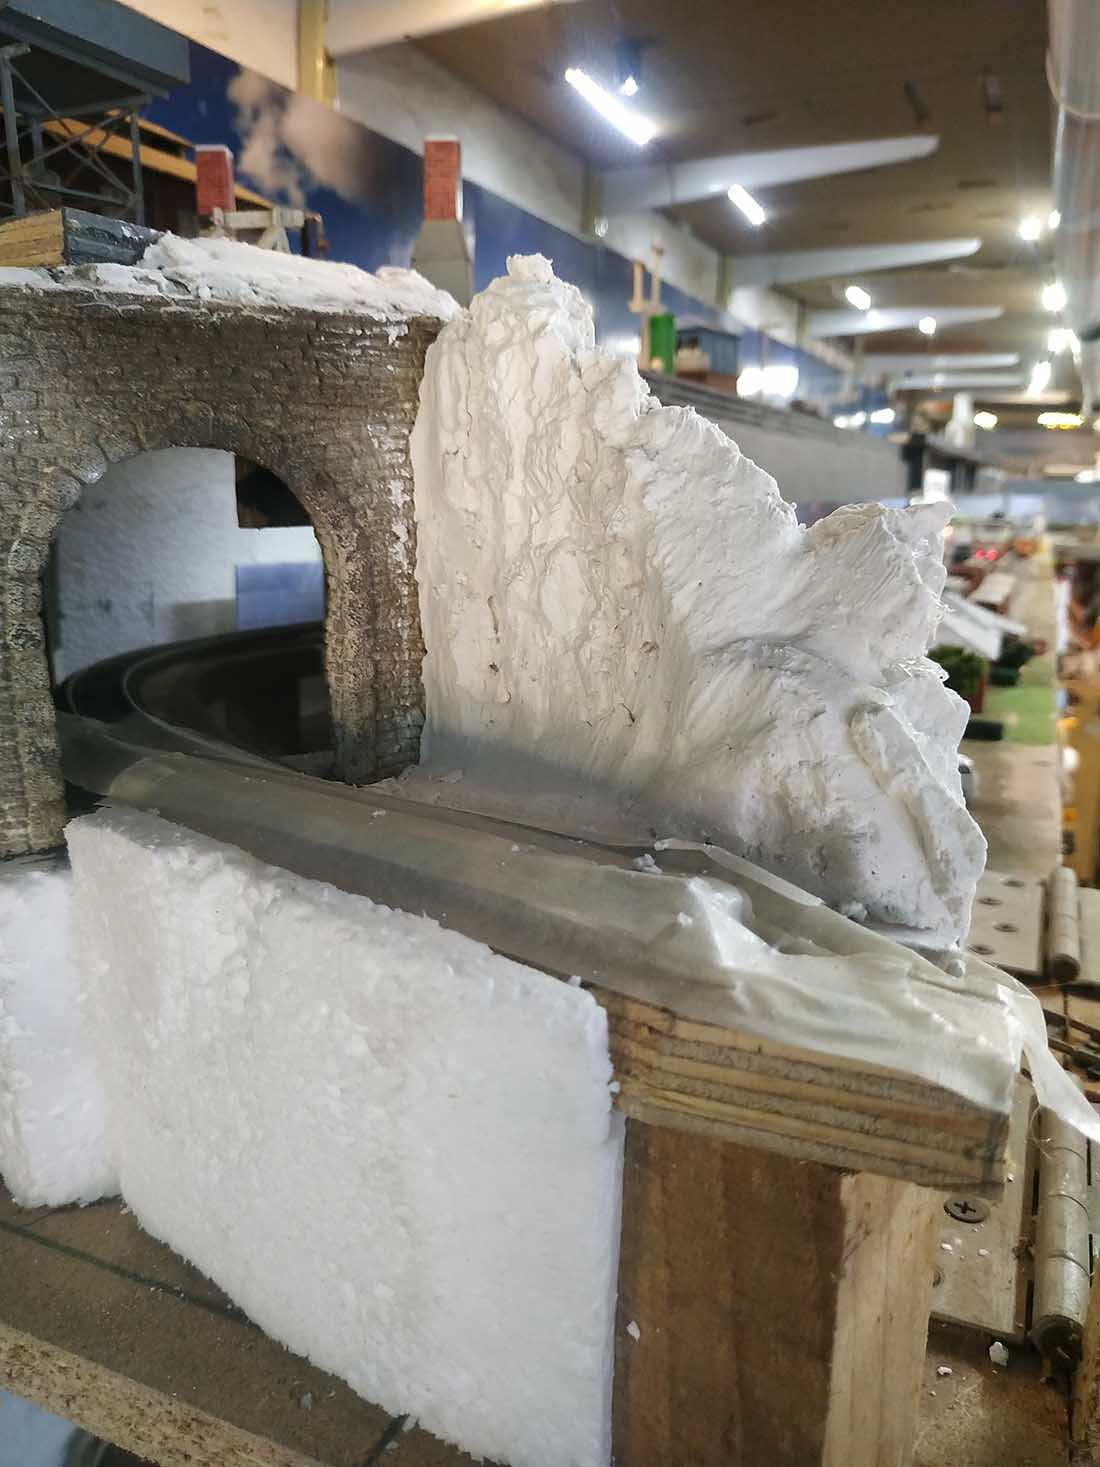
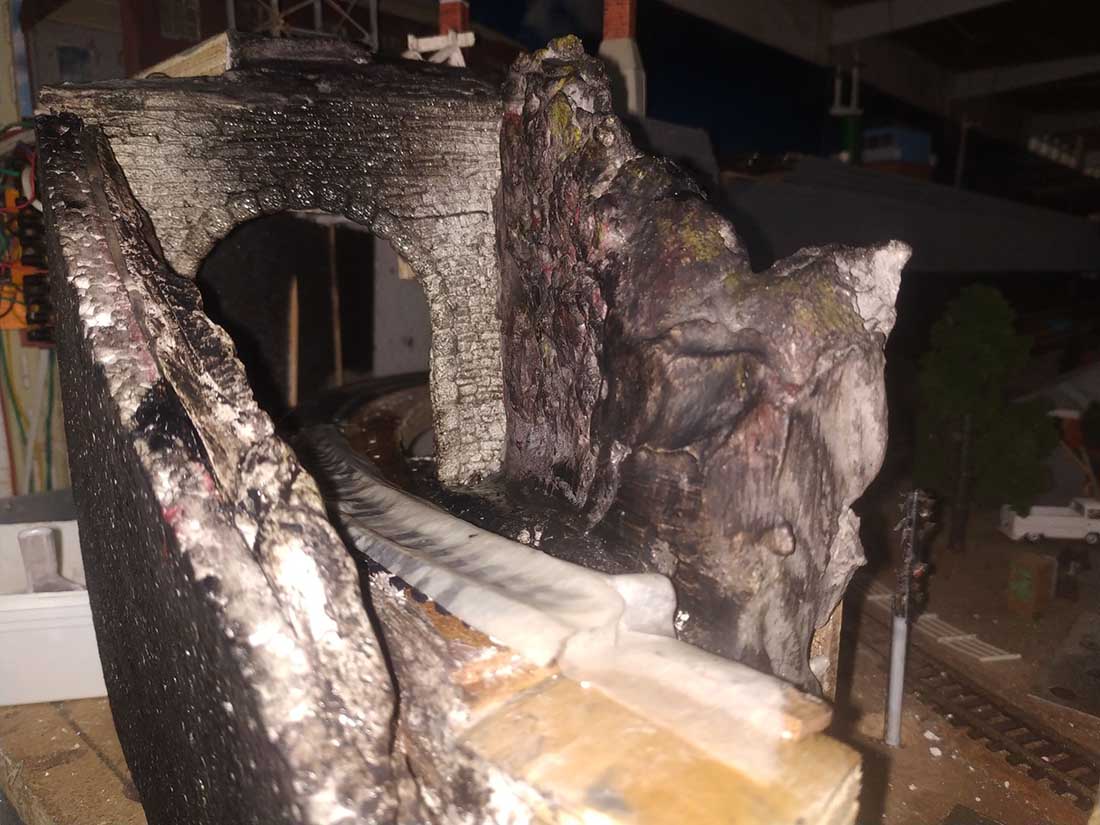
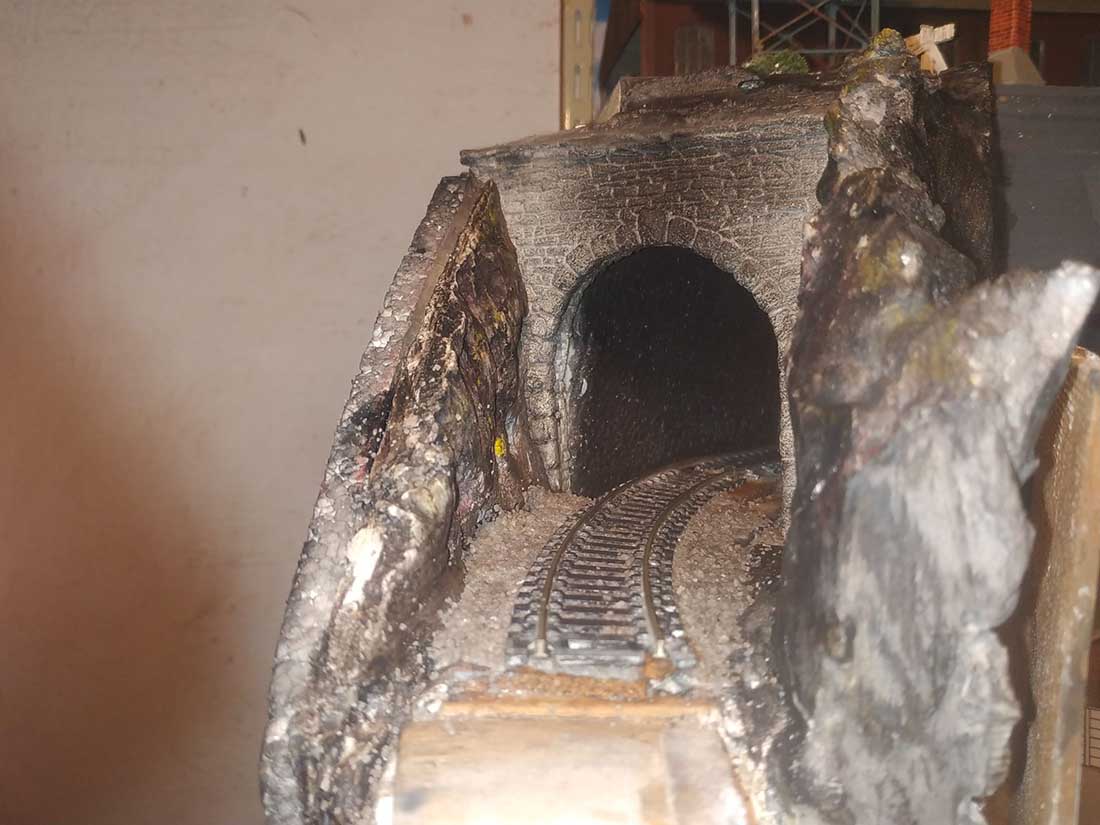
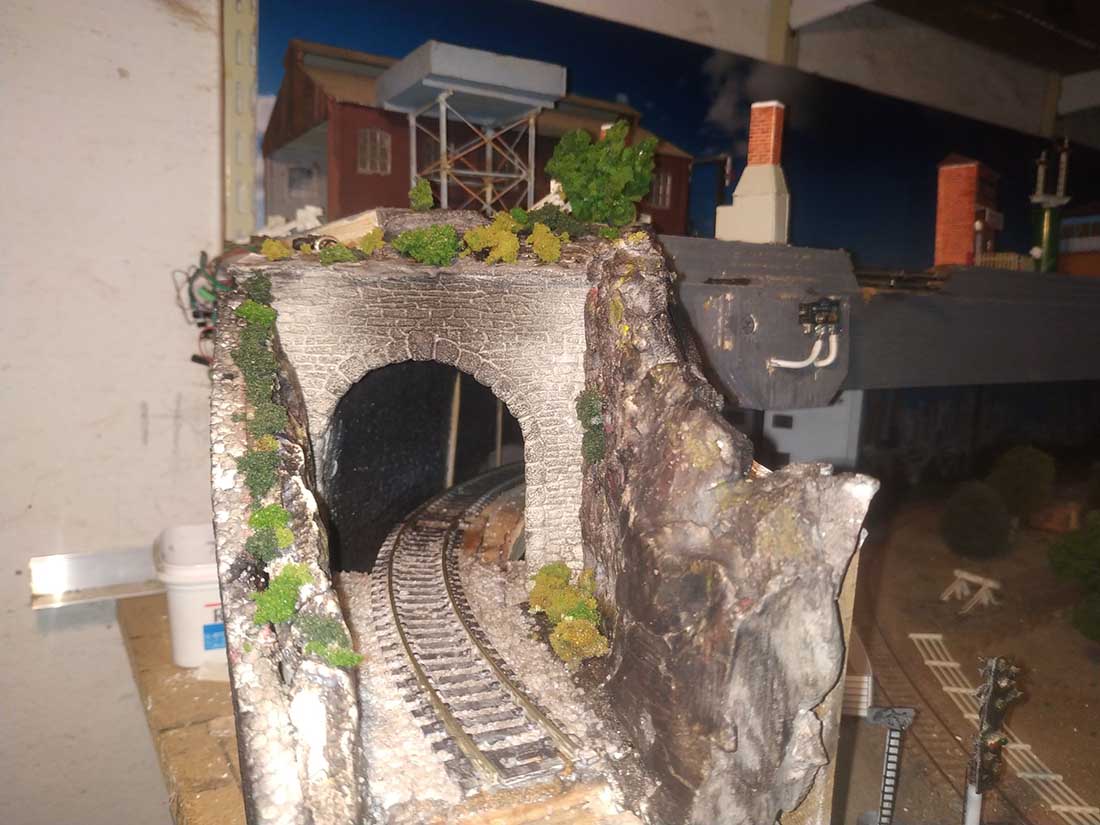
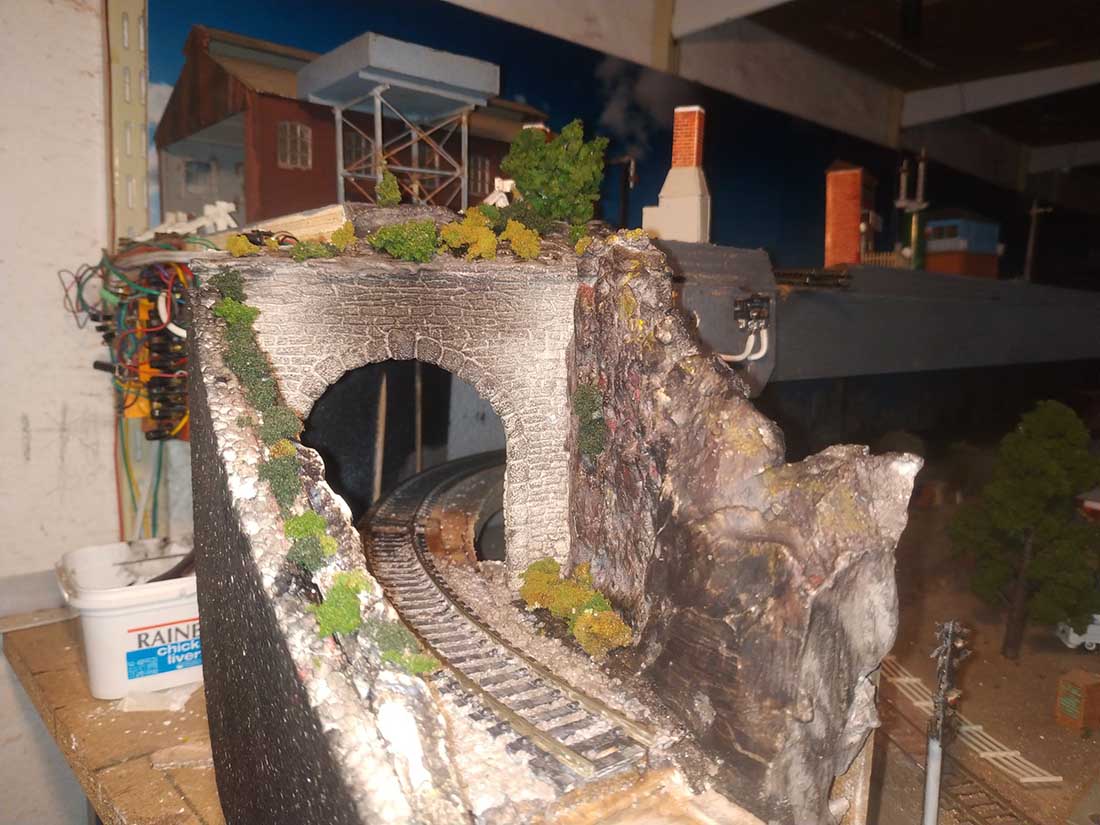
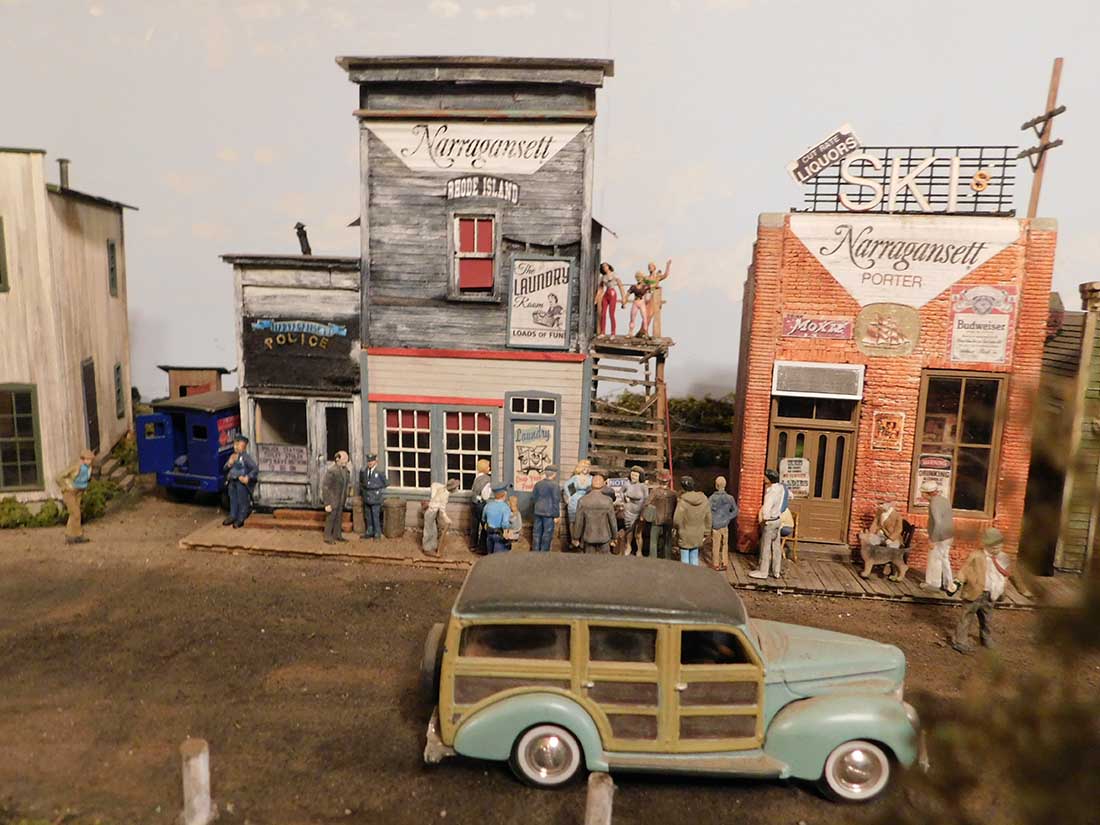
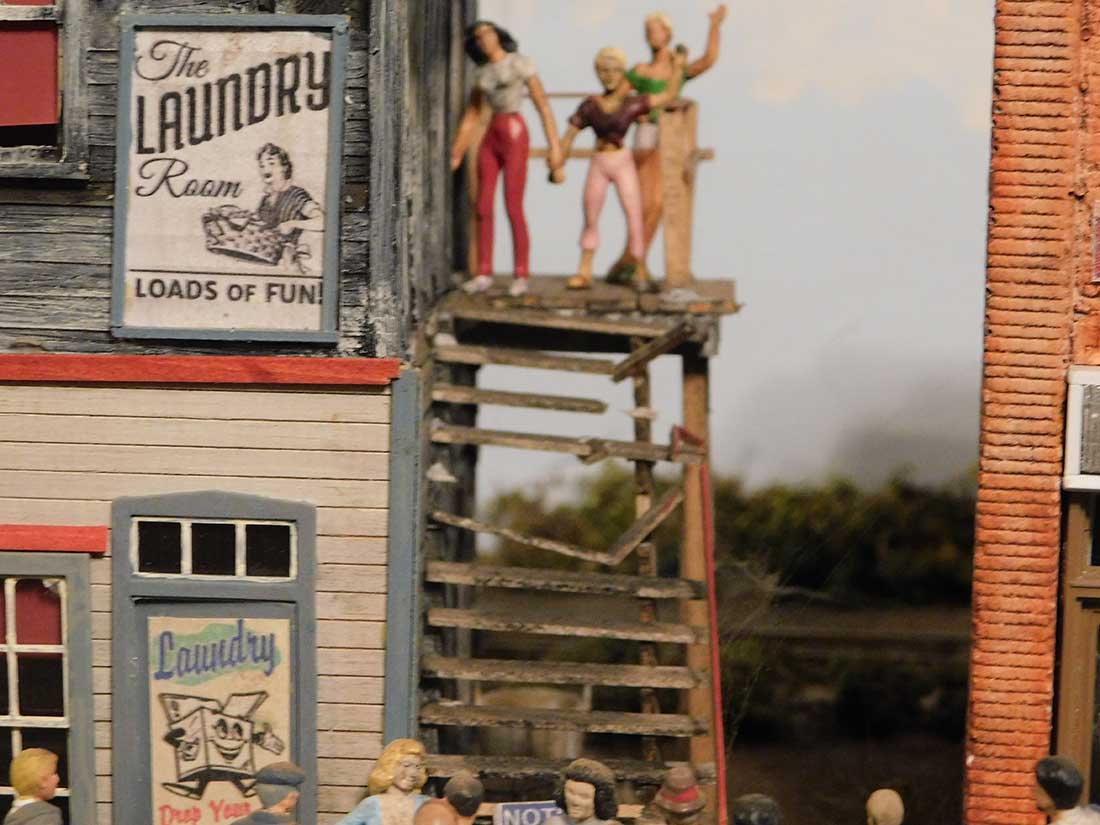
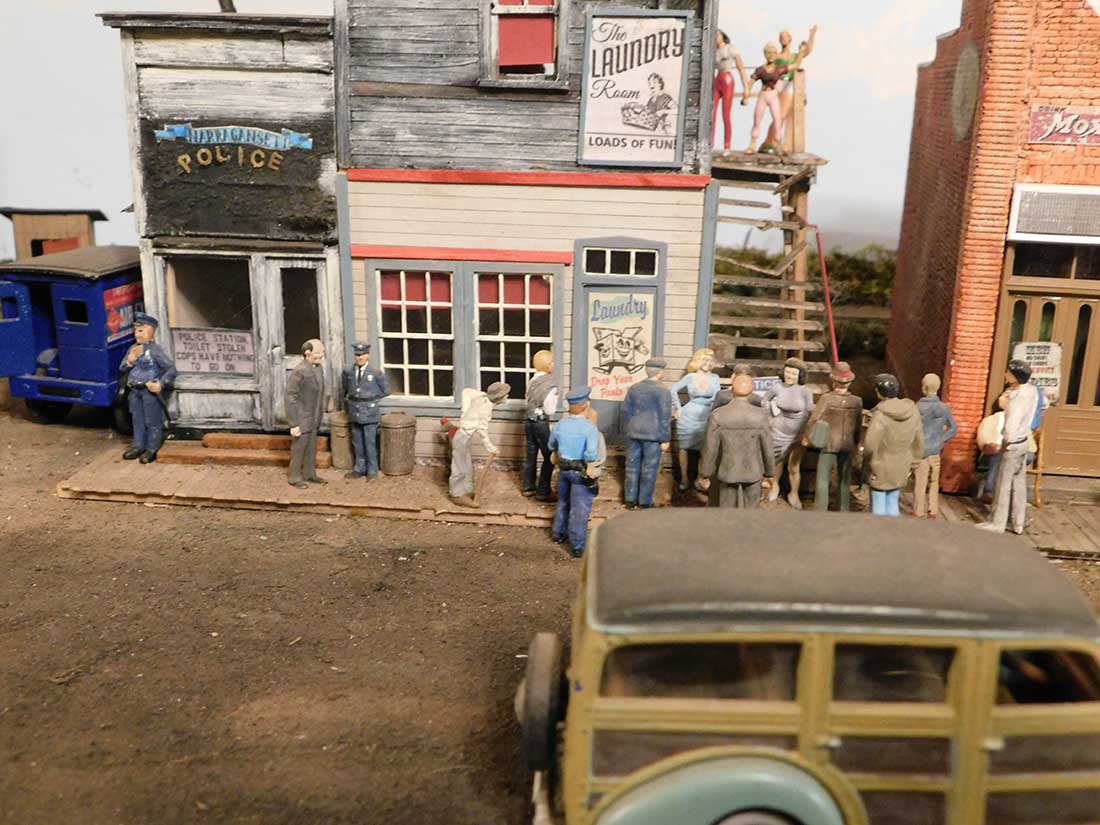
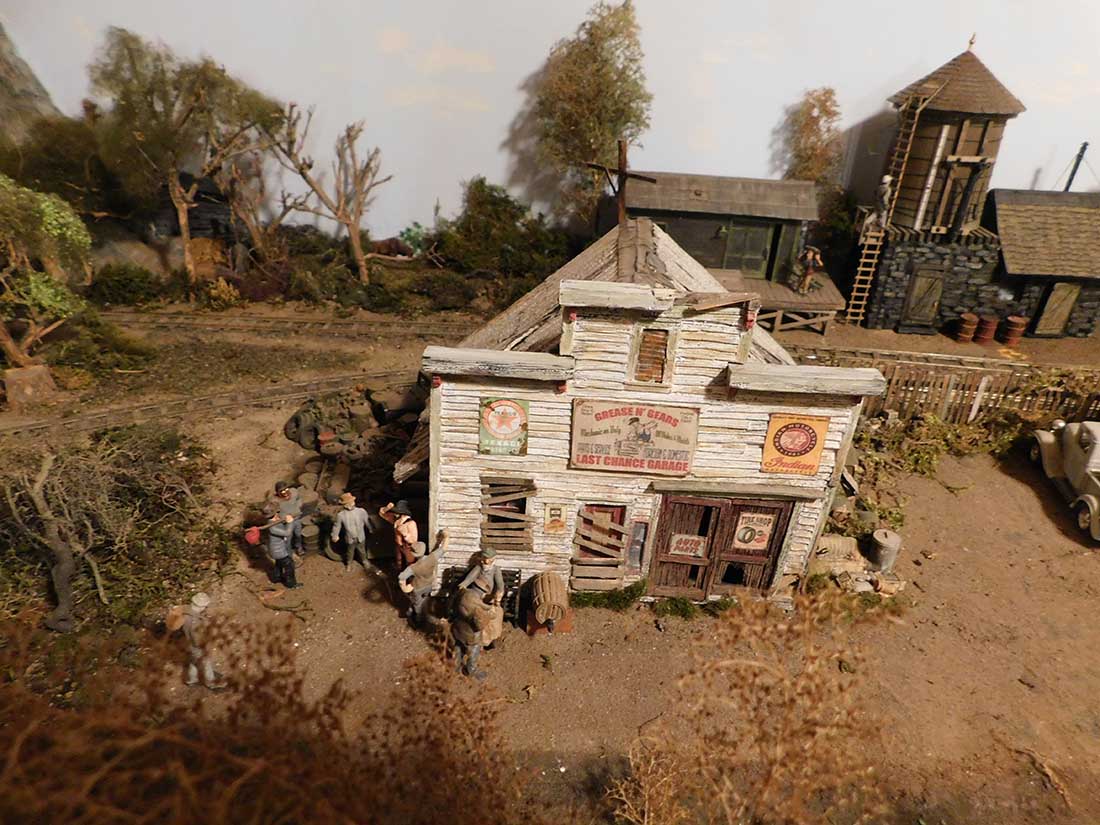
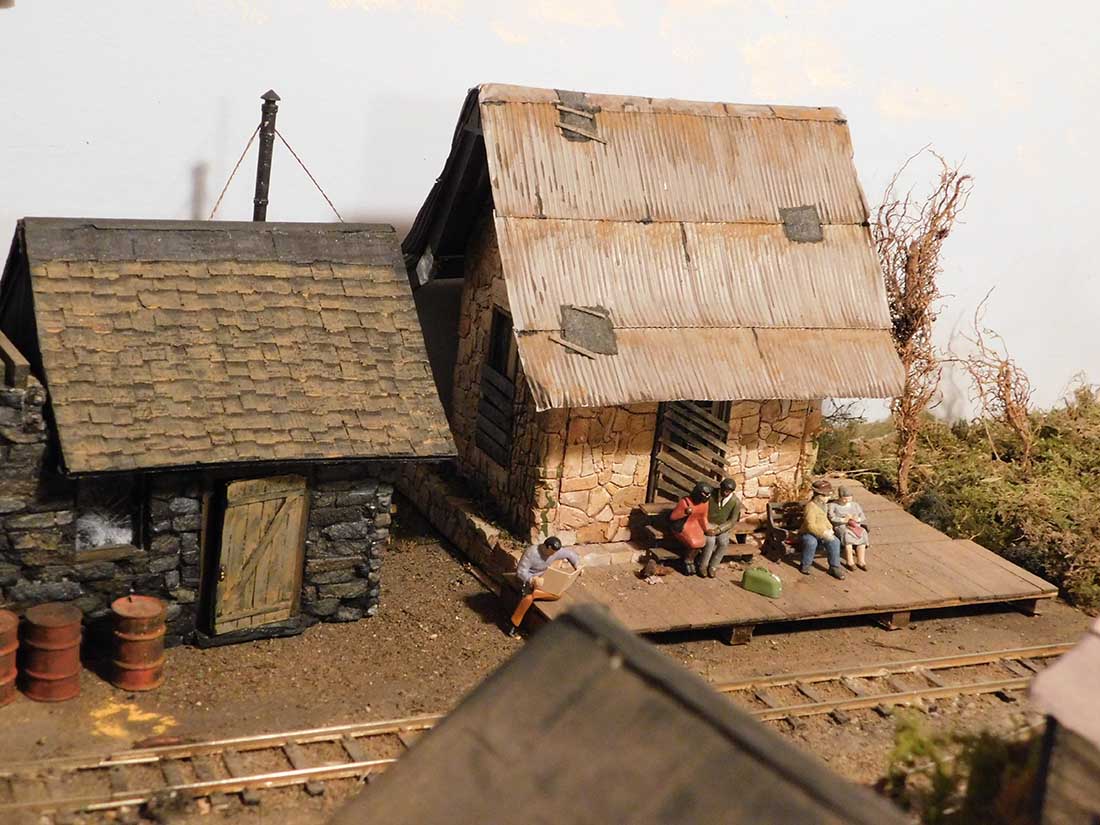
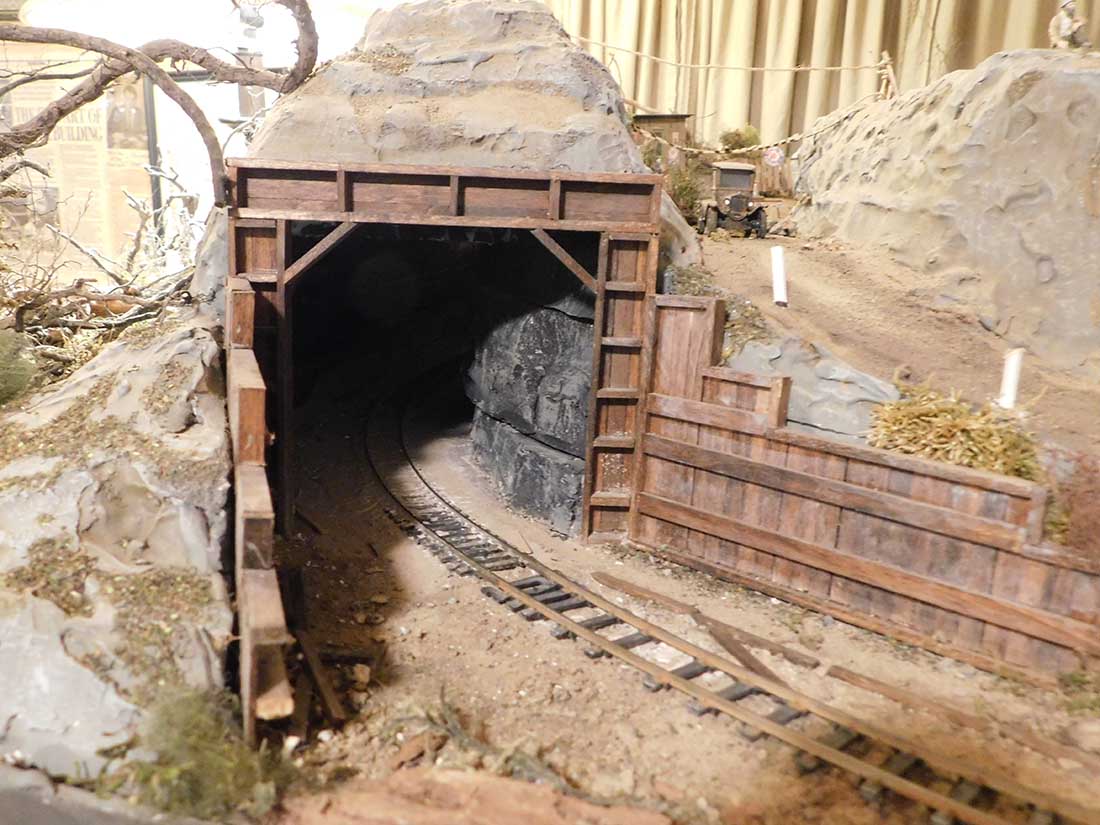
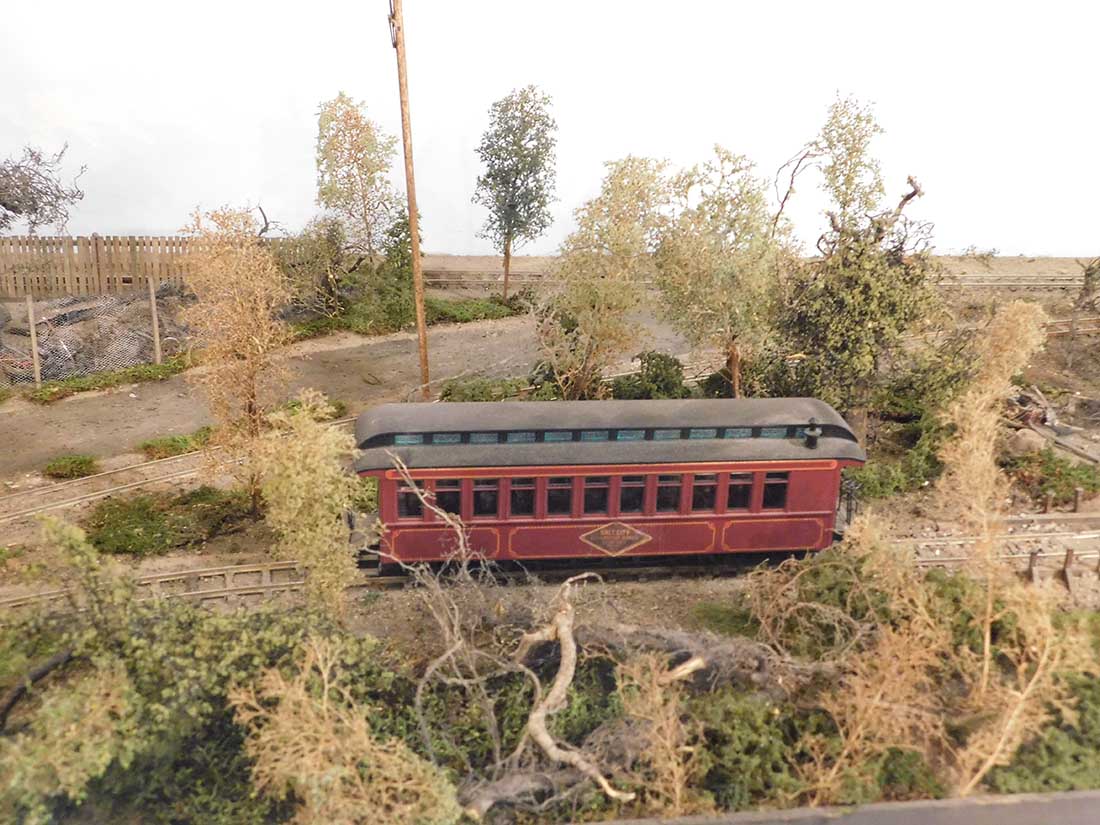
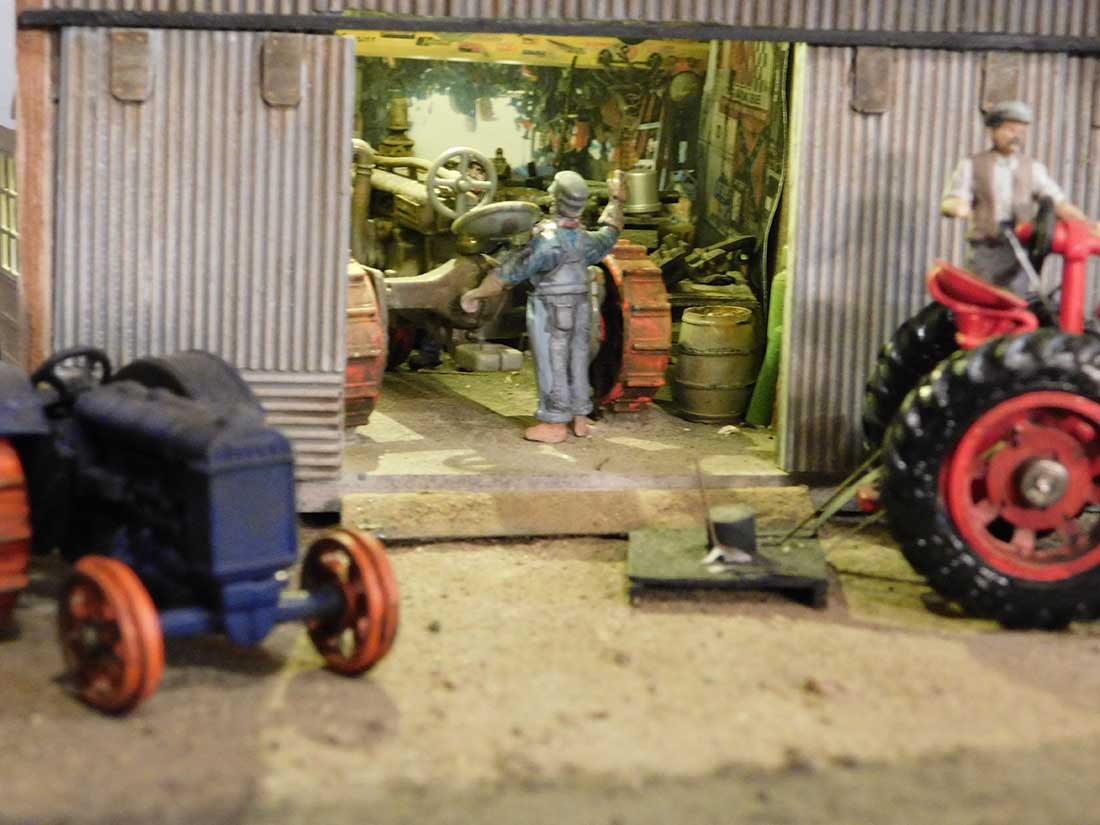
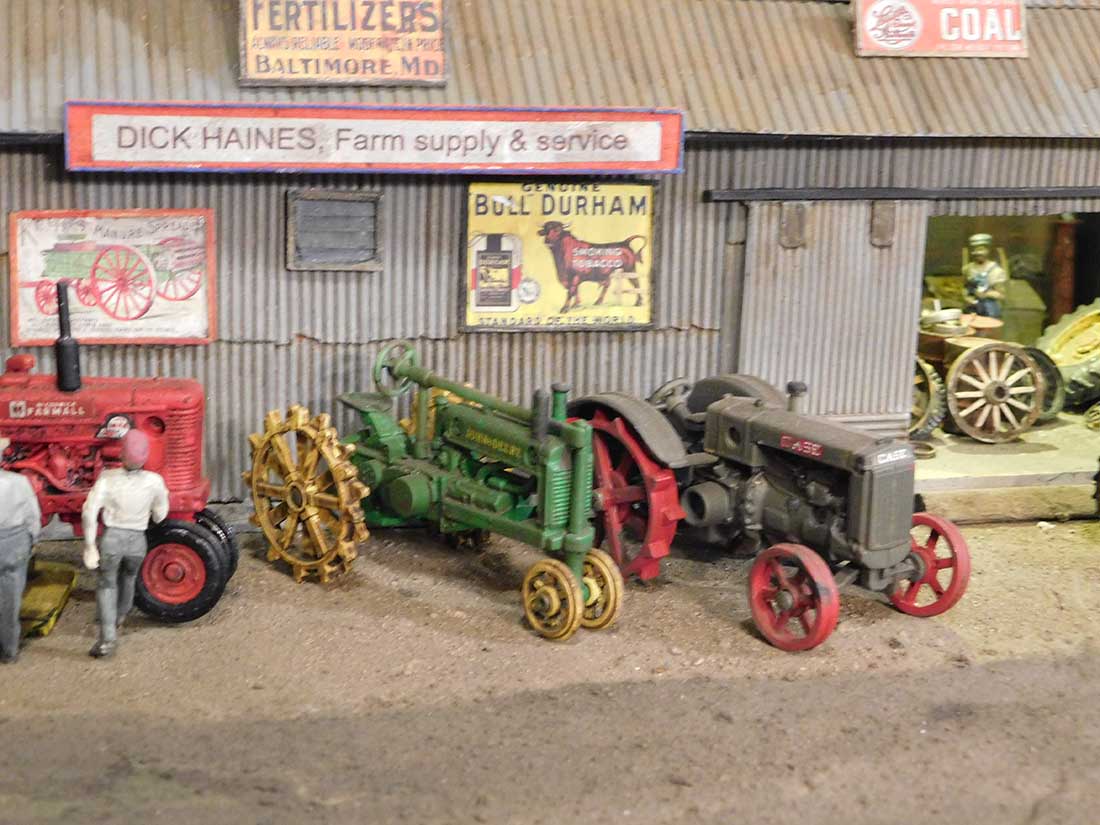
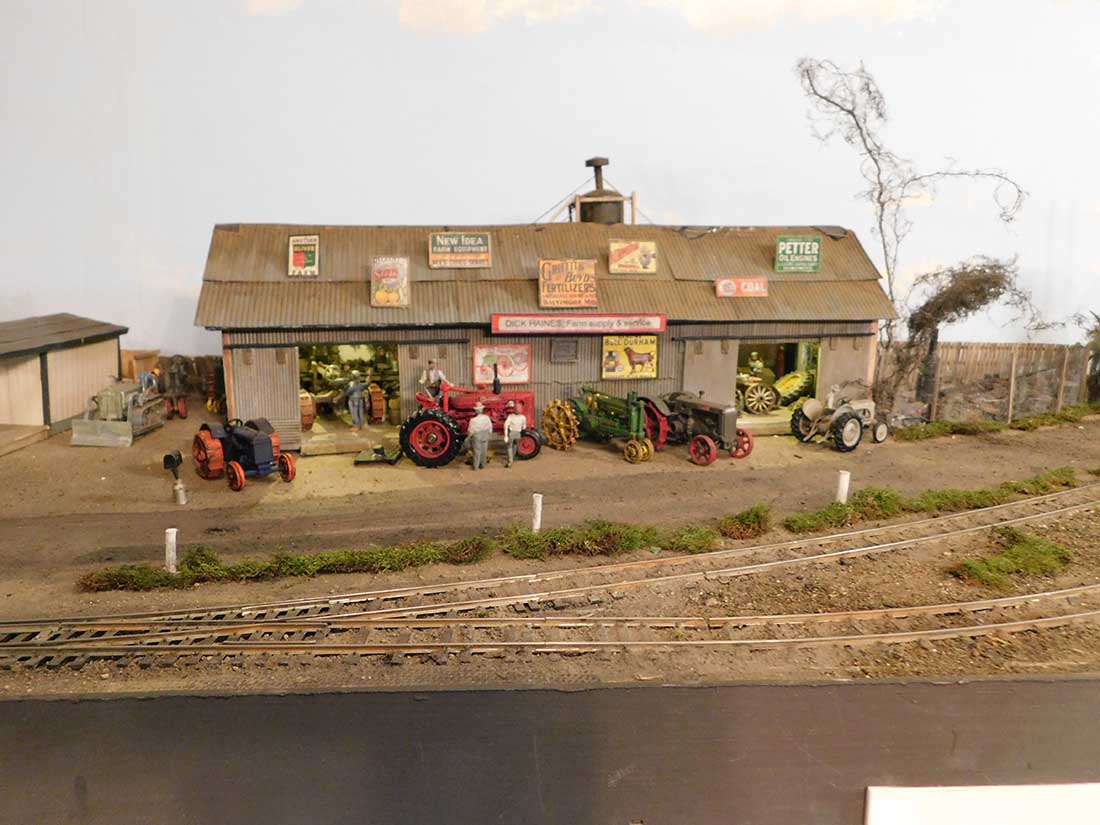
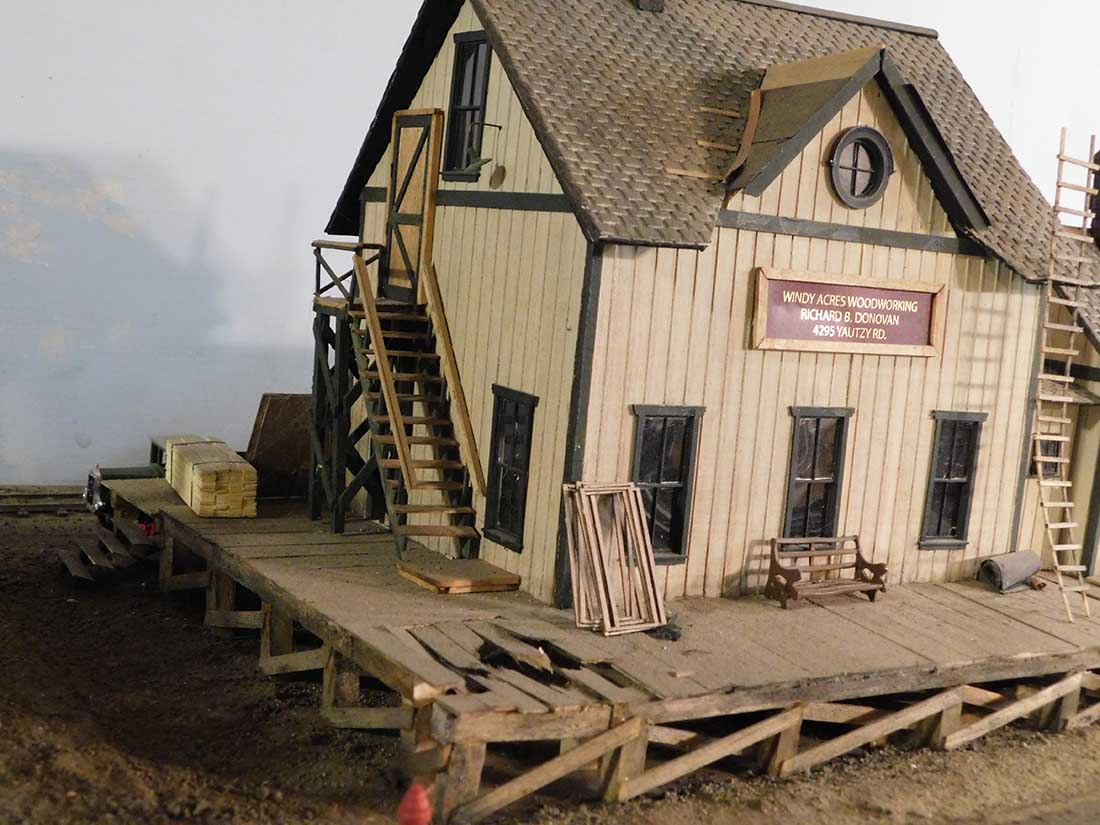
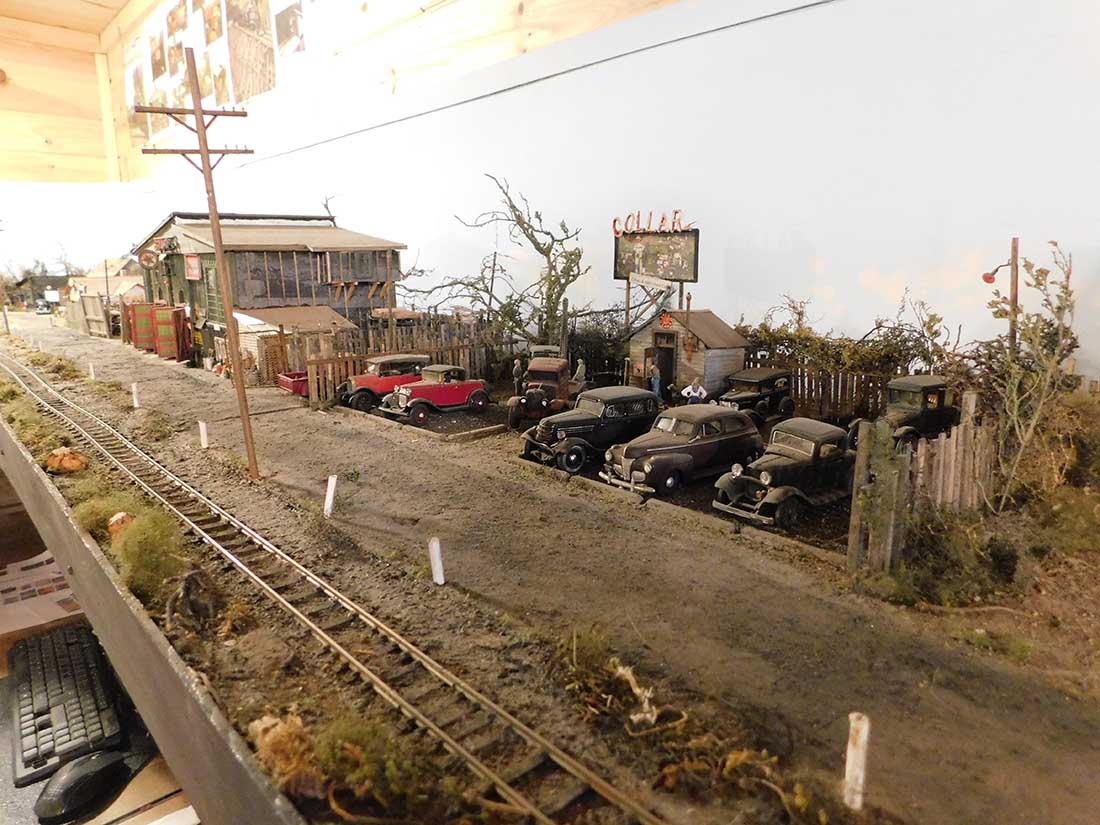
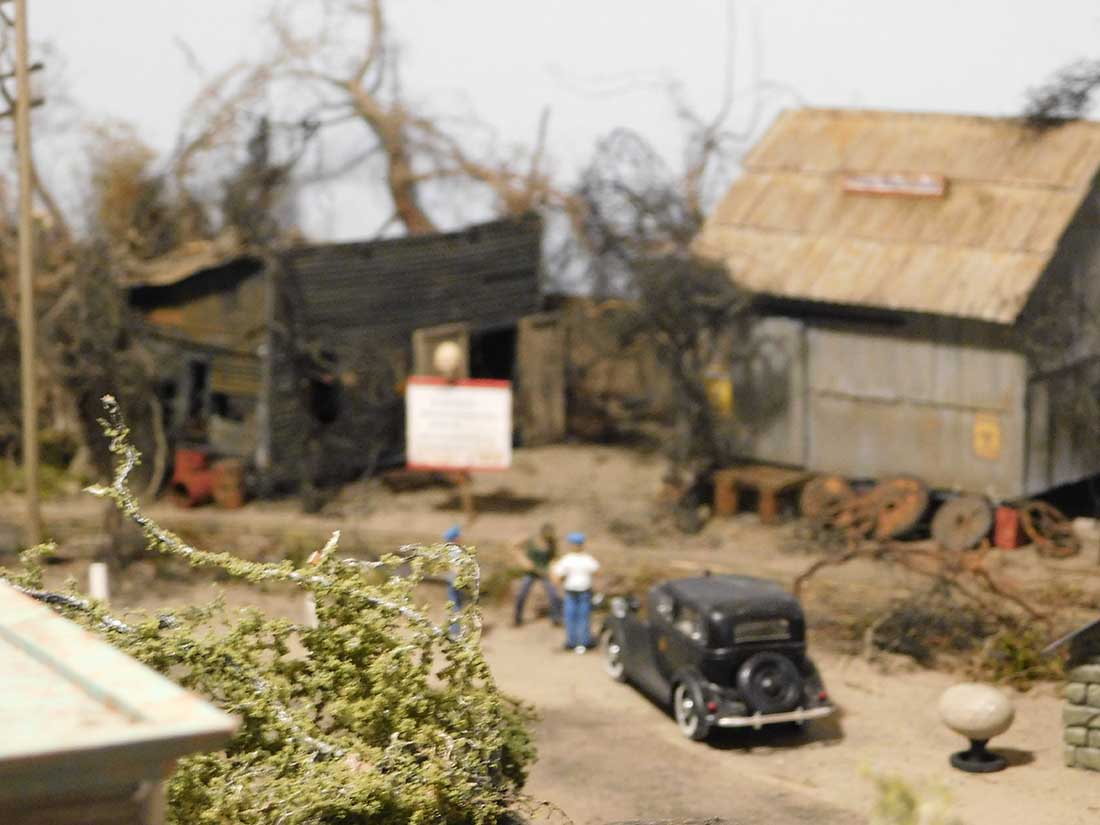
You’ll see from these pics just how talented Tom is when it comes to scenery – love his stuff:
Here’s part 1 if you want to scroll back to leave a comment: On30 model trains.

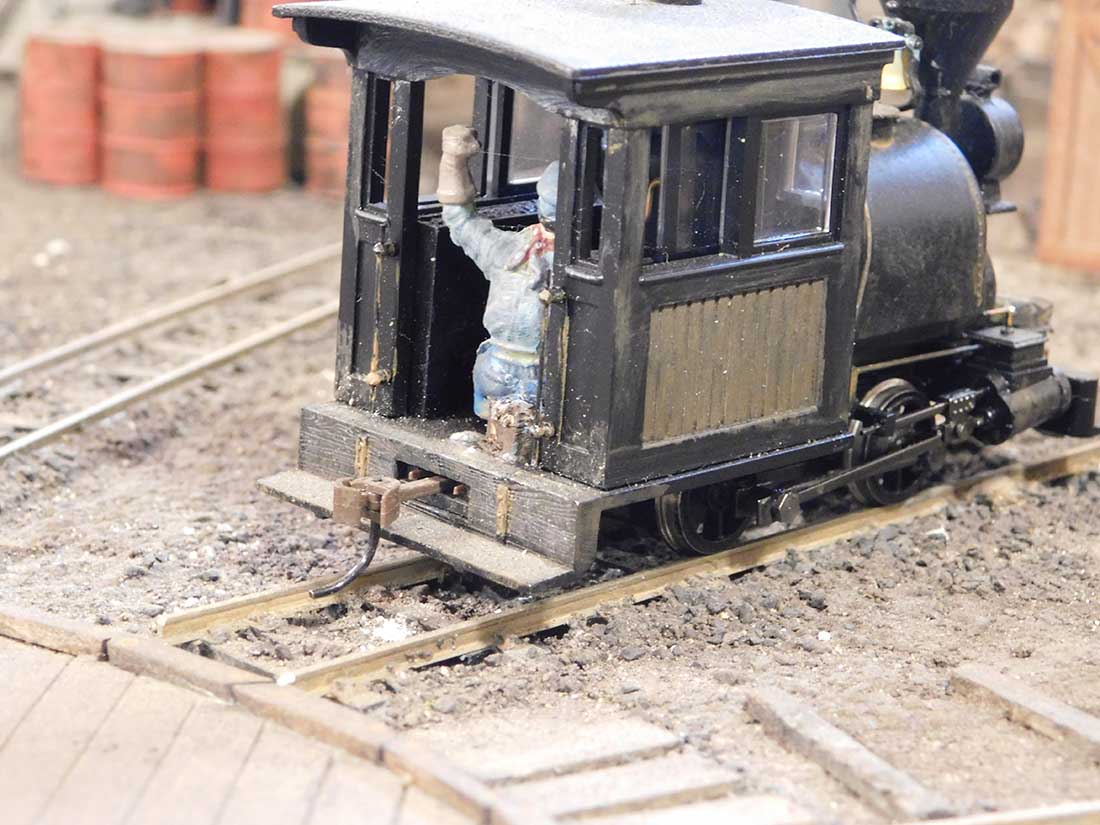
Stunning pics of his On30 locomotives, right?
Tom’s was kind enough to send all these in 3 submissions.
So here they all are.
Here’s part 1 of this post: On30 model trains.
And the previous post to that: Stunning On30 layout.
Please do let leave a comment on this page or the previous page.
And I know Tom would appreciate all your comments.
Over the years he has very kindly shared a lot of the layouts he has made, and I’ve really enjoyed each one.
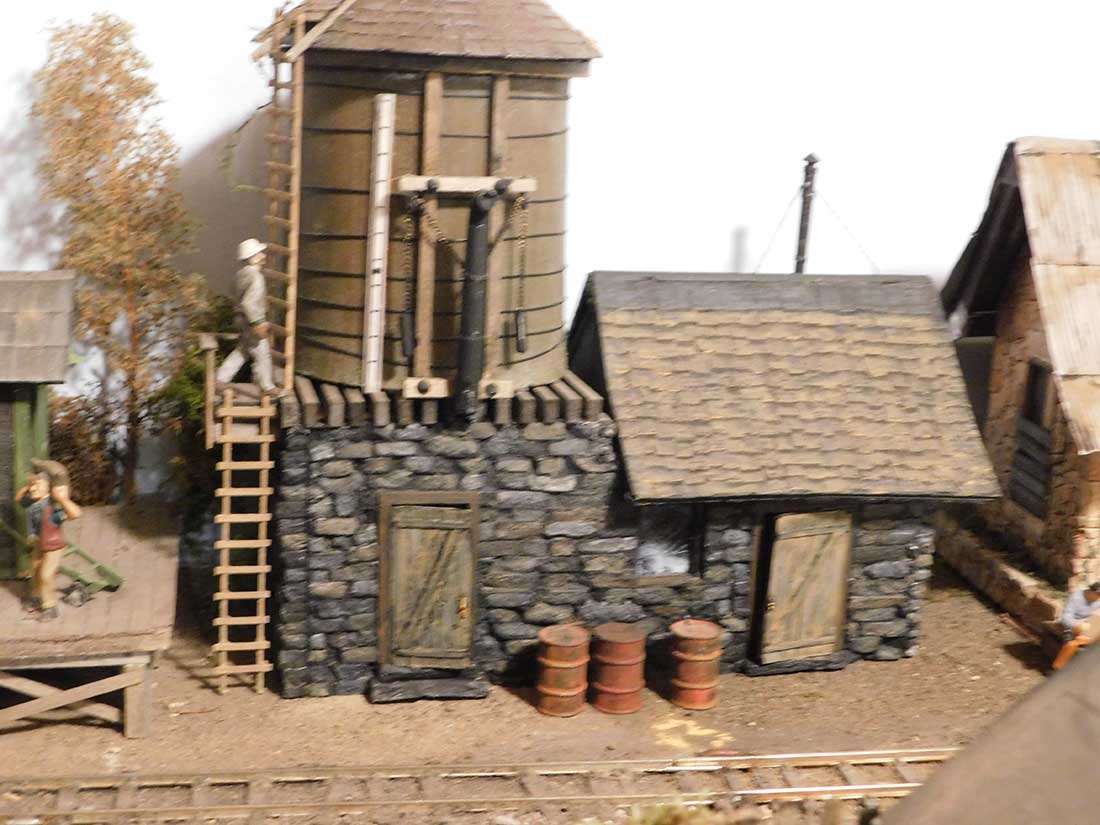
He has some wonderful tips too – ones that you really wouldn’t think of, yet they are also simple (they are always the best ones).
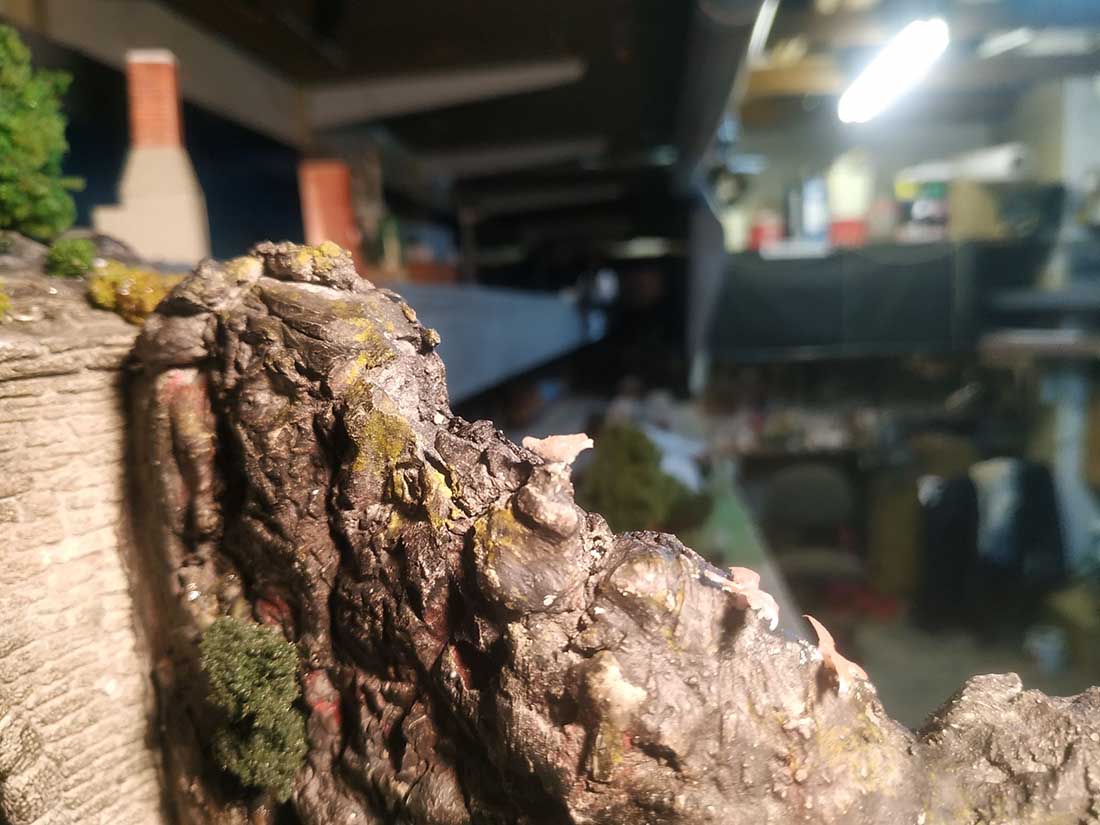
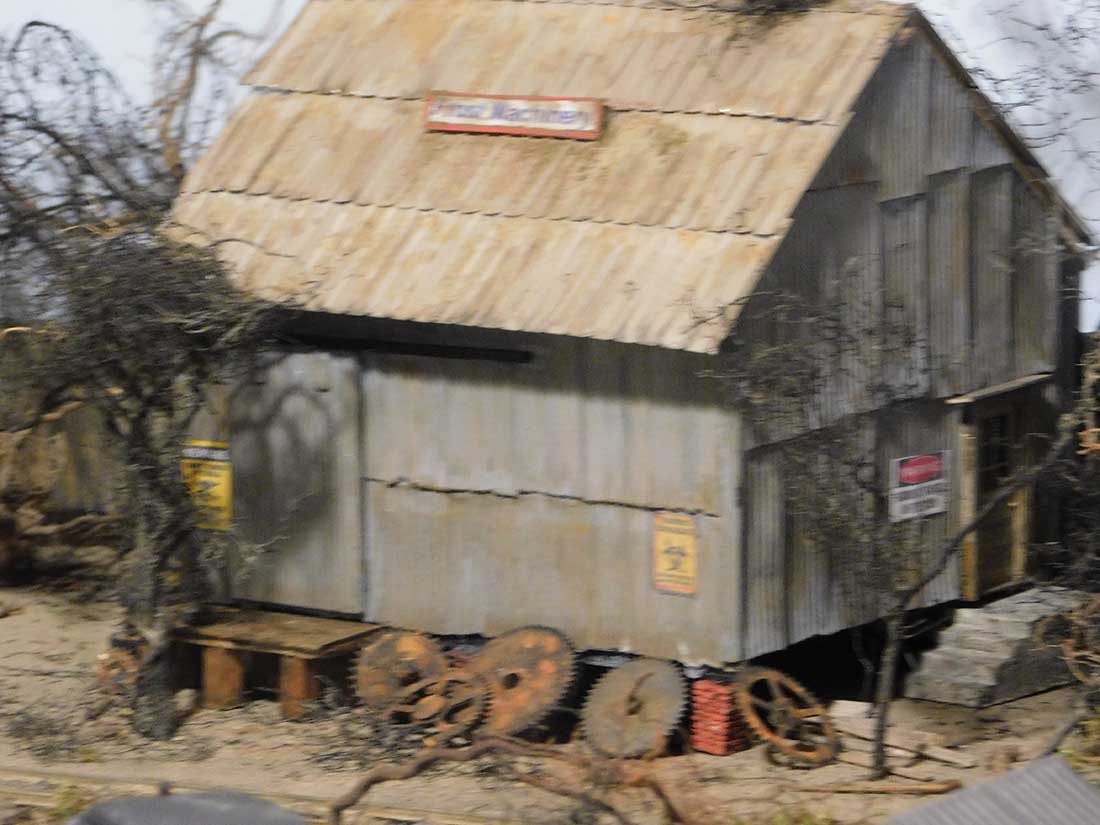
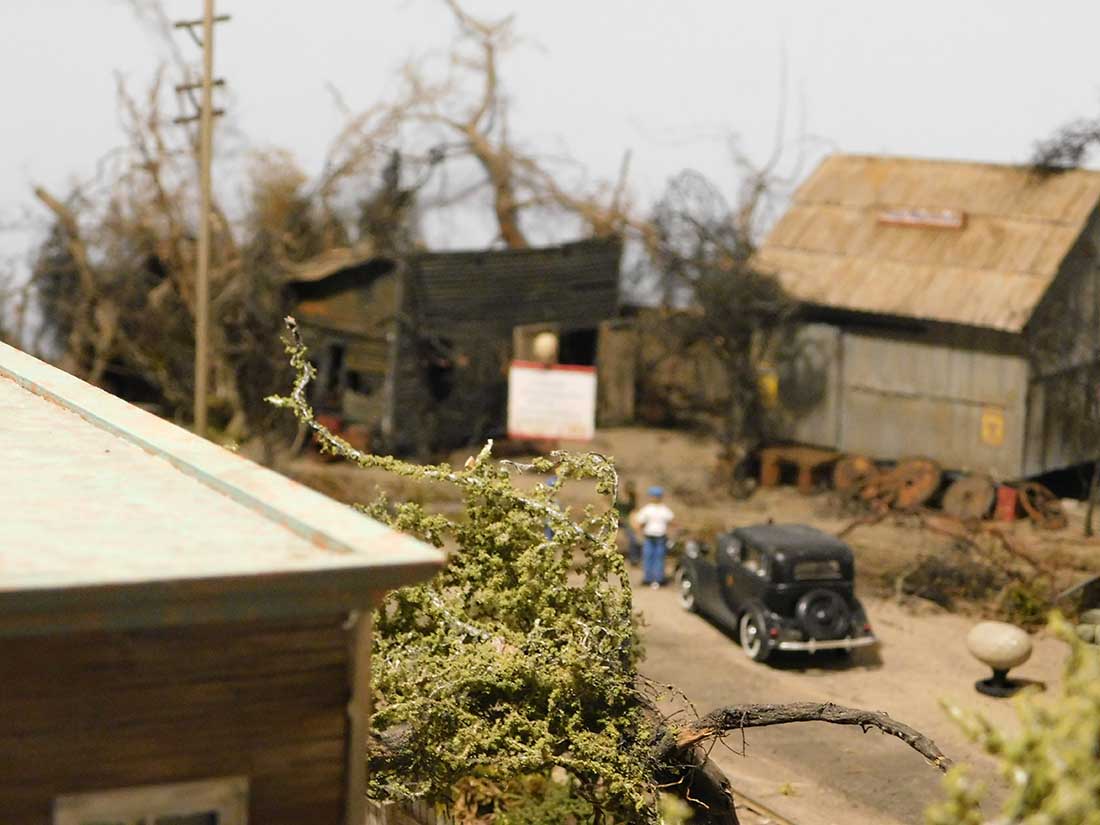
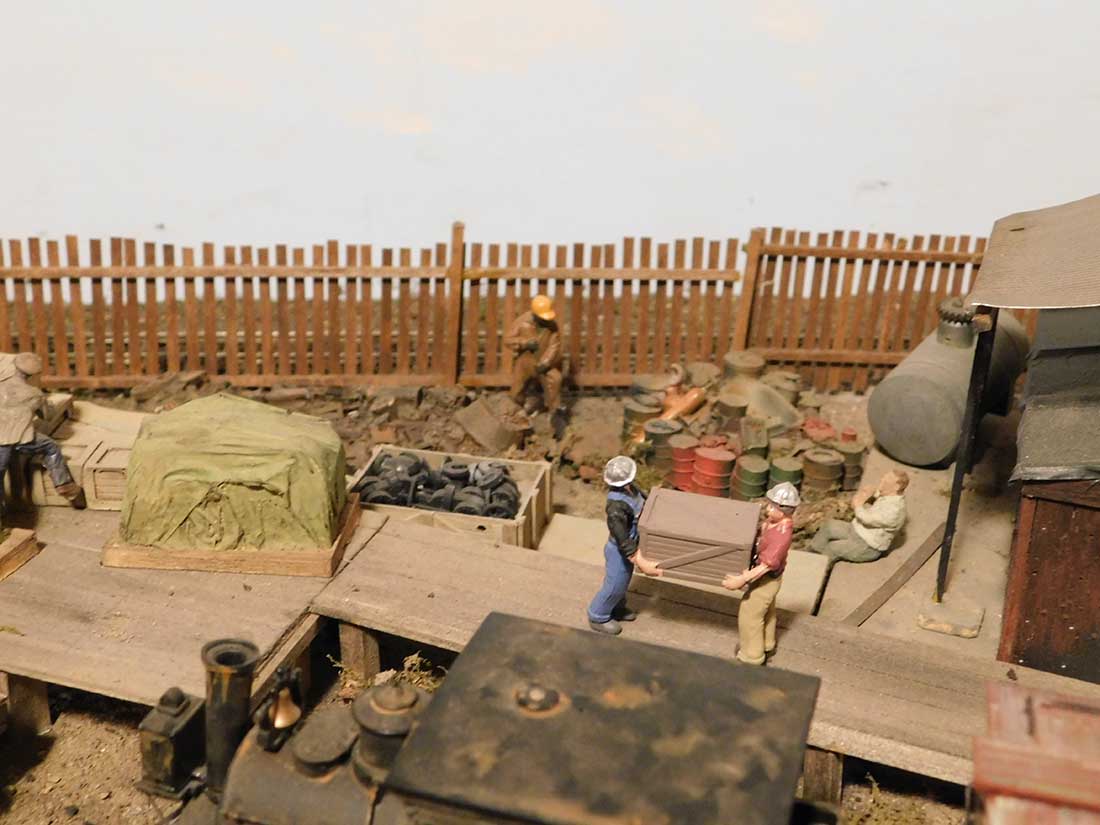
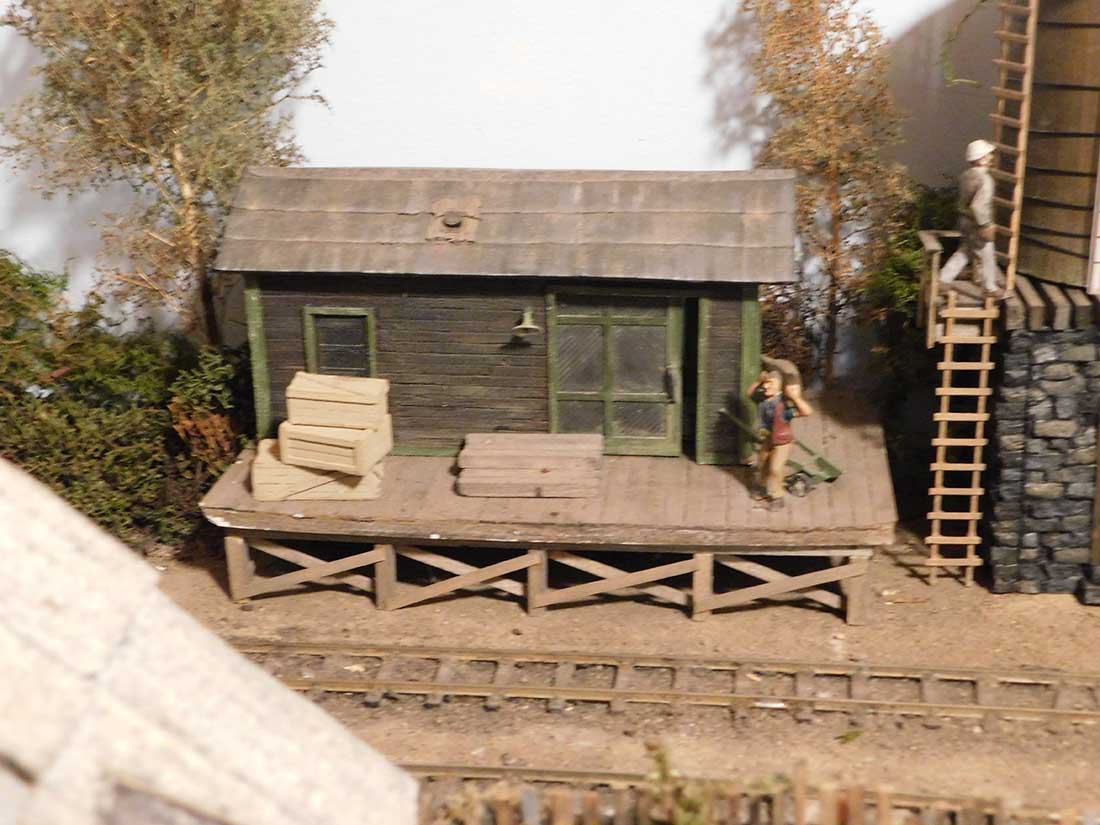
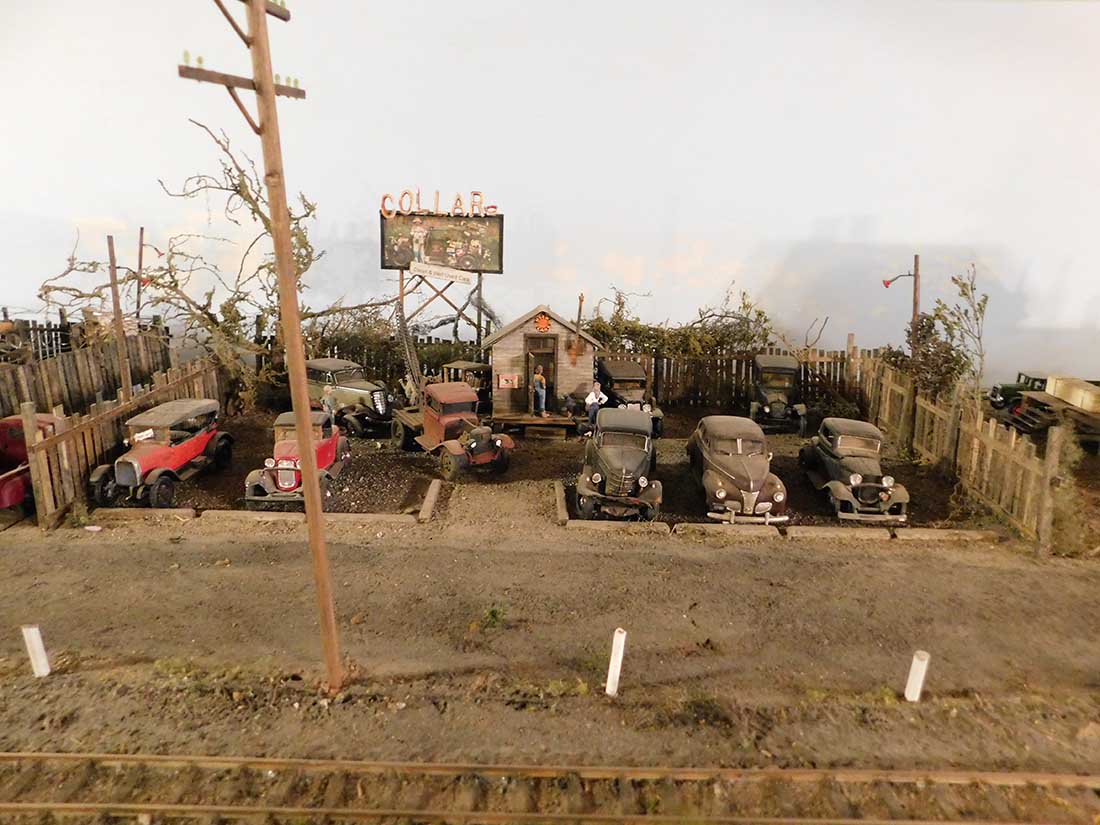
For trees, he uses actual tree roots. They are hard and gnarled and will not rot, and they look so real, because they are actually from a tree…
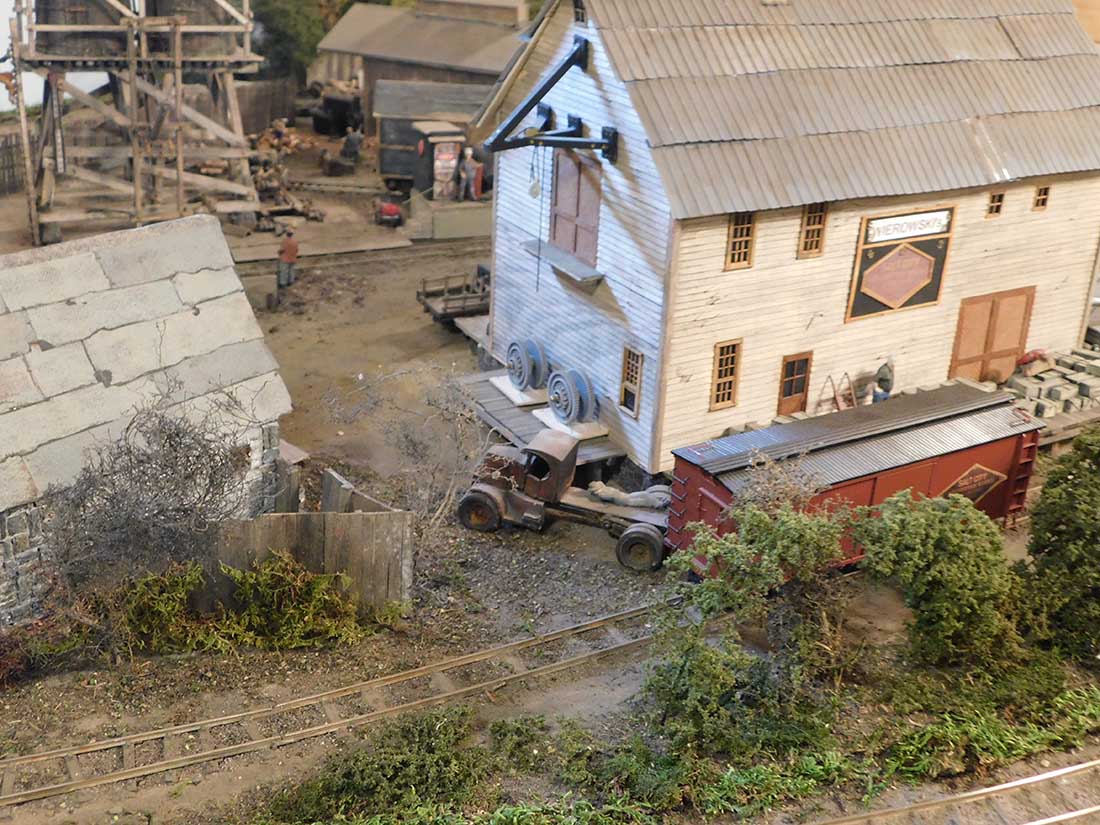
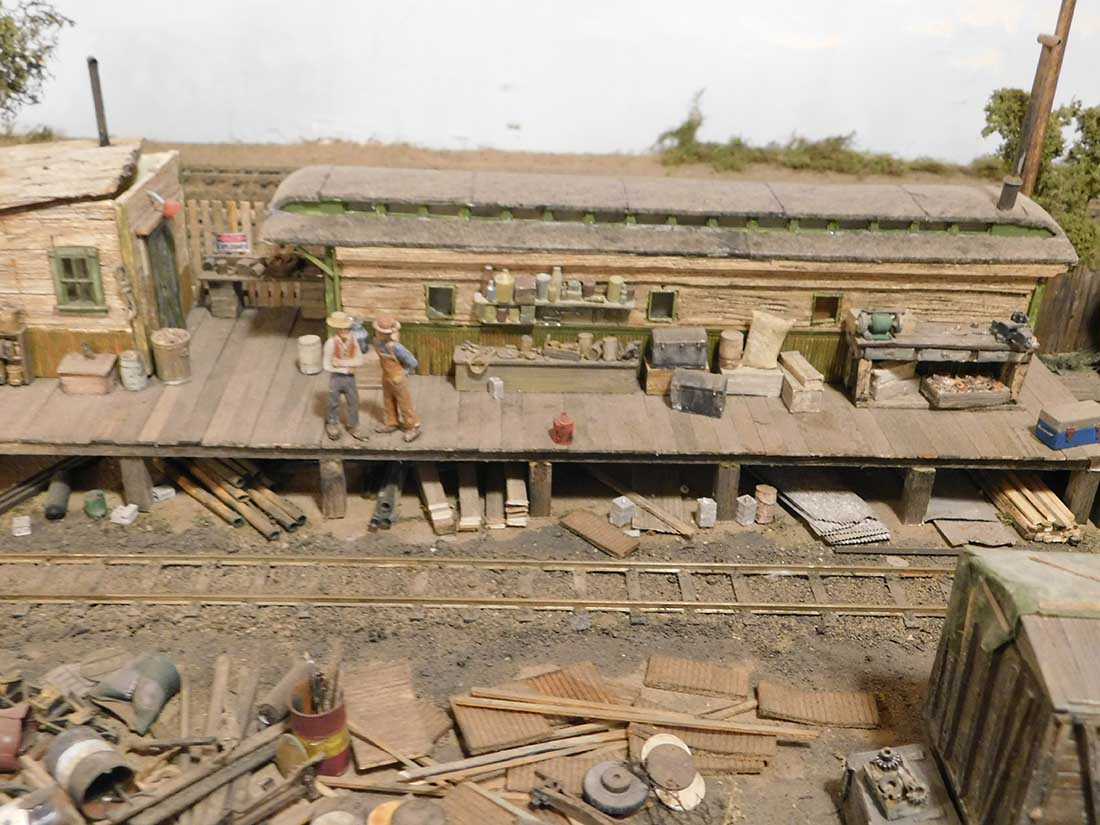
Tom also collects the sweepings from his road to use as dirt on his layout. Again, it’s looks so real… because that’s exactly what it is.
I know I keep saying it, but it’s always the simple tips that work best.
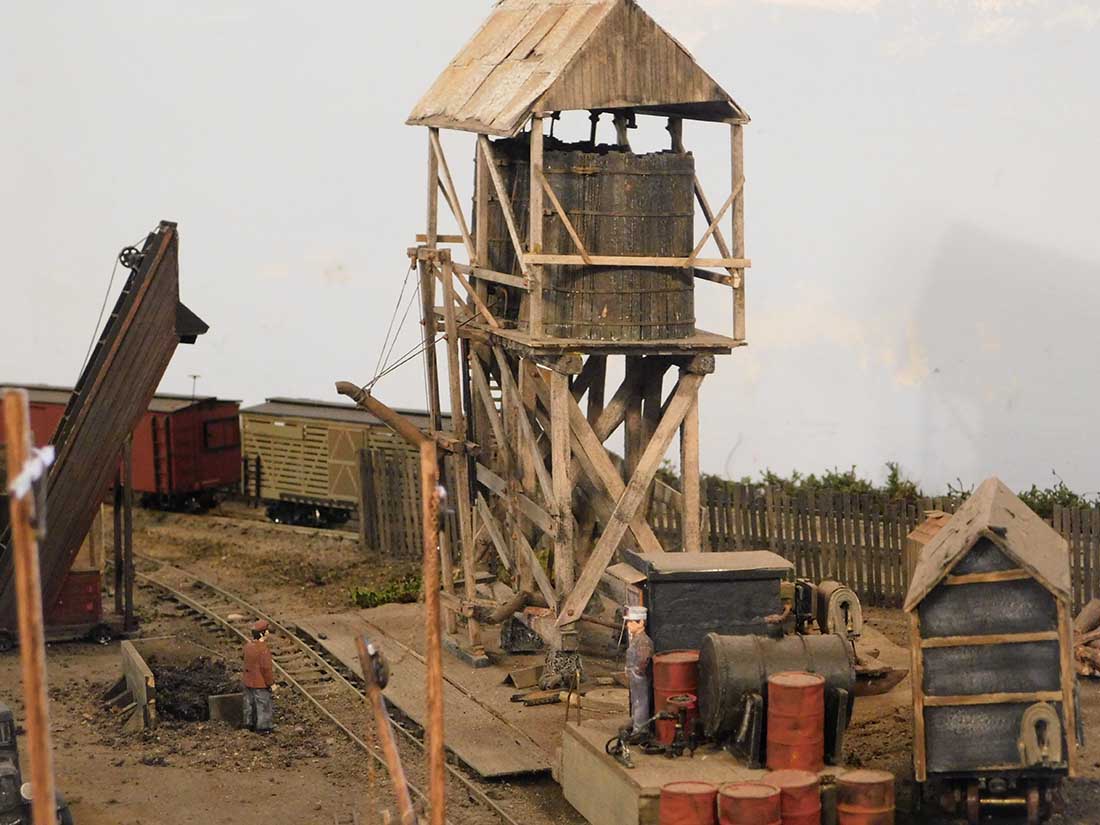
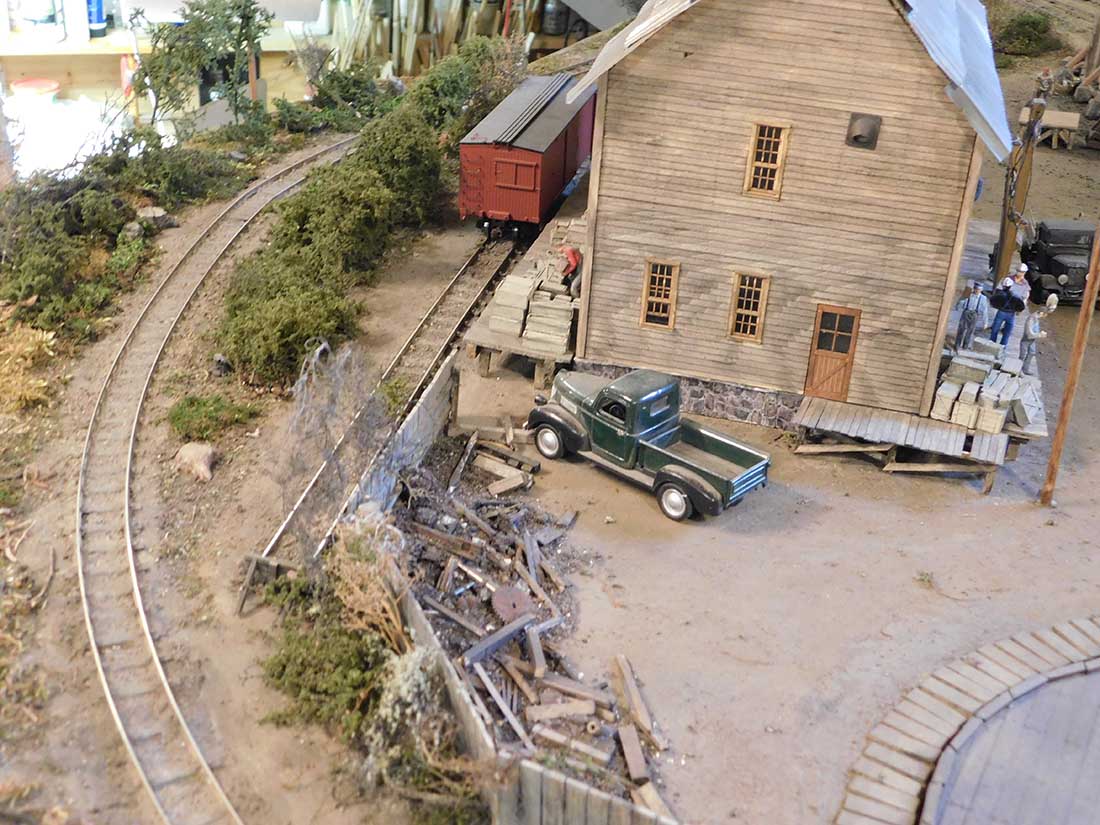
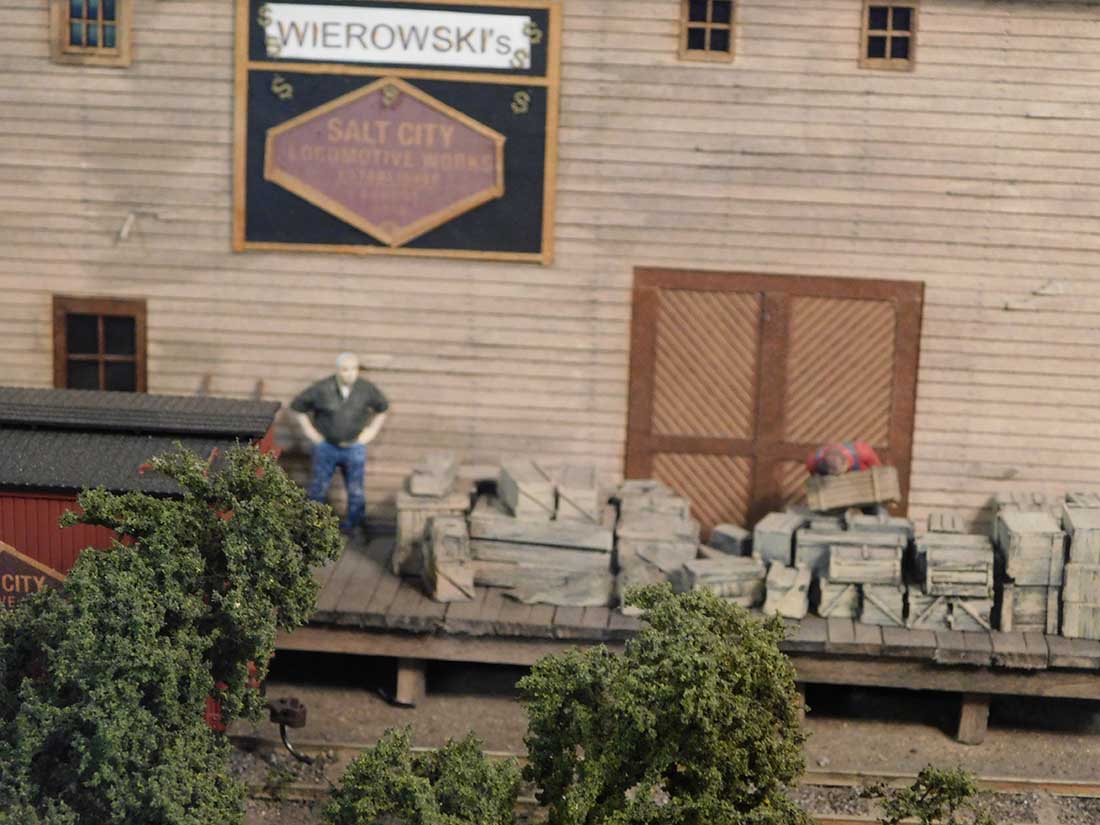
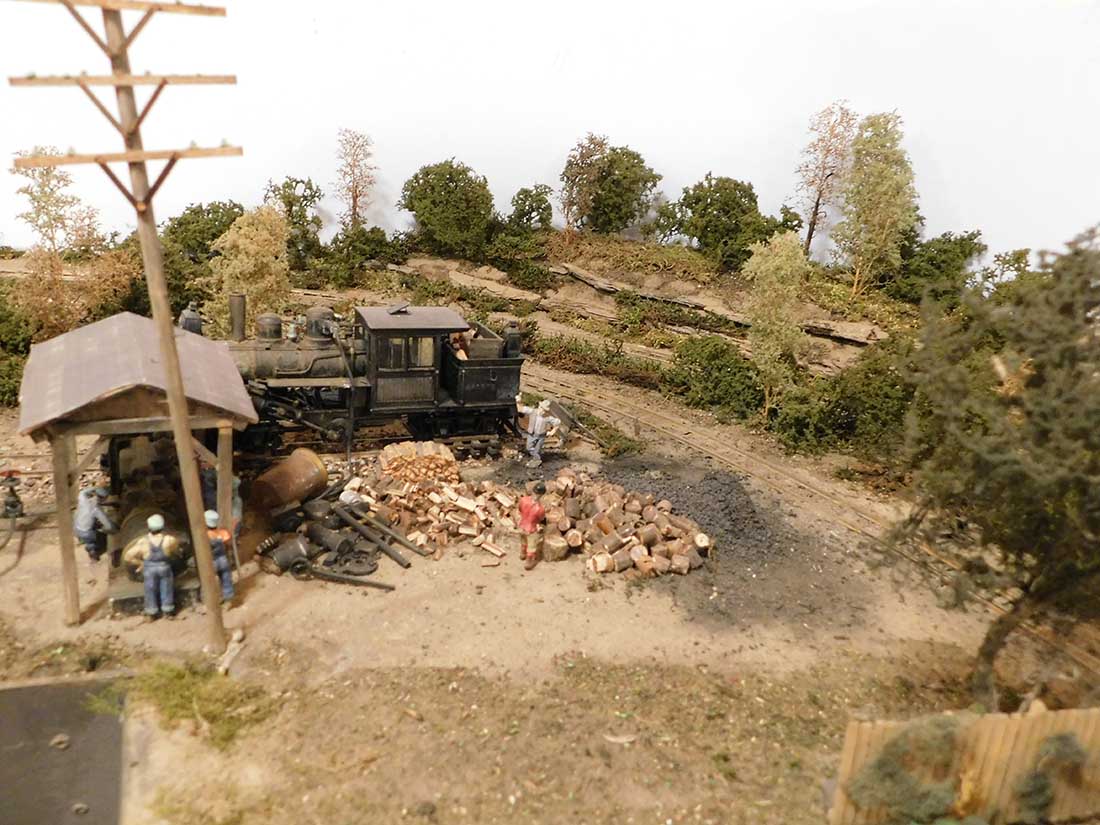
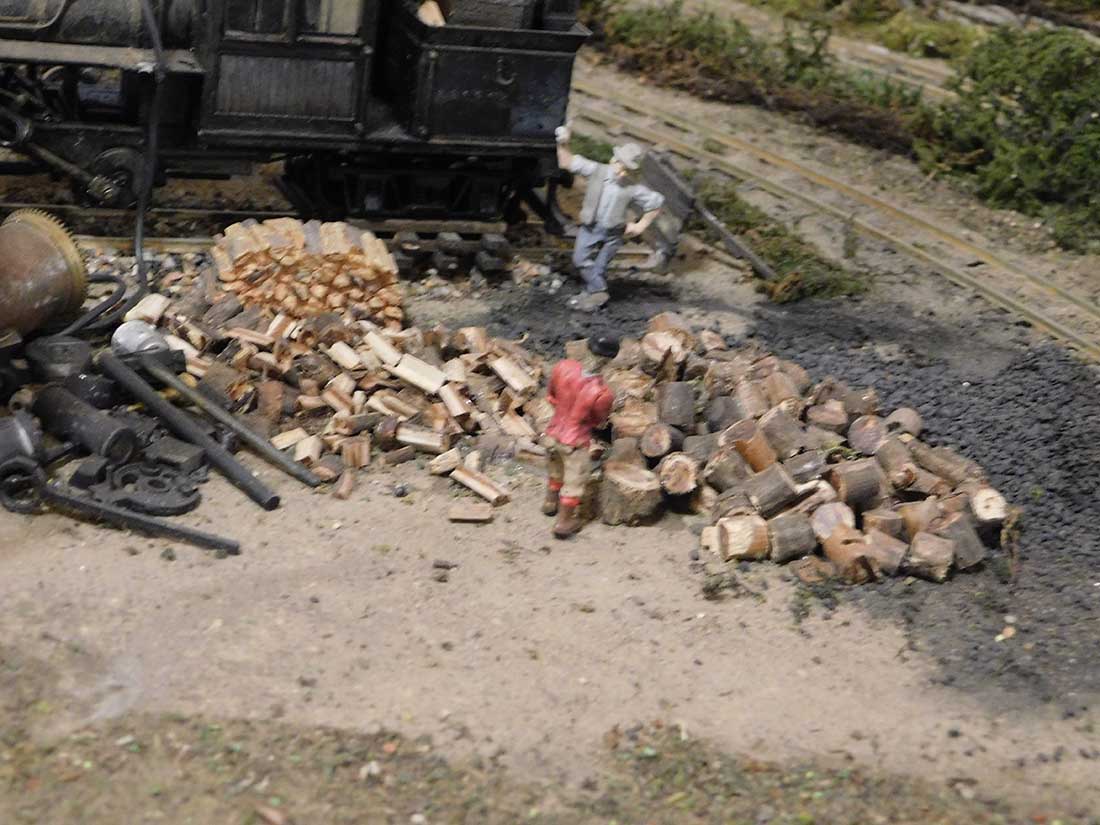
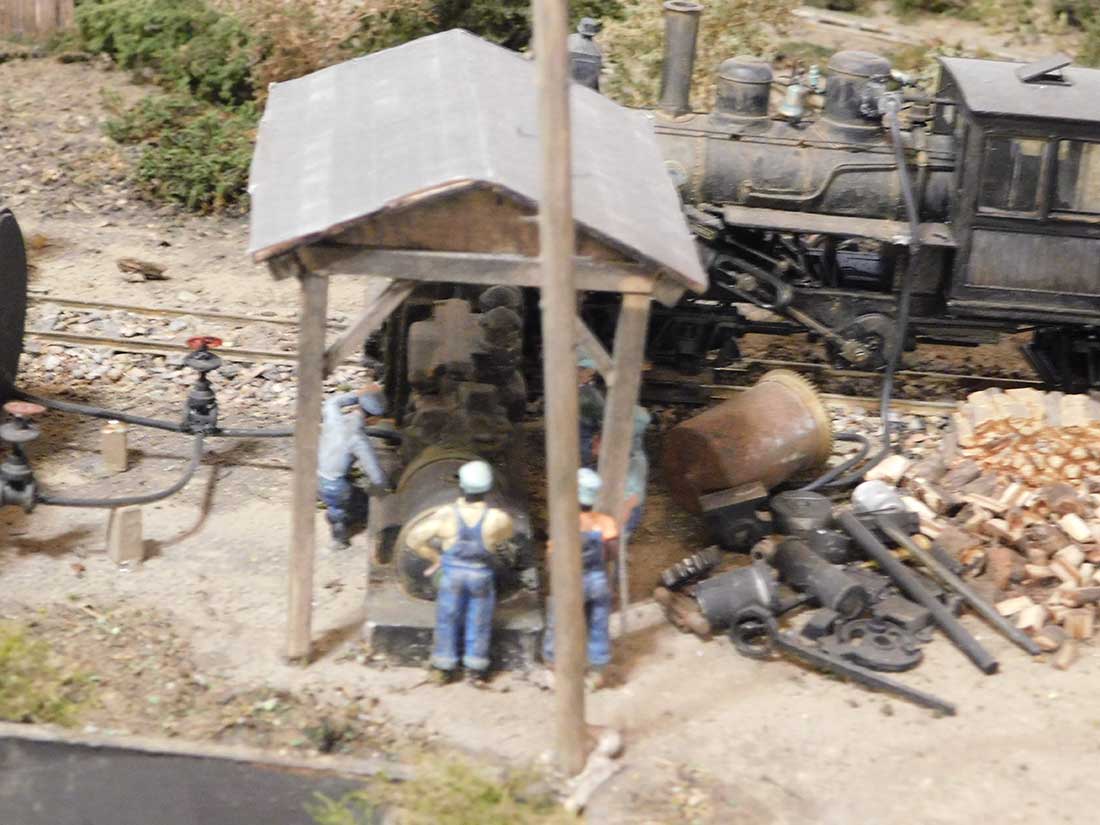
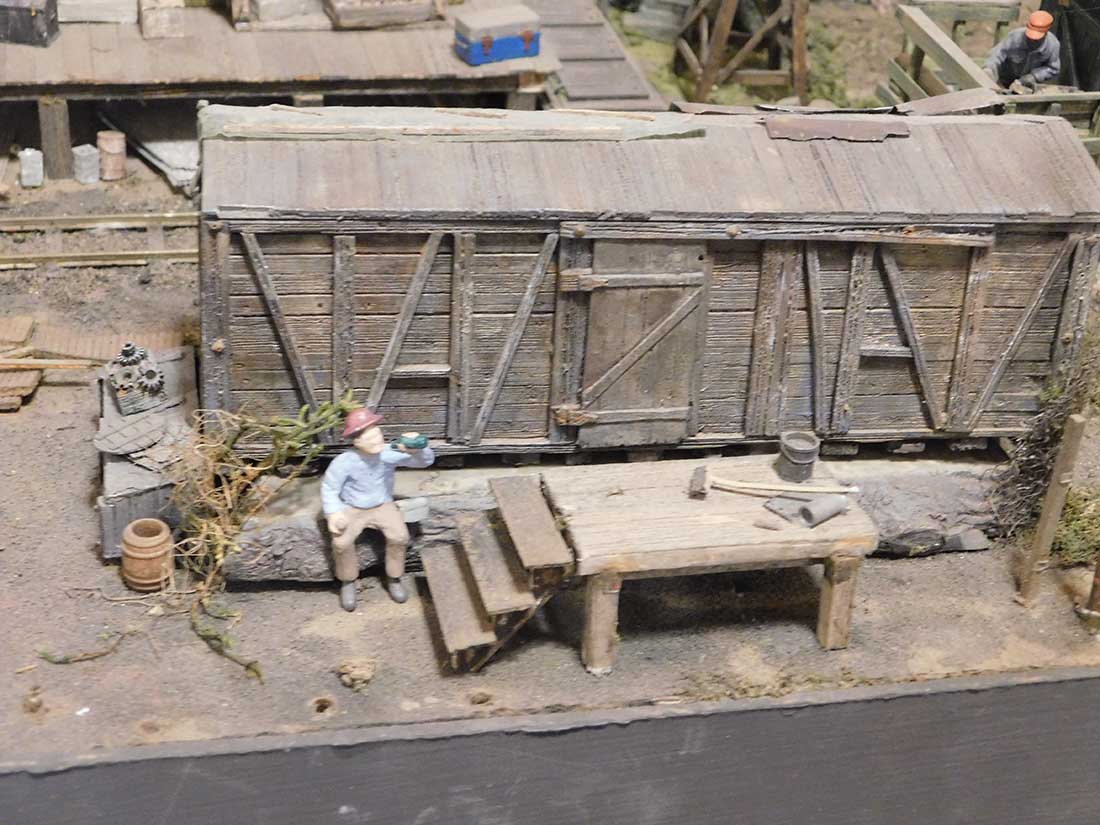
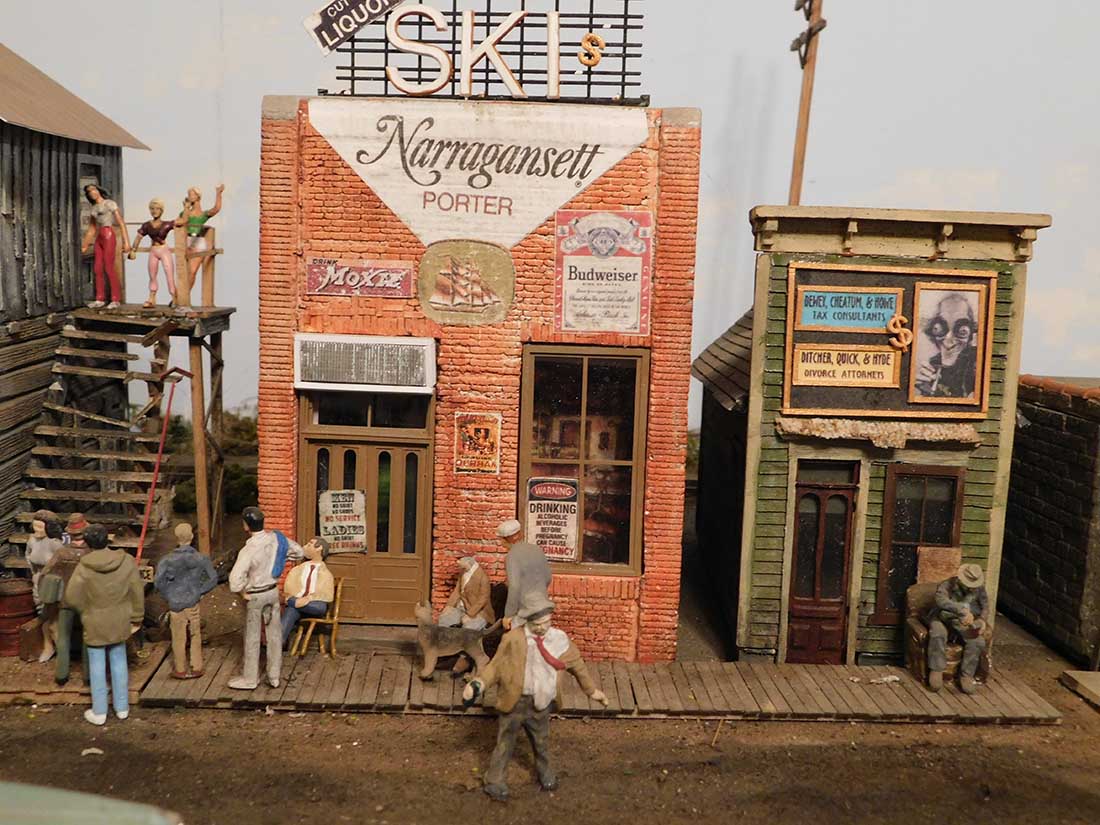
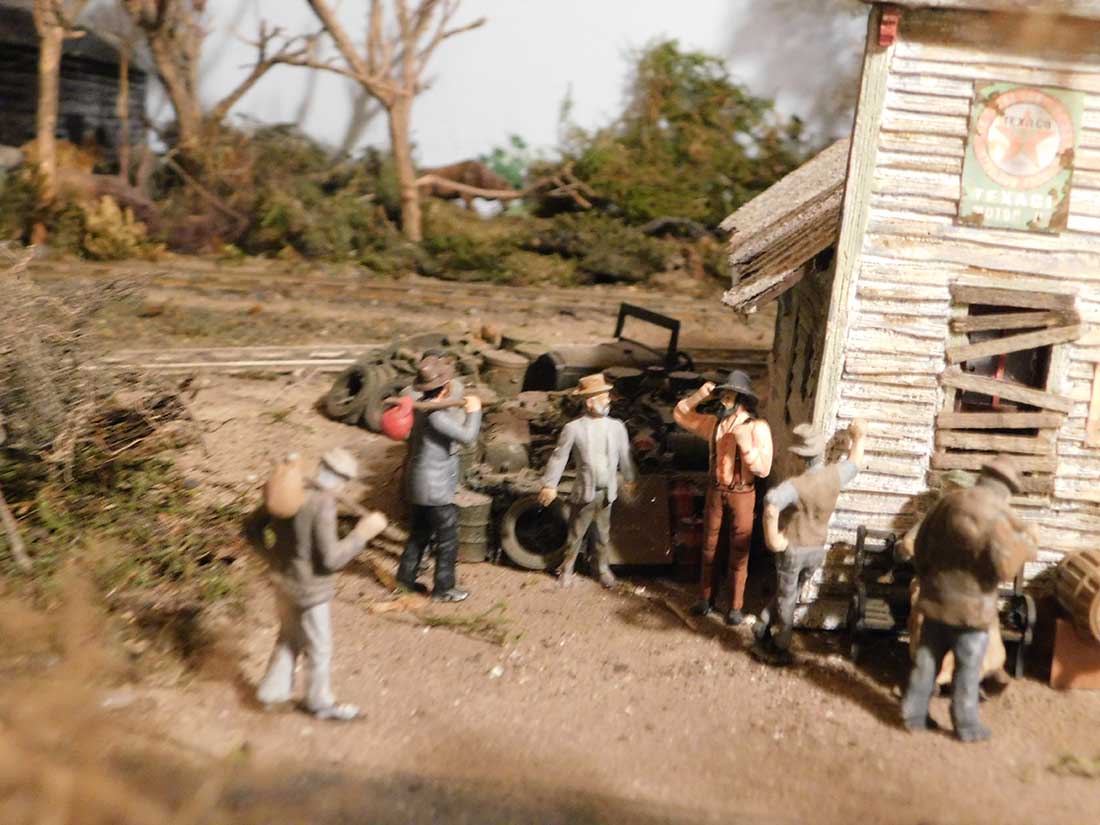
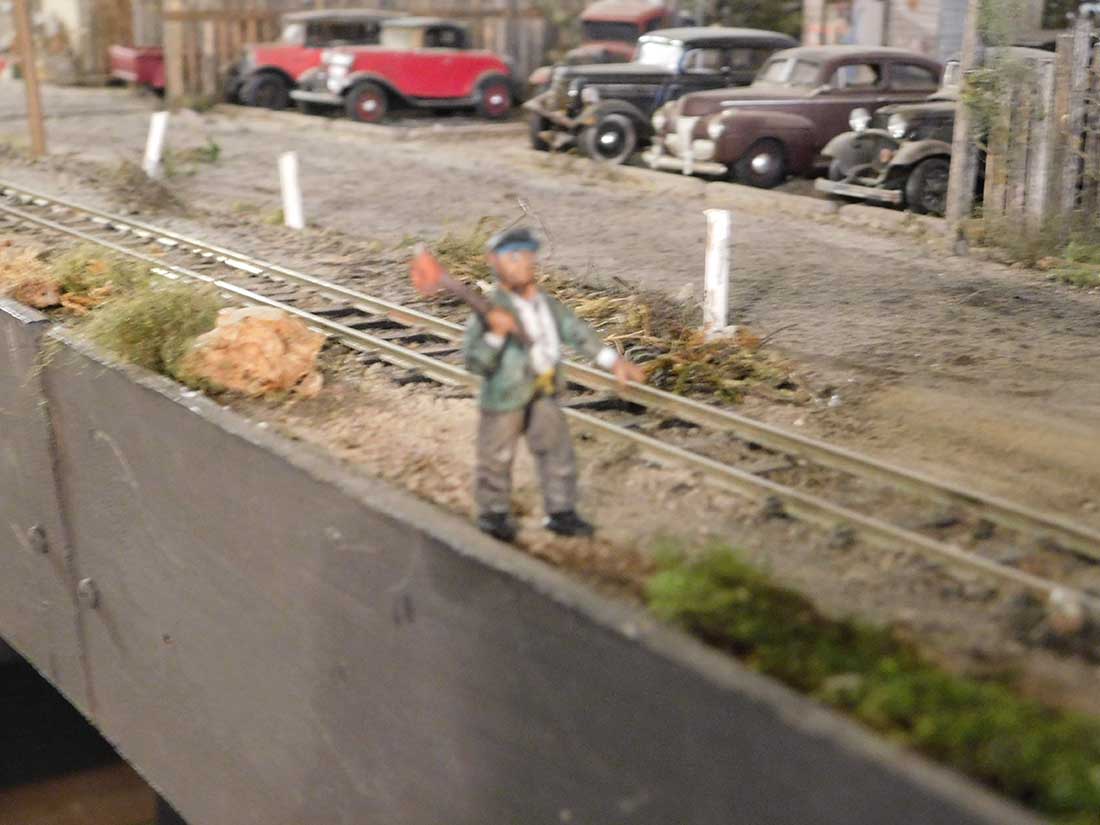
Tom even varnishes the people he makes, then scuffs them so they don’t look shiny. Then he adds color to their faces. Again, simple, but if you look at the people in his layout pics, you’ll see how good they look.
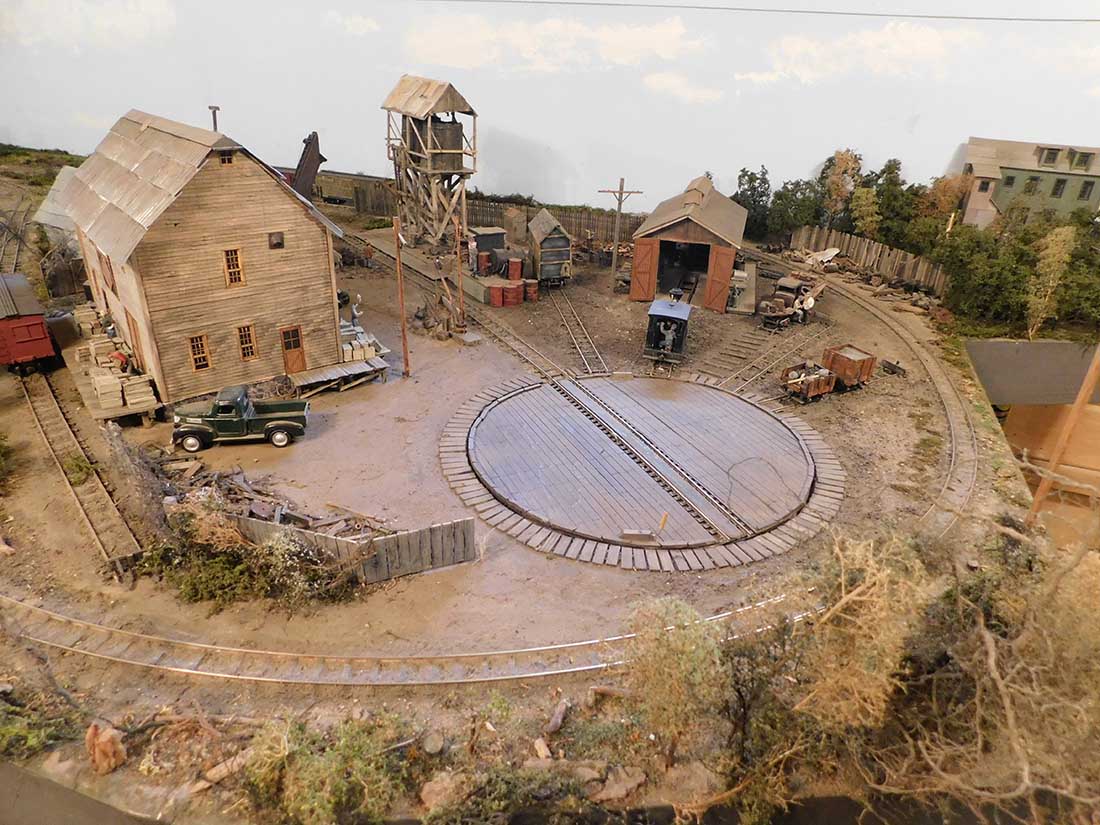
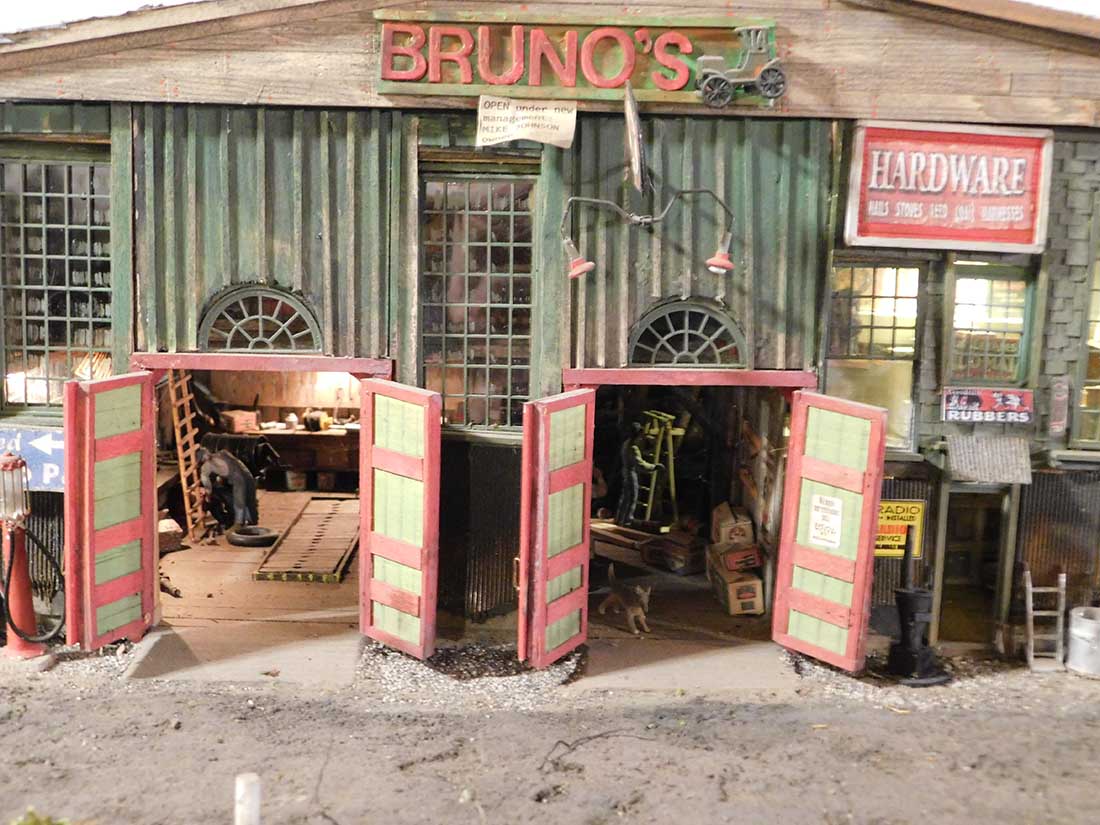
Of course, I’m biased, but Tom’s layouts really do tick all the boxes for me. I think it’s all the scenes he creates within the layout – there’s lot going on – it becomes alive.
Stunning stuff.
Do leave a comment and let us all know your thoughts.
Best
Al