Stan’s been in touch with his upside down model railroad:
“Hi Al,
I love seeing some of the inventive ways people have found space for their trains and track on your blog.
Like many of your readers I am very short on space too.
In October last year we downsized and moved to a much smaller house, which I thought would be the end of my layout days.
But as you are always saying – where there’s a will there’s a way. So I got to work.
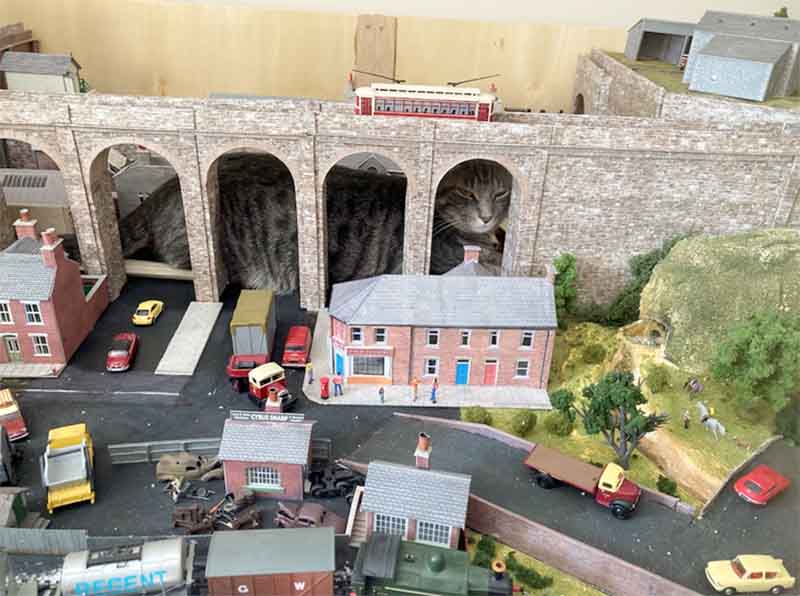
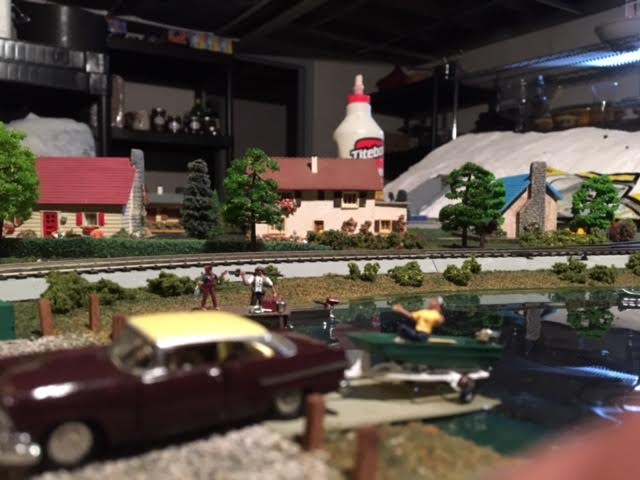
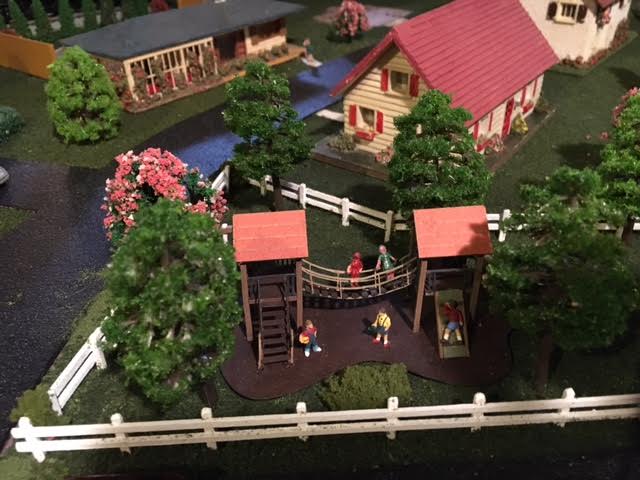
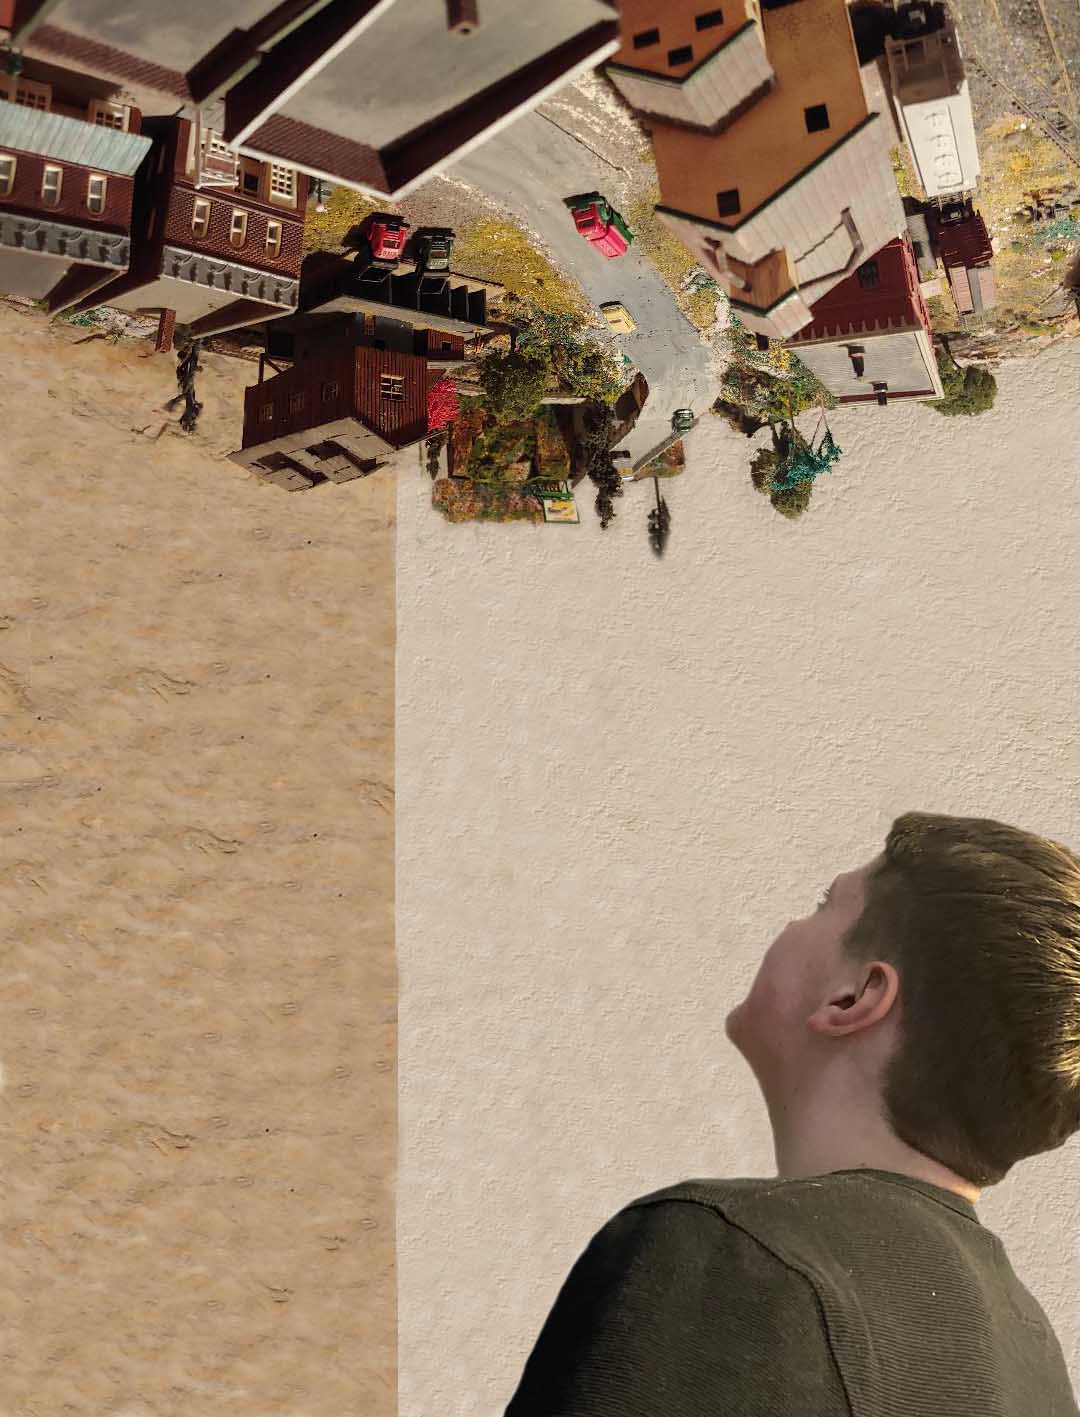
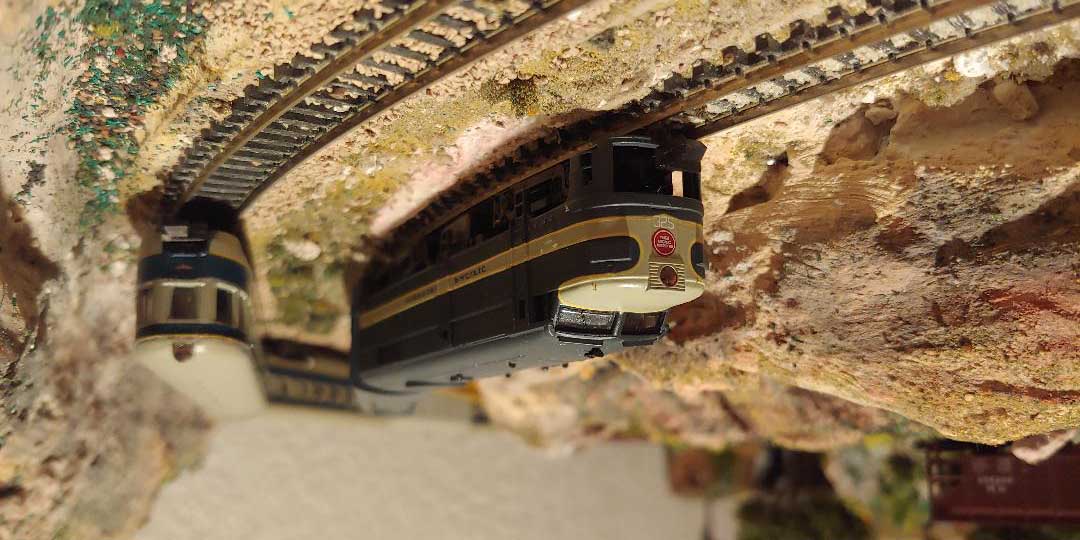
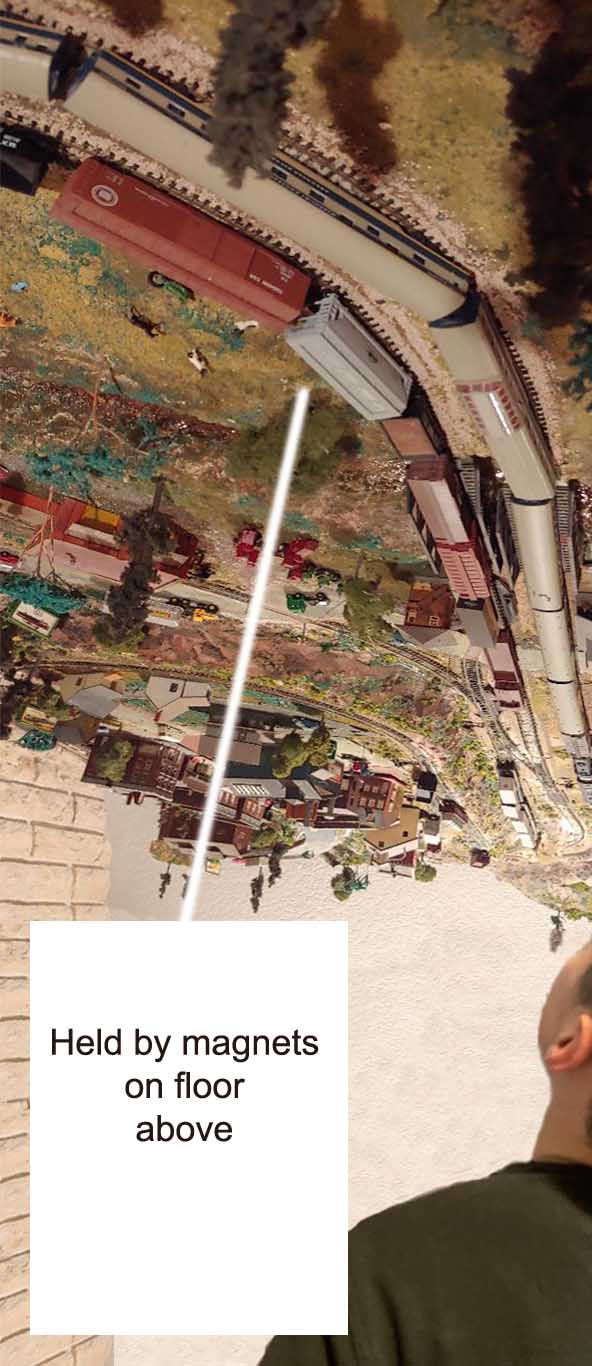
Rather than a ‘ceiling layout’ on a pulley, I decided on an upside down layout.
The track and scenery were very hard as my back ached constantly, but it was worth the effort.
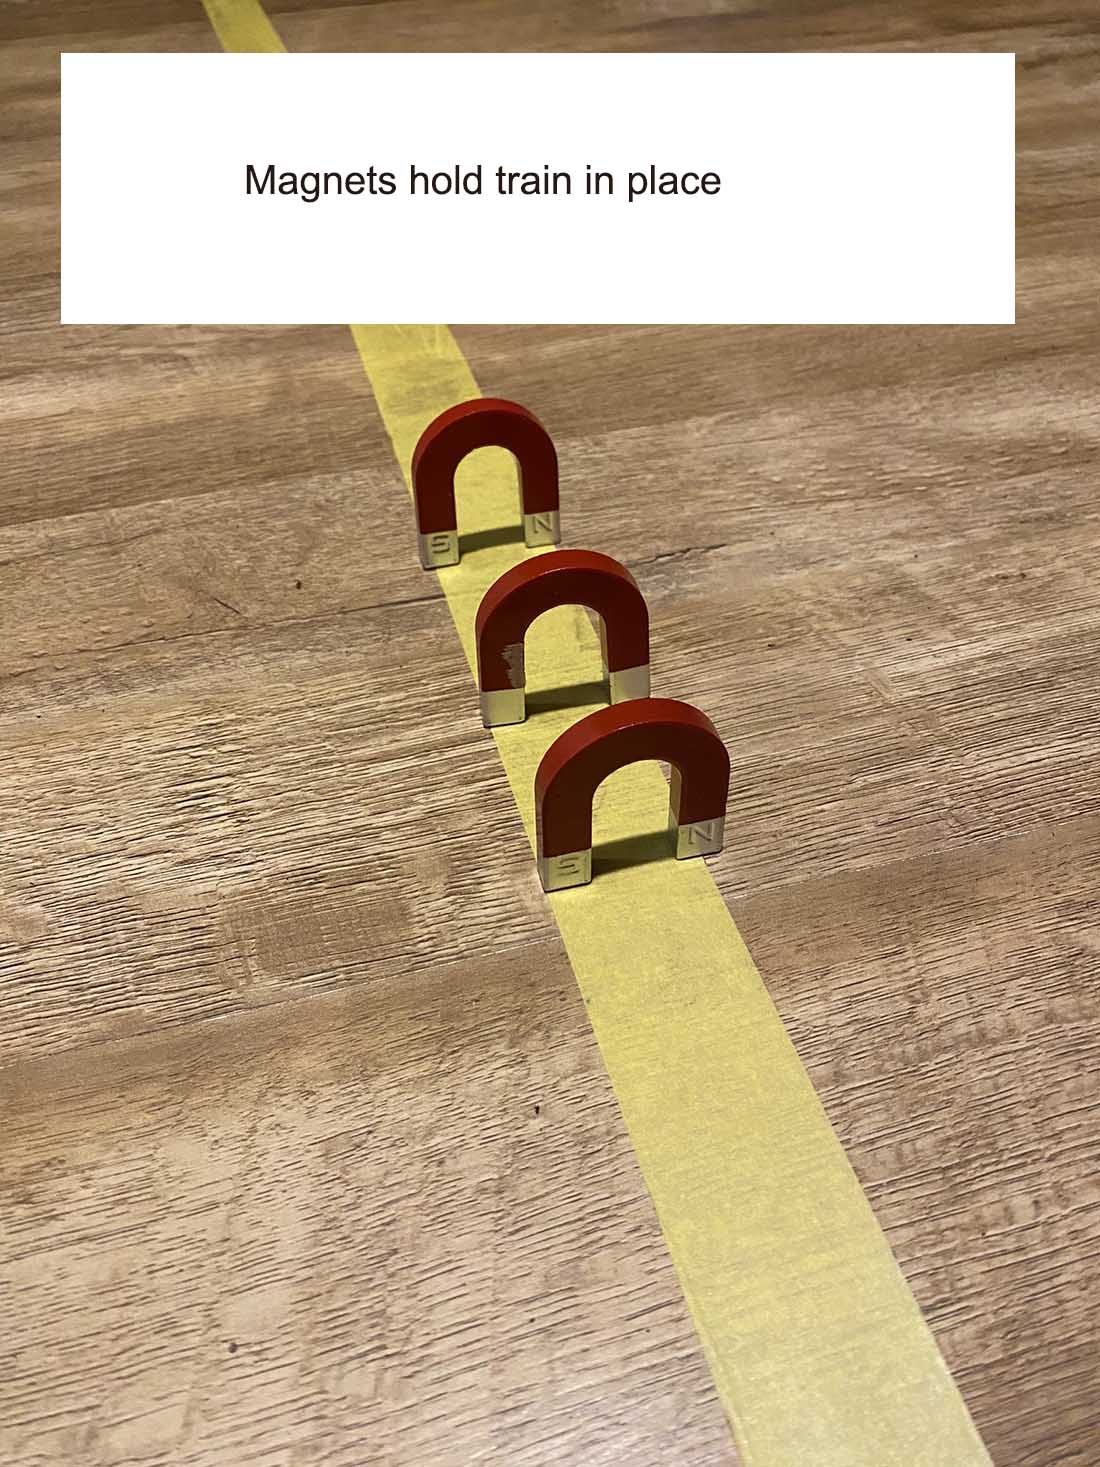
There are no electrics on the layout at all, but locos and freight cars are ‘powered’ by magnets on the floor above (spare room).
The floor above is an exact ‘trace’ of the layout – I simply move the magnets along the floor and it moves the loco along the track.
It took some getting used to. If I hear a crash I know I’ve gone too fast or outside of the track.
Even my eldest grandson loves it and they hoot with laughter at the trains going round, shouting up the stairs, “Faster, Grandad, faster!”.
Stanley, Ulverton, Lancashire”

Now on to Ollie:
“Hi Al,
I keep my washing machine in a shed next to the house, so it gets a little dirty and dusty.
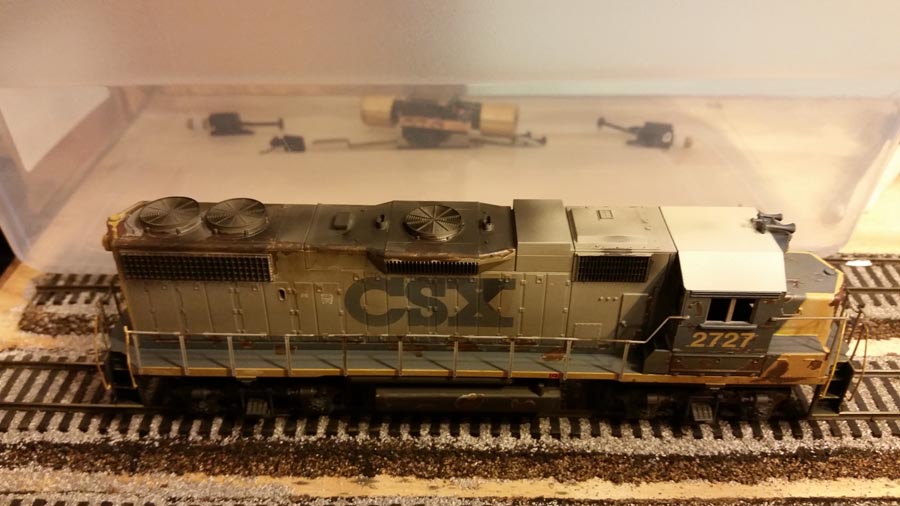
I went to give it a little clean before putting a wash on and noticed there was a ‘weathered / distressed’ setting.
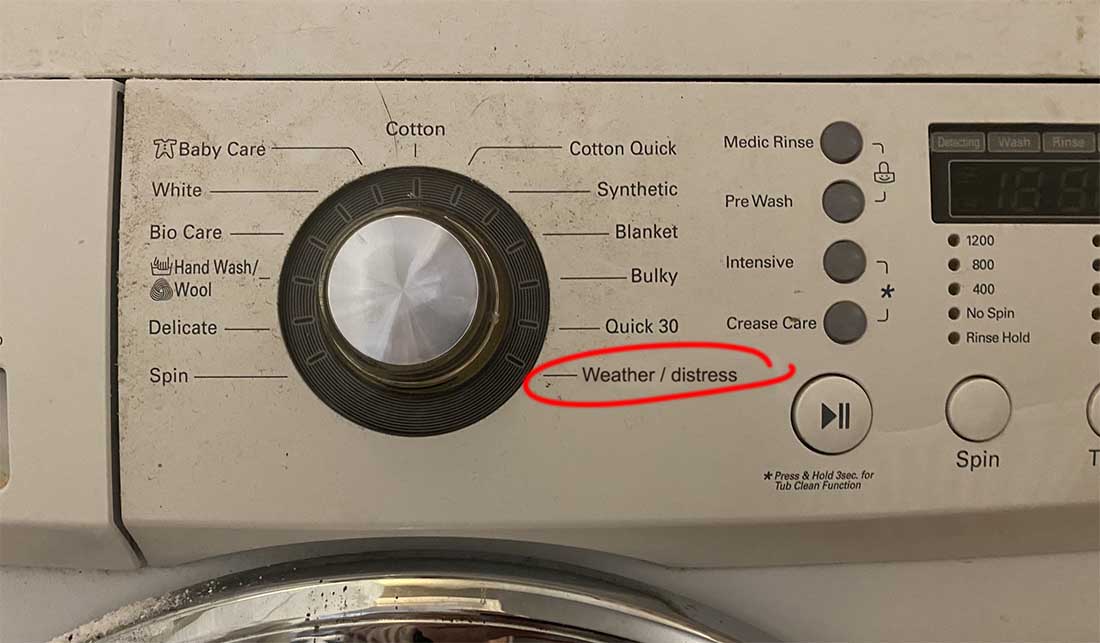
Presumably this is for jeans or other clothes people like to look ‘worn’, but I wondered if it would work on my loco casements.
I decided to try it.
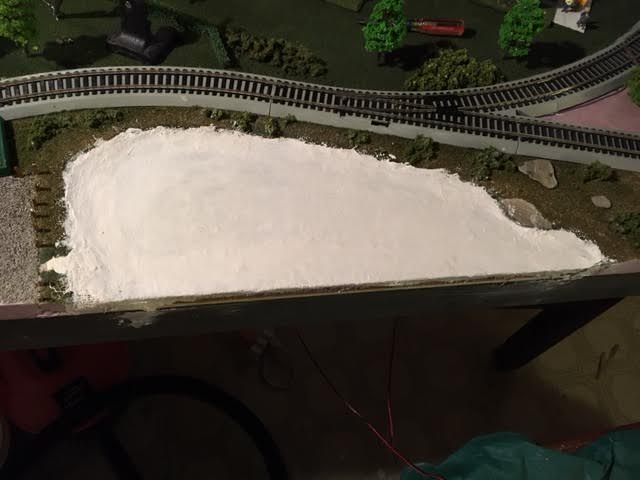
Here’s the pic before I put it in the washer:
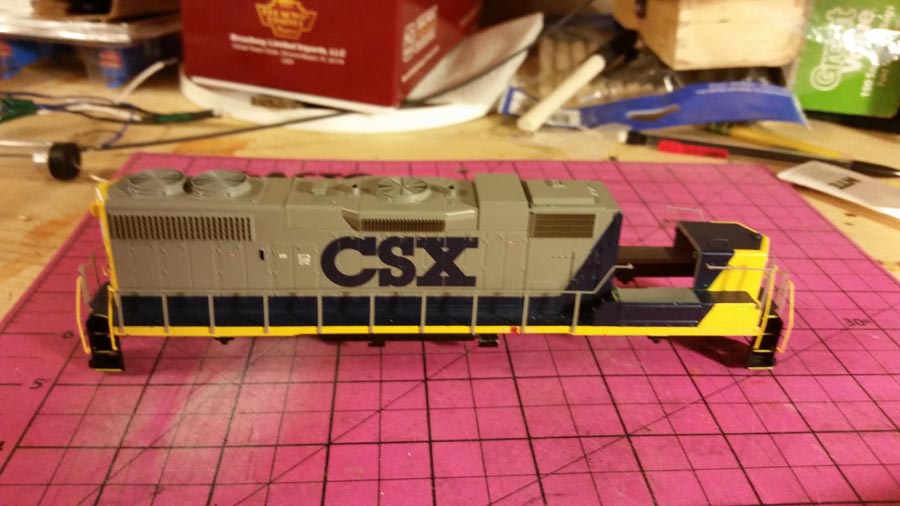
The wash cycle lasted for about 45 minutes and I was really pleased with the result:
I am trying some track next, I shall mail you when I’ve done this.
Oliver,
Harlem, Georgia, USA.”
A big thanks to Stan and Ollie.
Please do leave a comment below if you enjoyed their posts as much as I did, and if you didn’t, you probably need to have a quick look at the calendar.
Now we’ve got the laughs and the guffaws out of the way, here’s something that I’m hoping one or two of you may like.
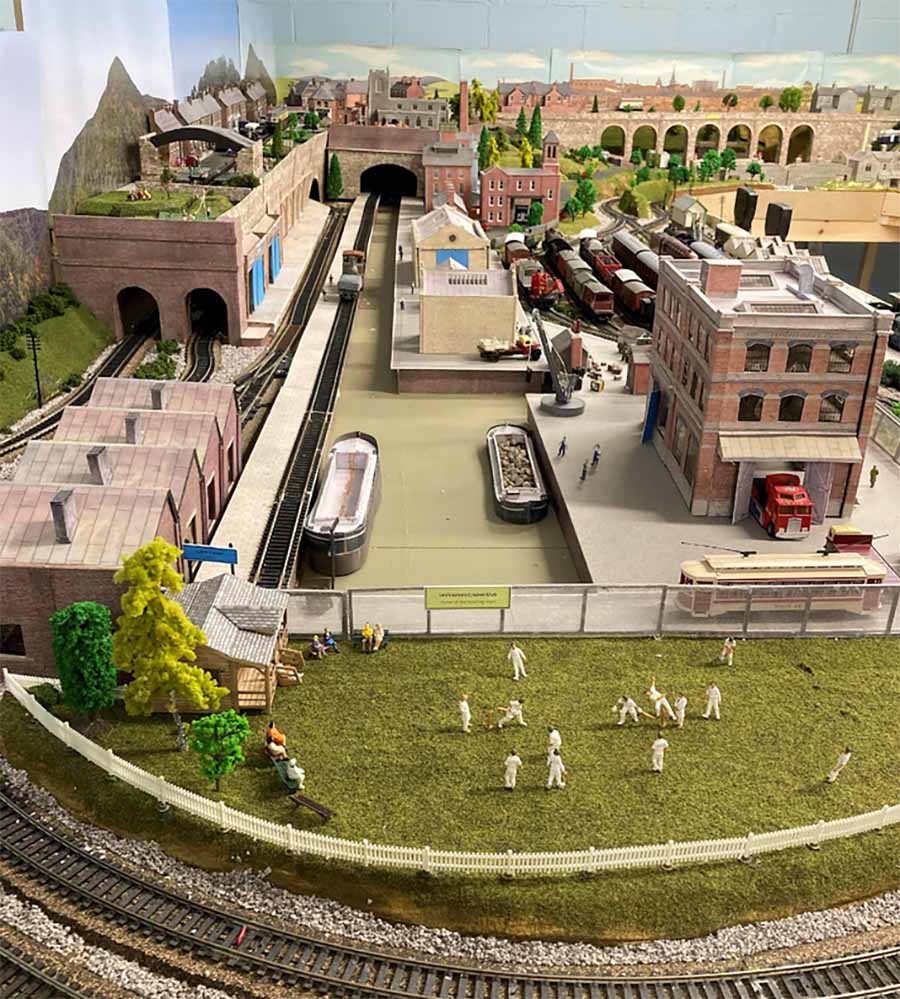
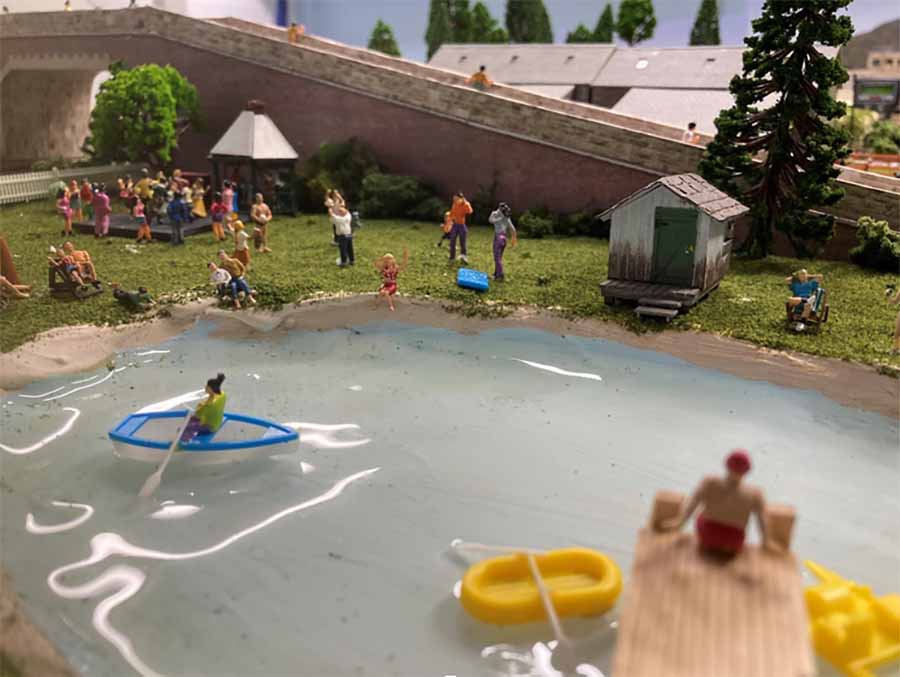
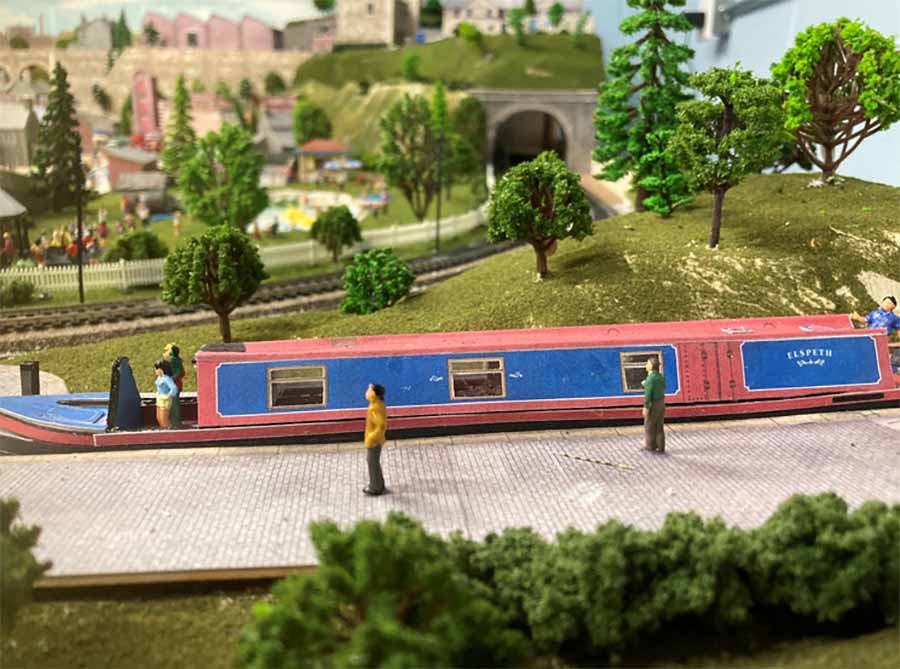
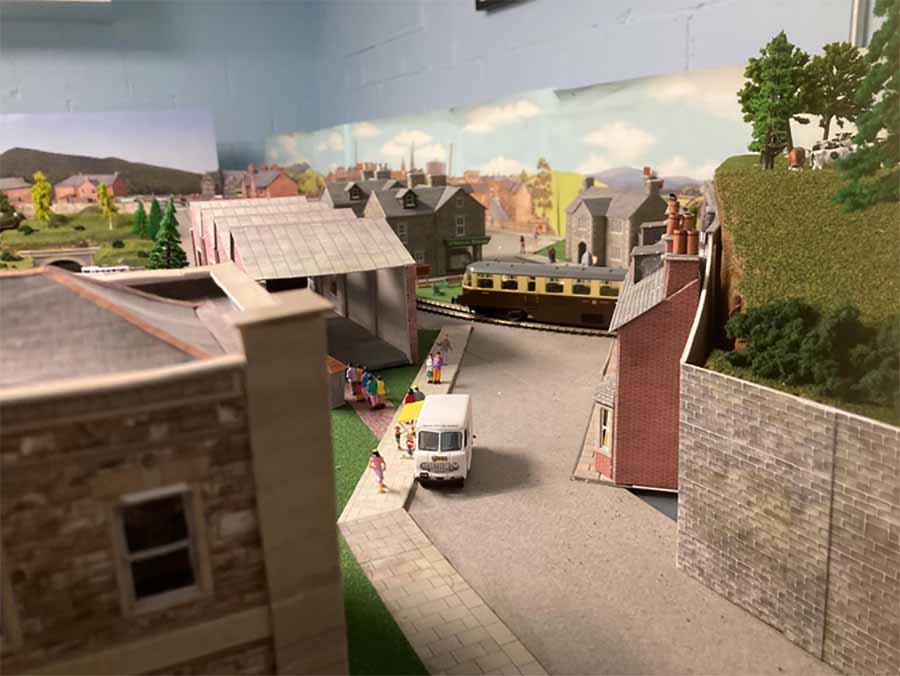
The posts I enjoy the most are the ones that add personal touches to their layout.
In yesterday’s for example, Brian went on a cruise and loved how the trains pulled the ships along the Panama Canal. So he added a nod to that in his layout.
And there is Gary who adds signs to his layout that include his family.
So you get the idea, there are many ways to do it. I wondered if could do something to the printable buildings to make them personal.
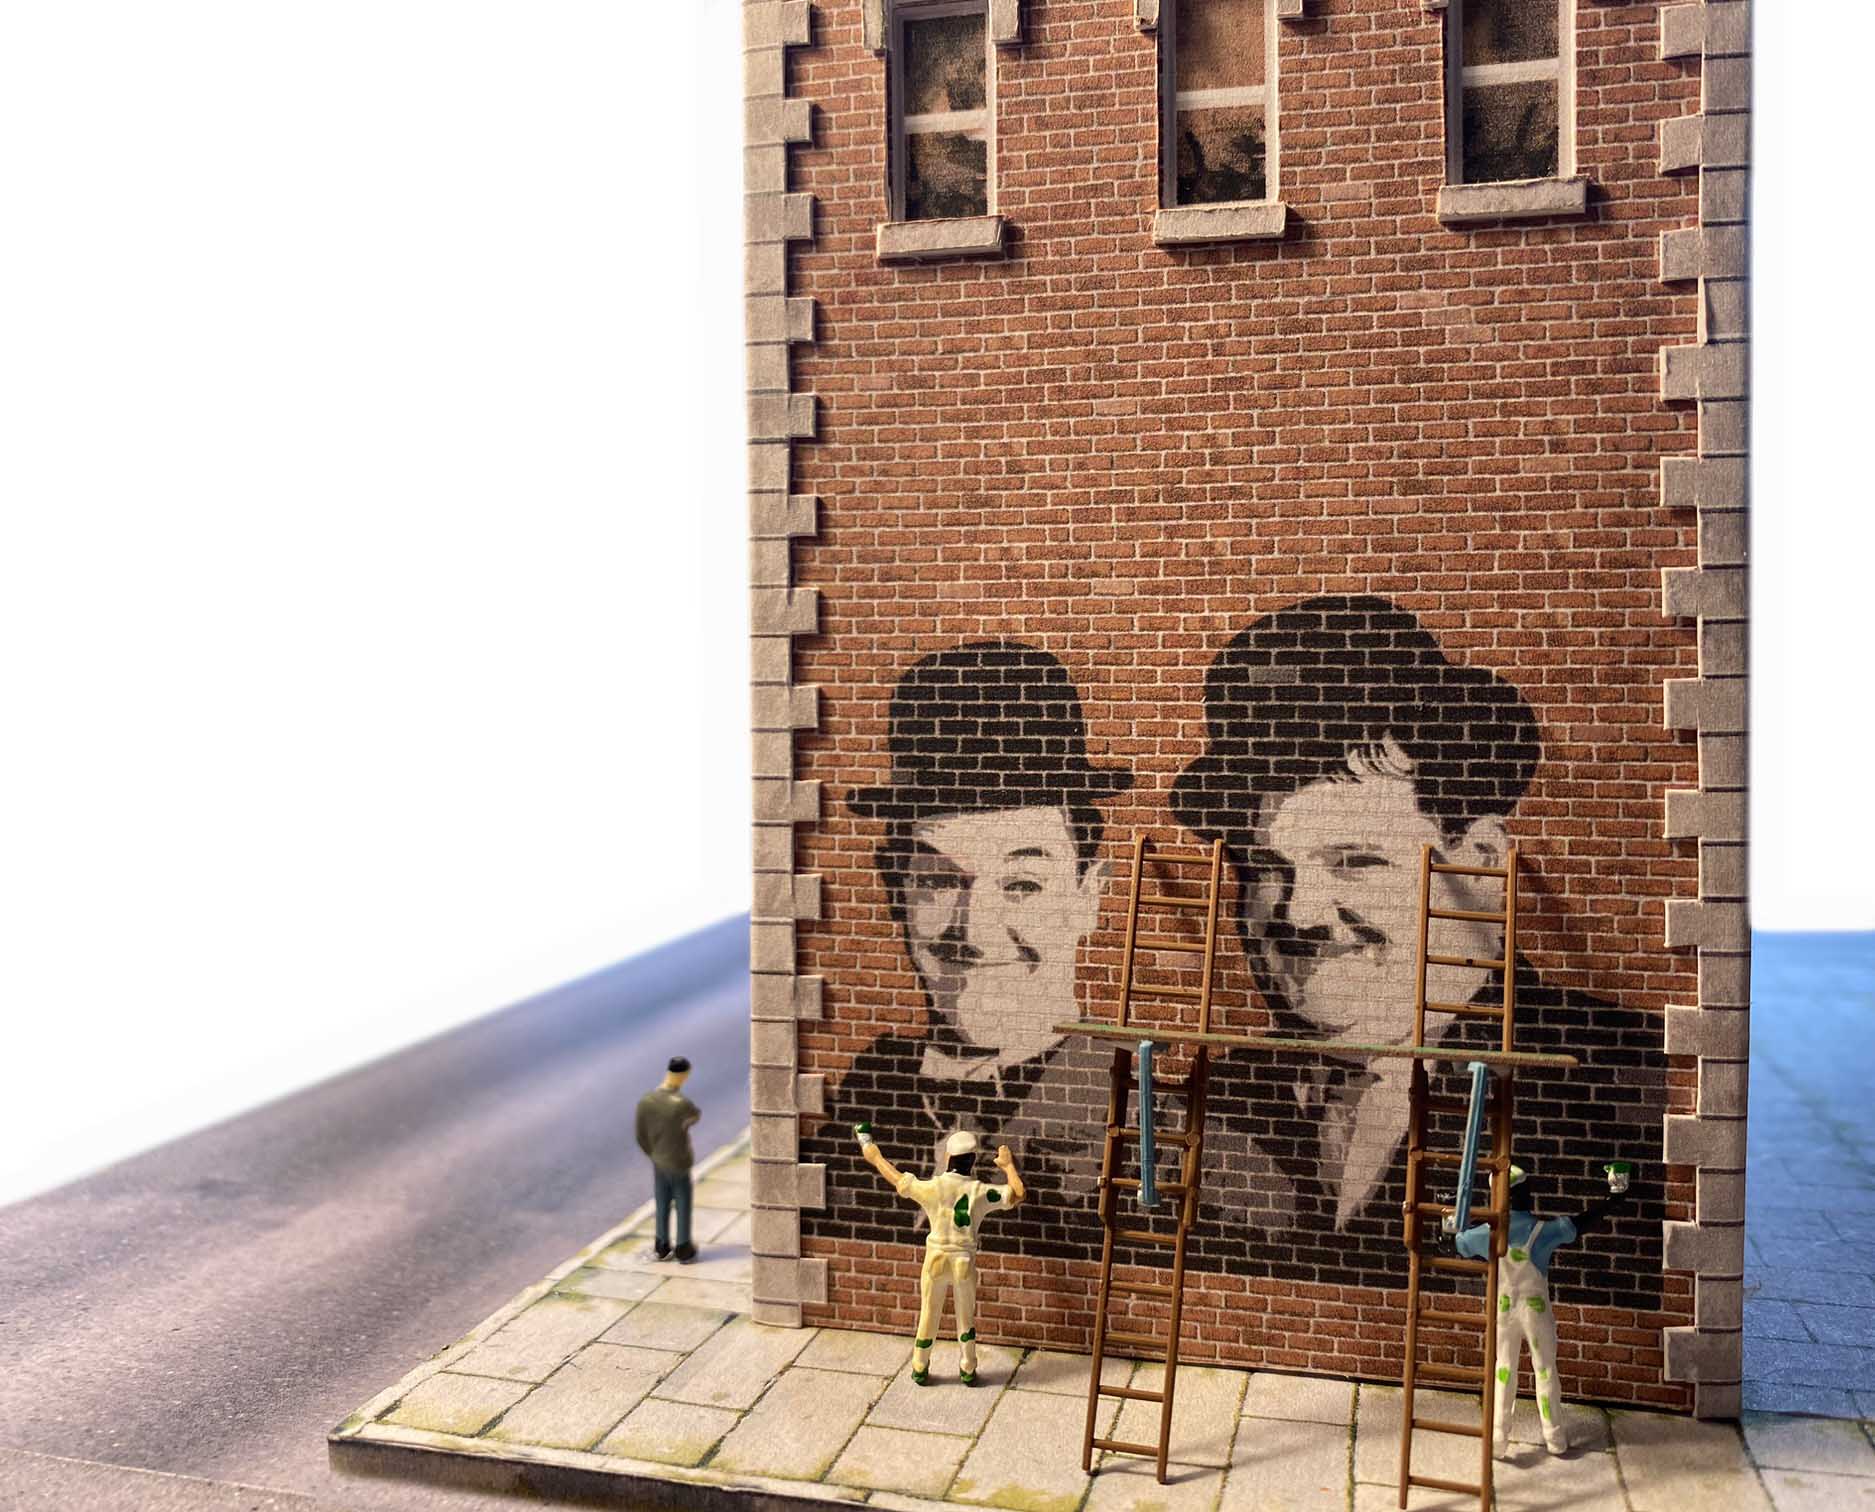
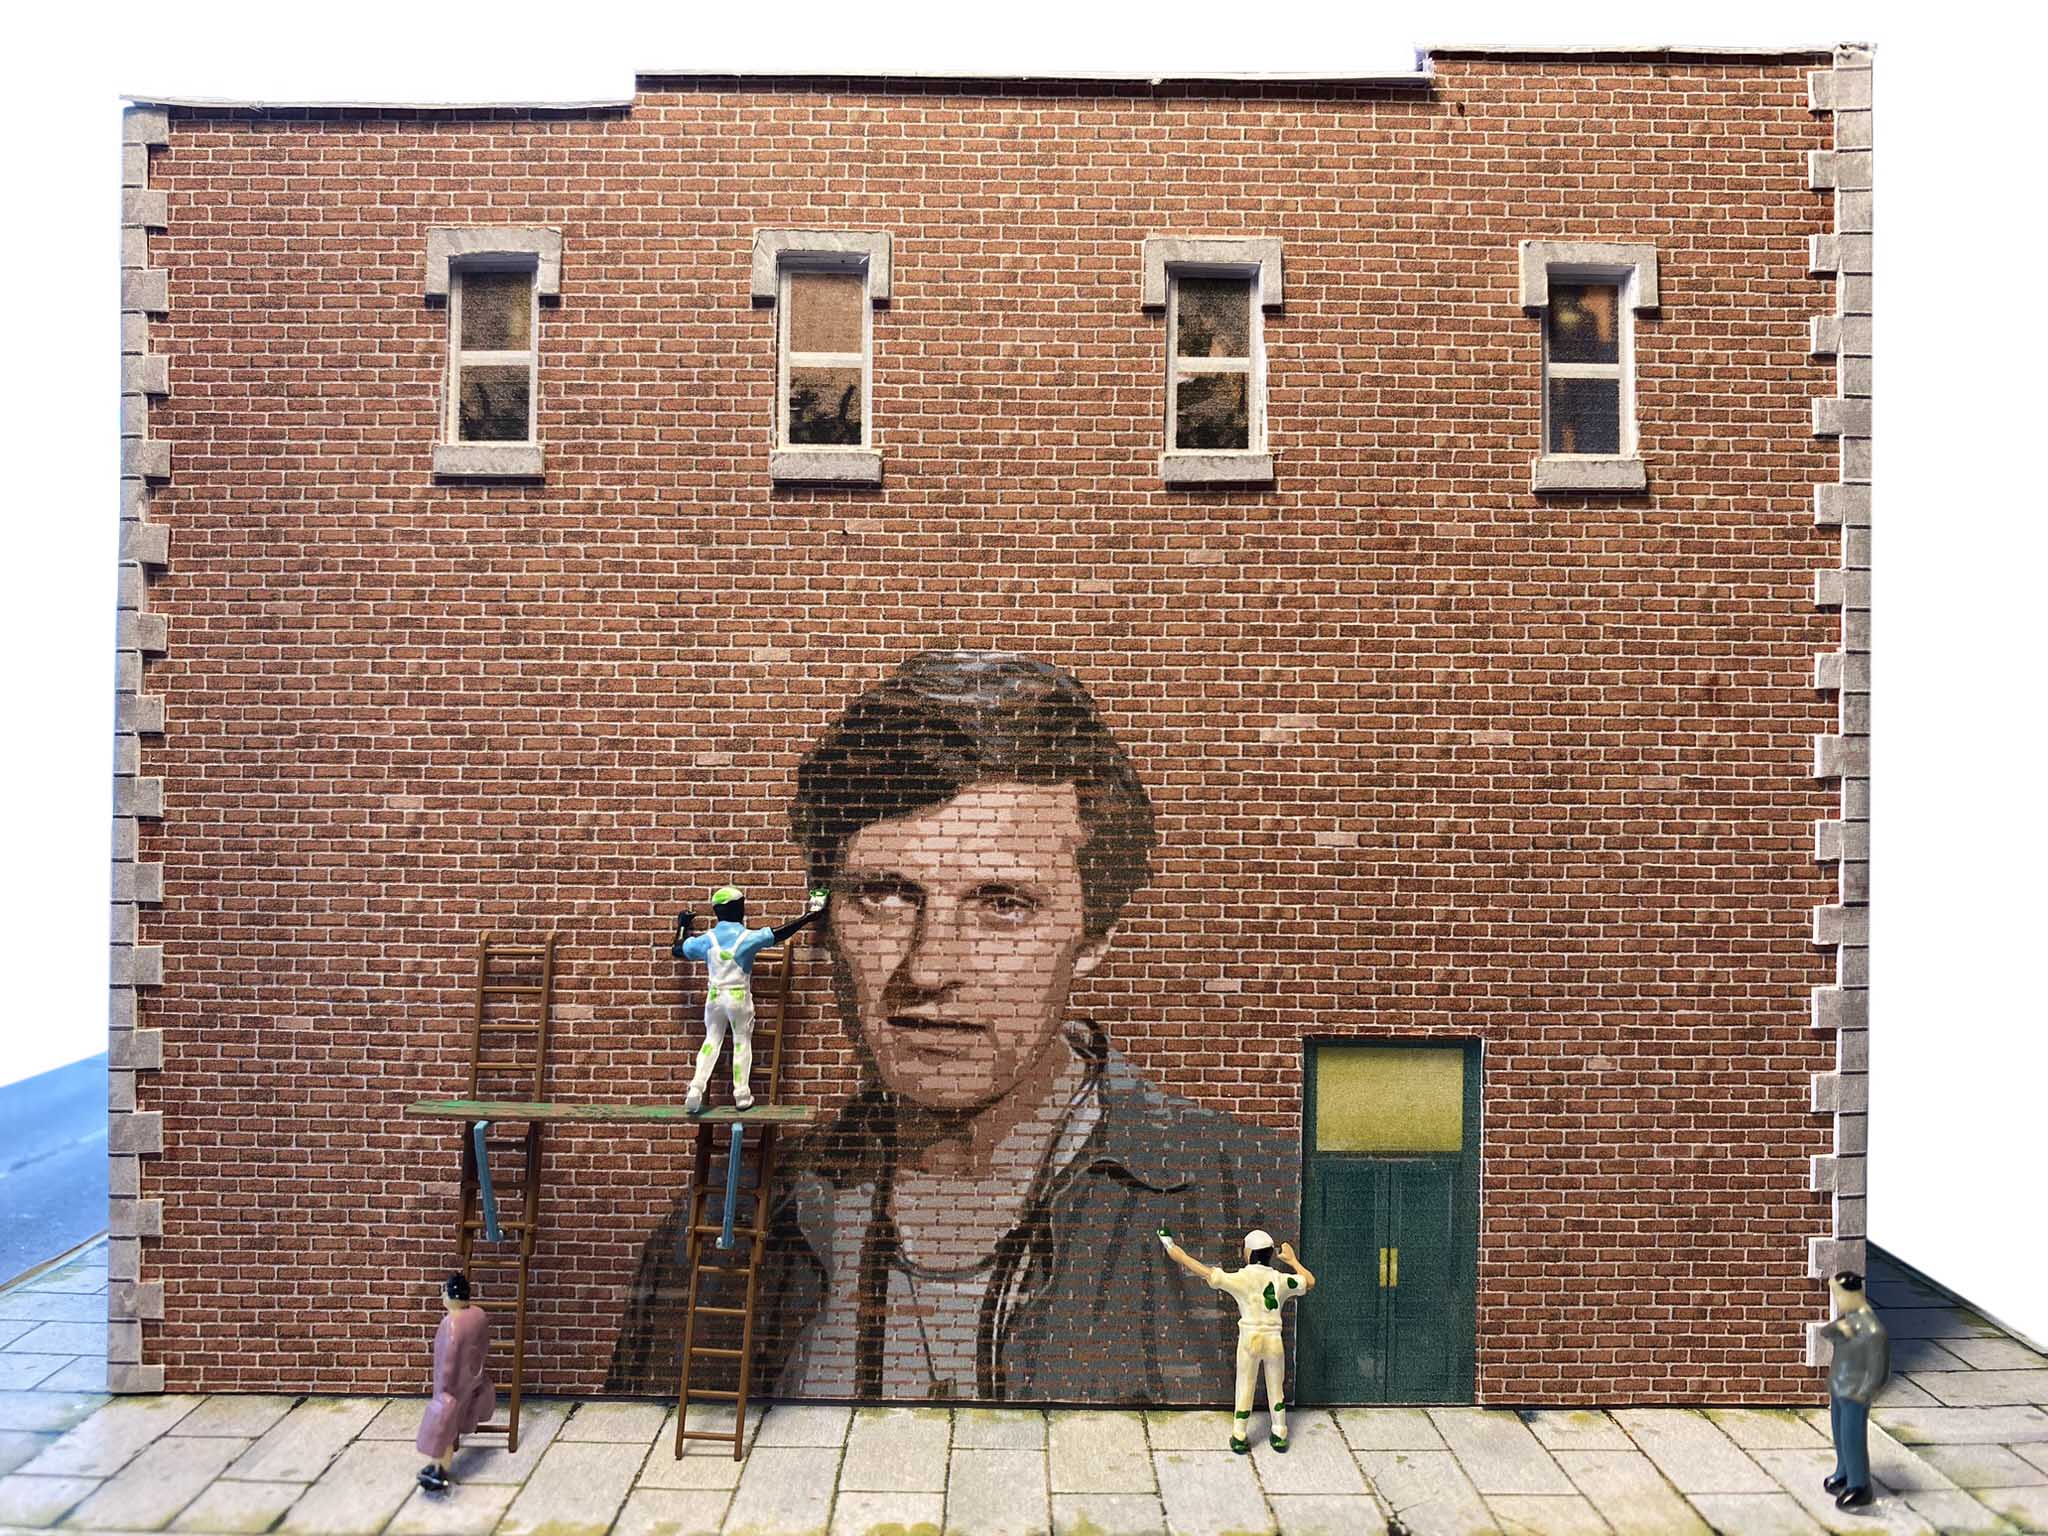
Here’s what I came up with after seeing a painters set by Woodland Scenics.
If you’ve got a black and white picture of the old man, why not put him in your layout?
Here I’ve used Laurel and Hardy to show how it would look:
Or perhaps you are a big fan of the Duke:
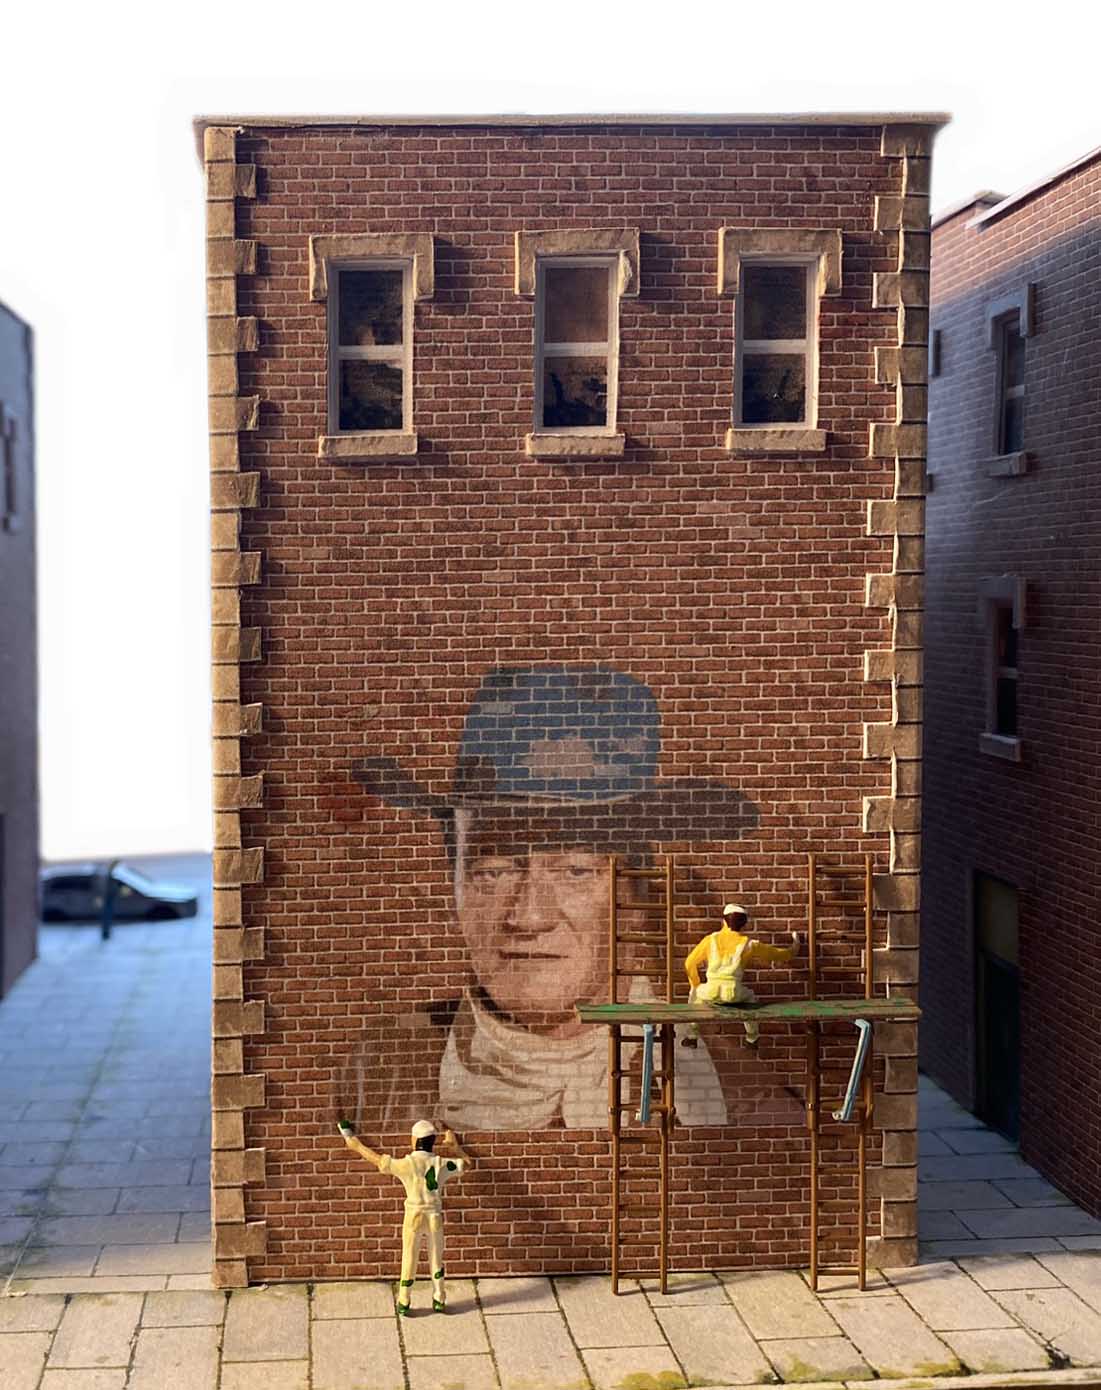
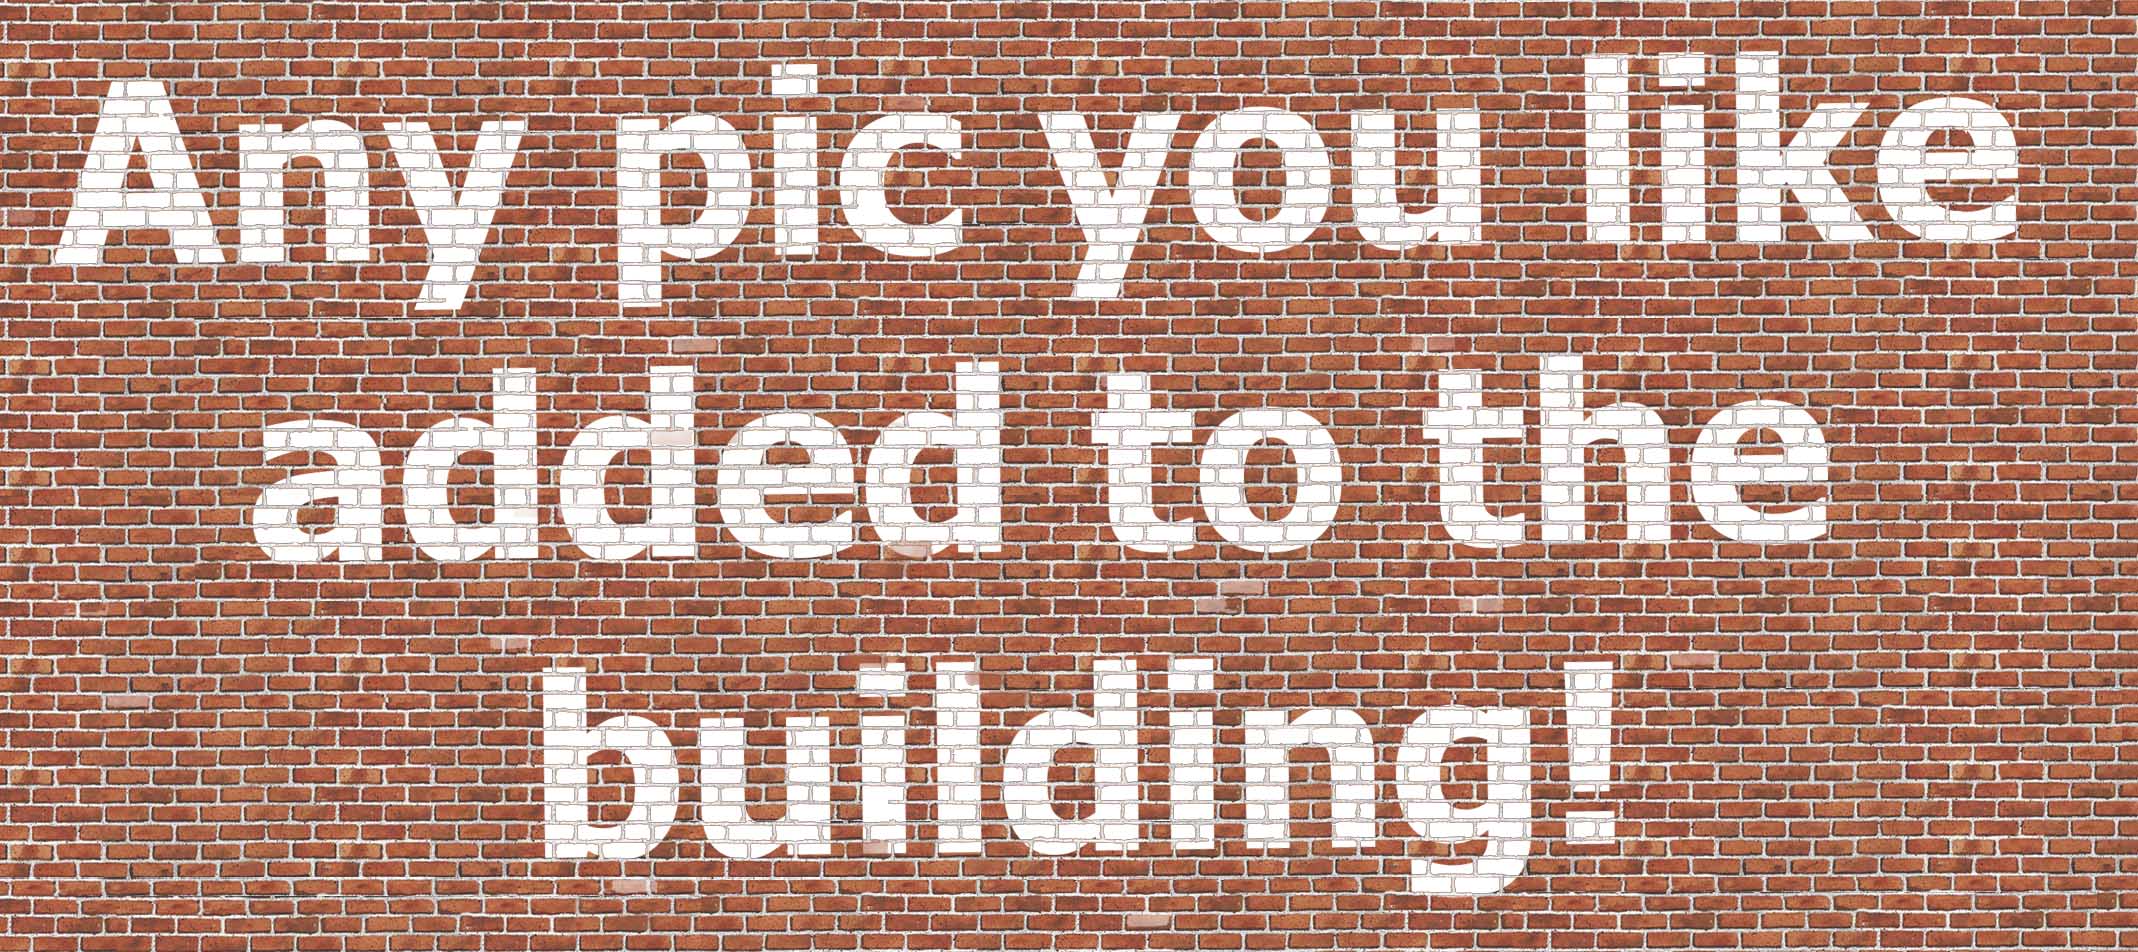
It doesn’t matter what you want on your building wall – anything can go there.
A picture of you, a pet, a flag, a logo, anything!
And just to prove a point, here’s some more:
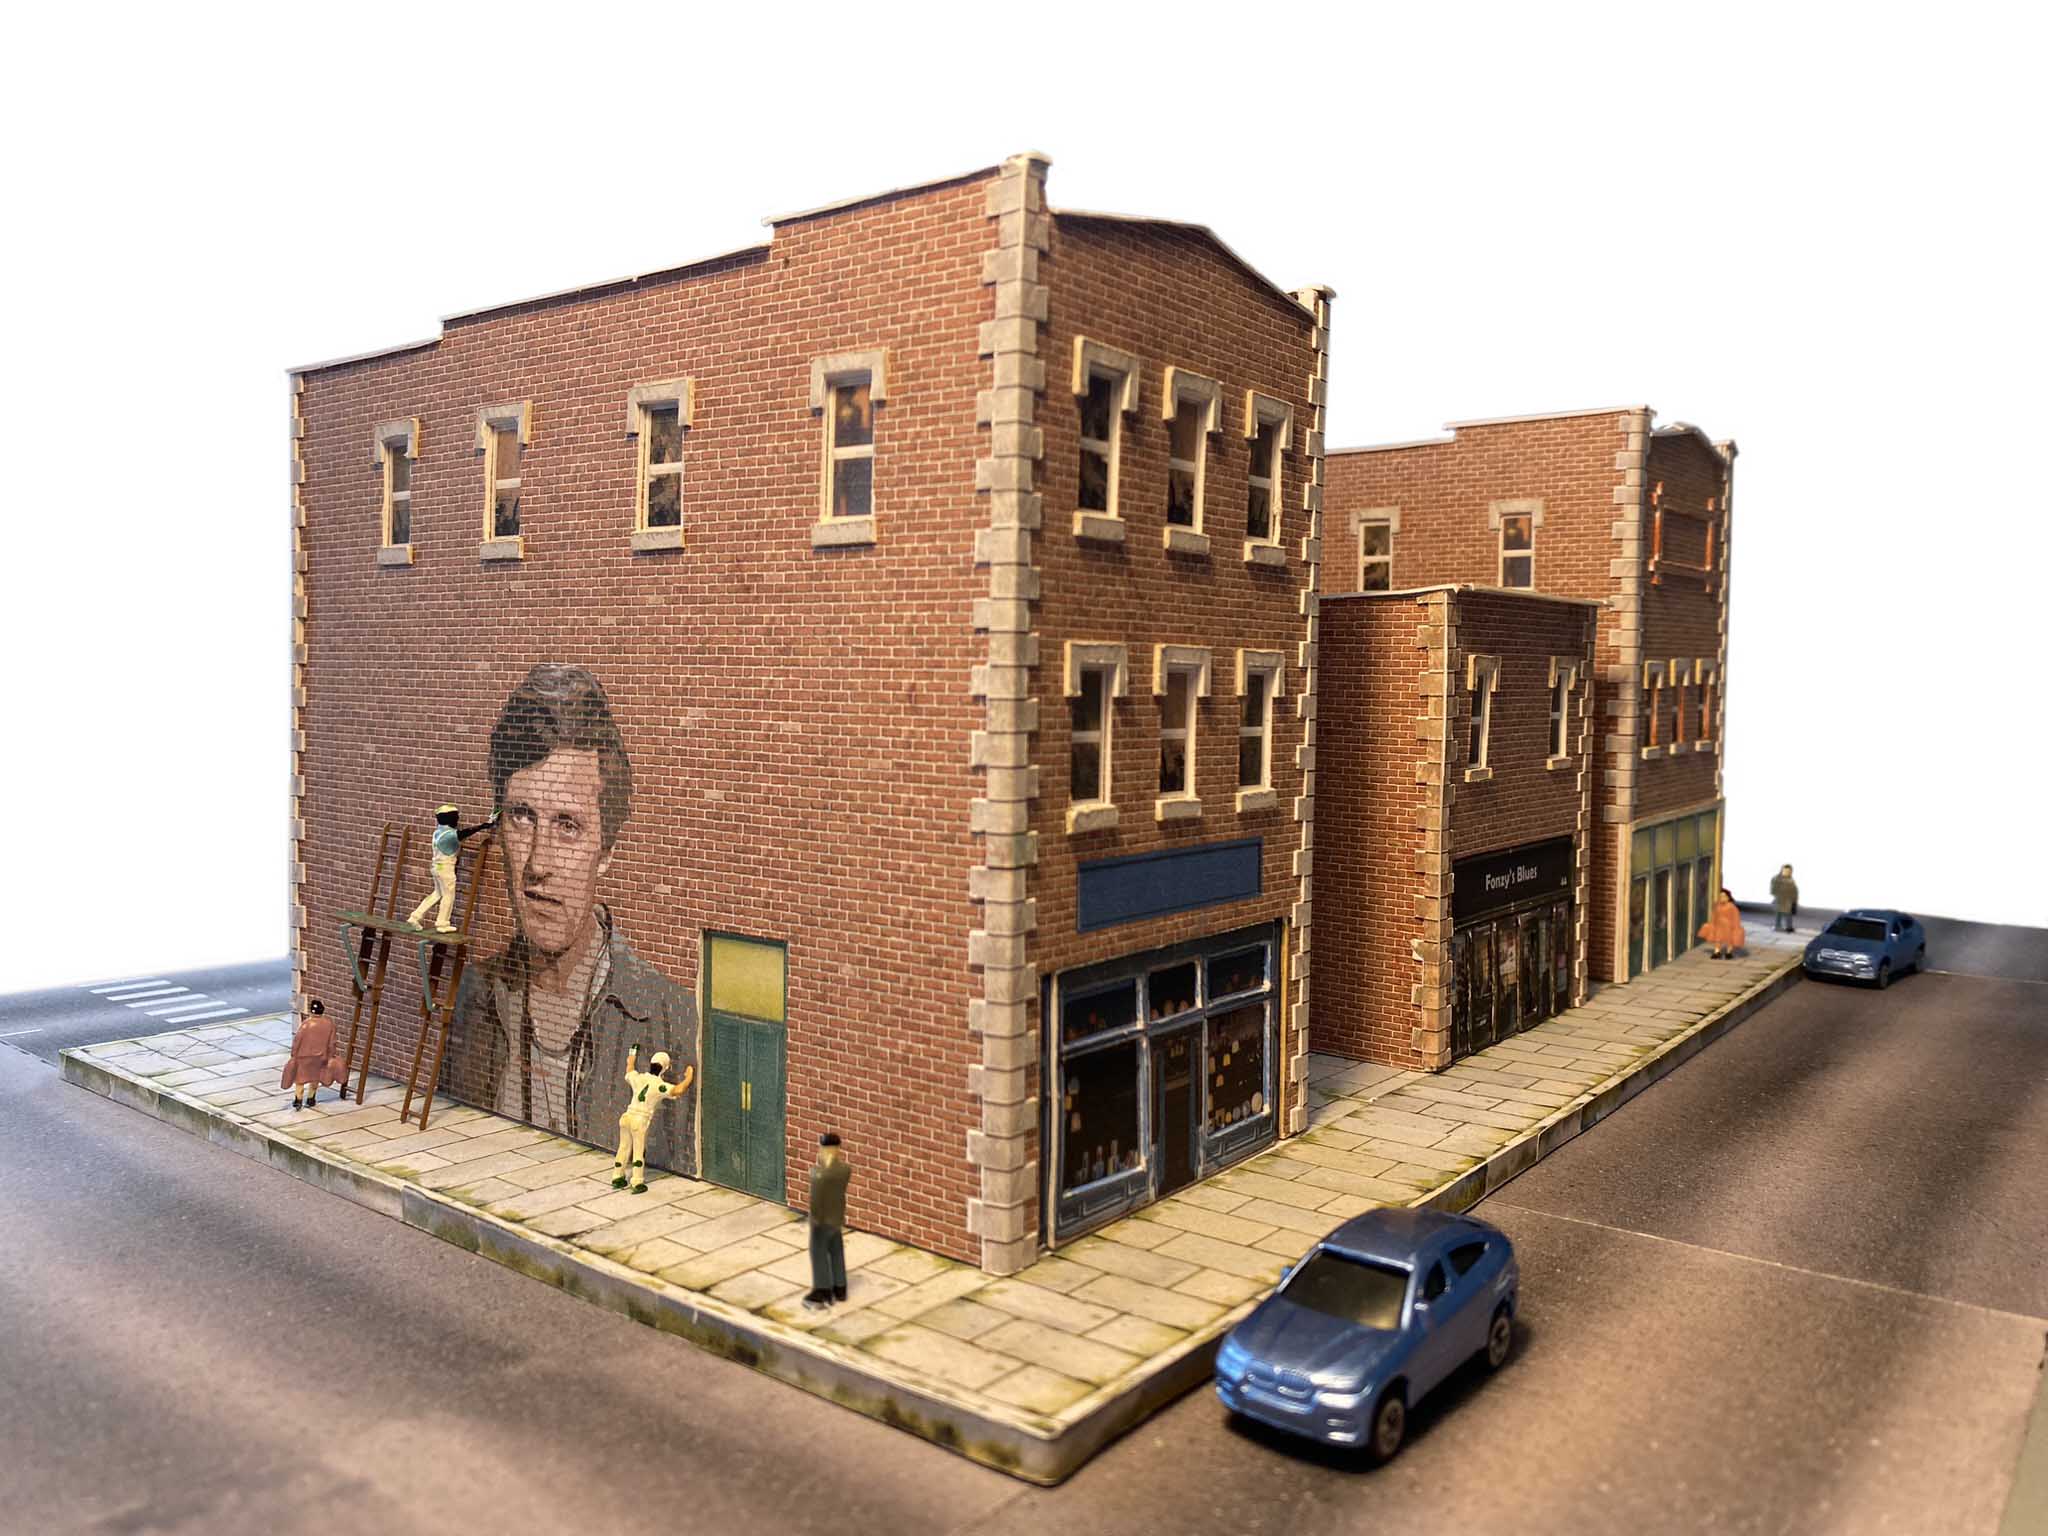
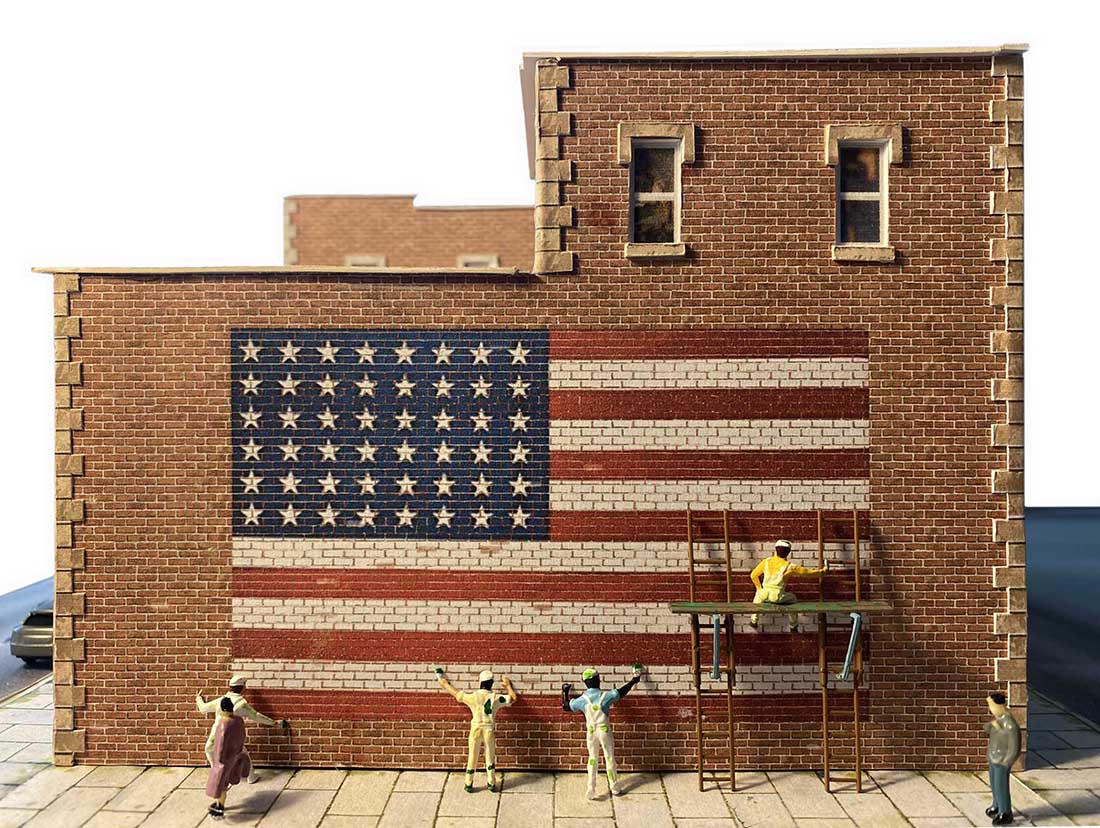
I hope the pics get across how any image can be added to this printable building (all you need to do is email the image you want on it after ordering).
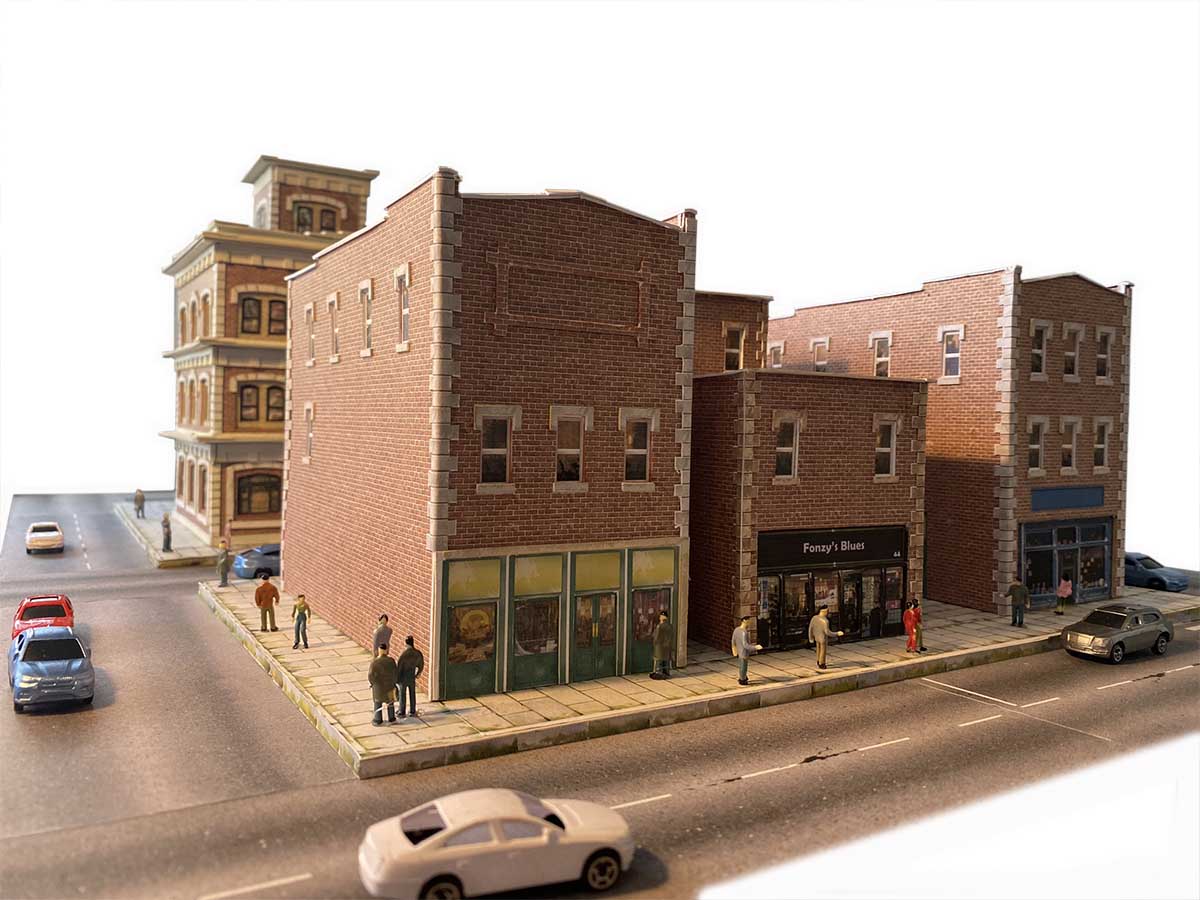
The building is a brand new one in the printable buildings range.
(If you’re new to printable buildings, you just download, print and stick together. Here’s a guide of how to make them.)
Like all the printable buildings, they are HO scale. For N scale just reduce the print size to 54%.
For all other scales, have a look at the chart on this page (by the way, O scale prints fine but is too big for a standard desktop printer – you’ll need to go to an office stationers).
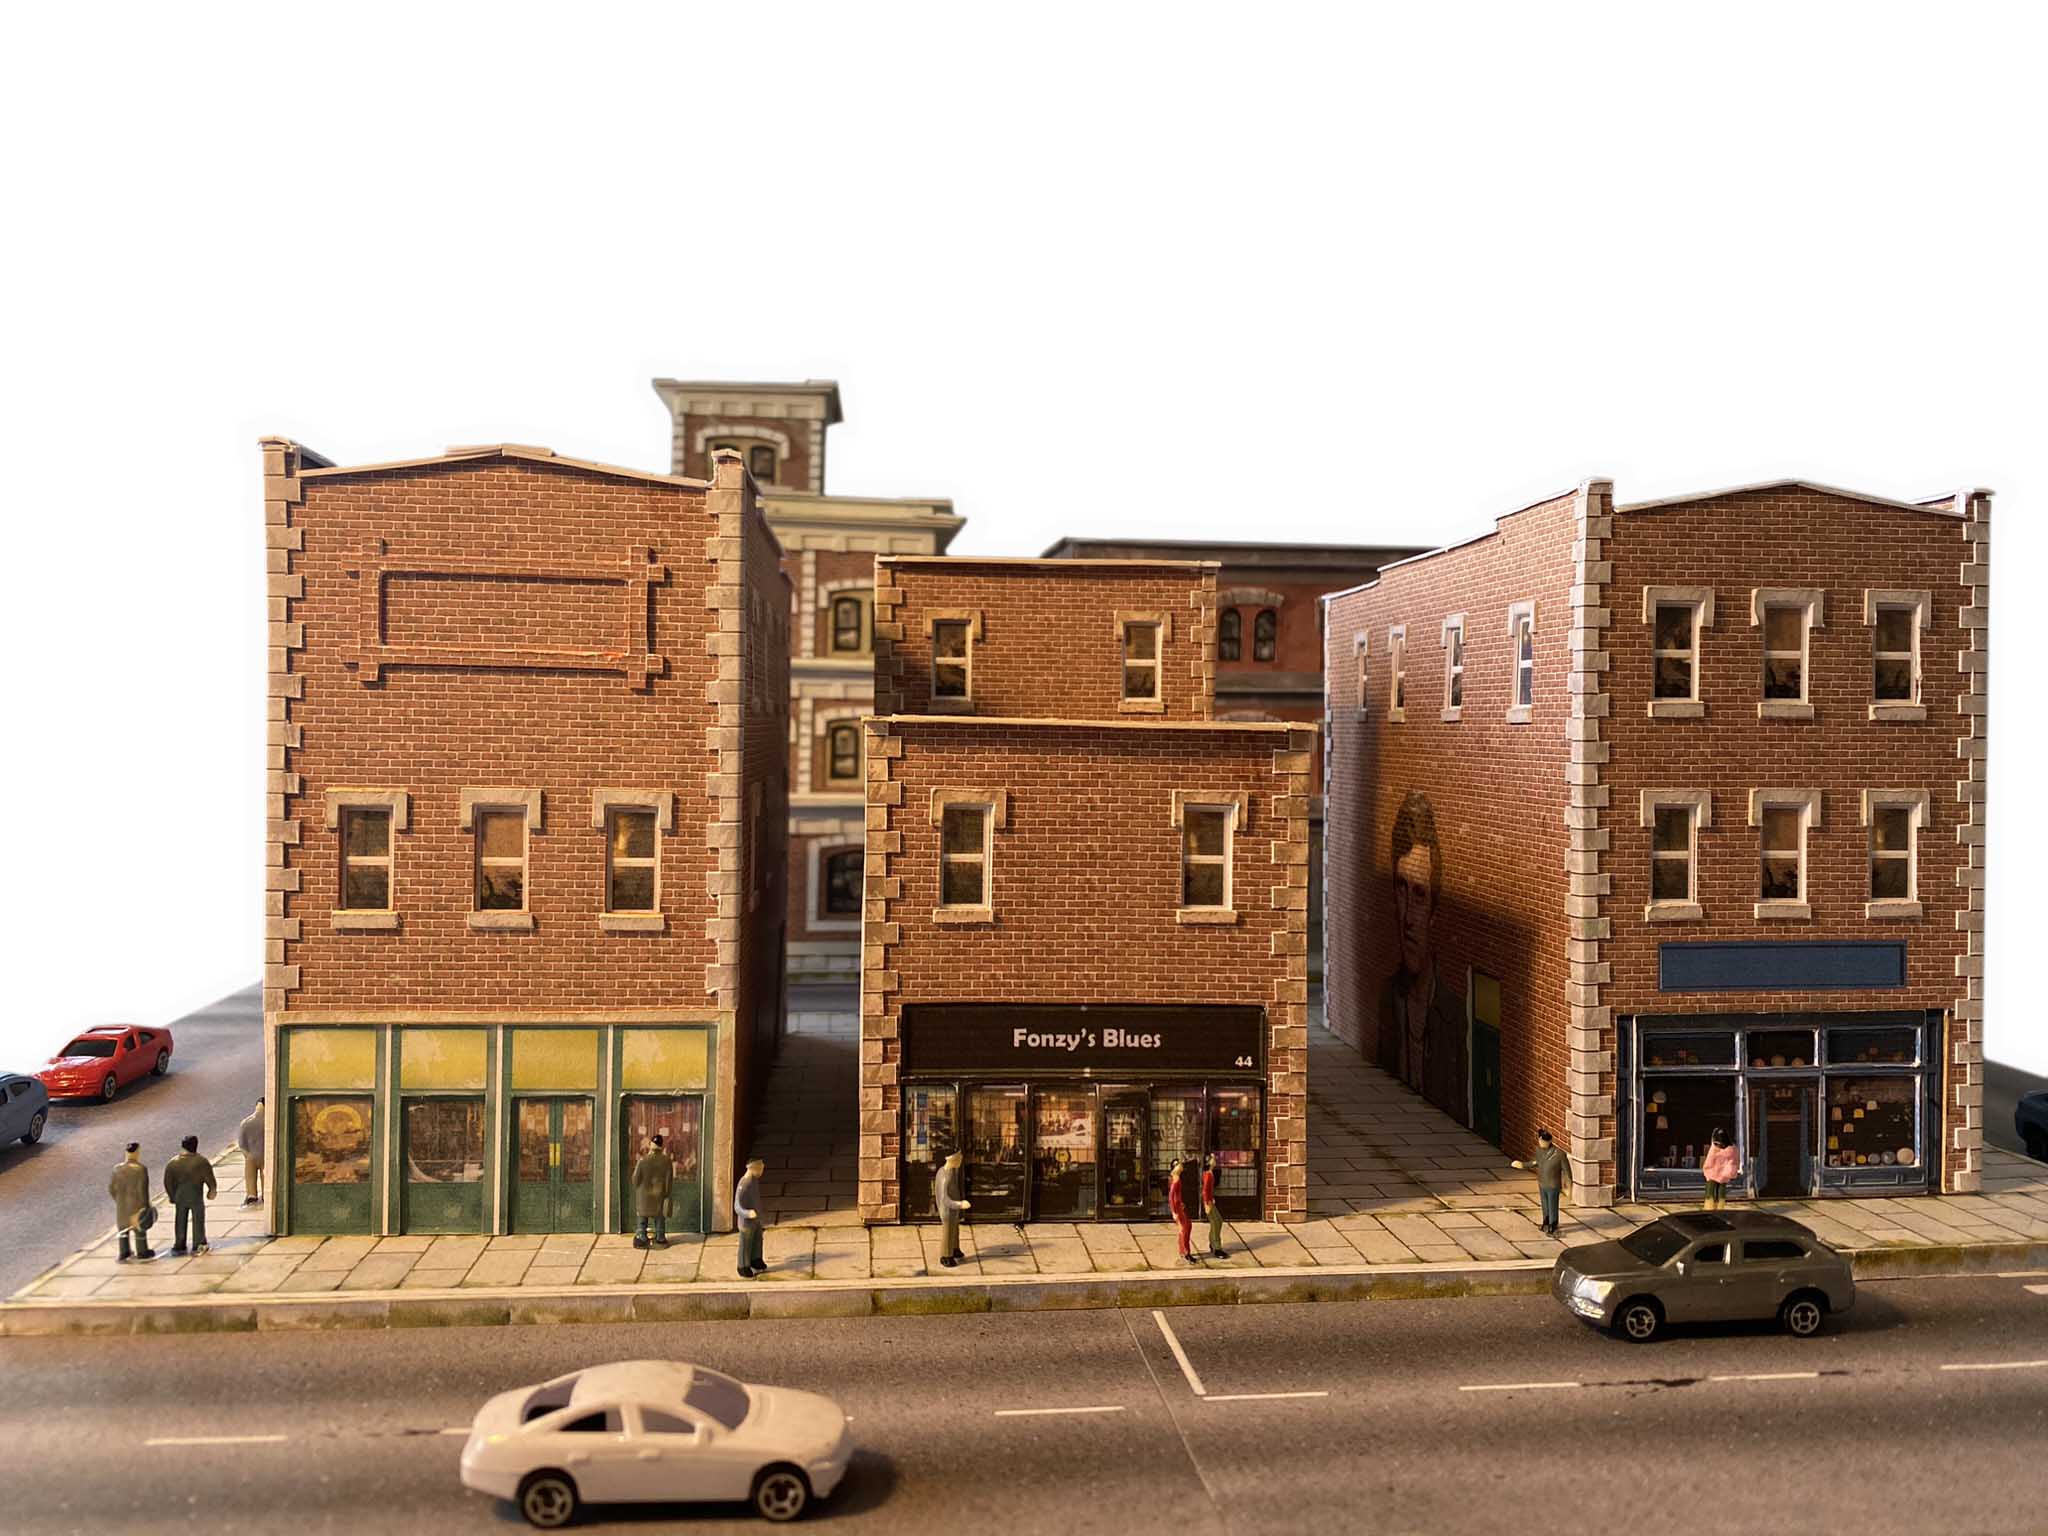
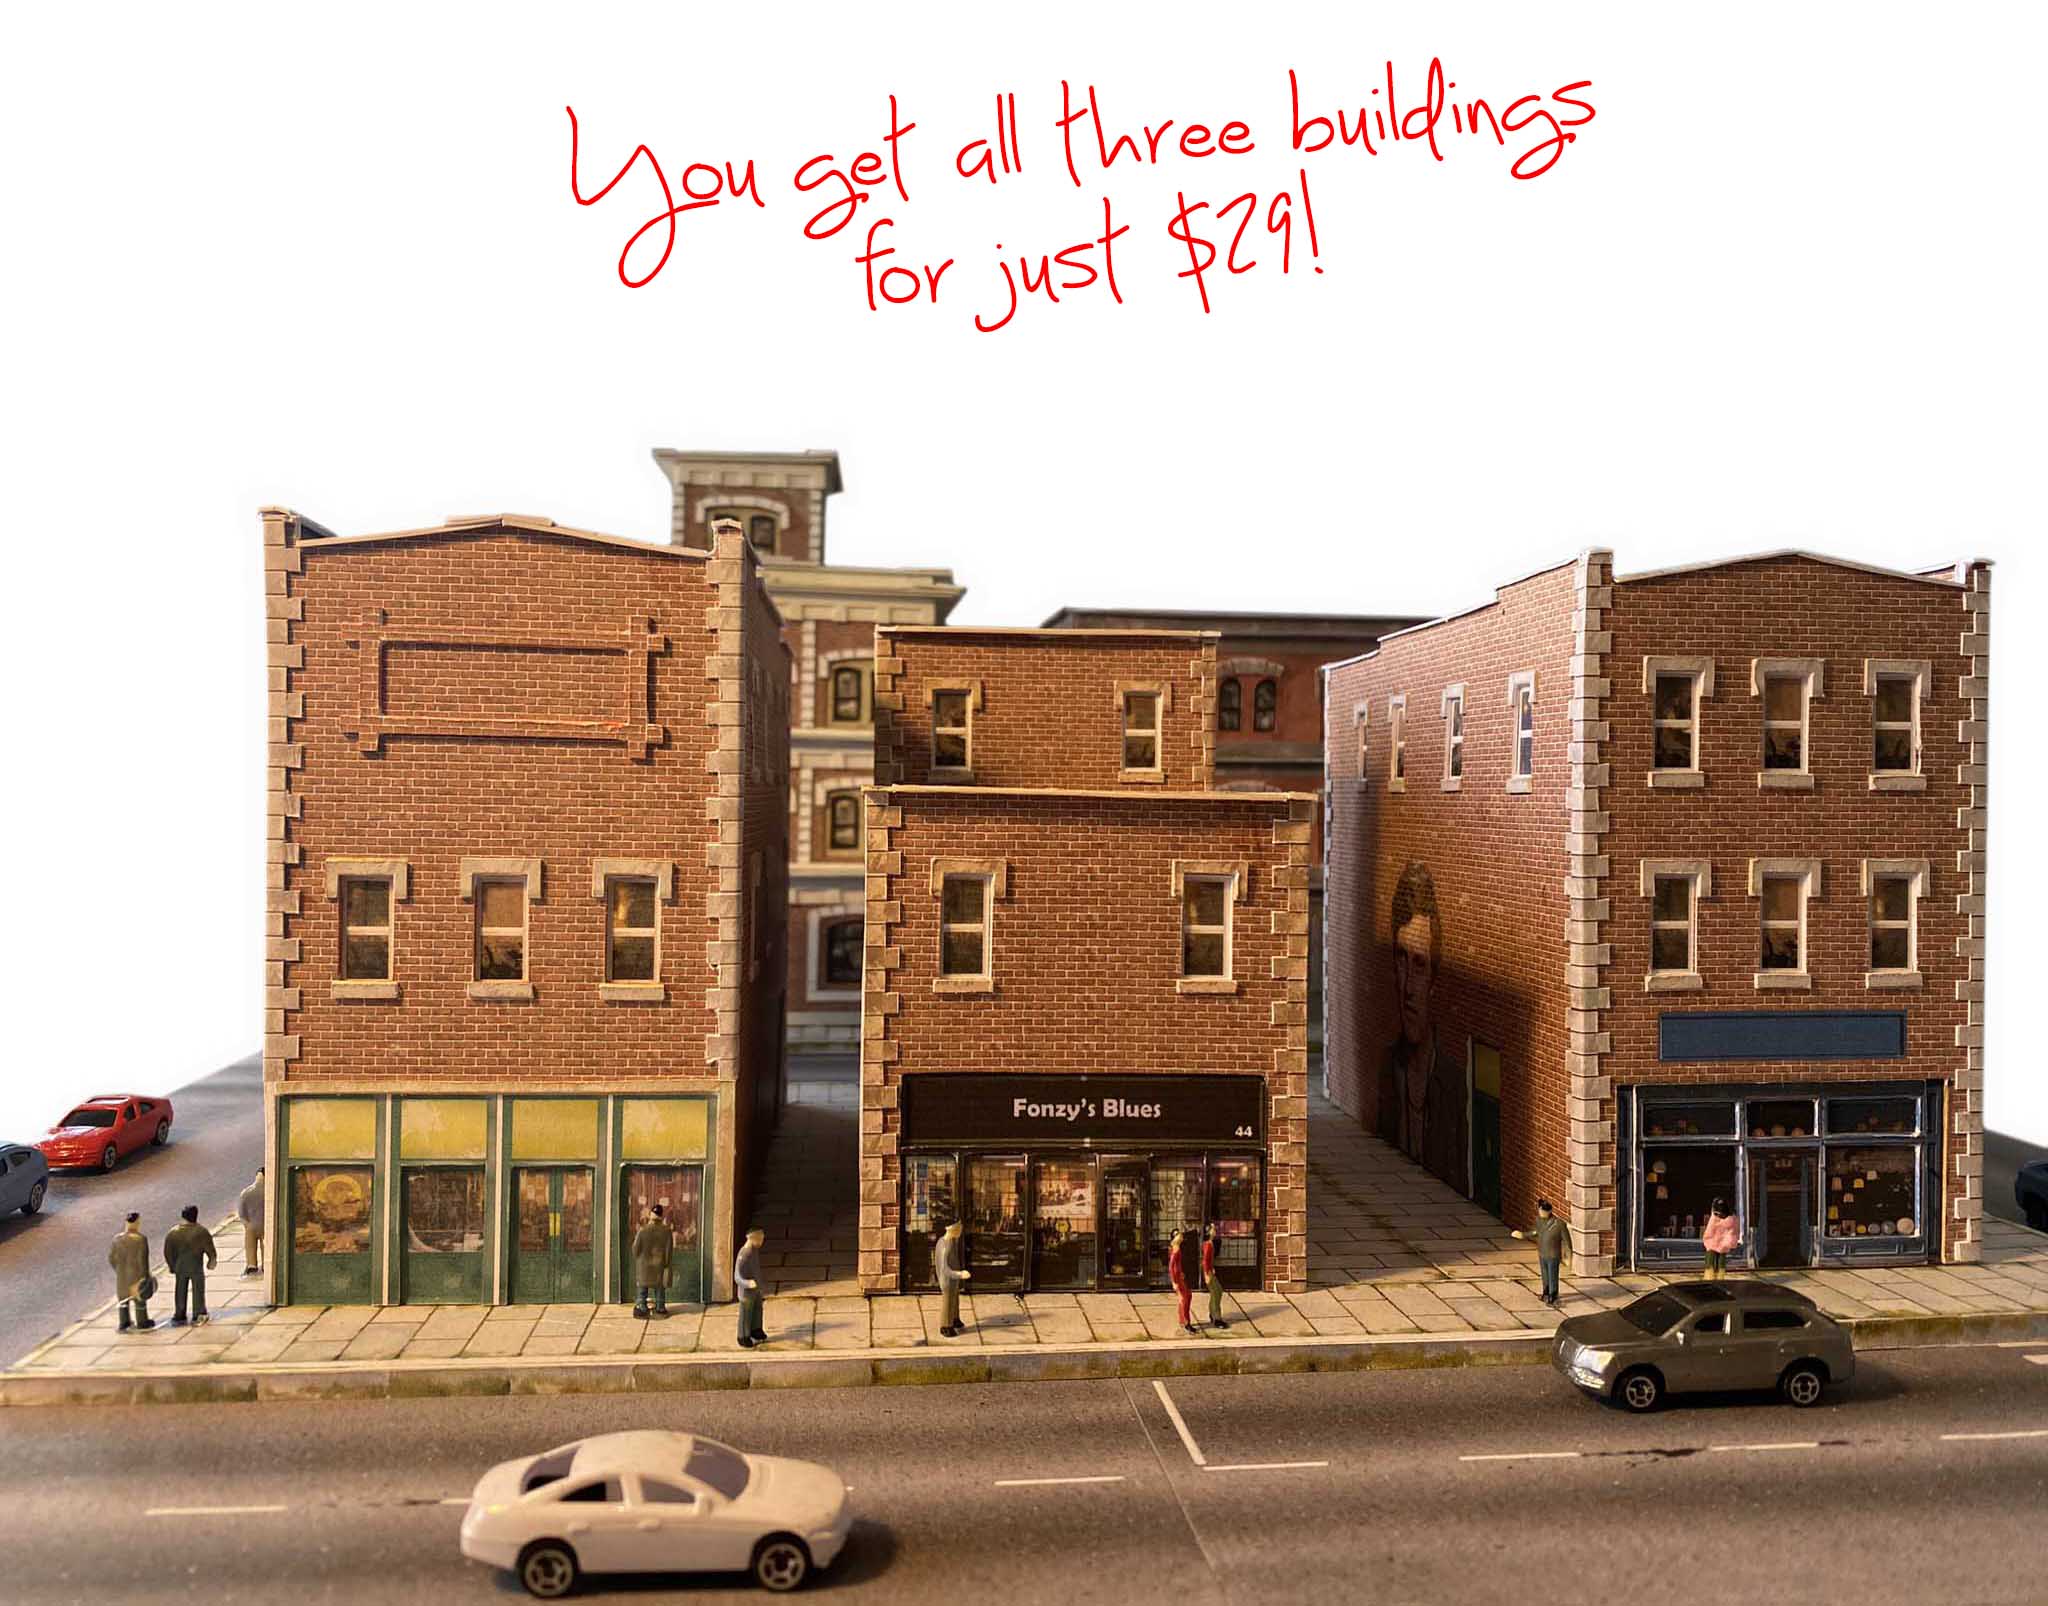
This print gives you lots of options, so you are able to make three buildings directly from the prints without any scratch building:
But there’s a catch – there’s always a catch isn’t there?
Each order for this new bundle means there is quite a bit of faff my end: I have to get the picture or image that you mail me on the building, and then get it to you.
So to be honest, I have no idea how long each one will take me.
That’s why I’m only looking for a few orders.
They may take me a long time to do, they may not. But if they do, I don’t want it getting in the way of the blog.
So if you can’t see the ‘order now’ button, it’s because I’ve taken it off because a few of you have been kind enough to support the blog and buy.
I suspect I’ll have to charge a lot more after my trial run, but let’s see how long they take (or rather, how long they take the Boy Wonder to do).
This building (or buildings should I say, because you get three to make direct from the print) is a little more expensive than the others because of the extra work my end to add your image.
It’s a whopping $29. But still good value when you see the price of other normal buildings out there.
And you’ll get a personal touch to your layout that will make everyone who sees it smile.
Picture the love of your life, or the grandkids seeing their face being painted on a building wall of your layout. Priceless!
So, to make it really clear, $29 gets you these three buildings and a ‘personal’ wall:
Any pic, flag, logo or whatever you wanted added to the wall of your choice:
You get the buildings as soon as you order – I’ll email you a link.
Then you just need to choose an image you’d like on your building, mail it to me, and you’ll get the second part of the order shortly afterwards.
Full disclosure though, I don’t know how shortly – might be a few days to be honest.
Oh and also, this deal does not include in the Woodland Scenics Painter set either. This ebay link is your best bet if you want them too.
So if you feel like supporting the blog and adding a very personal feature to your layout, you can grab it here.
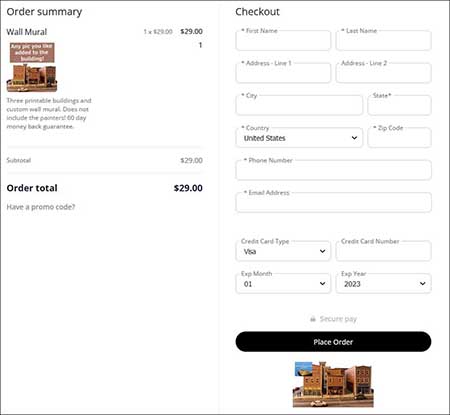
Here’s what the checkout page looks like:
Of course, I’m biased, but even if you haven’t got a layout, this printable building is a perfect way to ease yourself back into the fun.
What’s more, there is a no quibble 60 day money back guarantee as usual.
Hope you have as much fun as I did with these buildings, and I can’t wait to see one a layout – that really will make me smile.
That’s all for today folks.
Please do keep ’em coming.
And if today is the day you get started on your layout just like Stan and Ollie, the Beginner’s Guide is here.
Best
Al
PS Latest ebay cheat sheet is here.
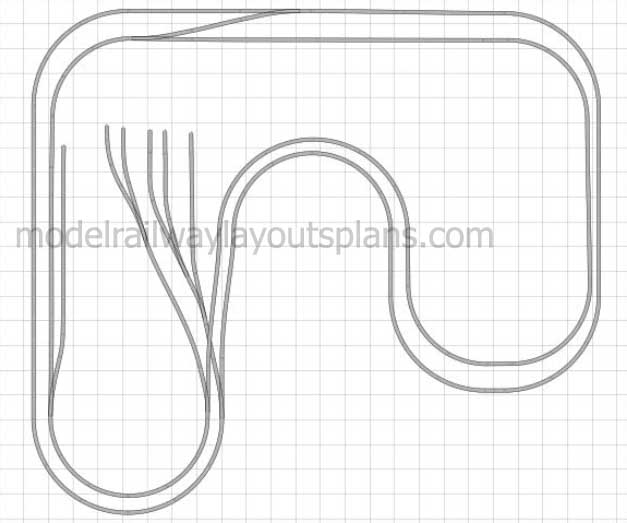
PPS More HO scale train layouts here if that’s your thing.