Gary’s been back in touch with his his ‘National park’ model railroad theme.
He’s been busy adding more personal touches:
“Alastair:
As always, thanks for all that you do. You have published two of my submittals and here is an update on a few new “features”.
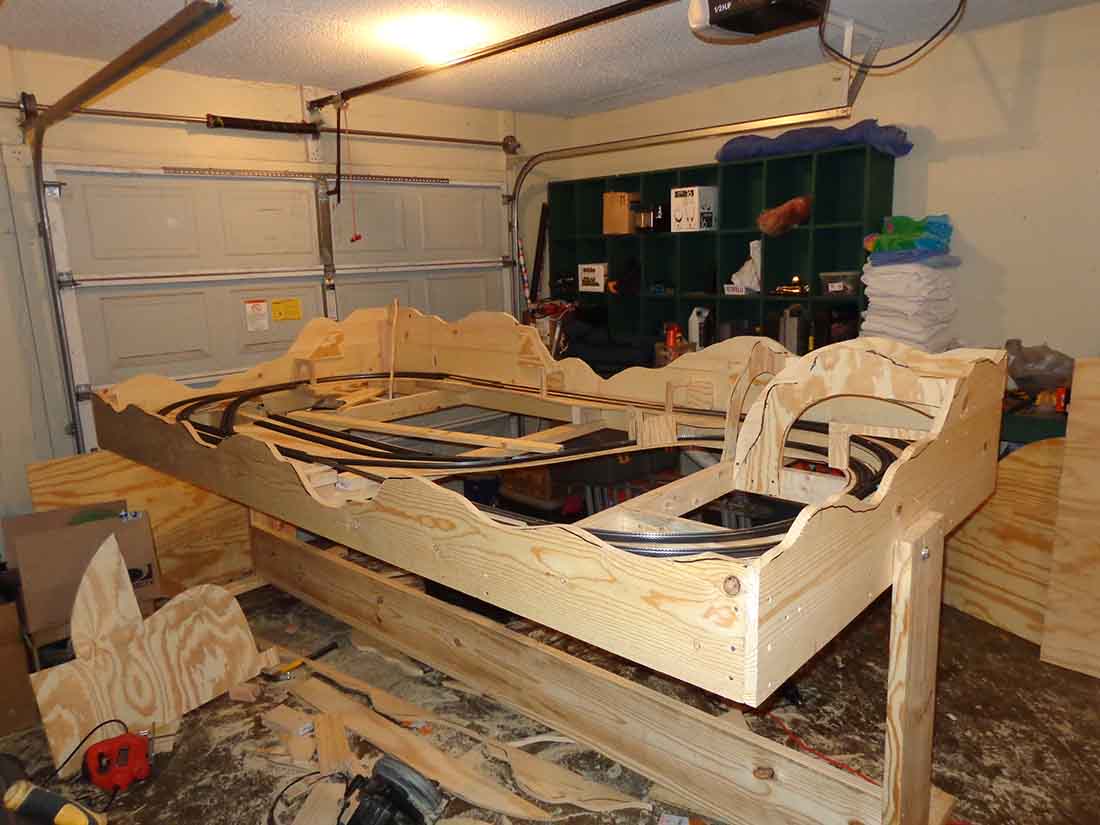
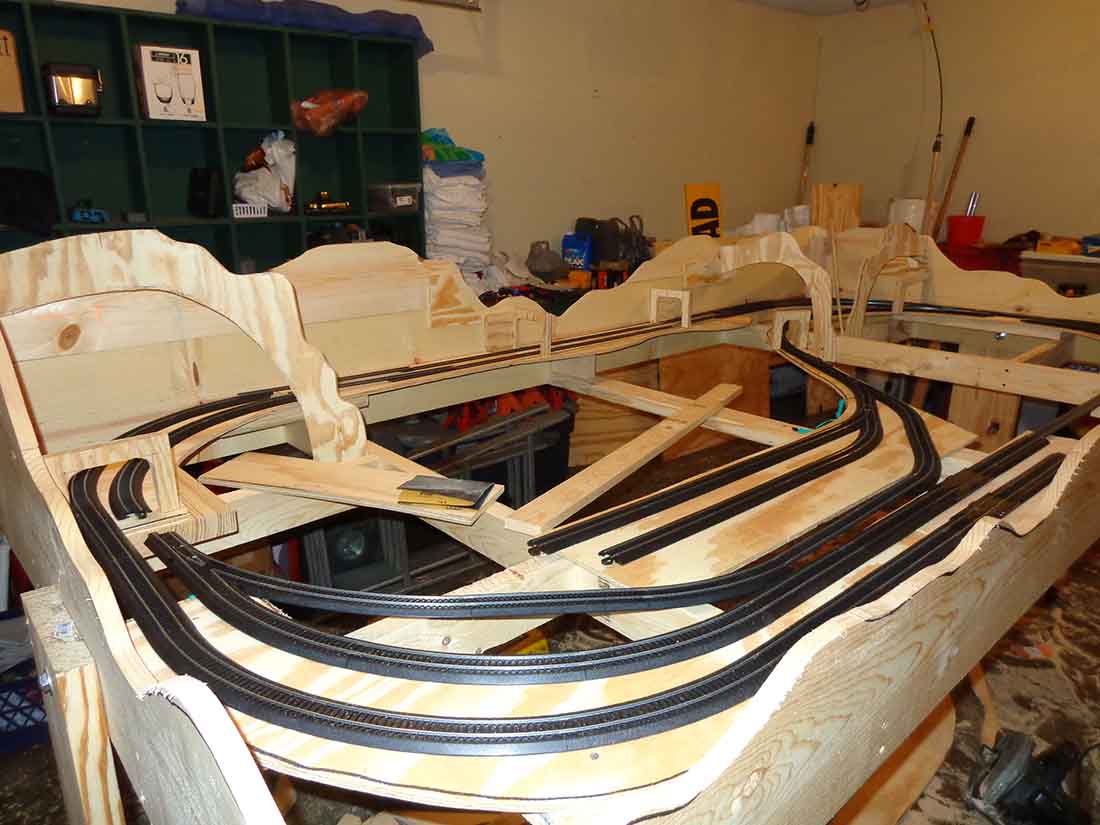
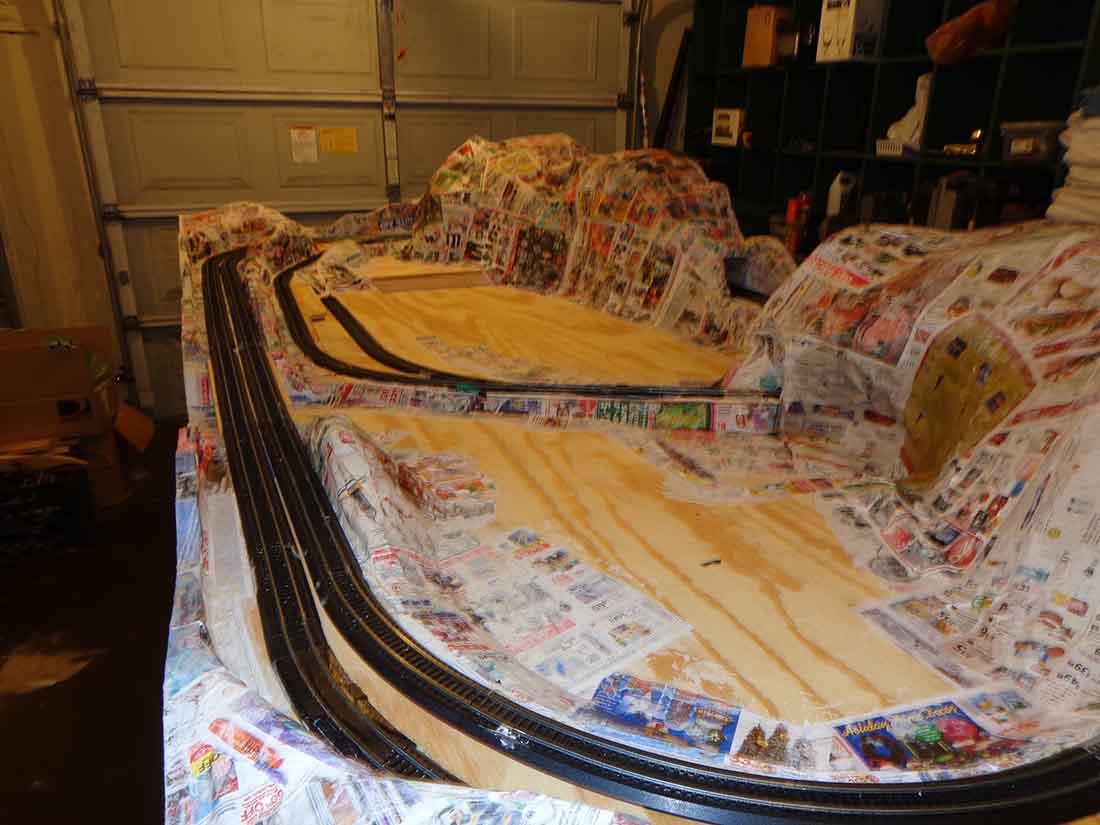
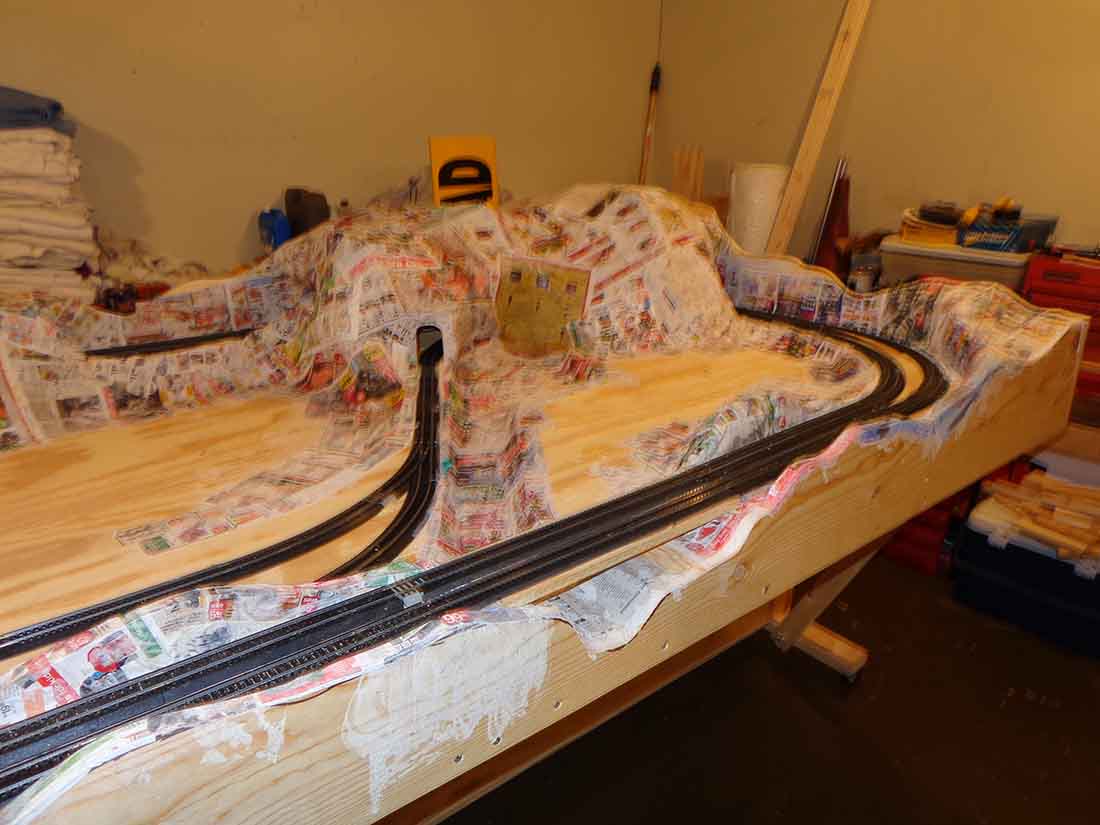
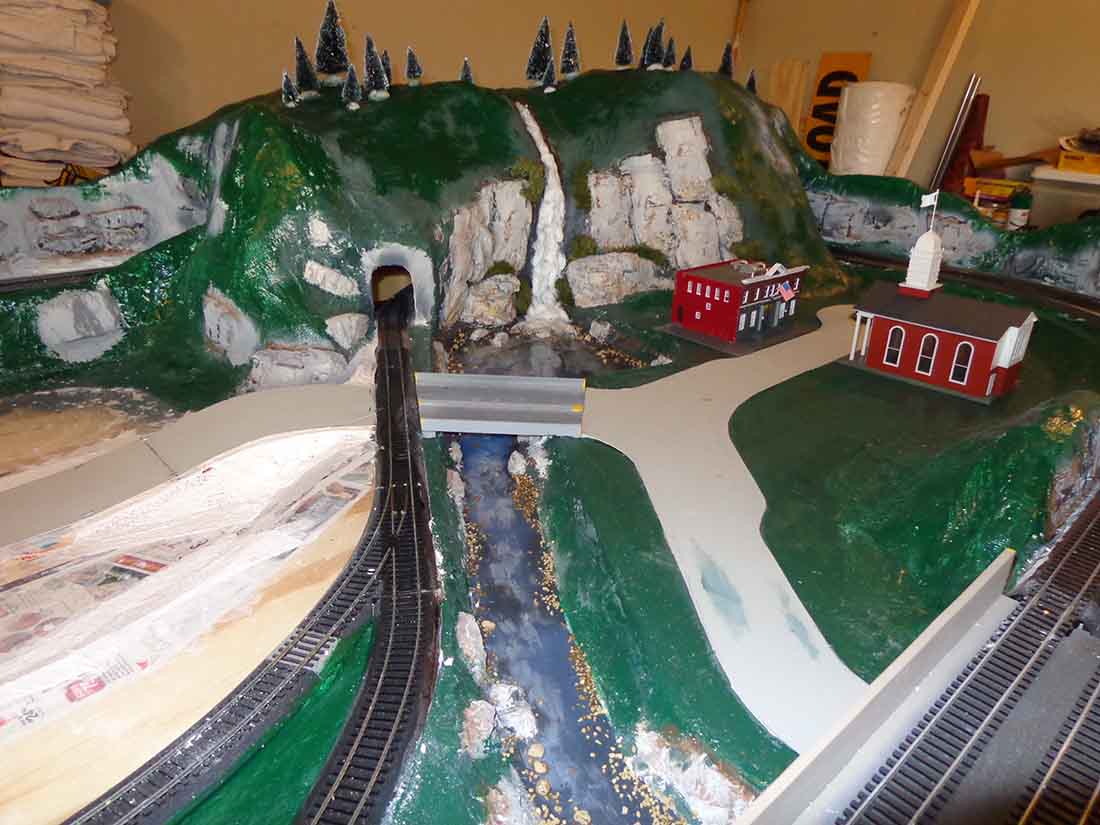
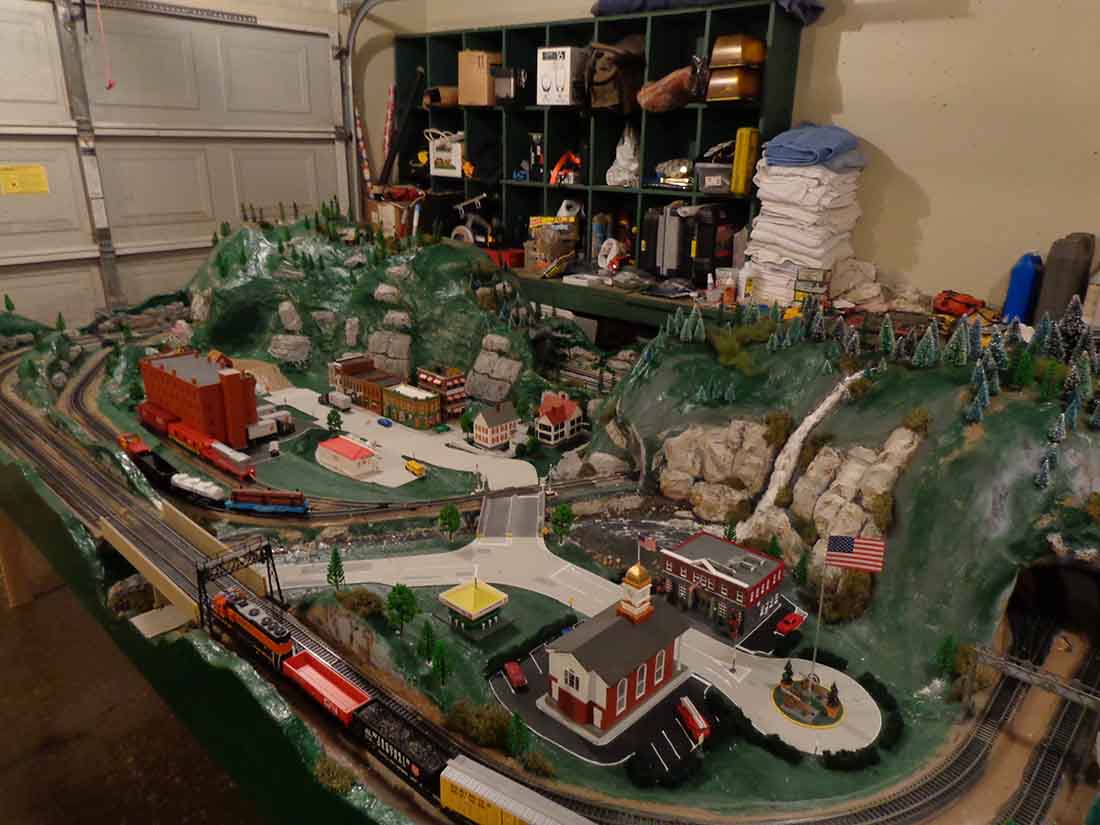
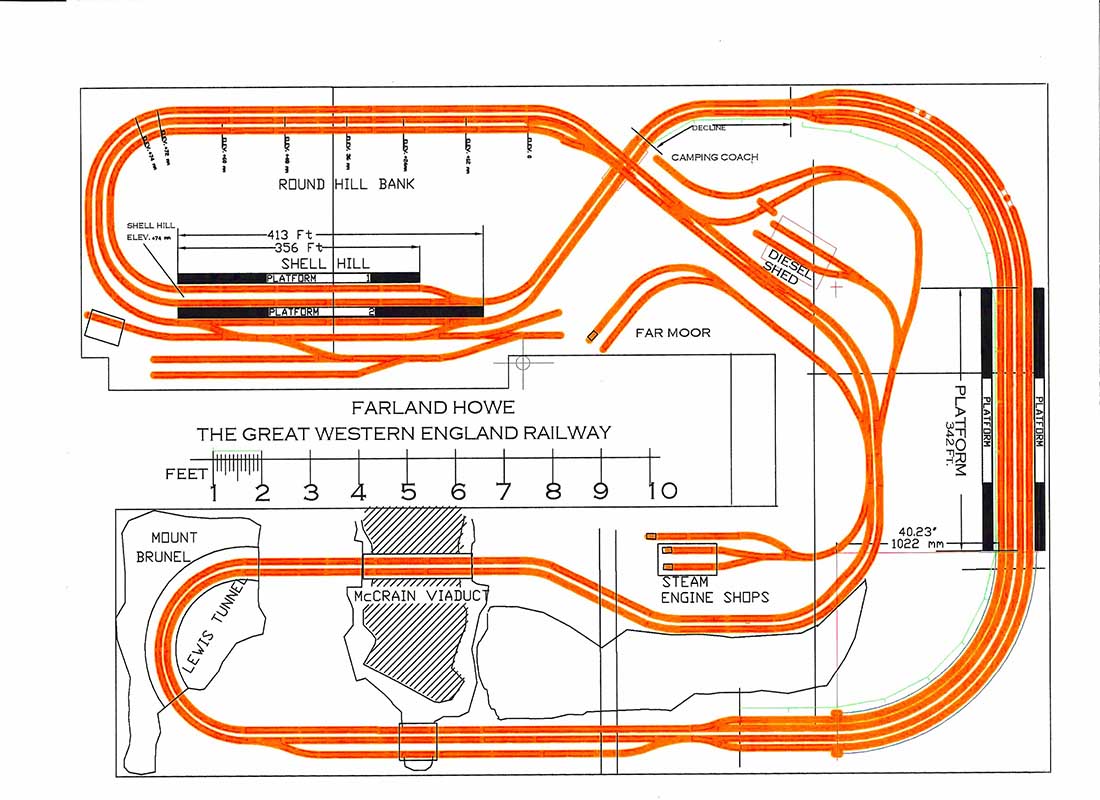
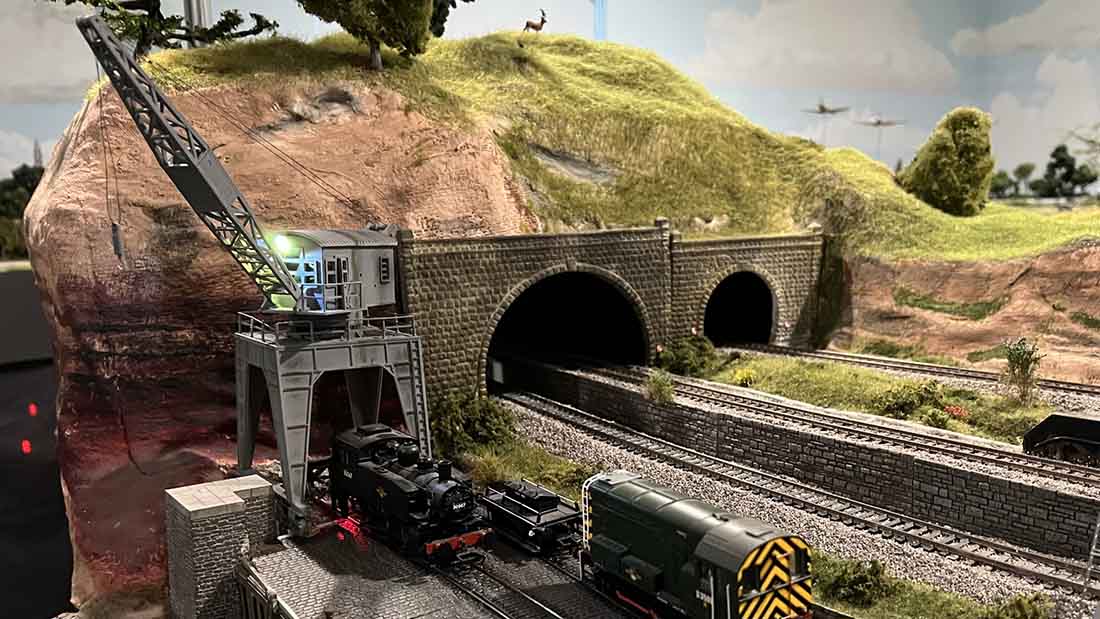
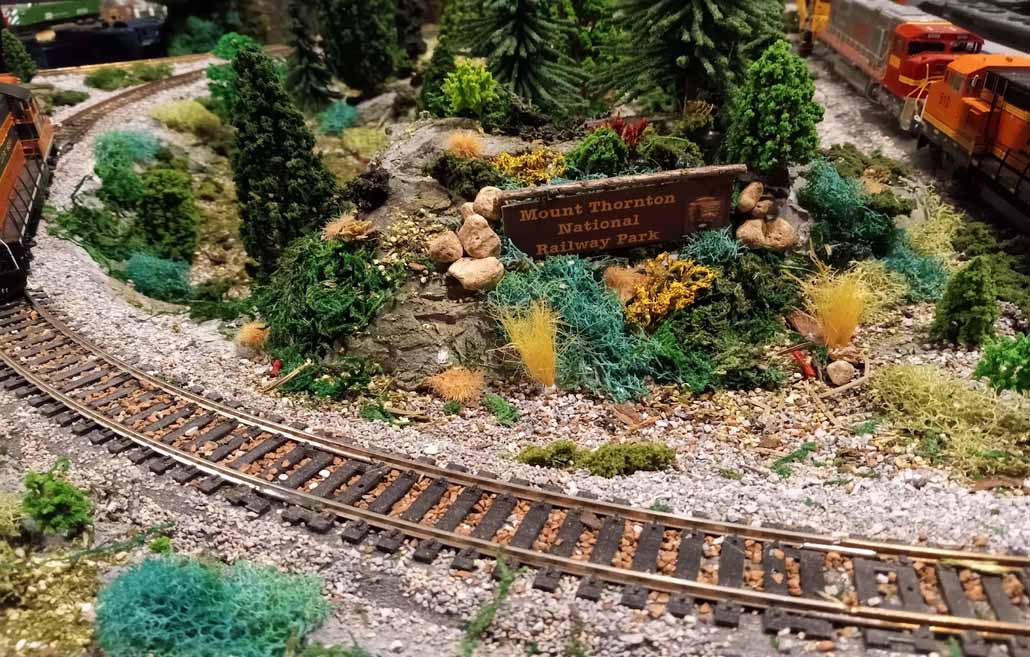
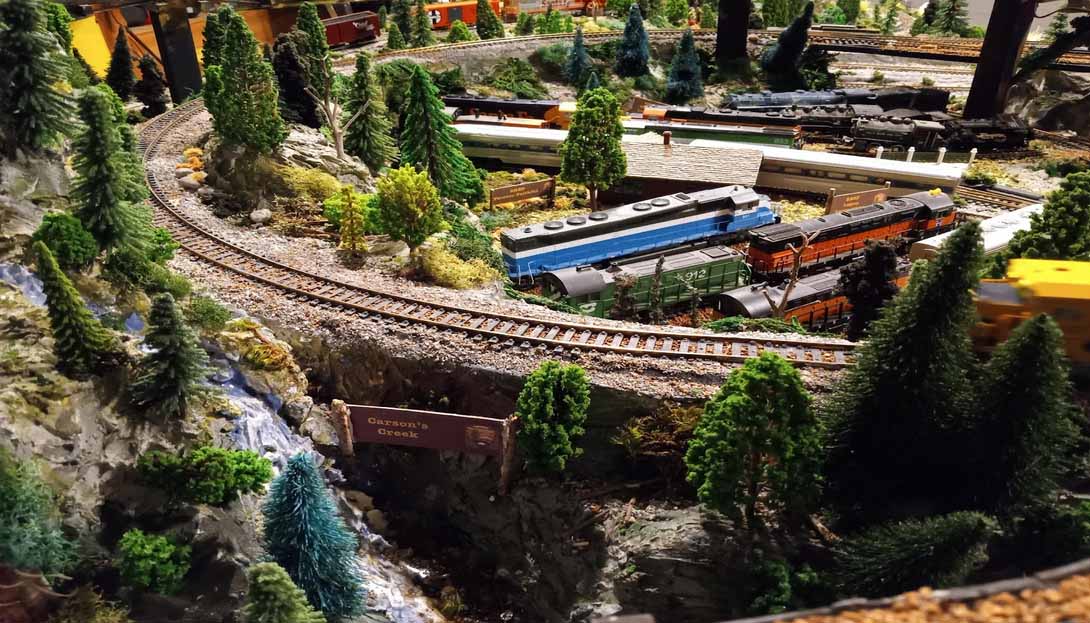
As you may recall, my layout is based on a “National Park” theme and now there are some new stories to go with my Mount Thornton National Railway Park.
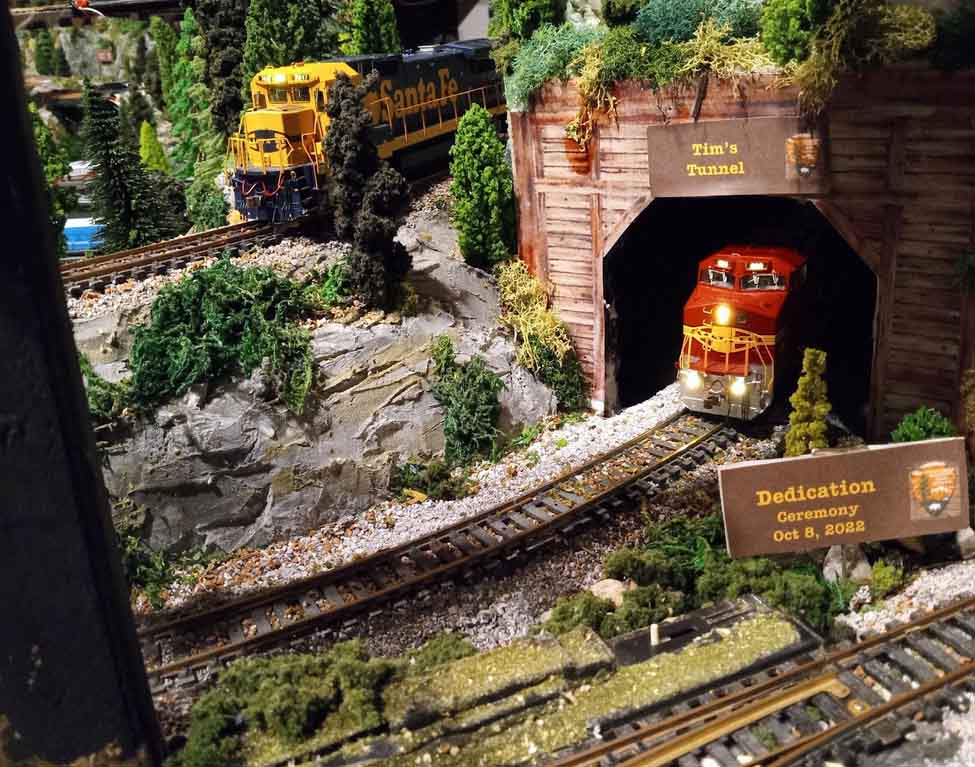
The first is the naming of the tunnel on Mt Thornton. Last fall my son-in-law volunteered himself and his brother Tim to rebuild the deck off my back porch.
In appreciation we held a dedication ceremony, had Tim cut the ribbon and unveil the sign for Tim’s Tunnel. He was very surprised and appreciative of the recognition.
Then my nephew came to visit along with his 10 year old son, Carson, who immediately fell in love with model railroading.
He so loved running the trains, that given the option the next day to do whatever he wanted to do while in town, he chose to do more railroading and he spent hours running the units all over the layout. It seemed only fitting the Carson’s Creek became part of the local lore.
Then I pulled off the ultimate tribute. My wife of 60 years (the one that let me build my layout in the garage and install the hoist that lifts it to the ceiling), already had her “Sharon’s Summit”.
However four years ago, before I started the layout, she required surgery which was quite successful and her oncologist/surgeon was extremely personable and supportive. One year ago, for her check-up visit, I shared some photos of Mount Thornton National Railway Park and now he makes it a point to ask what’s new.
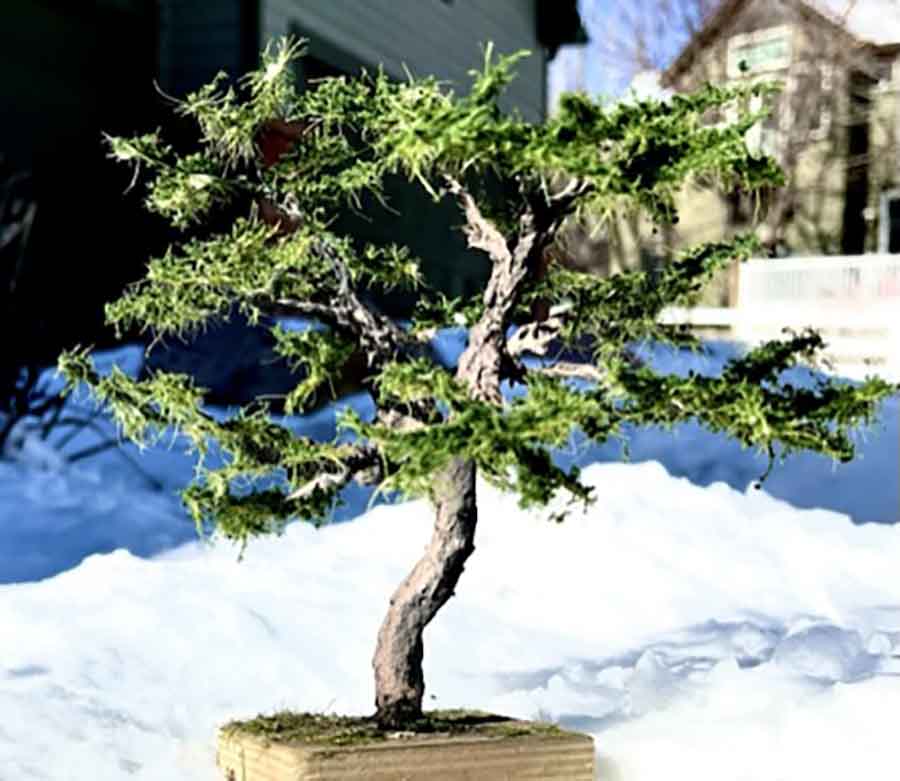
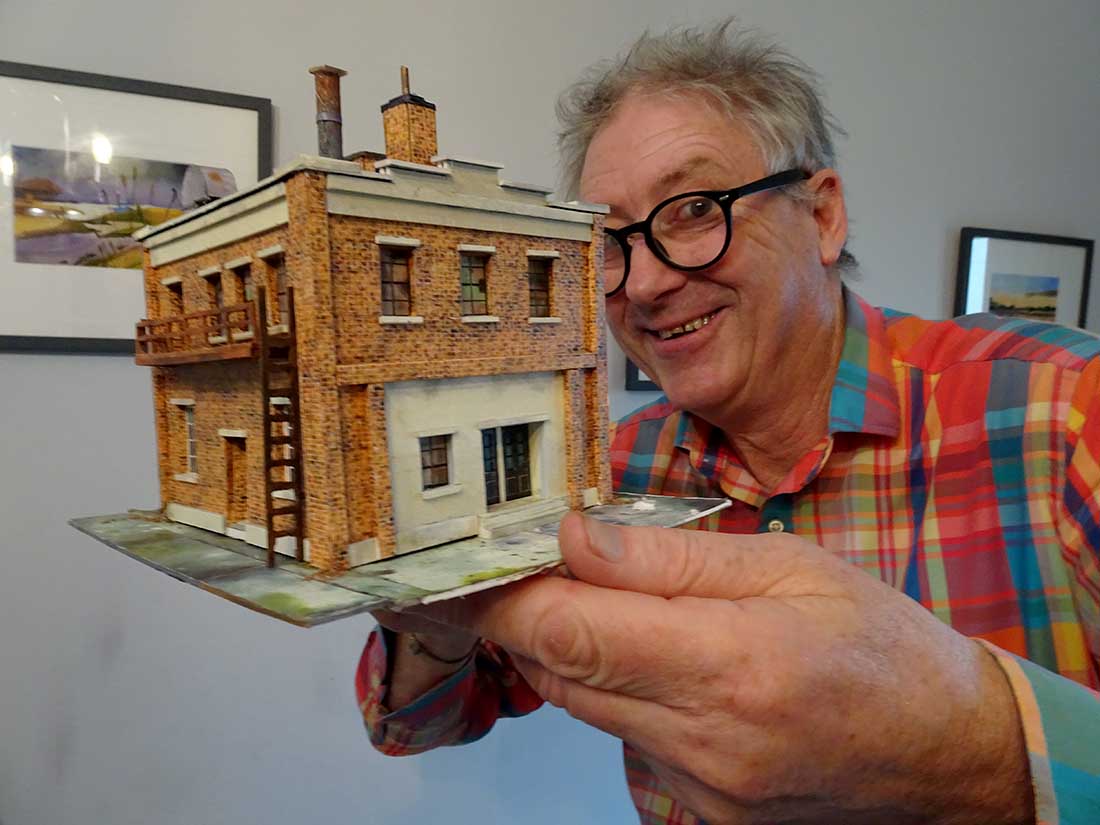
This year, unbeknownst to my wife, I created Gubbi’s Grove and shared the pictures with my wife and the doctor of the new area named for him.
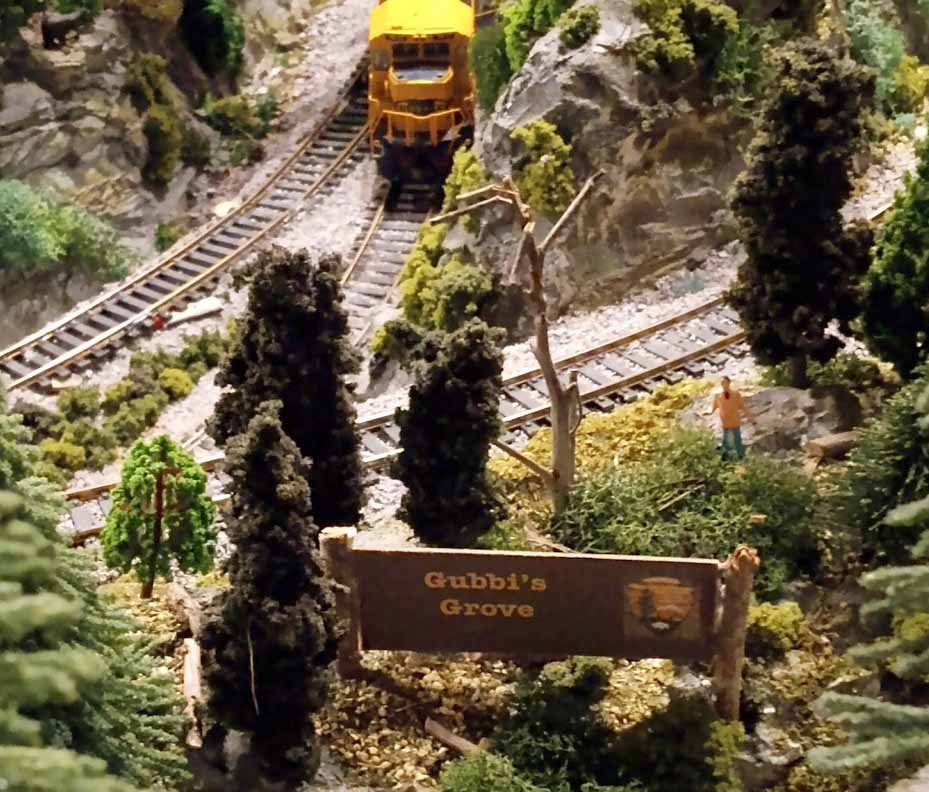
He was really surprised and honored to become part of the lore of the “park”. I created a small (3” x 5”) replica of Gubbi’s Grove, complete with trees, shrubs, gravel and ground cover, so that he had more than a photo as a reminder of what he has meant to my wife and the rest of the family.
These are things that I never anticipated when I started my model railroading journey, but they have become a highlight of my experience because people seem to be so honored to be recognized in such a unique way.
I guess it is just more proof of the multiple joys that can be derived from model railroading.
Gary”
Now on to Jack:
“Hi Al,
I guess we all have setbacks with our layouts. I’ve had two in the past week.
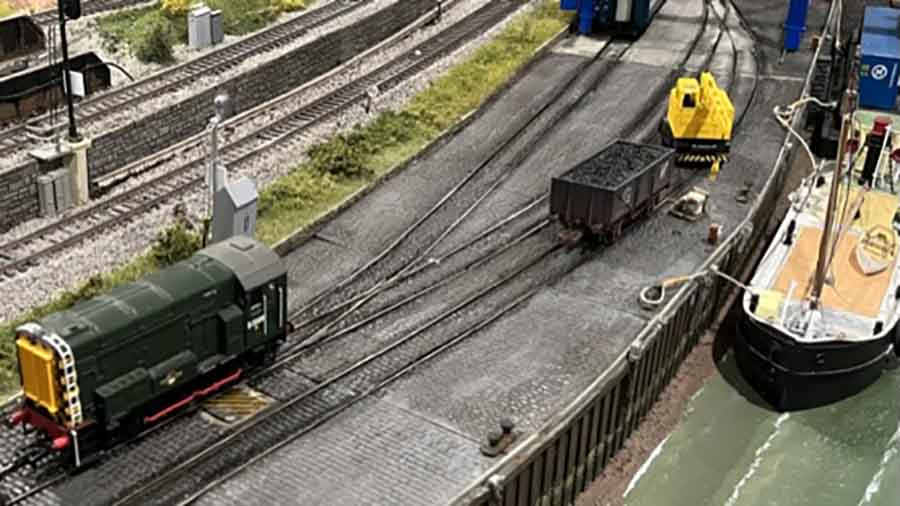
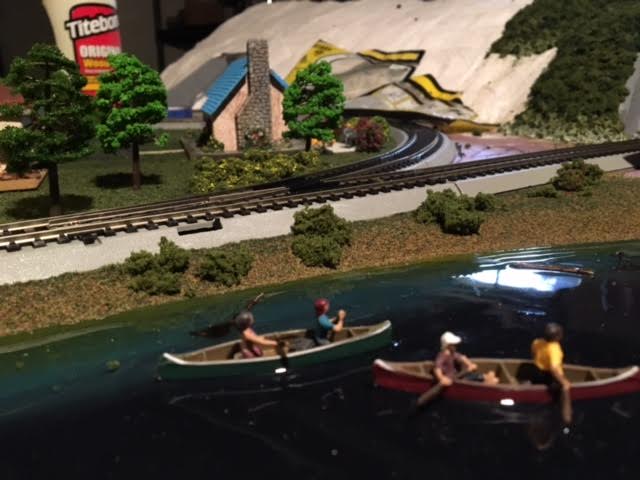
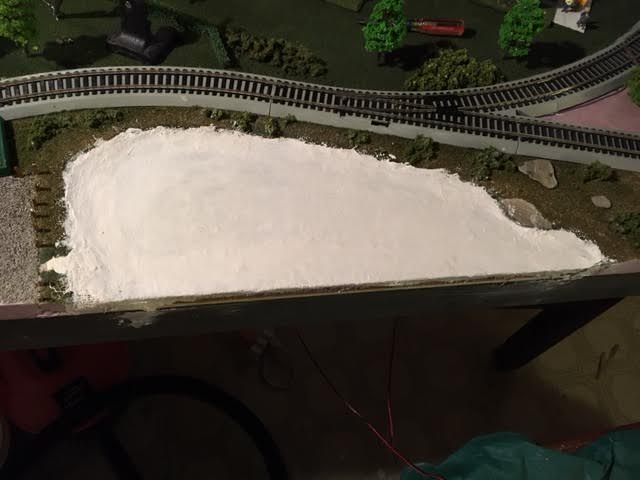
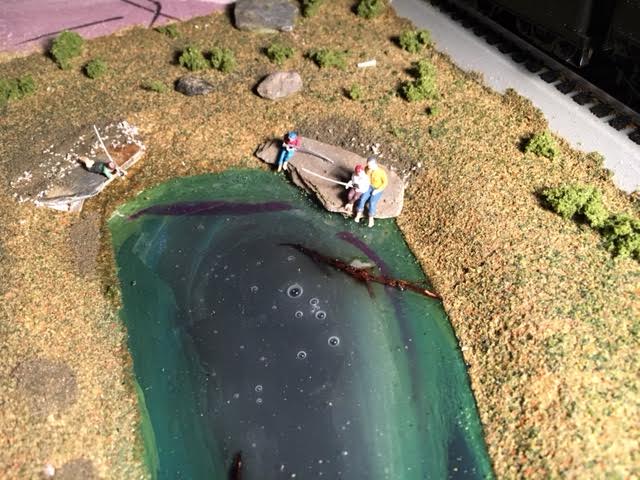
I had set up my lake using Woodland Scenics Realistic Water. I had a dock, canoes and a car backing in to unload a boat. A reader of one of my emails said he had trouble with bubbles using Realistic Water. I started having the same problem. The bubbles ruined the scene.
I researched Realistic Water and found that off gassing from the foam insulation causes the bubbles. Woodland Scenics recommends lining the water with plaster cloth, completely sealing the foam. So, I ripped out the lake and lined it with plaster cloth. Back to square one.
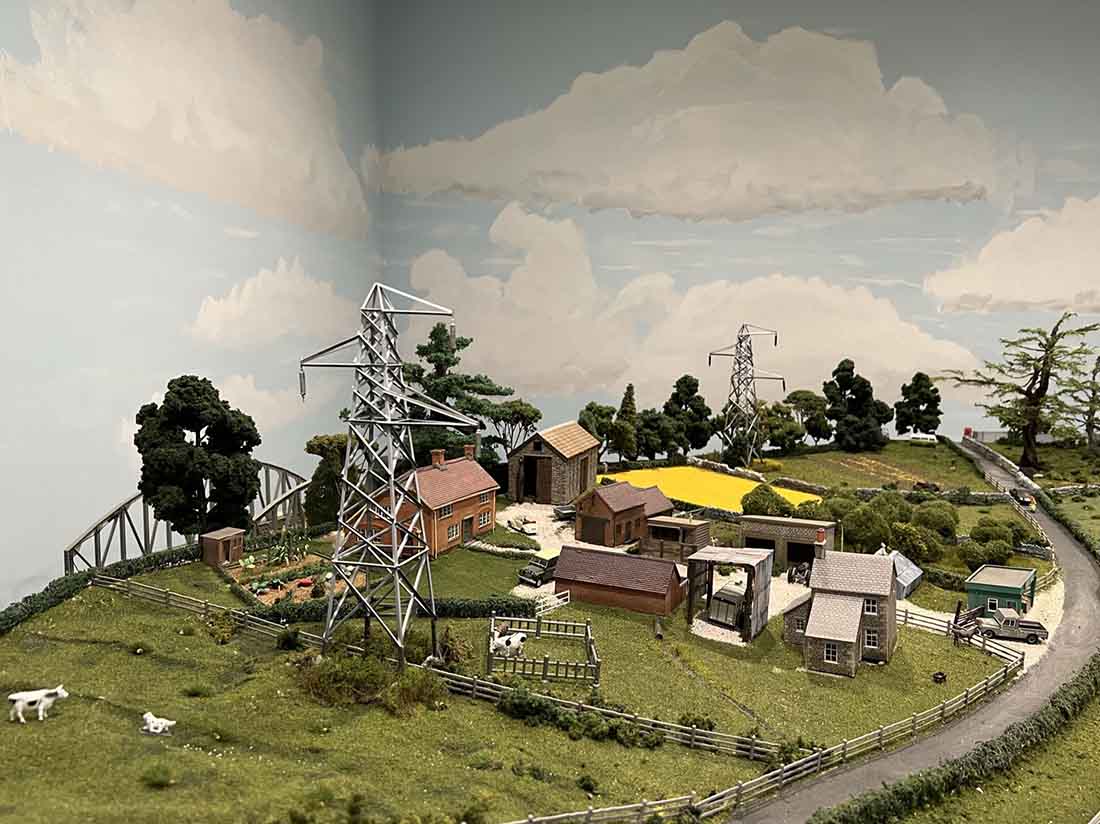
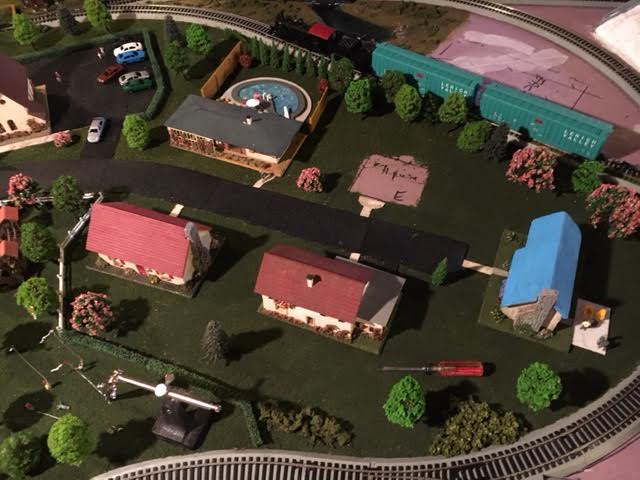
The other issue was a water leak on the first floor, that dripped down on the layout in the basement. By the time I found the damage, much of the grass in my residential area was ruined. So, using a dropper and warm water I loosened the grass in small sections at a time and scraped it off.
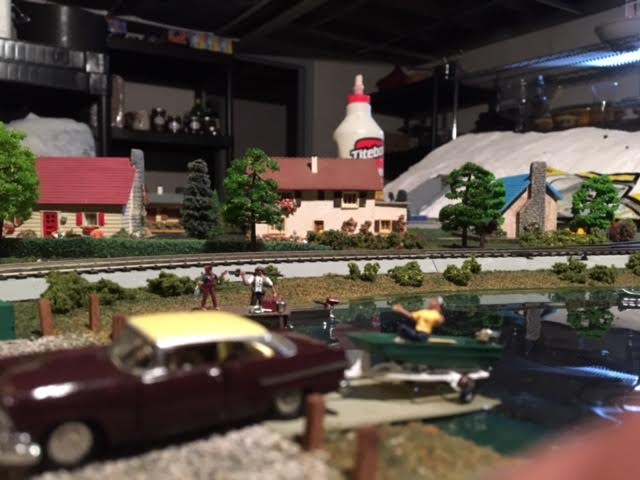
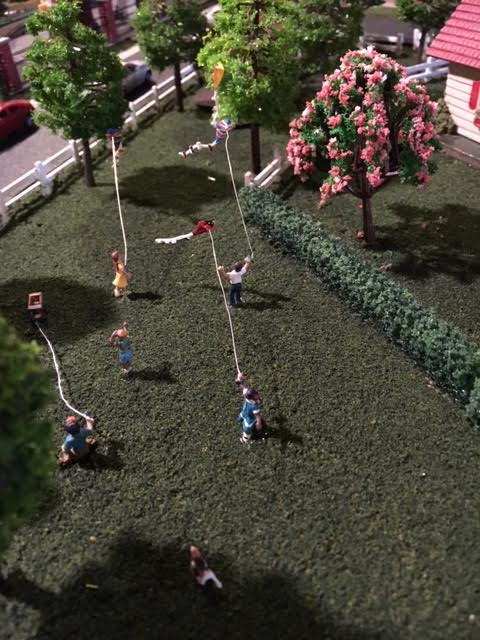
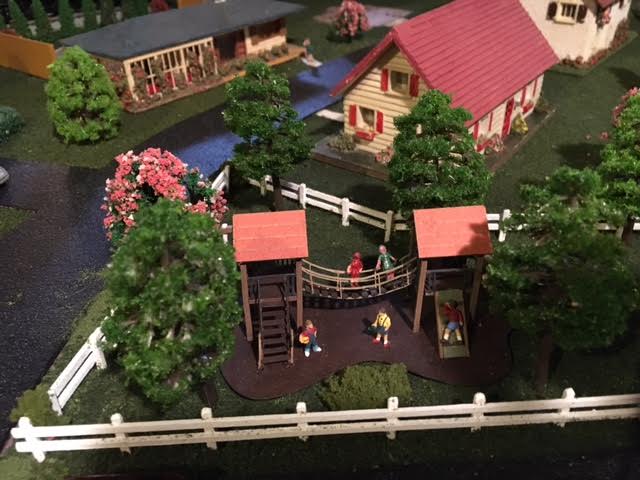
I’ve got the grass redone and am currently setting the area back up. I’ve got some kids flying kites and others on the playground. The pool party is in progress. A family is fishing at the fishing hole (which also has bubbles, but it’s at the back of the layout so I’ll address it later).
Hopefully now I can get on to making some progress.
Jack In PA”


A big thanks to Jack and Gary.
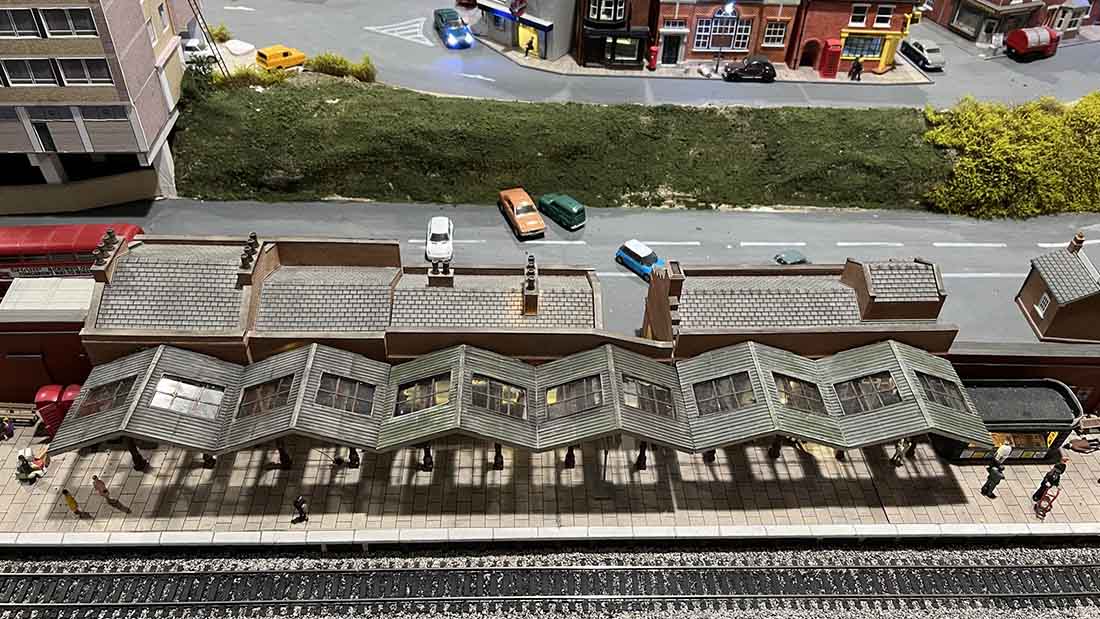
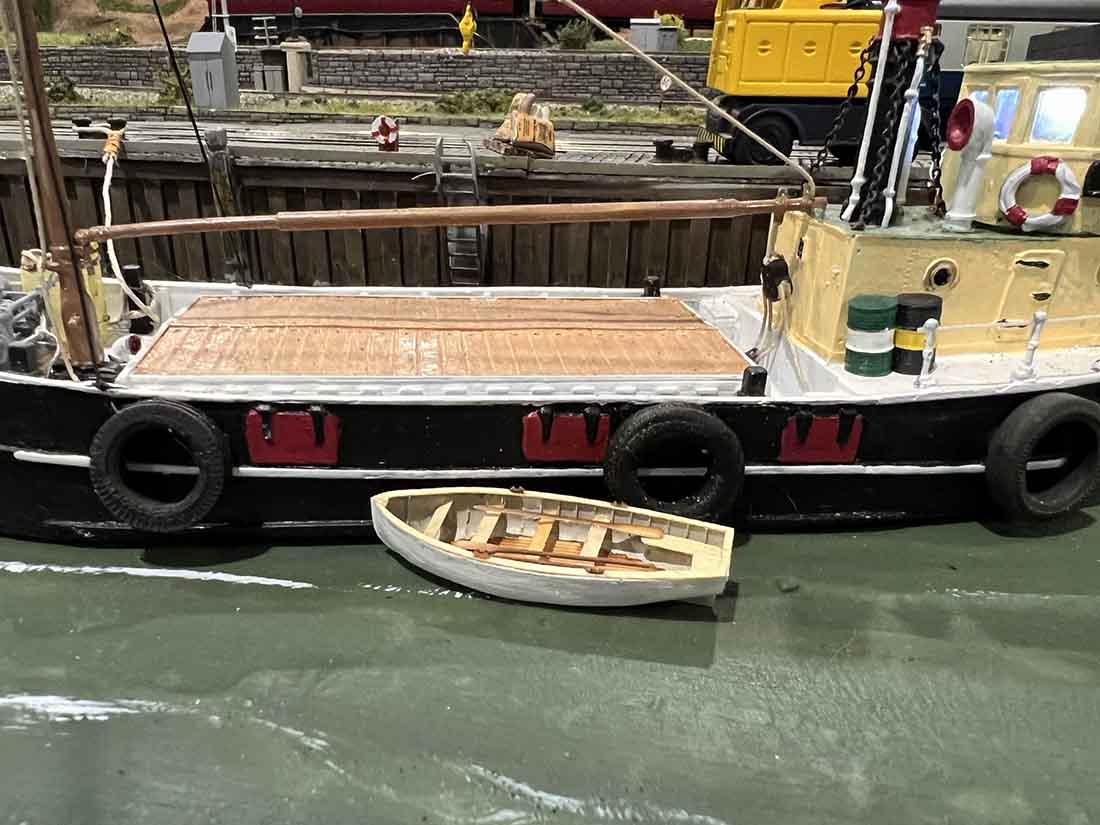
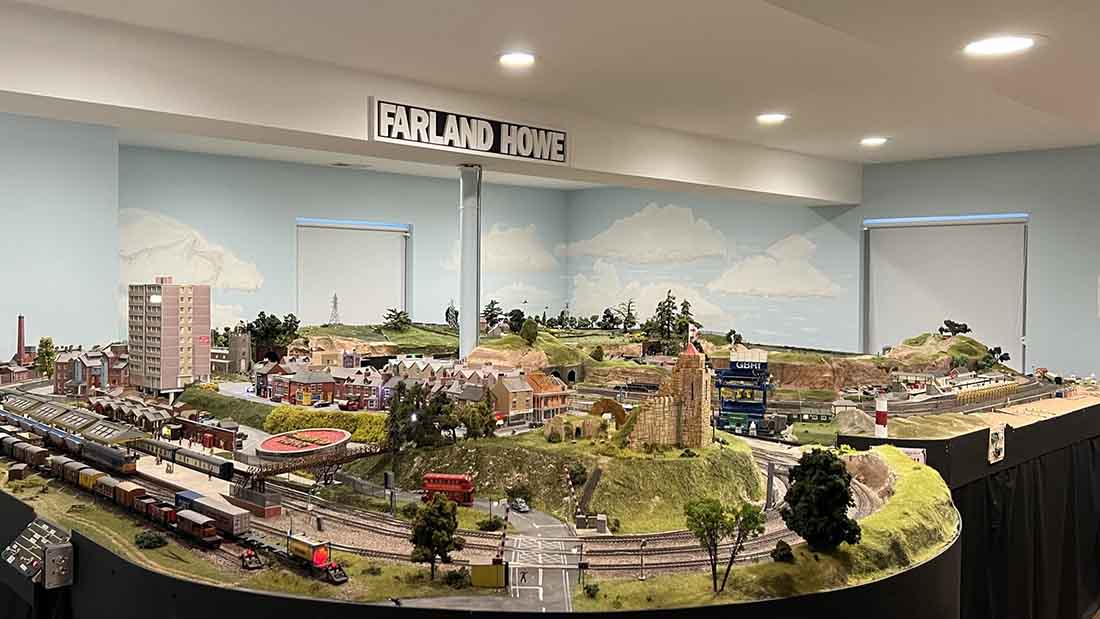
I do like the way Gary has added personal touches to his layout – the make a layout much more interesting. You can see another of his posts here:
That’s all for today folks.
Please do keep ’em coming.
And if today is the day you get started on your layout just like Jack and Gary did, the Beginner’s Guide is here.
Remember, it’s the start that stops most people.
Best
Al
PS More HO scale train layouts here if that’s your thing.
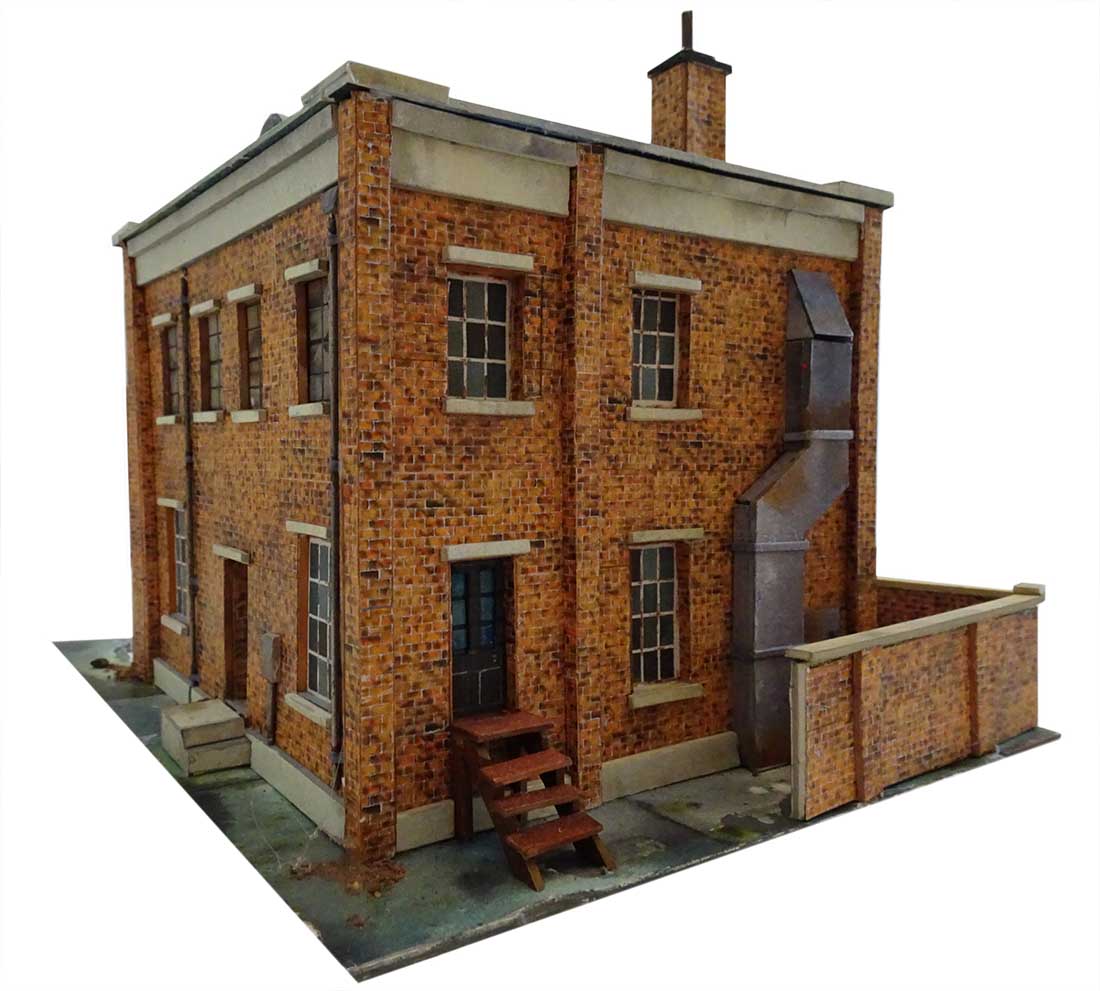
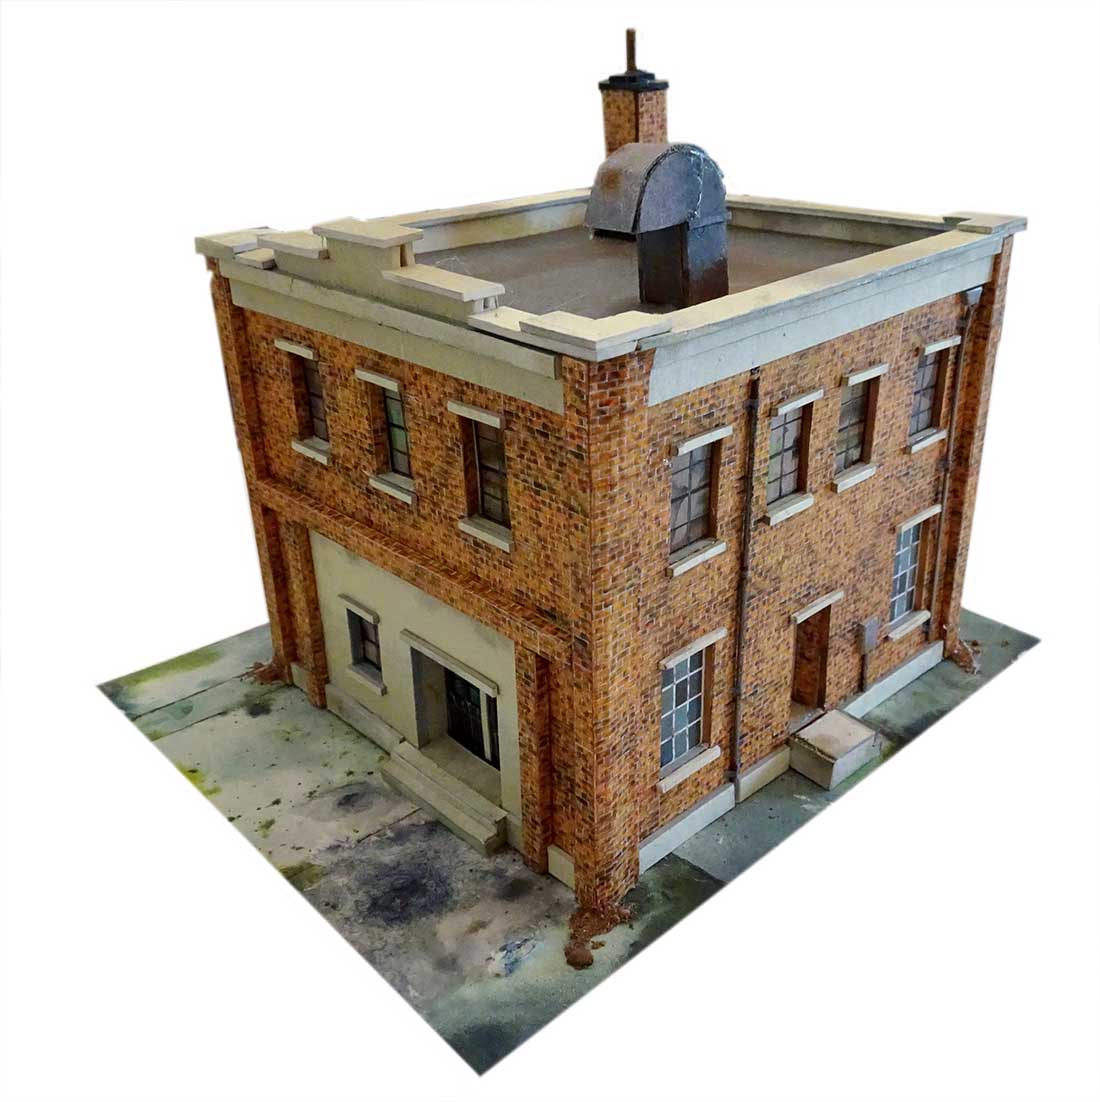
Need buildings for your layout? Have a look at the Silly Discount bundle.