John has been in touch with a question on model railroad track soldering.
As always, if you read the comments at the bottom of the page, you’ll see lots of replied to John’s question – probably because it’s something we have all had to think about at some point.
“Al.
I am writing to you to get some helpful direction from all the guys that communicate with you that are so knowledgeable of all aspects of model railroading.
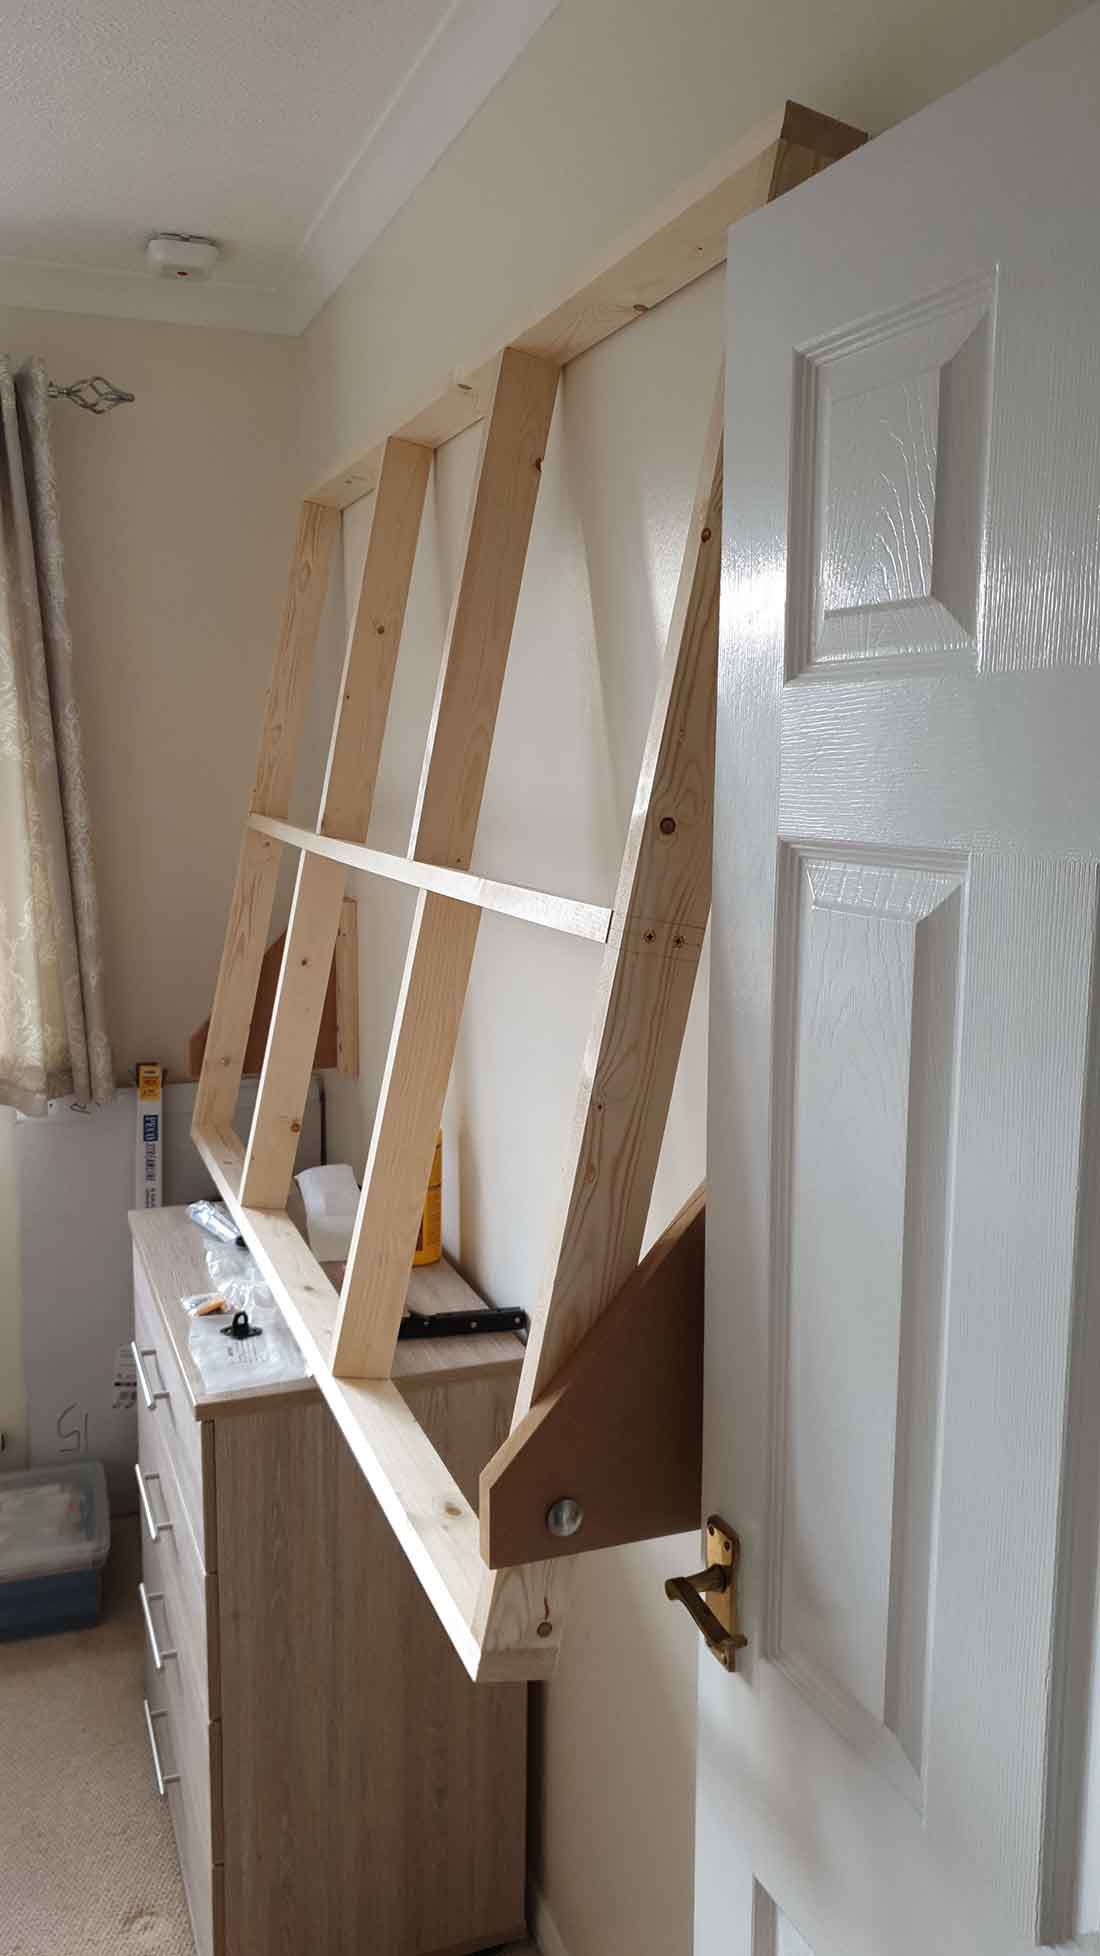
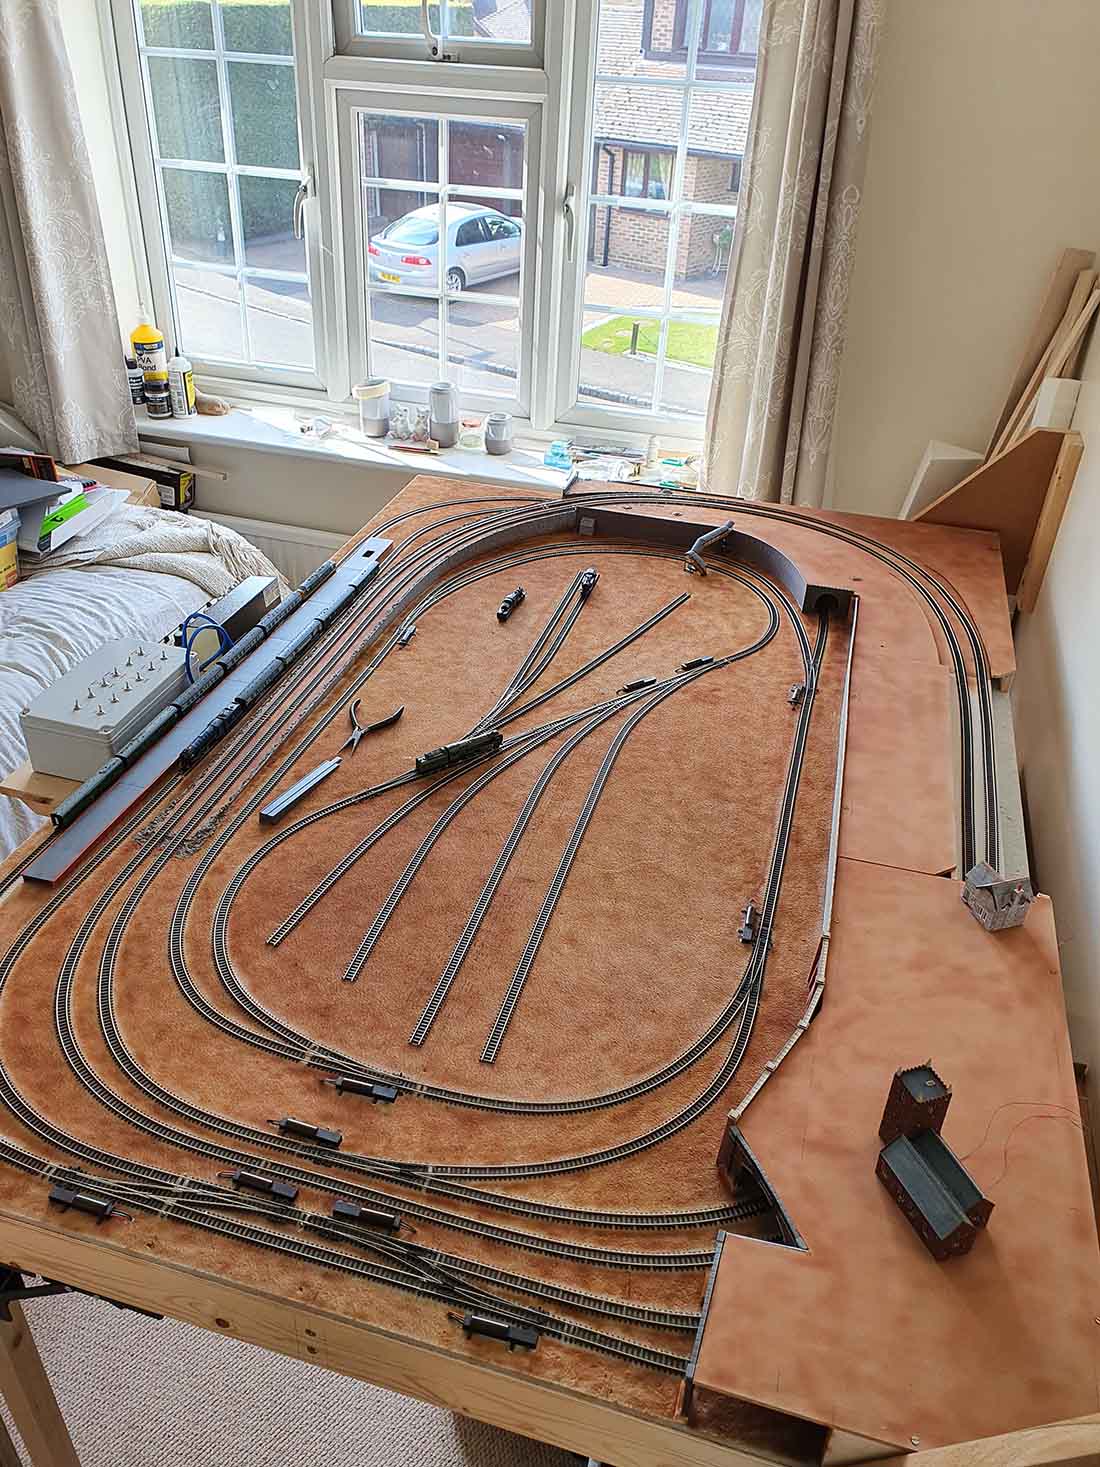
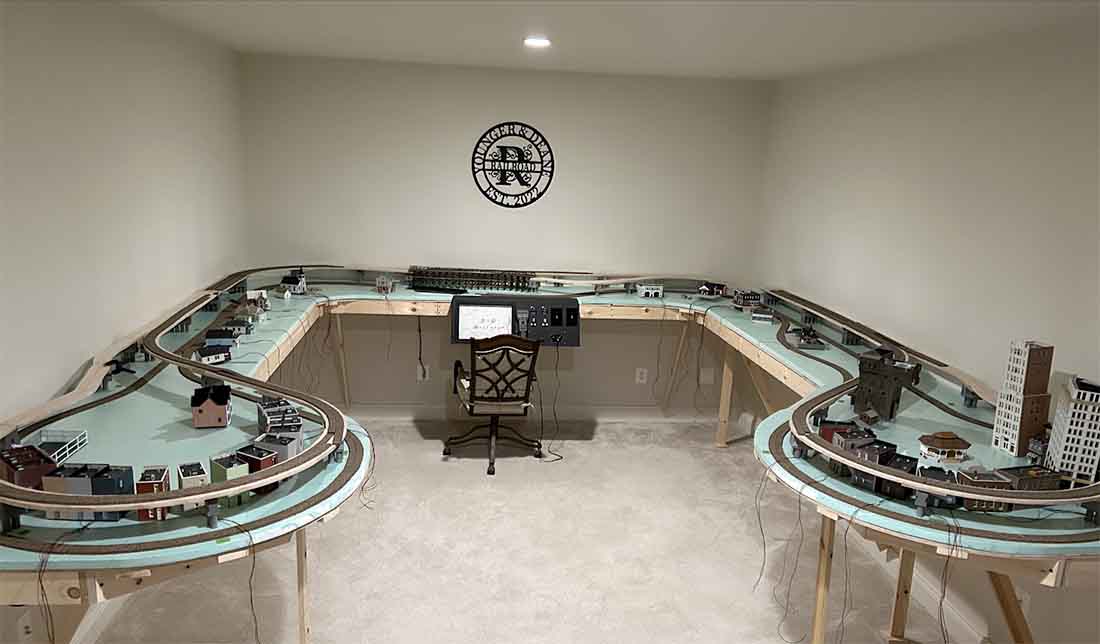
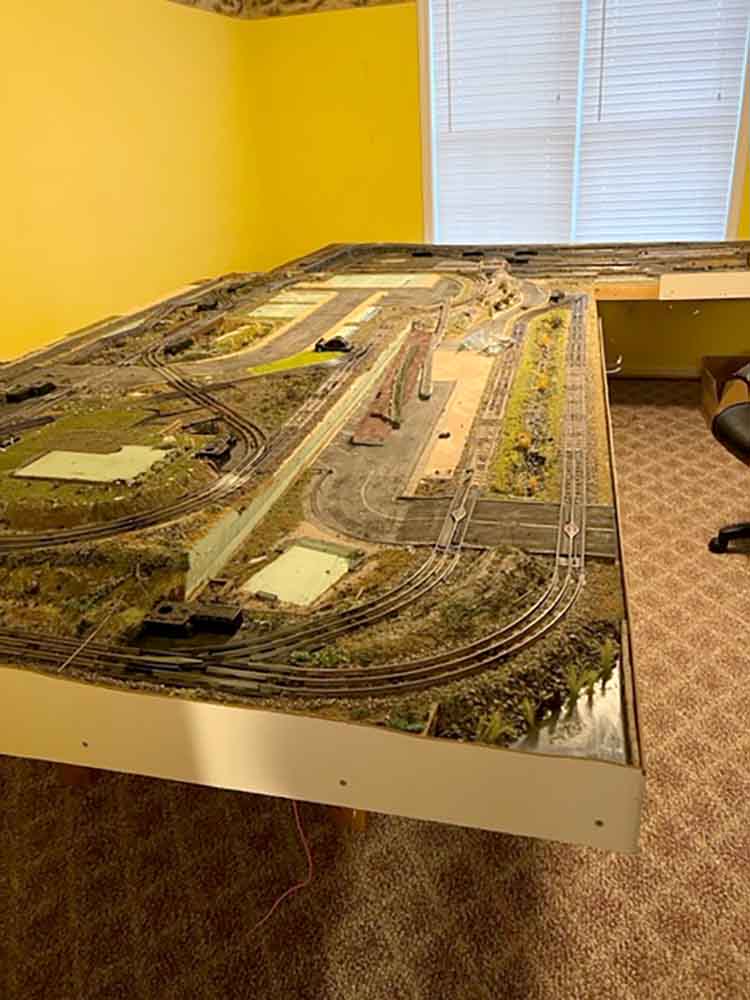
I have attached a picture of my layout in progress.
I’ve got myself in a dilemma and I need help in which direction to go.
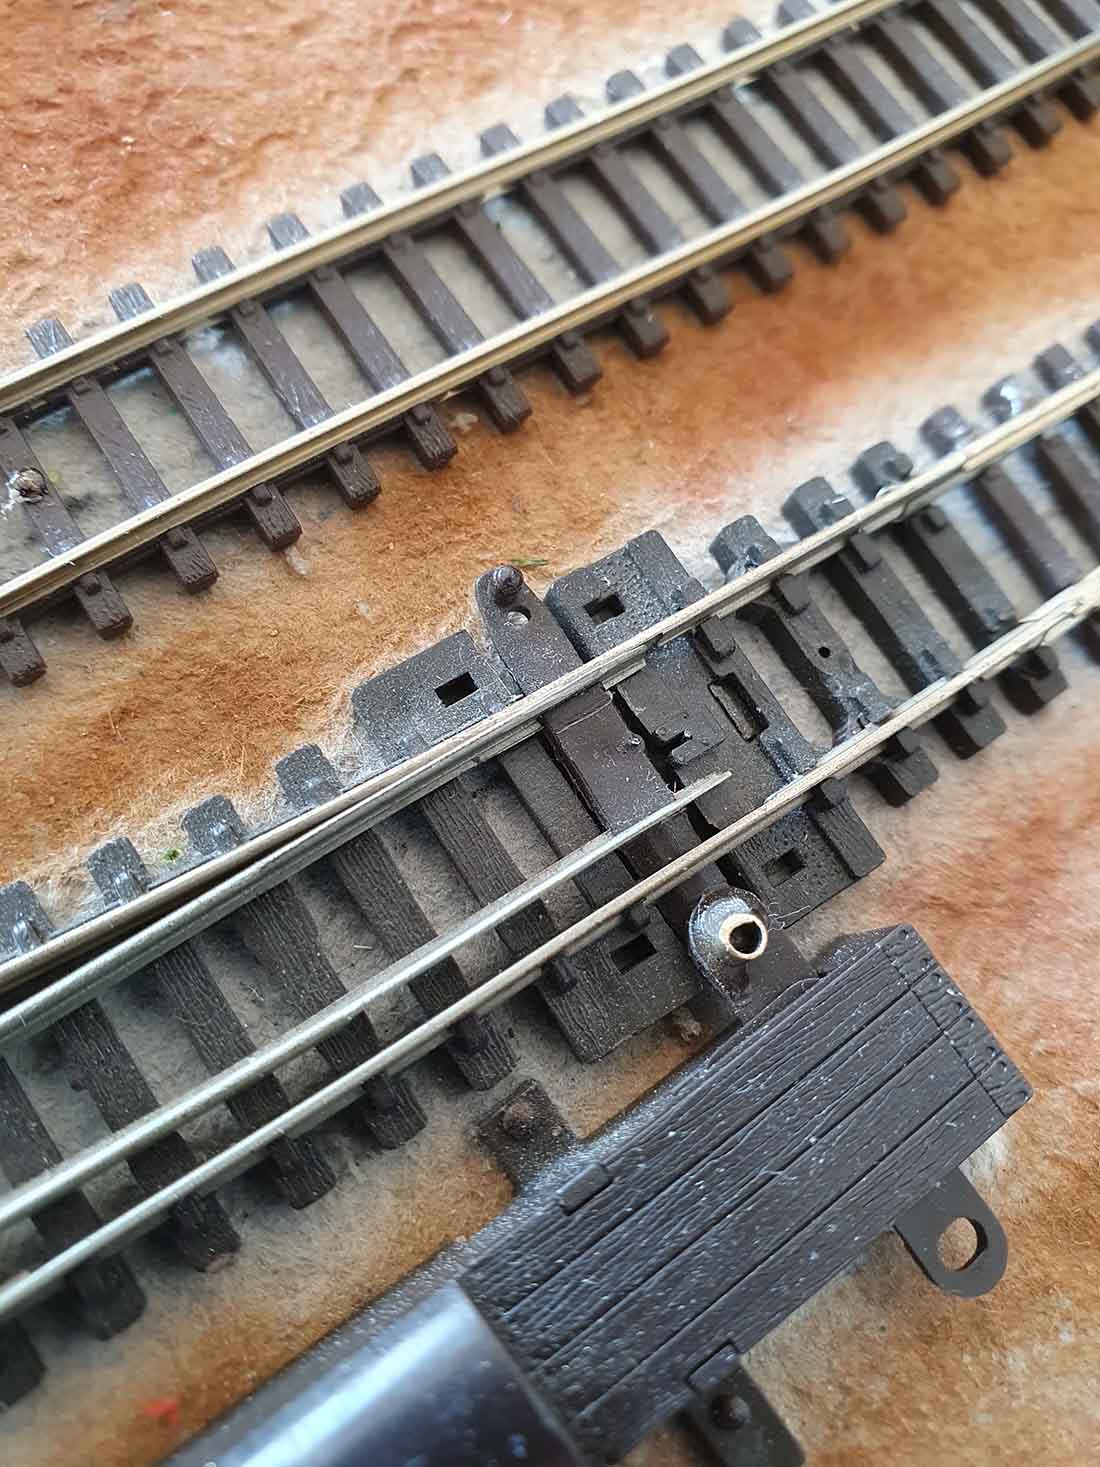
The dilemma or problem is I have or will have track that runs very close to the back wall which I find almost impossible to solder feeder wires to.
I have thought about soldering the wires to the track before installing it. That would not be easy because I’m using flex track.
Another solution may be too purchase one of those ladders (sold in Micro-Mark) that allow you to lean over top of the layout. I’m 84 years old bad knees and back and my days on a ladder is not what it used to be.
The final solution I can come up with is to redo my layout the way it should have been done in the first place.
Presently I have buildings (which are just sitting there for when family were here at Christmas) located at the front and track in the back. I could reverse these putting the track in front.
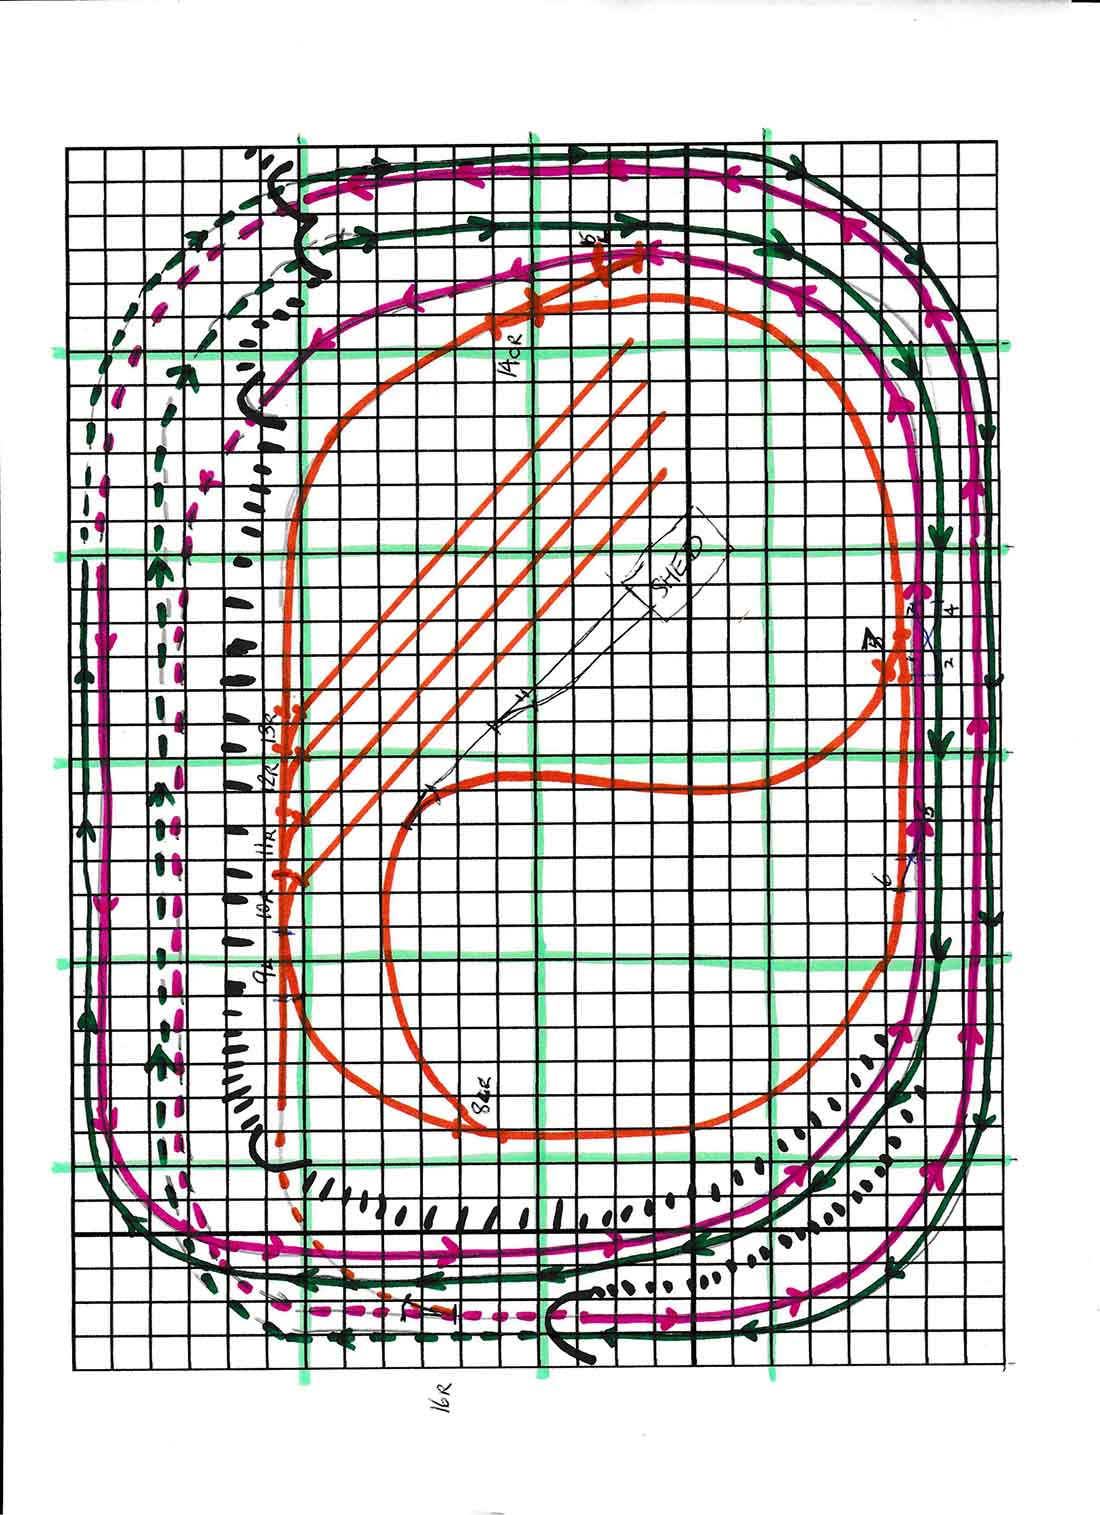
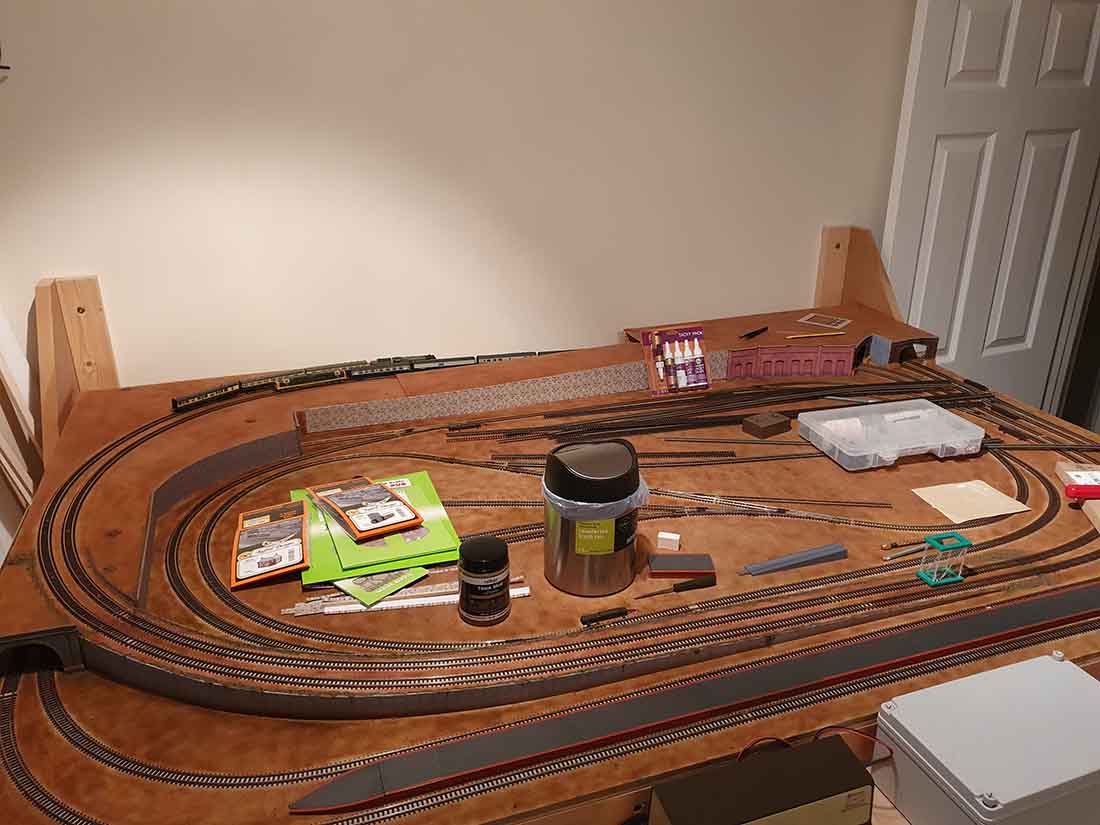
My design is two separate tracks that run independently in a loop in which two trains (one on each track) never have to stop.
One track , the “Red” line passenger train has cork already surface mounted on the styrofoam base.
The other “Black” line freight train is elevated on dowels supports going through round holes cut in the styrofoam to the plywood base below.
To redesign the layout I would need new styrofoam and additional cork. If someone can come up with a better idea I’m all ears.
John”
We all discover, sooner or later, that layouts have a mind of their own…
Please do leave a comment below if you can add to the suggestions to help John with his Model railroad track soldering problem.
Even when a layout has been tamed it’ll never stop taunting you. All you’ll hear in your head is “Do another one!”
And that’s exactly what Steve is doing:
Here’s his previous post where he is having fun on his layout:
 .
.
But now? Have a look:
“I have everything in boxes and I can’t believe how much stuff I have accumulated over the years.
I cleaned off the table of as much as I could but with the stone and ties glued down with a 50-50% glue water the tracks are not coming up. I am going to build a new layout so I guess it doesn’t matter.
It was strange ripping things off the table that I took so much time and effort to get just right.
I have to admit that I am excited about the idea of a whole new layout.
I am sending some pictures of what the board looks like now.
Steve from Toms River”
It’s the excitement of a new layout that makes the pain of dismantling bearable – as Richard also knows:
“Hi there Al… Richard here from Tuttle, OK.
As they say, all things come to an end… so be also the R & K Logging RR… we’ve sold our house here in Oklahoma and are relocating to Arkansas….
so that being said the end came to my layout…. as you remember it was a 6′ x 6′ layout Logging theme….
dismantling began 2 days ago, saving what I could… buildings, trees, turnouts and some track…
Here are the before and after pics…
But don’t worry, I’ll be building another and larger layout once we’re settled in…
I learned alot from this layout and plan on using the experience to build a better layout…. as always…. there is never an end to building a layout, just improving it to your desires….
thanks for all you do Al….
Richard of Oklahoma”

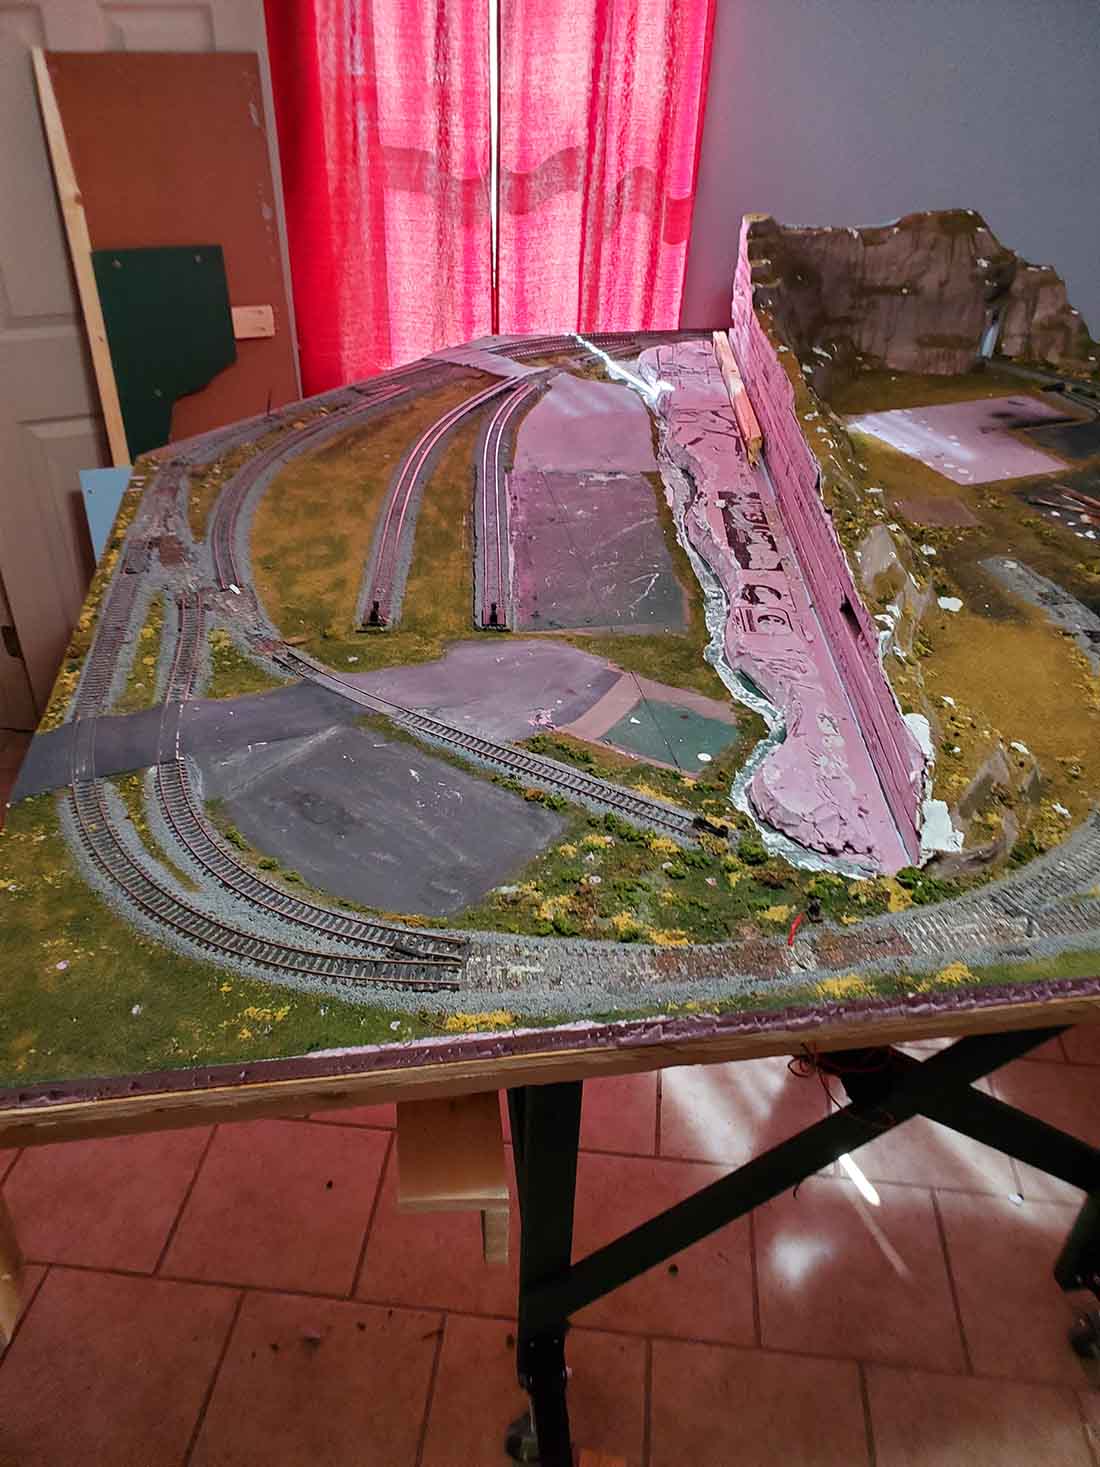
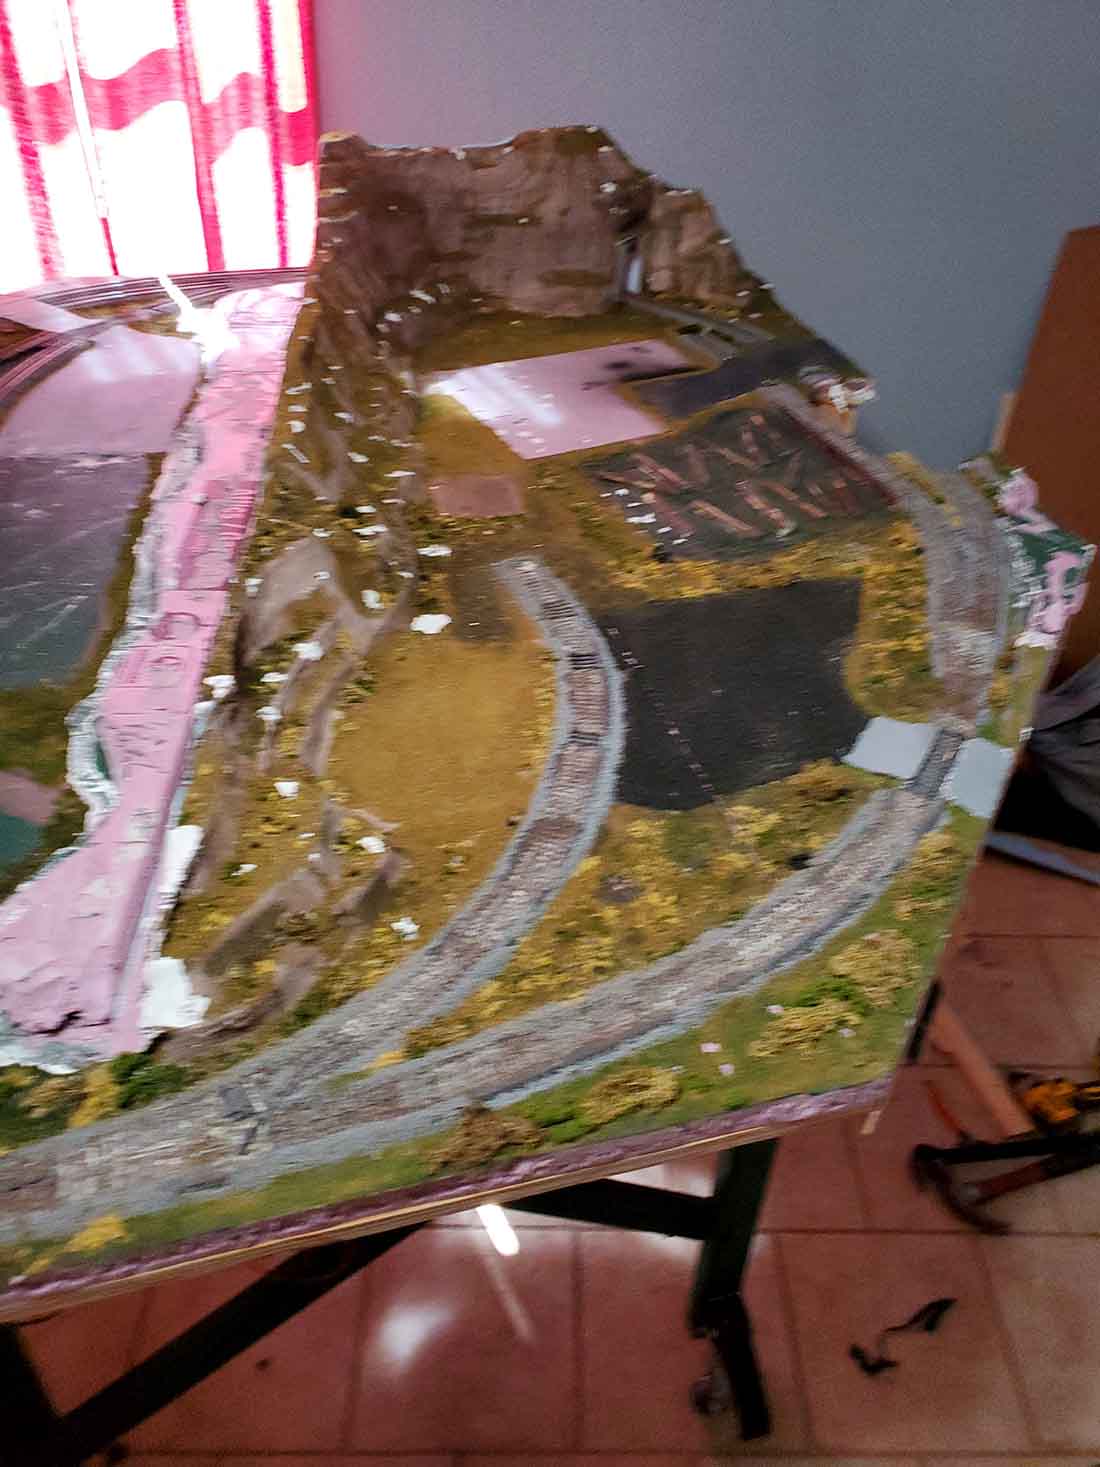
I did take a sharp intake of breath when I saw Richard’s dismantled layout, because I recognized it instantly:
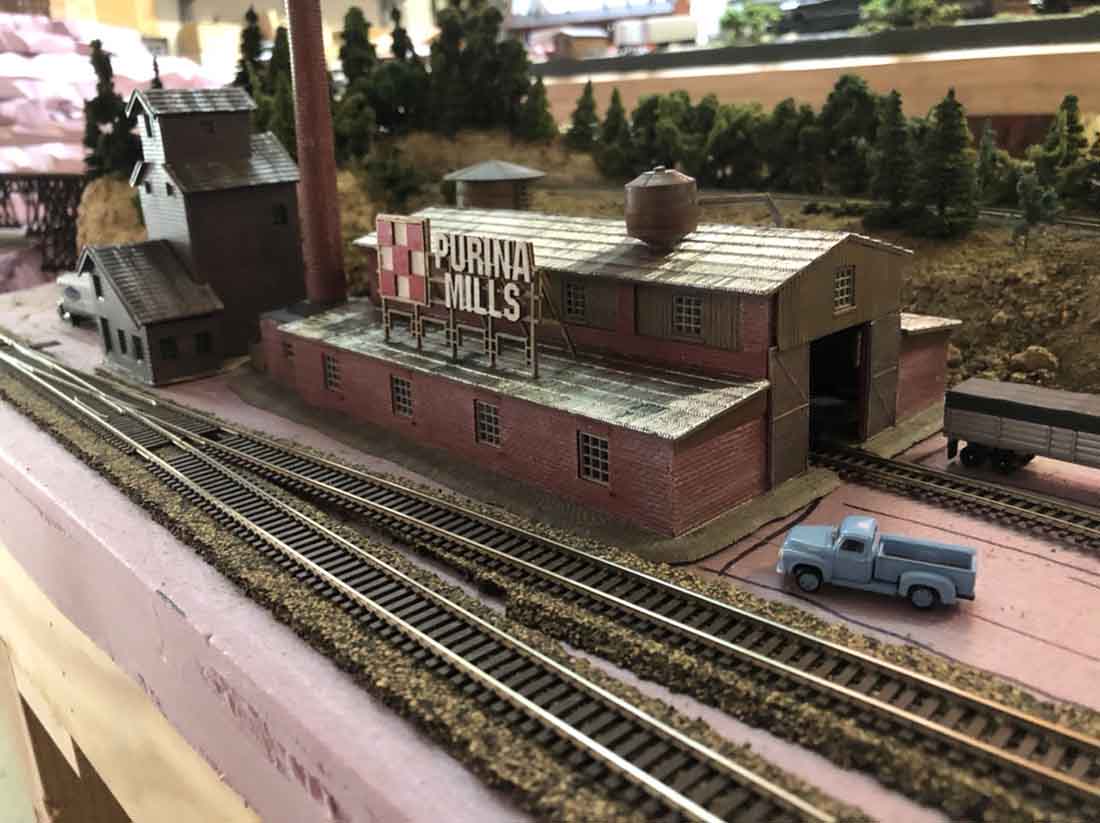
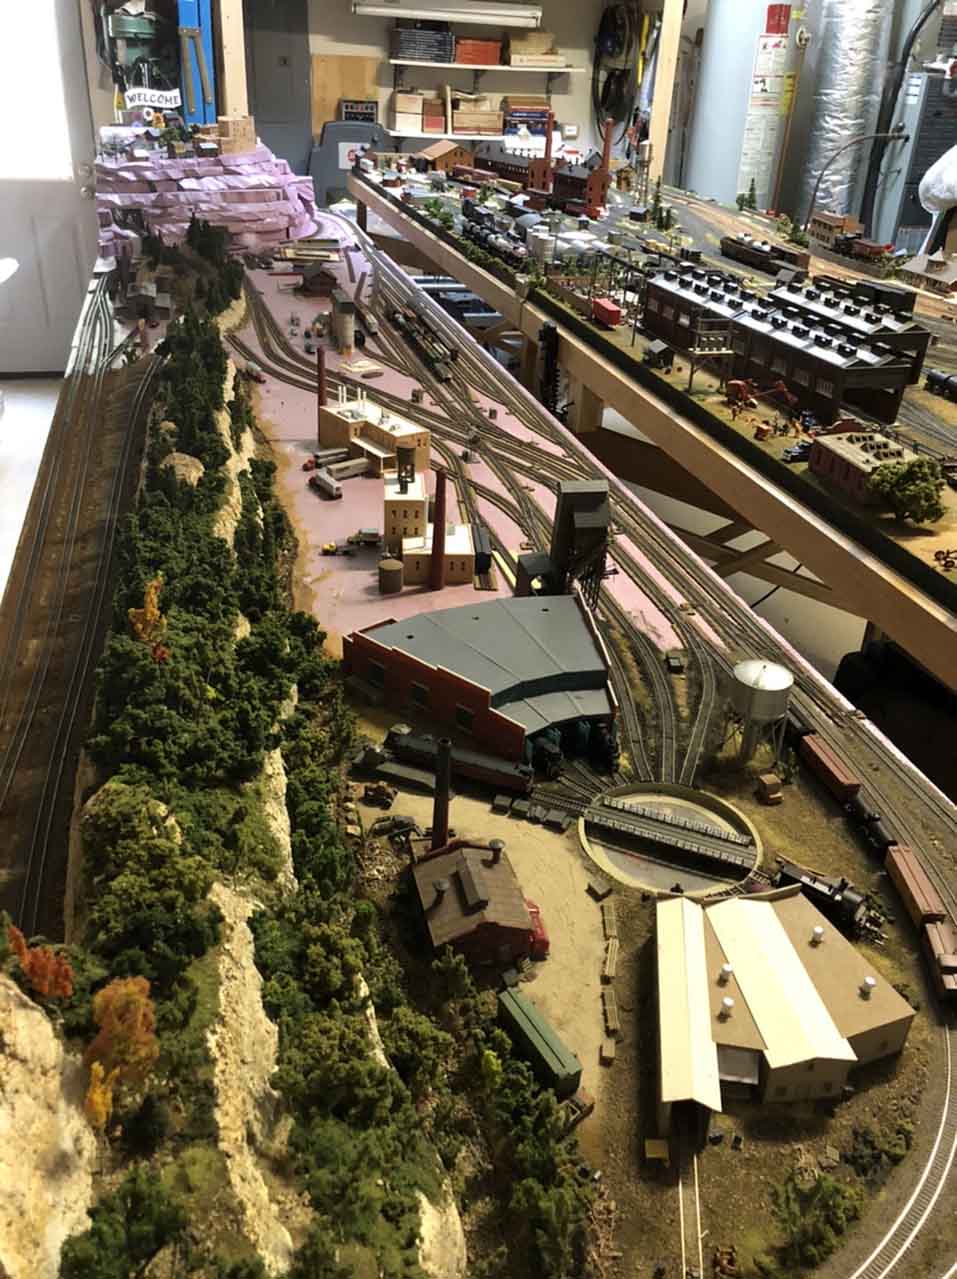
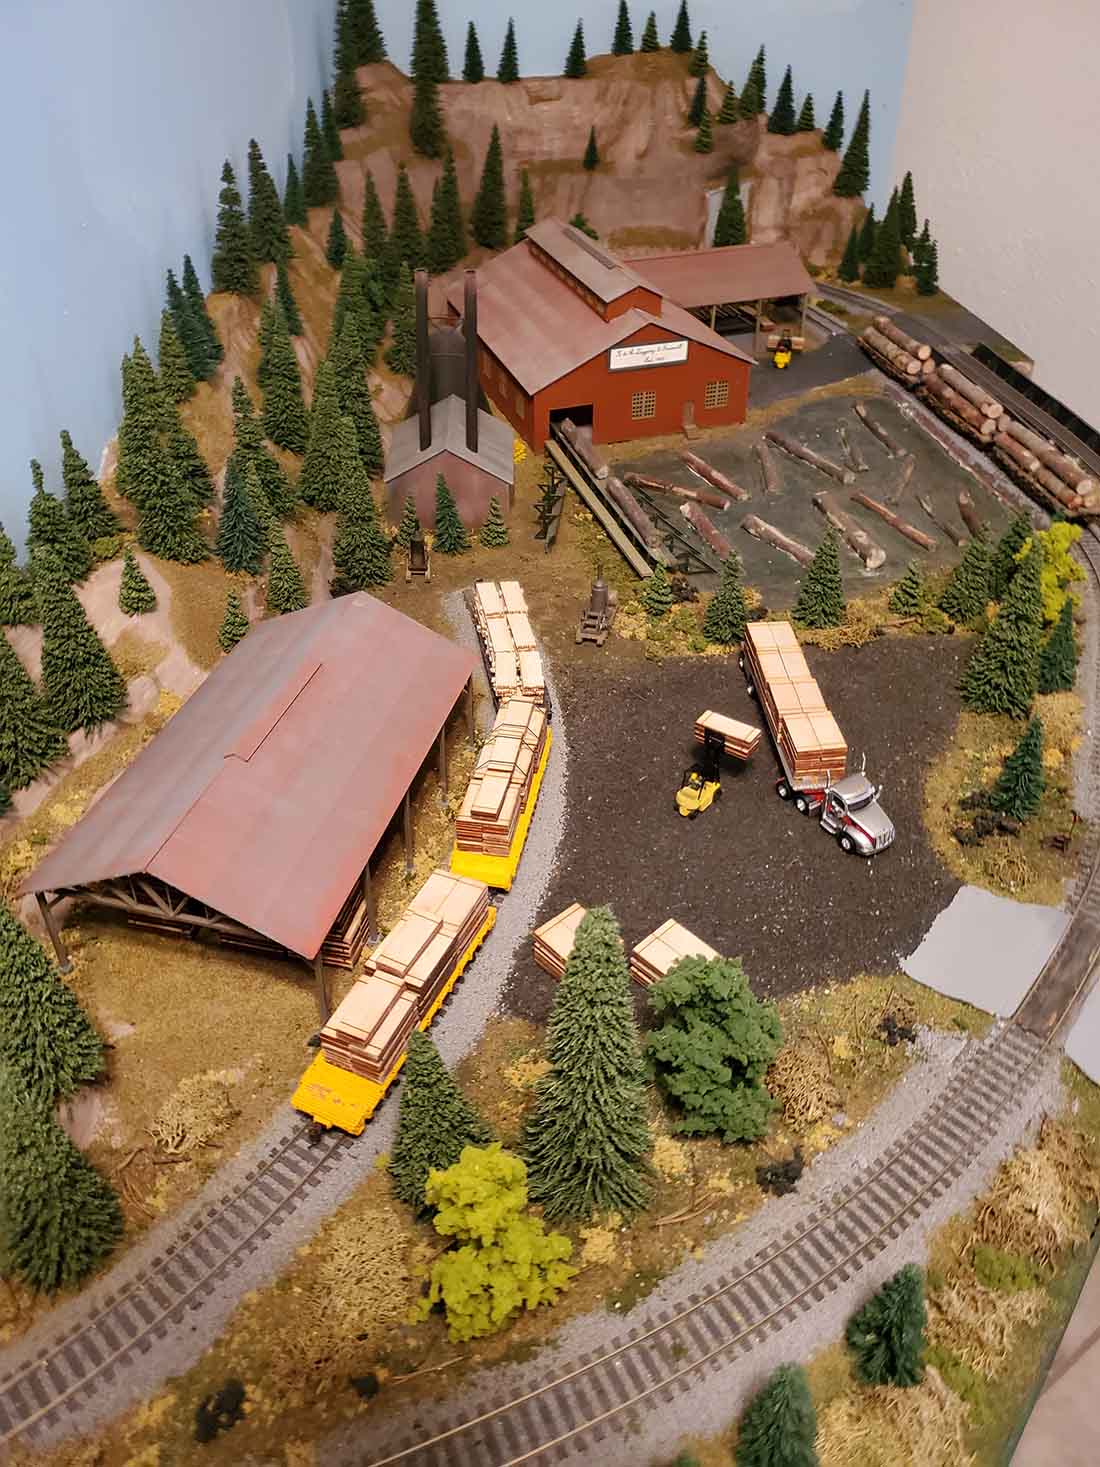
It’s this stunning HO layout build
But that’s the wonderful thing about this hobby, it’s an endless march of fun.
I’m really looking forward to seeing Richard and Steve’s new layouts.
That’s all for today – but please don’t forget, who can help John?? Please do leave a comment below.
Keep ’em coming.
And if today is the day you join the ranks of Richard, John and Stephen and have some fun, the Beginner’s Guide is here.
Best
Al
PS Latest ebay cheat sheet is here.
PPS HO scale train layouts here if that’s your thing.