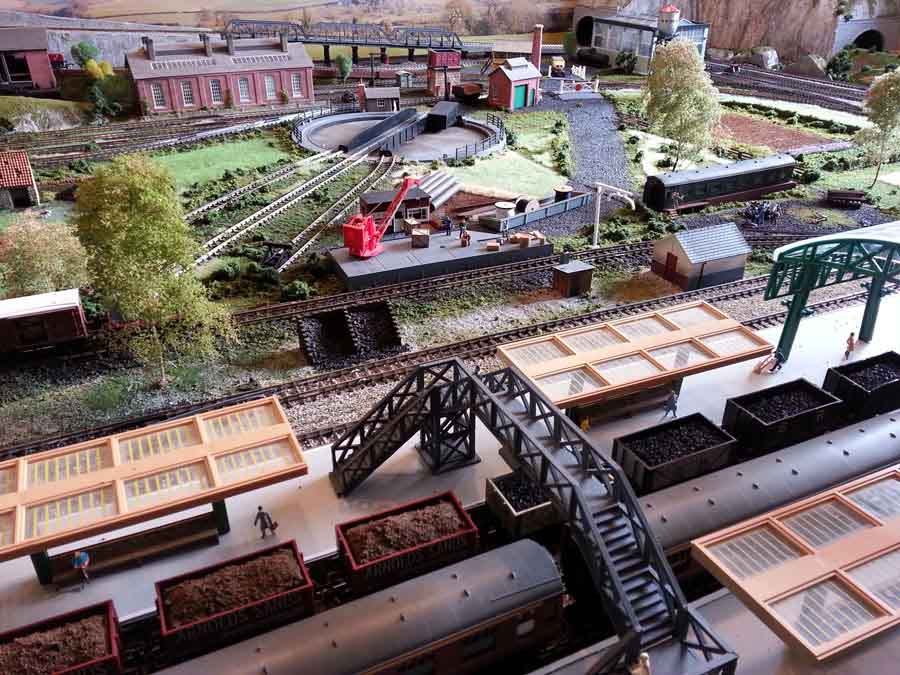
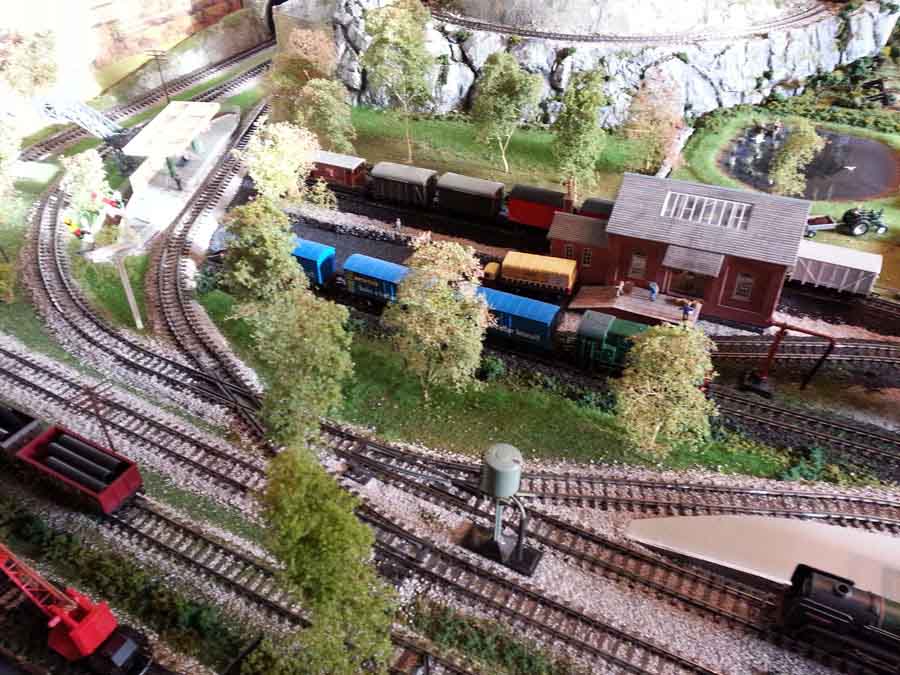
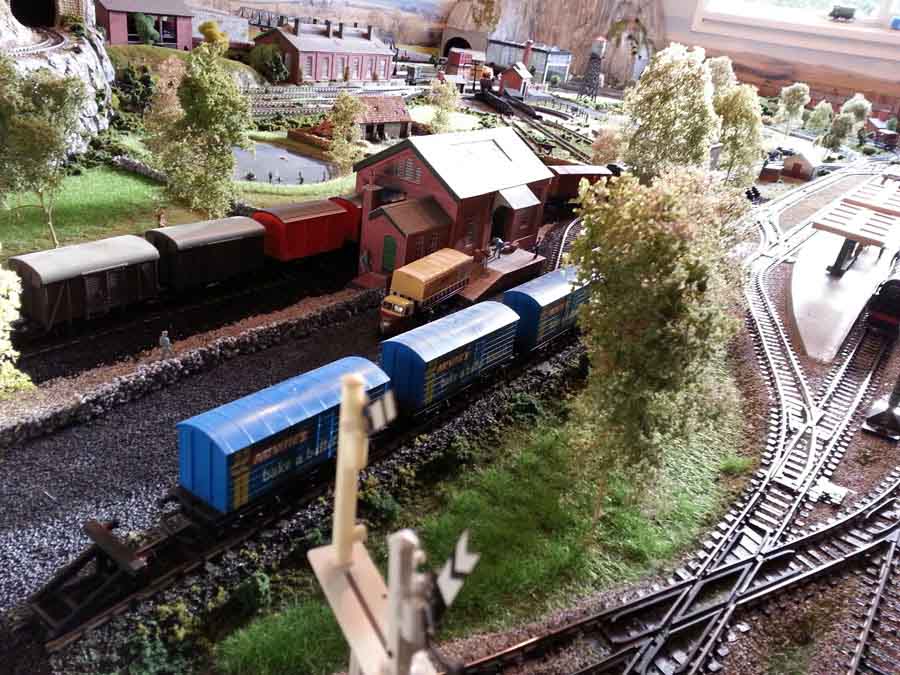
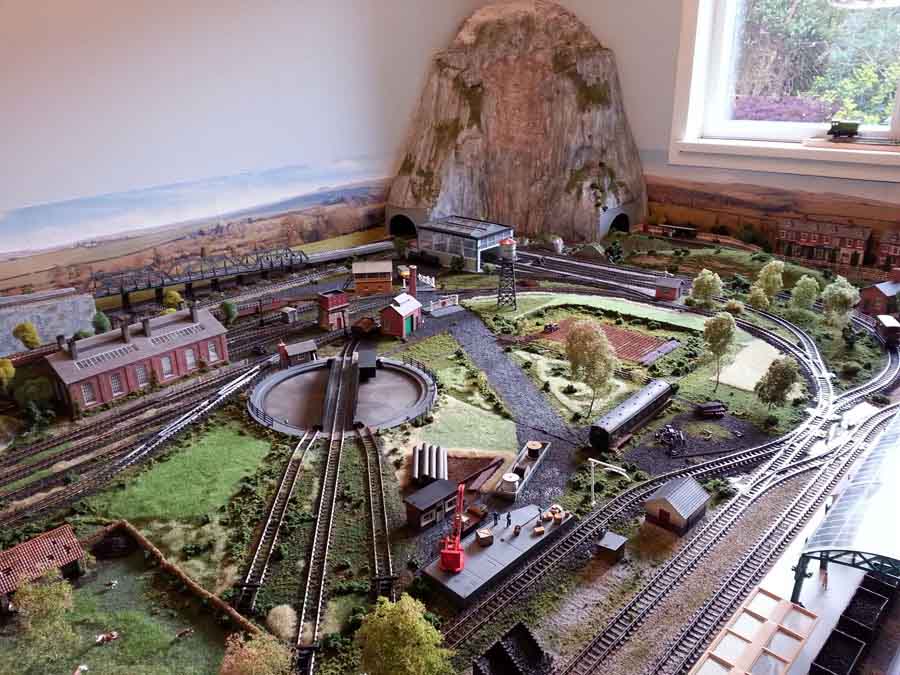
Paul’s been in touch again with his OO scale trains, and my word, have a look at what he’s done.
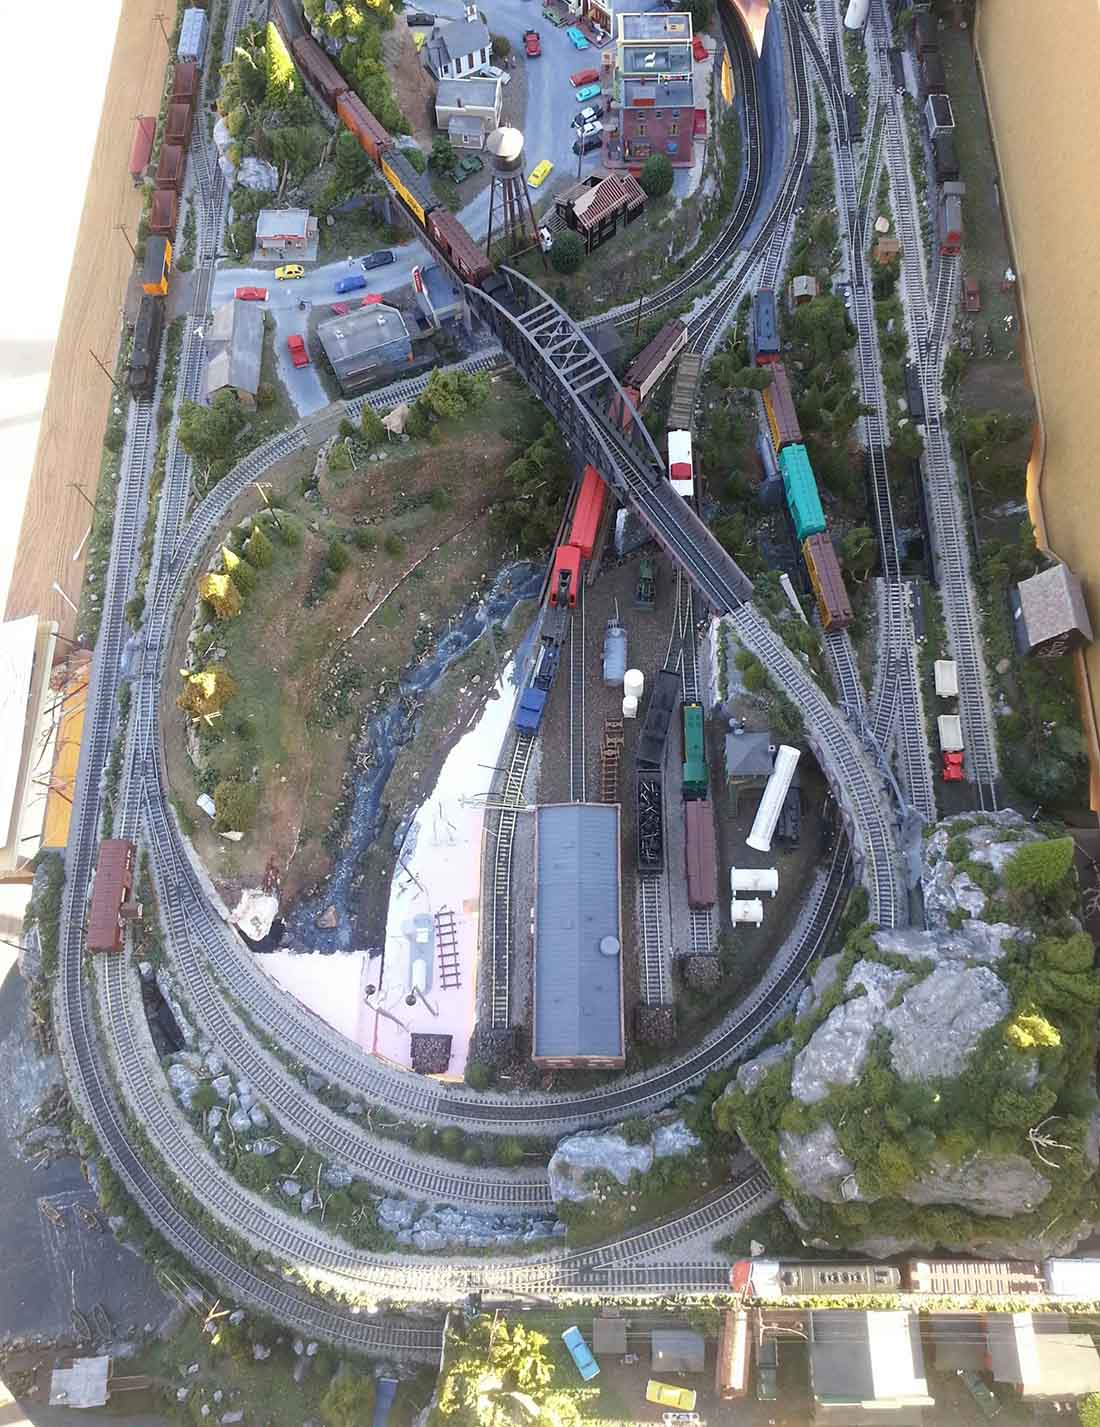
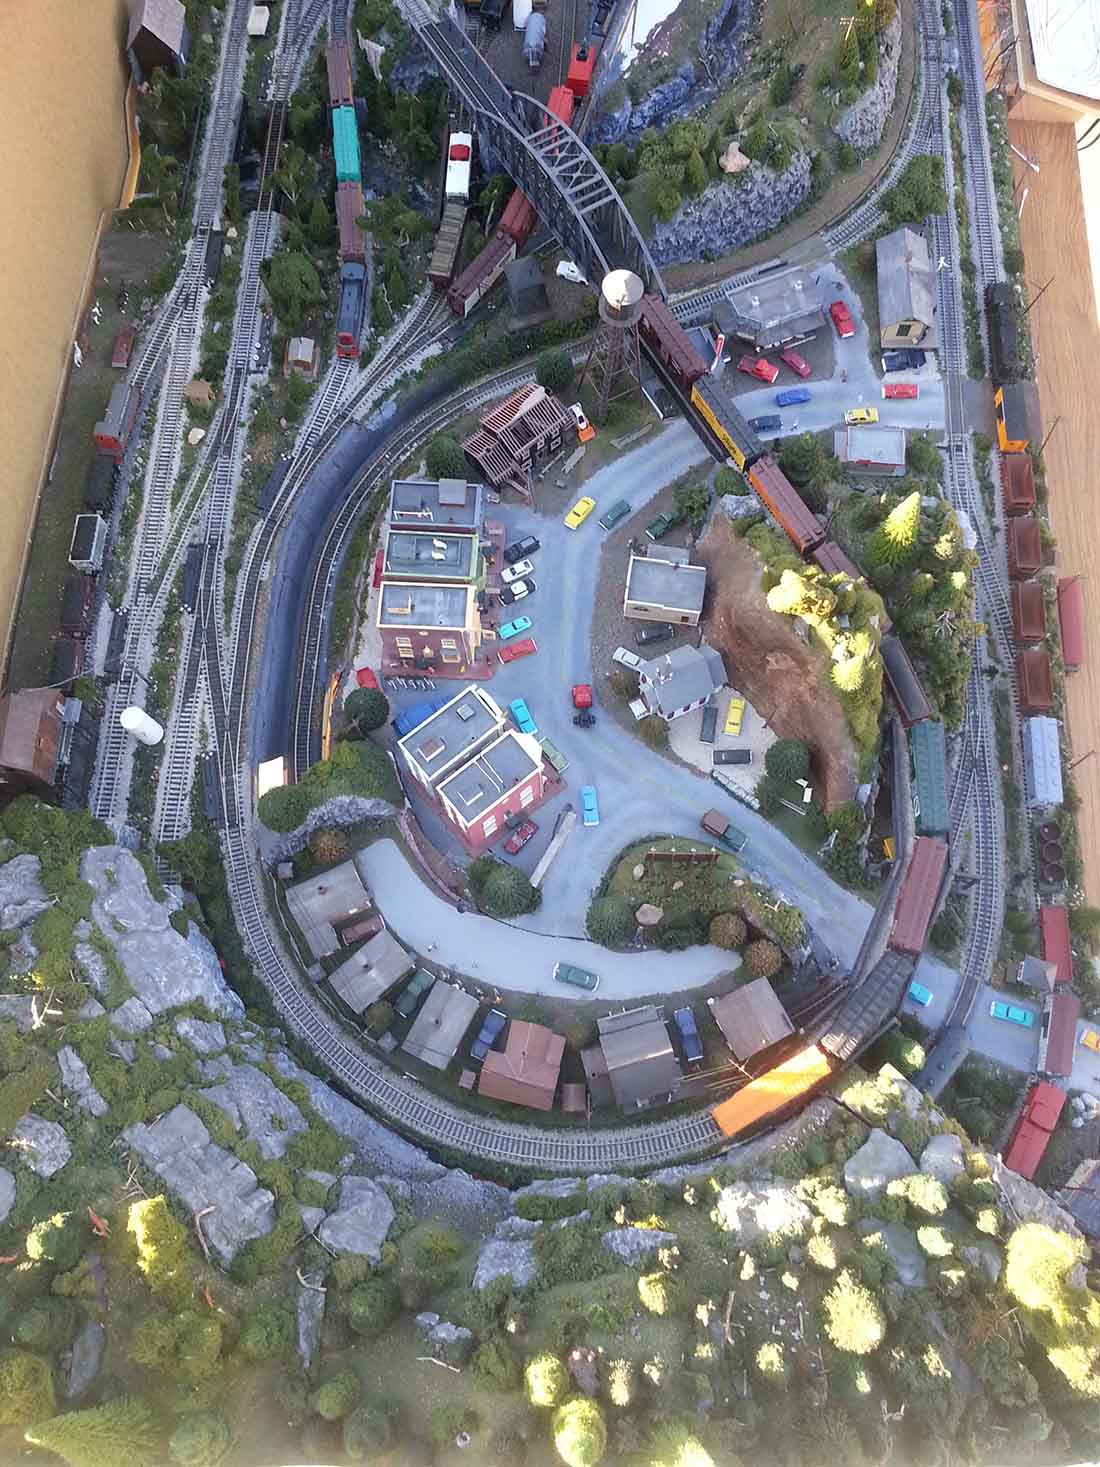
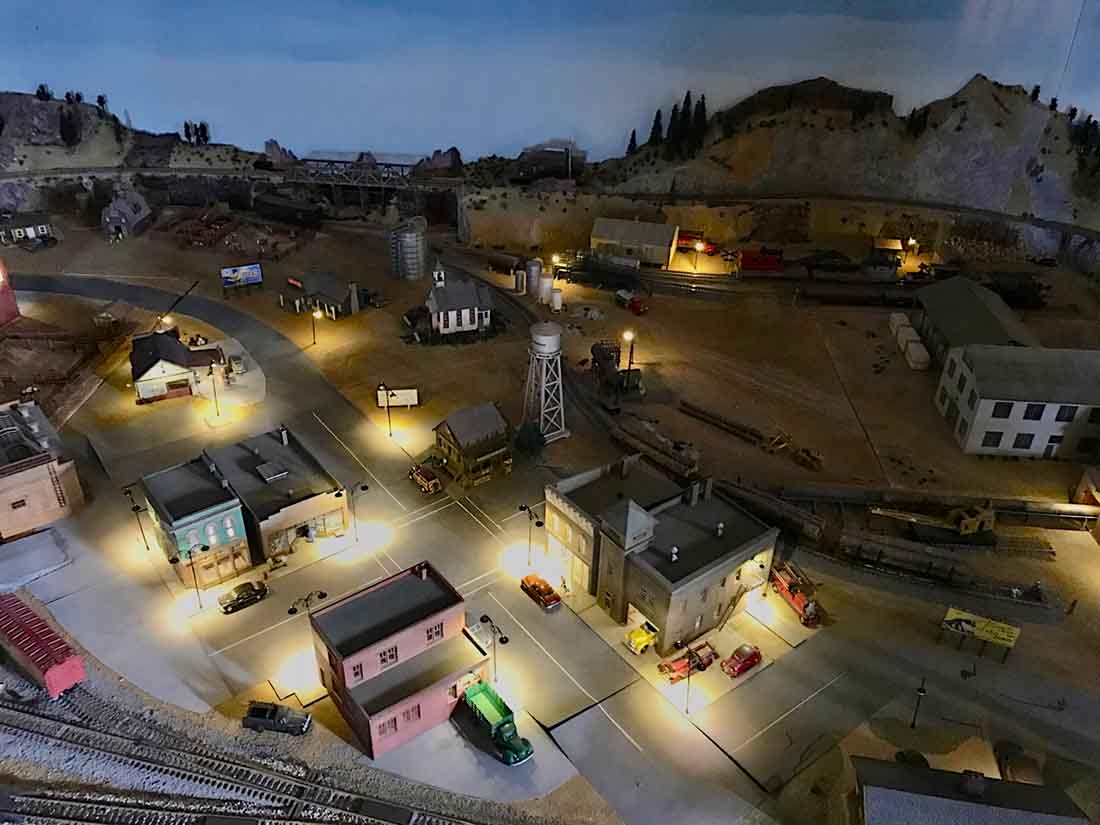
He’s used up every inch of his layout, but I don’t think it looks crowded at all.
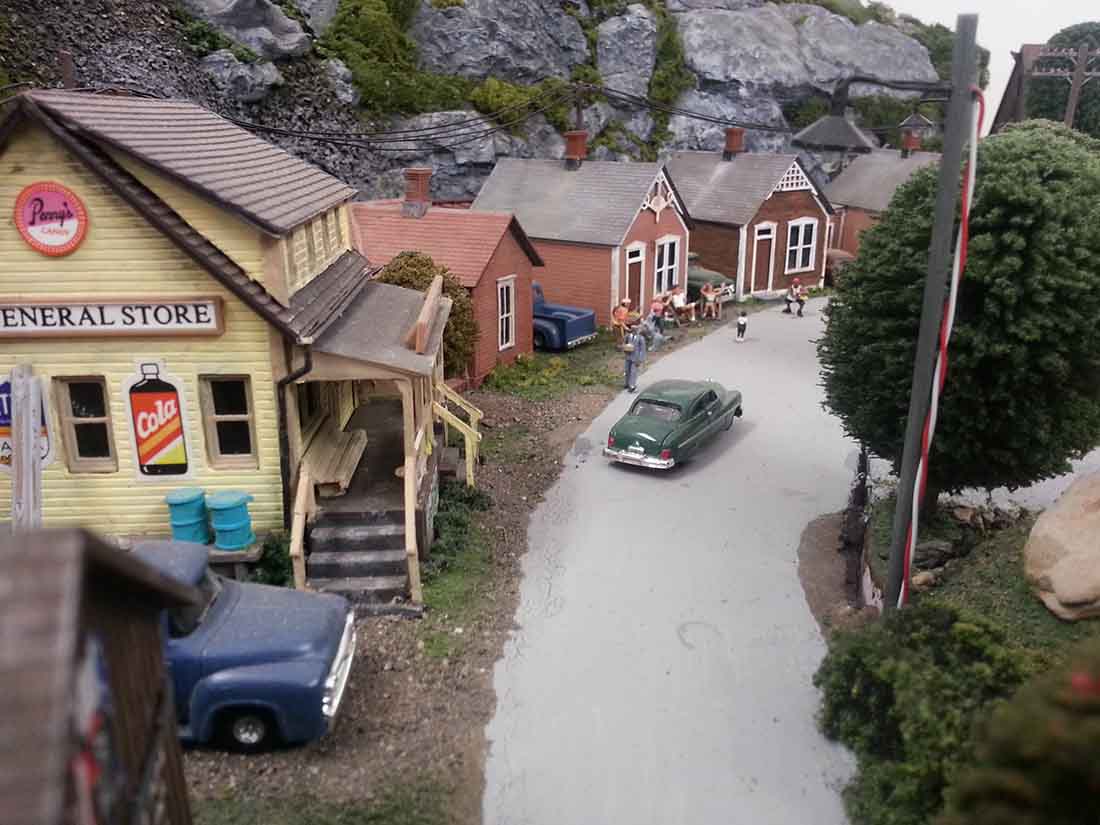
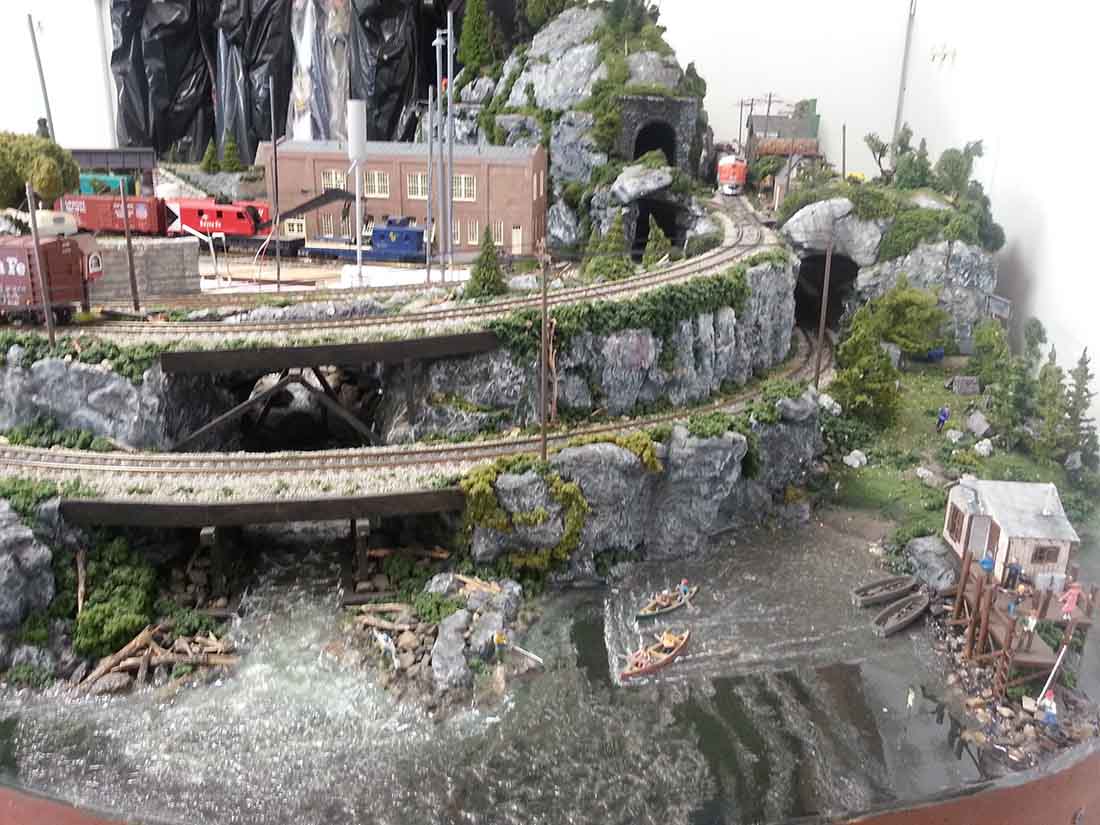
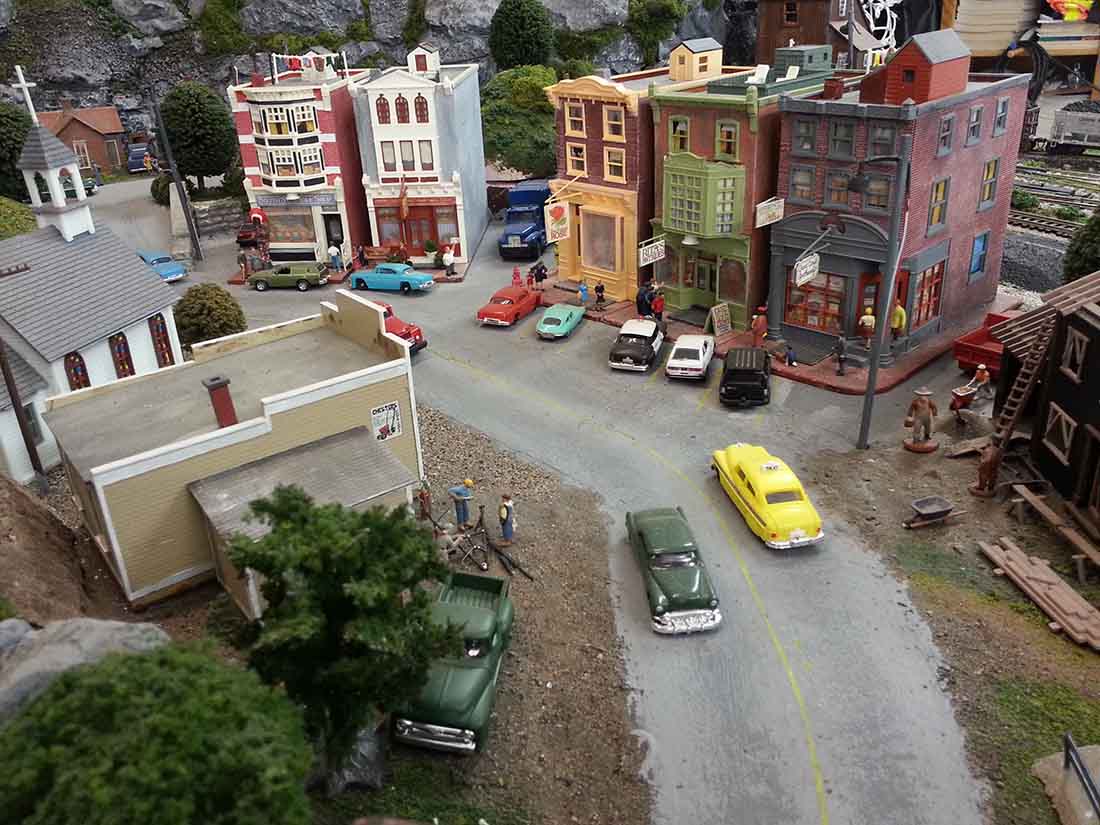
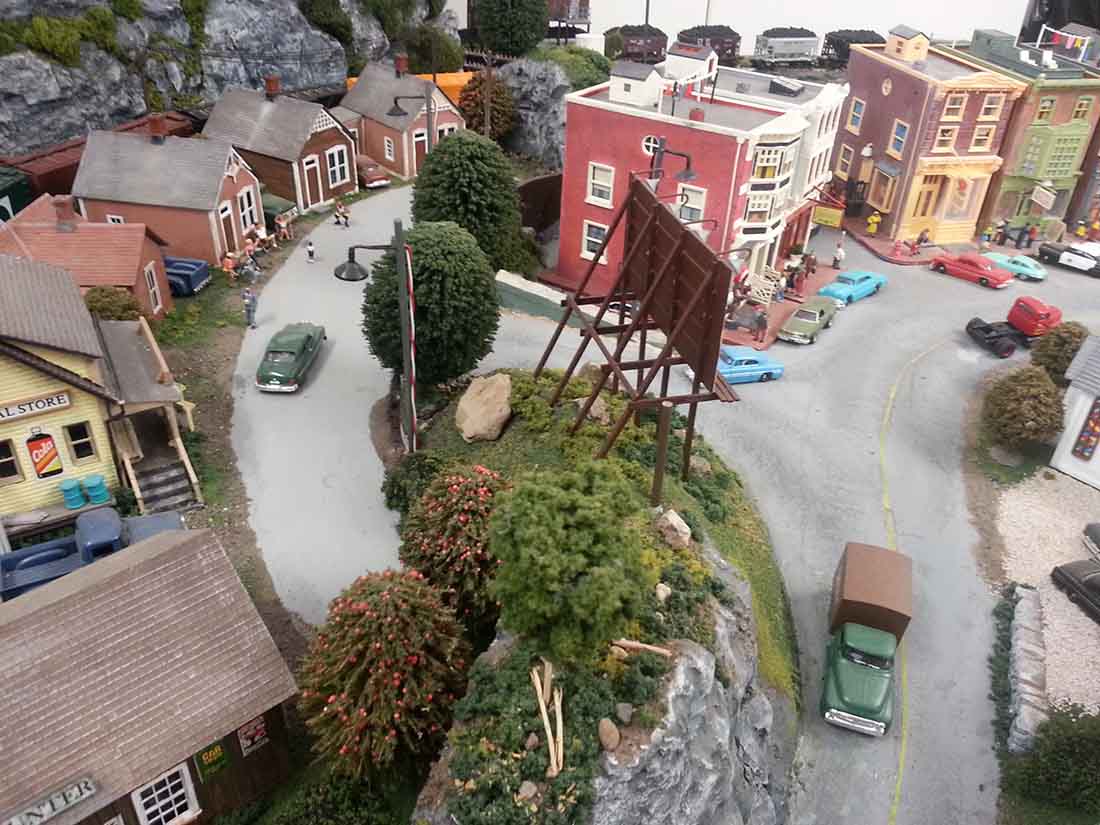
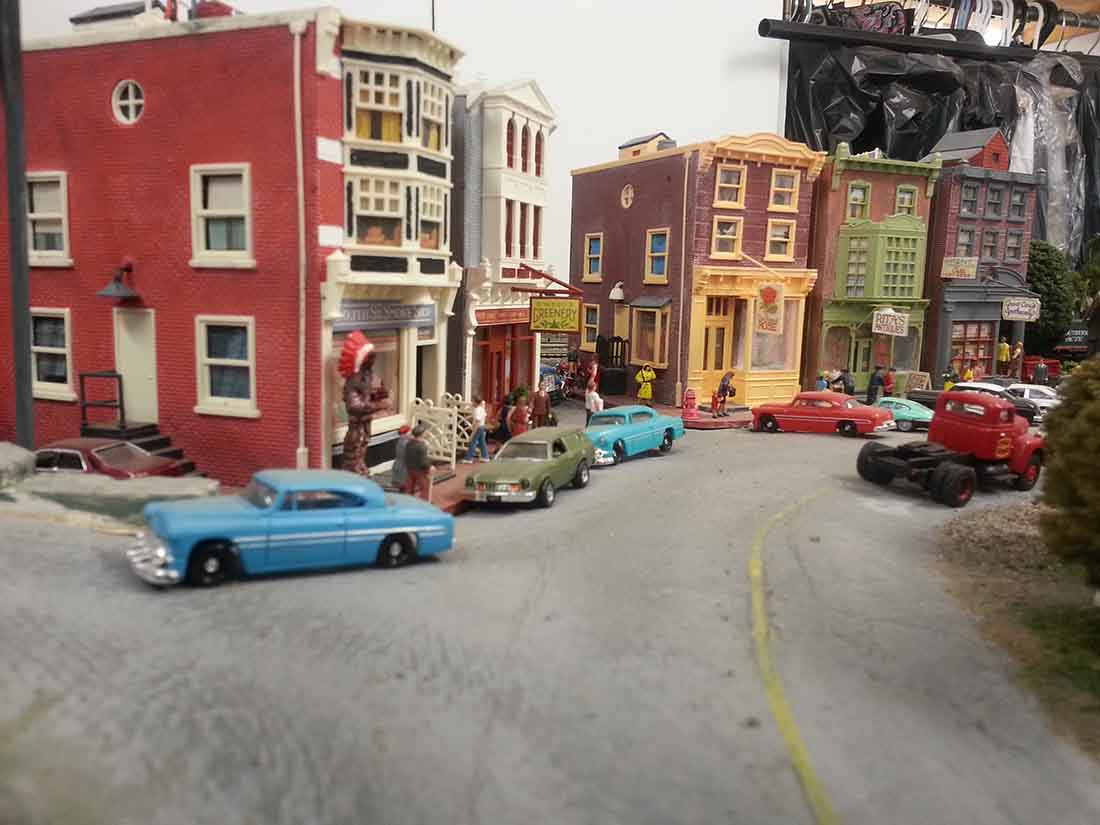
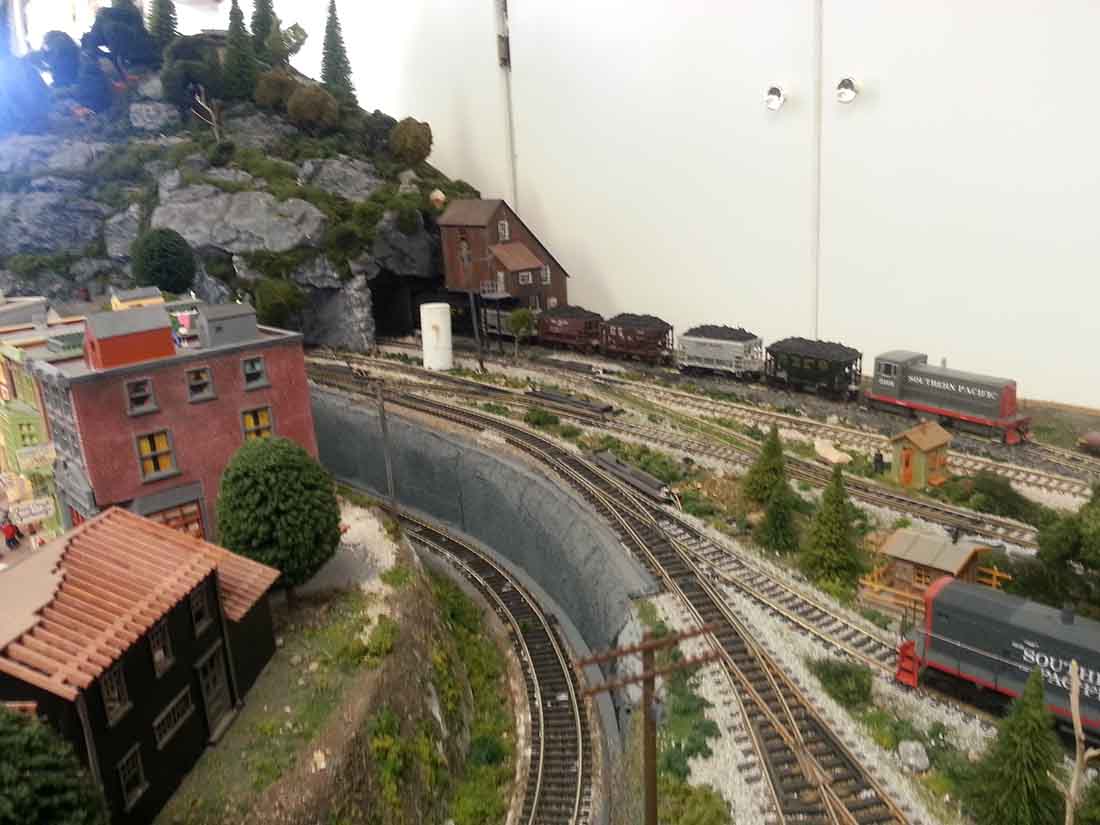
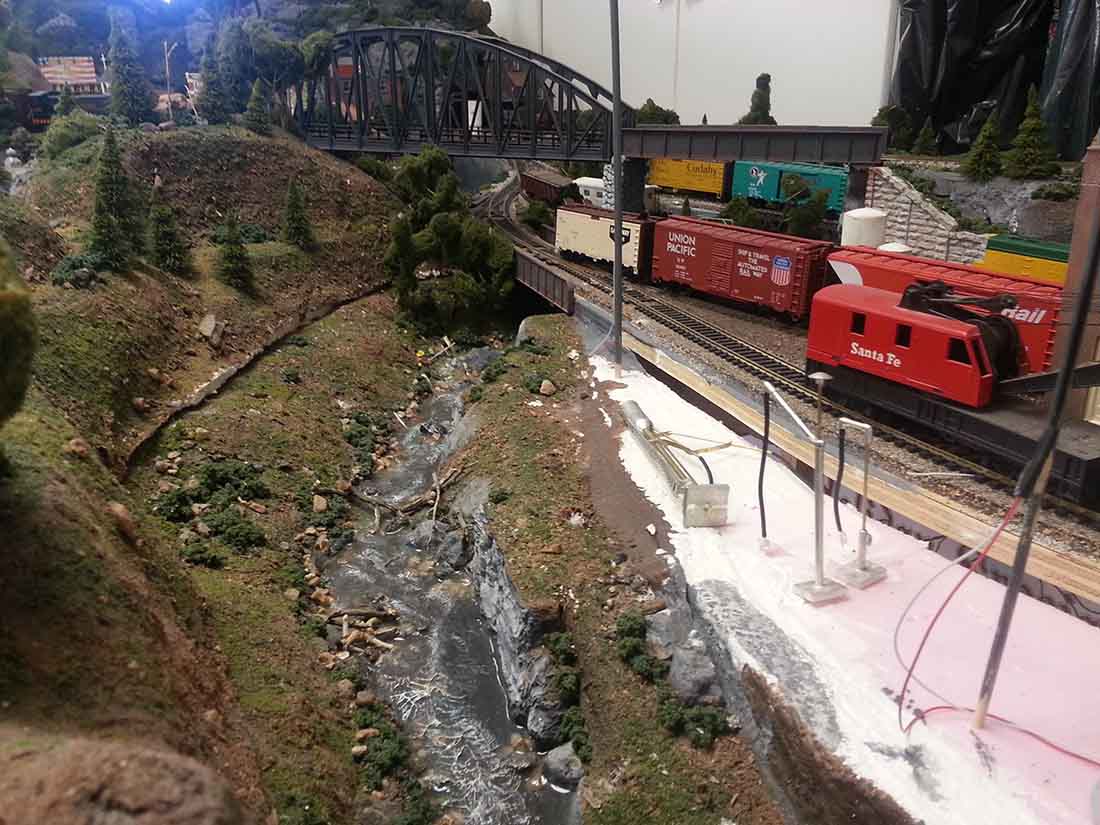
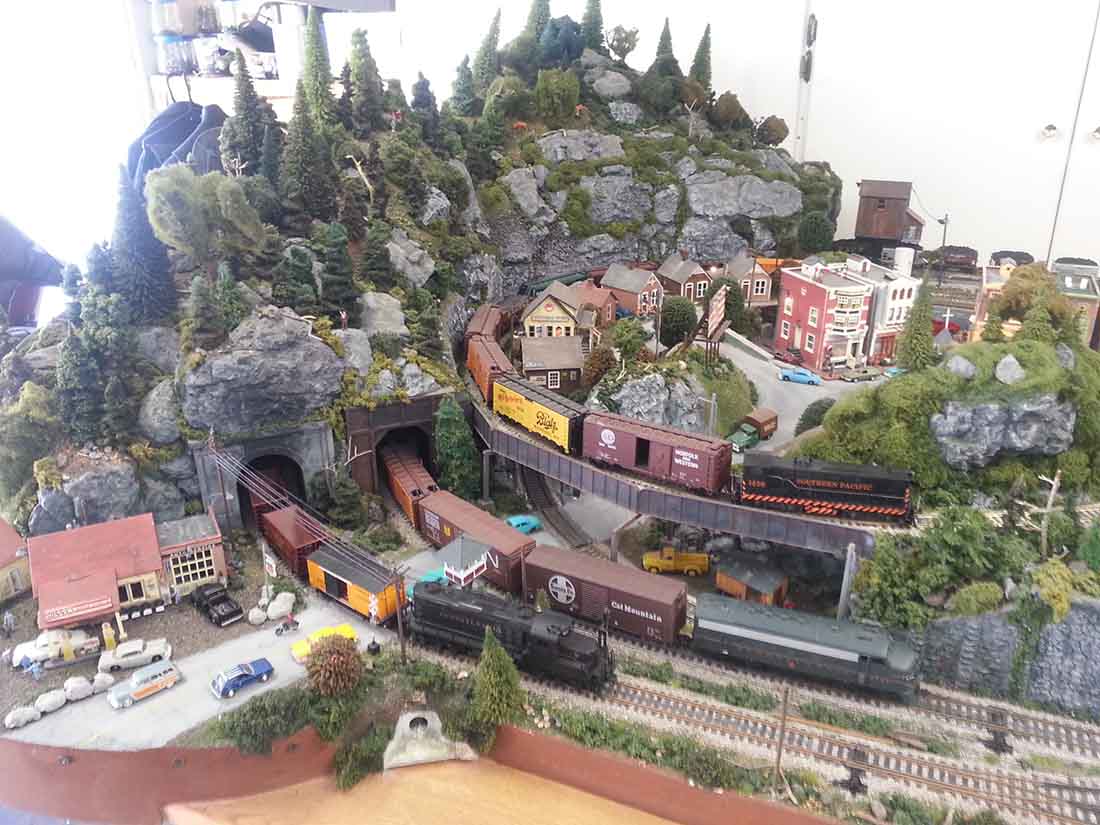
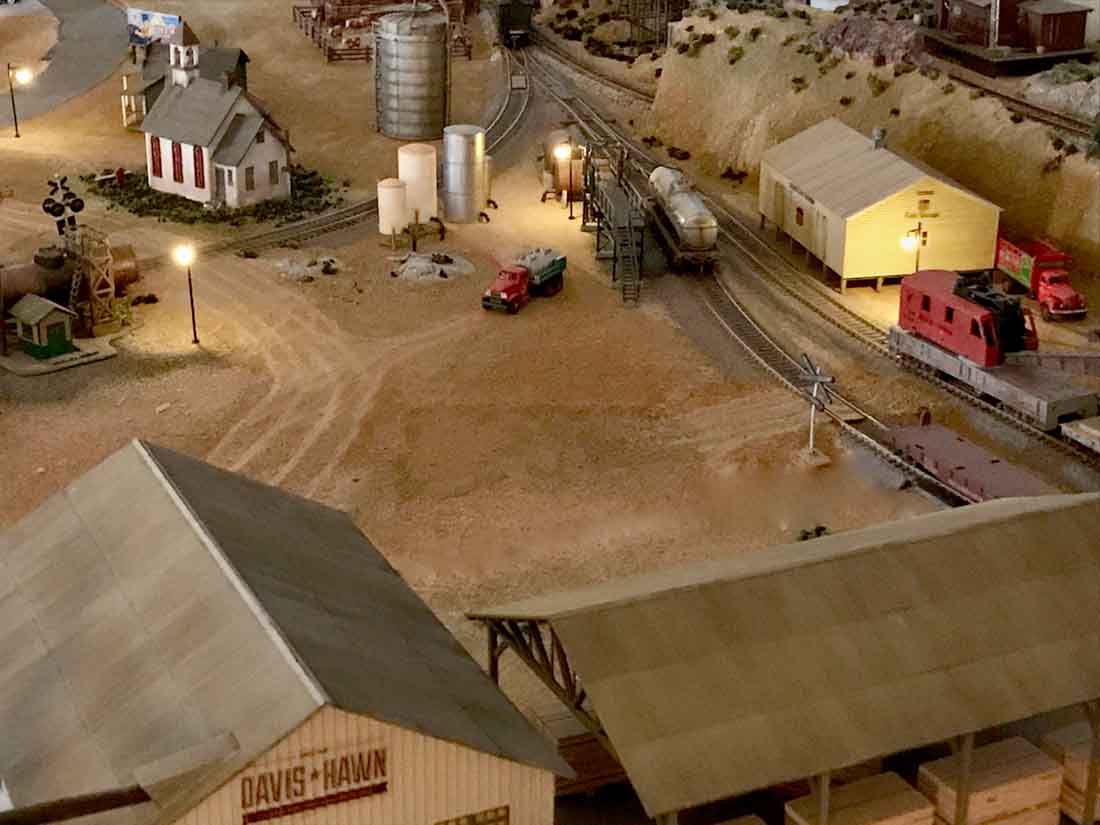
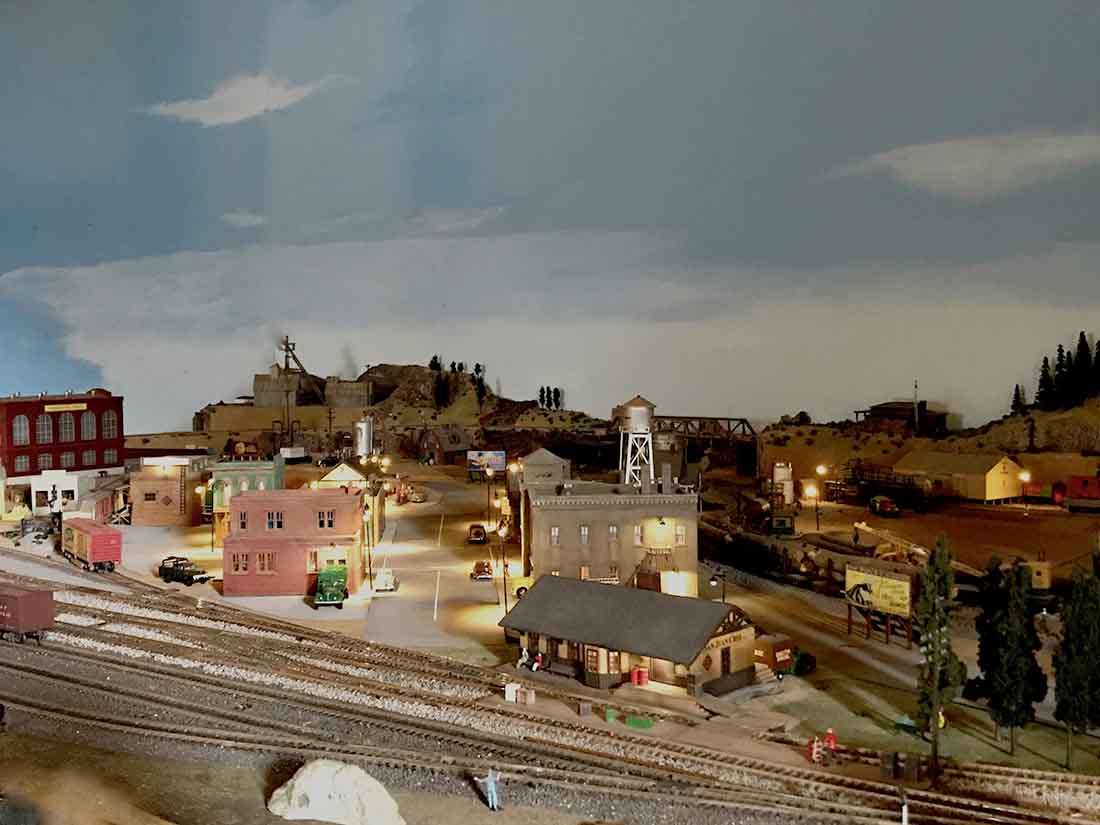
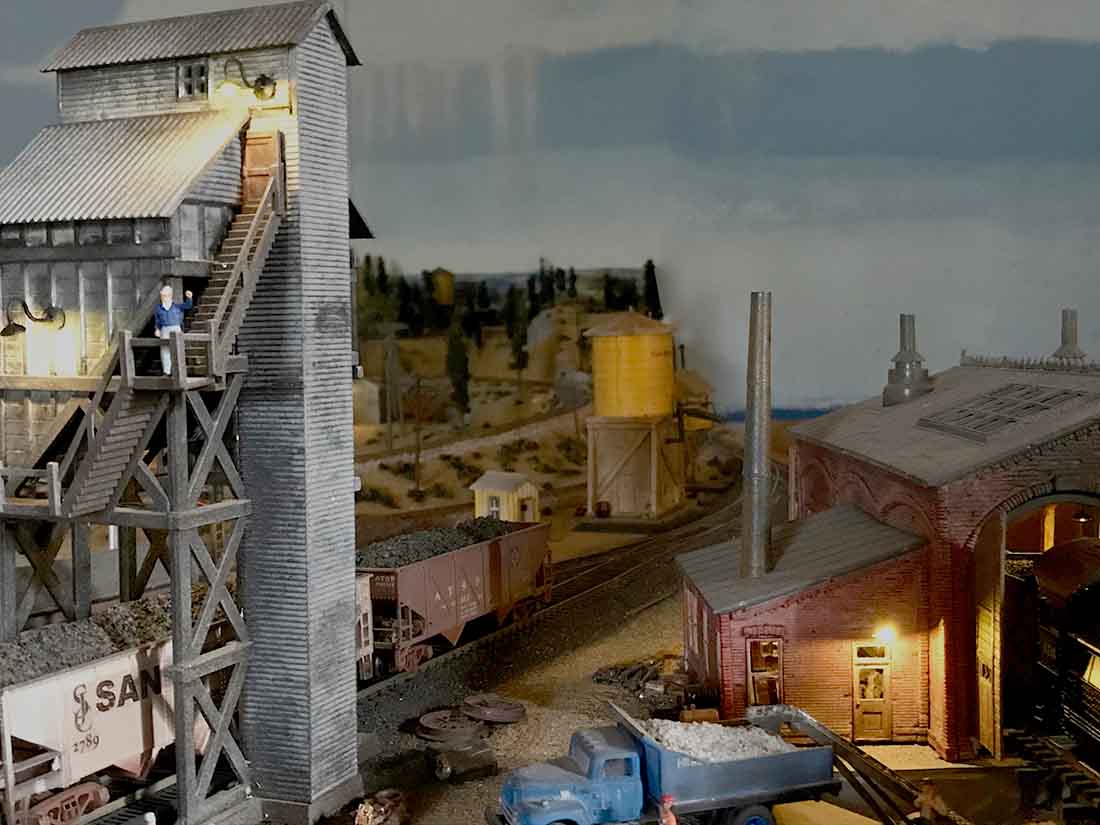
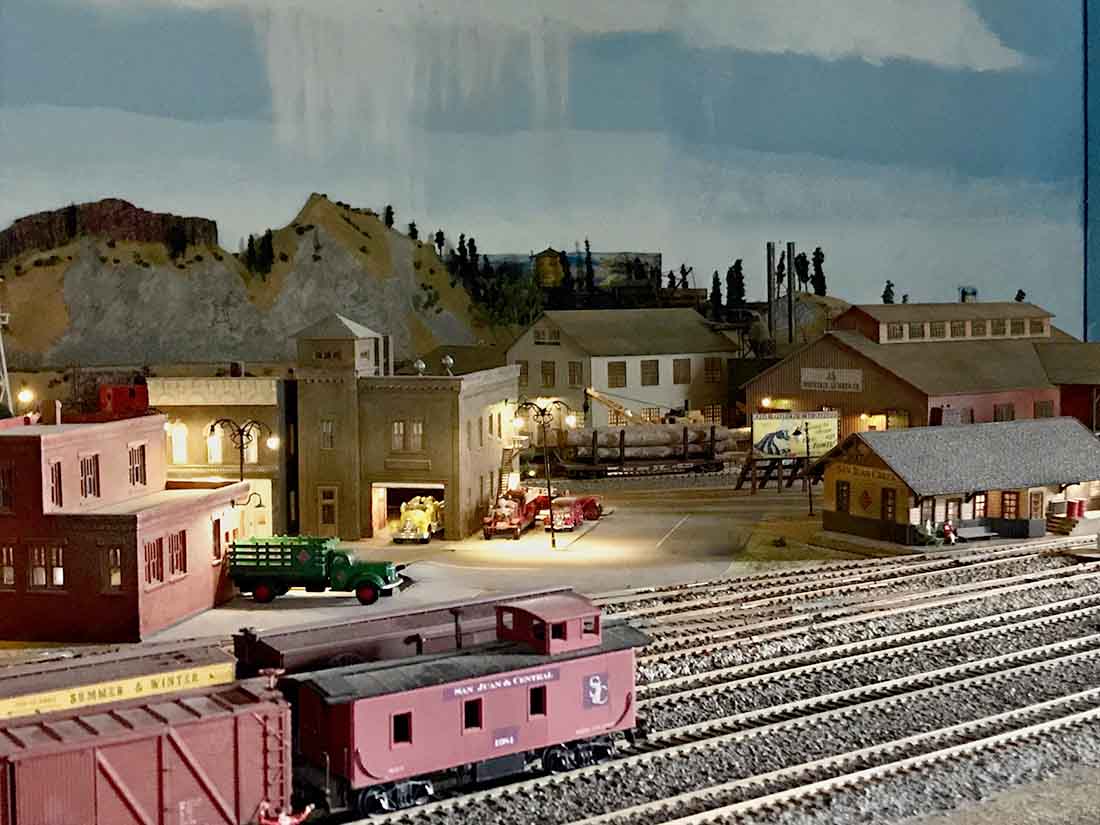
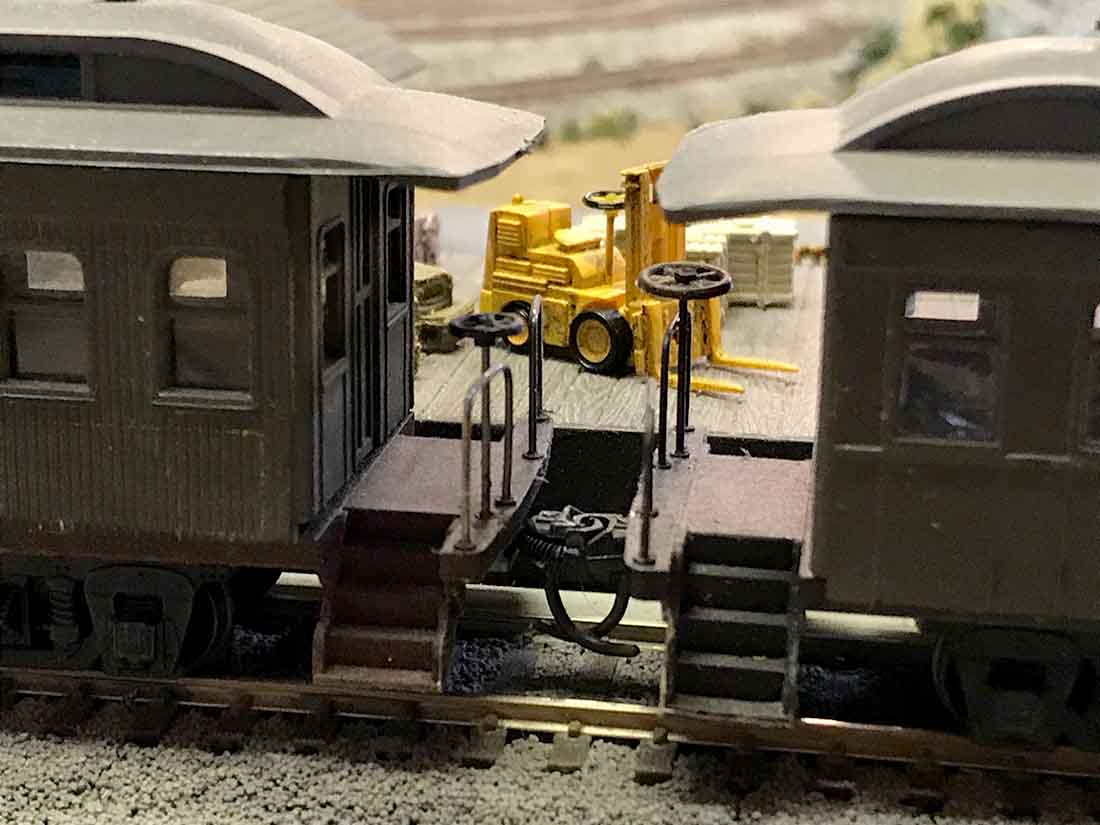
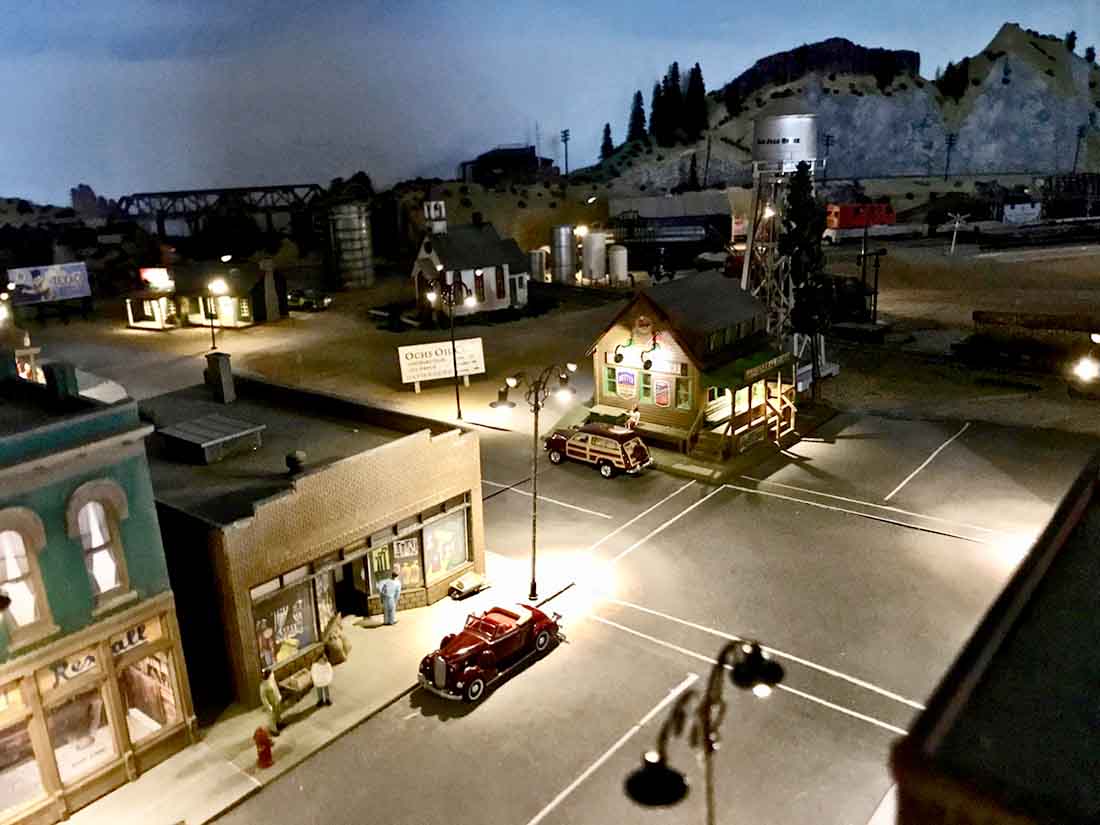
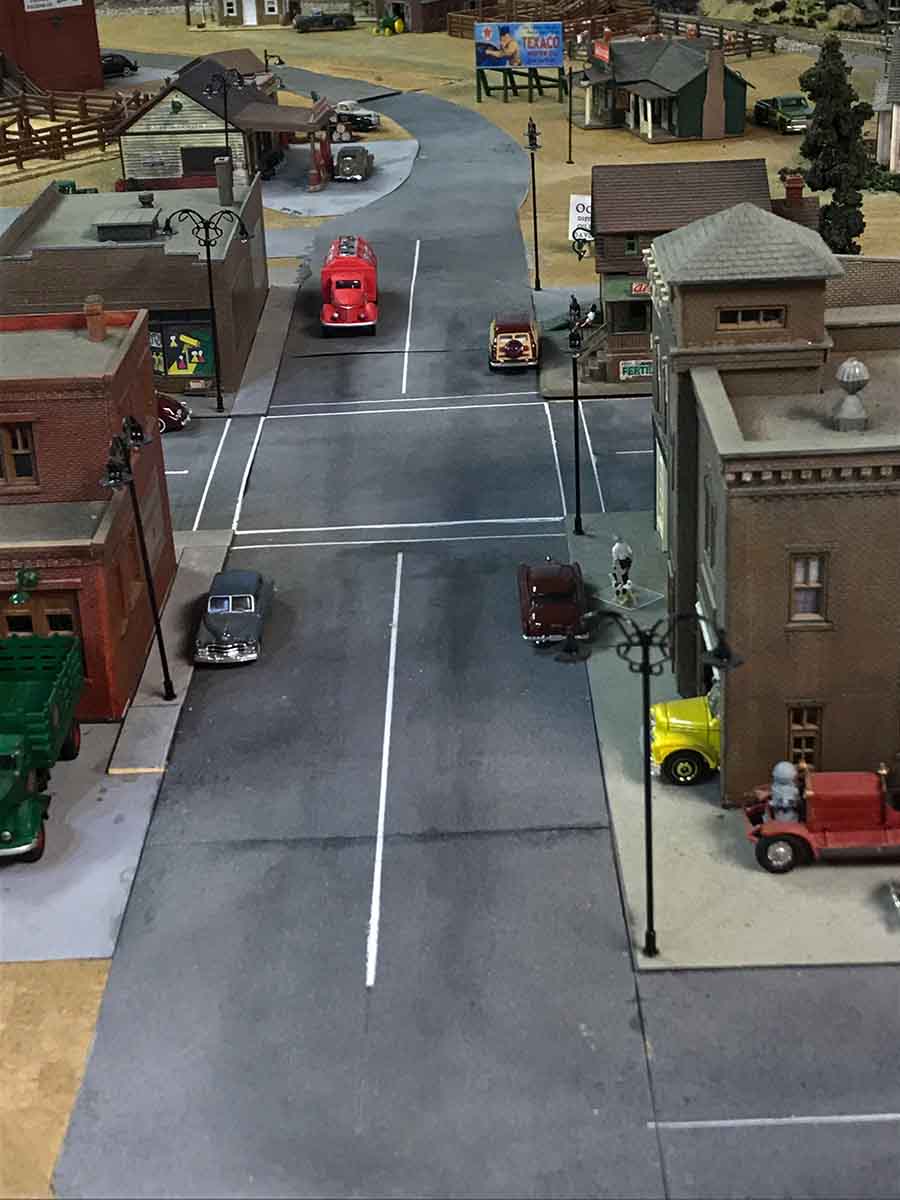
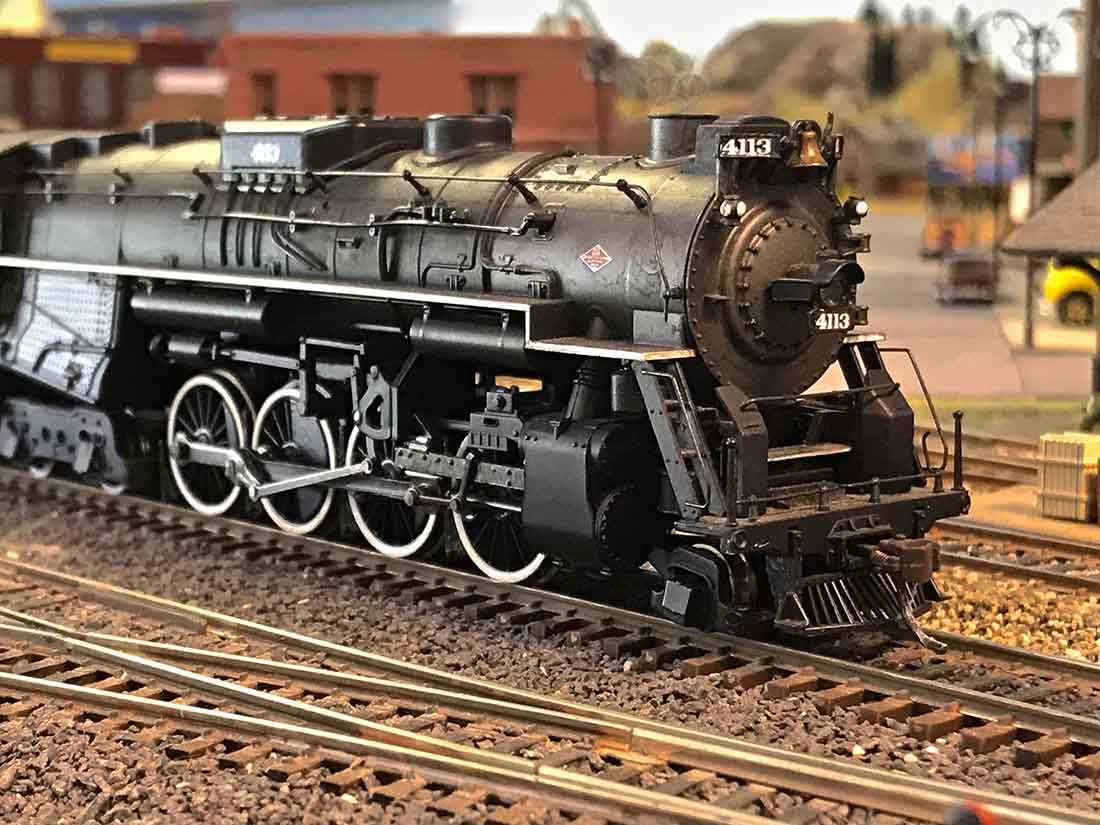
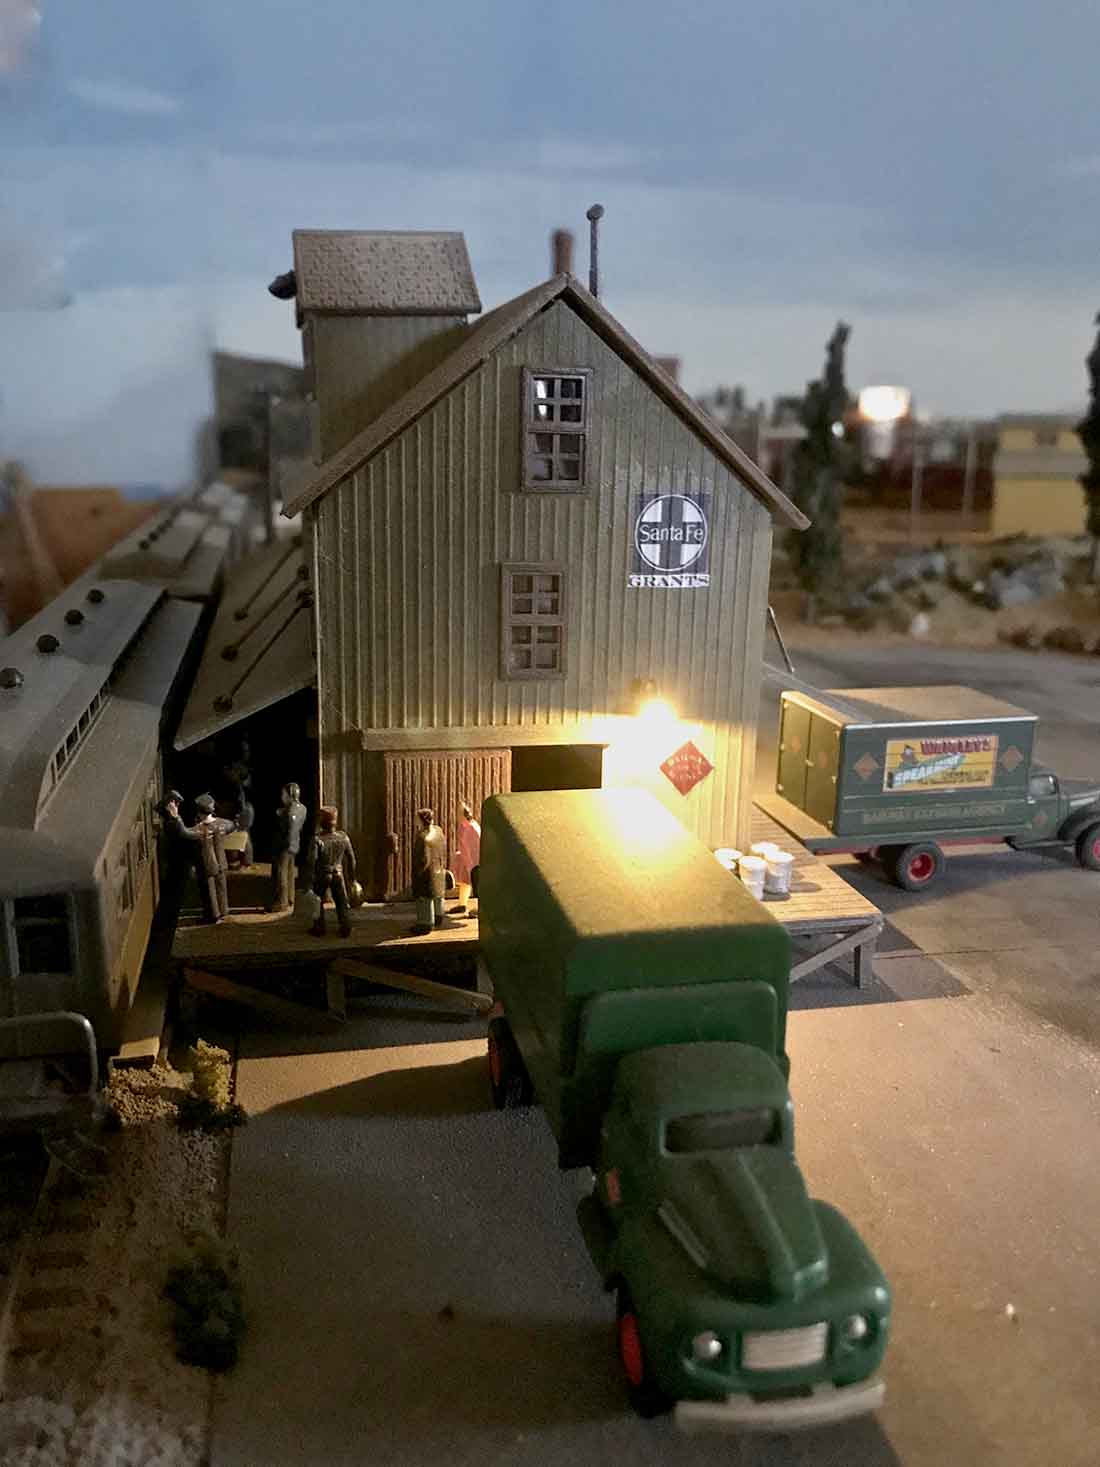
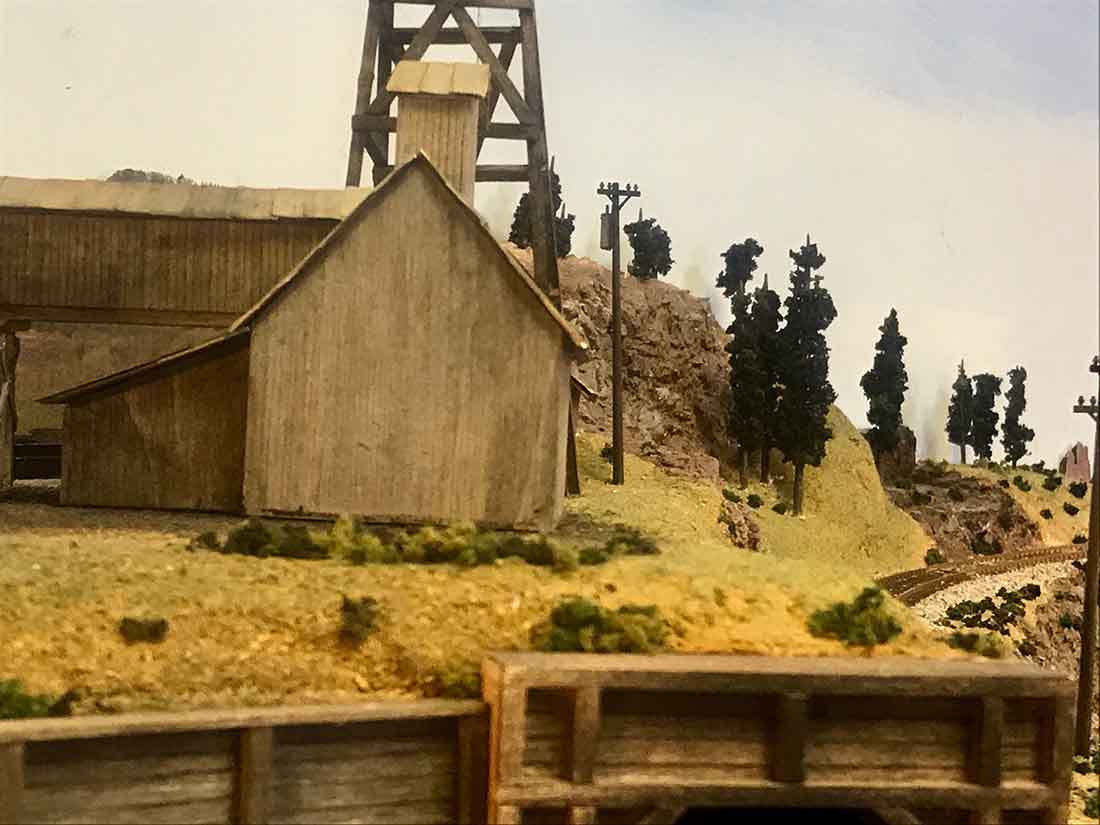
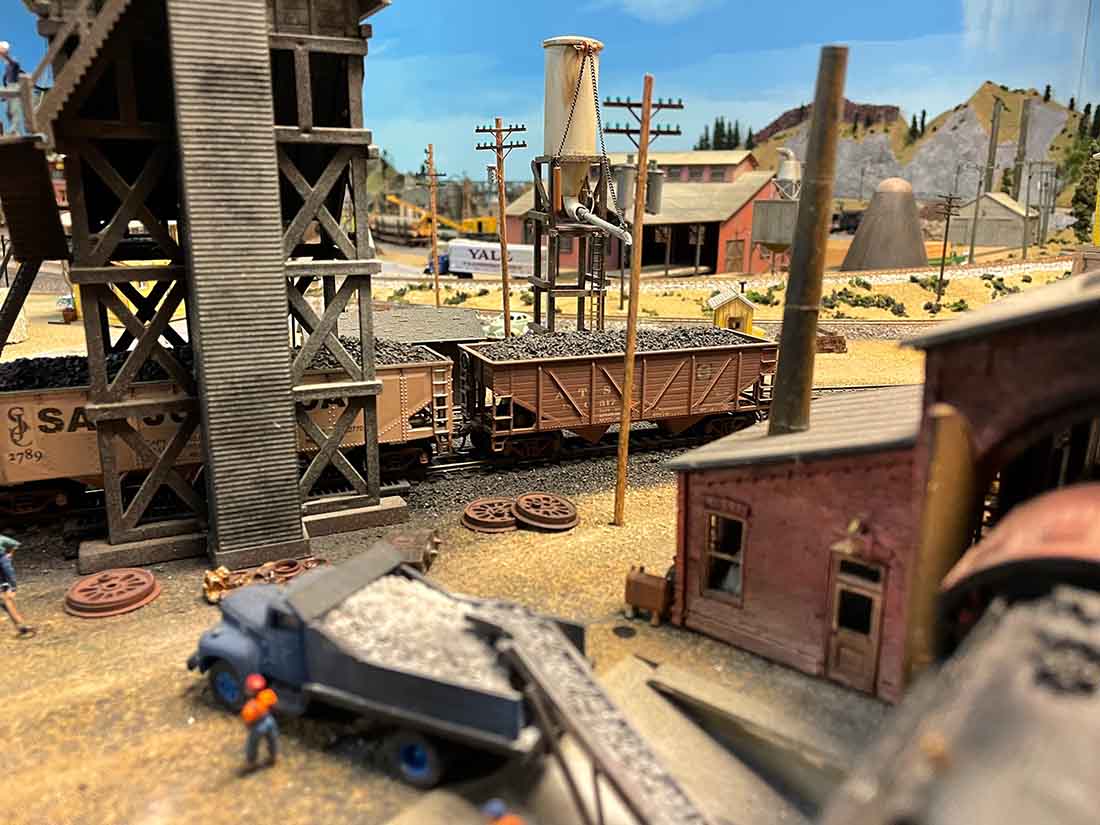
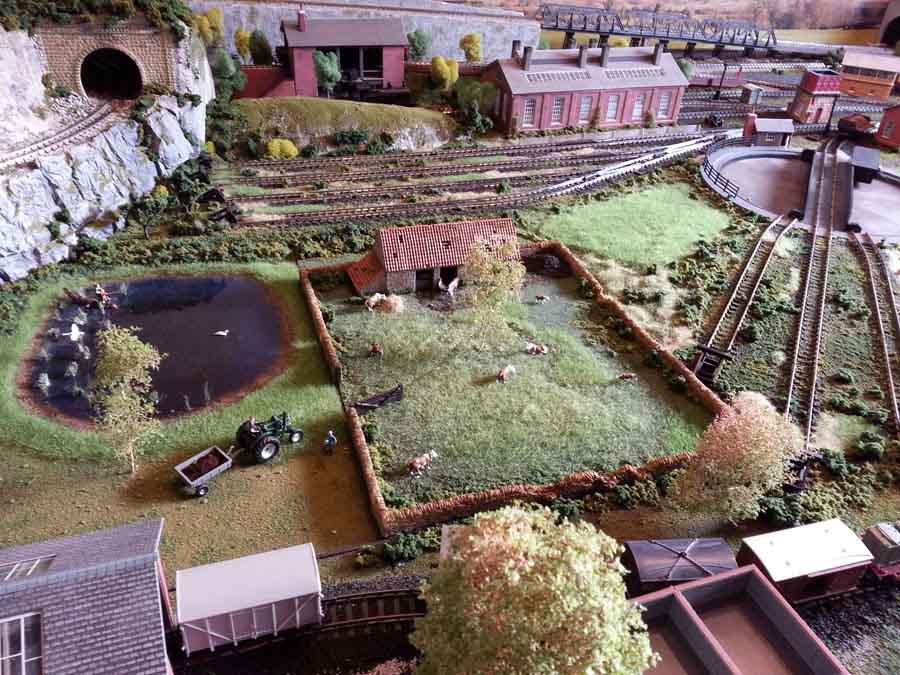
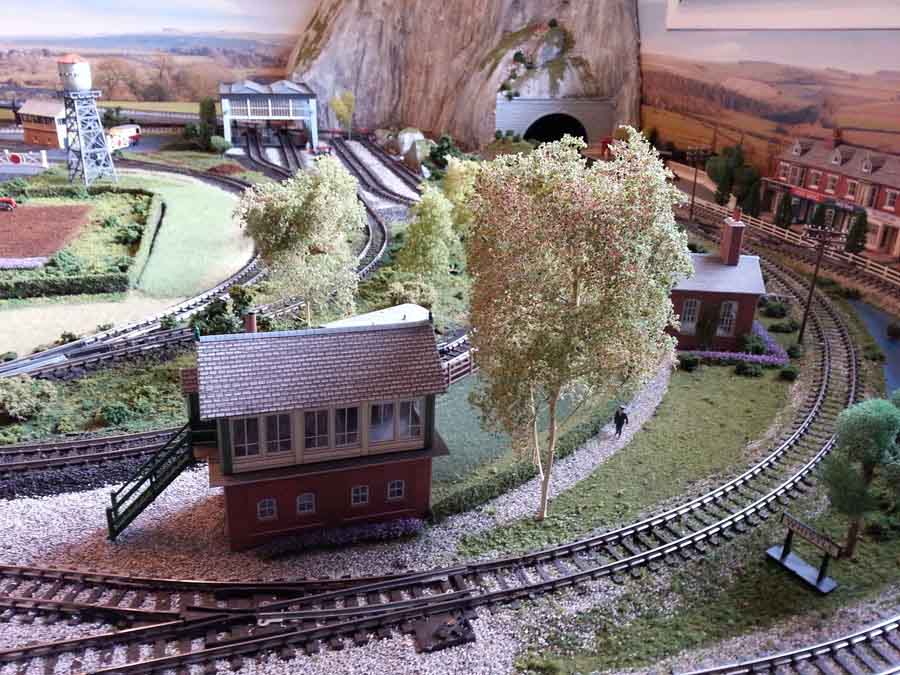
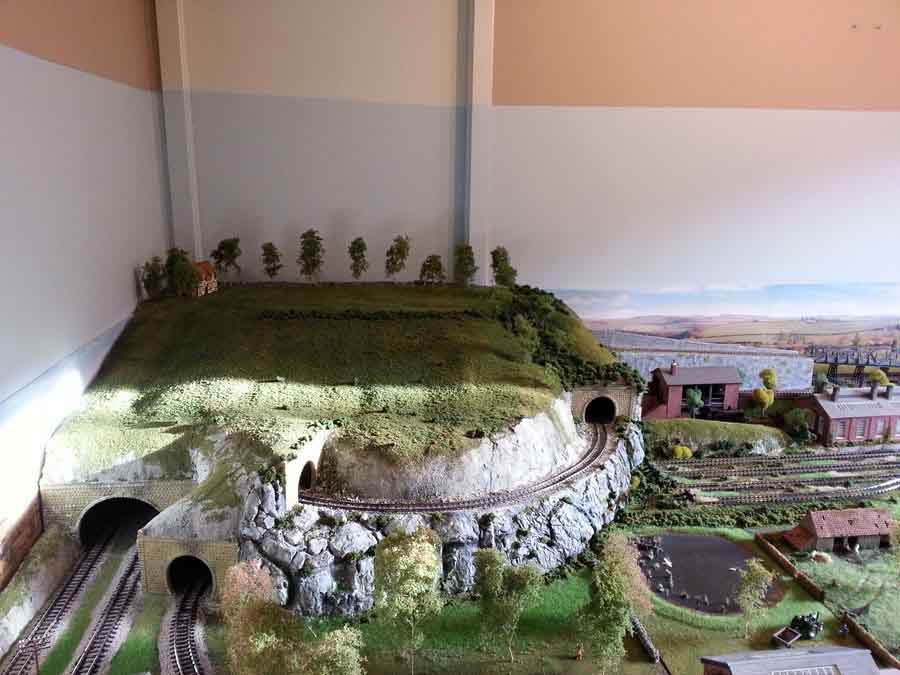
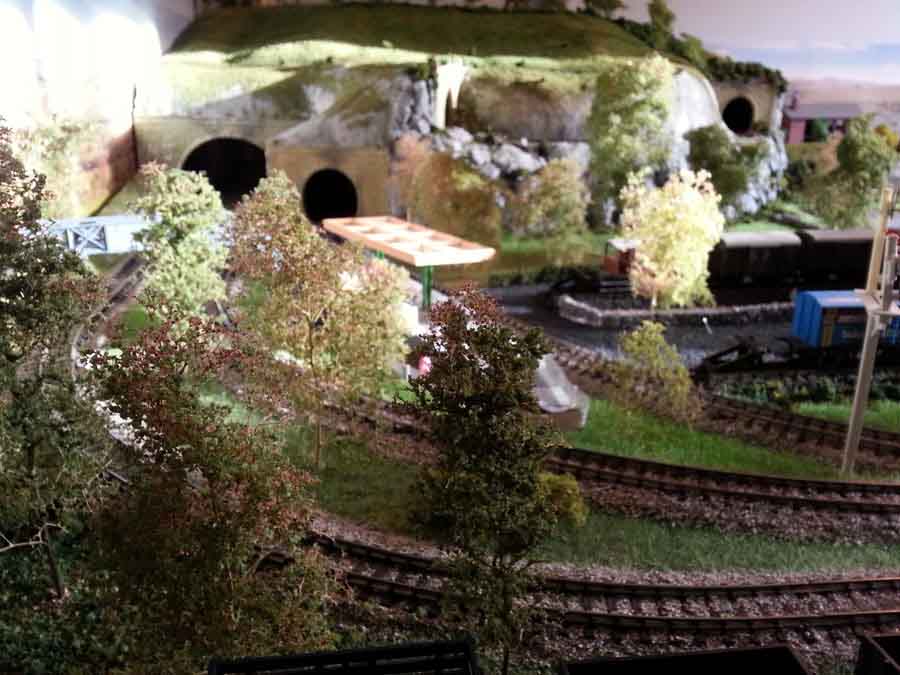
Not many layouts this size can boast of a farm, a turntable, sidings, an engine shed, station, pond and tunnels.
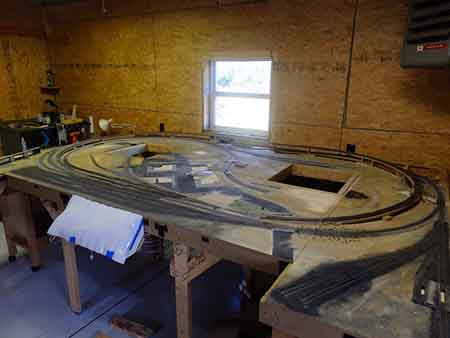
It’s also great to actually see the progress compared to the last post too, which is here:
Paul’s retirement model railway.
“Alastair,
Here is a bit of an update to my original submission.
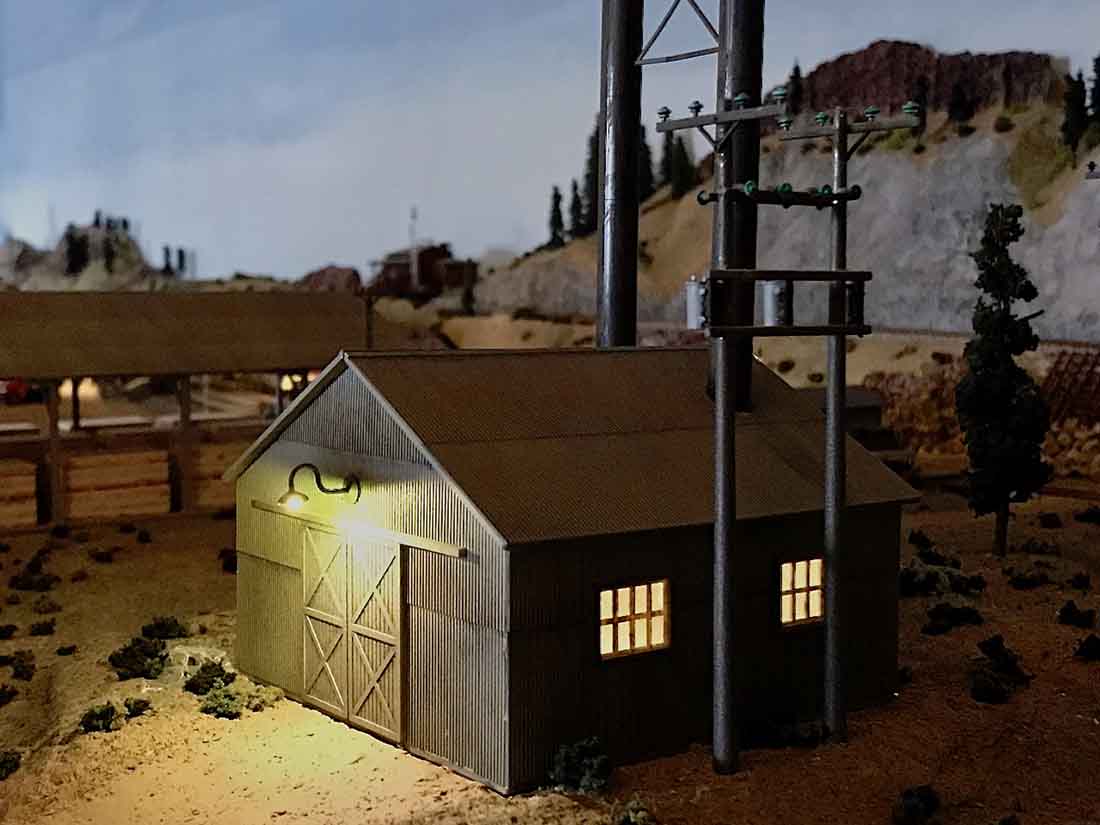
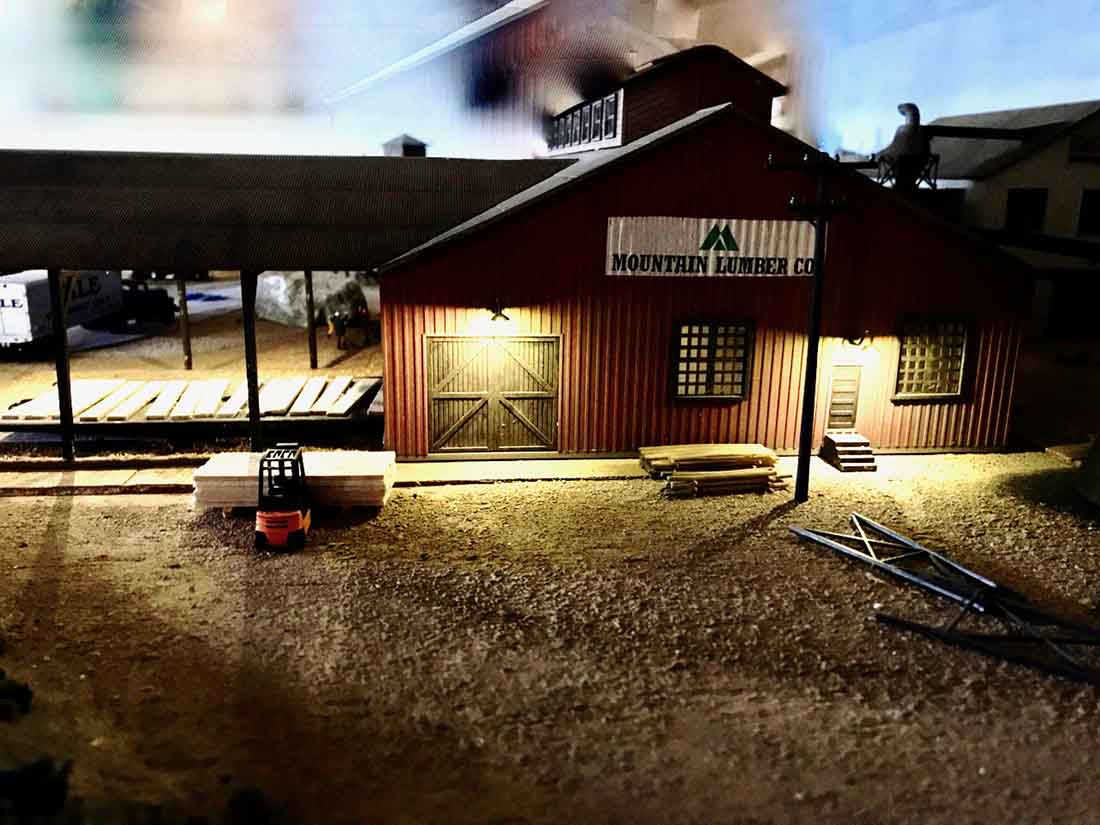
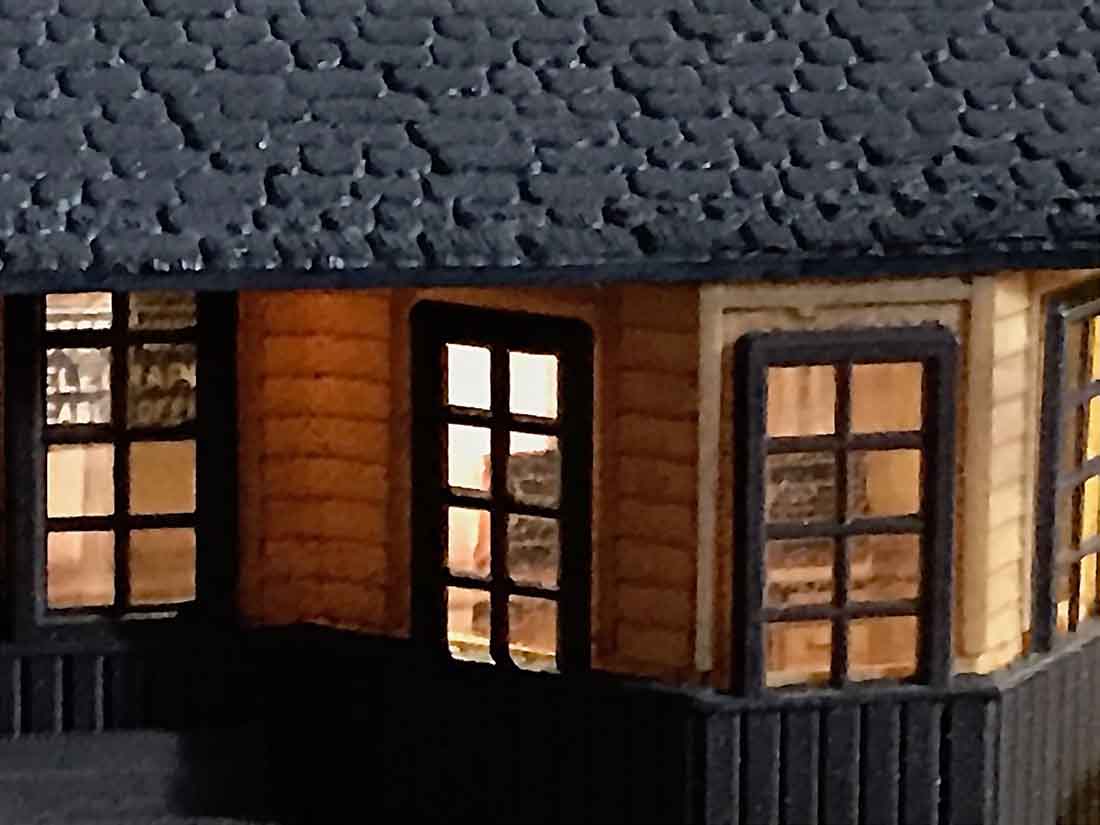
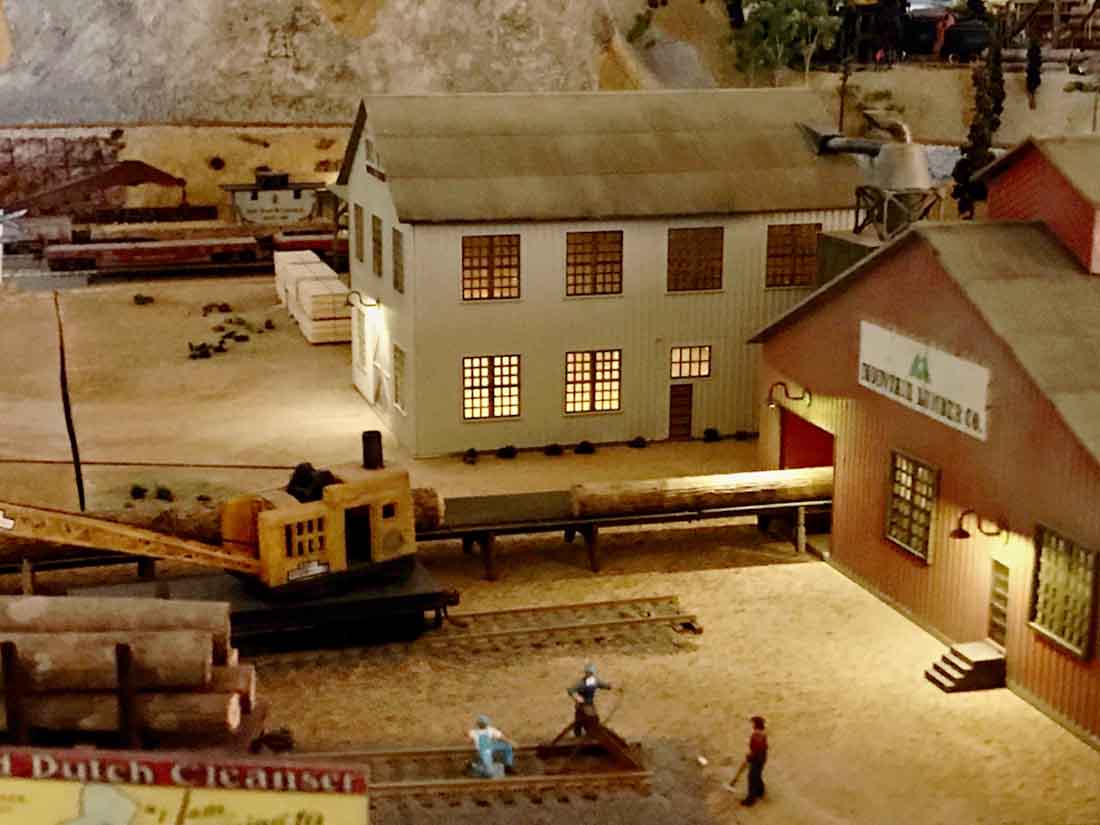
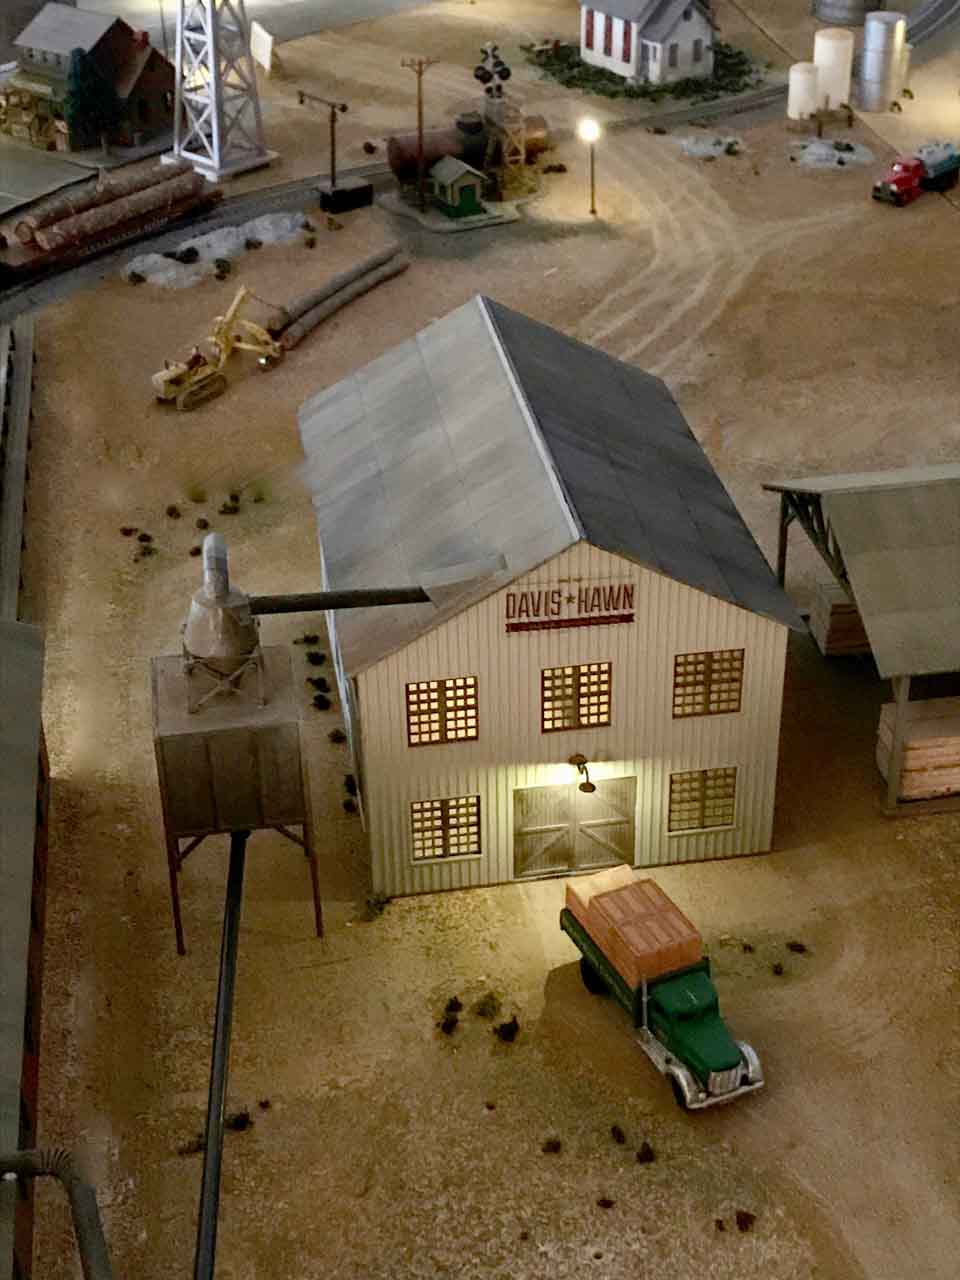
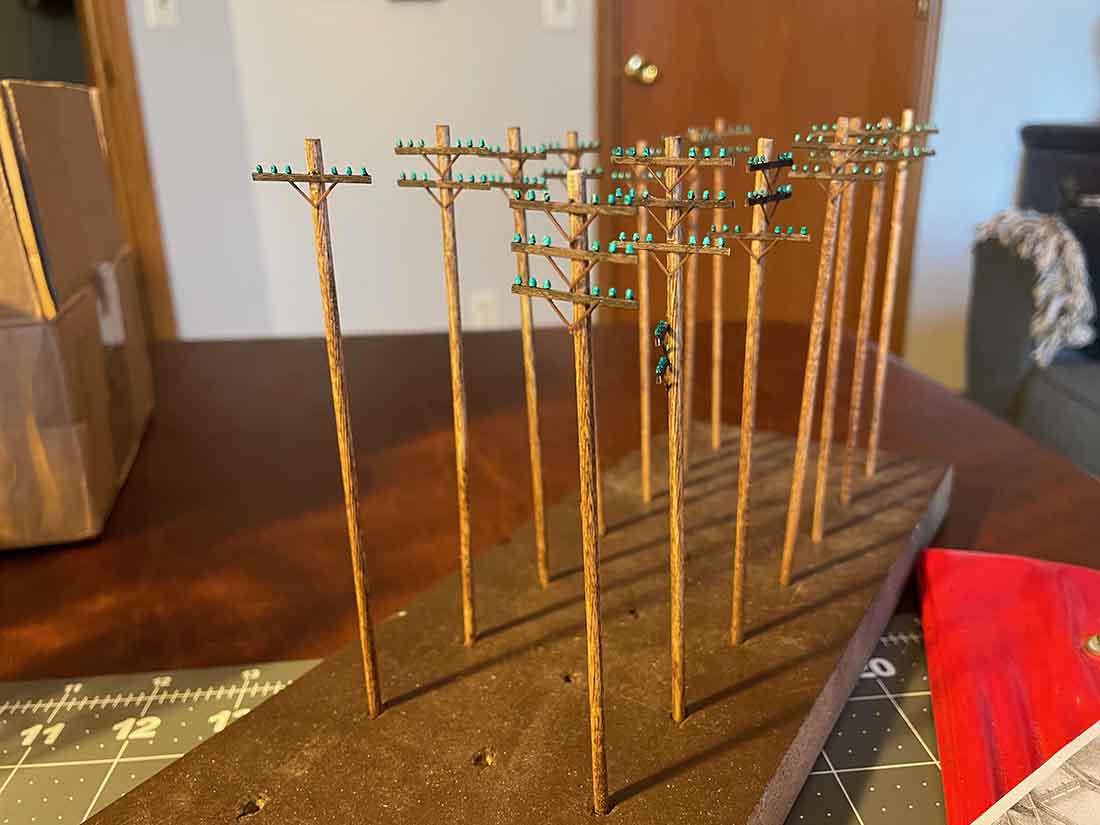
Here are a few pictures and a short running session video after another Winters worth of work on my layout.
I still have a lot of detail work to do, including a scene on the hill with the farmhouse and some fine tuning on my track to try and reduce derailments.
Thanks,
Paul”

A huge thanks to Paul for sharing his OO scale trains – a wonderful layout, with lots to keep him busy.
(It reminded me of Rob’s: OO scale model railway.)
But that’s the thing with layouts – they are never finished… perhaps that is why they are such a good way to spend a retirement.
Over the years, lots of ‘retirement projects’ have been shared – it’s funny how the love of trains never leaves us, and retirement arrives with an abundance of free time. then all that’s needed is a little space for the dream to finally happen.
Long may it continue too!
What’s more, I know many of you are ‘armchair’ modelers – well, I say enough of that: roll your sleeves up and make a start, even if it’s only on a diorama or a printable building. it’s a lot more fun.
That’s all for today folks.
Please do keep ’em coming.
And if today is the day you get started on your layout, the Beginner’s Guide is here.
Best
Al
PS Latest ebay cheat sheet is here.