Bob’s been back in touch and added to the N scale dioramas on the blog:
“Al…good afternoon. Bob in Texas here with a new submission. I call it: Diorama of the Cowlitz River Truss Bridge to the Rescue.
Is there anything more forlorn than a model railroad hobbyist with nothing to build? That is the situation in which I recently found myself. No room to start a new project or add to an existing layout. My wife absolutely refused my request to build even a small shelf-layout in our bedroom.
As you probably recall, my last project was a Thomas Kinkade-inspired Christmas tree for the bed of my 1950 Chevrolet pickup, but that was eight months ago. I was in desperate need of a new project.
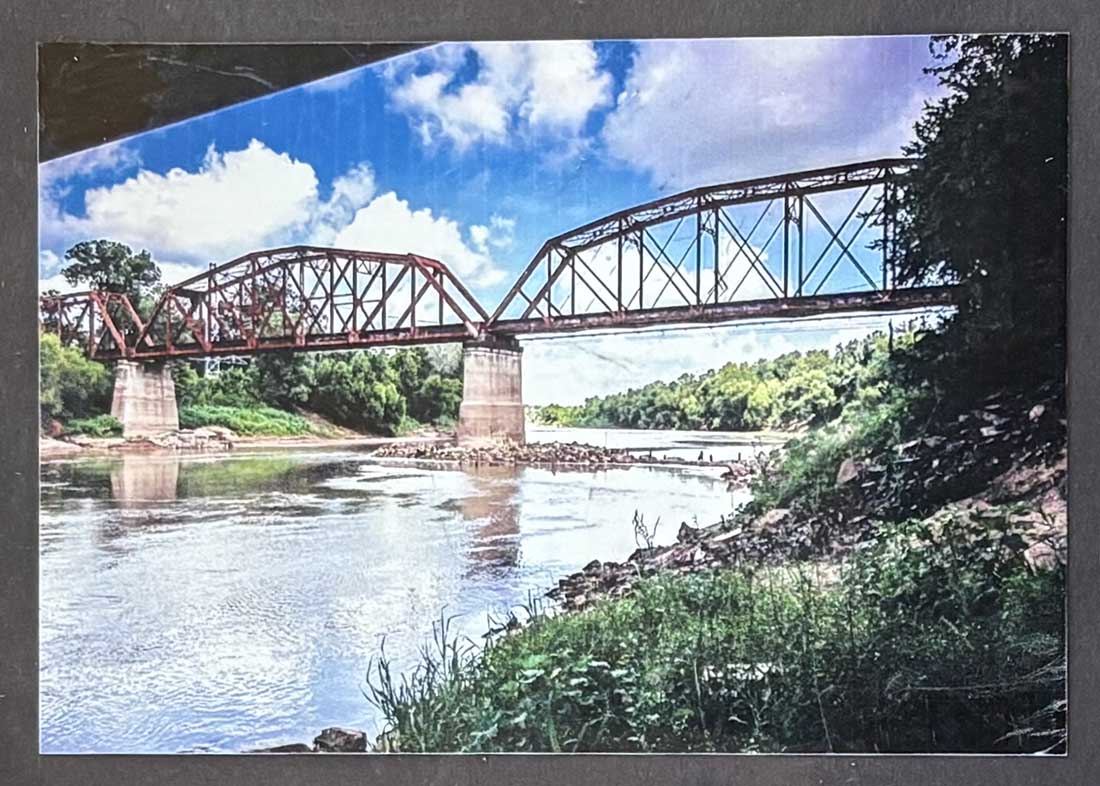
Inspiration came during a recent road trip from our home in Houston to San Antonio. Driving west on Interstate 10 just east of Sealy, we crossed the Brazos River. Immediately to our right is a magnificent triple truss bridge on a route Union Pacific still uses for freight traffic.
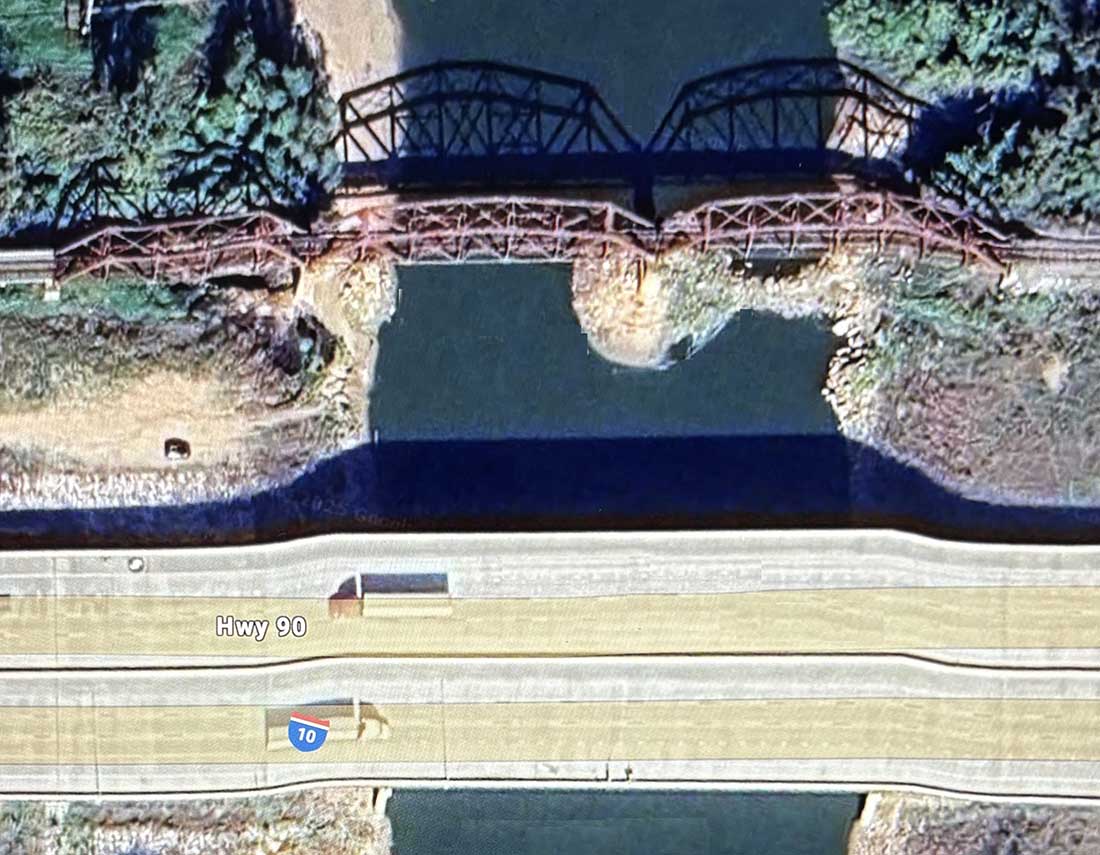
It is one of the few remaining truss bridges in Texas and, because of its location, one of the most photographed (as you can see in the satellite image it is right next to the interstate). I keep photographs of this and other historic bridges in an album.
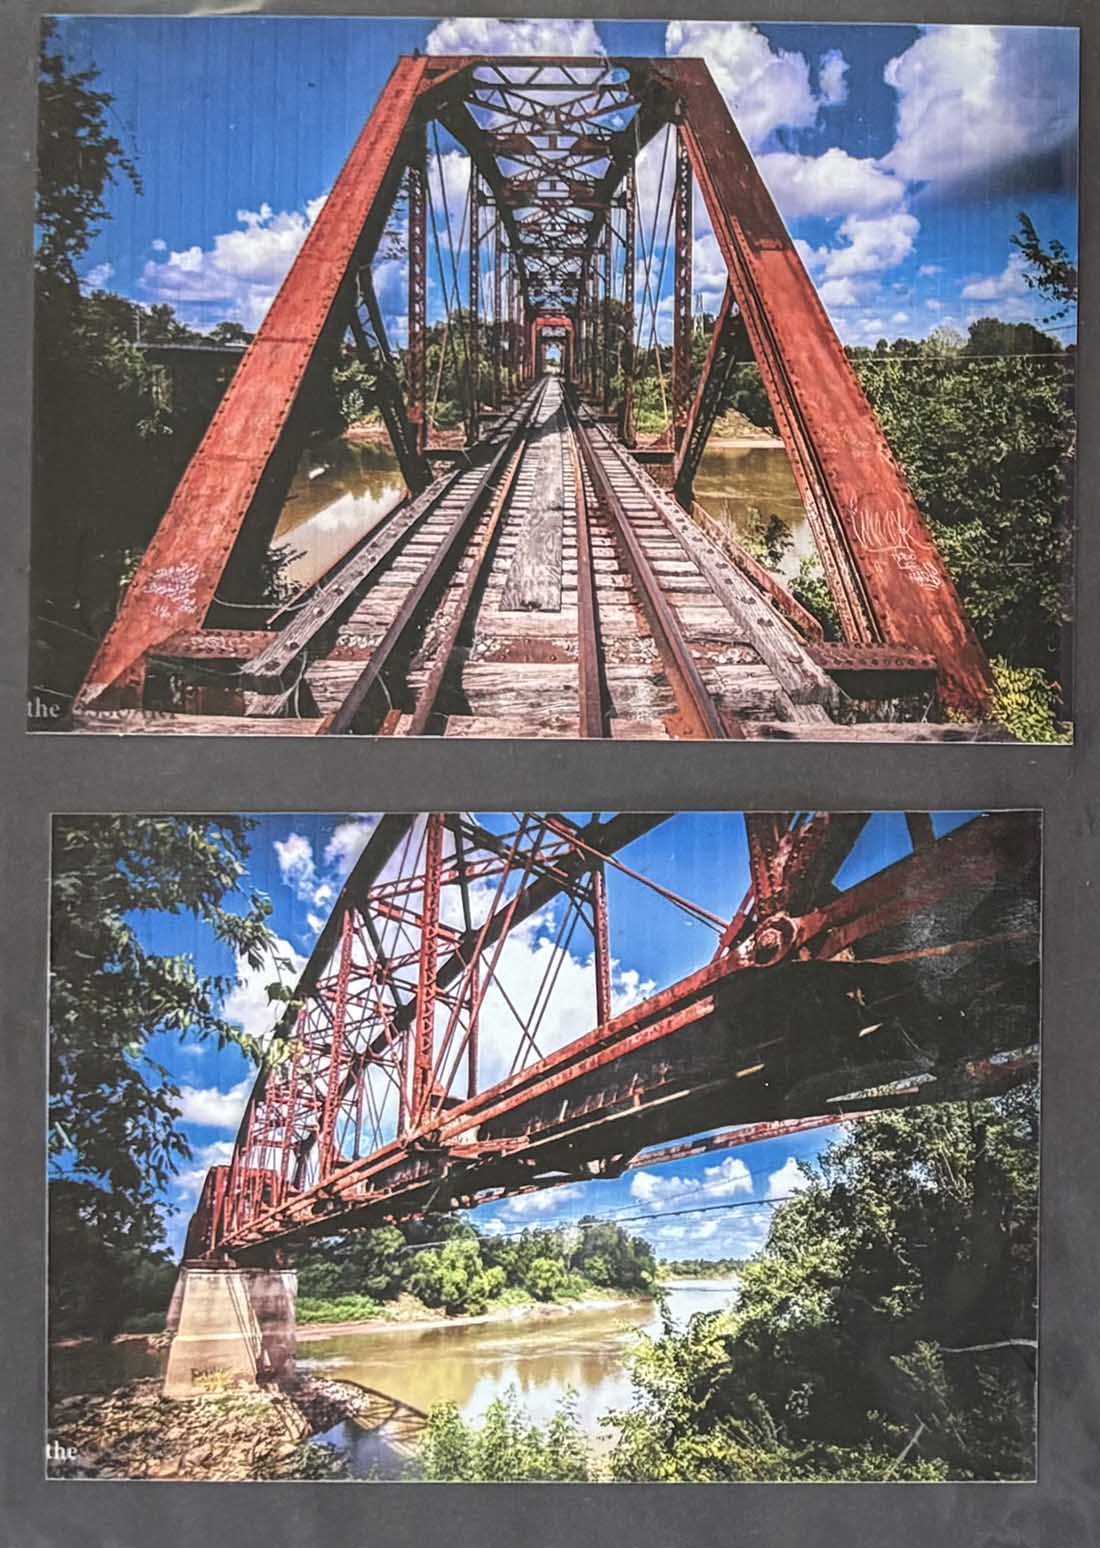
If you have seen some of my previous submissions to Al’s blog you know that I much admire vintage timber trestle bridges. And…even though I have never included an iron truss bridge on any of my layouts I also appreciate their beauty and historic significance.
In their heyday, between 1880 and 1930, it is estimated by the Texas Historical Commission that there were thousands of truss bridges built in Texas. Now only a few, like the one that spans the Brazos River, remain in use.
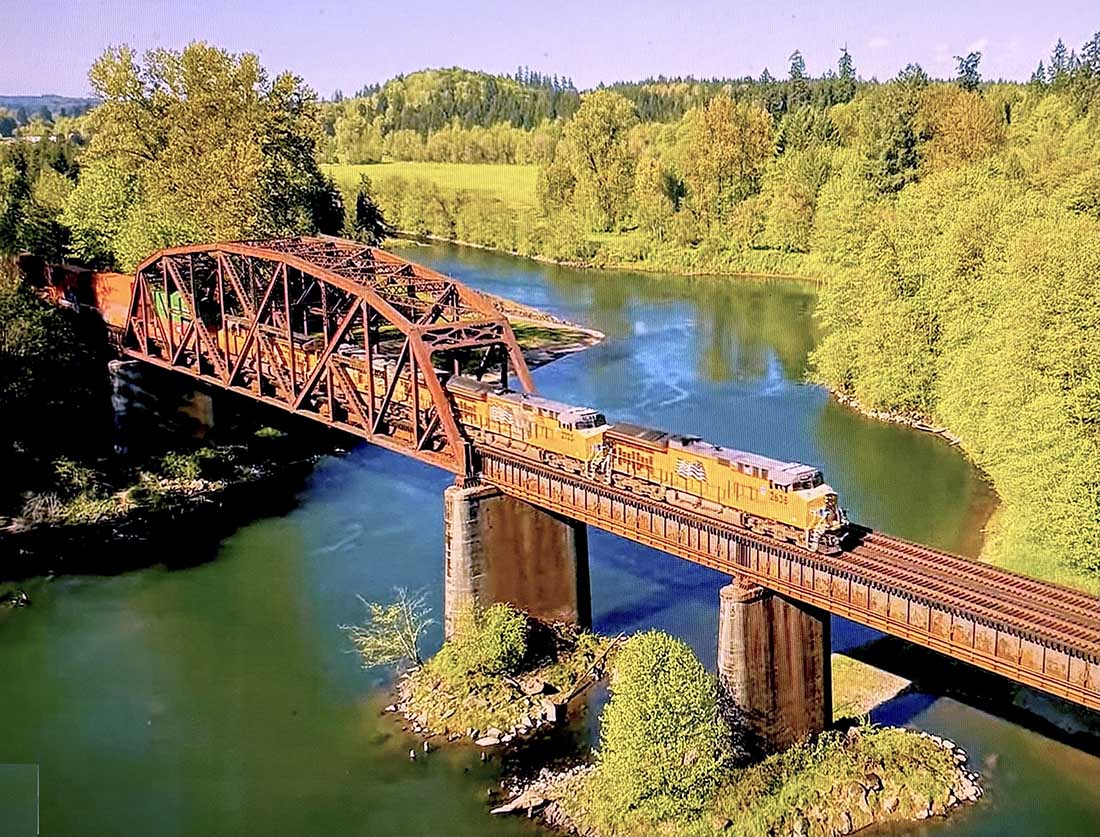
When we returned from our trip I revisited my album and came across a photograph of another spectacular truss bridge that spanned the Cowlitz River in Northern Washington State. It is the subject of a beautiful video on YouTube called Crossing the Cowlitz: A Historic Washington State Rail Bridge.
The bridge was completed in 1911 using a Pennsylvania Truss Design…but sadly it has been demolished and replaced. While I didn’t have room to add the bridge to my current layout, I could at least construct an N Scale diorama using the photograph as inspiration.
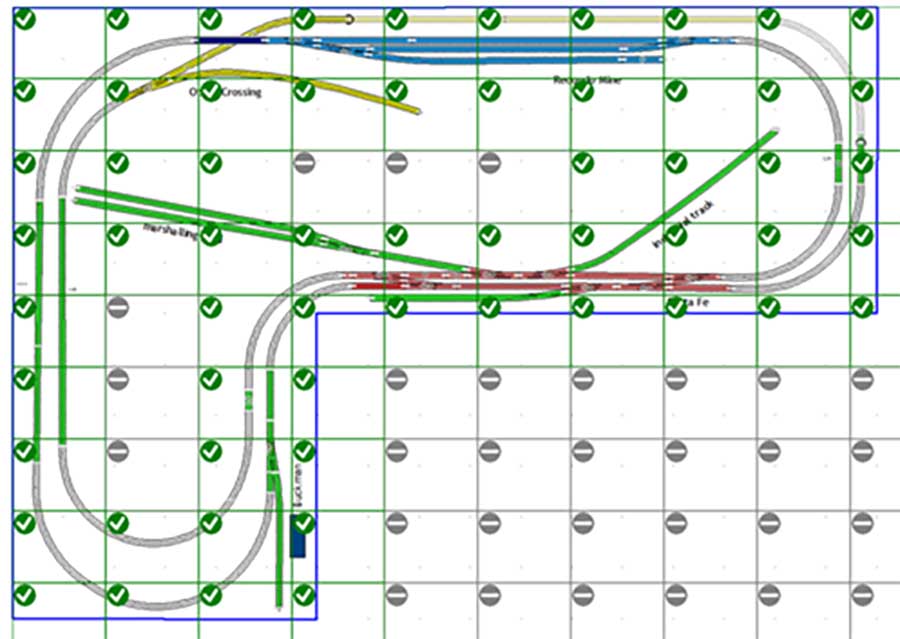
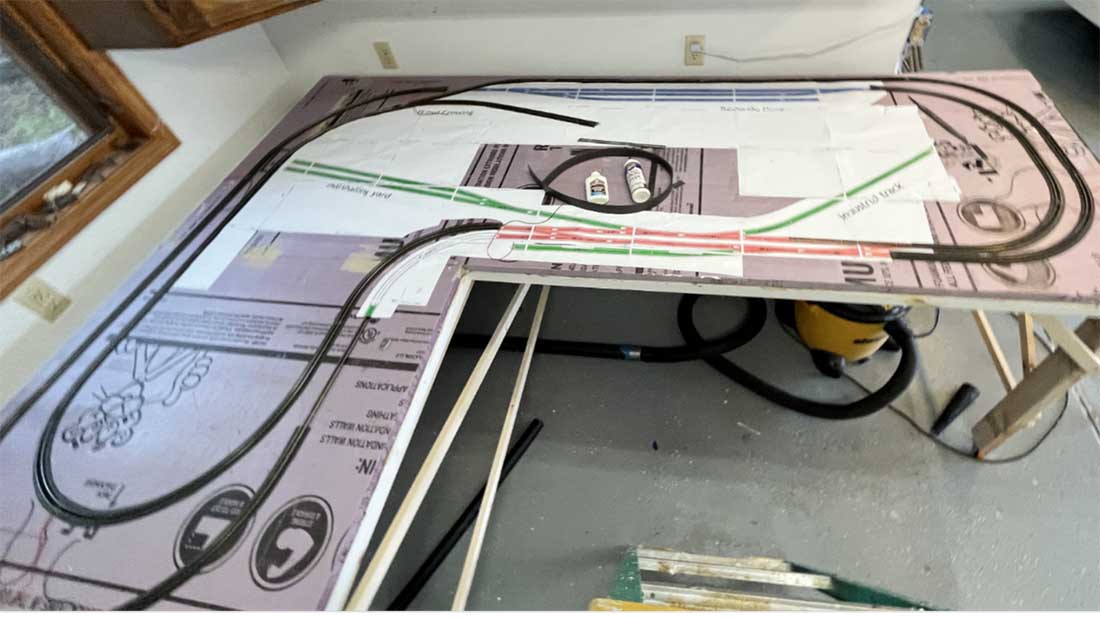
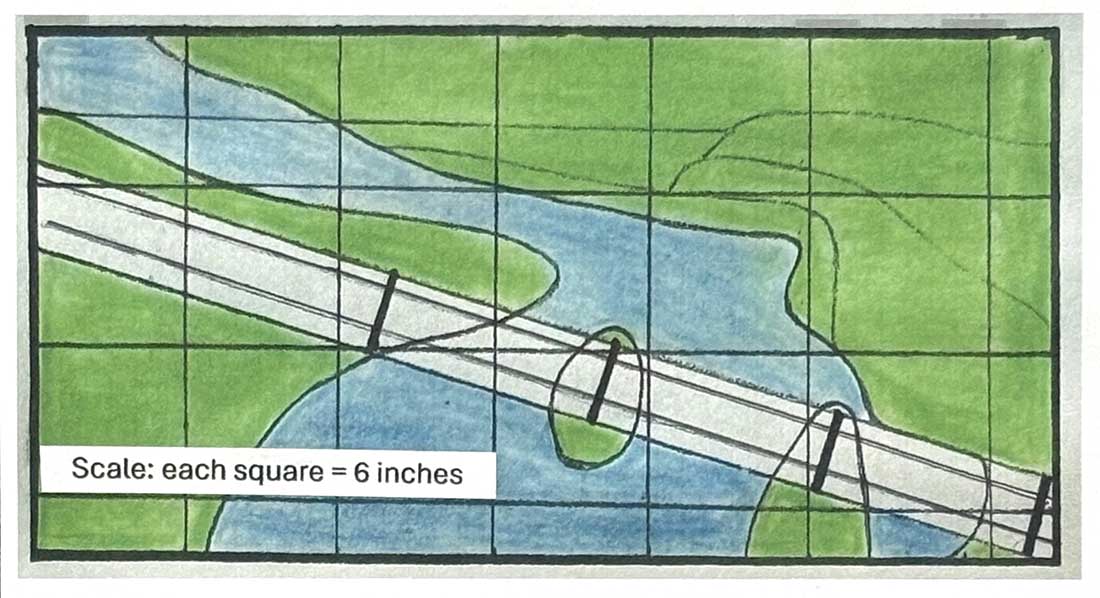
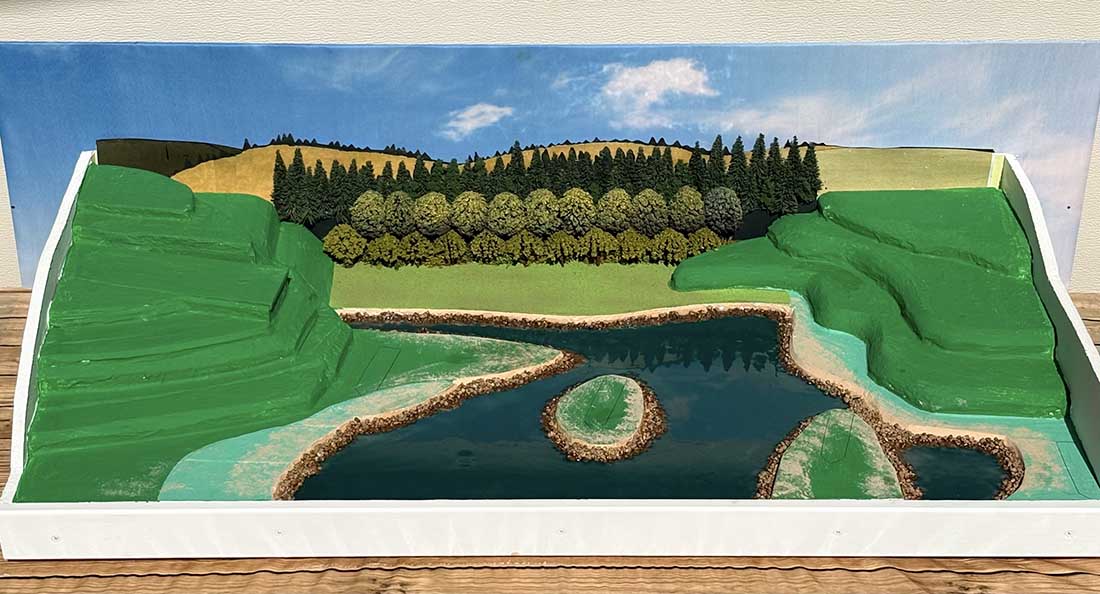
First, I drew a simple schematic of the scene depicted in the photograph.
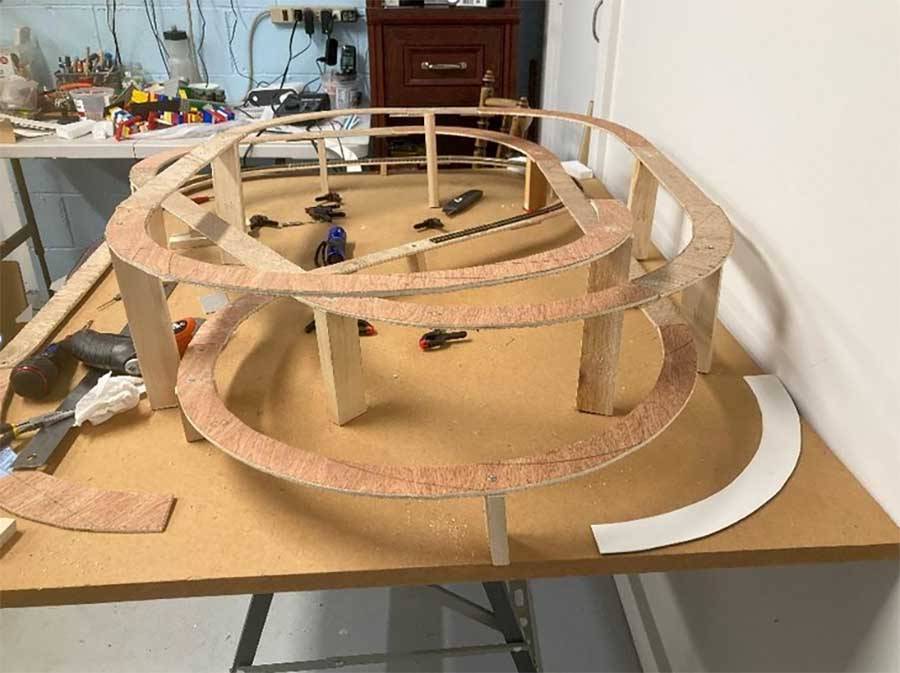
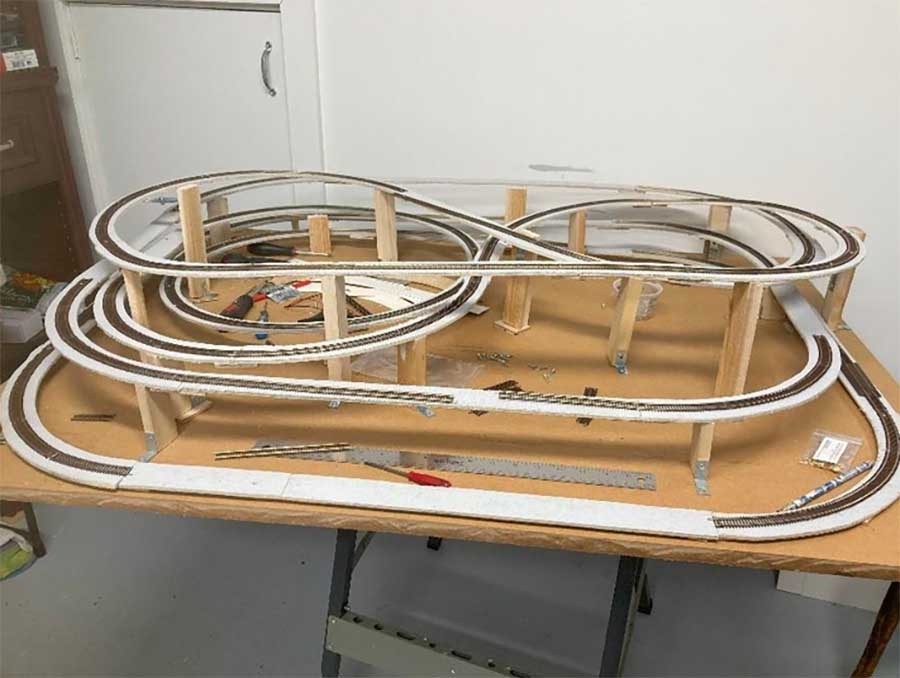
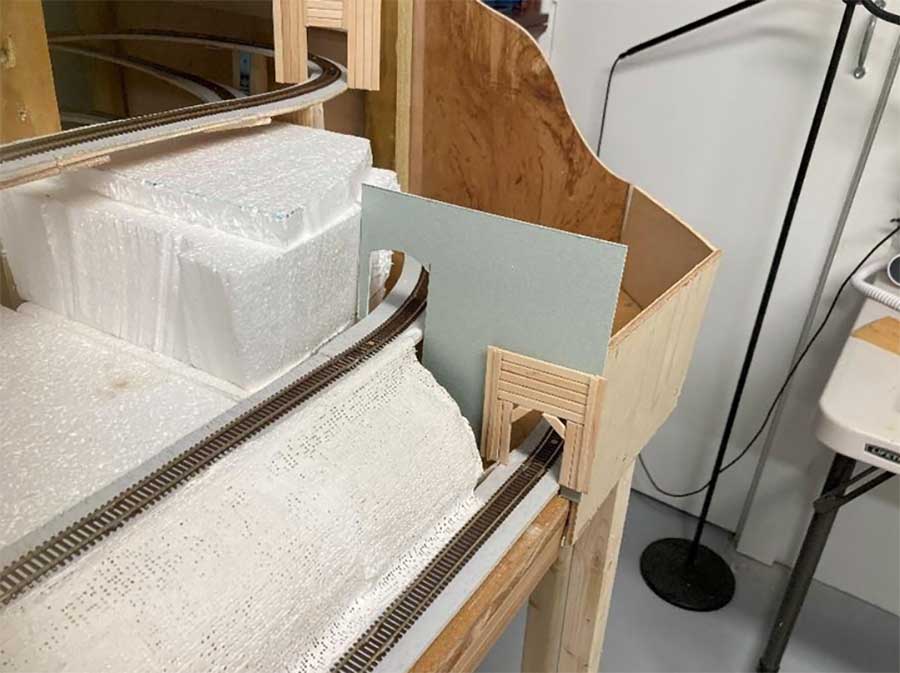
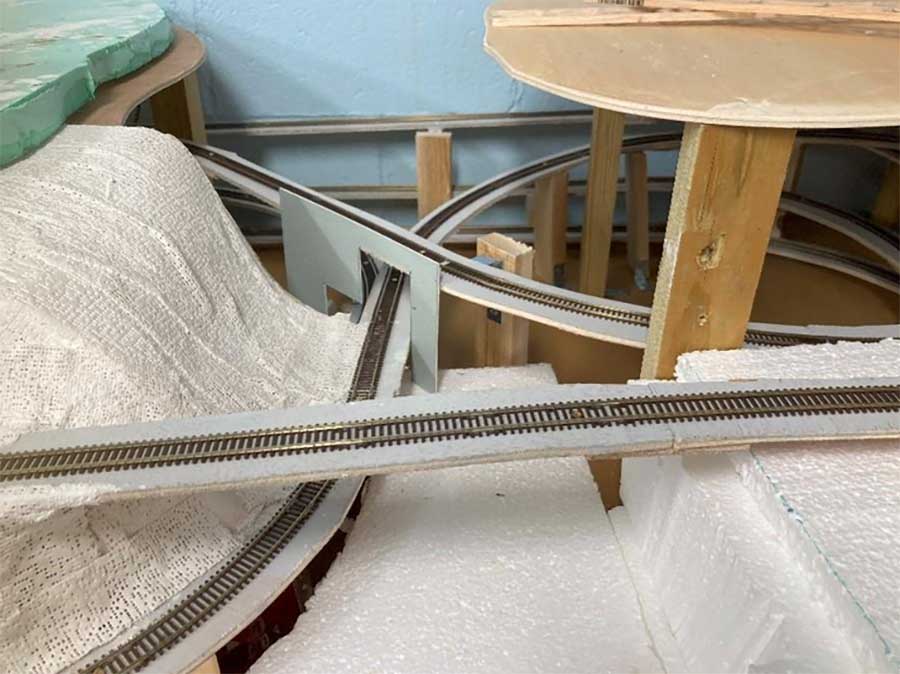
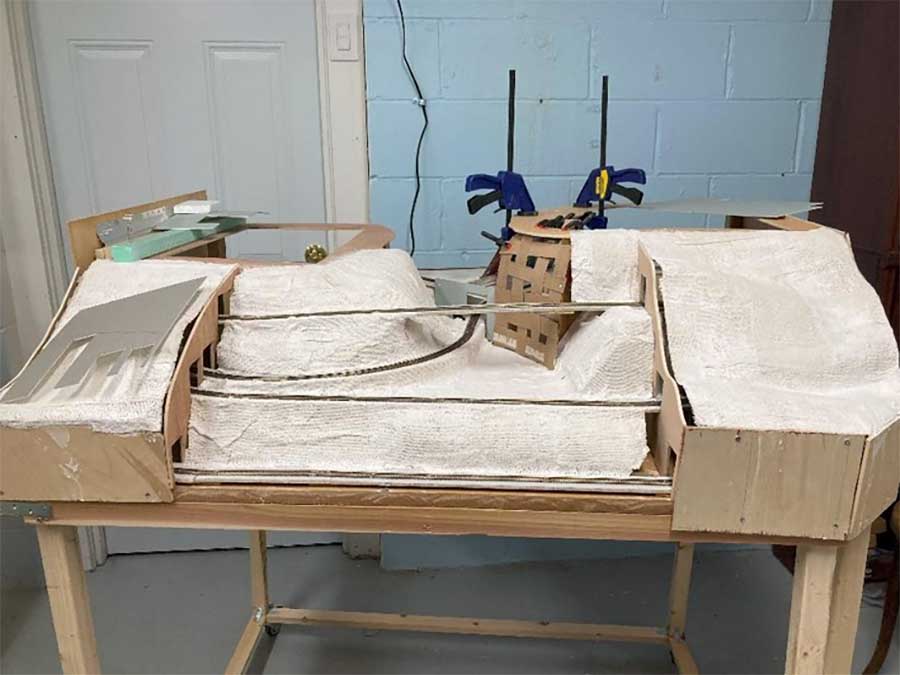
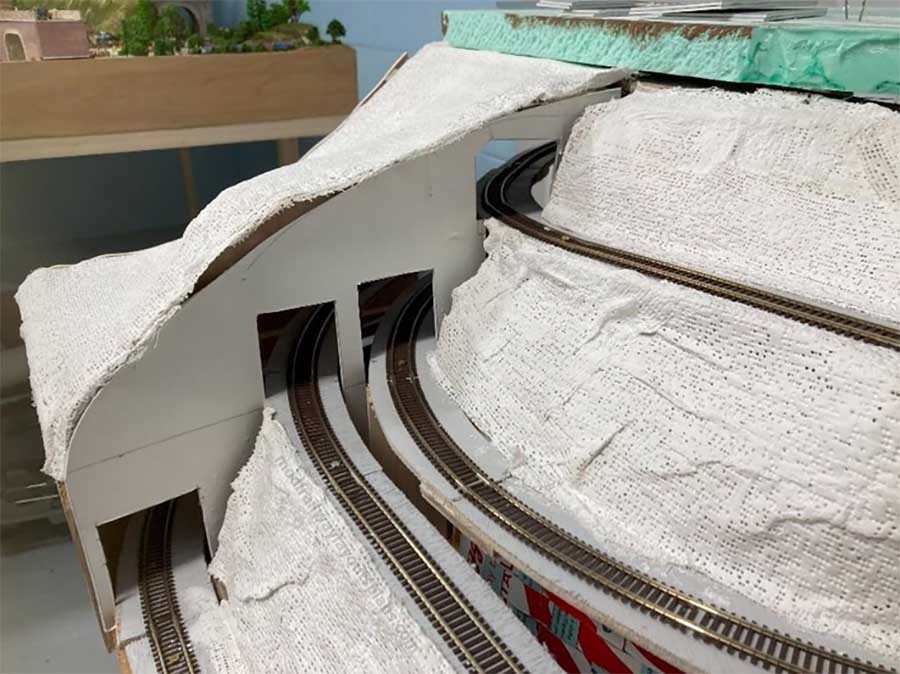
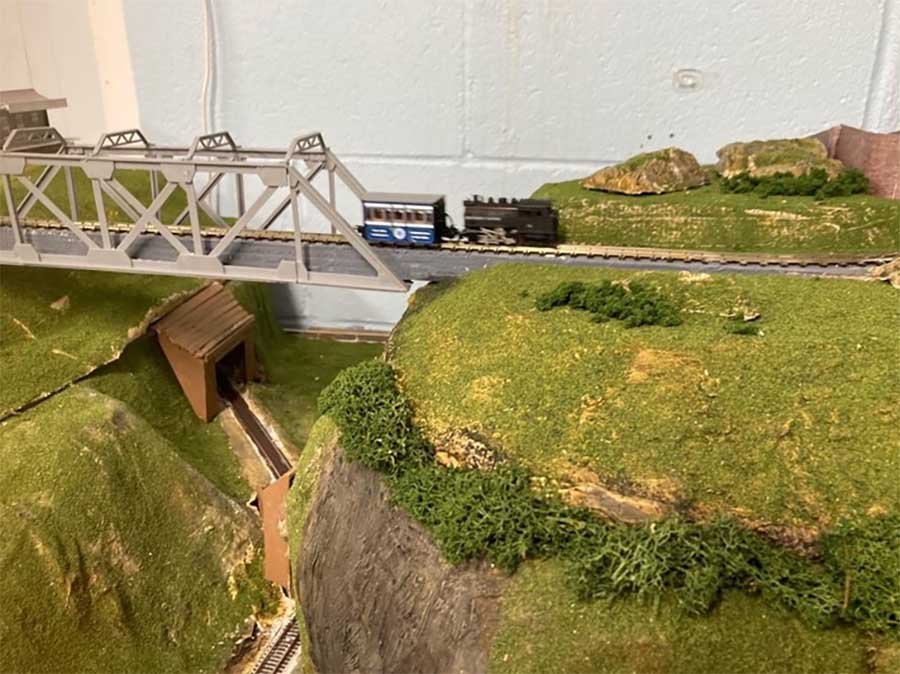
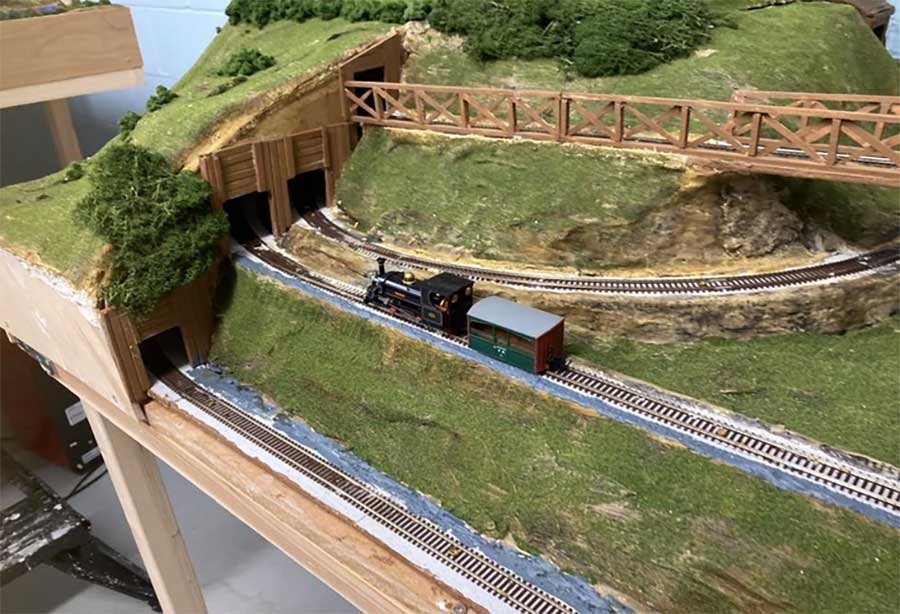
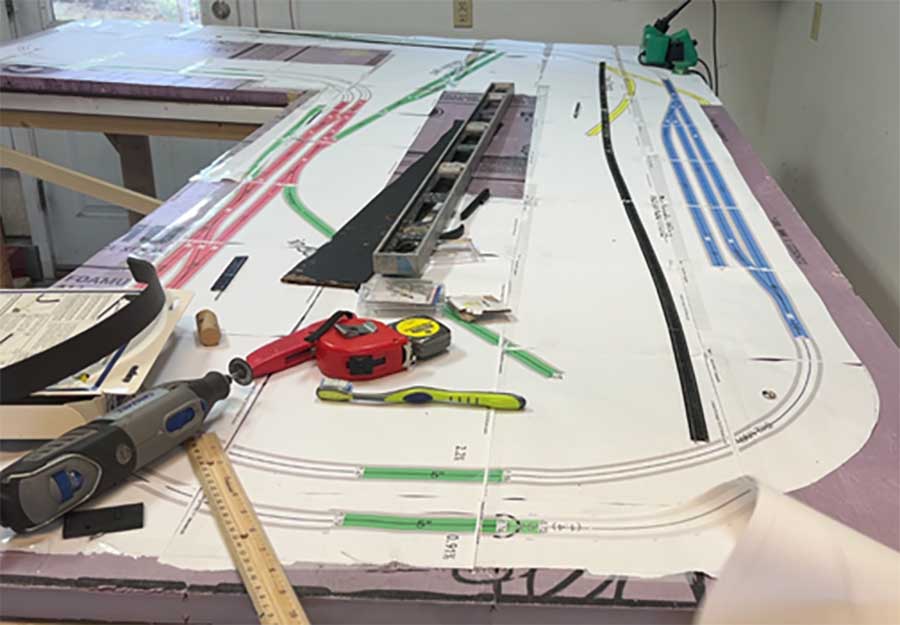
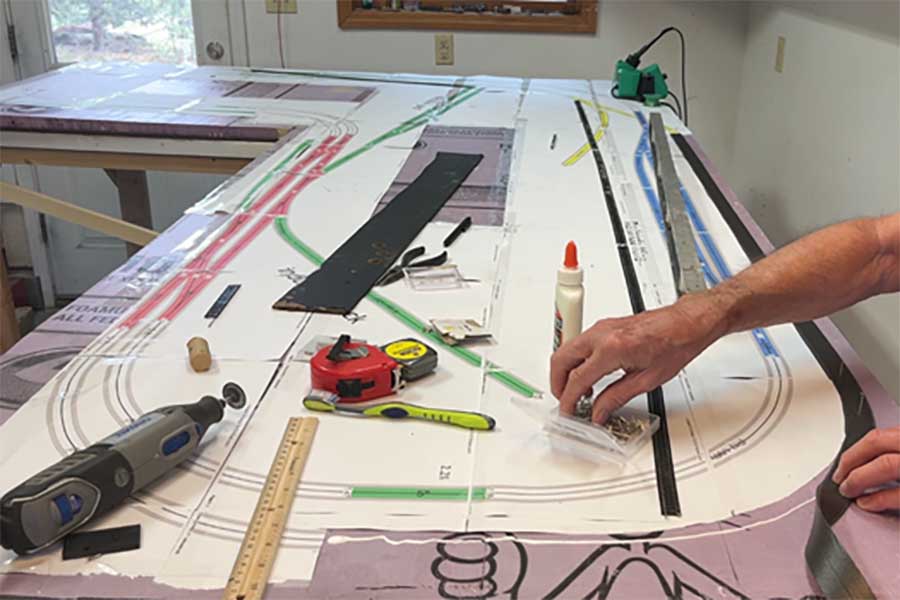
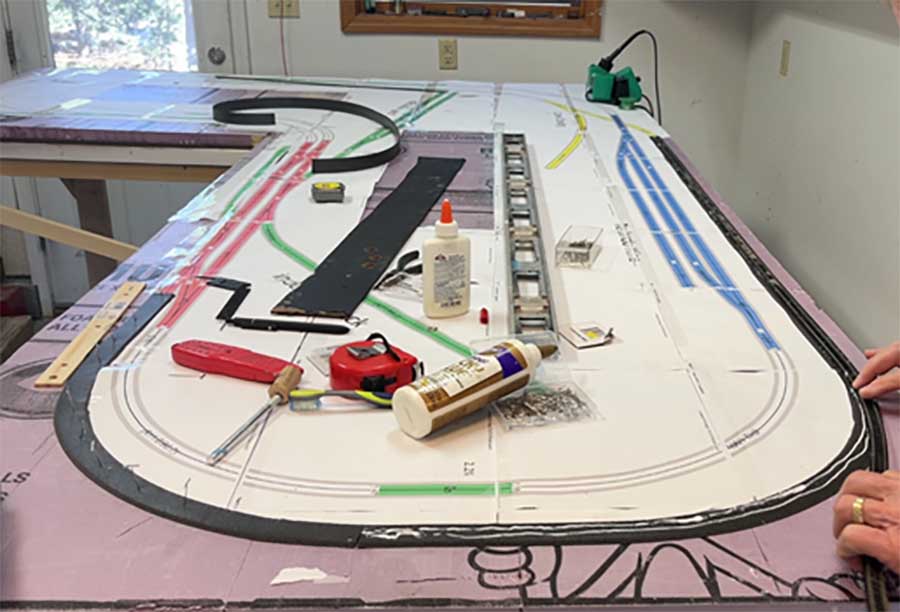
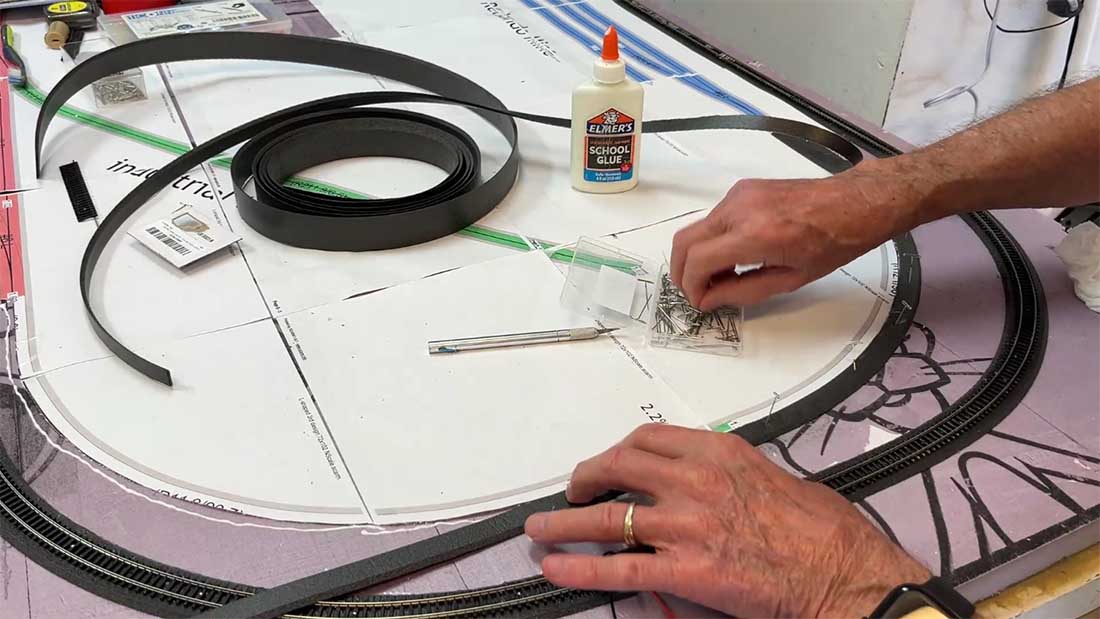
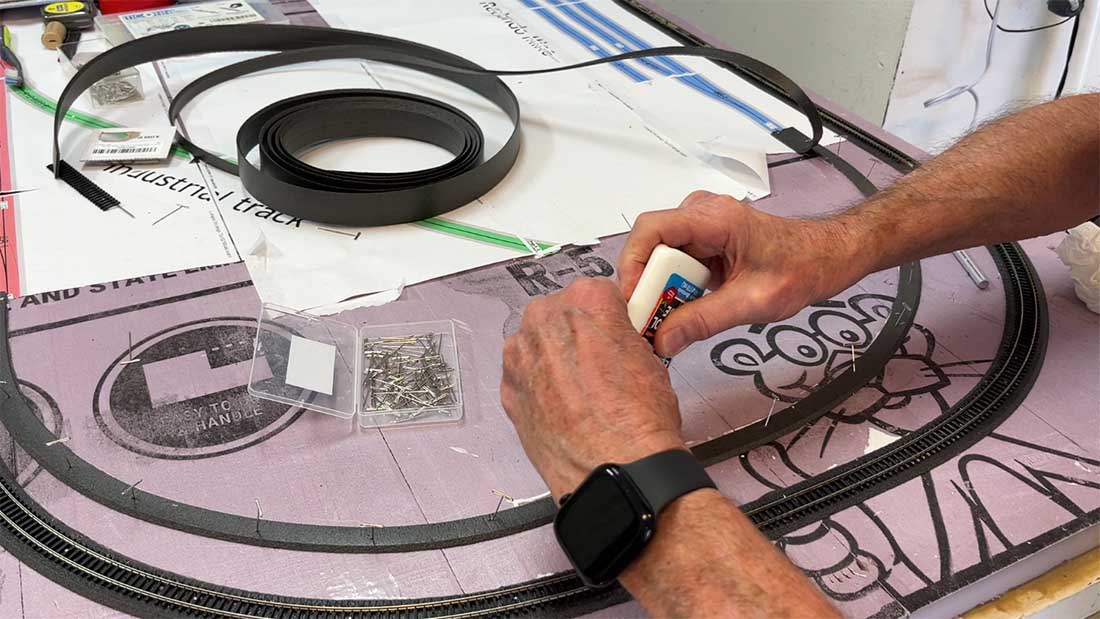
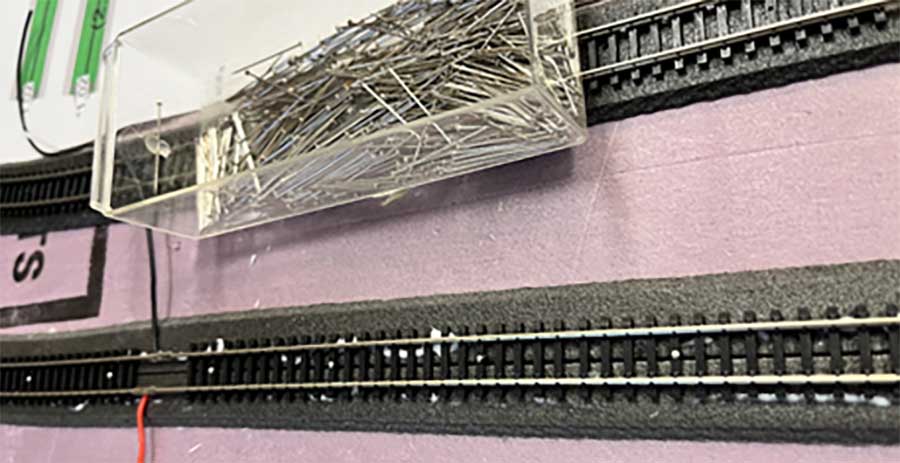
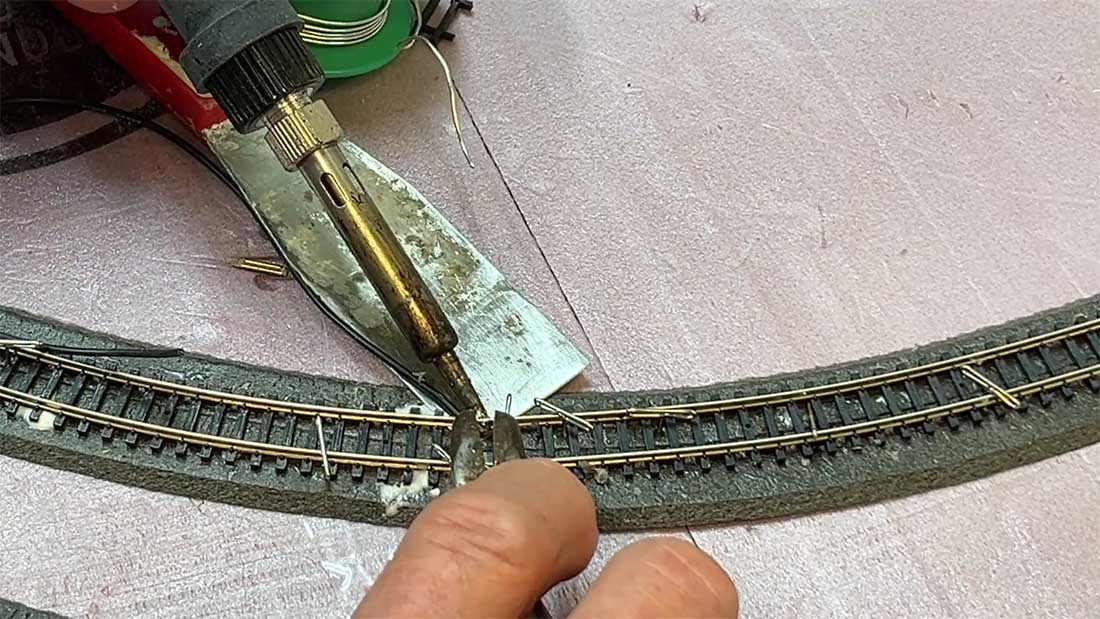
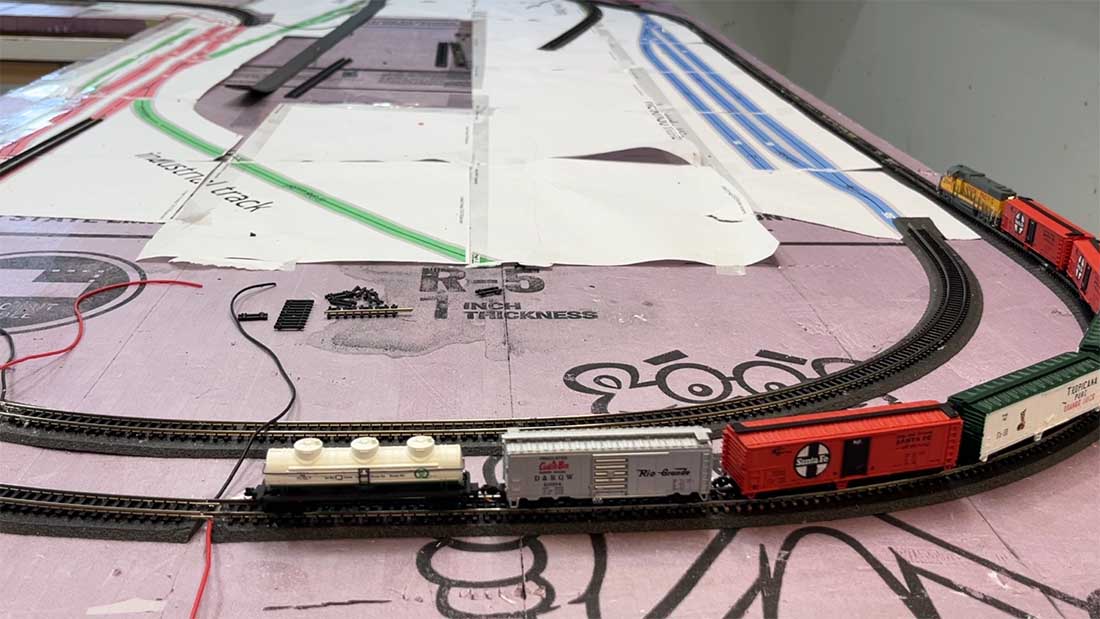
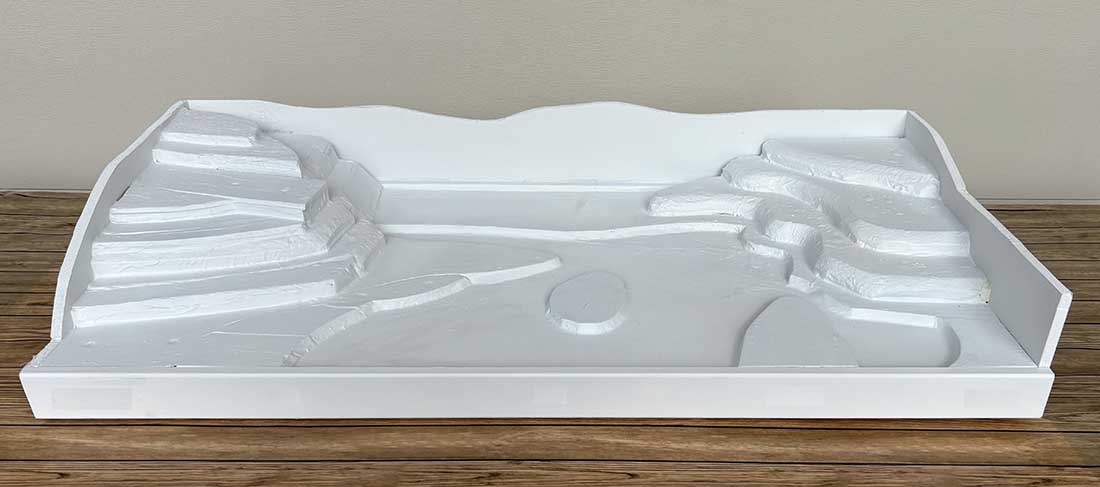
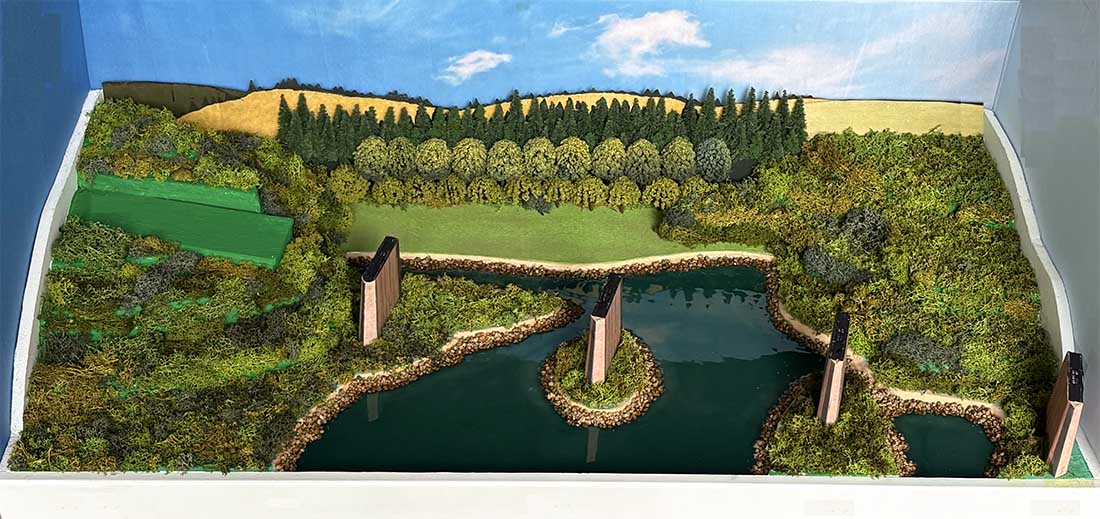
Next, I constructed a framework using 1×2 inch white pine, foam board, and craft foam covered with a layer of glue-impregnated paper.
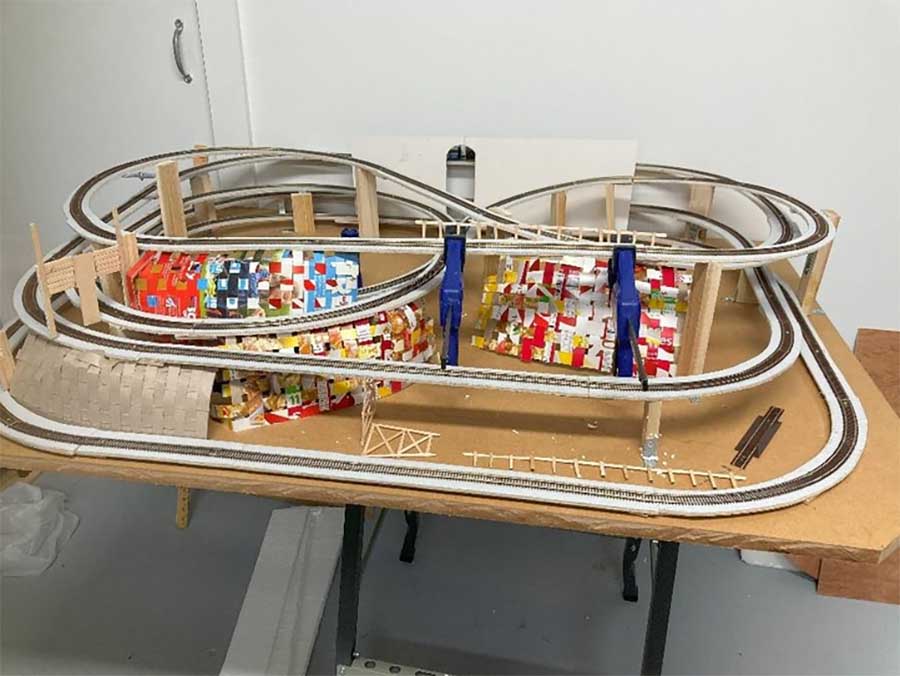
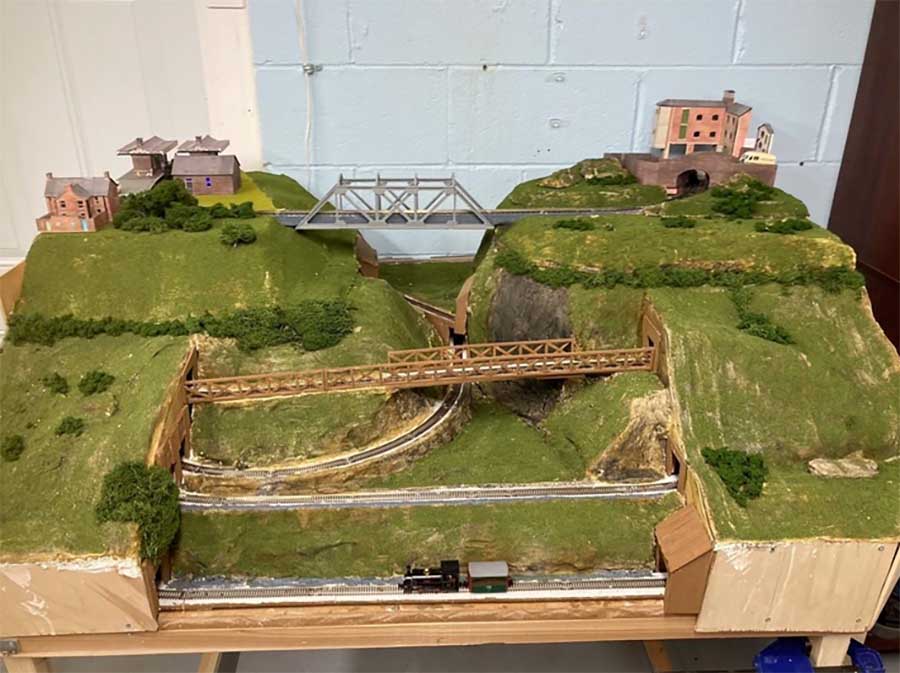
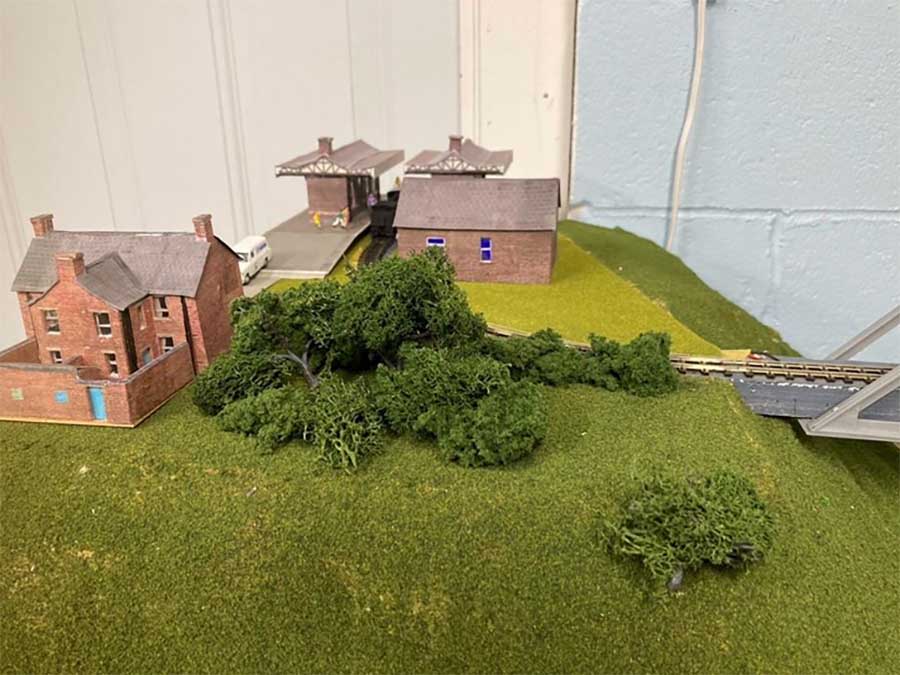
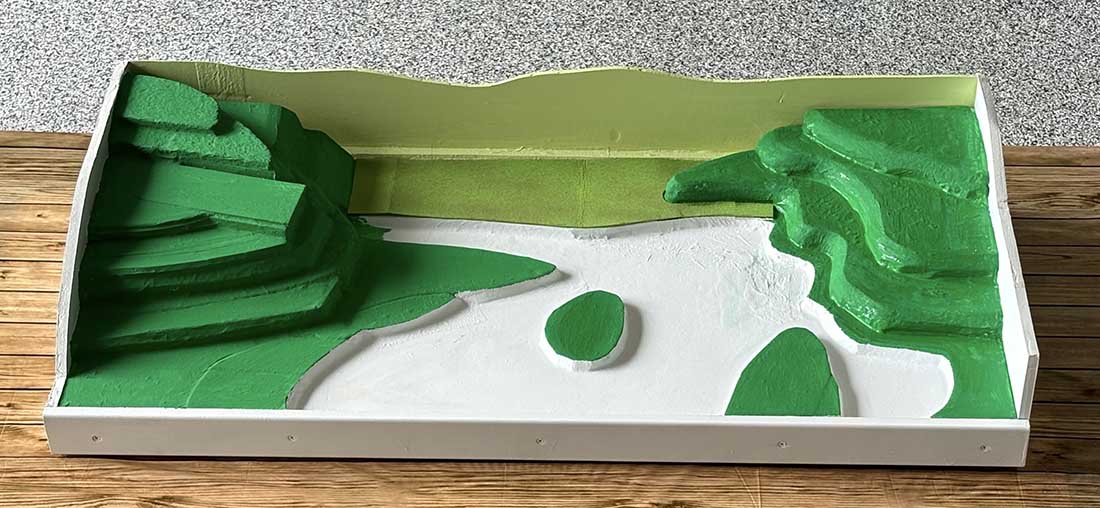
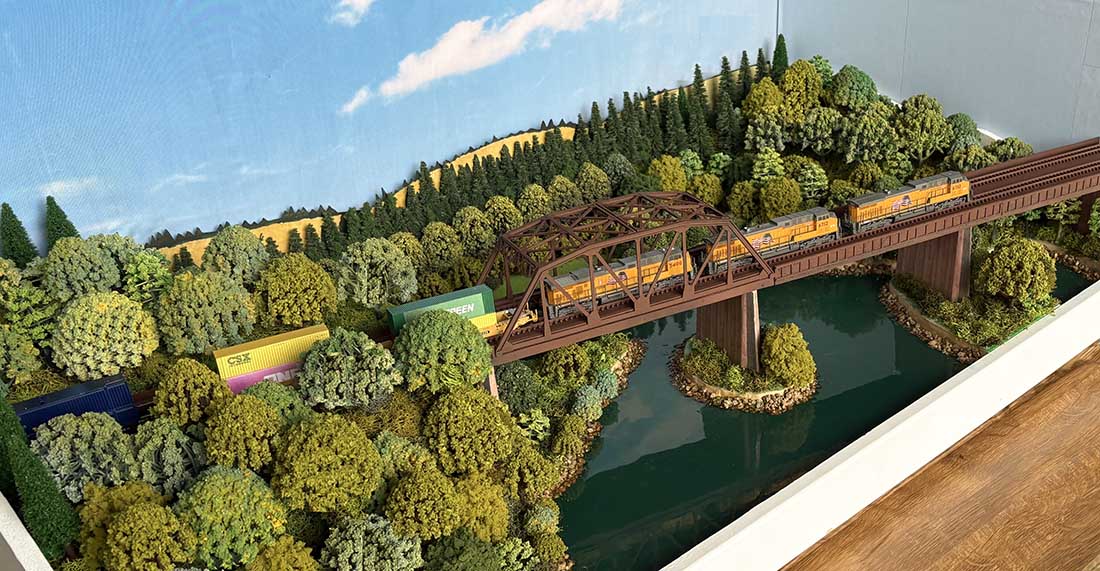
I painted the rough framework with acrylic paint and glued Woodland Scenics Landscape Ballast to the river bed. I added Woodland Scenics Realistic Water, multicolored lichen, and an assortment of trees (most saved from previous projects).
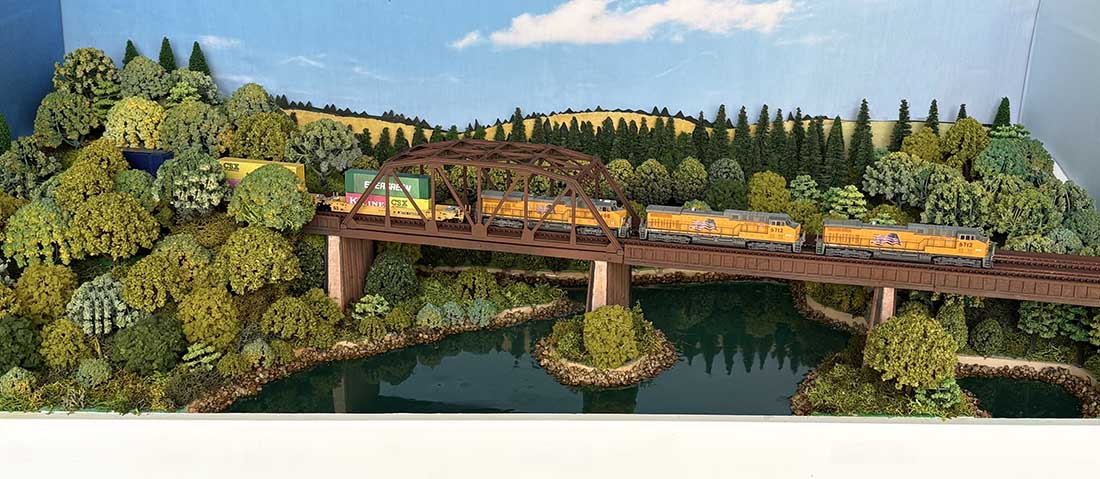
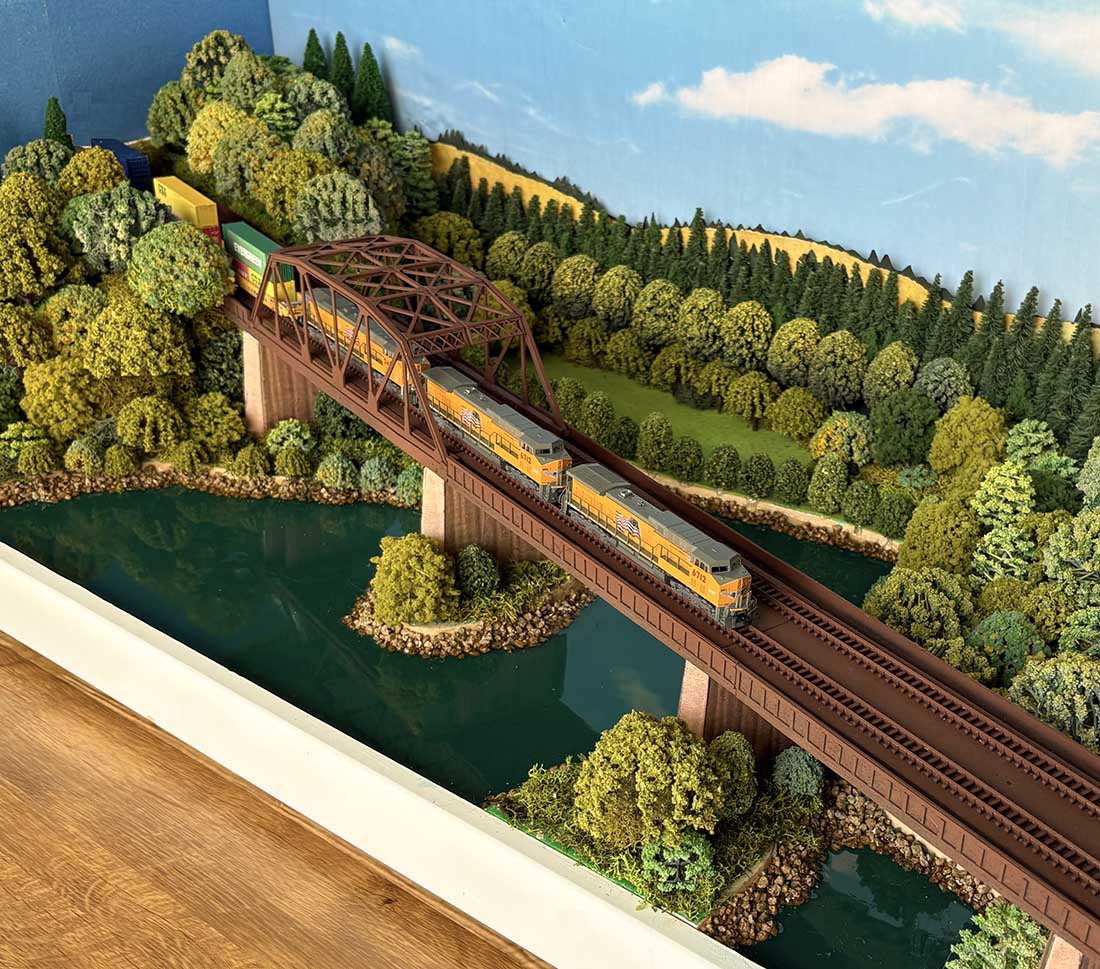
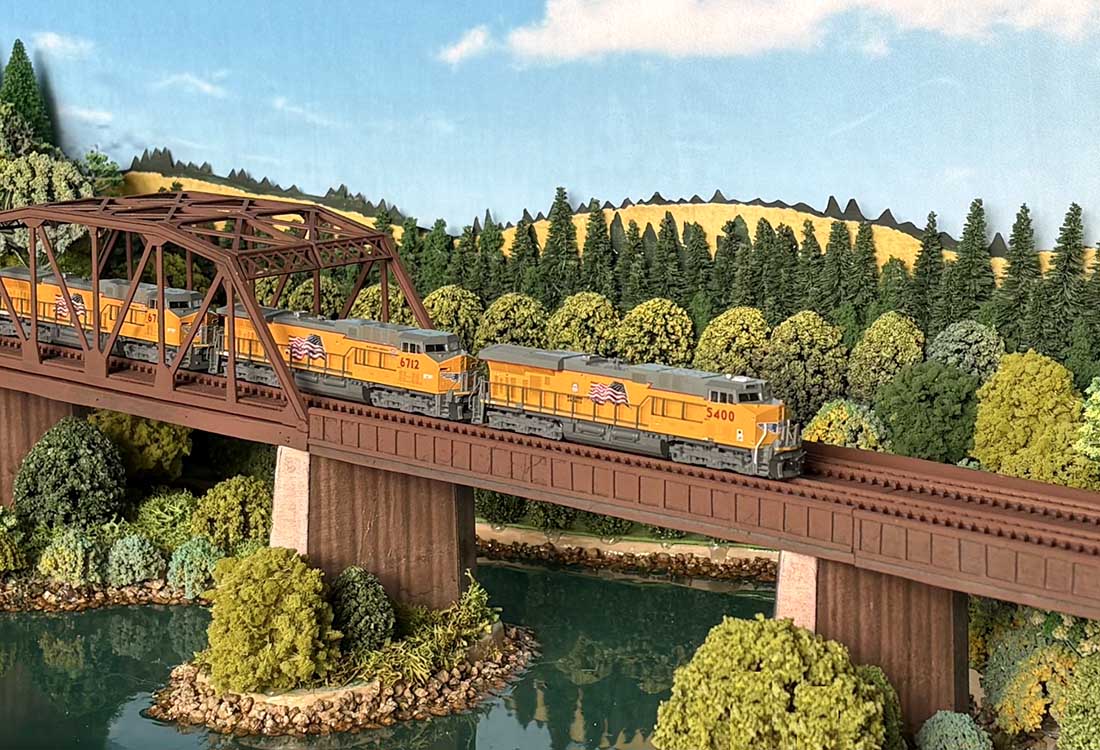
The truss bridge was kit bashed and weathered to look rusted. The Intermodal container cars are coupled to three Union Pacific Locomotives. If you look closely at the photograph or watch the video you will see that there were actually four locomotives.
Of course, this is only a static display…however, I must say, building this diorama was completely satisfying and I hope you all enjoy it.
Now…what do I build next?
Thanks, Bob in Texas”

A huge big thanks to Bob for adding to the N scale dioramas on the blog.
You may remember Bob from one of my fave layouts, which is this one: 16×16 HO scale layout.
Also, his last post will put a smile on your face: 1950 Chevrolet Christmas pickup.
And if it’s dioramas you are after, there are quite a few now, here’s a few of them:
Ben makes a model train diorama
And my absolute fave when it comes to dioramas:
That’s all for this time folks.
Please do keep ’em coming.
And if today is the day you get started on your layout, the Beginner’s Guide is here.
Best
Al
PS More HO scale train layouts here if that’s your thing.
Need buildings for your layout? Have a look at the Silly Discount bundle.