Dean’s been in touch with a useful post about model train inclines.
The transition from incline to flat track can be troublesome at times, here’s what Dean did to fix that:
“Al, cheers from Dean in New Mexico.
First of all, thanks to you, Al, for your great blog and many thanks to the people who watch my stuff. I appreciate their continual support and feedback.
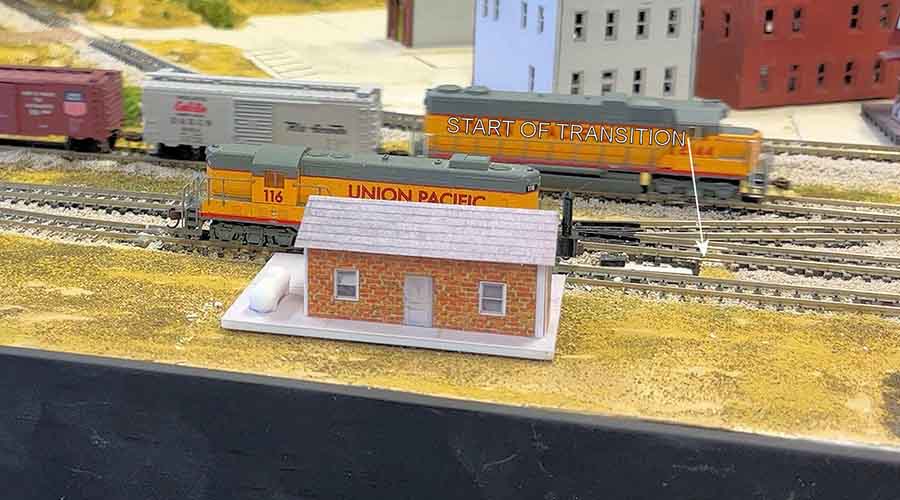
The problem was, using Woodland Scenics inclined track supports with a 4% grade, trains had trouble passing over the transitions at each end as they are too severe.
I needed to smooth out the transitions at top and bottom of the grade.
Here’s a short update series on track repairs which helped to fix the transitions.
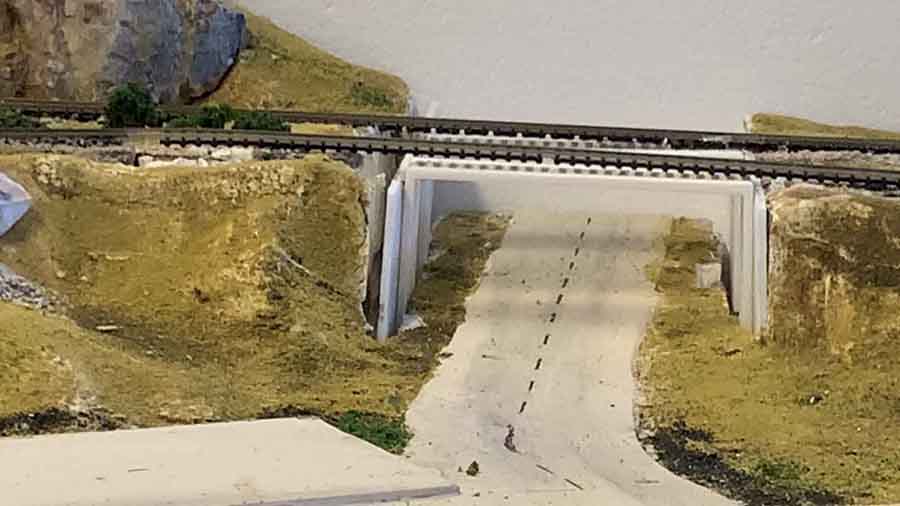
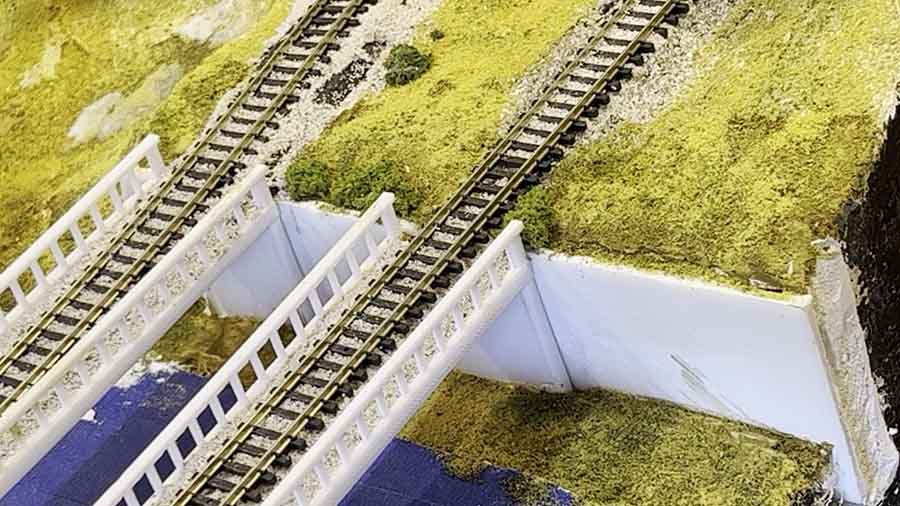
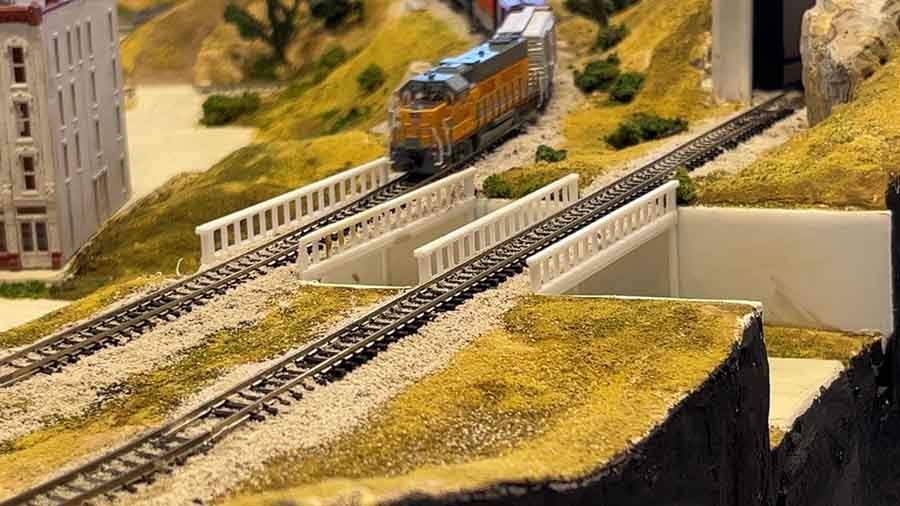
First, the upper bridge and track before their removal and track fixing.
The old abutments and supports were removed, and lengths of flex track were shaped and placed, then supported on foam roadbed before ballasting.
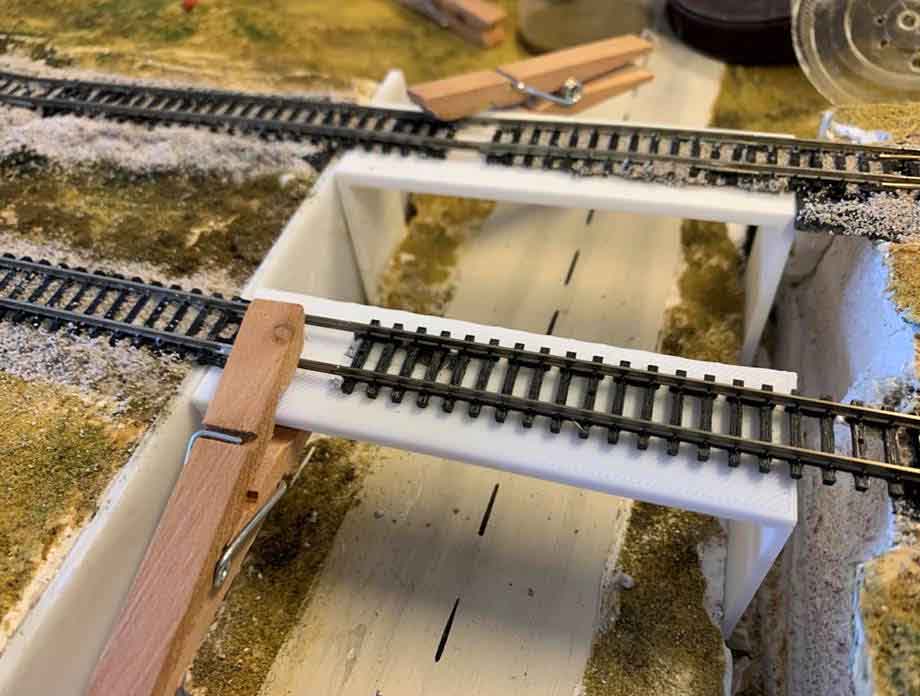
I made sure the grade transition was smooth and even. Next, I needed to install and glue (with white glue) the bridge abutment and supports under the flex track.
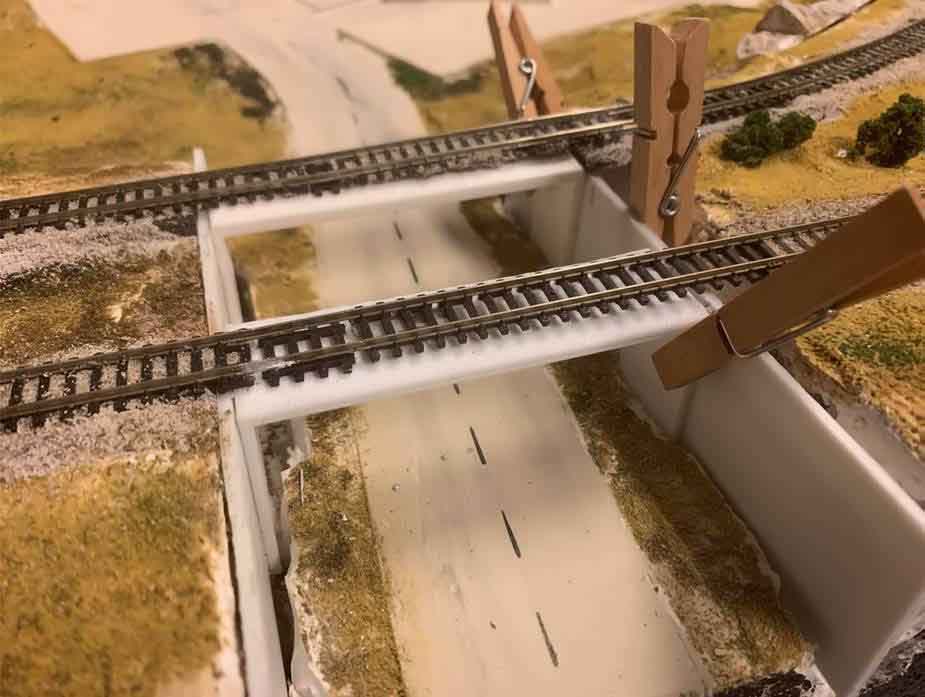
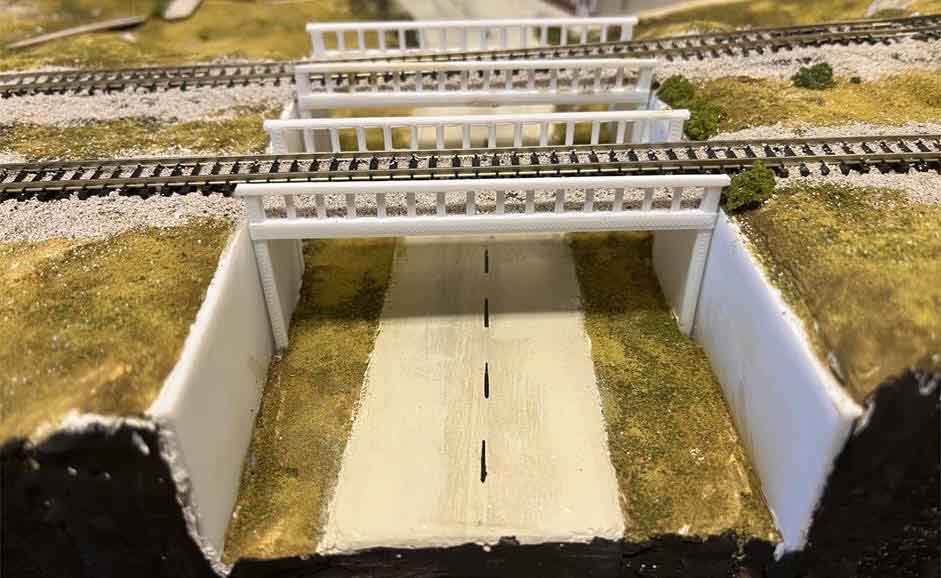
Here, I installed and glued the other abutment.
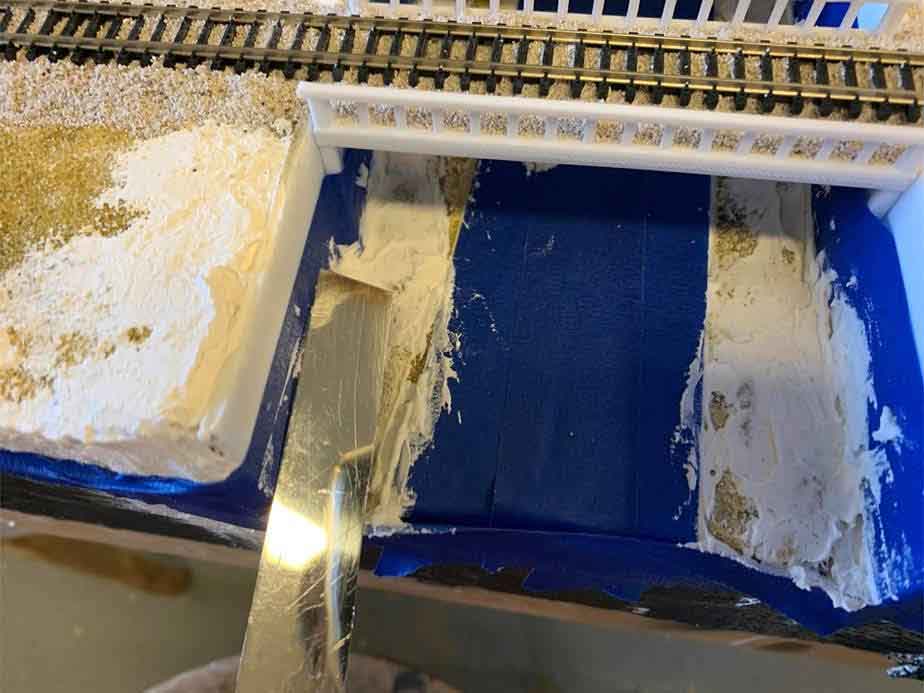
Then, I taped, put down, and shaped plaster (with a flat-end knife).
Put down ground cover over dark brown paint.
A bit more touch-up will be needed, but finally, the job was finished.
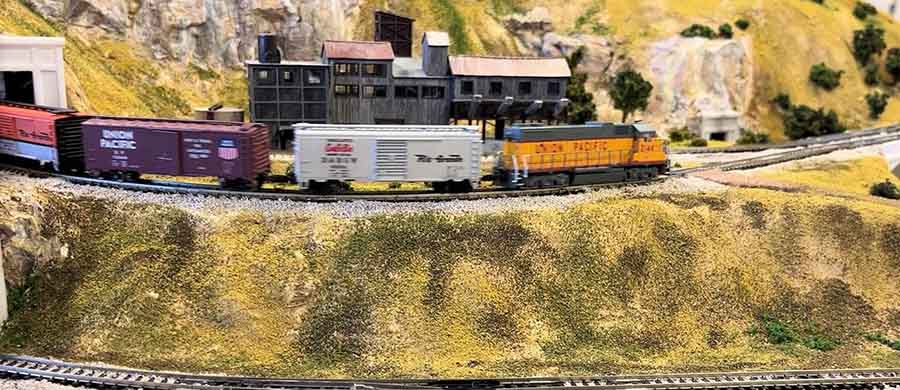
The lower transition from flat to a 4% grade was finished in a similar manner: Tear out old track, replace new track, add supports, and finish scenery. This is a photo after the fix.
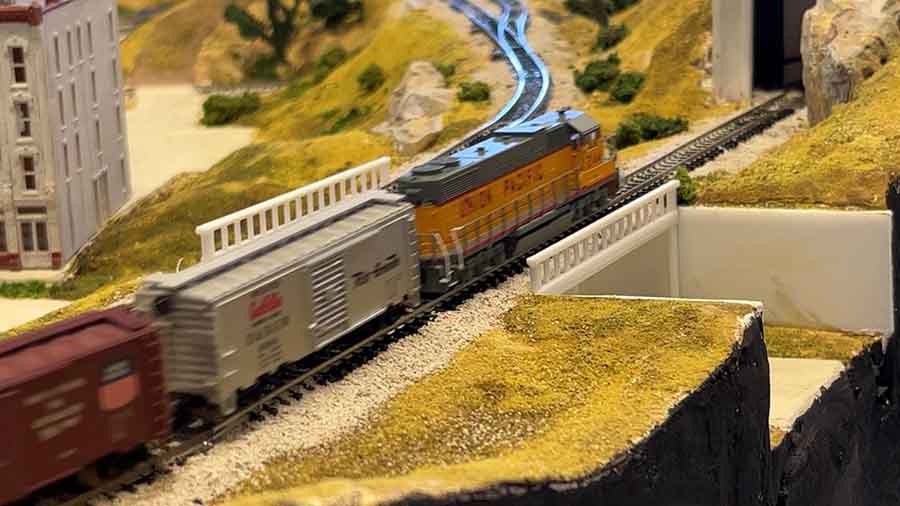
Here are some more photos of the railroad as of now:
A big thanks to Dean for sharing his model train inclines – he has done a fine job of documenting his layout from start to finish.
Here’s a link to a one of his previous posts (which also links to the previous one, and so on…)
Rob’s been in touch – this time he shows us how he adds his model train lights:
“Hi Al,
I have been looking for ways to put flashing for modern stock or flickering oil light lantern simulators in older pre-electronics stock.
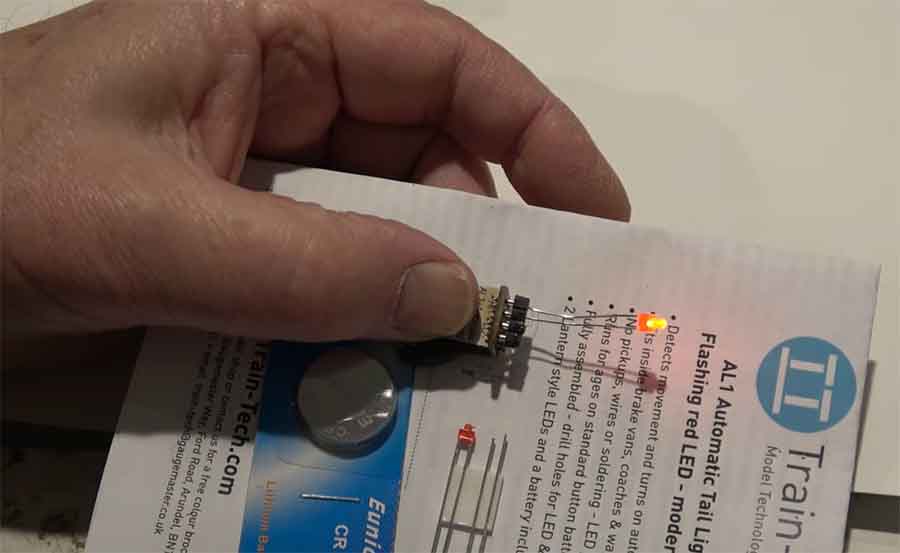
I have discovered battery operated movement switched devices and small circuit boards for DCC track powered flashers.
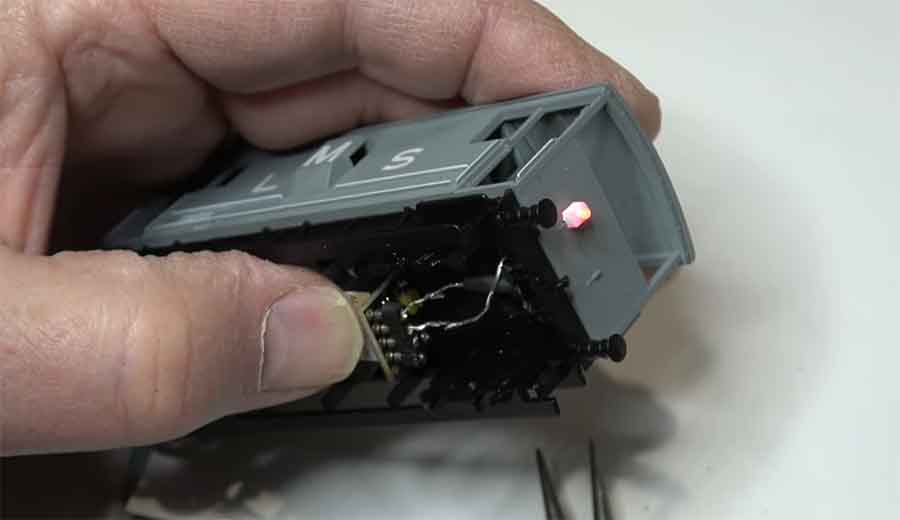
The video I’m sending over shows how I installed a battery operated flickering oil lamp simulation in a brake van.
These are similar in many way to the caboose or way car in North America. The video was made in response to a viewers request. Perhaps some of your readers will enjoy it.
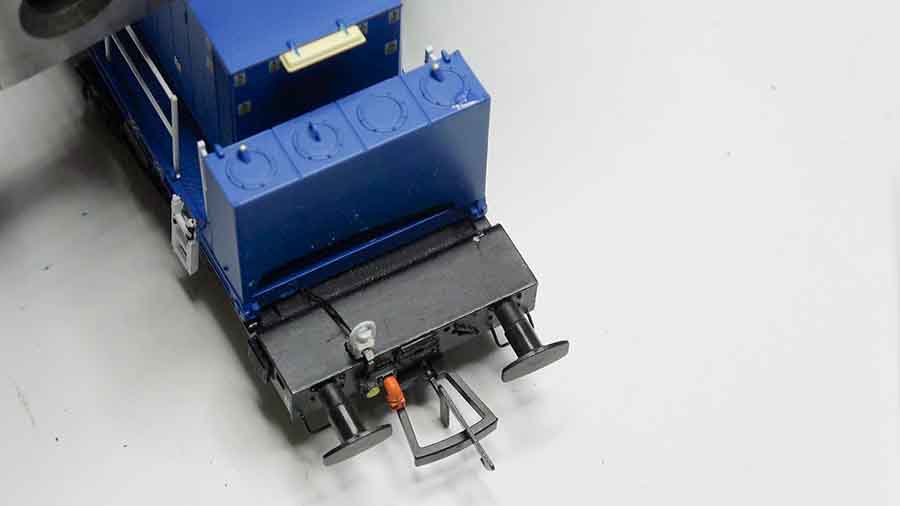
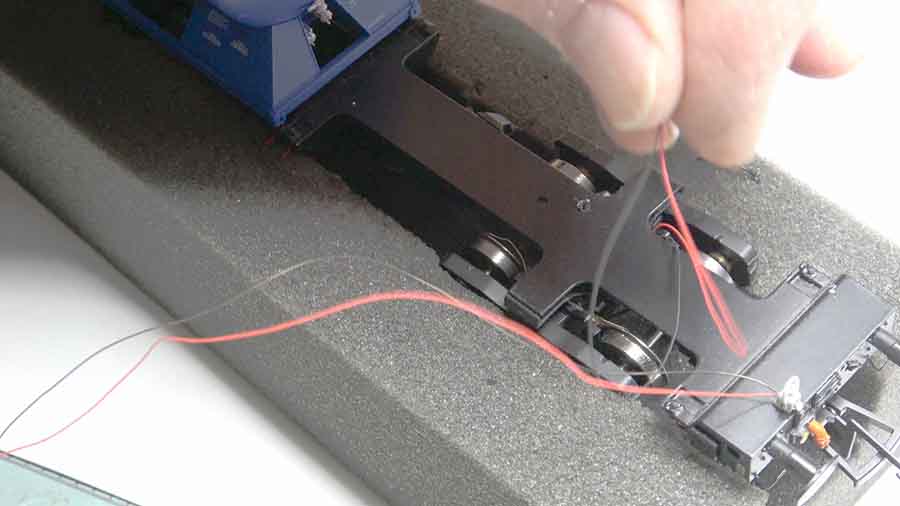
This one shows how I added a track powered light to a train.
Thank you, I really appreciate you and what you do for the modeling community around the world.
Rob”
“
If you’re after adding lights to your buildings, Bob’s post is very good too: Model train LED lights.
Now on to Tony:
“Hi Al,
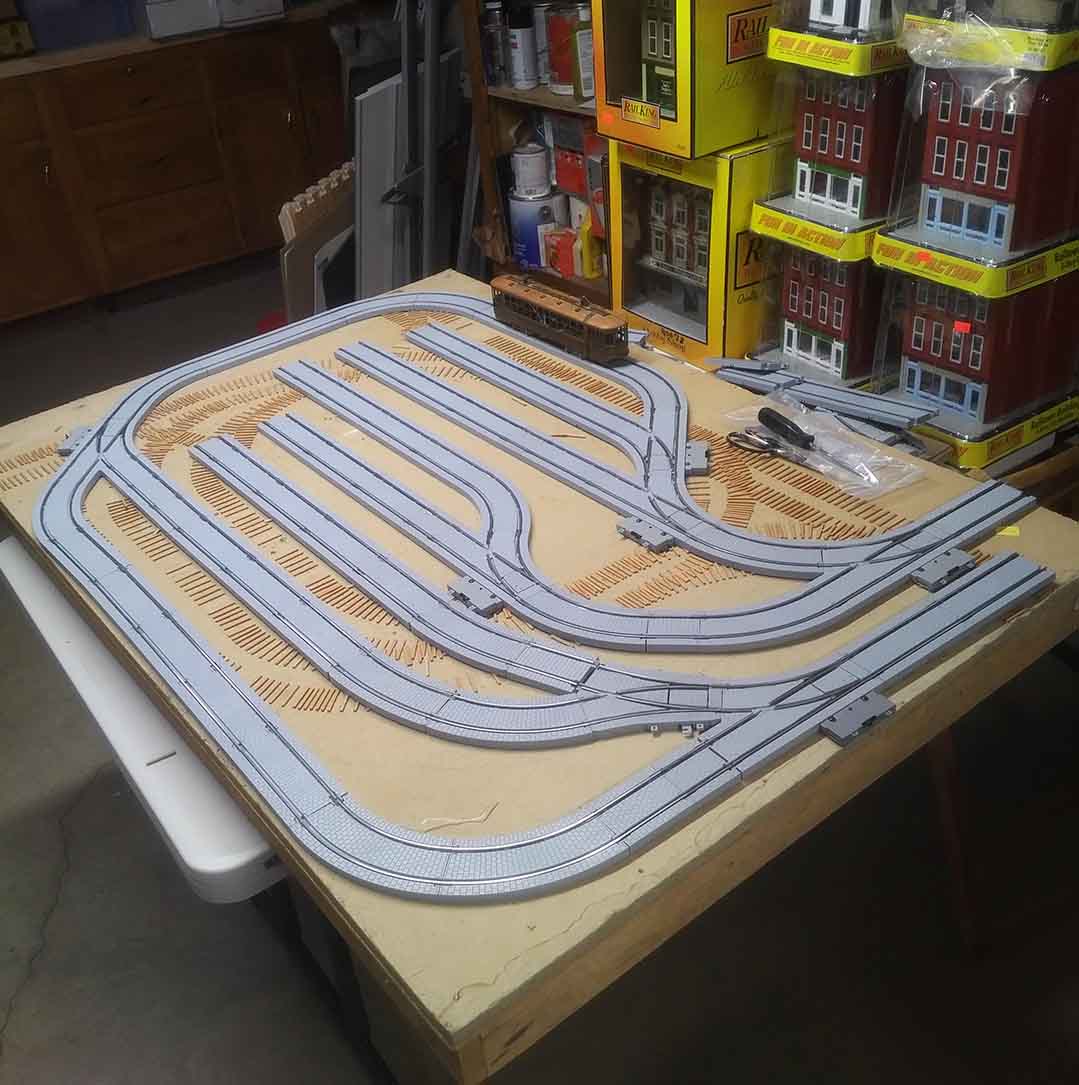
Finally it’s off a graph paper pad! We’re making a nice trolley barn for 4-tracks with your modified ‘Engine Shed 3′ kits.
My son is doing a really great job doing the reliefs and making the modifications as per your very talented friend teaches in the videos.
I’ll have a reasonable car house and yard complex in a 4’x 3.5’ module after much redesign to optimize the available space.
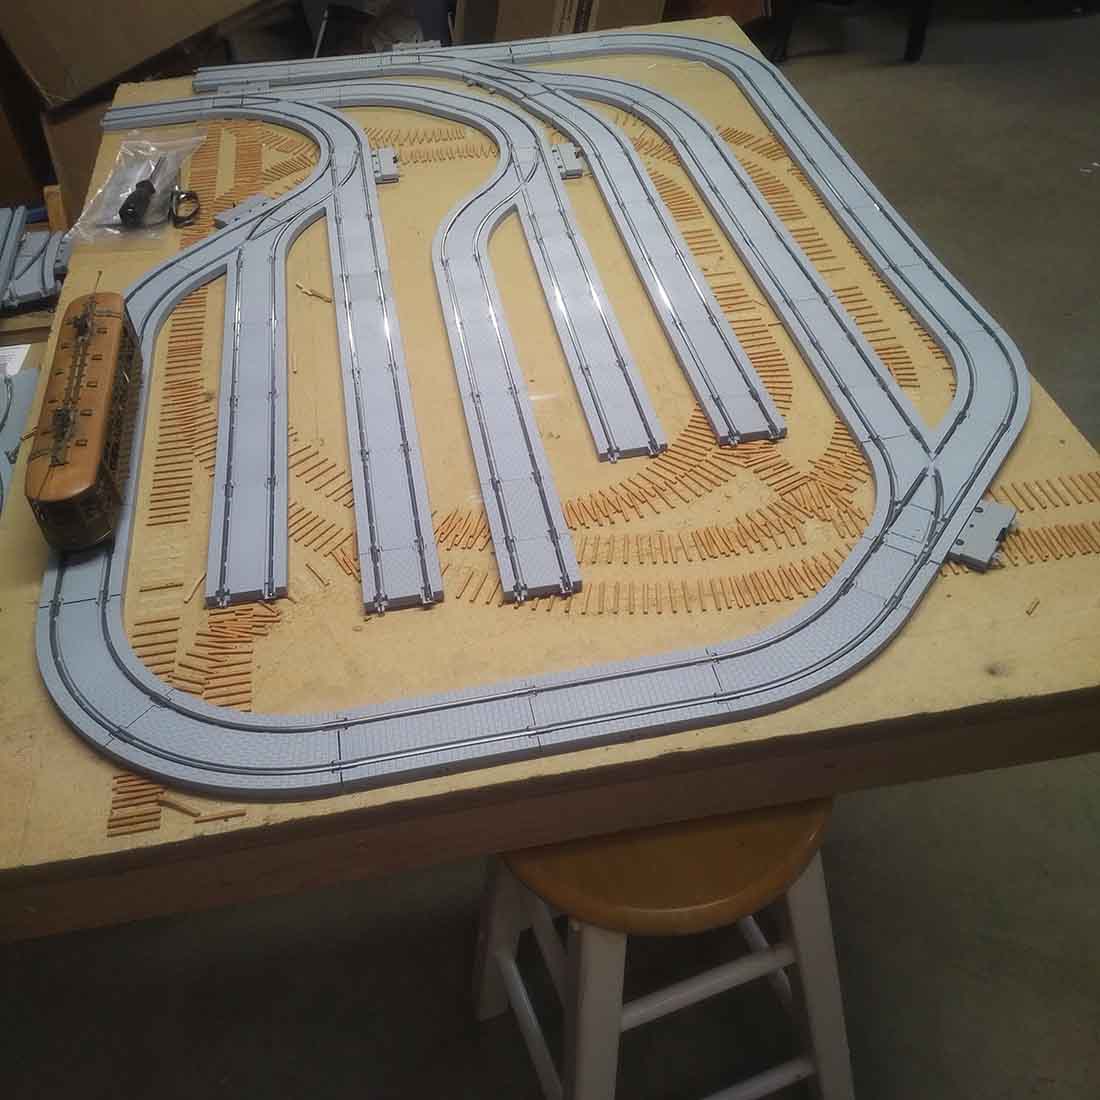
The initial track is laid out in ETS tram track from the Czech Republic as I have powered all my trolleys (trams) to negotiate the sharpest radius curves they sell.
The four shortest stub ended tracks will be under the modified Engine Shed 3 building:
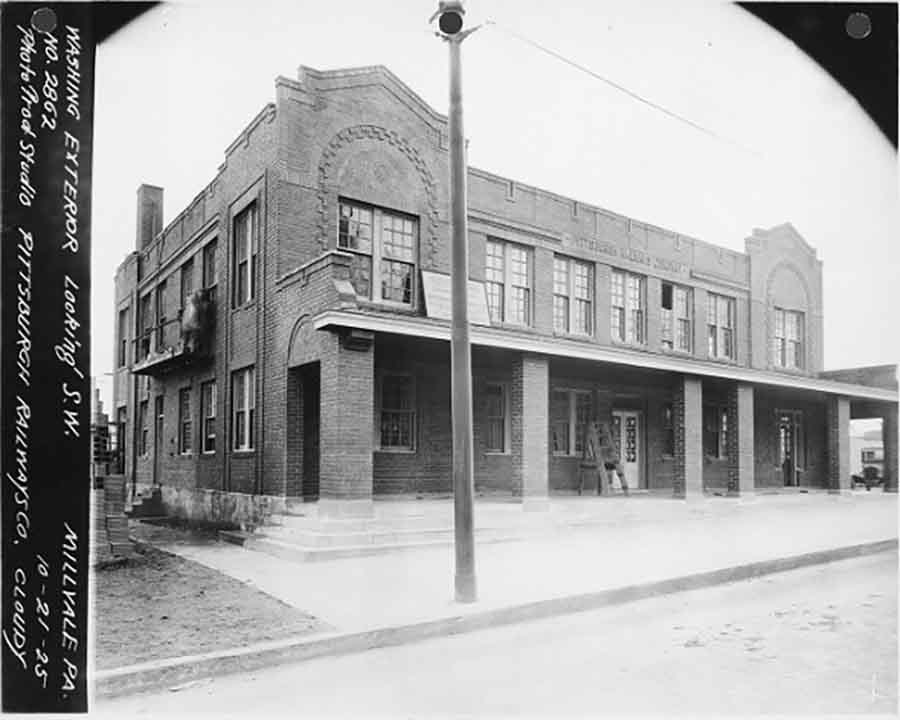
You can see from the existing wooden ties that I was once into HO. There is a small corner of the module at the right side of the bottom photo with wood HO ties. It’s there I’d like to put a small operator’s office/lounge building similar to the photo below only MUCH smaller.
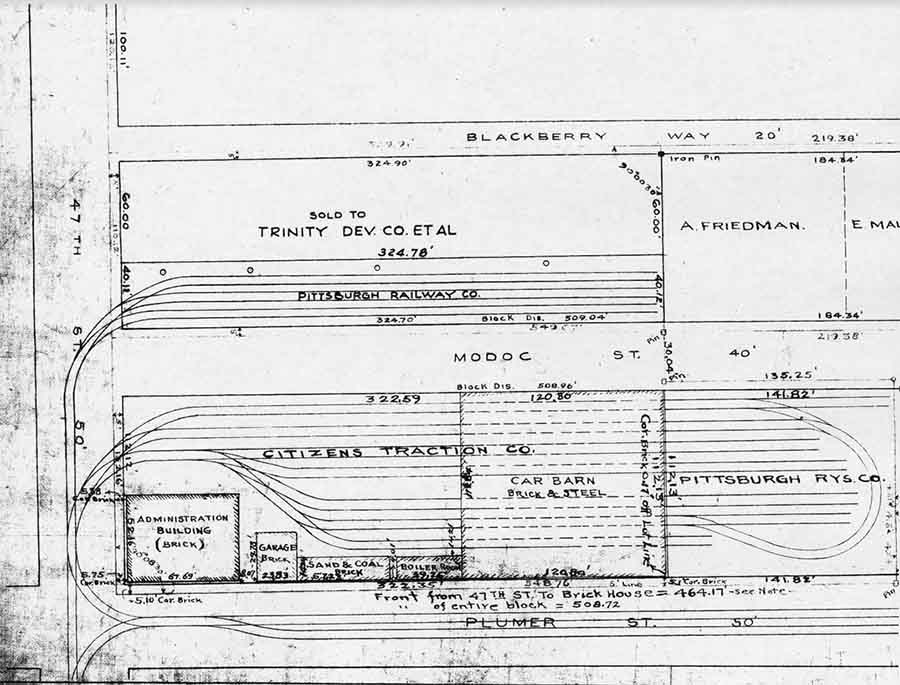
Above the centermost windows is “PITTSBURGH RAILWAYS COMPANY” in the masonry. This was the company’s standard design with building sizing modifications to fit the available property at the trolley barns.
Do you have any suggestions from the buildings available – – – Or on your drawing board? My model is a reflection of the Plummer Street Car House in Pittsburgh below. Note the abbreviated office/lobby size in the drawing in the lower left of the drawing:
Best
Tony”
I do love what Tony is doing, over the years I have noticed the layouts based on a theme always turn out the best.
Jim’s been in touch with his HO scale oval track layout.
Here’s a pic of it, as you’ll see:
But first, I want to tell you about his G scale, then get to his HO scale.
“Hello Al,
You said in today’s post that your inbox was getting low, so I thought I’d send this short photo story. I
I’m mostly working on an inside-HO-railroad-in-a-closet. I’m not yet ready to send an update to my two earlier posts, but this is something quite different.
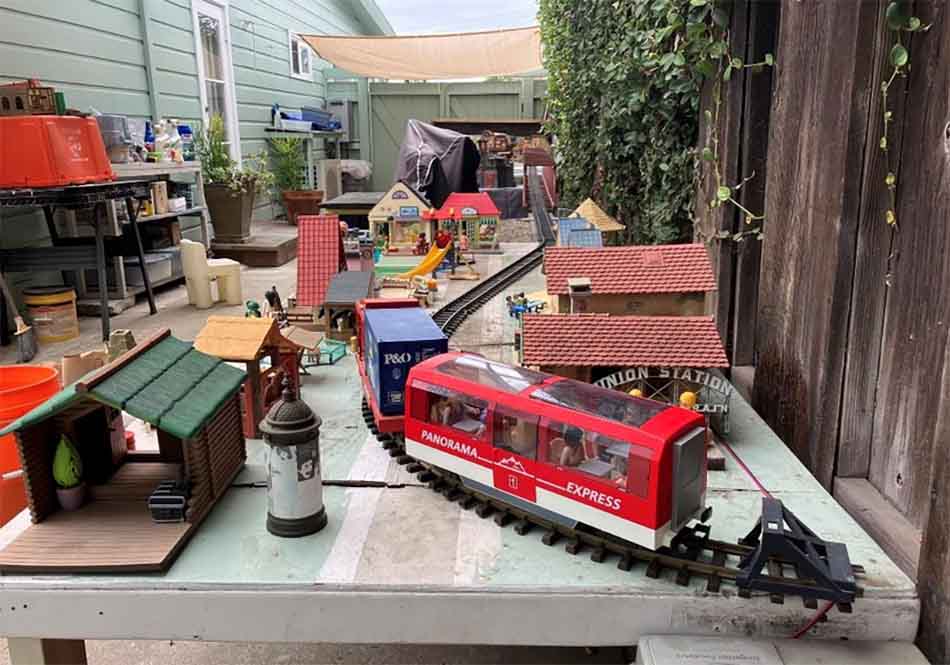
It’s a G scale out and back setup in our driveway, about 40 feet in length.
The photos show the complete line.
We’ve had a train set in the driveway and into our back yard since the mid ‘80s. I had worked for a few years in Europe and came home with some LGB and Marklin Gauge 1 track and trains.
We built the railroad up over the years and a lot of time has passed.
Our girls grew up, moved out, got married and we now have five grand kids, and grand they are. The four oldest are boys between 15 and 22 years old. They have long outgrown the backyard trains but will no doubt remember all that we did together over the years.
Lately I’ve downsized the layout to the small setup you will see in the photos.
At Union Station.
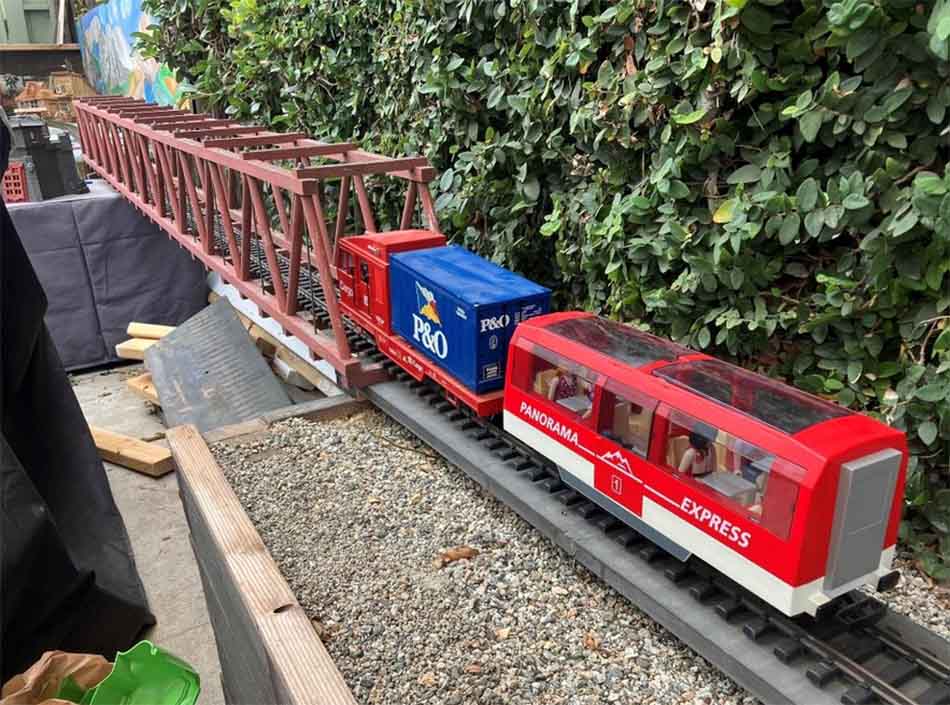
Bridge:
This morning, our granddaughter Lily came over. She wanted to set up the modern Playmobil town for the first time this summer! While she did, I cleaned the tracks and powered up the LGB railcar pulling a Playmobil coach. It runs using the LGB out and back shuttle. Great fun. And a nice break from the detail work demanded by HO scale modeling.
So that’s my story for today. Thanks for all you do to keep your site running on time.
Jim”
Now, I suspect one or two of you are staring at these playmobil pictures in disbelief – but if so, I think you are missing the point.
Anyone reading Jim’s narrative can see it’s glowing with fun. And if you’re not having fun, what’s the point?
Also, I really do enjoy the posts where memories have been made, here’s a line from Jim’s narrative that made me smile:
“The four oldest are boys between 15 and 22 years old. They have long outgrown the backyard trains but will no doubt remember all that we did together over the years.”
And as Jim says, it’s nice to work on a layout just for fun, rather than detail.
Thanks for the daily info and stories from your readers.
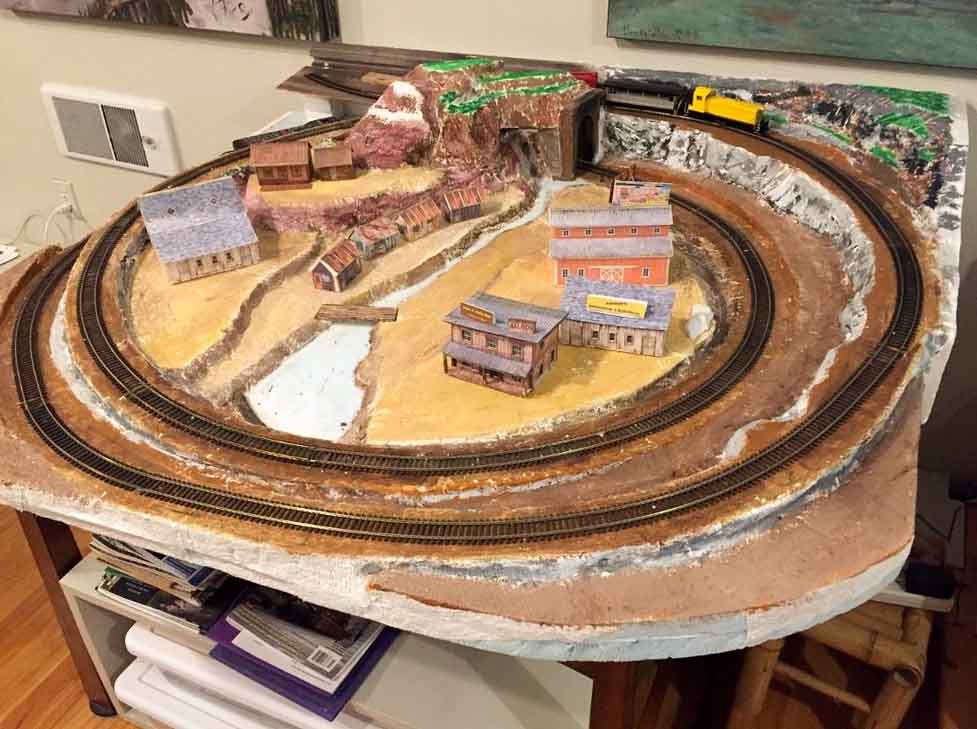
I wrote my first story to you about 8 months ago. I had started on a small HO scale oval track layout with an up and over design in December, having just retired from a teaching job and having some space and time to begin this project.
I’m enjoying the work (work?) and consider this both a challenge and a welcome journey.
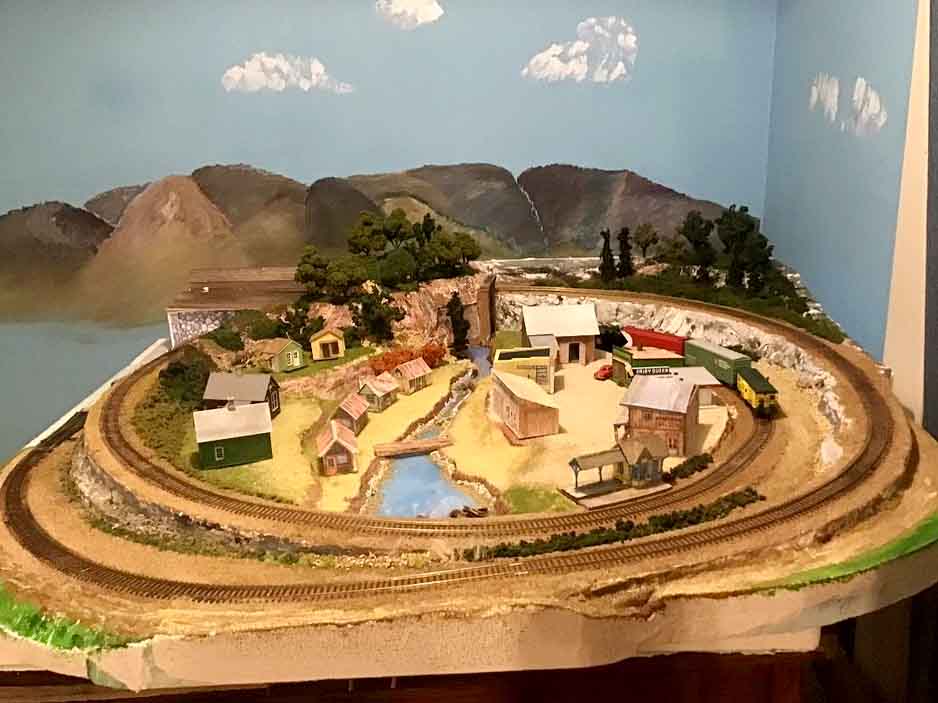
The inspiration is the real world Pipers Lagoon and Shack Island in Nanaimo, British Columbia, my wife’s home town.
The curves have 18-degree radius and the grades are 3% up and 4% down running counter-clockwise.
The base of this railroad is a 1 meter plus (4 foot square) foam pallet that once held a new dishwasher!
I had gotten this far by October but the track was not reliable. You can see there are no straight sections in this design.
The curvature and grade is always changing. Using Atlas flex track was a challenge because it tends to spring back to straight, not holding the curve as shaped. I had several bad track joins and could see no easy way to smooth them out, so… let’s start over!
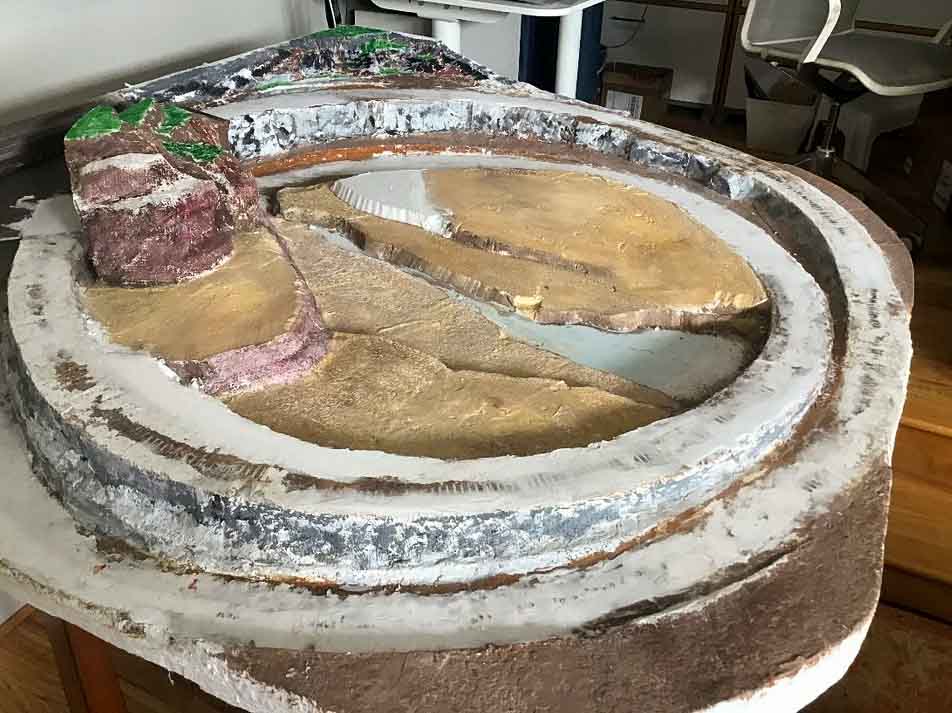
I decided to bite the bullet and redo the track. First step, scrape it clean!
And then clean up the now bumpy roadbed, make it ready for new track.
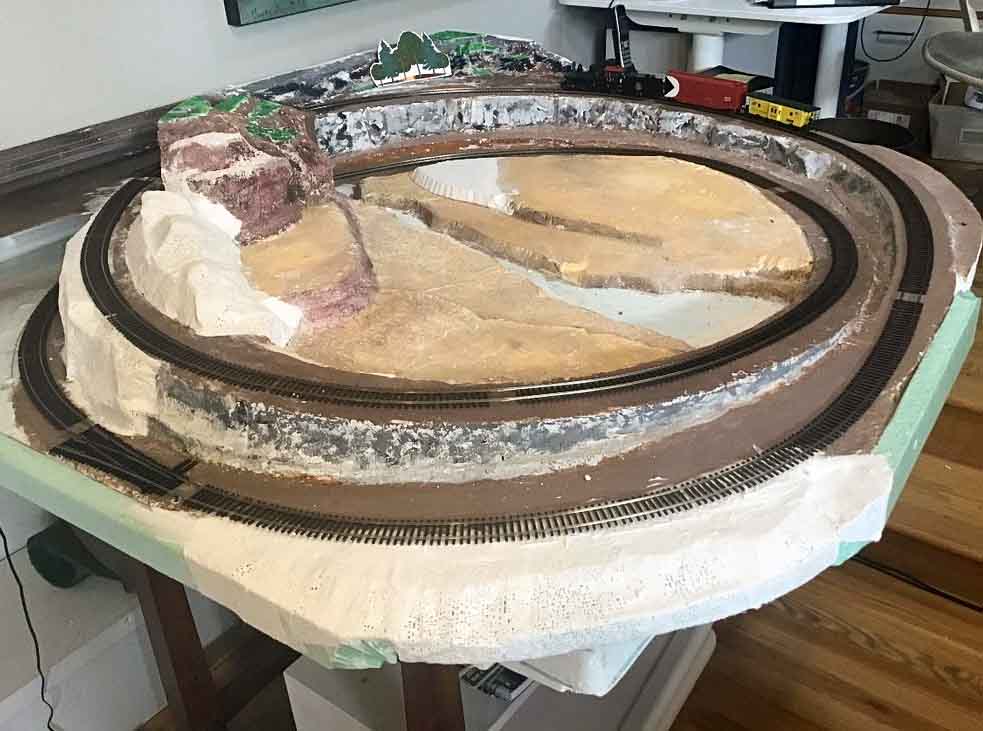
This is with new Micro Engineering track which can be curved to the desired radius and will hold its shape well.
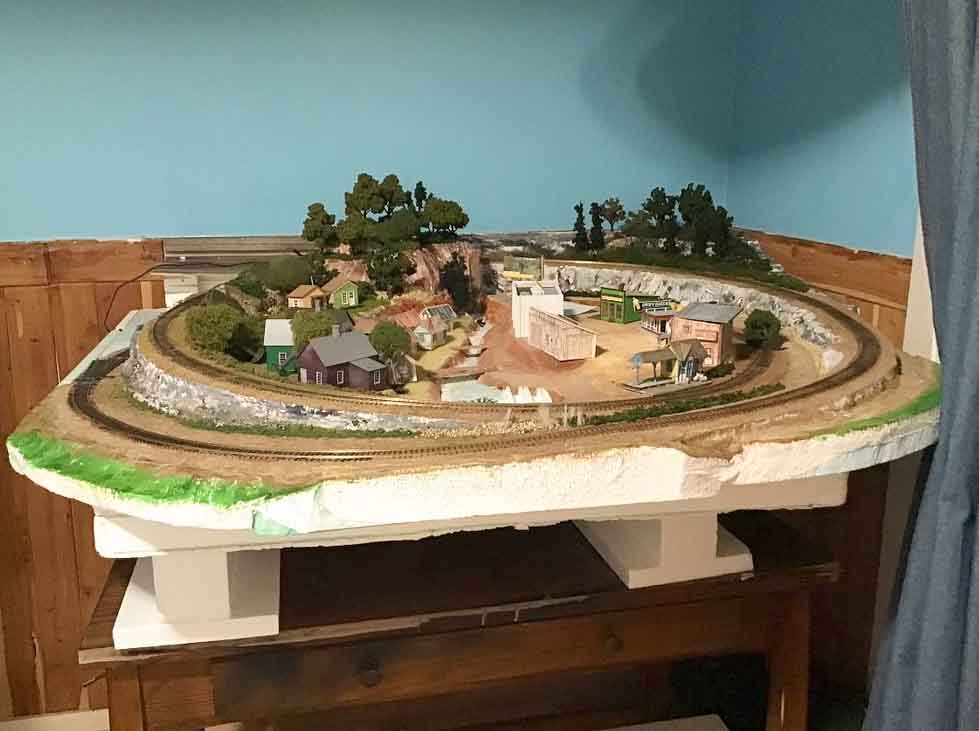
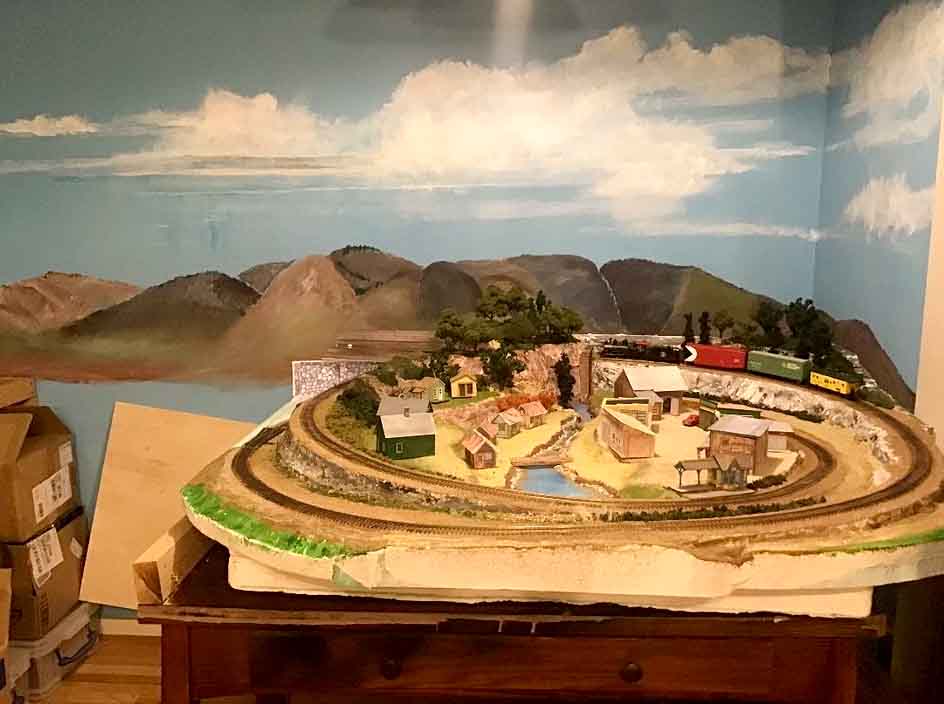
I got started on some buildings and scenery. Then I was able to clear out a 2.5 meter (8 foot) closet for a permanent home for this little scene.
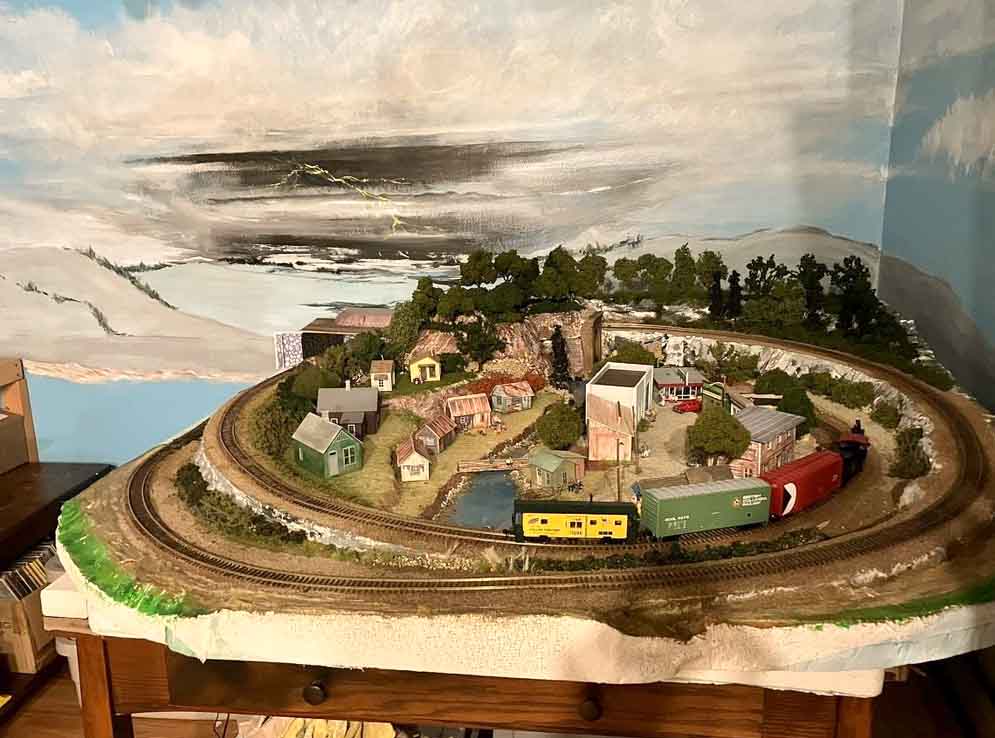
Here is a view of the new location with some mountains and a few “Bob Ross” happy clouds in the backdrop.
You can see “Shack Island” on the left of the lagoon, and the fictional town of Pipers Corner over on the right.
I’ve tried a few HO kits as well as your print out buildings which are perfect for this scene.
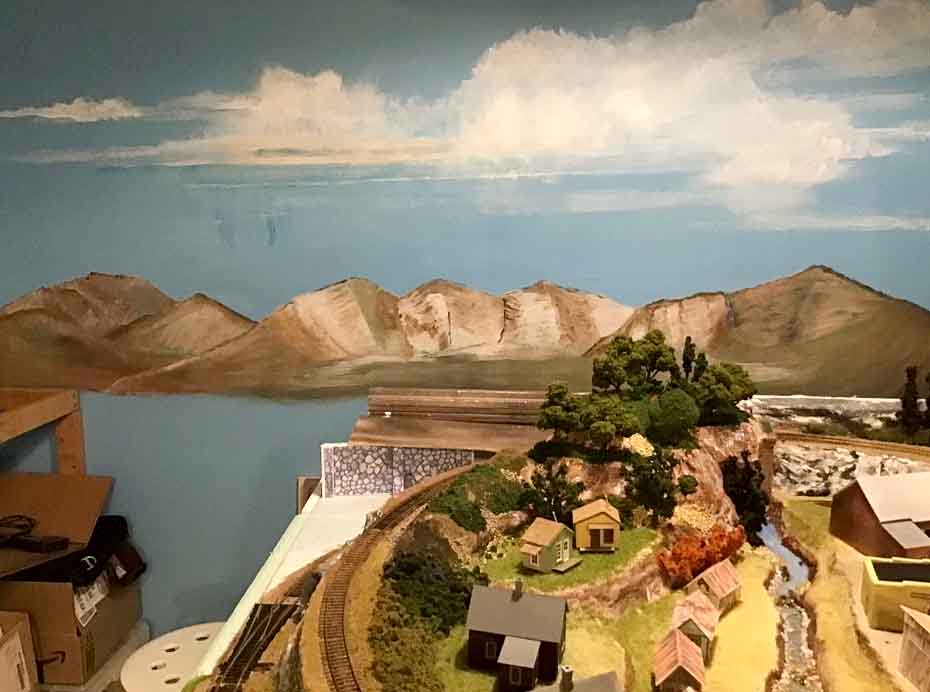
Next, some real clouds, thanks to artist and friend Tom Devine who was visiting for a few days.
I was dissatisfied with the mountains beneath the clouds so made some changes to my work, not Tom’s.
Still not happy, so another try…
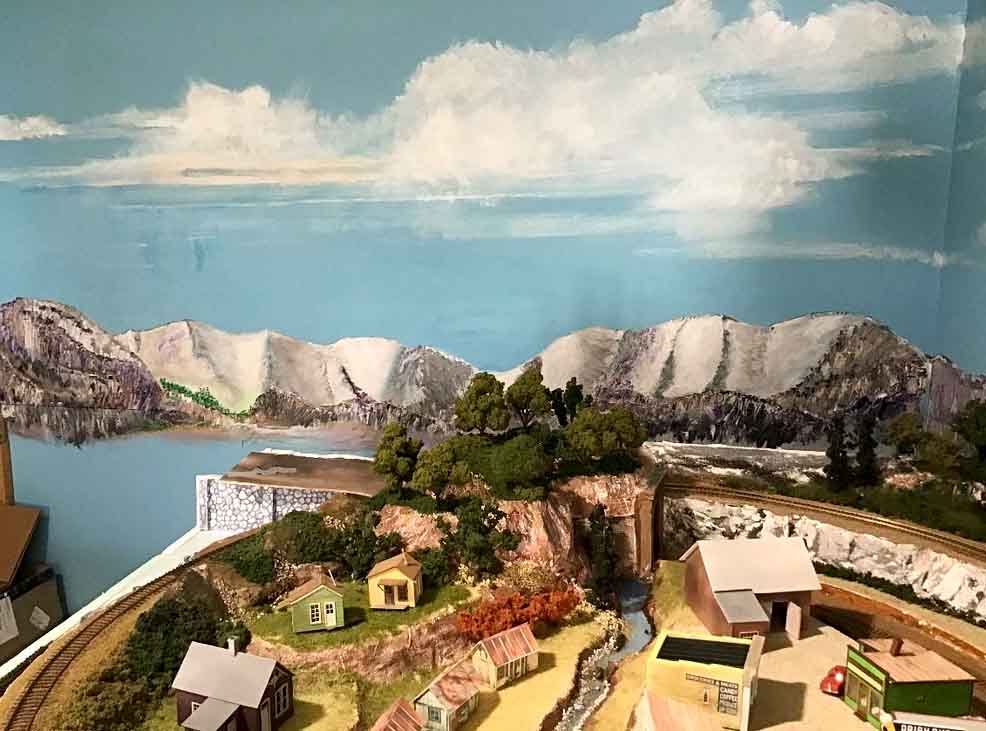
And the current, final version. I modified the mountains a final time but kept the overall outline. Tom returned and “touched up” the clouds using some black and yellow paint to add some “drama” to the scene. He also framed the mountains with some very distant tree lines.
It’s a compelling look and I hope he will come back soon a time or two as there is more black and yellow paint to add to that gathering storm.
Now, I’m about 18 months along and here is my first YouTube video showing the layout in operation.
It is a bit rough and too long so I’ll have to do some edits for next time.
And yes, it just circles at a slow speed but that’s all I was aiming for in this first phase. There is more detail that can be added but I’m ready to start something new.
You will see turnouts pointing off to the left and that’s where expansion will take place. I can move more than a meter (4 feet) to the left and then another meter out into the room.
I’m looking forward to seeing how this will turn out. At my pace of progress, I think it will take 3-4 years if all goes well but I see this more as a marathon than a sprint.
I’ll send updates when there is some progress to report.
With thanks, Al, for all you do to keep this great web site running…
Jim”
A big thanks to Jim for sharing the problems he had with his HO scale oval track.
I think we’ve all ‘started over’ at some point – and as Jim says, it’s half the fun.