Joe’s been in touch with his 1930s HO scale layout:
“Al,
Hello from Wild and Wonderful West Virginia!
Not only are we Hillbilly’s but BIG Railfans too.
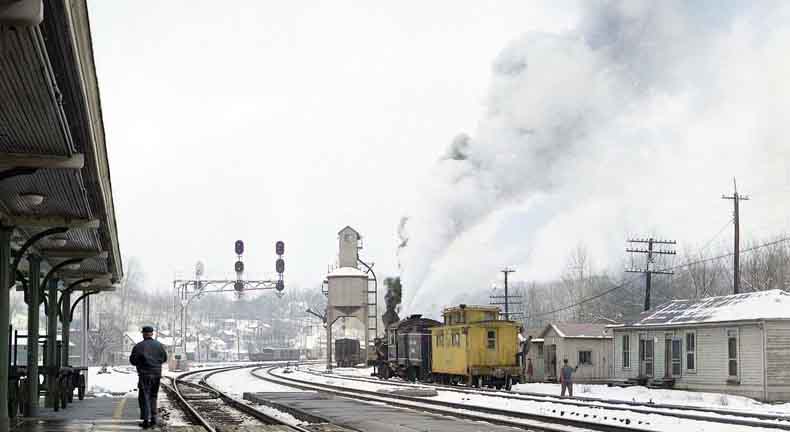
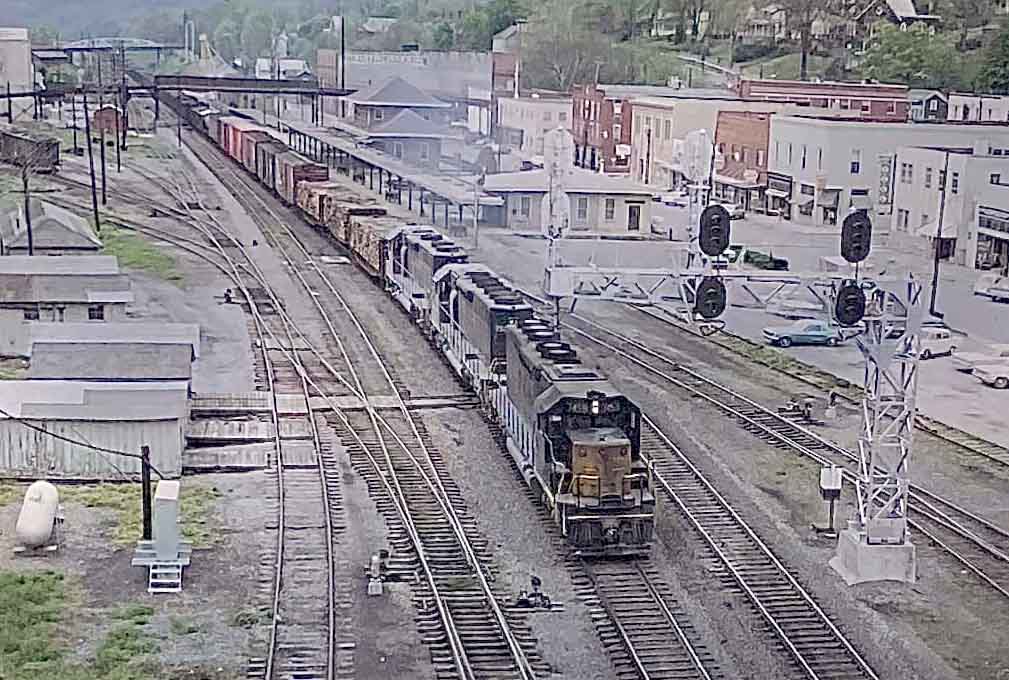
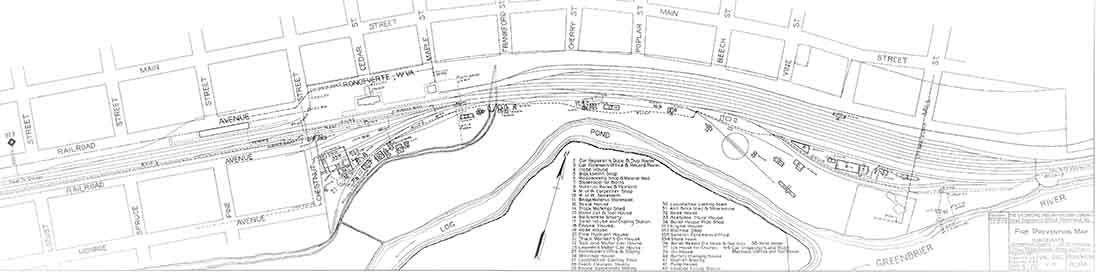
The Railroads have played a huge part in West Virginias history, from the Lumber Industry to Coal Mining. The town I grew up in is Ronceverte, WV and it is roughly halfway between Clifton Forge, VA and Hinton, WV on the C&Os (CSX) Alleghany Subdivision.
The C&O ran “Pushers” from here to Alleghany, VA to help coal drags up the grade to Alleghany.
Both places had Turntables that were 120’ long to turn the big H-4s and K2s. Today CSX runs CW4400s, two in the front and two halfway back in 200 to 250 car coal drags. Impressive to say the least.
We have a Train Show here the first weekend of May, which brings me to the project I have taken on. I Iike to call “History through Models” projects.
As the name implies, they’re models that are 3D, HO scale representations of a period, in time on The Alleghany Subdivision.
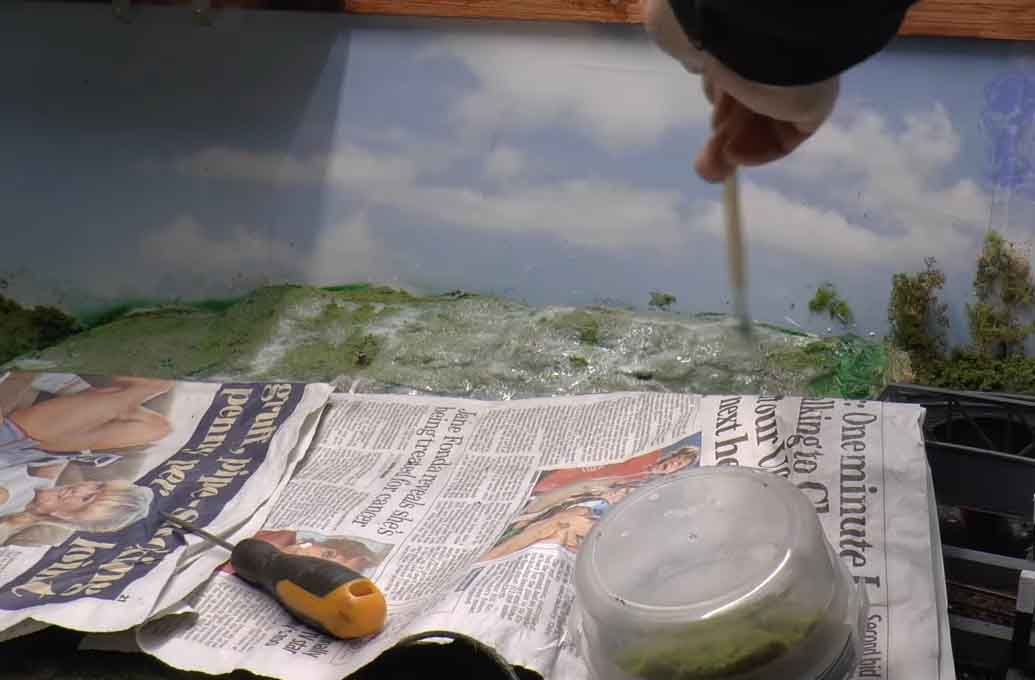
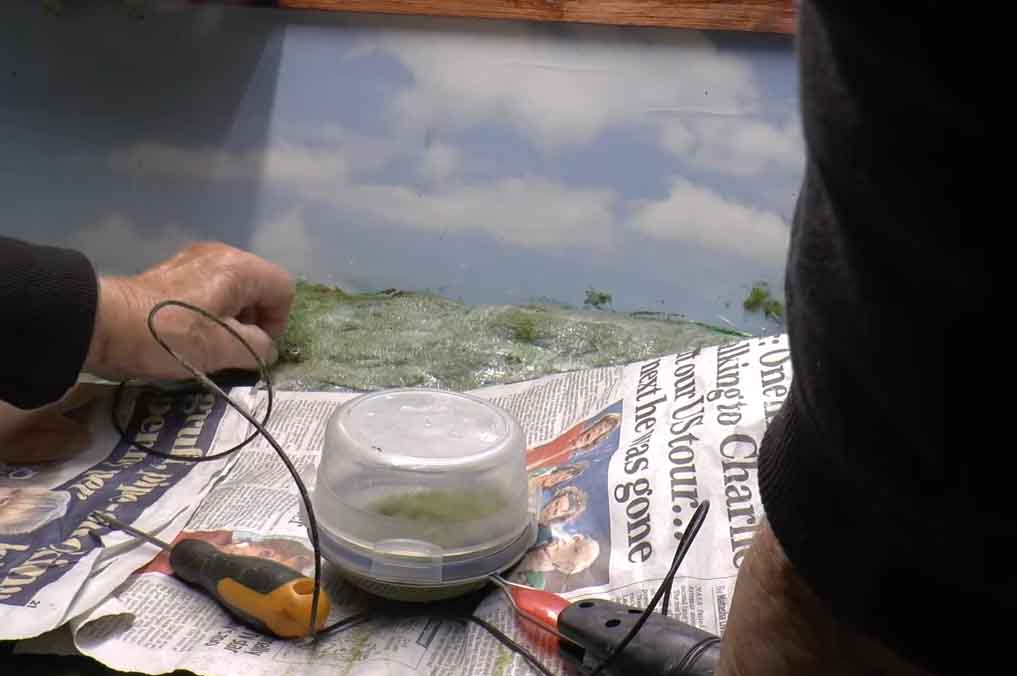
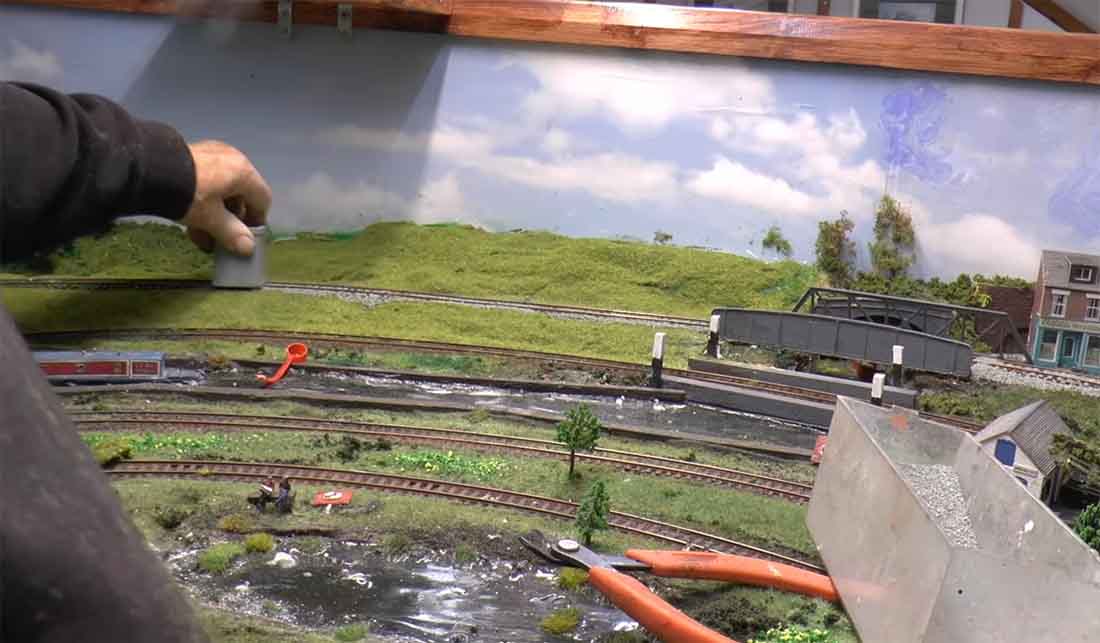
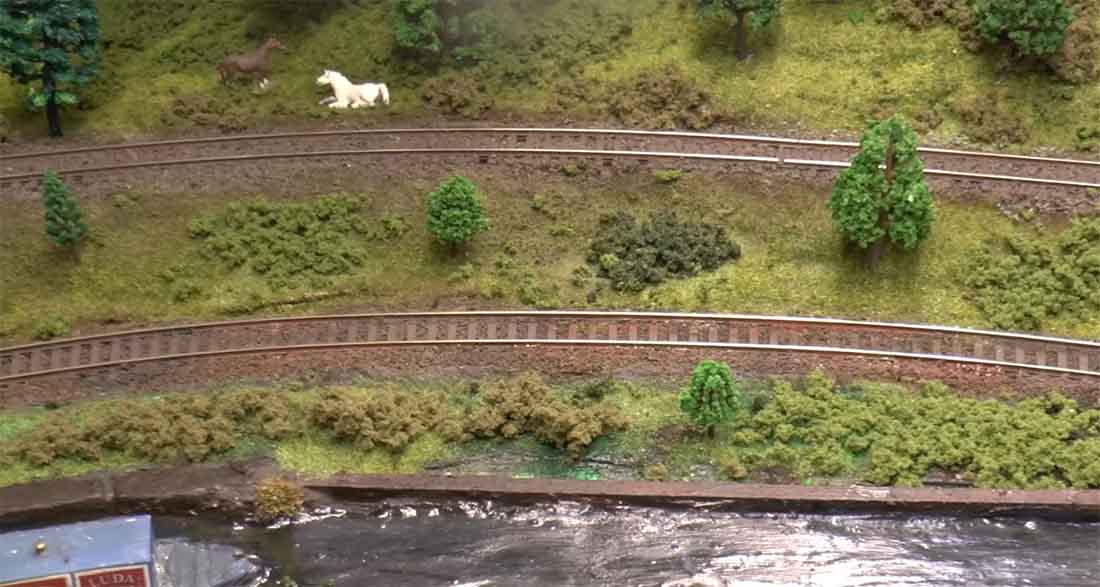
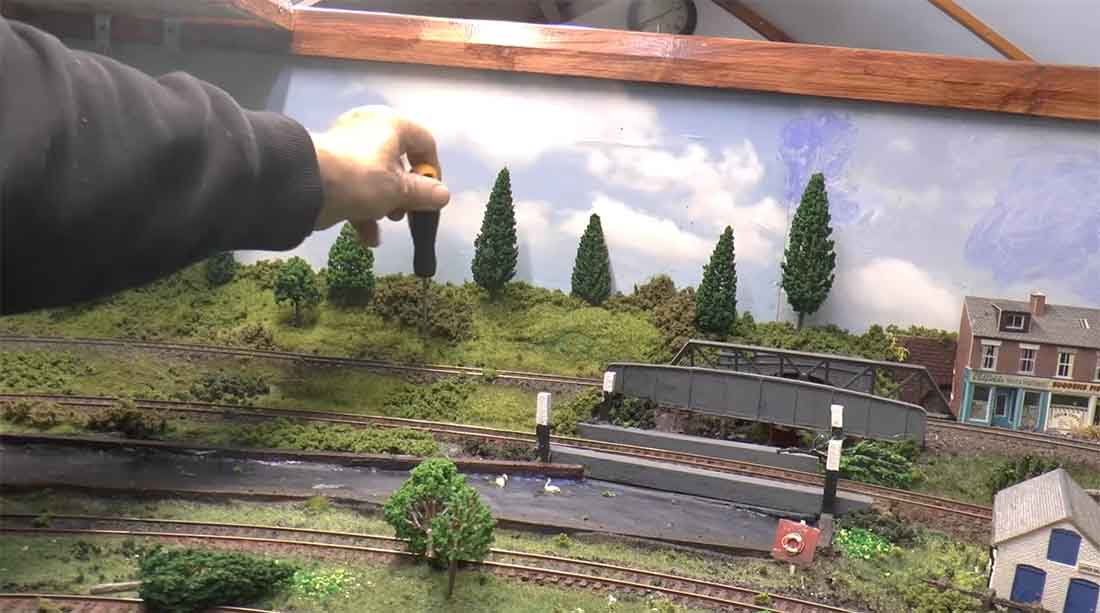
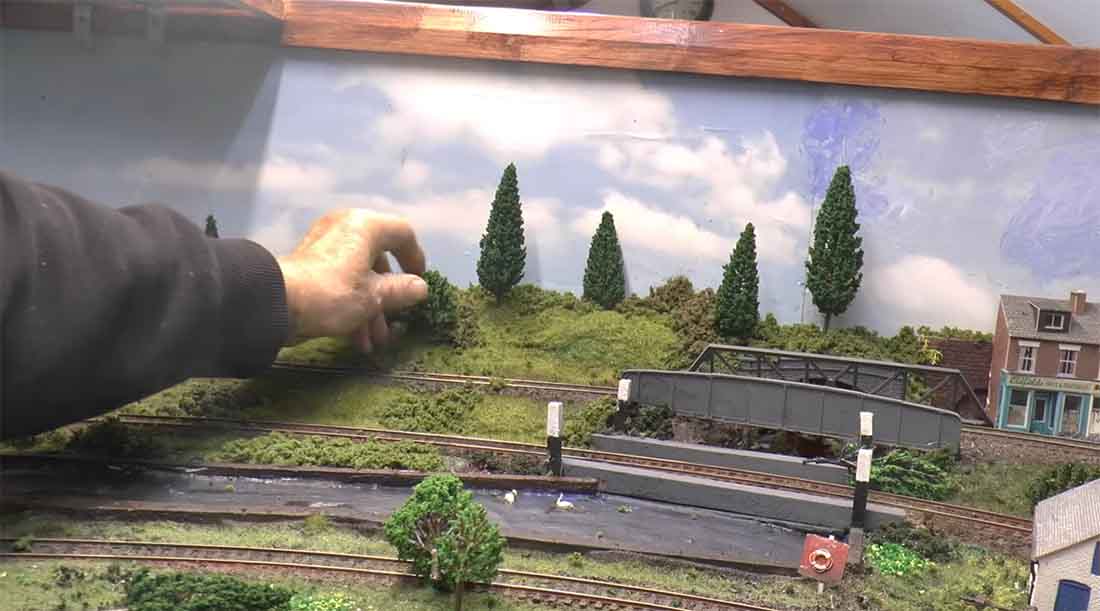
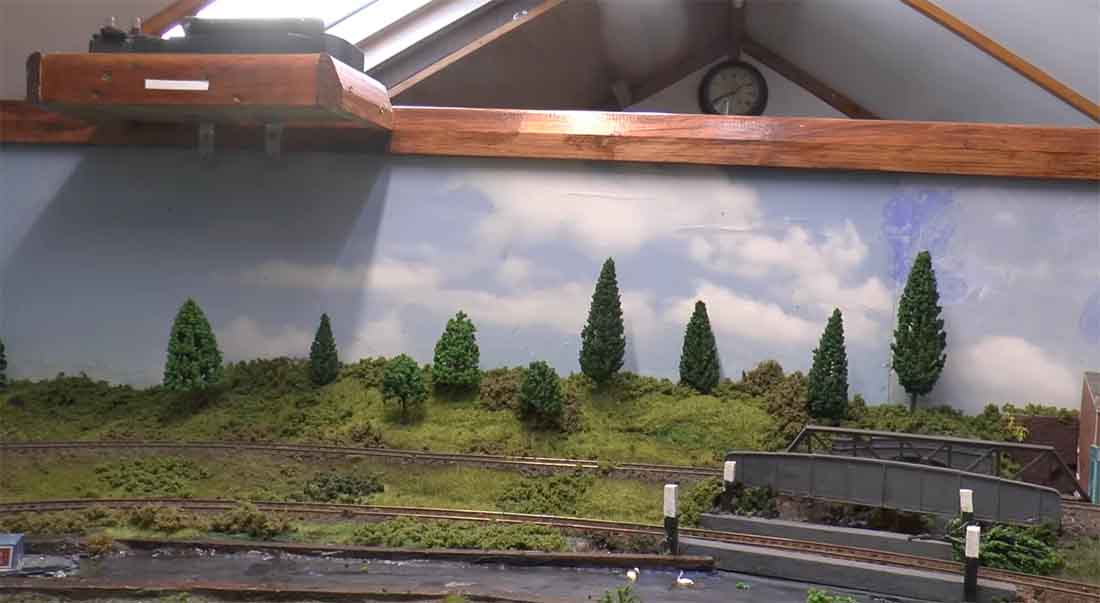
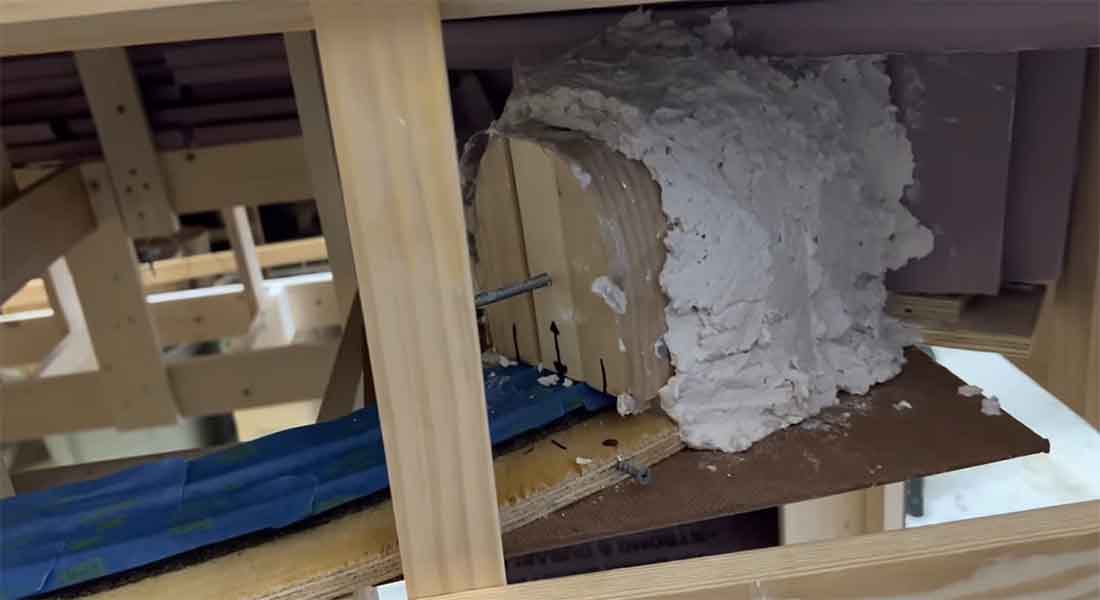
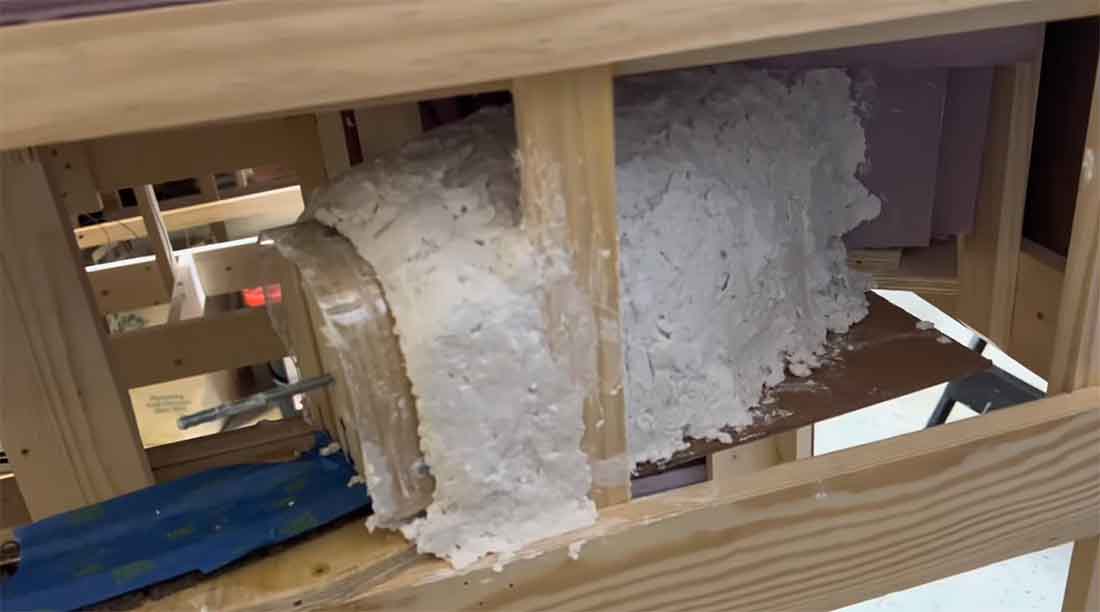
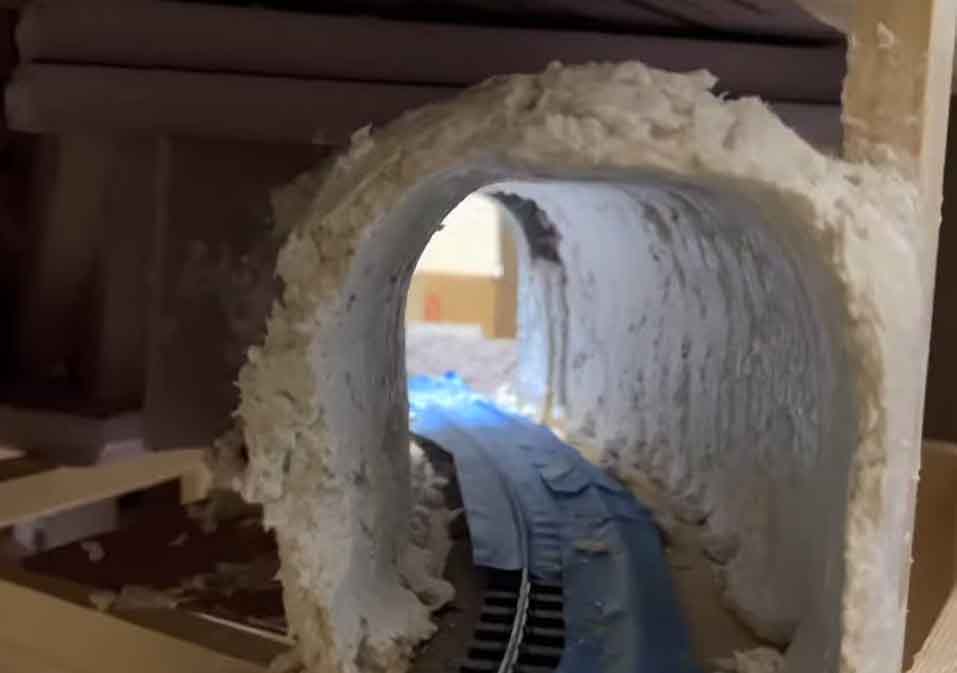
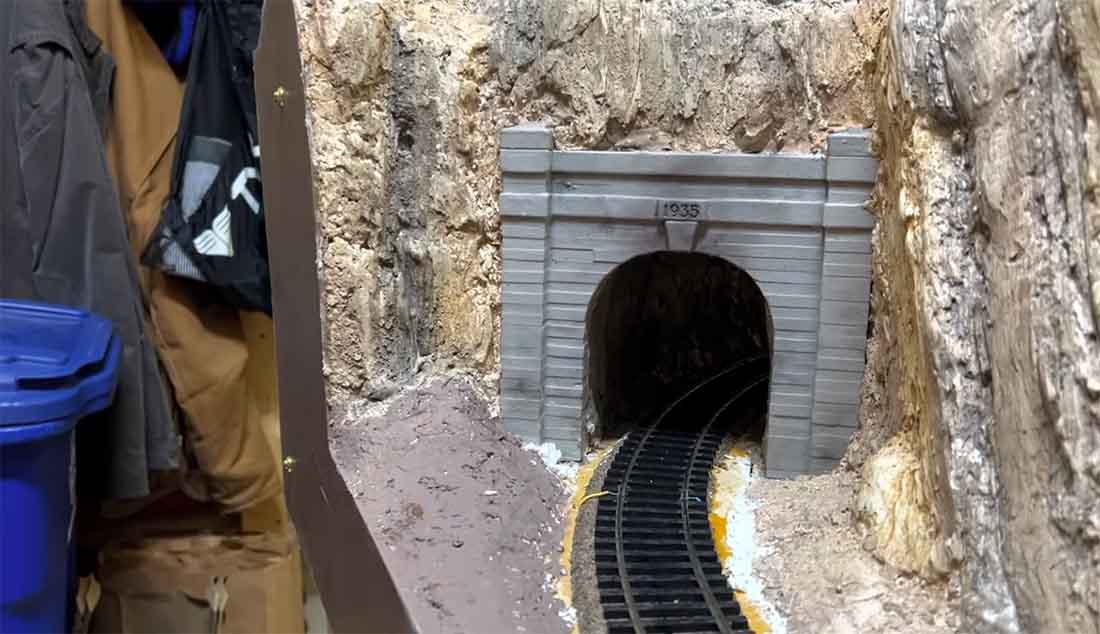
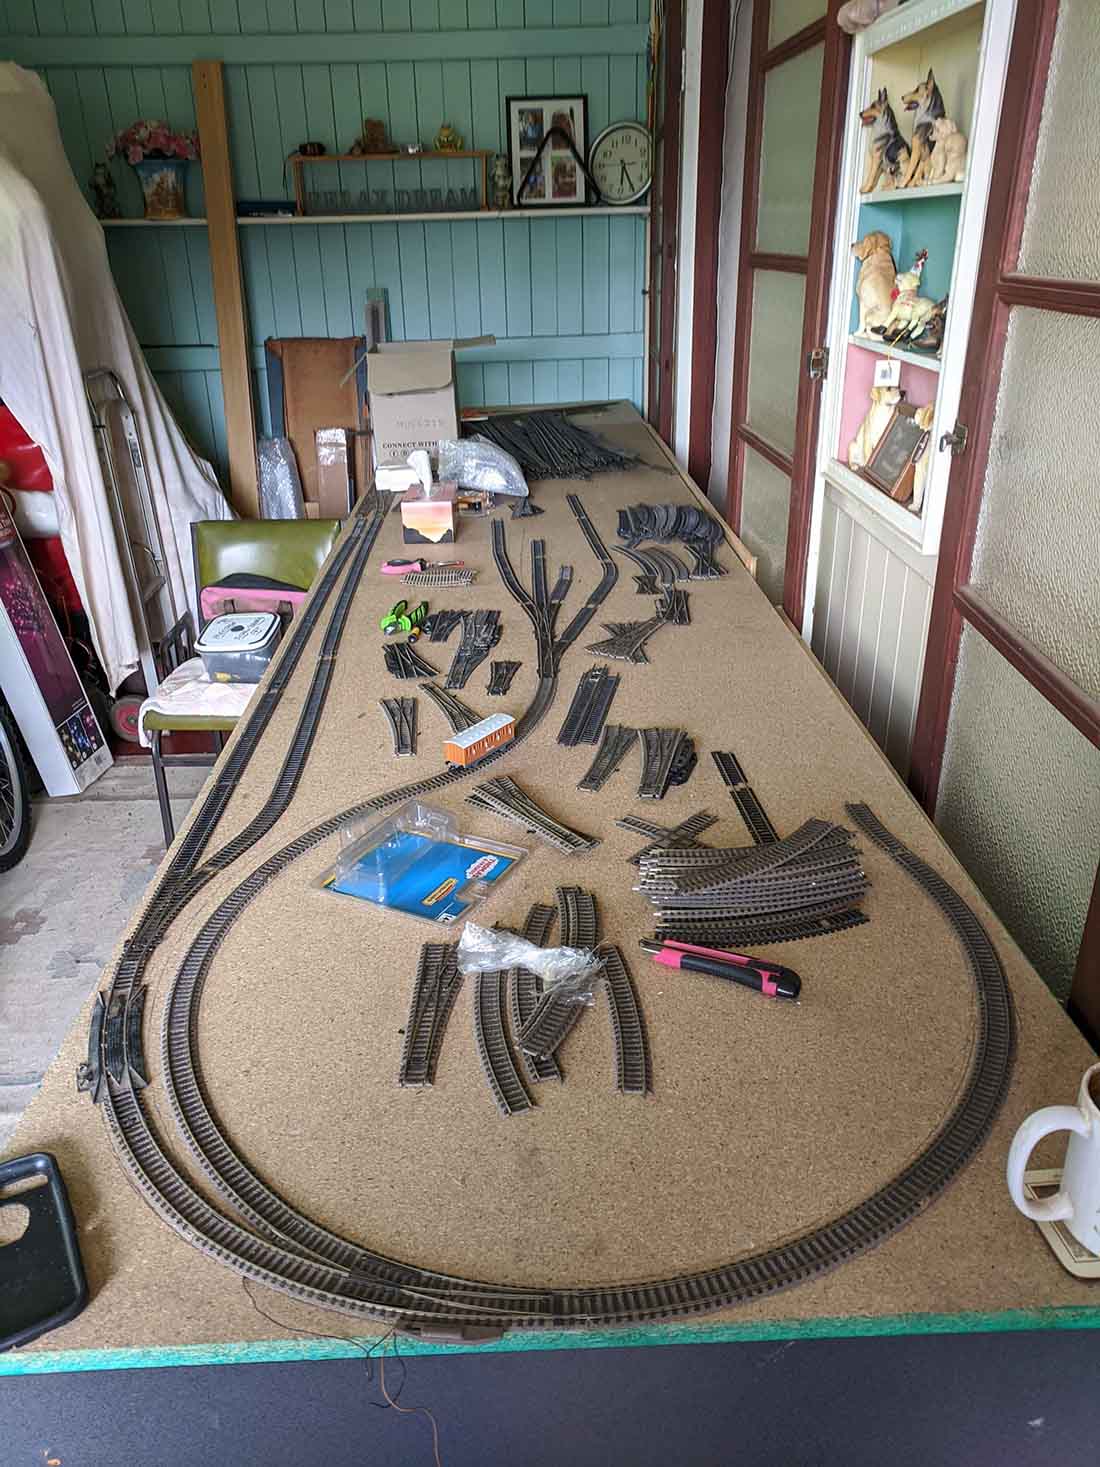
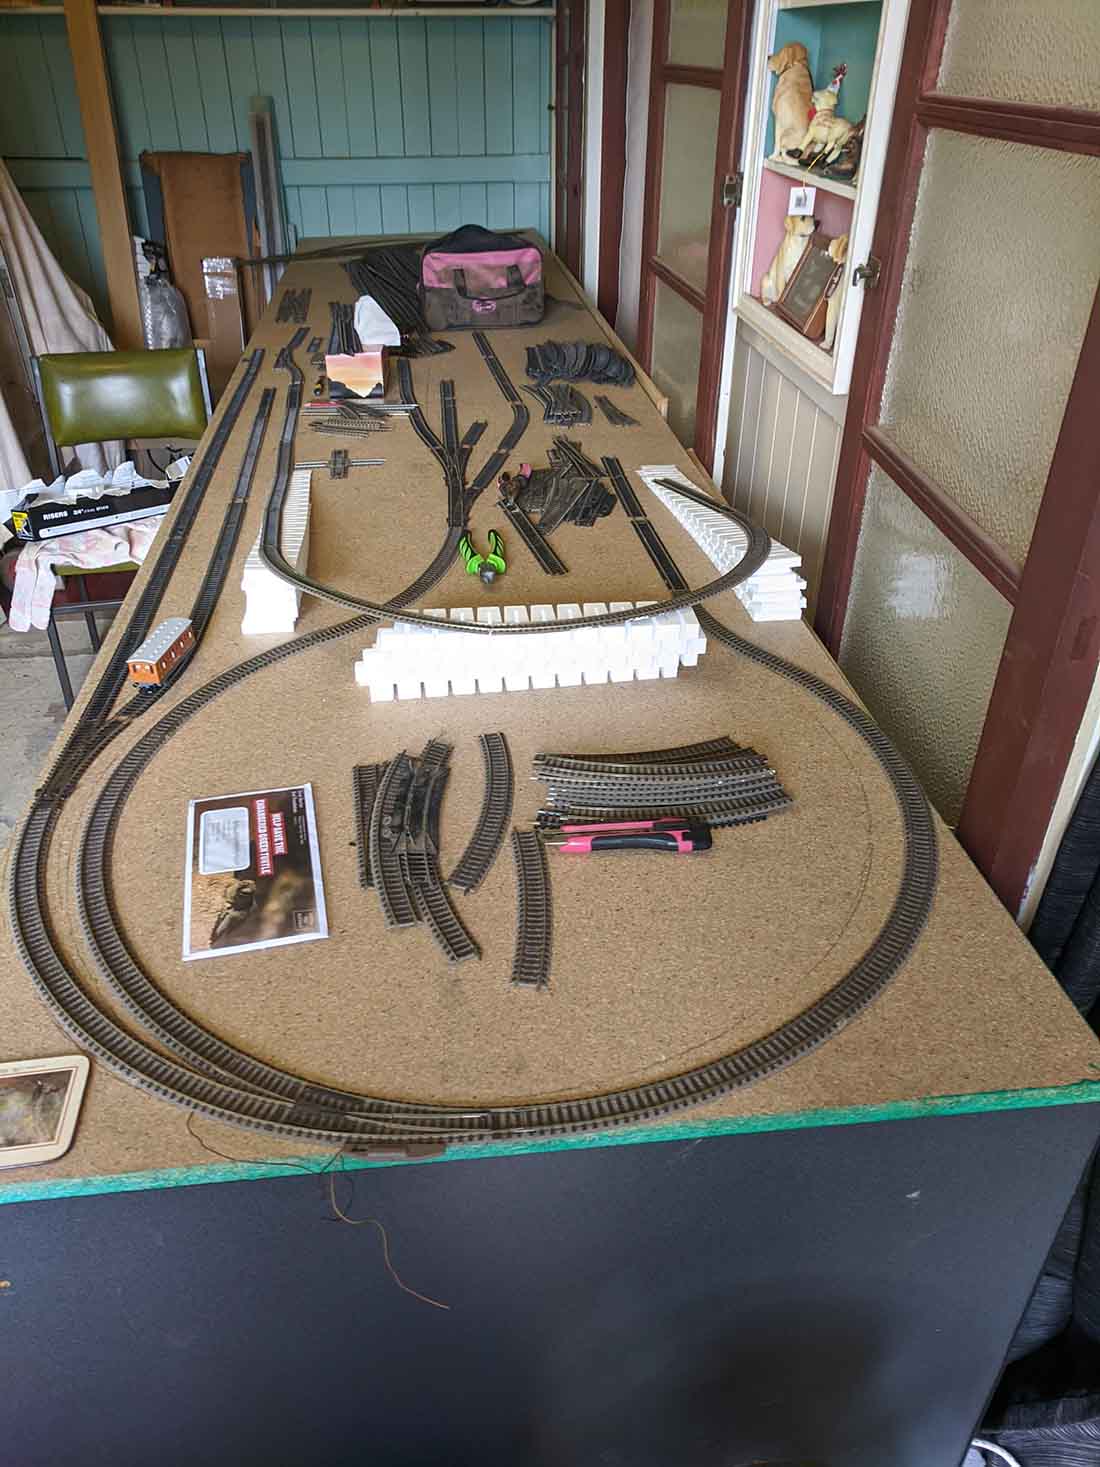
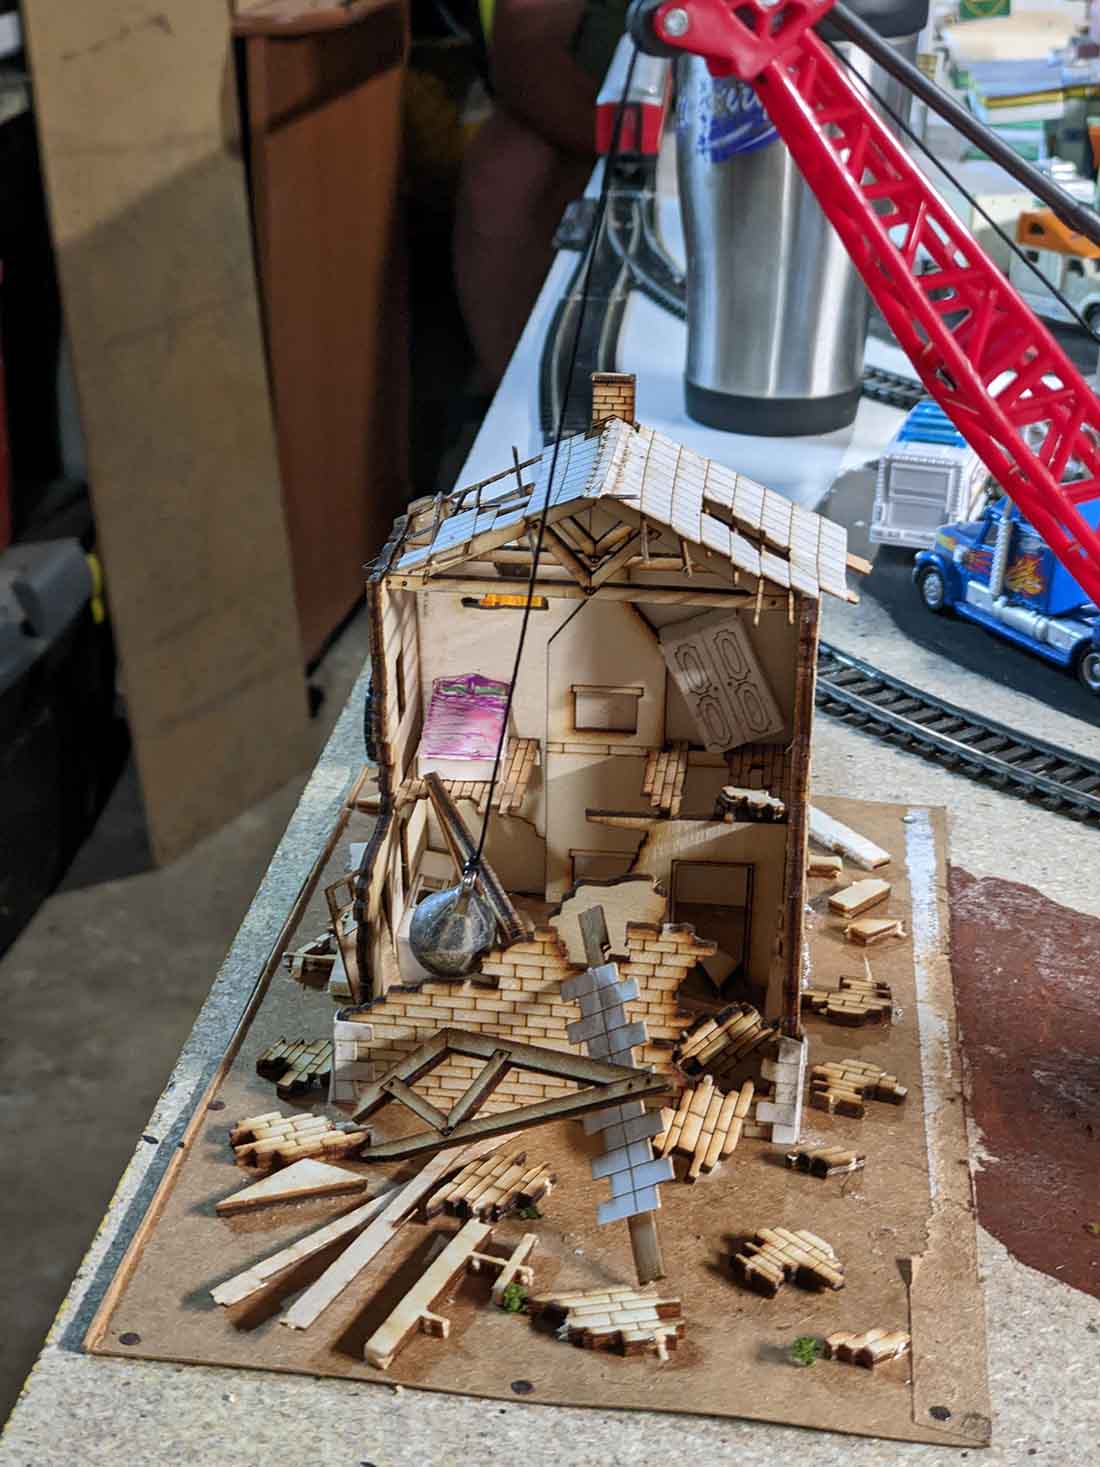
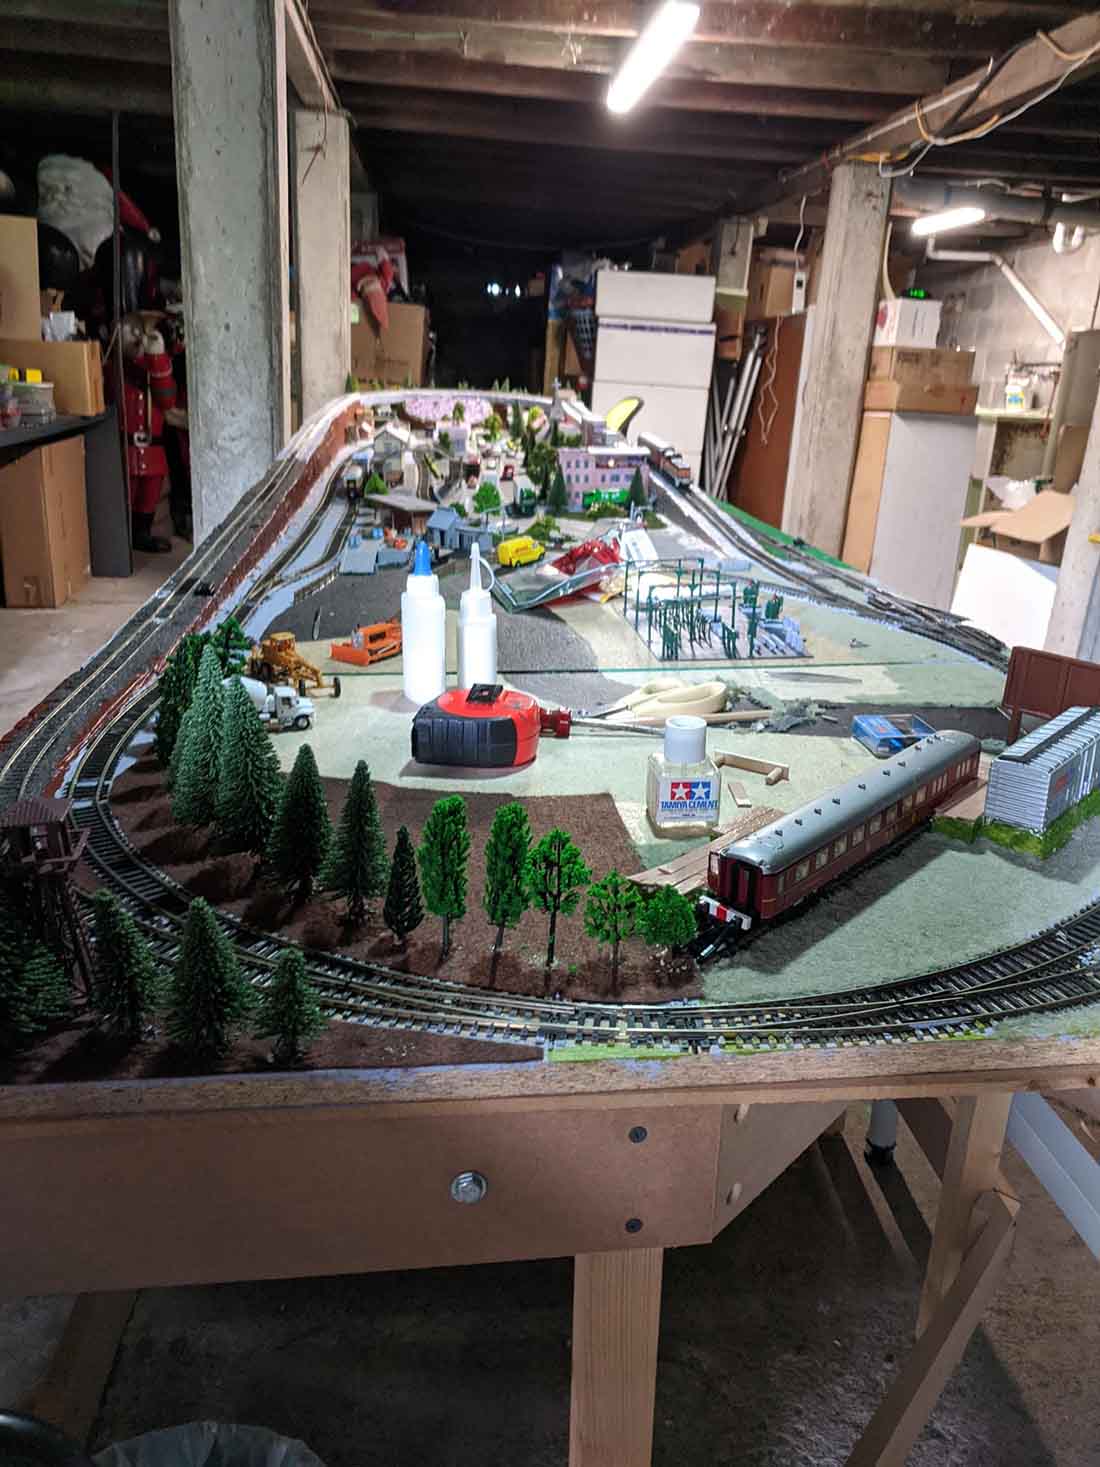
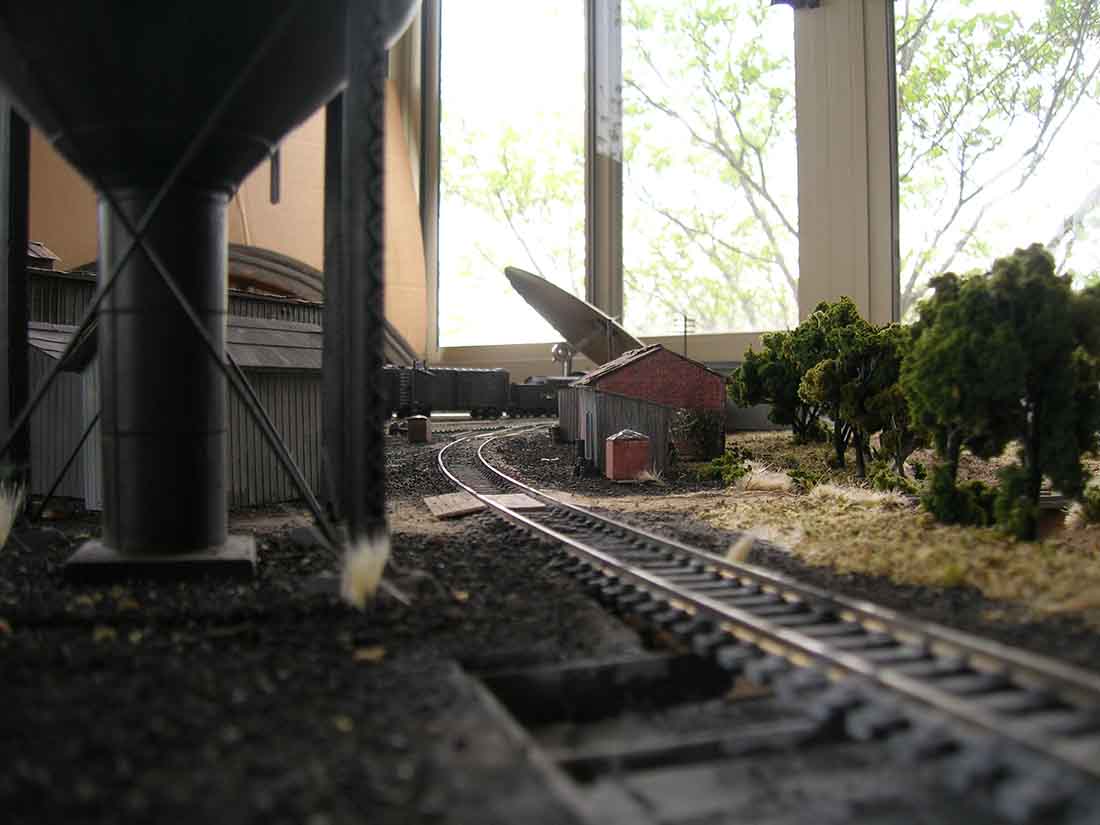
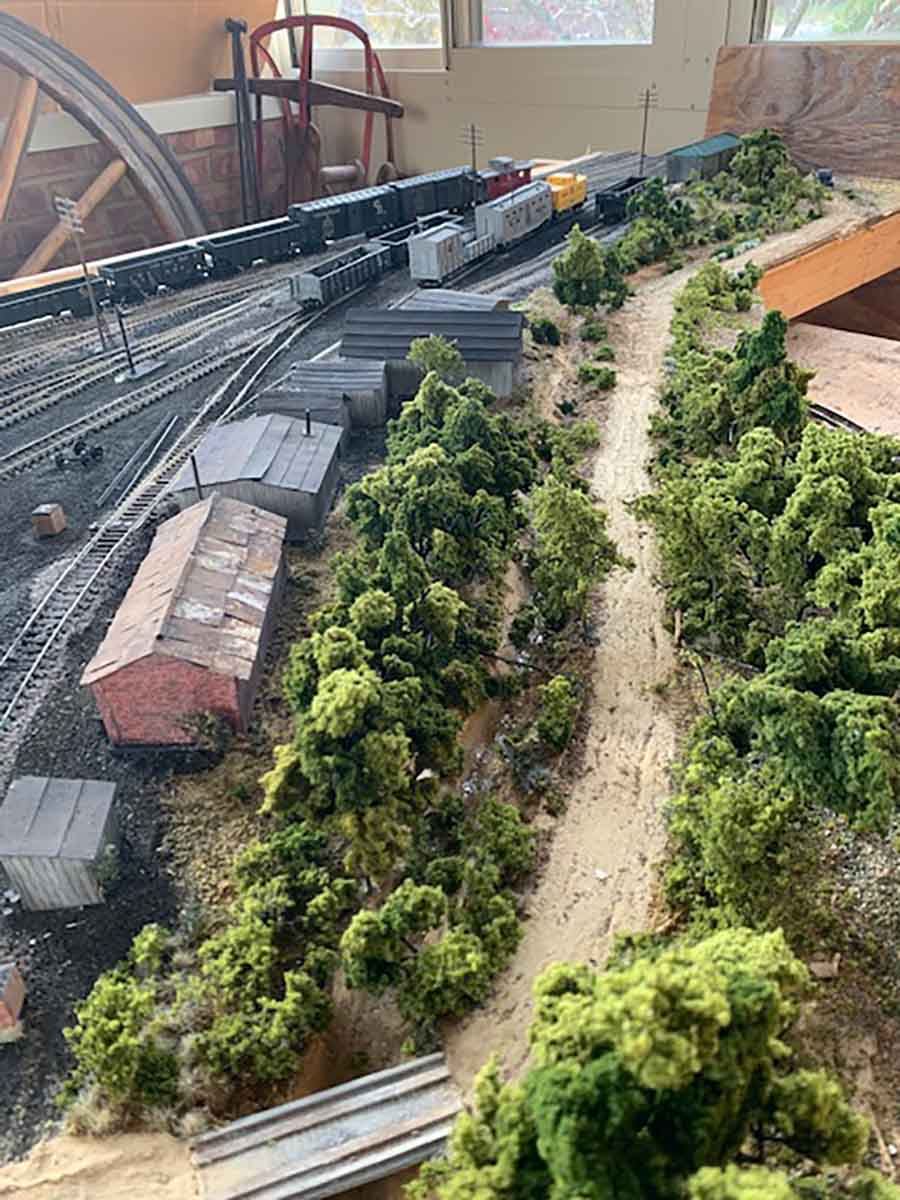
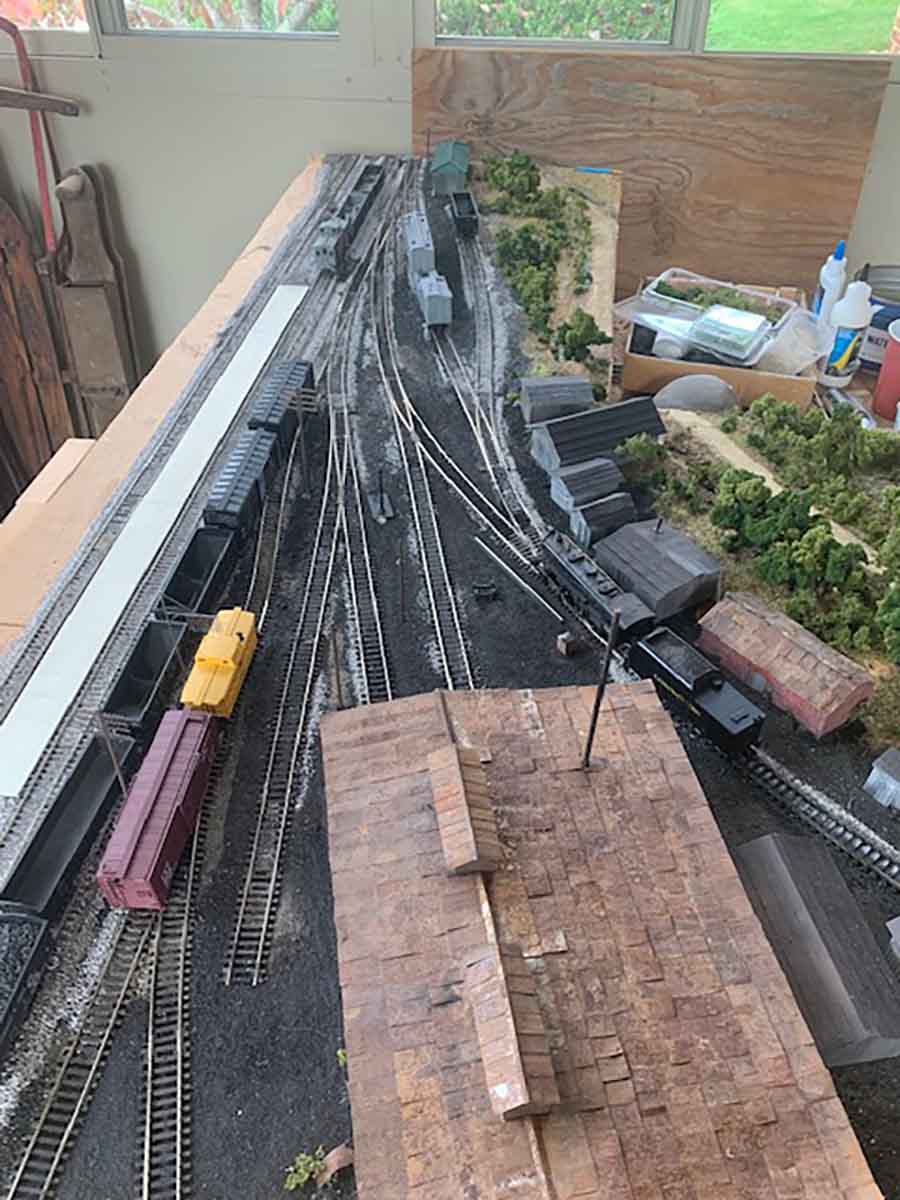
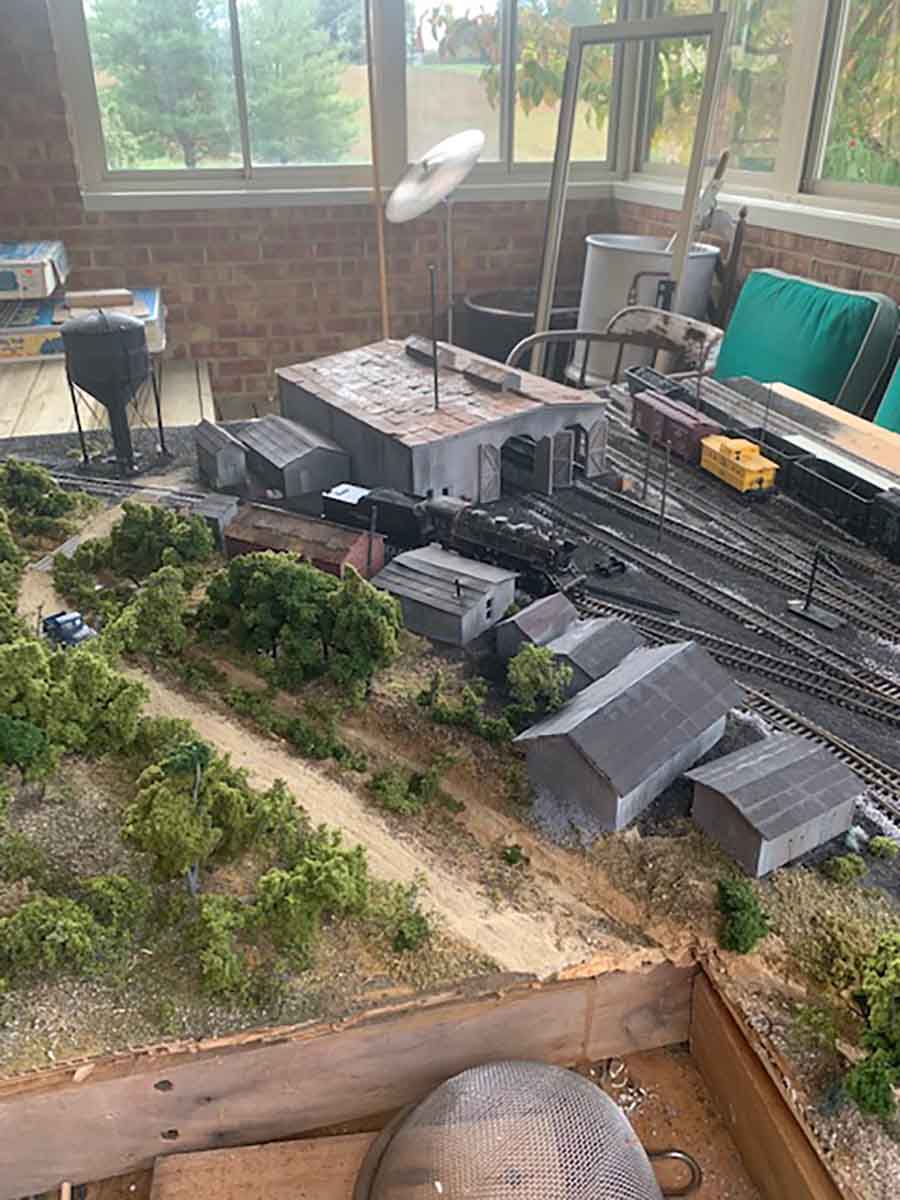
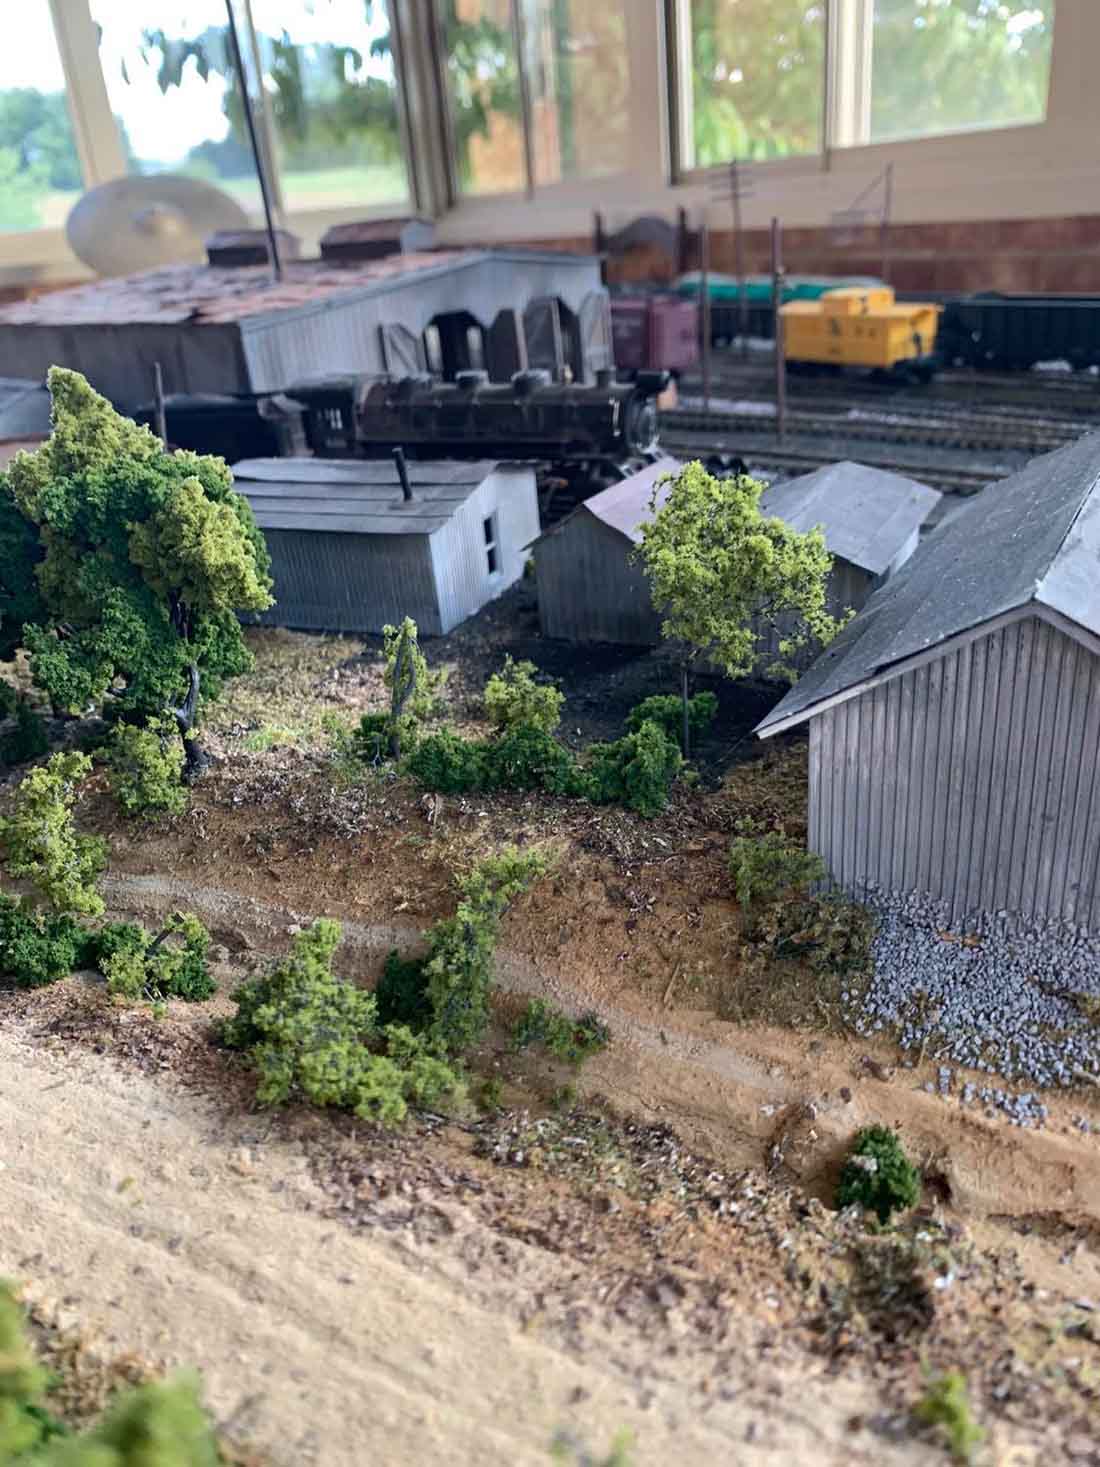
Below are photos of the Ronceverte model during the 1930s. The model is incomplete and still under construction, but I think you will get the idea.
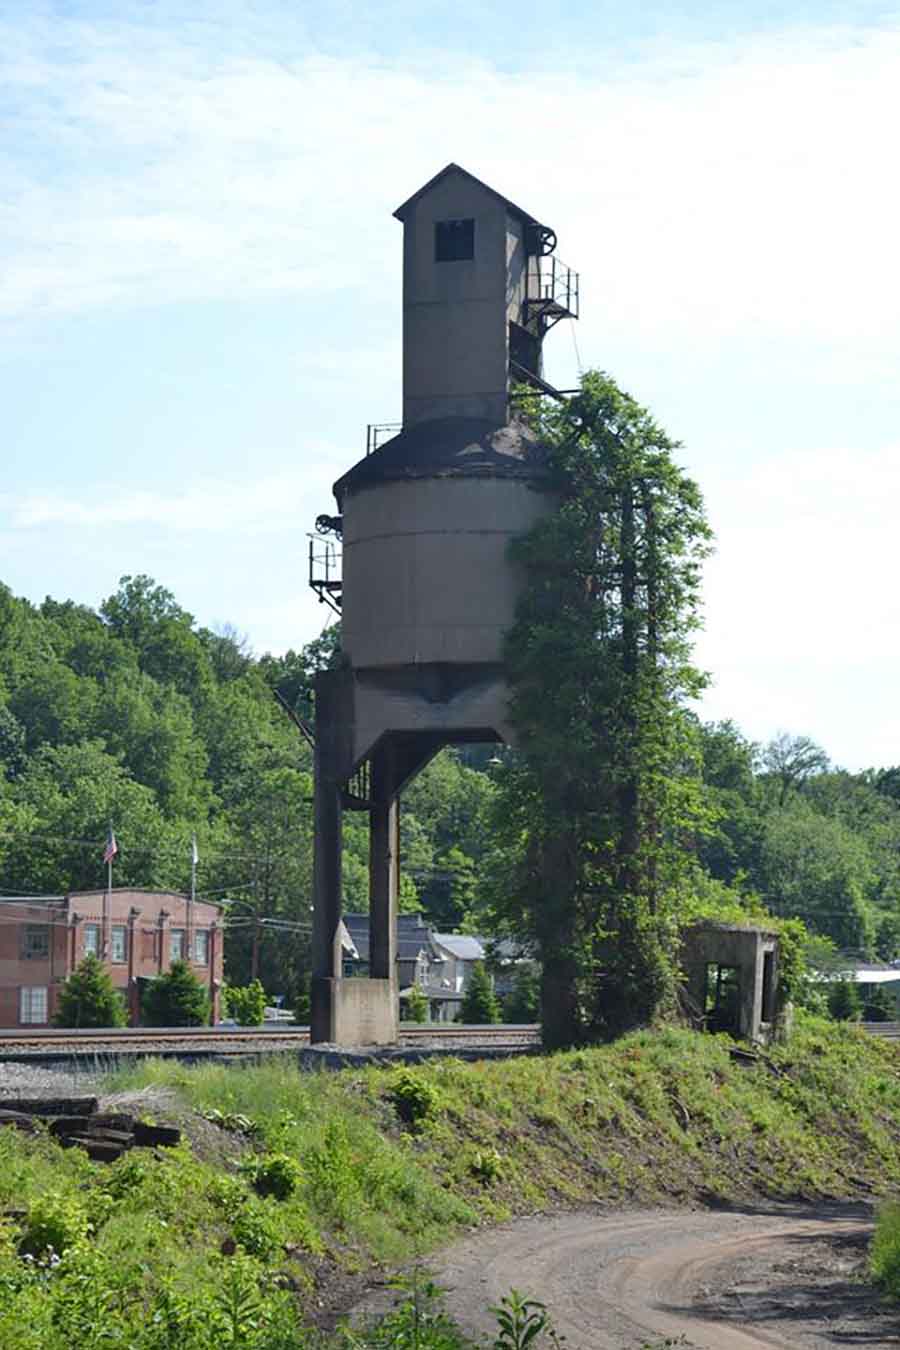
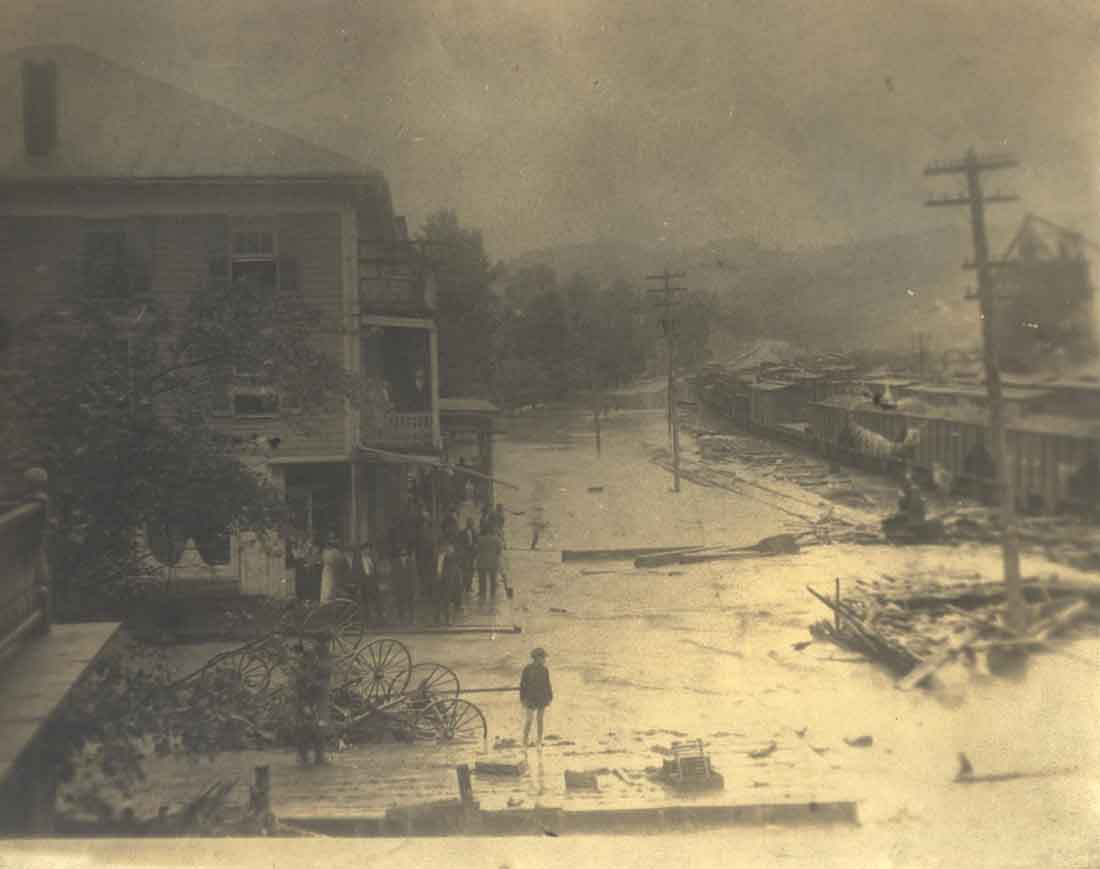
I have to “scratch build” most all the buildings. I used old photos from the C&O Historical Society to get a general idea what the buildings looked like.
The water tank is a model kit from Walther’s.
The passenger station is the next big thing to build. The station was built in 1915, really nice too. It is a brick structure with a long platform that connects to a brick Freight House.
Enough said, here’s some pics.
Thanks
Joe”
A big thanks to Joe for sharing his 1930s HO scale themed layout.
(It reminded me of Jim’s stunning 1950s HO scale model railroad.)
I’ve said it before, and I’ll say it again, a layout with a ‘theme’ will always turn out well. I love the way he’s using the pictures to recreate the scenes from the past. Brilliant.
That’s all for today folks.
Please do keep ’em coming.
And if today is the day you get started on your layout, the Beginner’s Guide is here.
Best
Al
PS More HO scale train layouts here if that’s your thing.
Need buildings for your layout? Have a look at the Silly Discount bundle.