We’re starting today with Ray, who has shared a few pics of his 12×4 HO scale:
“Dear Al:
Like everyone else, I am thankful for all you do.
My day gets off to a good start with your post, my paper and a cup of coffee.
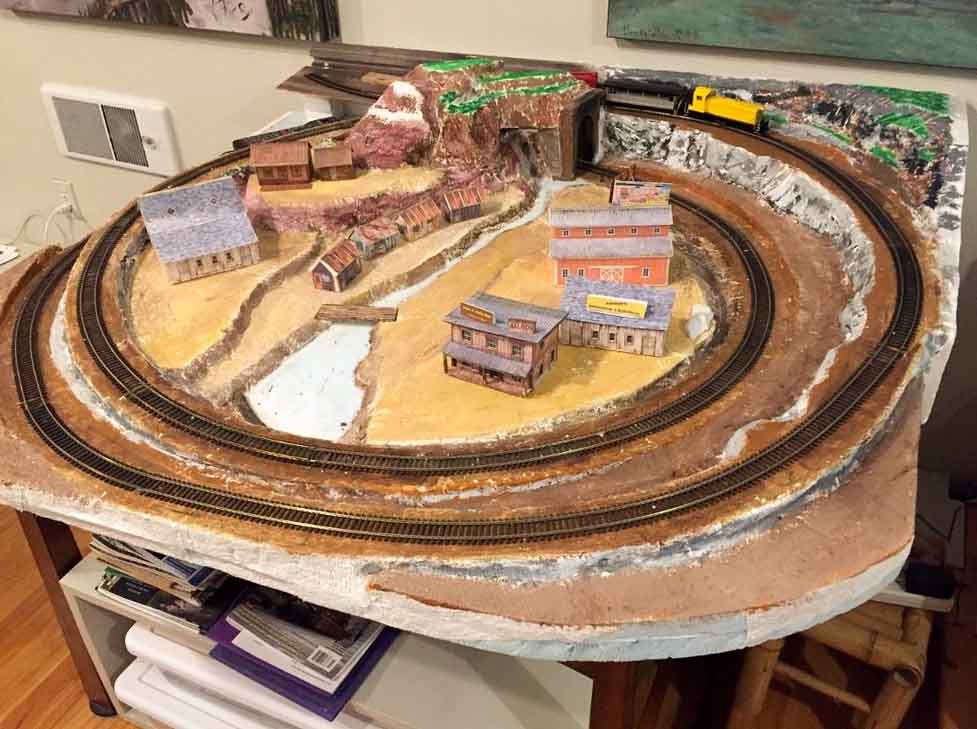
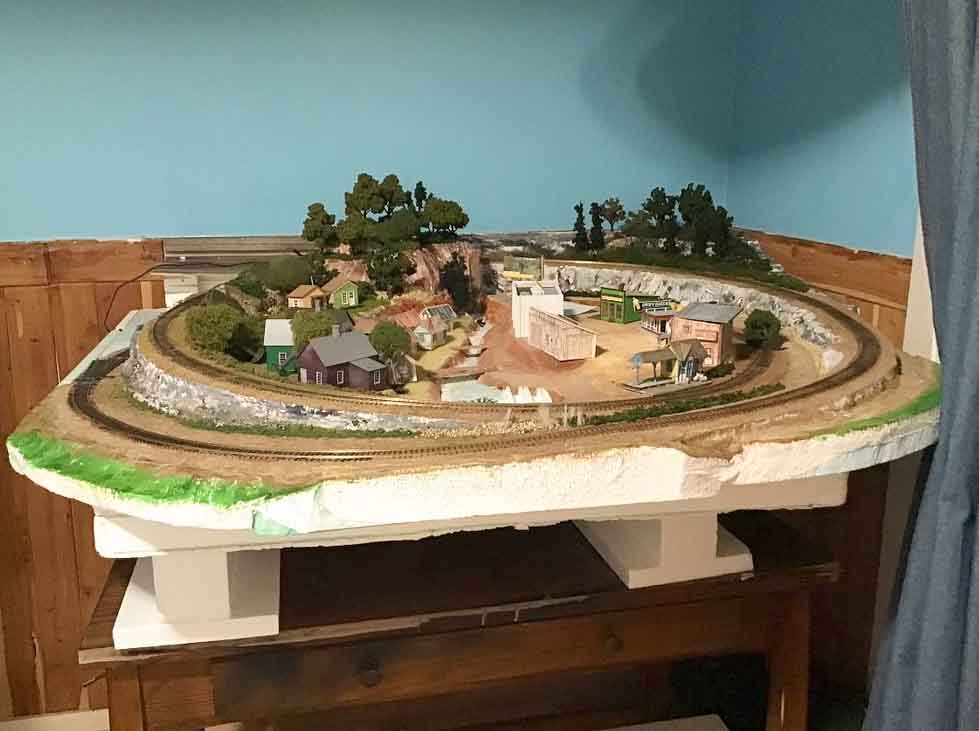
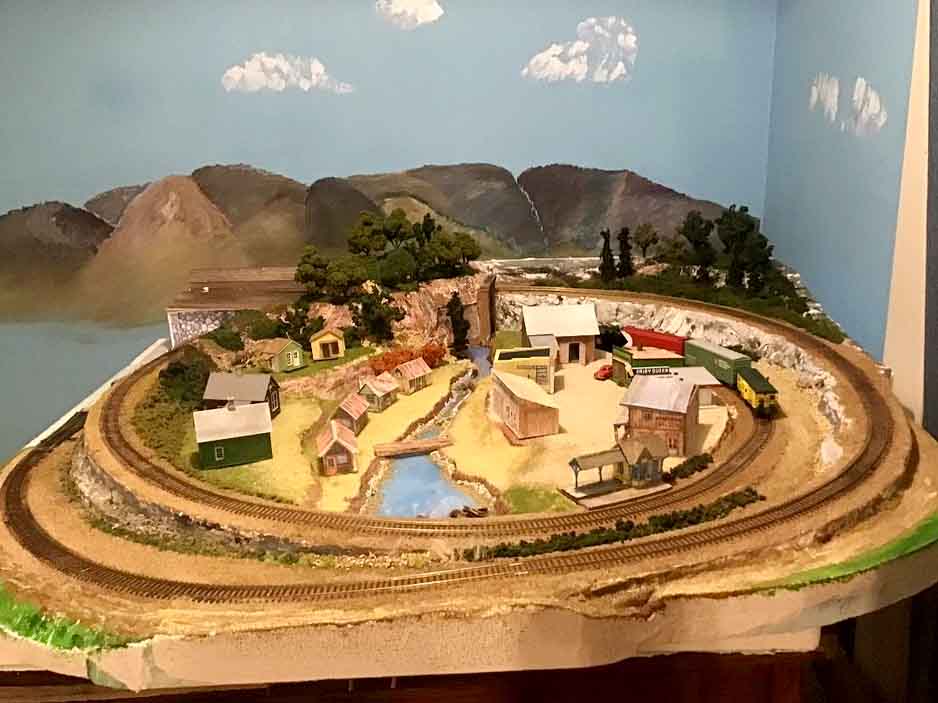
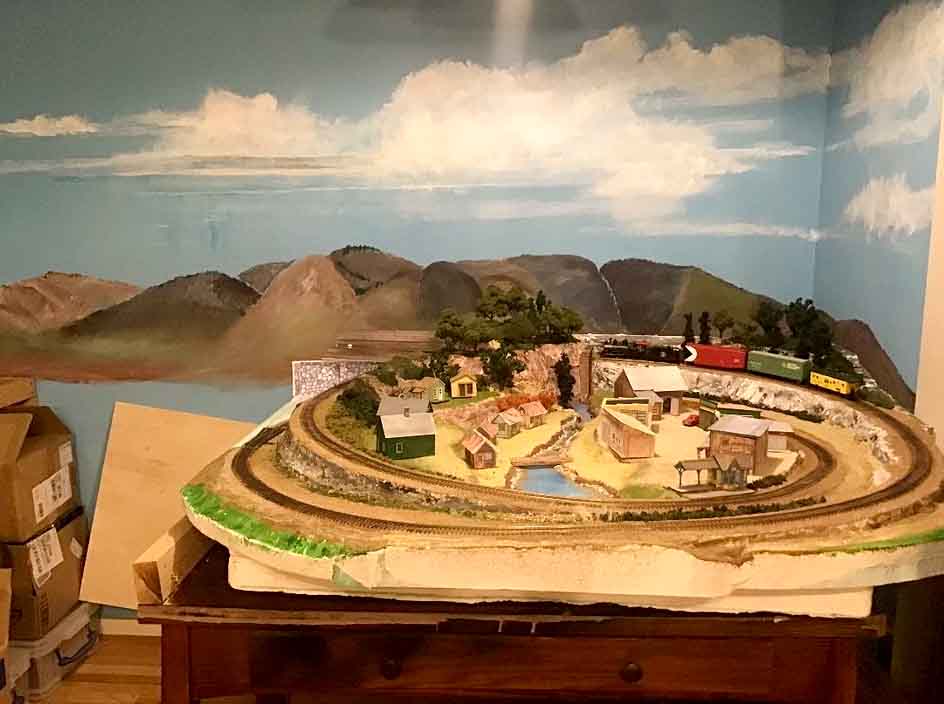
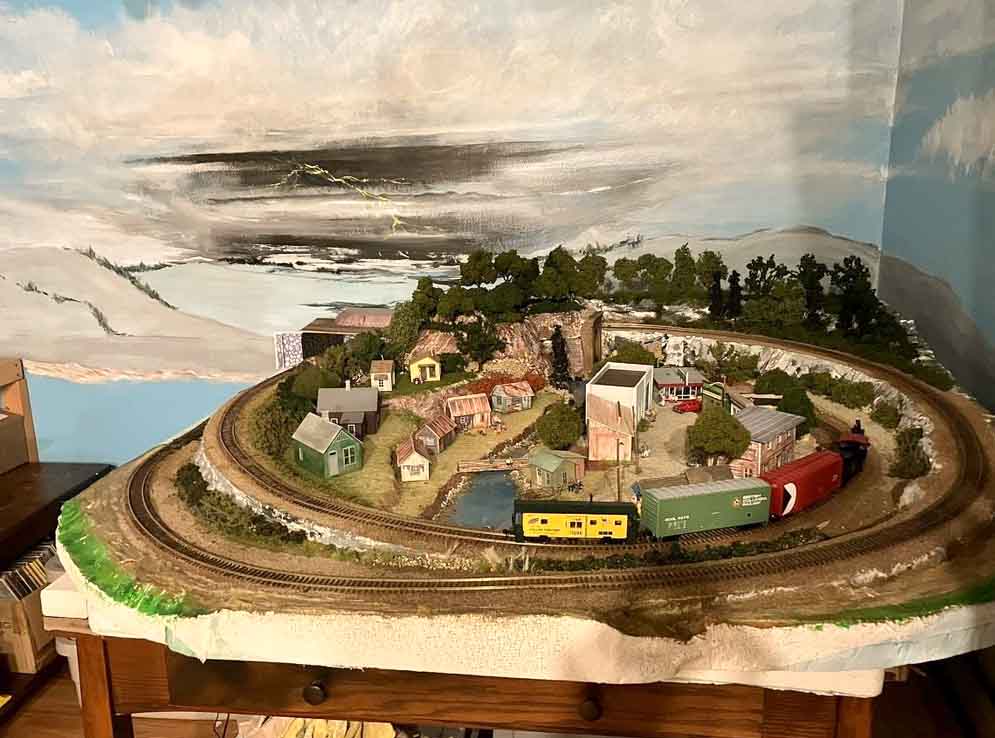
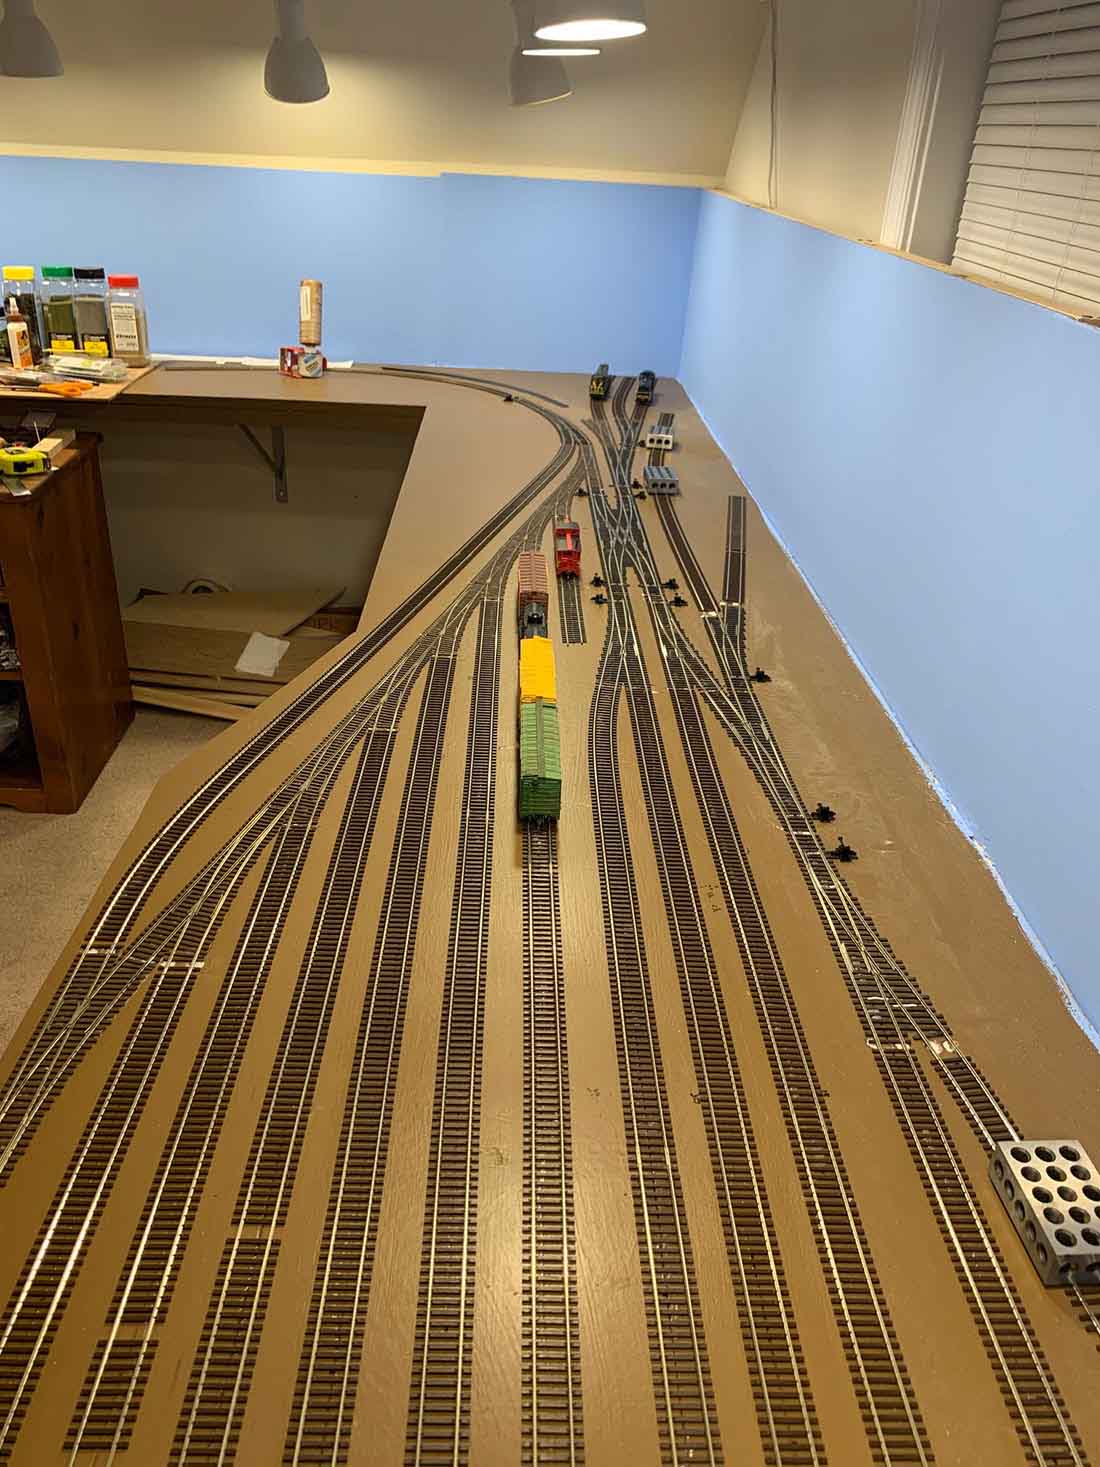
I am 87 years old, live in Ohio and have always fooled around with trains. My present layout is ho scale and 12 x 4 feet, and has 11 switches.
My talent level is very low and would not like some of the real pofessionals to see it.
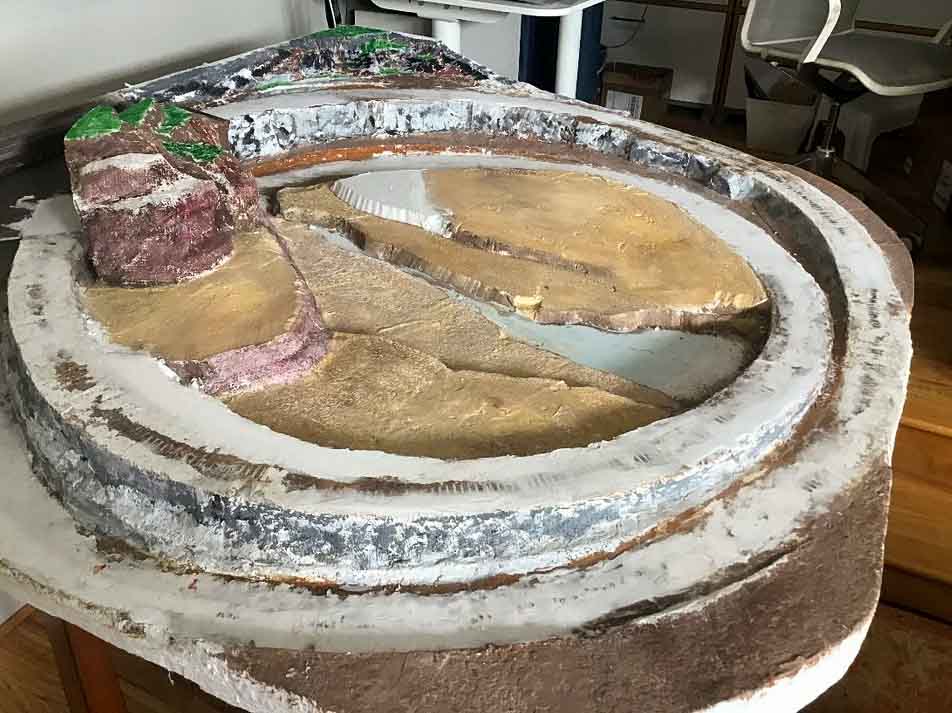
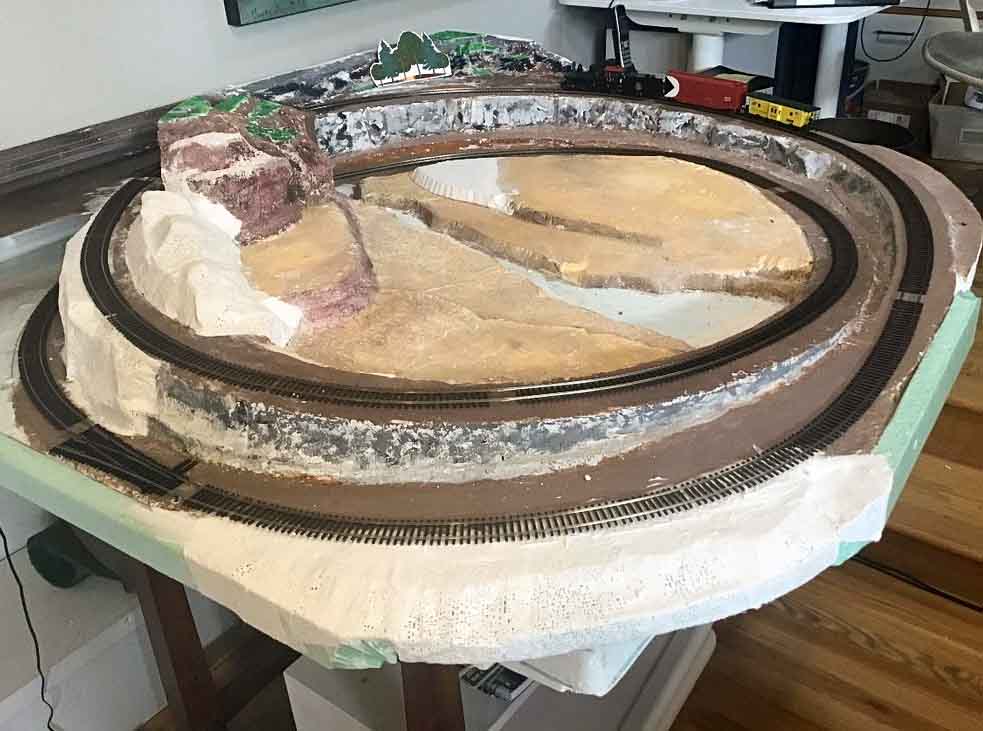
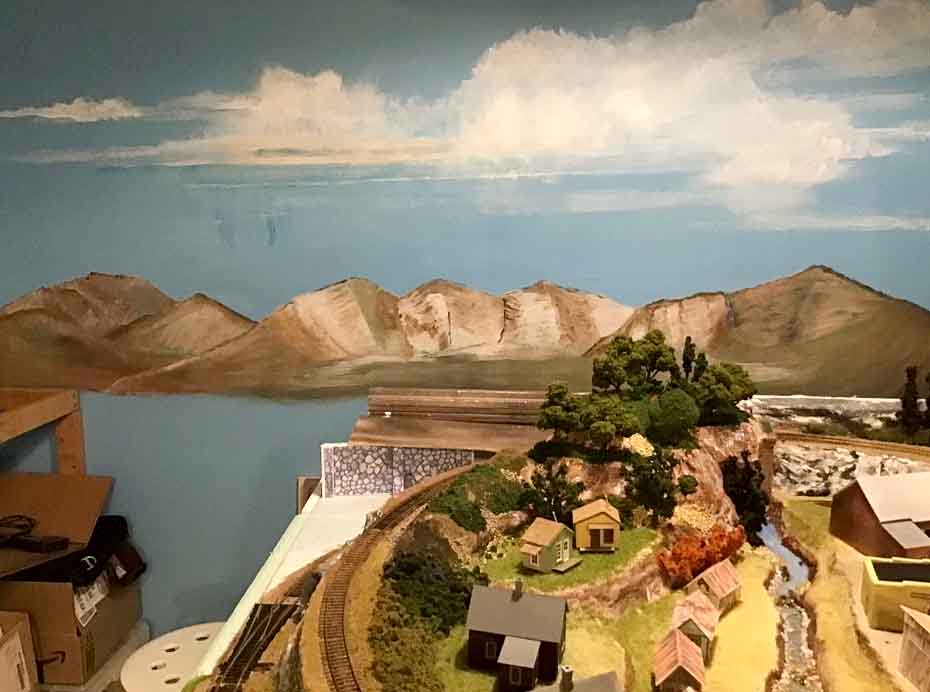
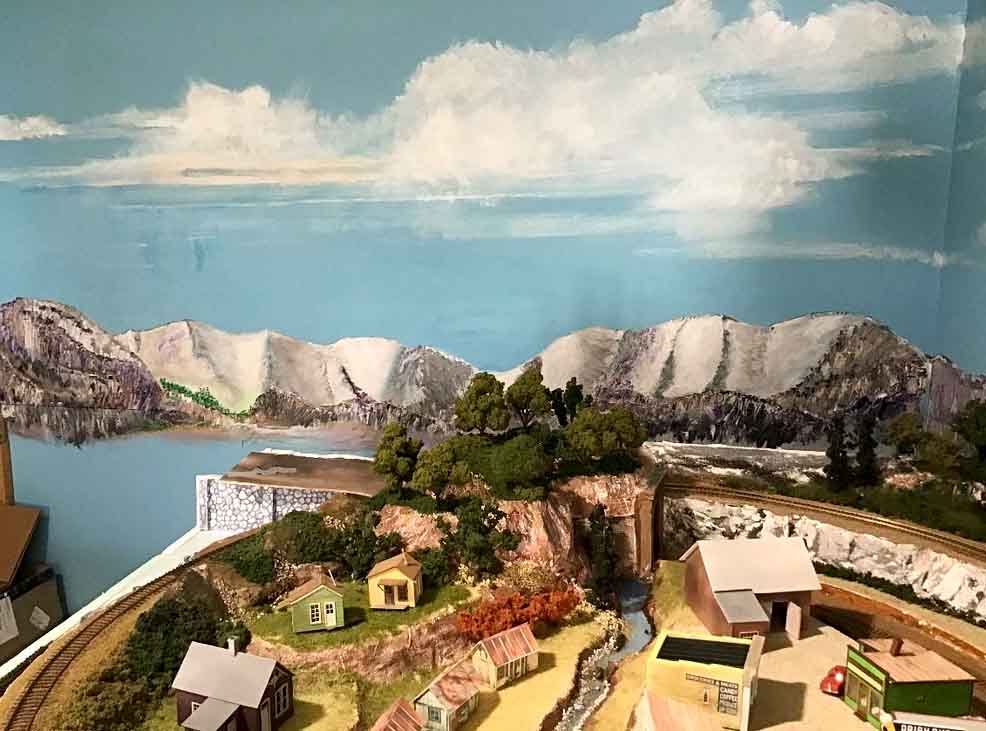
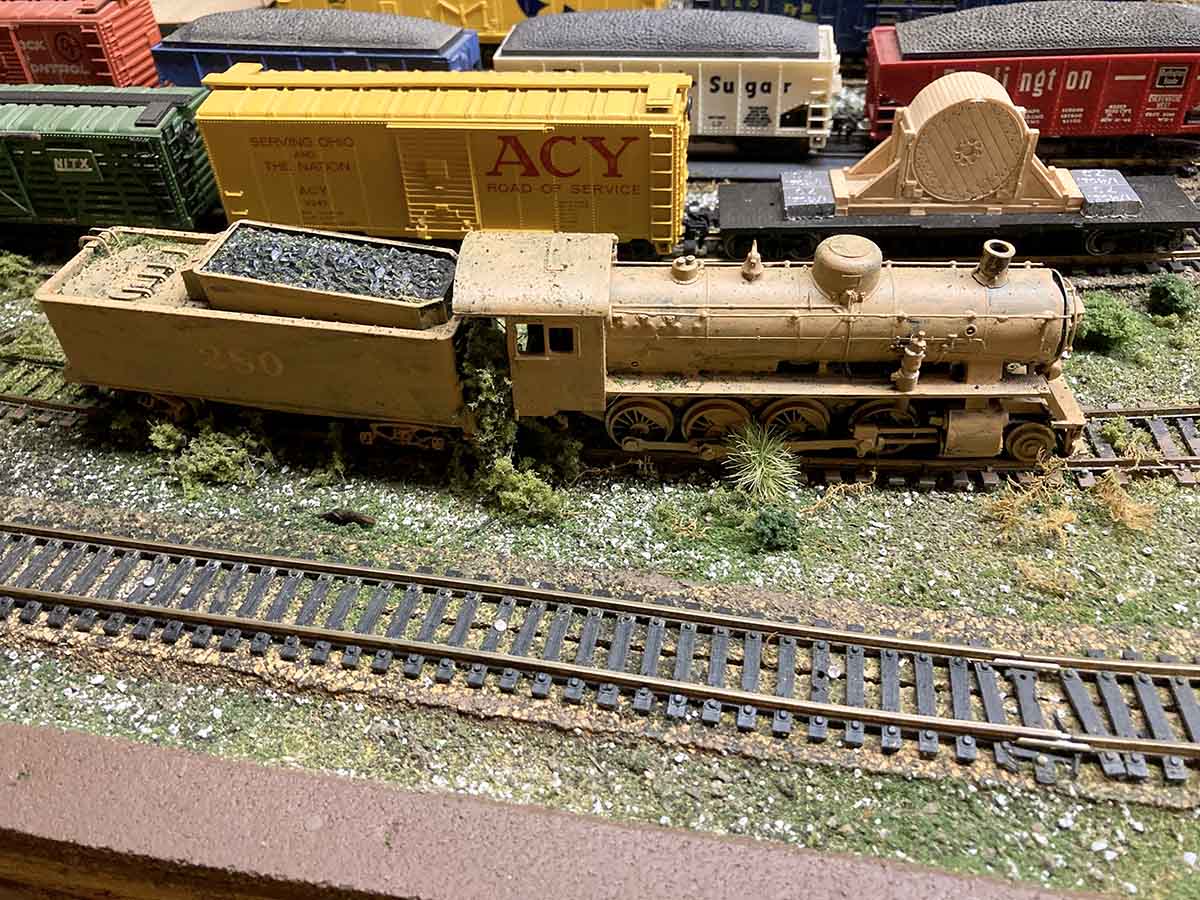
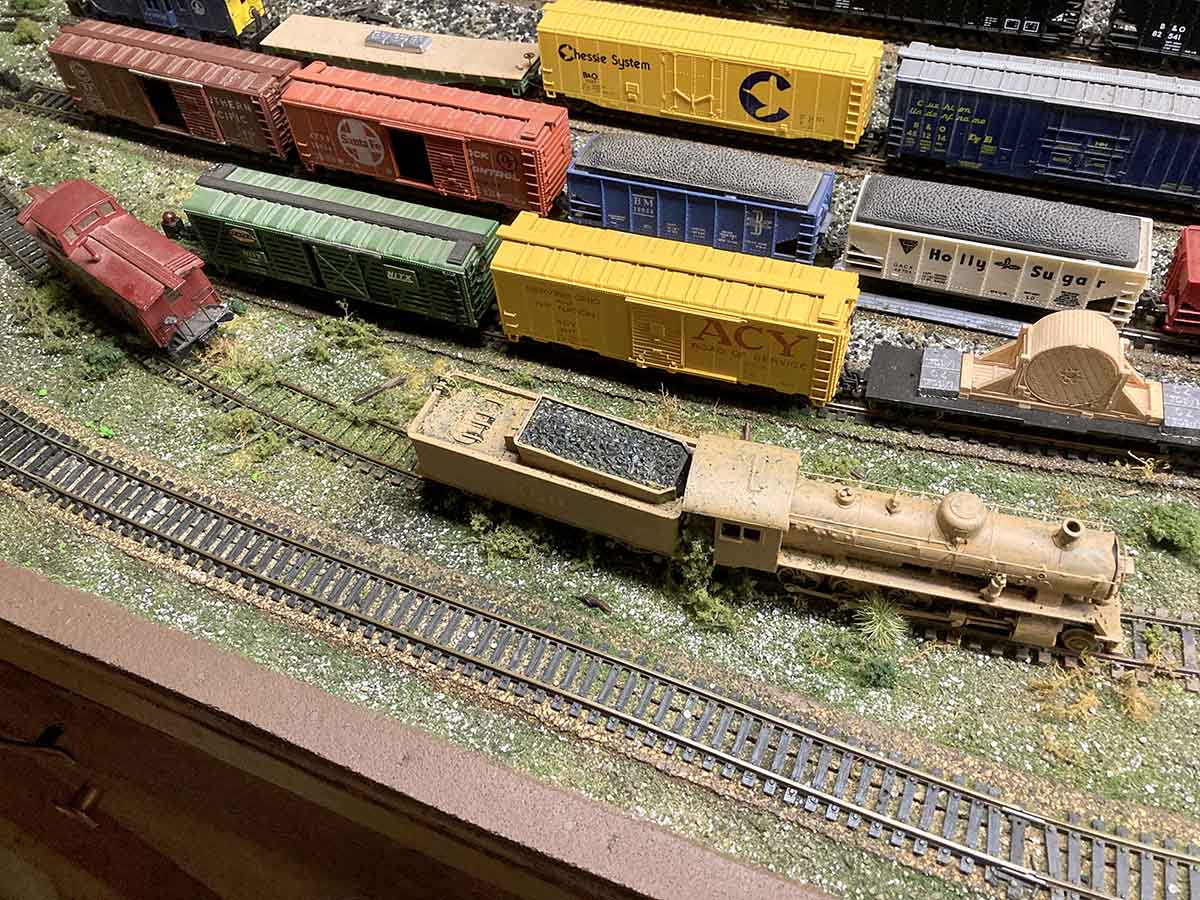
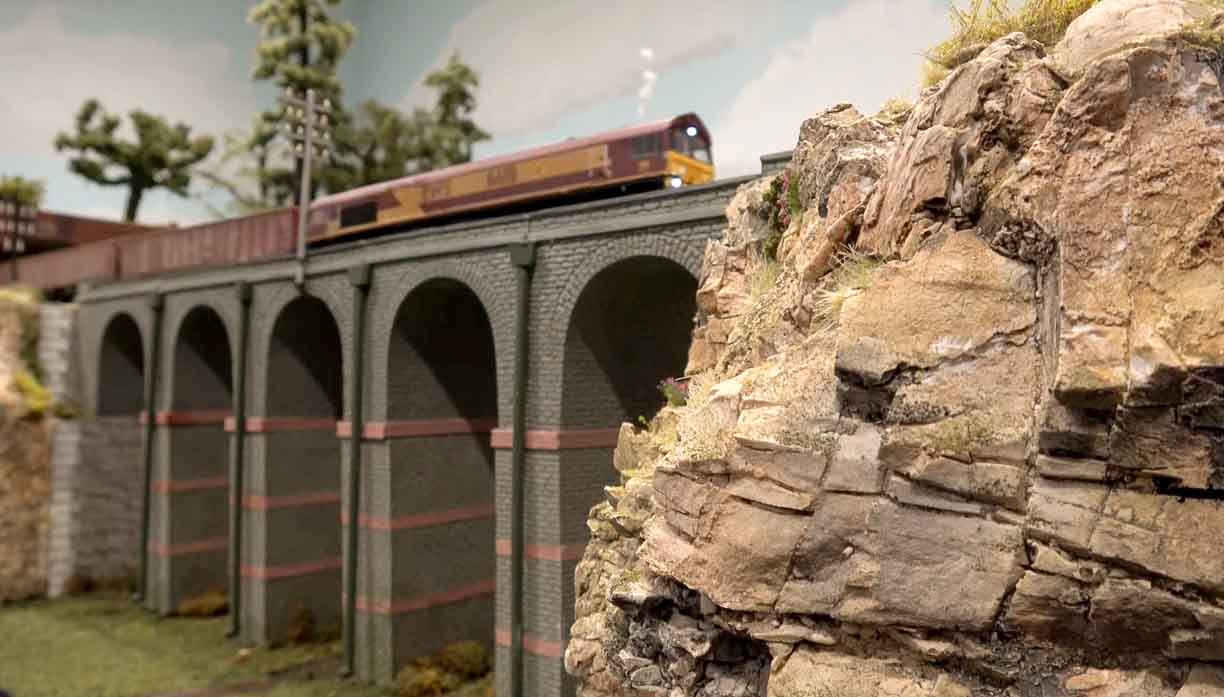
That being said, however, i will share one item on the layout. I had a dead area between my freight yard and main line and came up with the idea of an abandoned siding, photos attached.
The caboose in the picture is from a kit that i built about 75 years ago. Might be an idea for someone with the same situation.
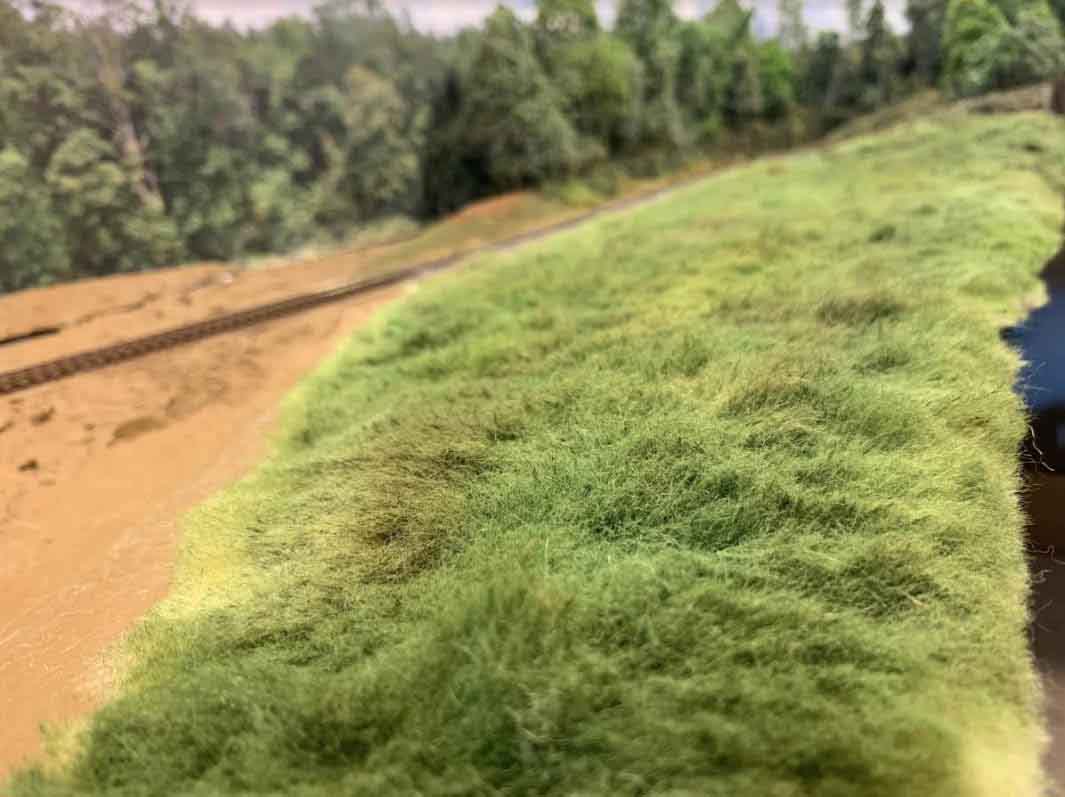
One other thing i found works well which some of your viewers may not have tried is using wallpaper paste instead of glue in applying landscape materials and paper to cardboard.
It is very easy to use and less expensive.
Thank you again for all you do for model railroading.
Ray”
Ray’s reminded me of Paul’s: 8×12 HO scale layout.
And Keith’s: 12×16 HO layout.
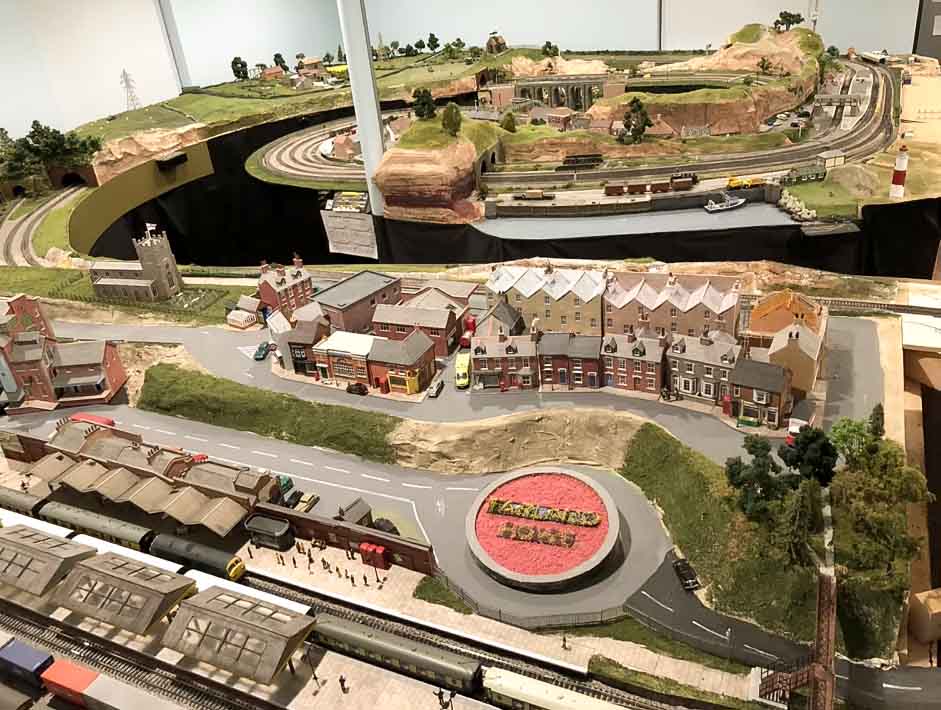
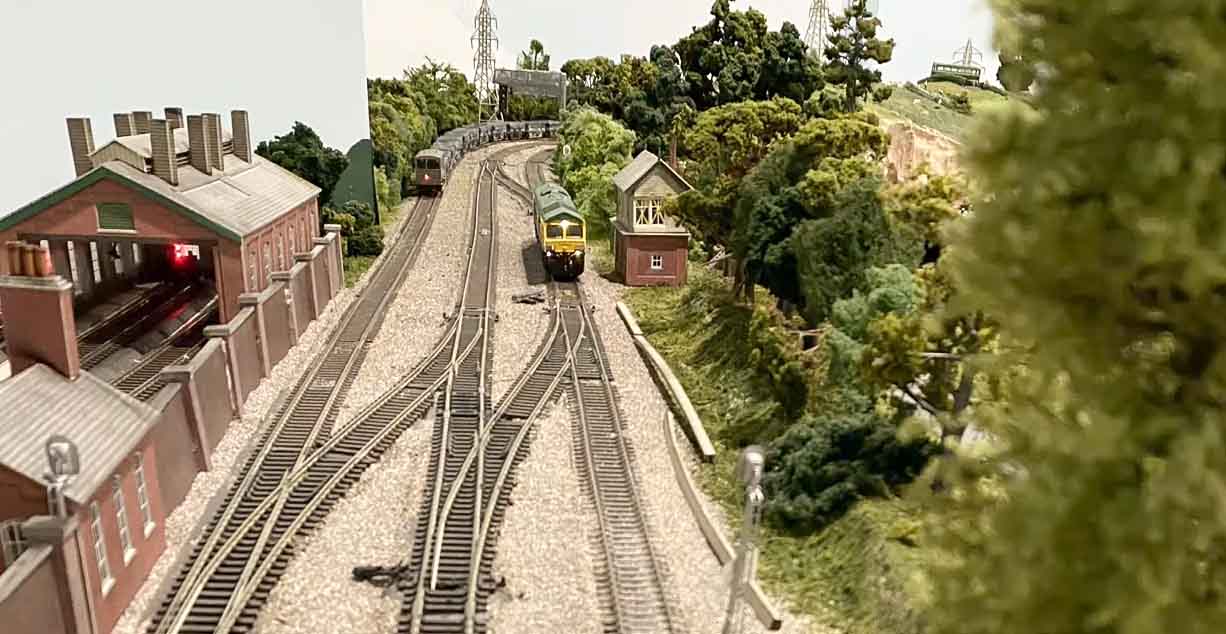
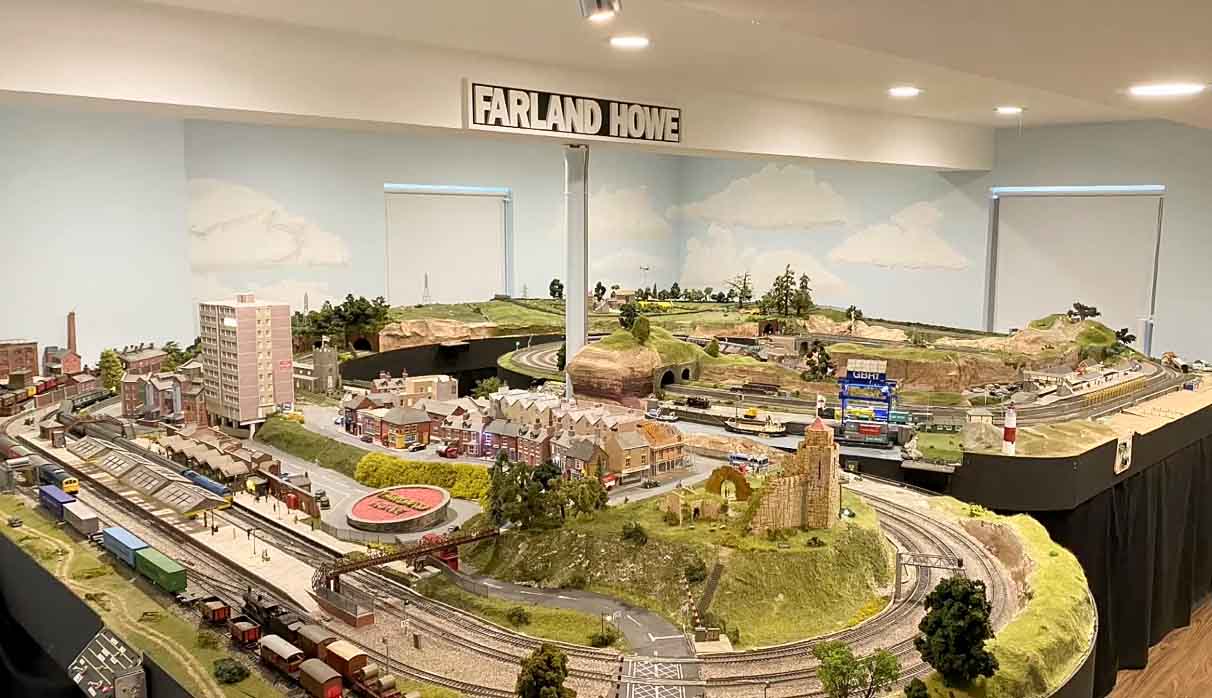
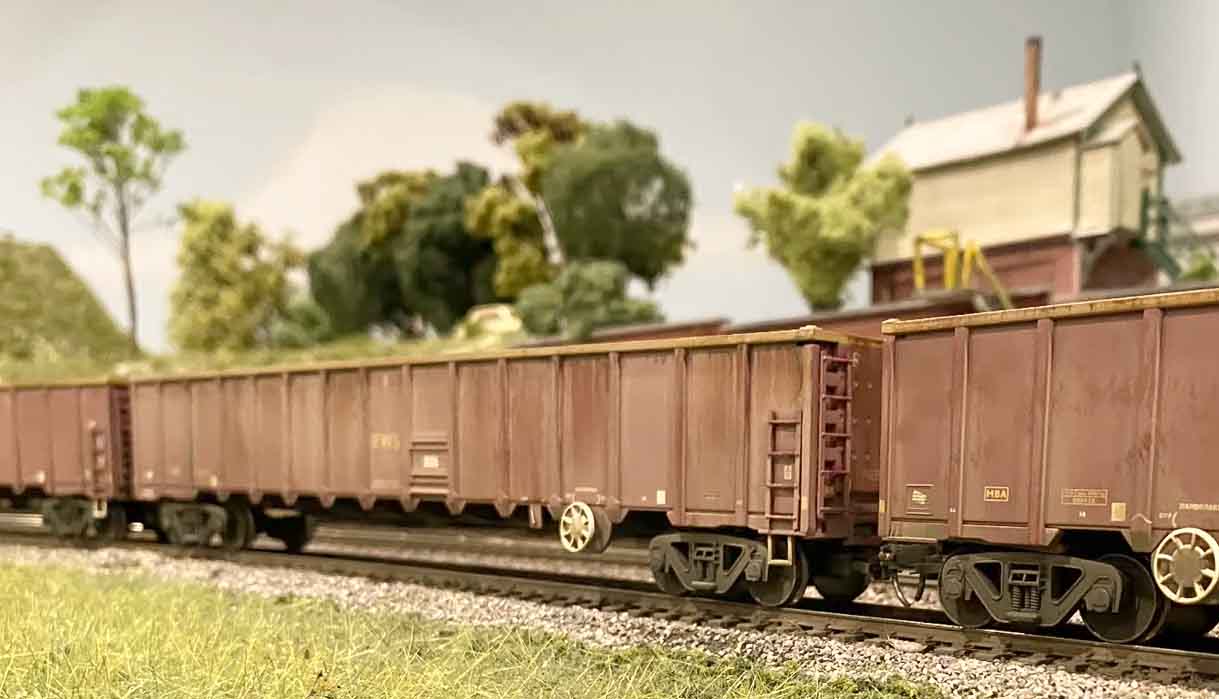
And now on to Hall of Fame member, Rob:
“I have a new video up and it has proven to be very popular.
I thought you might be interested in it for your blog over the weekend or something.
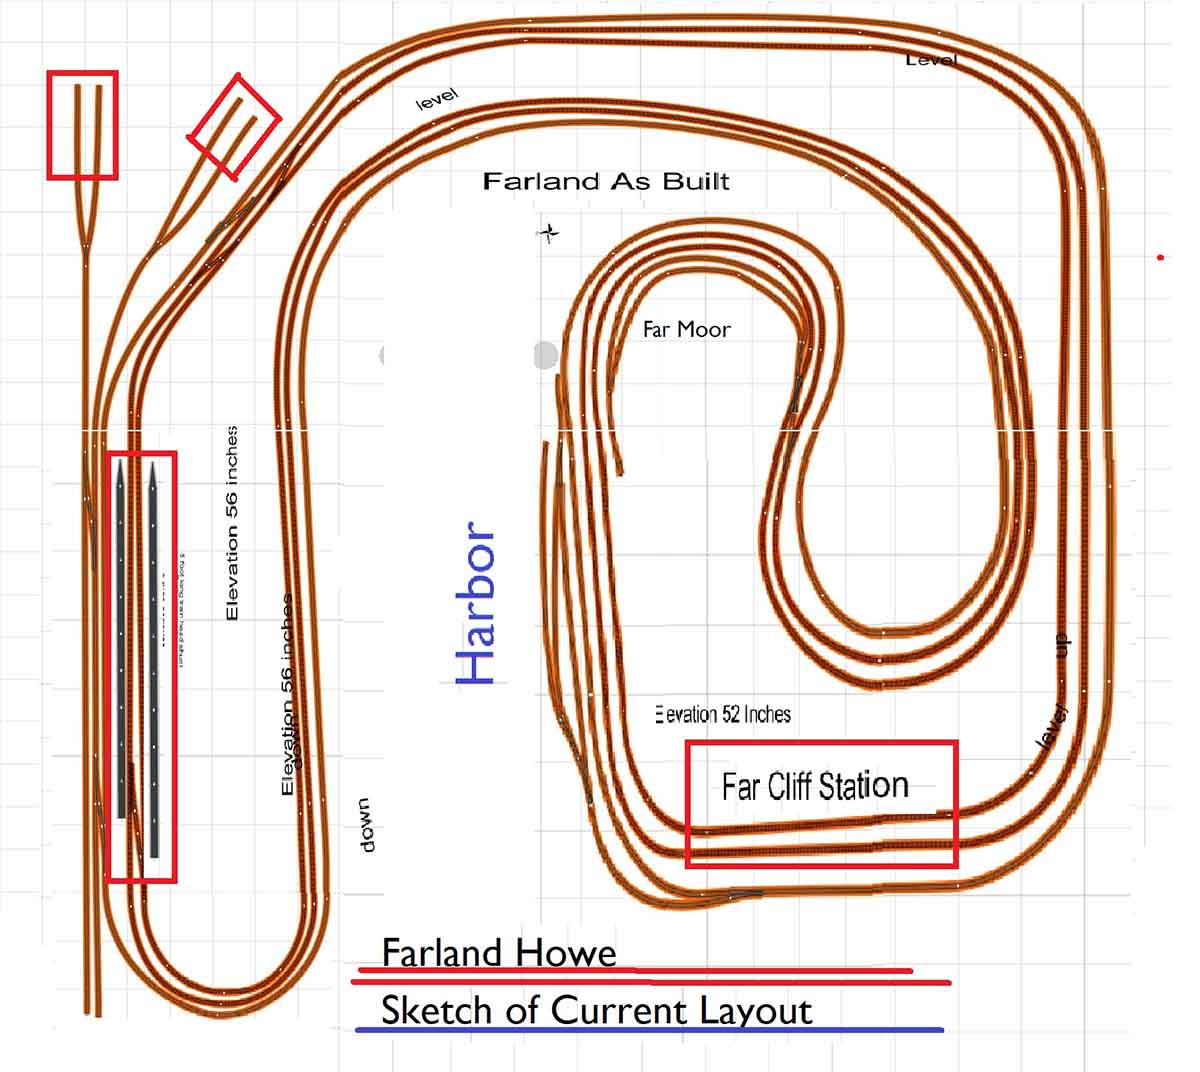
Folks are always wanting to see a track plan so here is the latest for Farland. I started modeling in 2012. It is chiseled above two of my tunnel portals.
In 2017 we finished remodeling our basement and as soon as it was completed I started building Farland 2. That would have been in February of that year.
In the second half of 2019, I started an n-scale layout of my town and the Burlington Northern Santa Fe that runs through it.
I took almost two years off from Farland to work on this. It might not have been as long as that but I got very sick in the middle and it took 6 months for me to recover enough to start up again on model trains. I sold that layout about a month ago. It was fun working on 1:160 scale but getting back to 1:76 (OO) has been very nice.
I never know what will be next, I just follow my whims and call it good.
Thank you for all you do for the modeling community. It is a lot I might add.
Rob”

A big thanks to Ray for sharing his 12×4 HO scale, and to Hall of Fame member, Rob.
That’s all for today folks – leave a comment below and let us all know what you think.
Please do keep ’em coming.
And if today is the day you get started on your layout, the Beginner’s Guide is here.
Best
Al
PS More HO scale train layouts here if that’s your thing.
Need buildings for your layout? Have a look at the Silly Discount bundle.