Dave’s been in touch with more on the thorny issue of magnetic couplings:
“Hi Al,
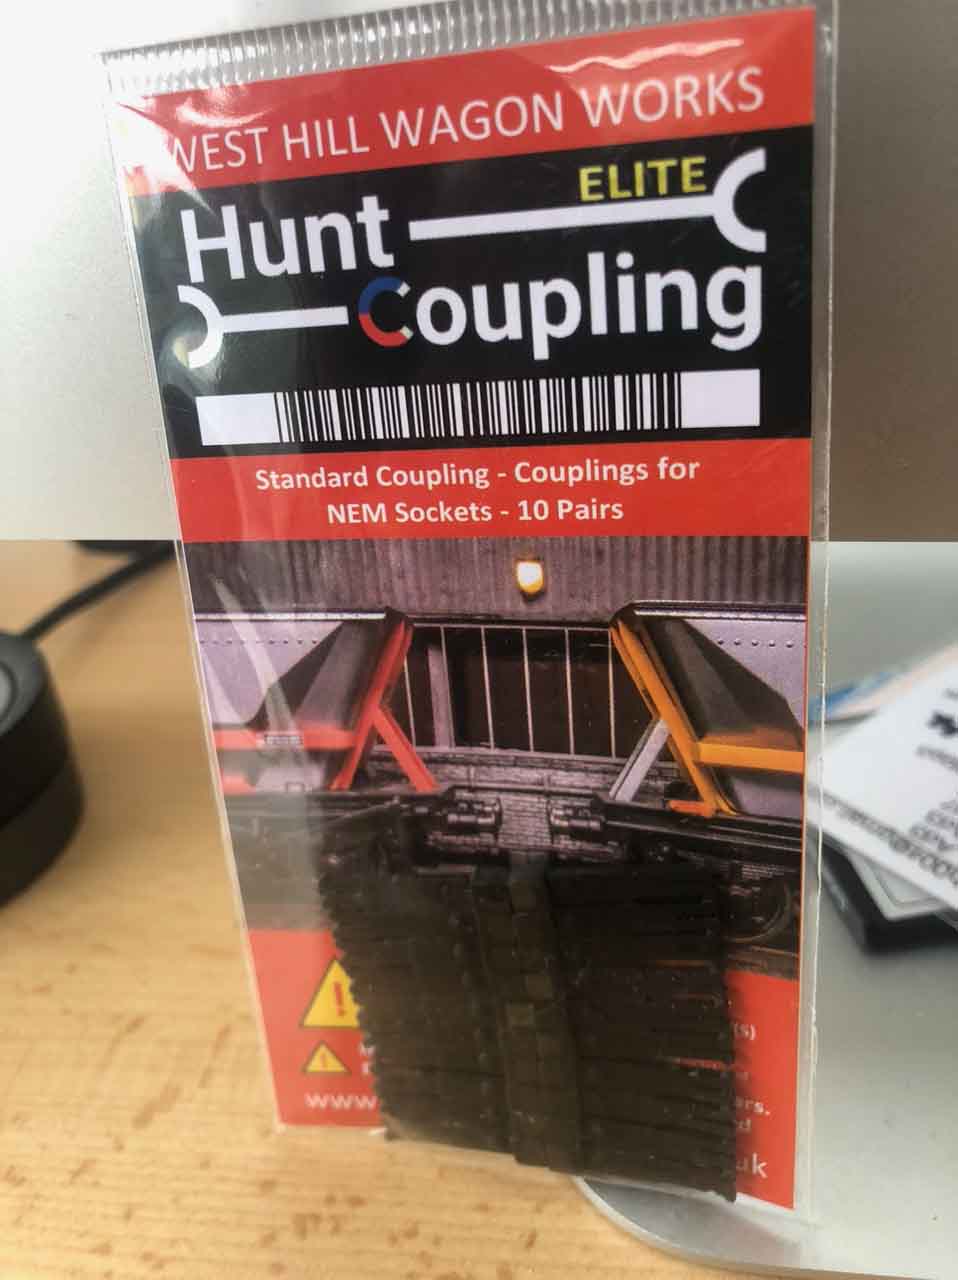
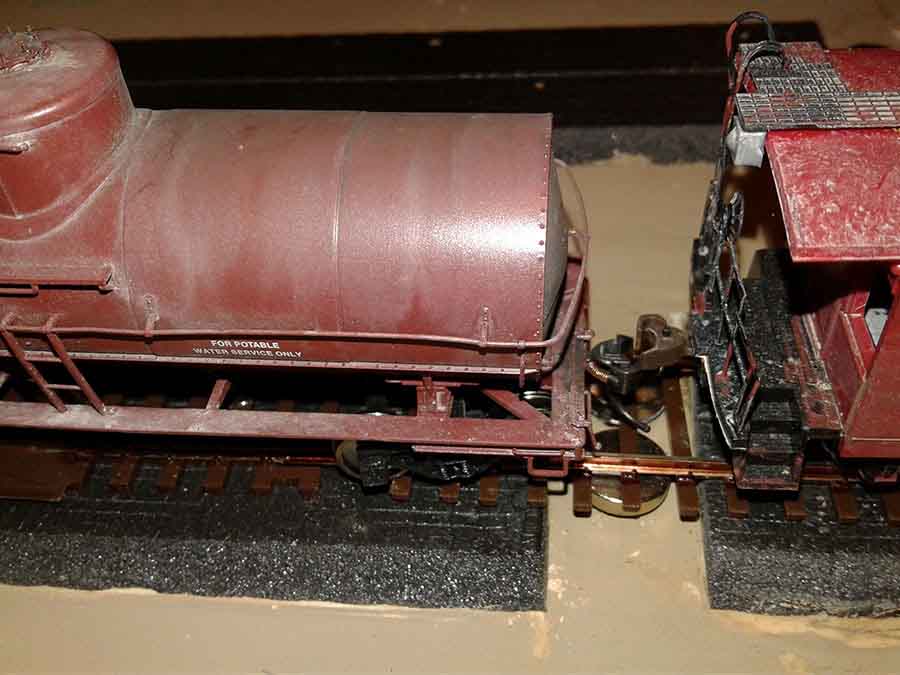
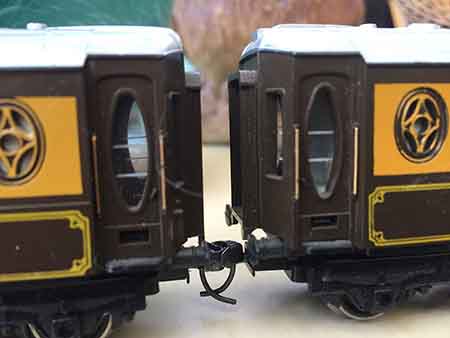
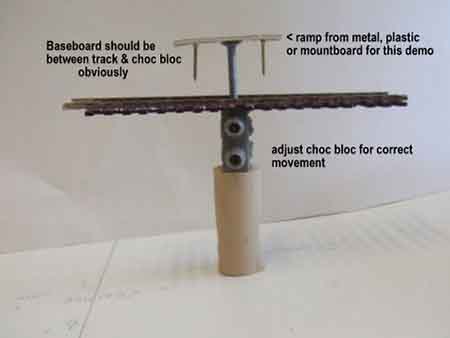
just bought some of those Hunt magnetic couplings again, but these are the Elite, a new batch with square magnets each end that can be fitted either end of the rolling stock.
The older ones used to only work with different ends after they had been matched up (as explained in the video ), its a subject that is never solved with some saying the Kadee or the D type are all better than one an other.
After this trial I think the same there is non which I can say are 100% best.
Some pics and of course I have shown a few trains running.
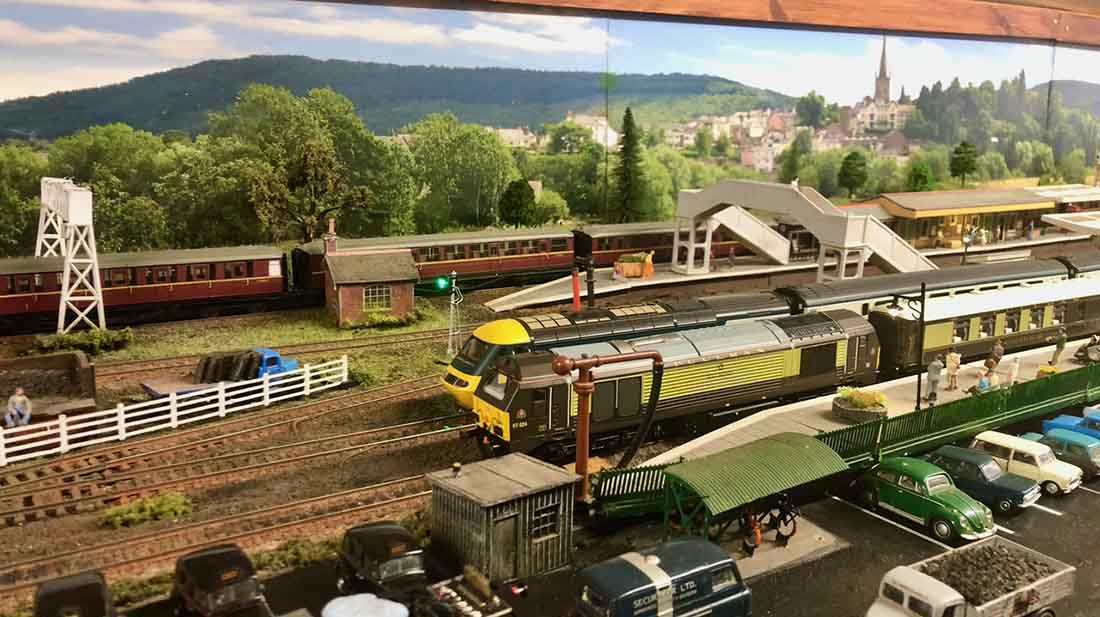
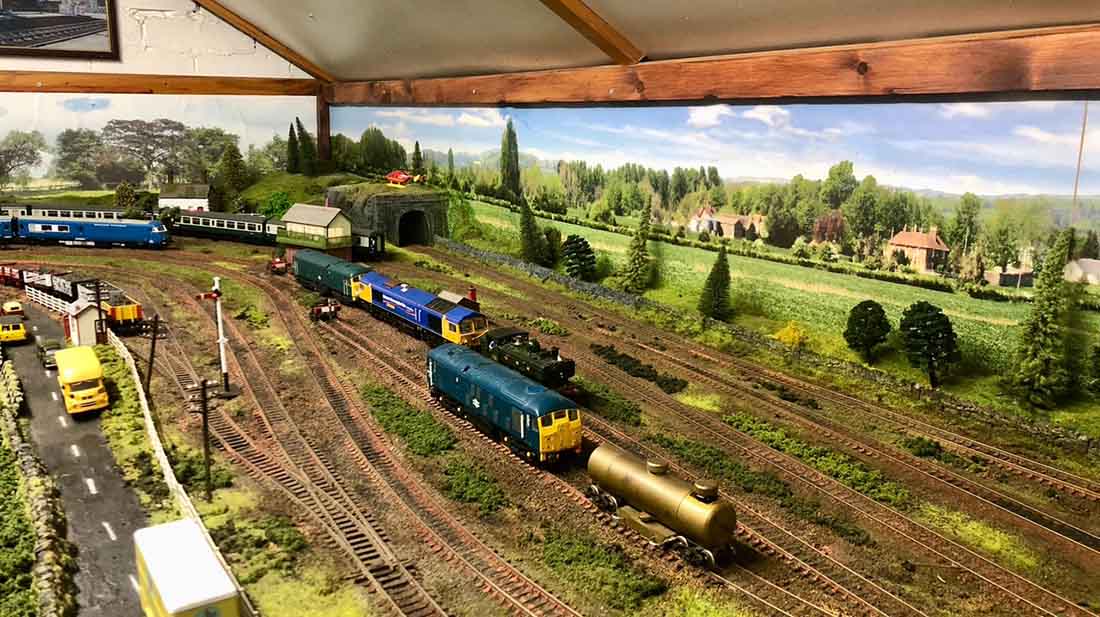
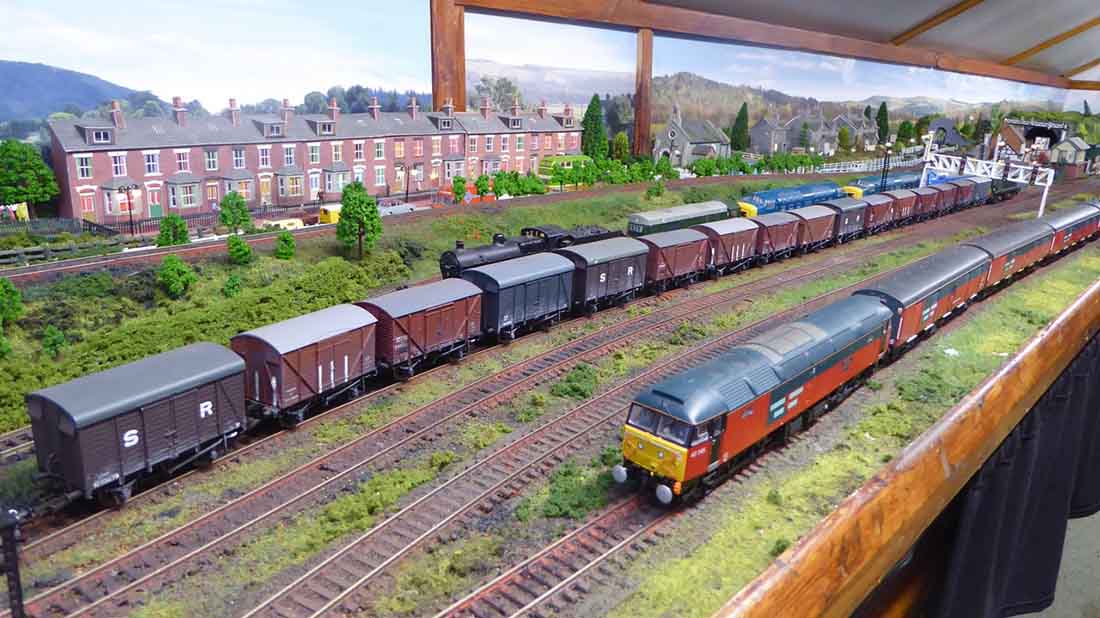
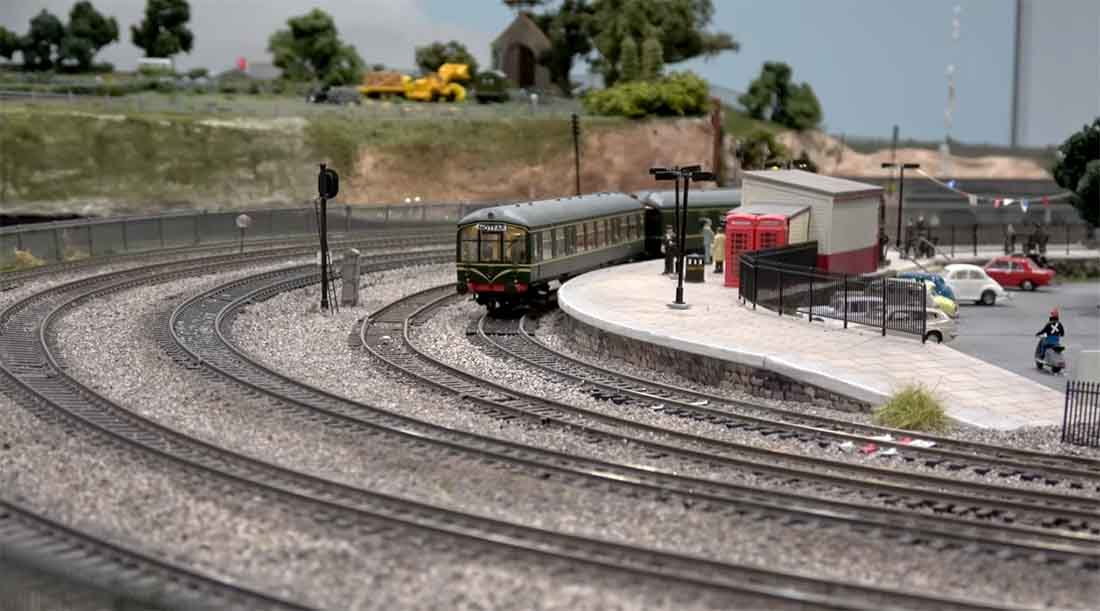
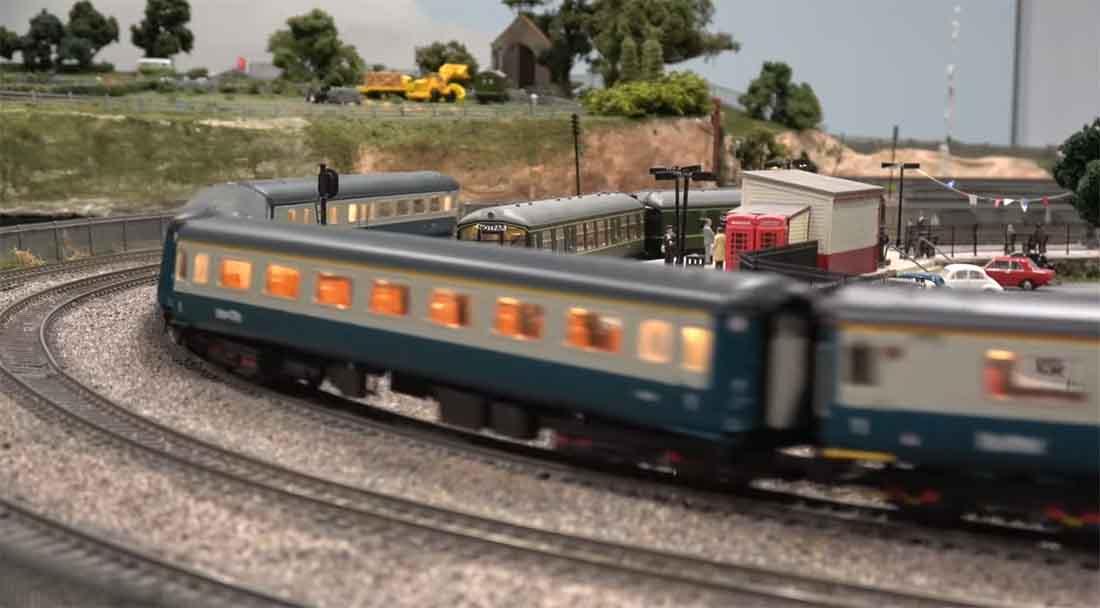
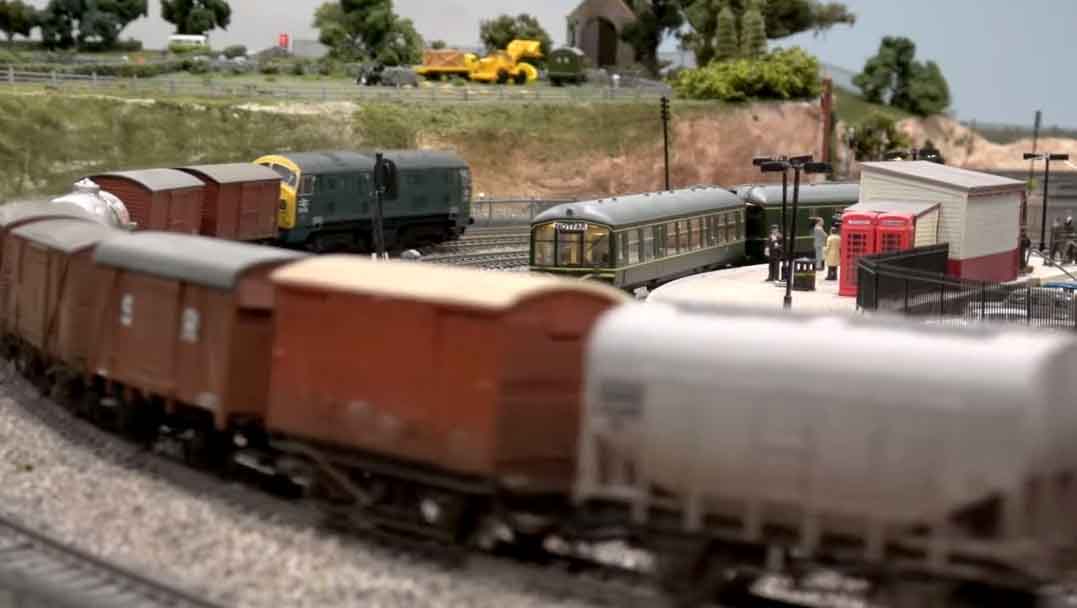
Rob’s been back in touch with a new version of his ‘Farland Howe’, his British model train layouts.
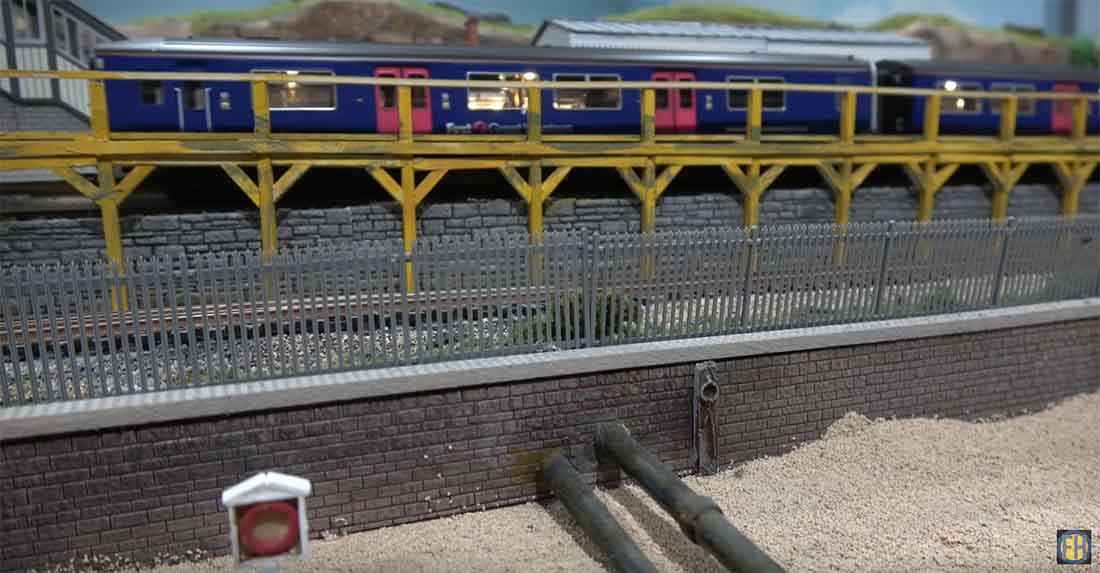
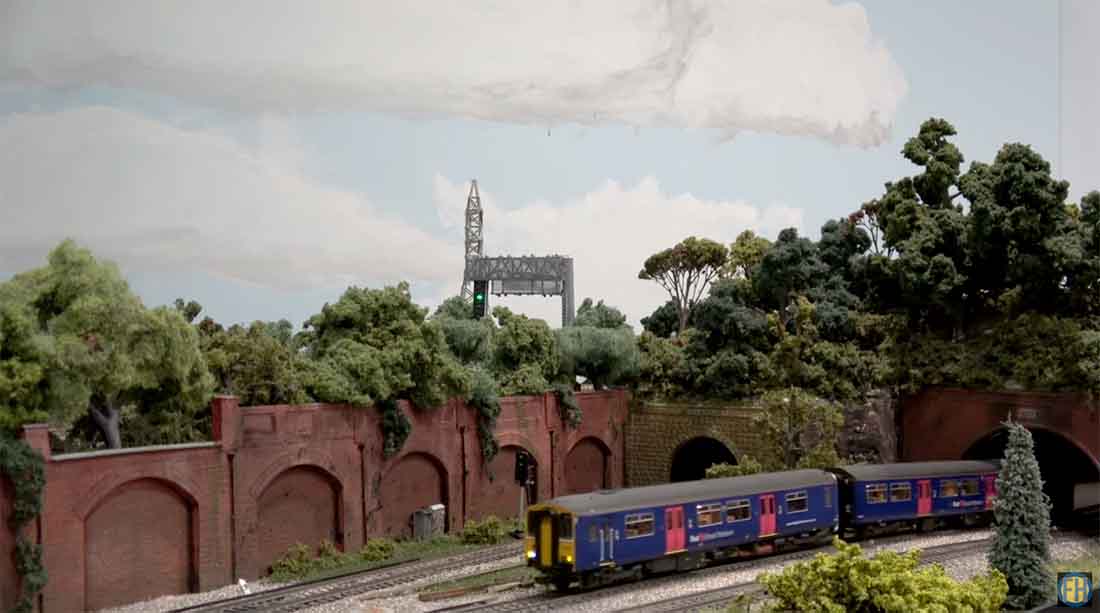
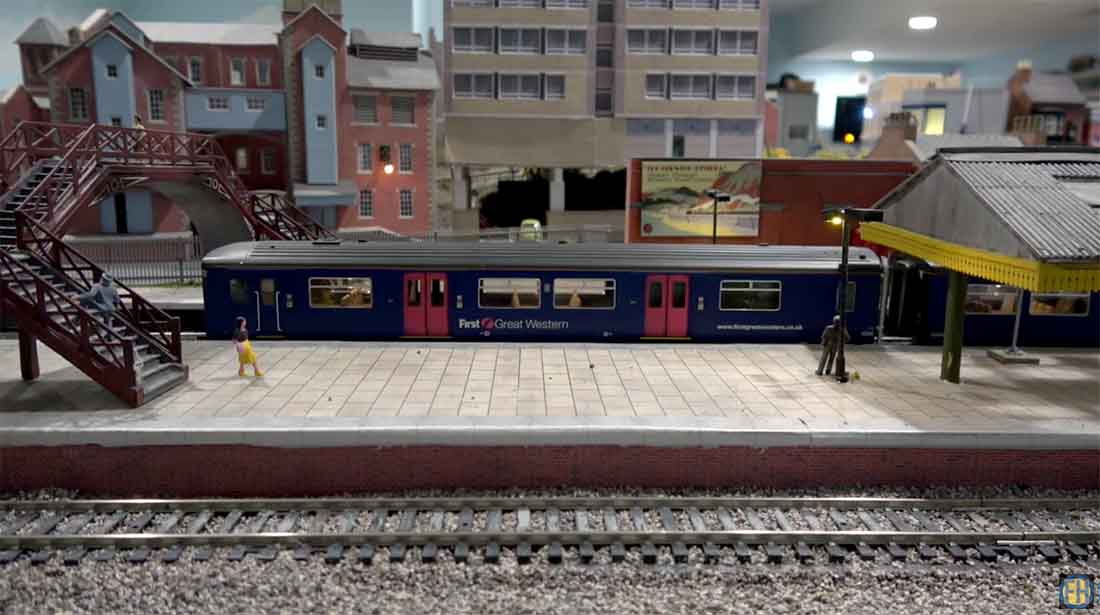
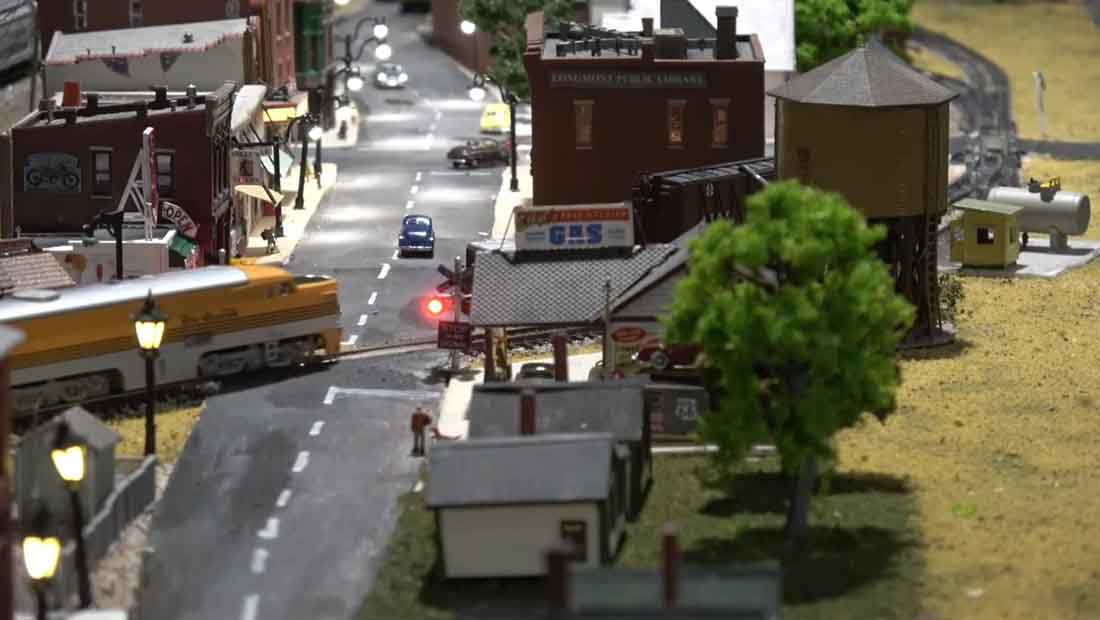
“My model railway Layout is named Farland Howe. It is my interpretation of Britain’s railways and countryside as I perceive it.
I lived in London as a little boy of 6 and was very impressed with the trains we rode on while there. I came from America, and we did have trains but not at the intensity of the U.K.
When we as a family got on a train to sight see or travel around the country, I always asked my dad to take me up to (as I called it then) the engine so I could see it.
I was very impressed with those big red buffer beams, buffers, the smells, the steam and sounds of those locomotives and never got over it.
I call the layout Farland Howe as a nod to Britain being far away from me since I live in North America and my main station which I call Howe Street, hence Farland Howe.
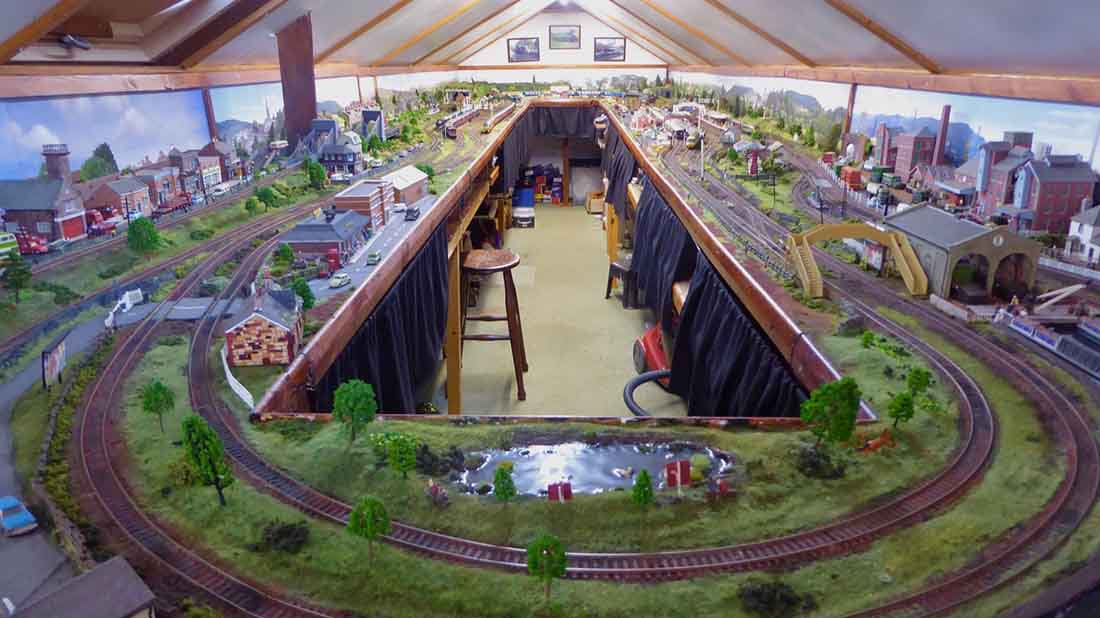
This is the second version of the layout. I started building the first version in 2011 and disassembled it in 2016 and started this current version in March of 2017.
During this period, I have also built two n scale layouts and I called them both the Colorado and Northwestern. The first n scale layout had to be removed to make room for the construction of the current train room and the second I just sold and will be removed very soon.
The first version of Farland was very exciting to build and I got ahead of my knowledge on many occasions.
Since I had no experience building a layout, I made every mistake possible. Many of these errors in design and engineering I corrected in that first version, but some problems were deeply embedded into the design, and I just could not solve them without essentially starting over.
My dear wife agreed to finish off the space in our basement I was using for the layout, and I decided to deconstruct Farland A and eventually start Farland B.
I was determined not to make any of the mistakes of the first Farland on this second version. I spend 3-4 months thinking about and drawing multiple versions of track plans in the space I would eventually have. This proved to be time well spent.
I had a few desires I wanted to satisfy this time.
(1) no duck unders (I am 74),
(2) make the track length as long as possible,
(3) have at least three loops,
(4) use the largest possible minimum curve radius,
(5)no inclines of more than 3%.
For the curve radius I chose 22 5/8 inches as my minimum (572mm). The other loops would run outside this minimum.
The first Farland had a 15-inch (381 mm) radius curve on one section, and I always had to pay attention and slow trains before they got to it or sometimes they would derail. On version two I did not want that worry. If desired I wanted to just let trains run at whatever speed I chose, round and round.
Version 2 of Farland is now undergoing an overhaul. I want to upgrade everything I can to turn it into a better more detailed and highest quality layout I can.
I keep learning through my recent n scale experience and building version 1 & 2 of Farland. Modeling railroads or railways is the greatest hobby. This hobby is a combination of history, engineering, science, electronics, memories, and artistic expression. A layout is never complete. You can keep improving them until your interests move on to something else and your skill level can increase as you grow in your knowledge and experience.
A huge thank you to Alastair for his e-blog/letter where we can all share our experience and which I check every morning to see what is going on and for all the warm comments people have left over the years I have contributed to it.
This video Is a running video. Included are a Class 37 diesel, a class 22 diesel, a class 150 diesel multiple unit and a class 158 diesel multiple unit.
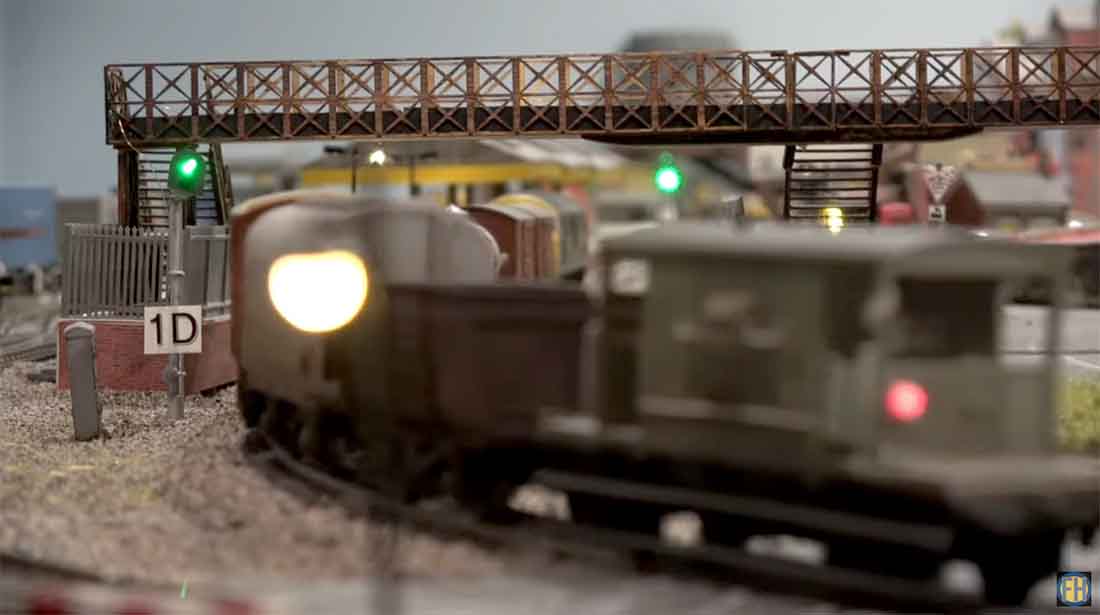
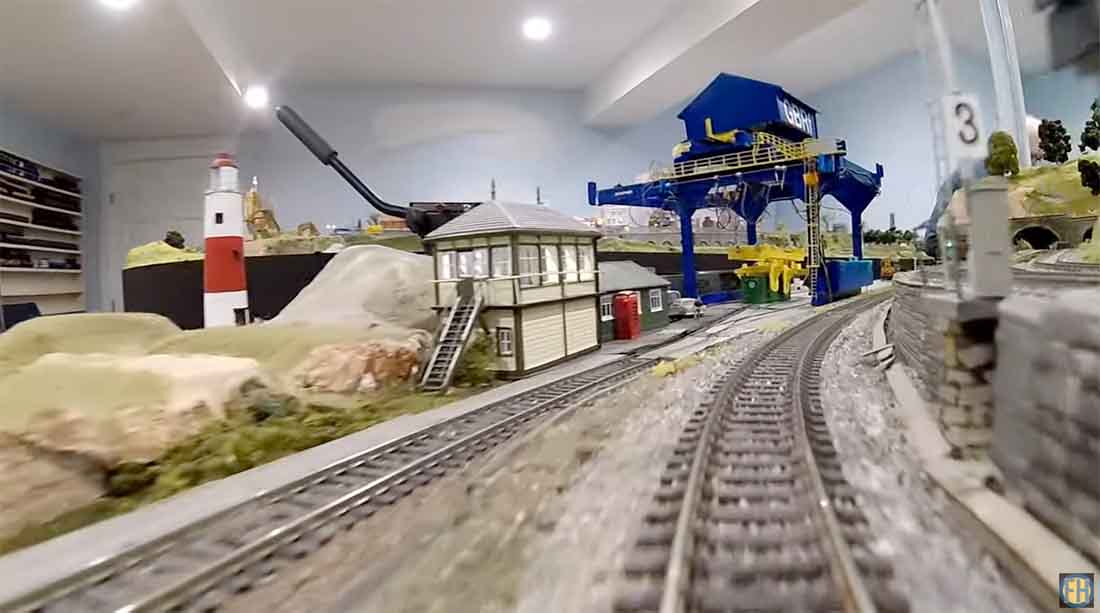
At the end there is a ride with a camera mounted on a wagon and pushed by a class 37 diesel around my freight loop – true to British model train layouts. I wanted to check that all the signals were working on this line, and this is a good way to do it.
While I spent a year and a half building my n scale layout, Farland, sat idle. There is considerable deferred maintenance that I am catching up on and the signals took the worst of the neglect.
Enjoy, thank you,
Rob – Farland Howe”
A huge thanks to Hall of Fame member, Rob, for sharing the latest version of his layout.
British model train layouts built by Americans – always a good combination. There’s also a few posts of Brits building Amercian layouts on the blog too.
I have successfully used a method to accomplish this, no matter how dirty the tracks or loco wheels are. I am not certain if this idea has been shown before so apologies if this is a repeat.
Parts:
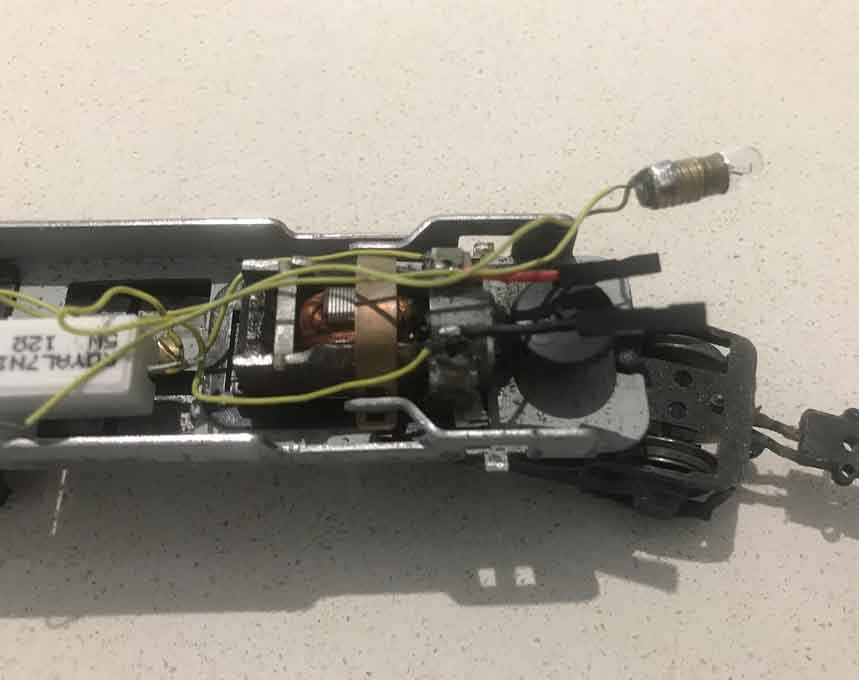
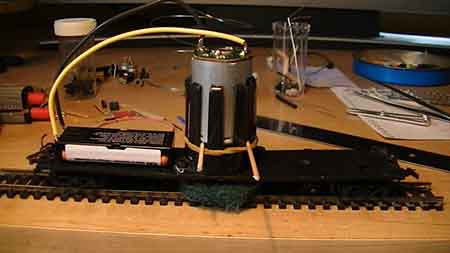
I took an old dc loco where the motor was easily accessed.
A wagon big enough to hold a 9V dry cell battery.
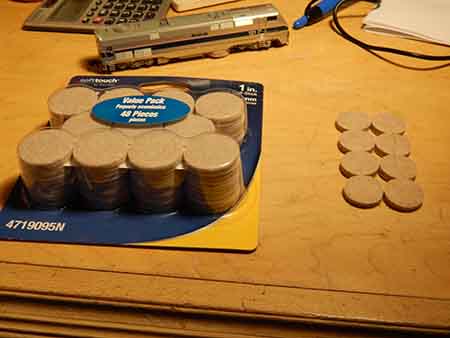
Sticky-backed floor protection pad.
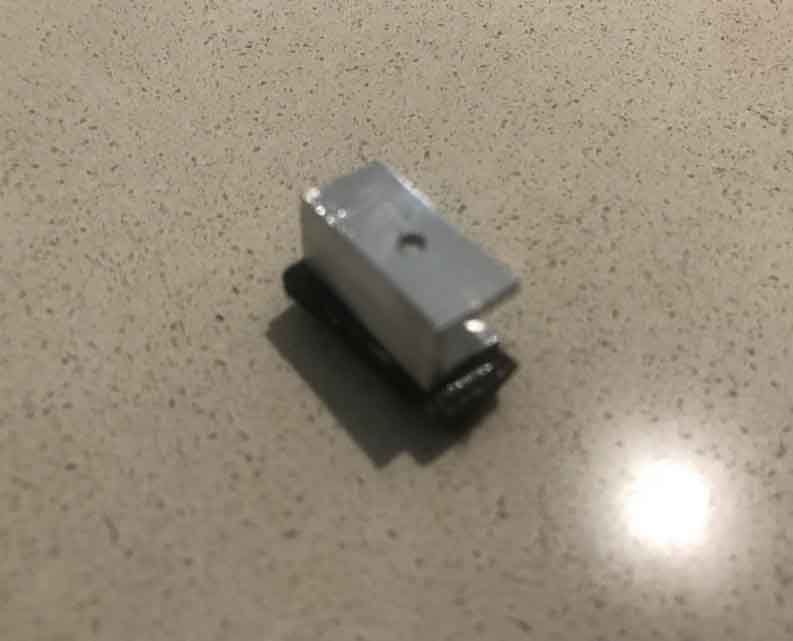
U-Shaped alumimium.
A 9V battery.
Connectors.
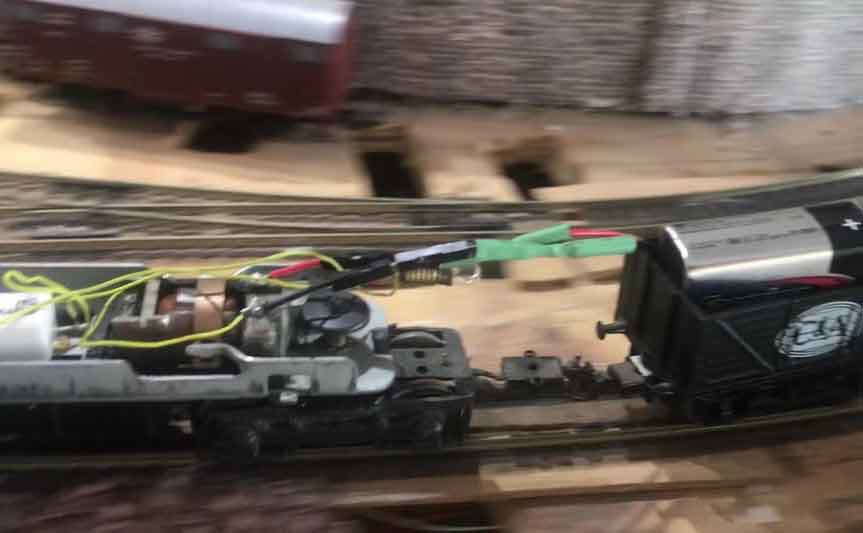
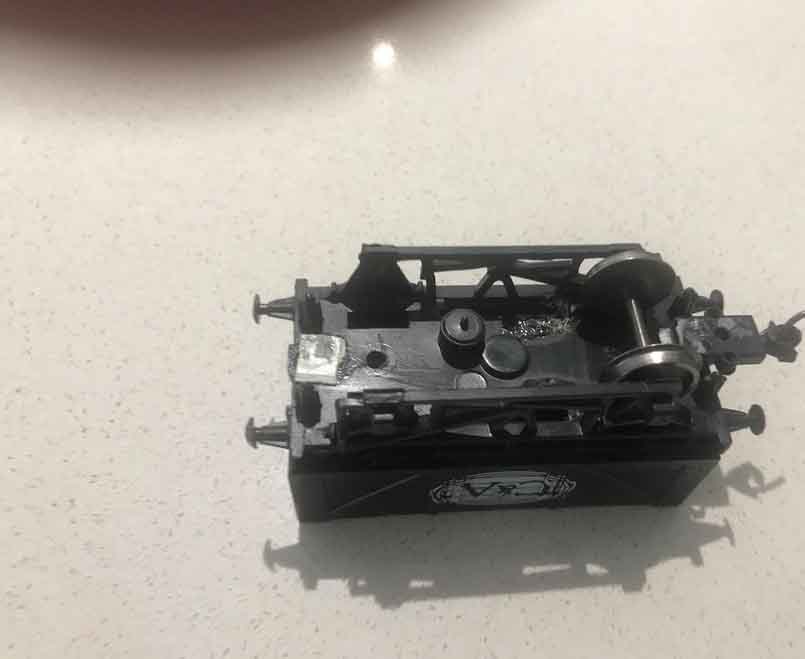
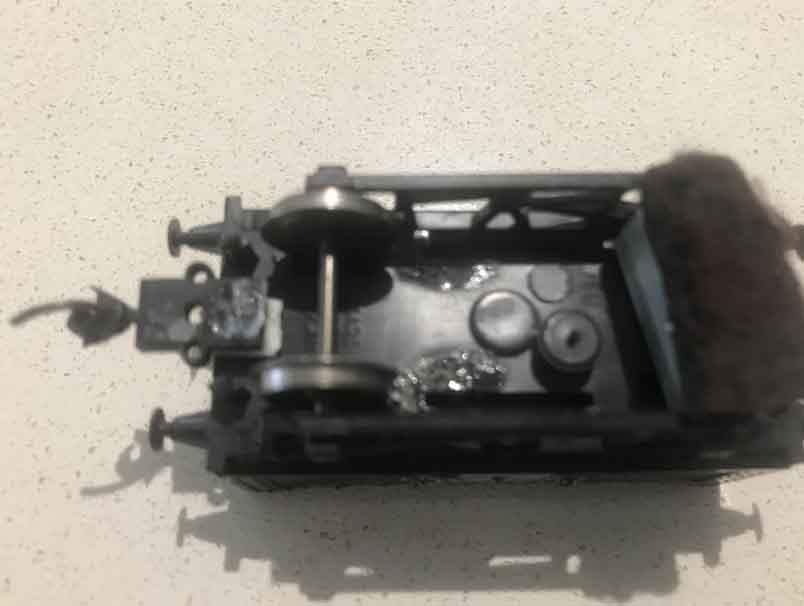
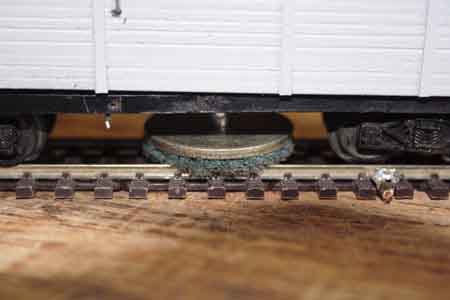
By replacing the rear axle on the wagon with a cleaning pad, and supplying 9V directly to the loco motor, the loco drags the cleaning pad around the track under its own power. Methylated spirits is applied to the pad, and the results are amazing.
After removing the loco body, I soldered female jumper connectors directly onto the motor. Take care not to leave the soldering iron there for too long.
Use very short jumpers so that the body can be returned for normal running.
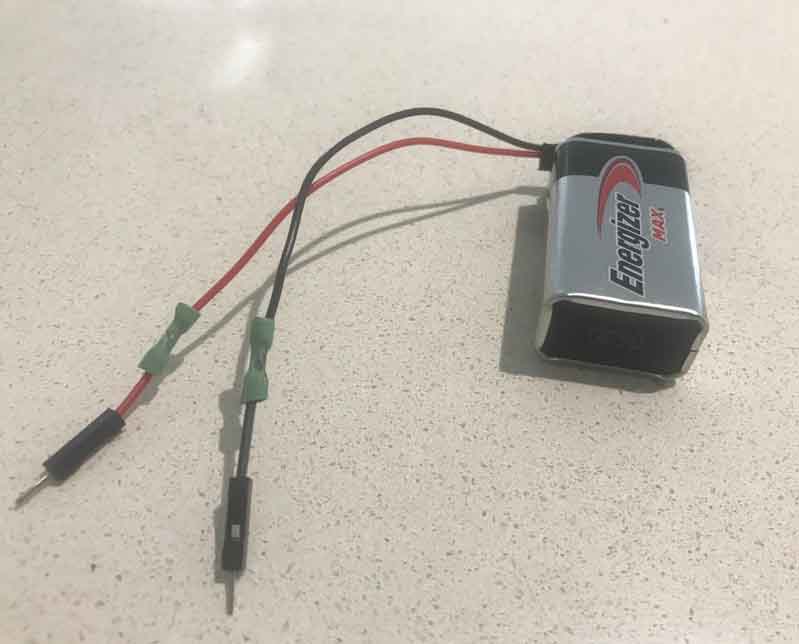
I use a 9V dry cell and a connecting clip. I soldered male jumpers to the battery leads. Heat shrink makes for a handy Insulation material.
You will need a wagon big enough to hold the 9V battery. My Hornby ‘OO’ coal wagon was ideal. Remove the REAR axle from the wagon. The cleaning pad will fit where the axle was located, so that the weight of the wagon and battery push the pad onto the tracks.
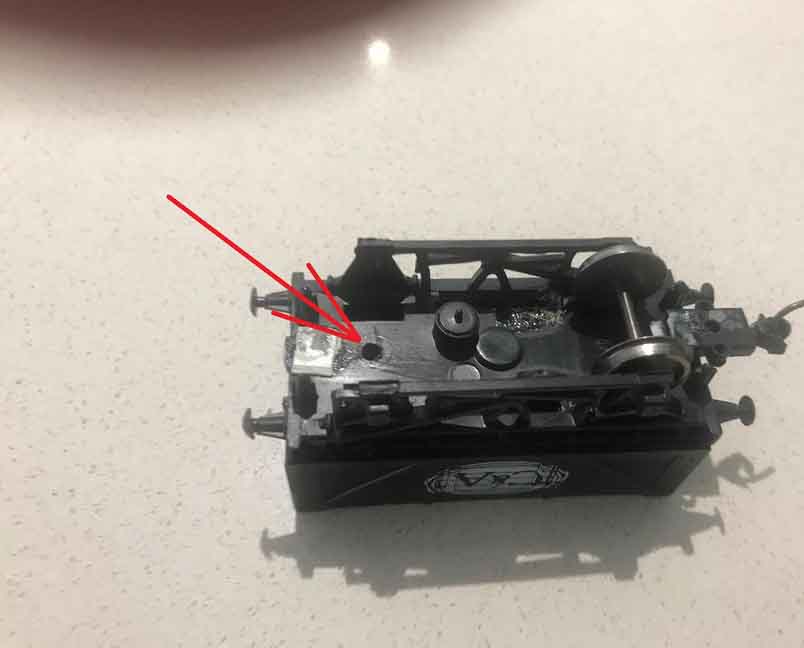
Cut a piece of U-shaped alumimium to fit where the axle was located. I then used a piece of sticky-backed floor protector, and attached it to the other side of the aluminum. Drill a small hole about half way along one side large enough to fit a self-tapping screw.
Locate the aluminum onto the bottom of the wagon and use the hole to drill through the floor.
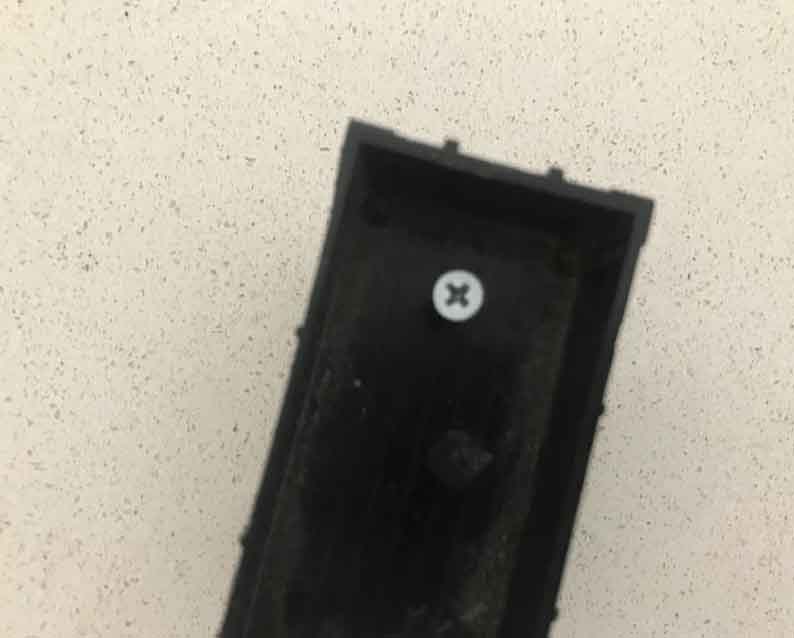
Secure the aluminum and felt to the wagon with the screw.
Paint liberal amounts of methylated spirits onto the pad where the wheels might have been. Couple the wagon to the loco.
When you connect the leads, the loco will move around the track, wiping tracks clean.
I found that 3 times around was enough to run loco stock.
Steve”
There’s quite a few posts on track cleaning on the blog.