I have a new video that concentrates on wiring a model train layout.
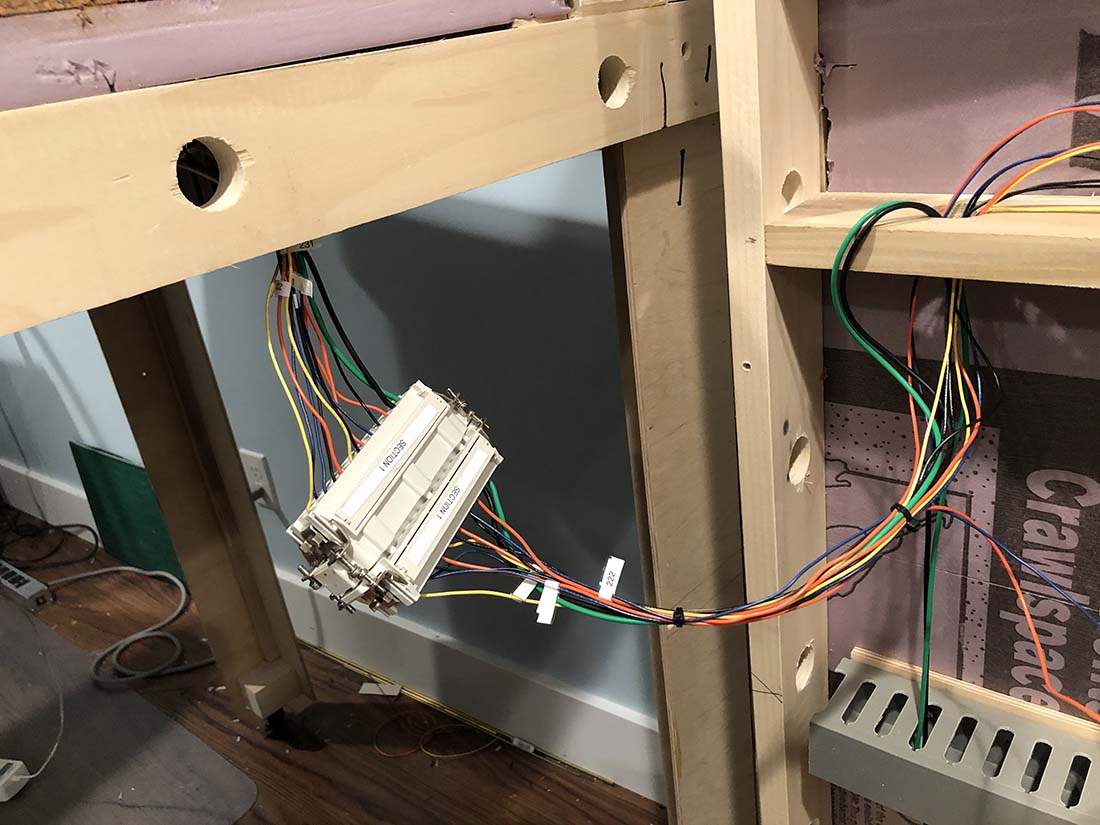
I experimented with industrial wireway to contain the multitude of wires that seem to grow on their own under a model train layout.
I was not sure how it would work in the beginning but now that the layout is quite mature, I find there could have been more of them to keep things neat and tidy.
It is too late for this layout now but if I ever build another, I will add more wireway. Wireway is a sort of conduit for wires with a snap-on snap-off cap.
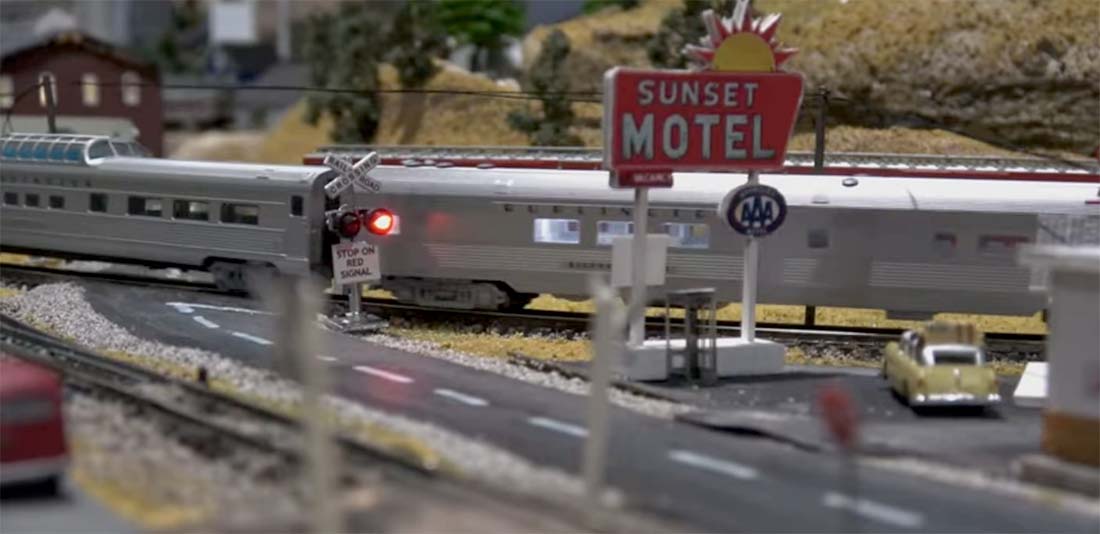
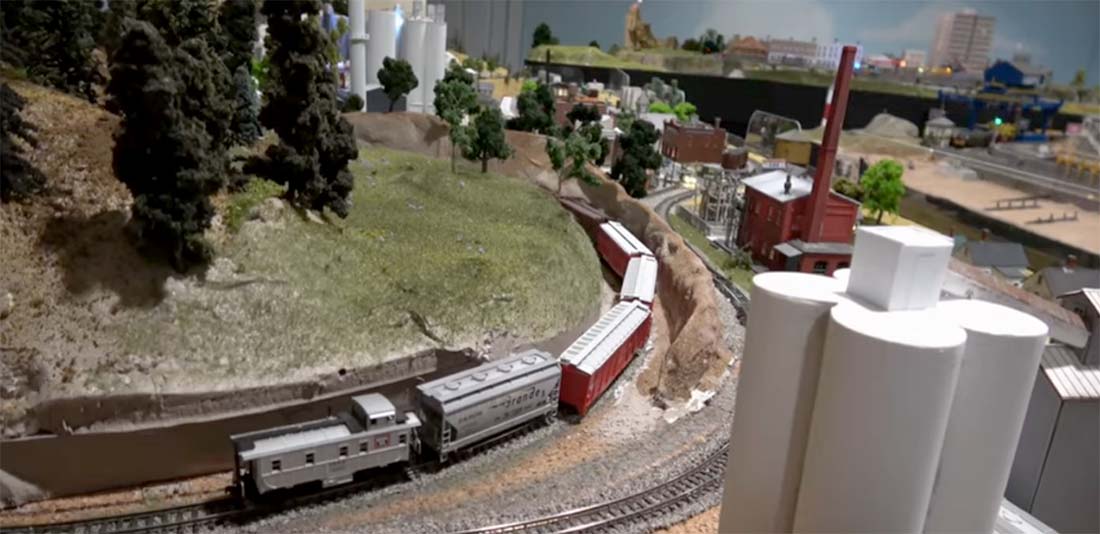
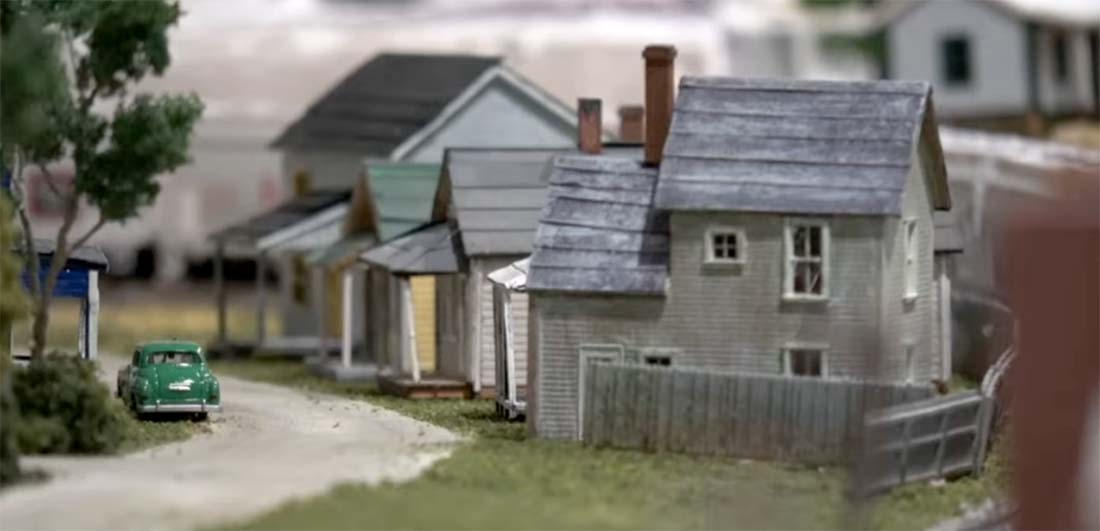
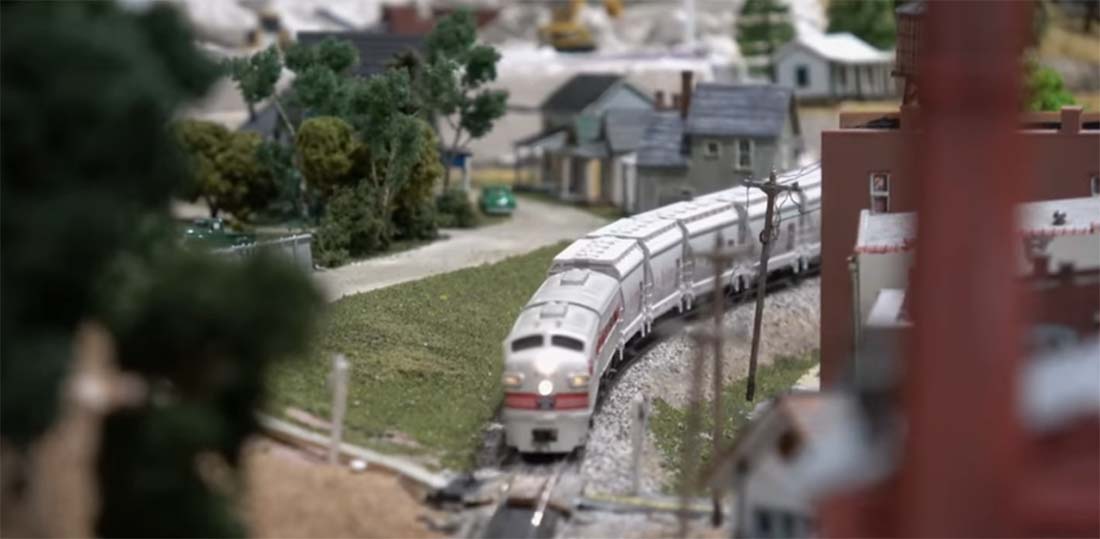
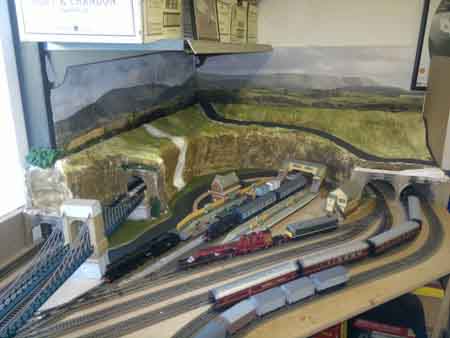
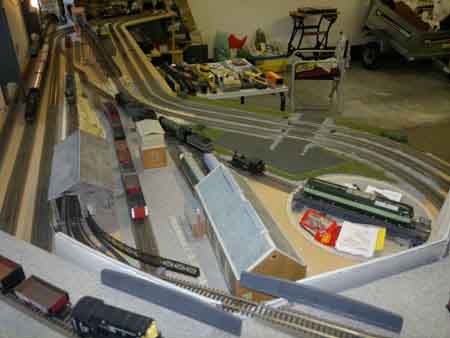
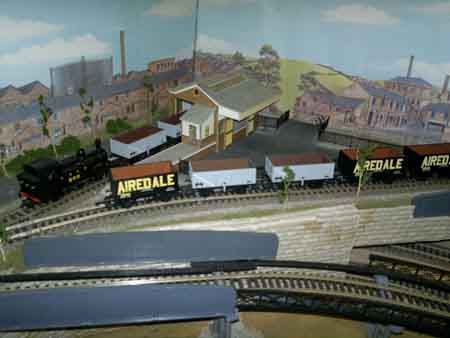
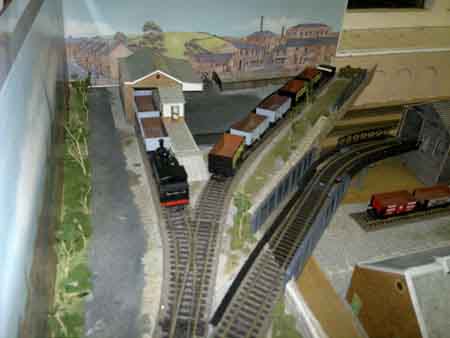
I have really enjoyed n scale. This layout was intended as a portable one with the ability to take it down to three 48-inch x 40-inch sections that are completely independent. In this way, it can be moved from one location to another.
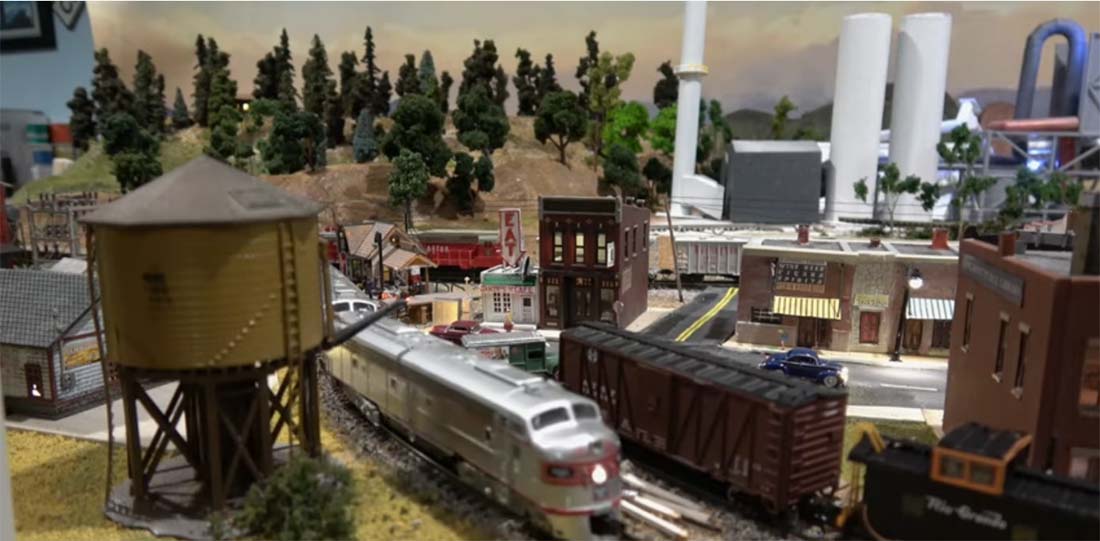
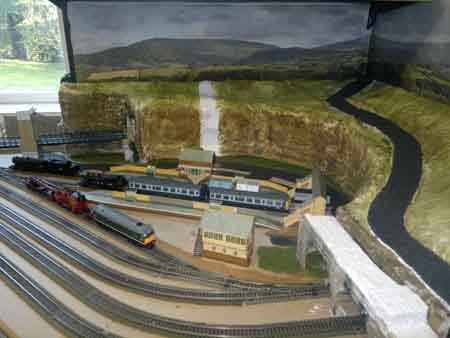
I hope to display it locally. I think it will resonate with the citizens of Longmont, Colorado since it incorporates many of its landmarks and I have been told it has the local feel as well. That was certainly my intent.
The Colorado and Southern was the railroad that first laid tracks through Longmont and the current BNSF tracks follow the same road.
The Chicago Burlington and Quincy bought the Colorado and Southern and eventually merged with the Northern making the Burlington Northern. It was subsequent to that the Burlington Northern Santa Fe, BNSF, was born.
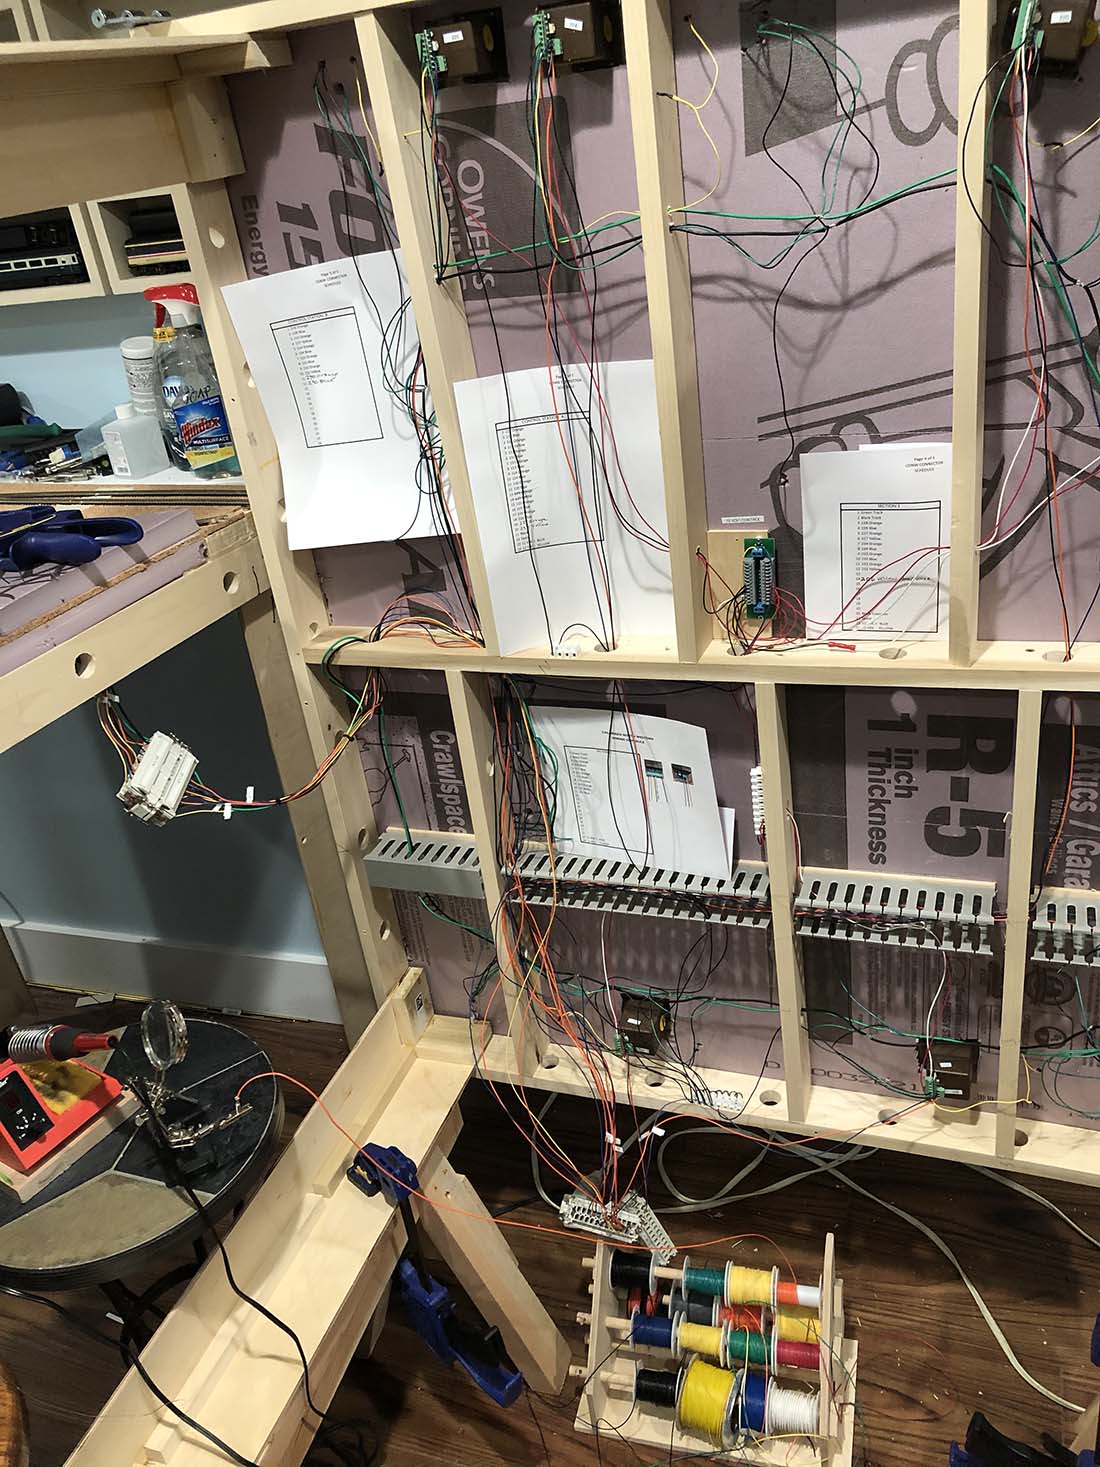
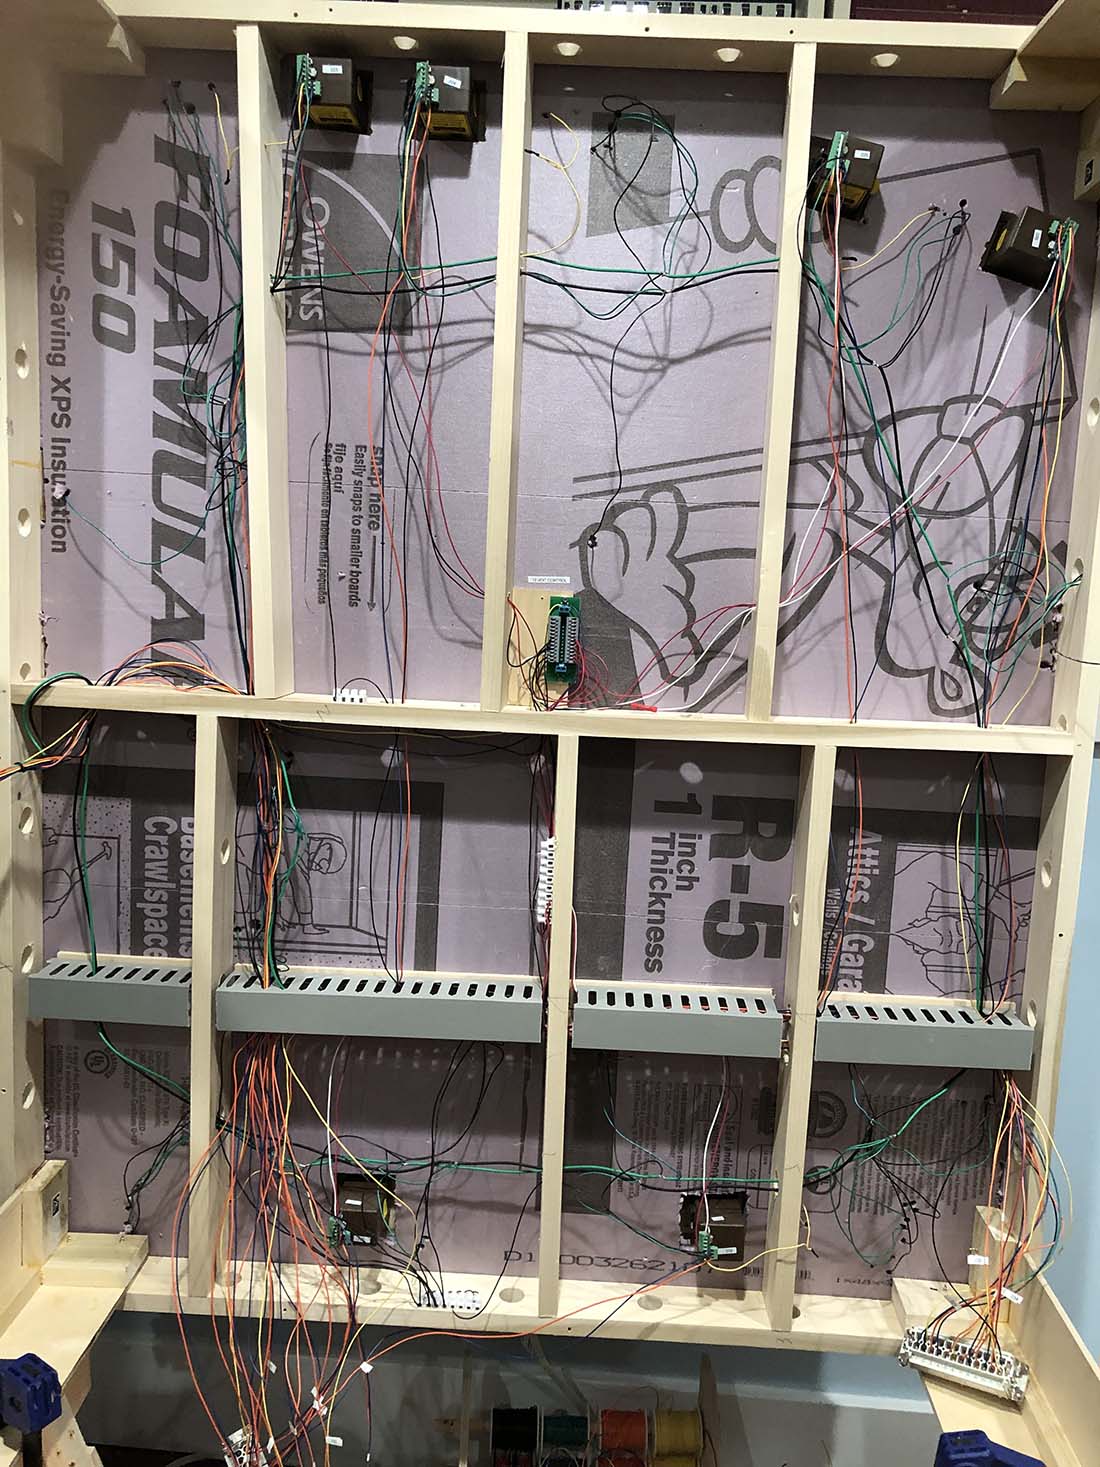
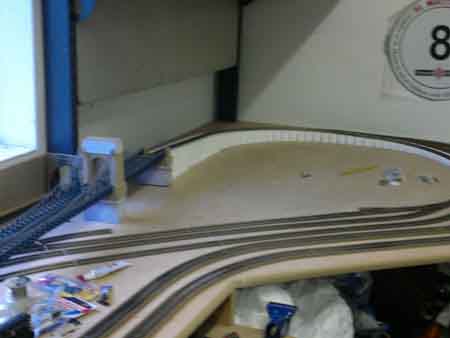
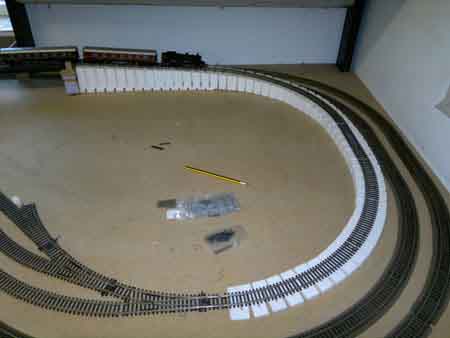
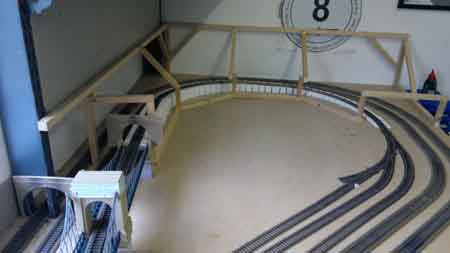
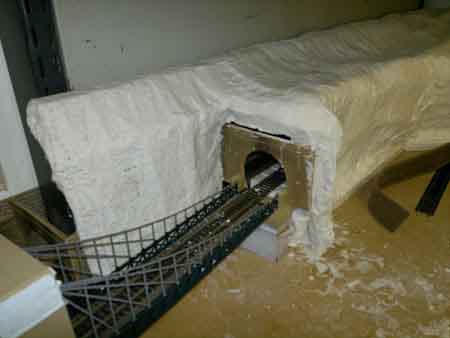
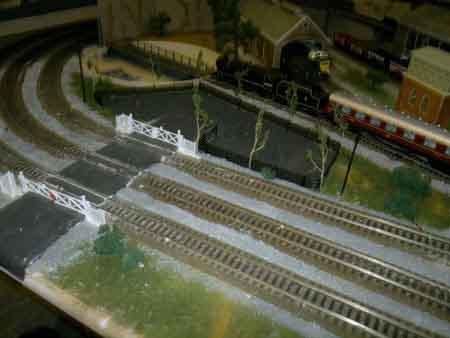
Here are some pictures while I was in the early stages of constructing and wiring my n scale layout.
Thank you so much for this platform that allows people to share their knowledge and accomplishments in the modeling world.
Rob
Farland Howe
Colorado & North Western”
A huge thanks to Rob – I do find his stuff very watchable and very useful too. Wiring your model railroad is a topic that often pops up on the blog.
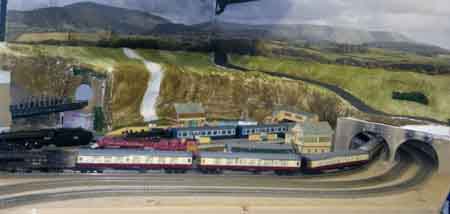
Got this in from Alan – he’s busy with a N scale folded dogbone.
Have a look and leave a comment below!
“Dear Alastair i am not a big train modeller but every 5 or 6 years i seam to get the bug, so at Christmas I decided to start a fresh project hope you find it of some interest.
regards
Alan”
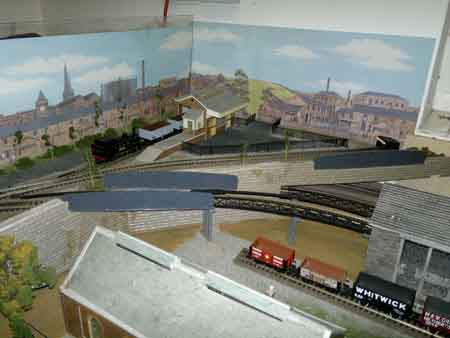
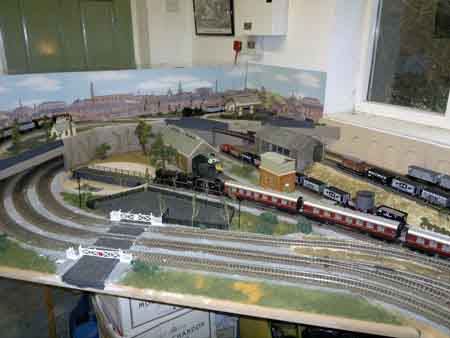
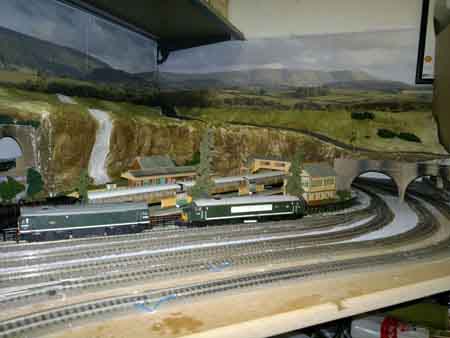
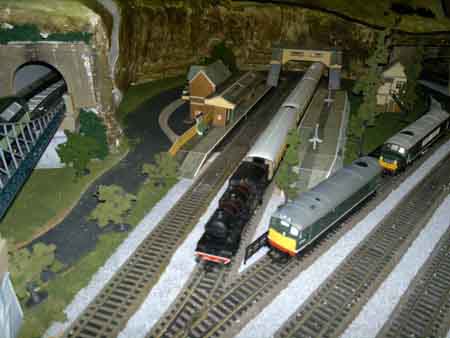
A superb layout – a big thank you to Alan for sending in his N scale folding dogbone layout.
I think it’s a really popular shape / track plan because you get a lot of running options and plenty of space for scenery.
But perhaps the main reason is access – it’s easy to reach everything on the layout. It sounds such a small point, but as we all learn, access is everything…
Some folk have all the space in the world, and it’s still a good track plan to use – like Dick’s G scale dogbone.
If you’ve ever wondered how to weather a model train, Eric has sent in this fabulous ‘how to’.
Some of you may remember the wonderful pictures Eric sent in some time ago of his ‘weathered’ trains.
Hope you like it as much as I did.
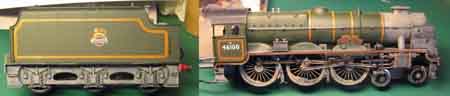
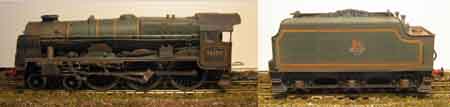
“For this third instalment in my series about weathering, I’ll explain how I weathered my « Royal Scot » , composed of my 2-3-0 green BR steam engine « Royal Scot » (Airfix) and two ex-LMS coaches from Märklin (taken from a « Hogwarts Express » train set, best known as the « Harry Potter Train »).
For those who does not know about the story, the “Harry Potter” train is in fact a well-known train that rides for tourists and train fans: the “Jacobite”, riding the Scottish rails between Fort William and Mallaigh on the line from Glasgow to the Isle of Skye, and where you’ll find the famous (or now infamous) Glenn Finann Viaduct (the curved concrete viaduct seen in the Harry Potter movies).
You’ll see here below the Airfix locomotive and the two Märklin coaches (OO Scale).
I wanted to depict a train riding in the late 60’s, at the end of the steam era in the Scottish Highlands, on a train from London to Skye on the old LMS lines…
The first step was to disassemble the body of the Tender from its chassis and, then, cut the wires connecting the engine to the motor in the tender (I’ll later install a small connector and a DCC decoder).
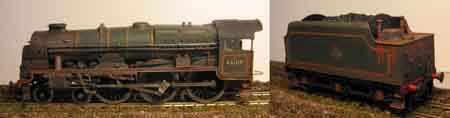
Once the engine and the tender separated, you find the space to weather a model train. I start by brushing a coat of « Dirt » paint (8 parts of “Black Glaze” for one of “Smoke”, three of “Dark Flesh”, one of “Glossy Black” and five of “foundation White).
This mix is drybrushed on the chassis, wheels, and even on the front of the locomotive’s body (the part in black) and the steam deflectors (the Elephant Ears, as we call them) without forgetting the cab’s roof.
Then I prepare a mix of « Dark Green » with a bit of my « Dirt » mix to lighten and tone it down before brushing a wash of this mix on the green parts of the locomotive and tender bodies.
The first layer wiped dry with a sponge, the next ones brushed dry with a Filbert brush, as a “Glacis” in artistic painting.
After this, I prepare my « Grime » mix (one part of « Smoke » for three of « Black Glaze ») that I brush as a « Glacis » lightly diluted on all the areas first weathered with the « Dirt » mix.
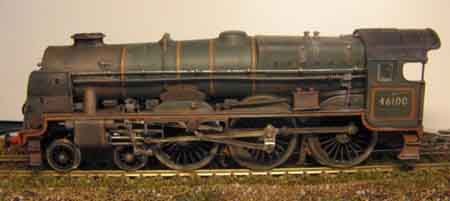
Then I prepare my own « Rust » mix, composed of three parts of « Cavalry Brown » for one of « Burnt Umber » or of « Chocolate Brown ».
I then drybrush this mix on the locomotive’s and tender’s bodies, and also on the tender’s chassis.
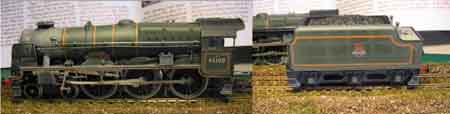
As you can see, the trick with how to weather a model trains is lots of dry brush work.
The Locomotive’s chassis also receive a drybrush of “Rust”, but not as heavy as on the other parts, and I mostly concentrate on the front buffers, the footsteps and some other parts of the chassis.
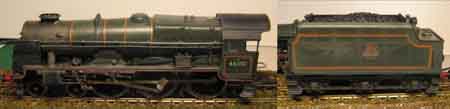
I then prepare some « fresh Rust » (one part of « Smoke » for three of « Cavalry Brown ») and highlight some of my previous rust application spots and also apply some « rust leaks » on the tender where water spills from the tank when loading or near some steam valves.
The leaks are applied with a round brush and for this diluted at a ratio of one part of paint for two parts of water.
I prepare next a mix of one part of « Black Glaze » for one part of « Foundation White ».
I brush it very lightly with a small round brush near the water tank and the valves to represent lime streaks where there are some water or steam leaks.
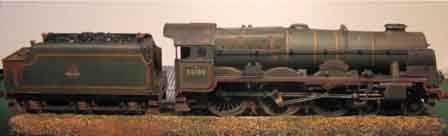
The last step is to apply a « control coat » of « Grimmy Black ».
I prepare a wash of “Black Glaze” diluted at a ratio of one part of “Black Glaze” for three of water, and brush a liberal coat of it on the entirety of the engine and the tender, being thorough especially on the wheels and the driving rods.
The last steps of the « detailing » would be first a drybrush of light grey (mix of « Black Glaze » and « Foundation White ») to highlight the details on the inside of the cab, then a brush of « Glossy Black » on the tender’s coal load to make it look more realistic, and finally applying some of this « Glossy Black » on the handrails and tubes on the engine’s body and also on the buffers (greasiest parts).
The last thing to do then will be to reconnect the locomotive to its tender and put it on the tracks to admire the final result.
Just amazing. A big thank you to Eric for sharing how to weather a model train. He’s also done a ‘how to’ on the carriages and the people, which I shall mail next time.
Comments still coming in thick and fast on the ‘ebay cheat sheet‘. They are all appreciated. Thank you.