Start HO scale – here’s how to take the first steps for your model railroad:
“Hi Al, (From a longtime follower and great admirer)!
My love for trains started about 60 years ago and some of the trains on my layout today are some of my originals as well as my wife’s.
That HO train hobby stopped when I got my drivers’ license and was rekindled when our first daughter was about five years old. That lasted for about another 10 or 12 years when my wife packed everything up and neatly put them in the attic.
When the third generation was coming for Christmas about five years ago my oldest daughter called and said “Dad why don’t you put up the trains for the kids!” Luckily the trains were still in good shape and I had about six weekends to build a 4 x 8 layout. When the kids showed up for Christmas, it became immediately obvious that it was all worthwhile.
After the holidays I realized it was time to build a much larger layout. And I will admit it was not only for the kids!
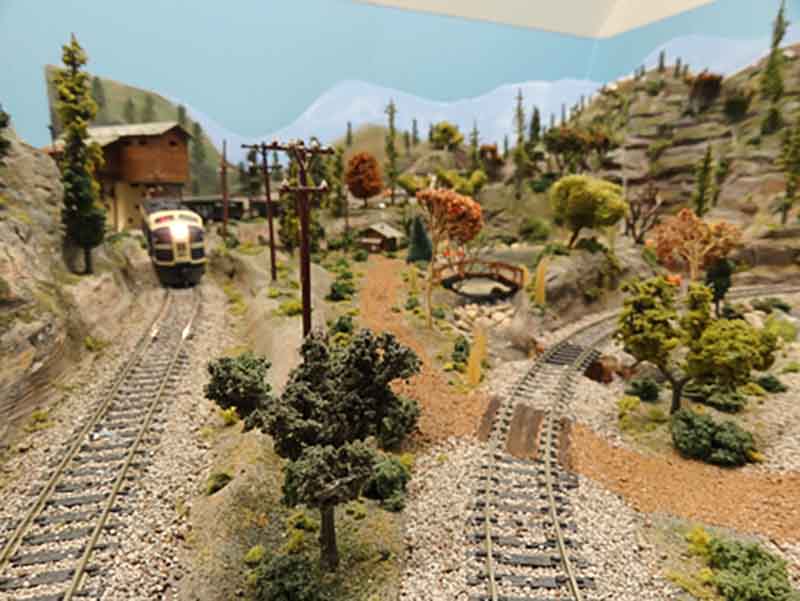
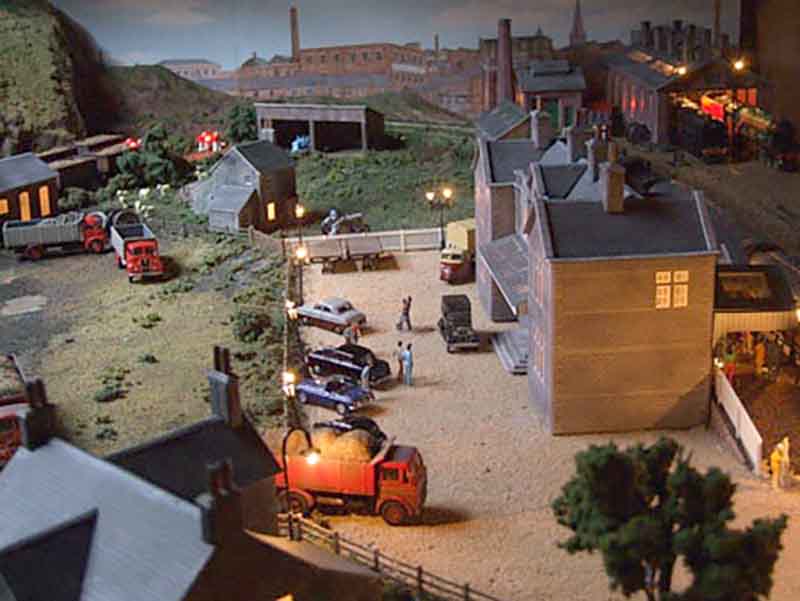
My HO layout is called the Wismer Valley Line. The following objectives informed my plans:
1) Replicate to the extent possible, very long American freight trains, pulled by multiple locomotives, up long grades.
2) Focus on the specific shape of the plan and get as many trains as possible running concurrently.
3) Incorporate the vintage trains into the plans. FYI – The major Railroads on the layout are from areas of the country where my three daughters have lived as adults.
Maybe as important as anything, make my own rules. e.g. It’s OK to have the Pennsylvania RR running alongside the Union Pacific, at least in my barn!
The first thing I did was get your beginners guide!! This is a tremendous resource even if you have previously built train layouts.
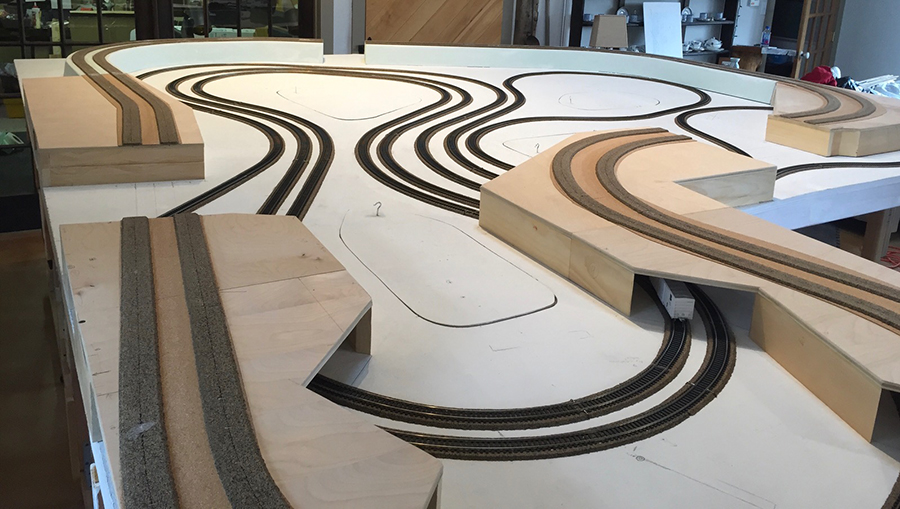
Secondly, was to find someone local willing to give me ad hoc advice. This advice began with the key suggestion to avoid grades (especially curved ones) if I wanted to pull long freight trains and avoid derailments. I opted for a bi-level layout. Overall size is approximately 17 feet long and 11 feet wide at the widest point. The shape was dictated by the interior of the space including doors on either end.
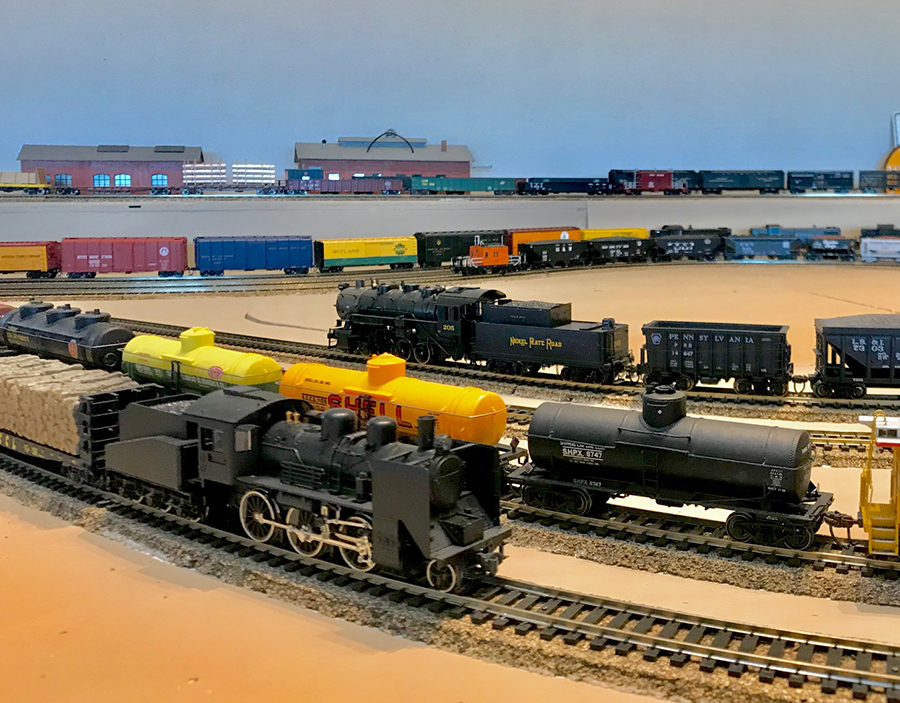
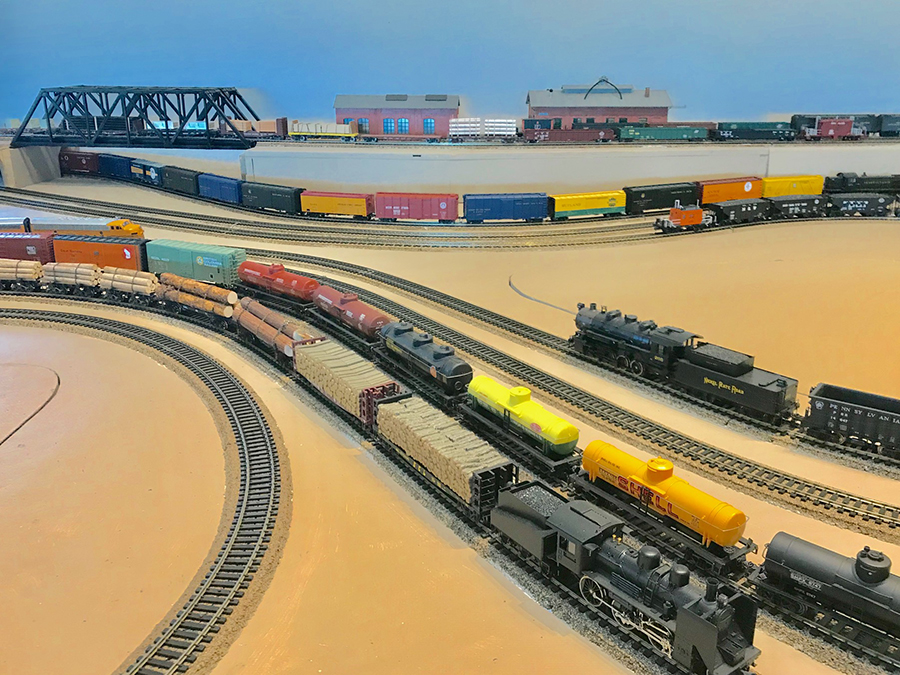
The longest freight train, on the upper level outside track is pulling about 60 cars, using four locomotives (NO dummies!) in tandem (over 30 feet in total length). The rolling stock are from the late 1950s the early 1980s and the past five years (which included additional vintage railcar purchases on EBay).
I rebuilt about 100 of the vintage cars installing (Kadee) couplers and well machined wheels, along with new trucks when necessary. The wheels are critically important for long trains in order to minimize drag.
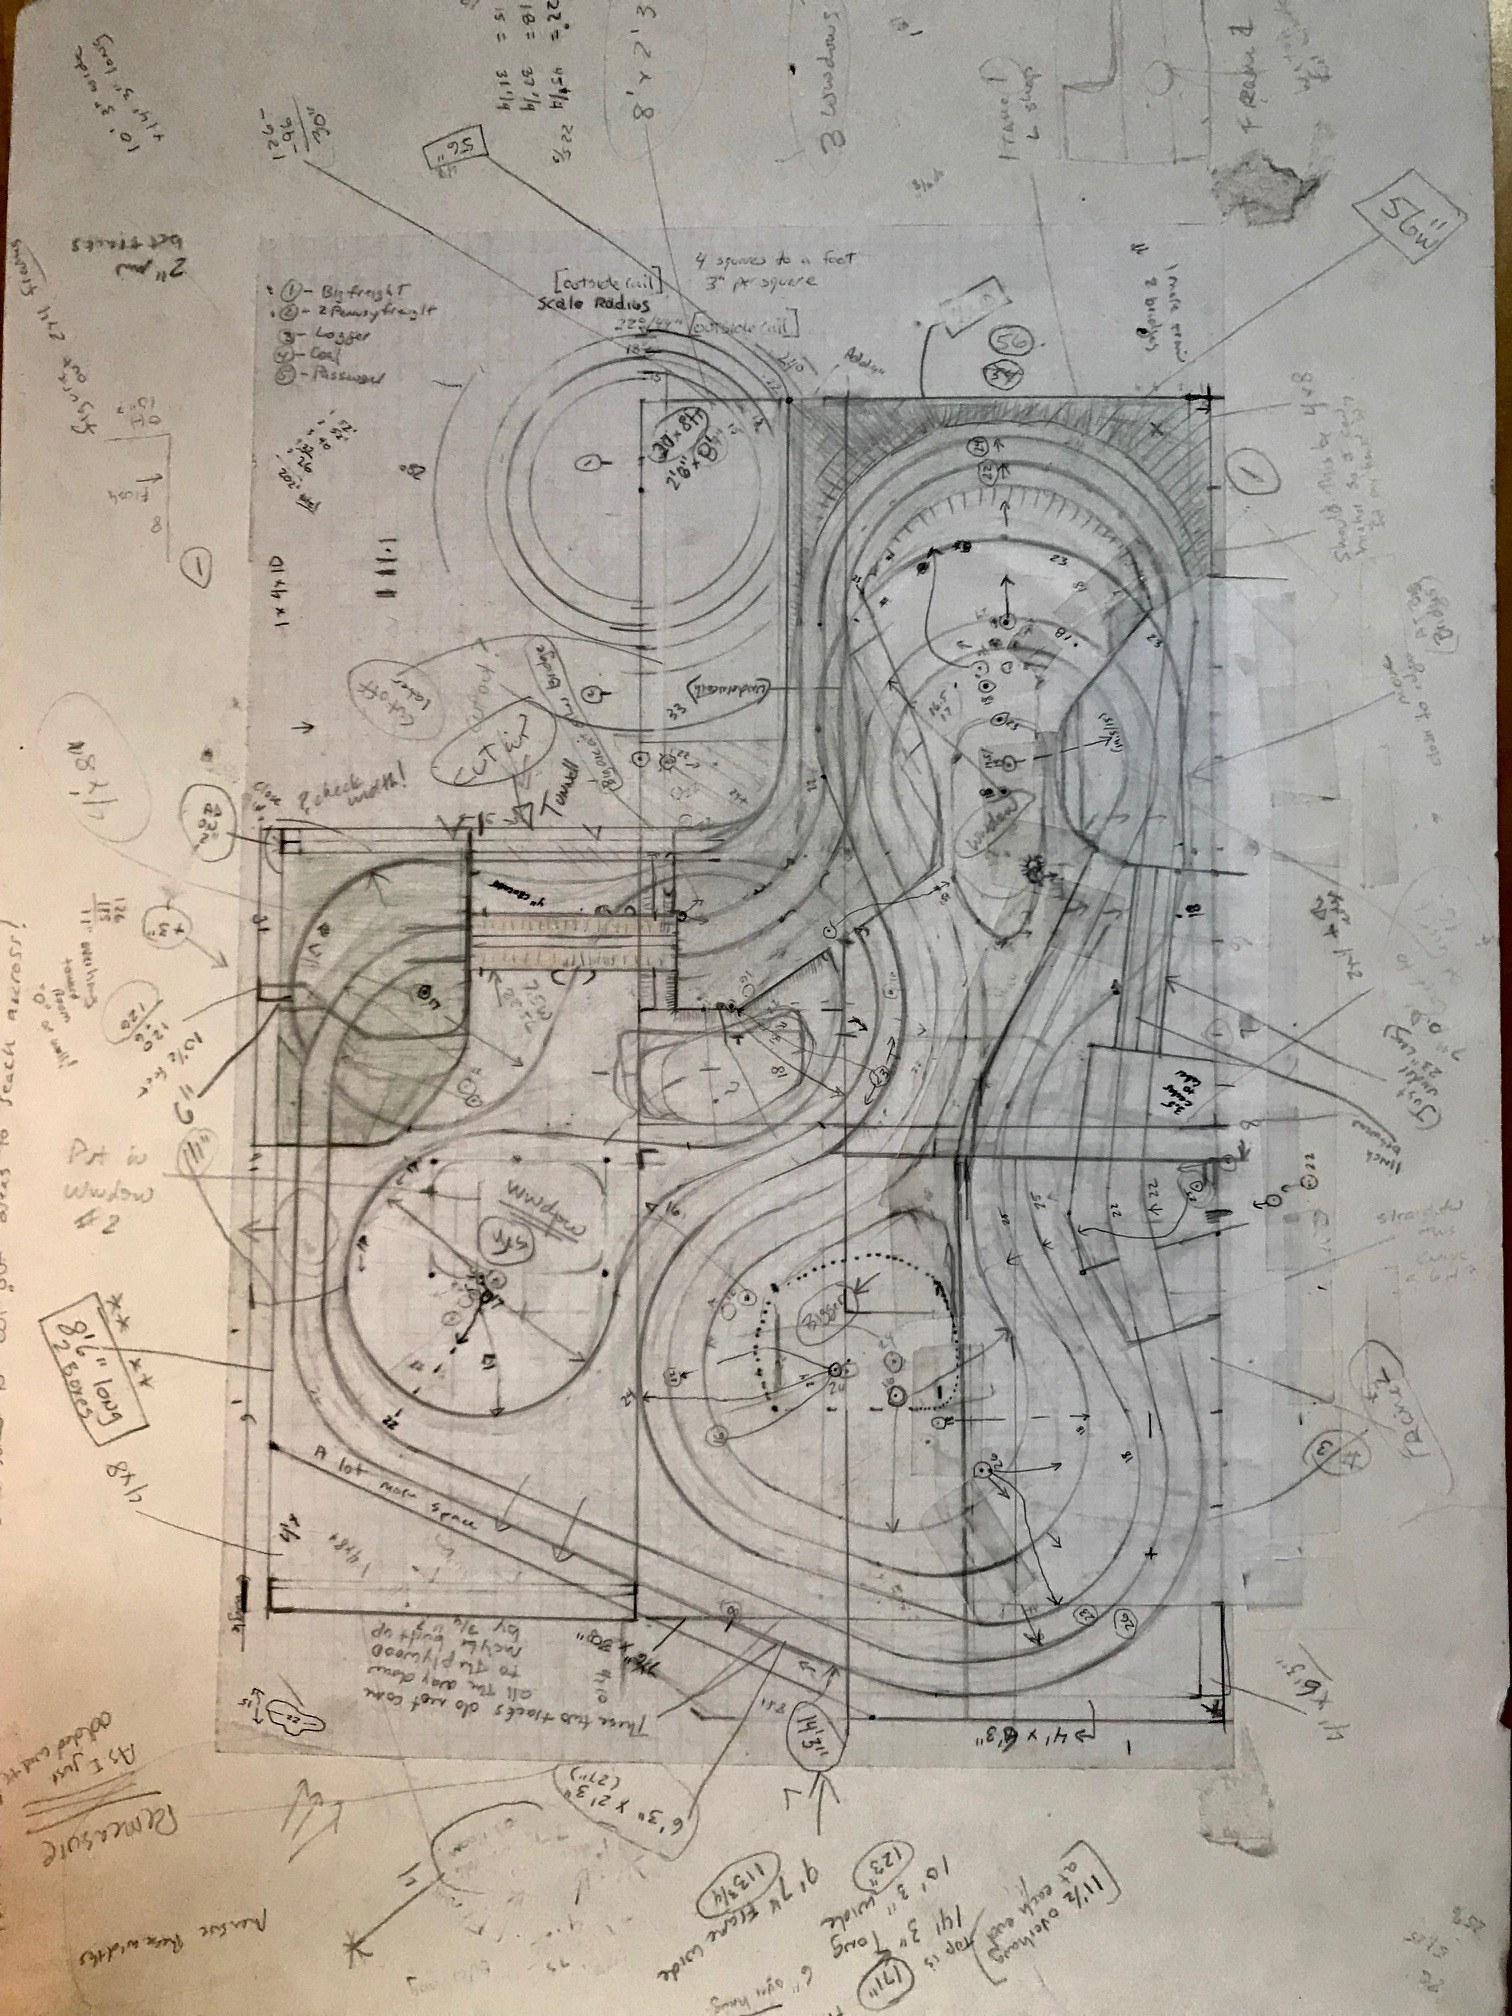
In planning the layout, as can be seen from the plans, I spent a lot of time working on the maximum radius that could be attained by each track. I am surprised to see that more of your readers have not mentioned this issue as longer locos simply can’t make it around tighter curves. Maybe it was just the unconventional layout combined with this many trains that created the issue. My original plans turned out to be invaluable as I used them constantly to measure and adjust the radius of each curve.
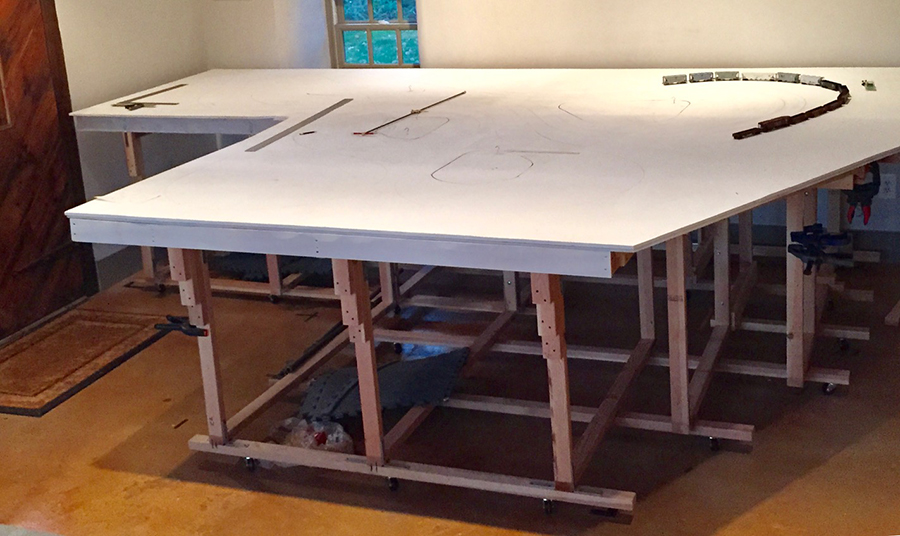
The deck is, bottom to top, plywood, Homesote, cork and then the tracks. All seams taped and spackled. Total weight exceeds 600 pounds.
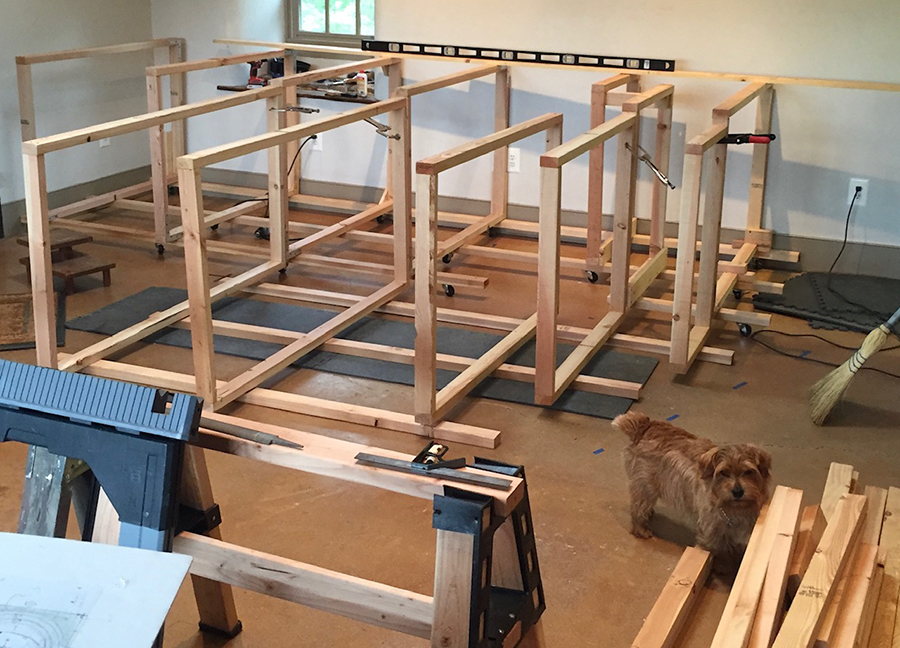
My biggest engineering challenge was the concrete floor in the old outbuilding on our farm. It is neither flat nor level! The solution was to overbuild and use 24 heavy-duty casters so the entire layout can be pulled out from the wall to allow for total access. There are also 4 cutout/lift-out windows (which eventually will be disguised by scenery), where I go underneath and come up out of the hole, enabling me to reach every square inch of the layout.
I spent significant time making sure everything was as level as possible, despite the uneven concrete floor. When working on it, it is pulled out from the wall about 3 feet. When running it, it’s back in the corner. With all those casters, once I get them going in the same direction, it’s not too bad to move; and they have the added benefit of finding their own version of level.
The deck is 43 inches off the ground. If I did it over again it would be a couple inches higher to allow for easier access.
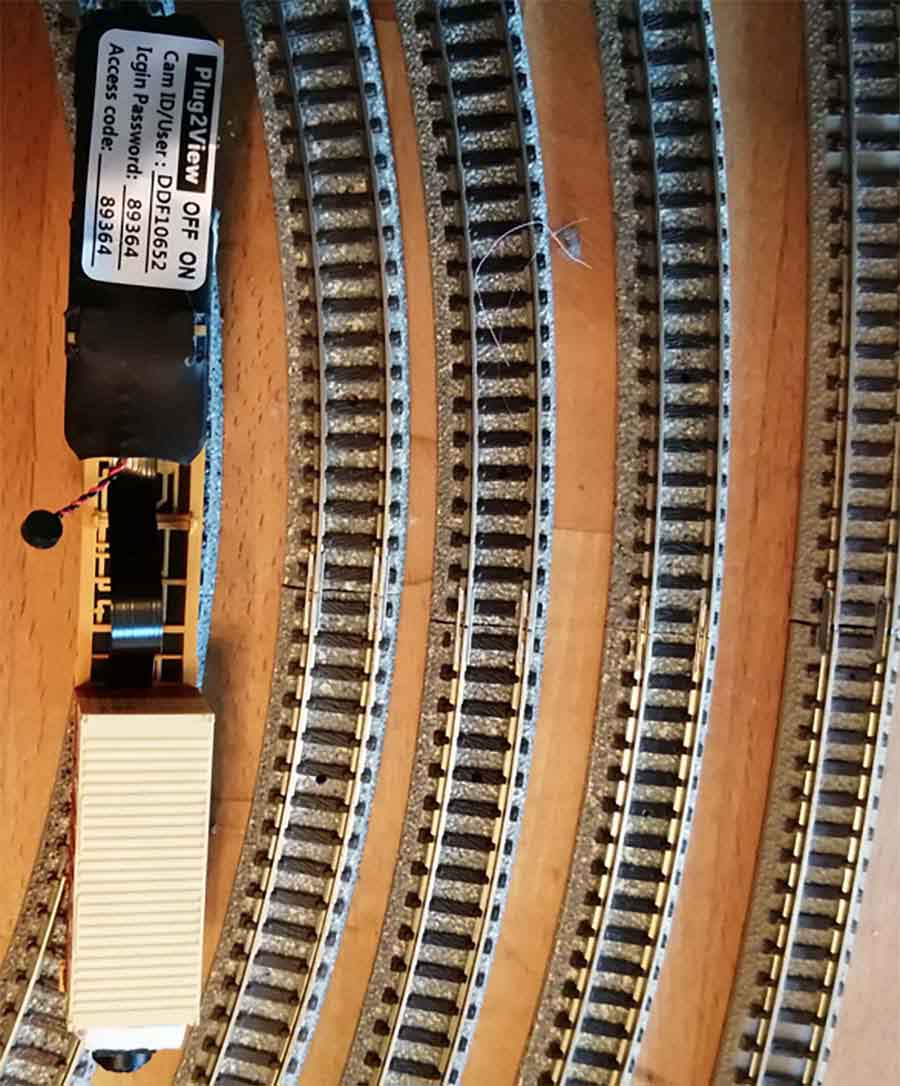
I’ve included a few photos of the plan, and build out as well as a video of the six trains moving at the same time, and a short video of how I test the track.
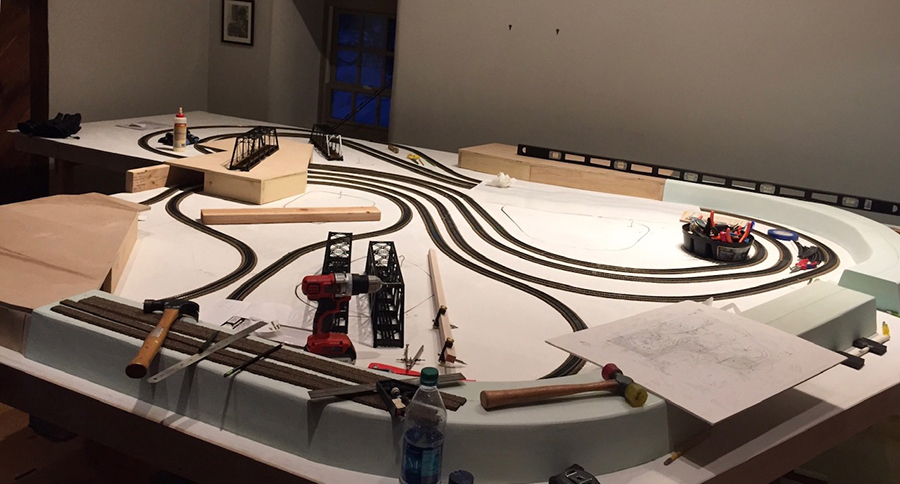
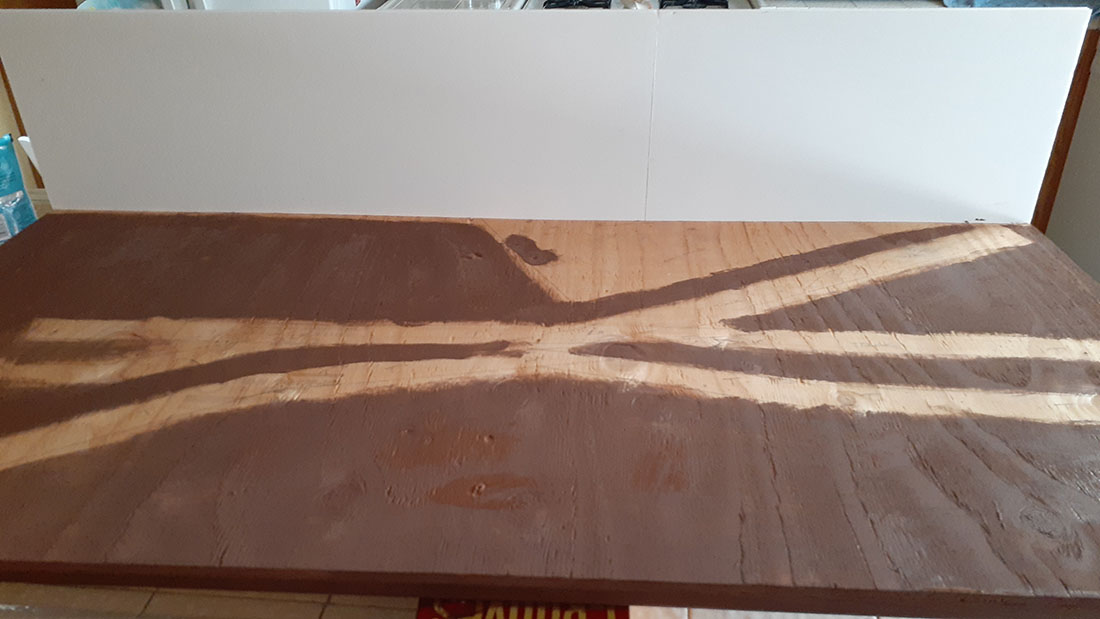
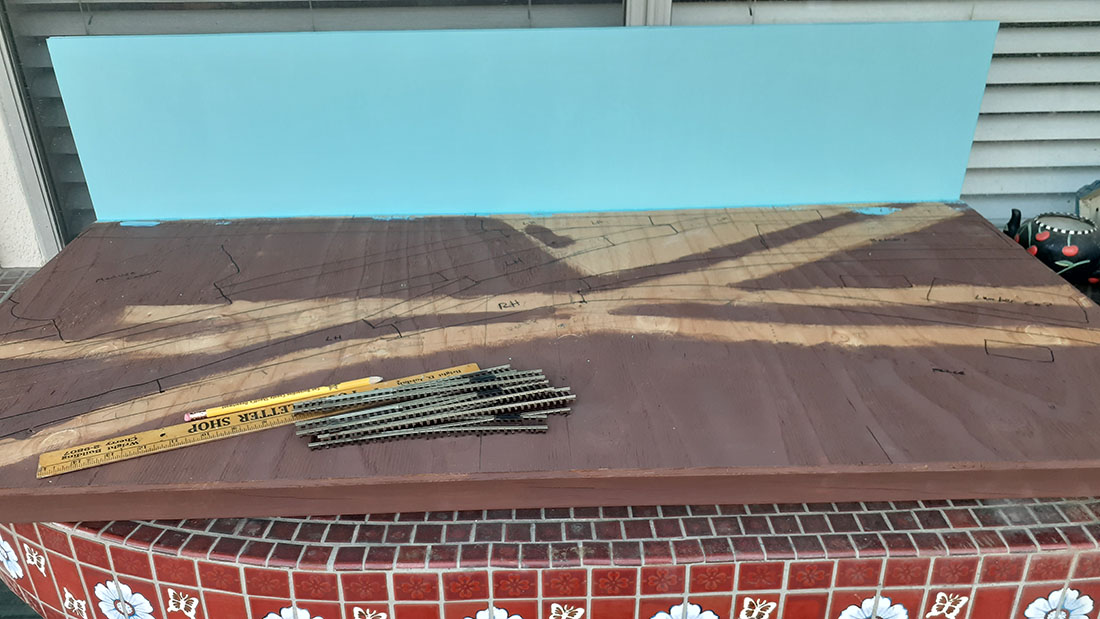
Original plans and beginning construction:
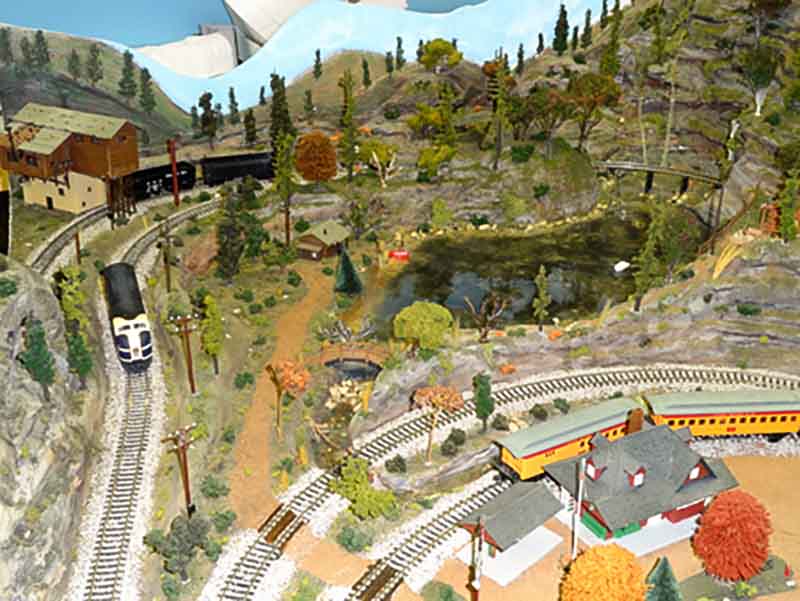
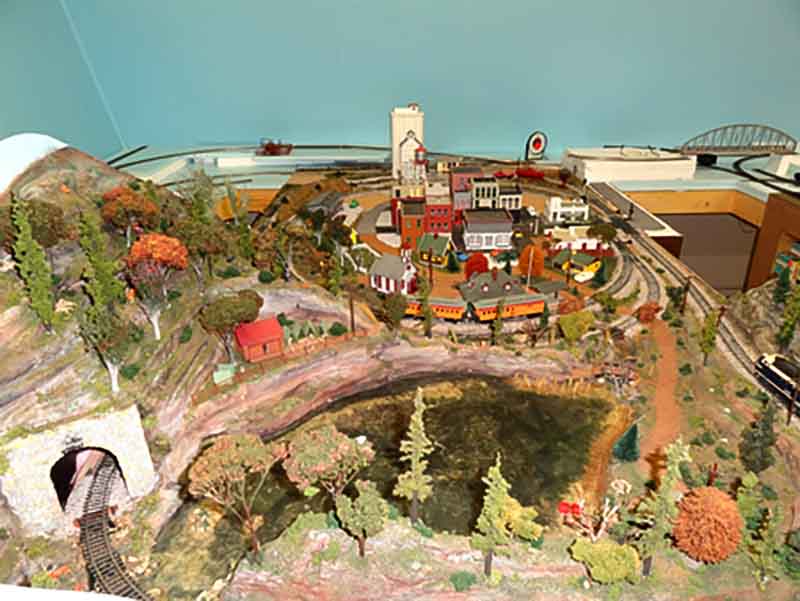
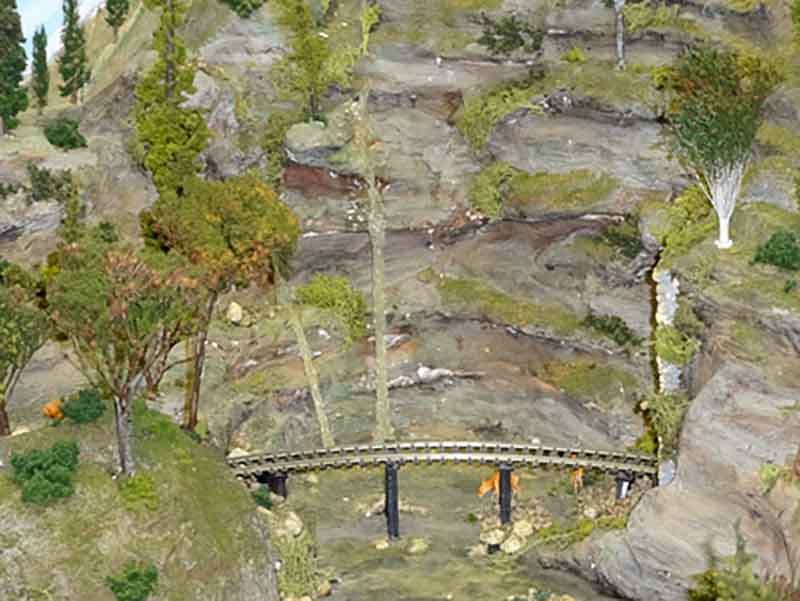
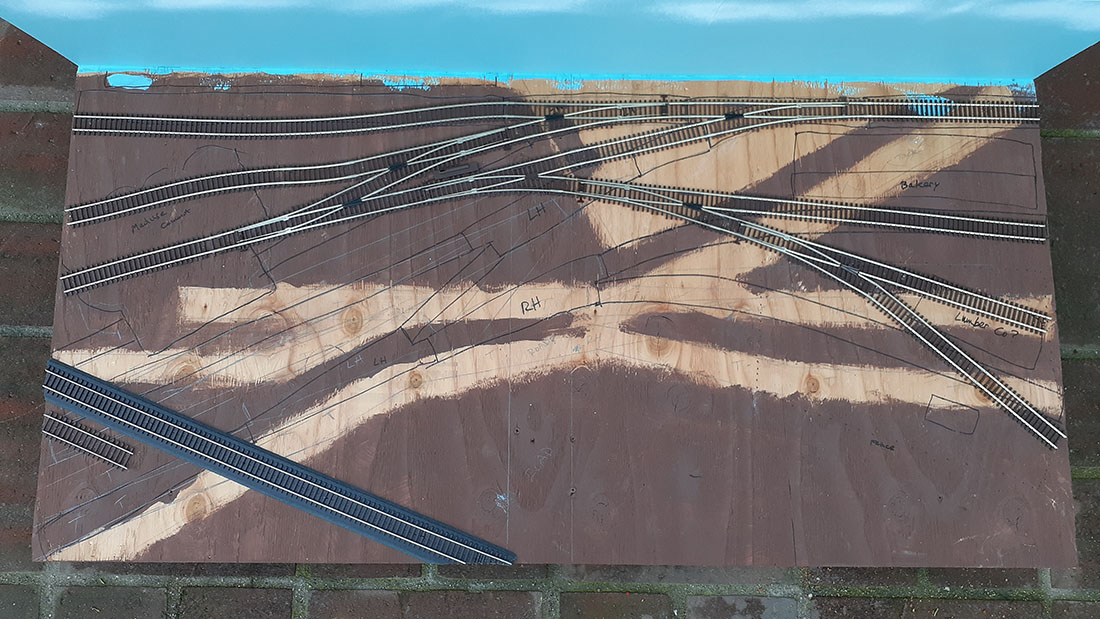
Construction continues:

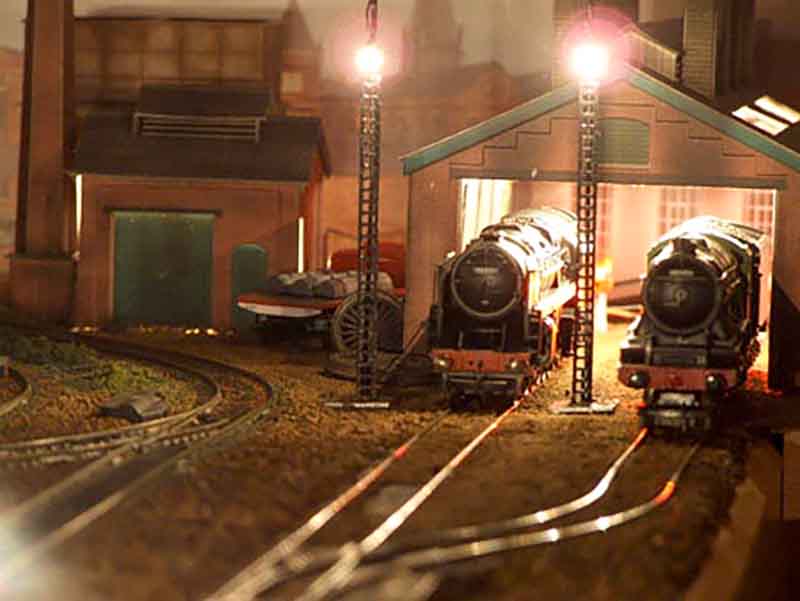
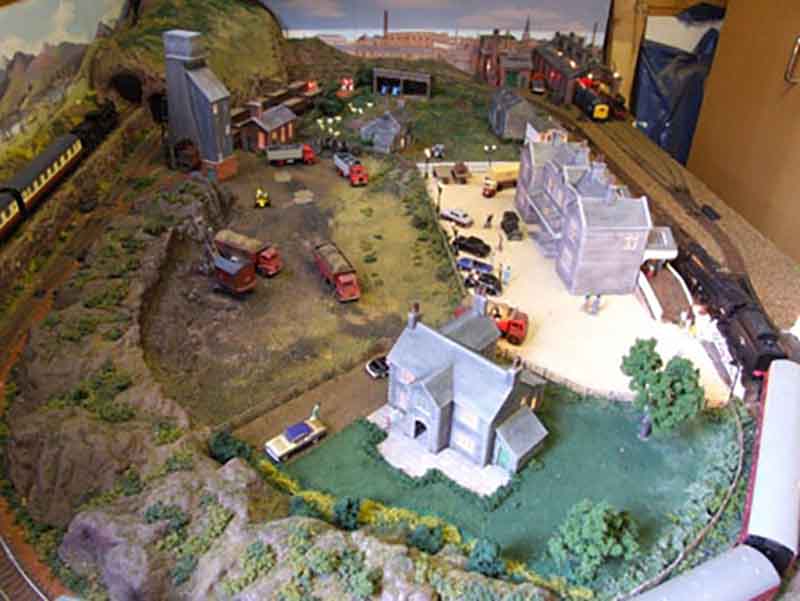
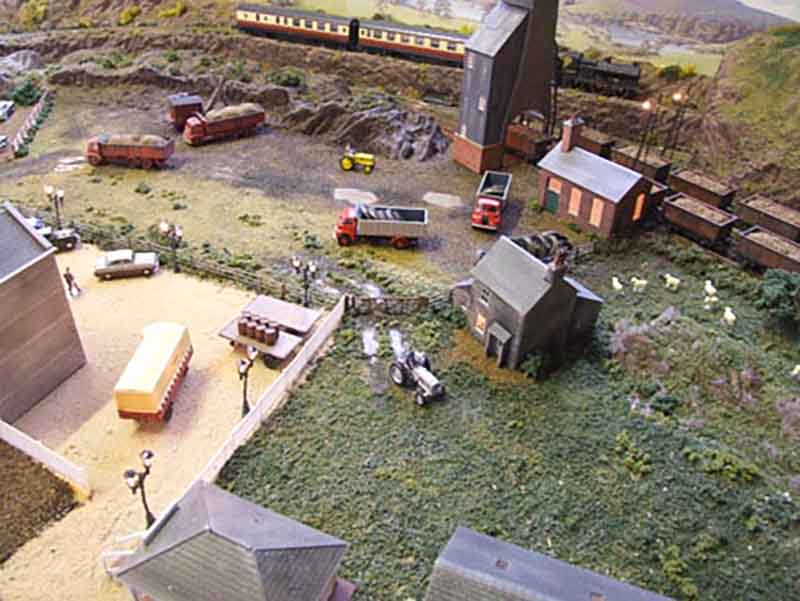
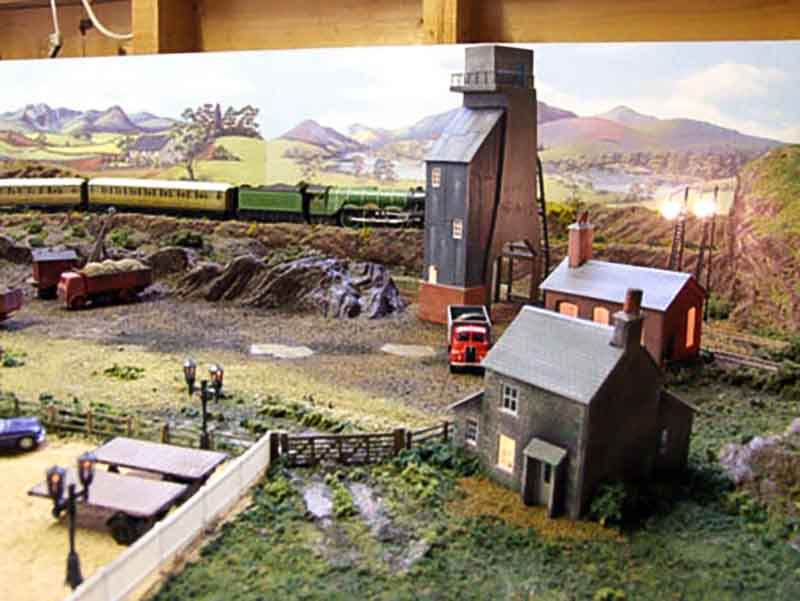
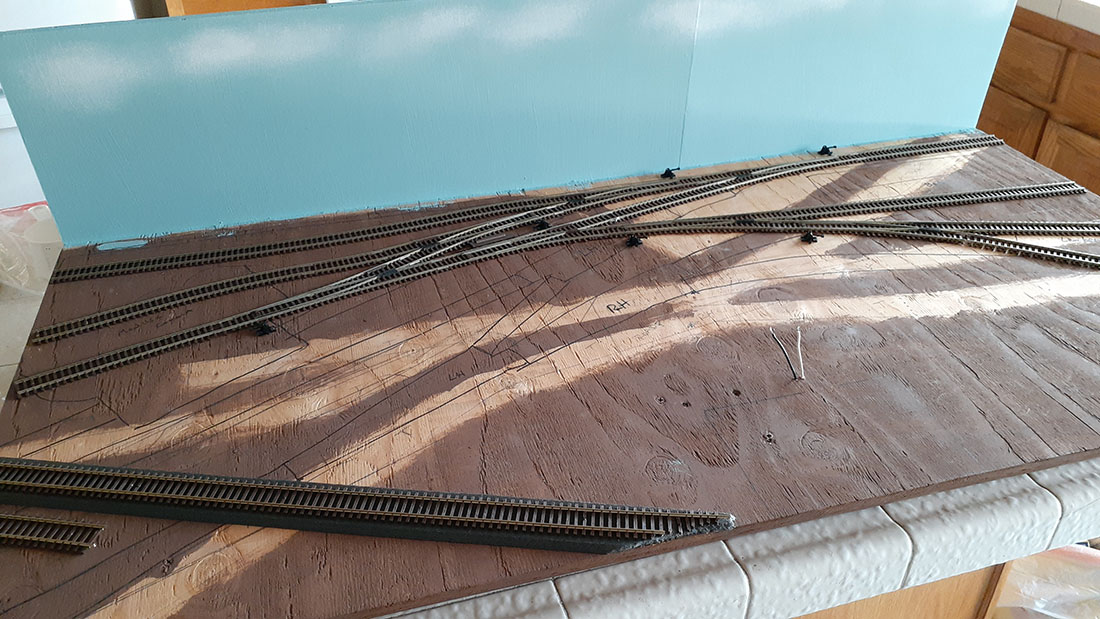
Up and running:
And now on to Ben:
“Hi Al!
I’ve been a member of your email club for a few years. I’ve sent in pics of stuff I’ve made before.
I had an 8×4 L-shaped switching layout, but divorce happened and I no longer have it. I did keep all the buildings, trees, cars, etc.
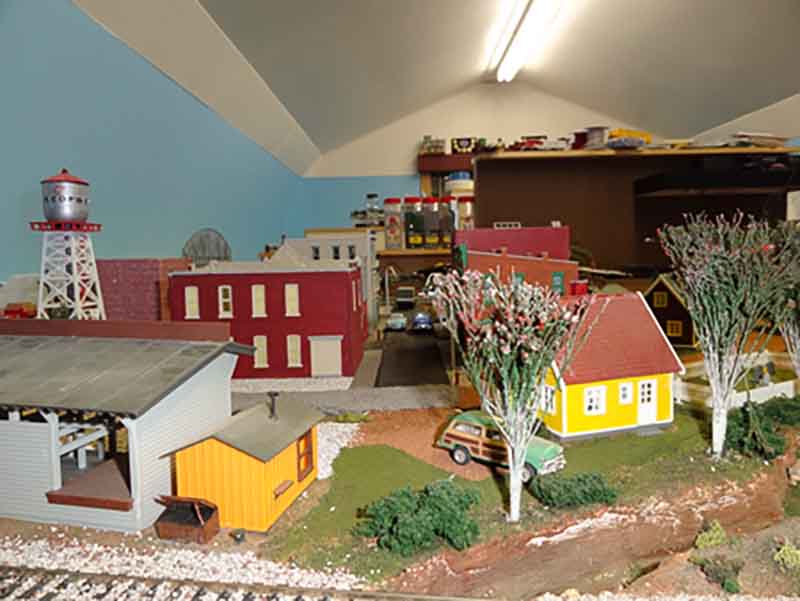
I started a new layout, but it’s a lot smaller. It’s about 4×2.
Going to be switching again since it’s small and it’s the kind of layout I prefer.
So far the track is laid and I made a background. I’ll send more pics as I progress.
Ben from So Cal”
Not too much of Ben’s layout yet – but that’s the whole point, and it’s why I post them: it’s all about making a start!
Right now, it’s an ideal time too, because we have a hobby that is perfectly suited to the circumstances.
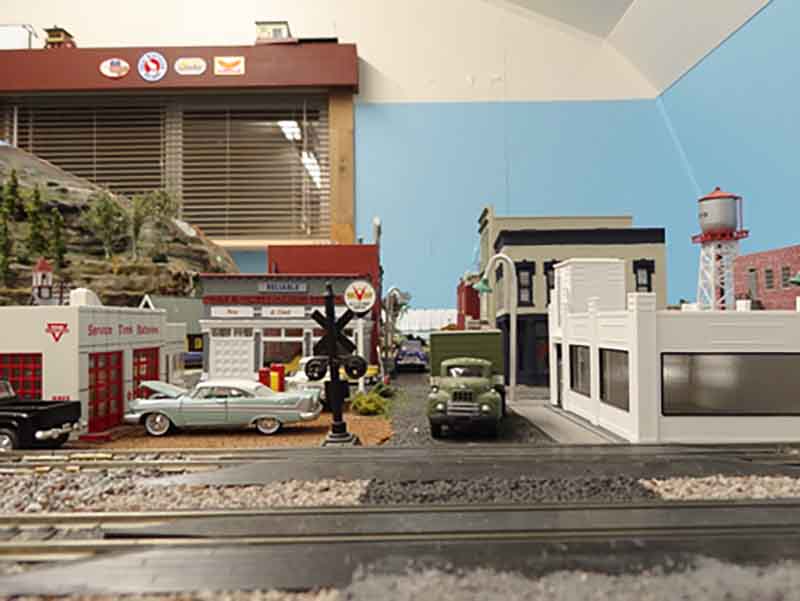
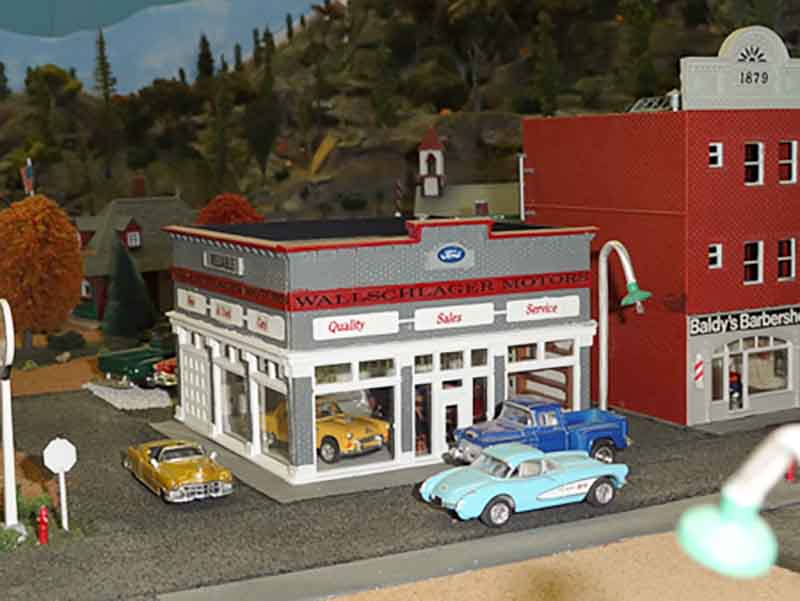
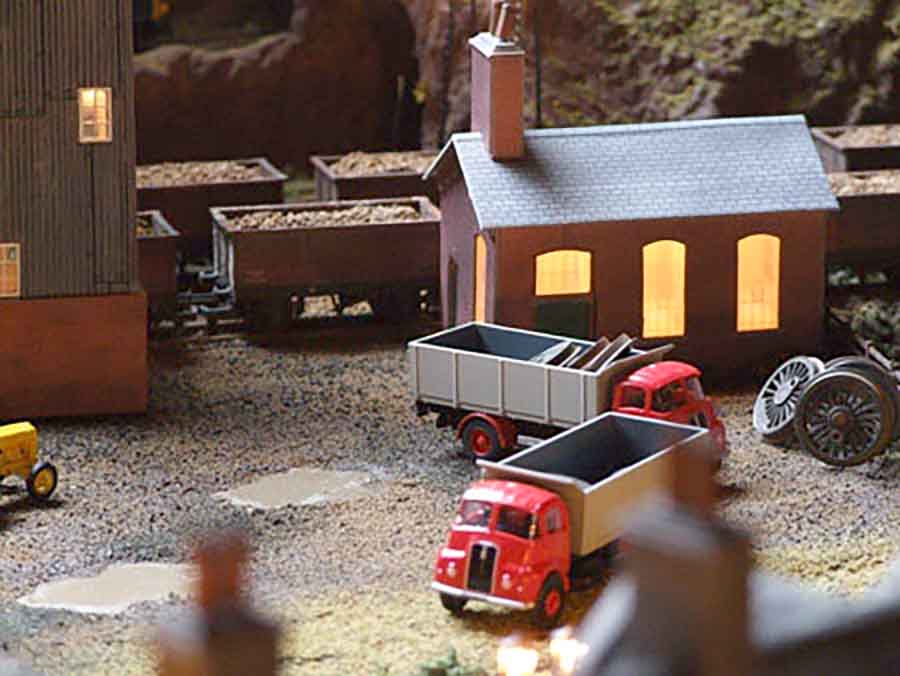
Of course, a layout is a big step. So why not start with a diaroma?
Here’s one that Ben did, which I think is just fab.
Now on to Eric.
“Hello Again Al
This Monday I was able to go and see the once in a lifetime great master piece of the rails, the UP 4-8-8-4 Bigboy.
I traveled South from my home to Washington, Missouri. Yes three of us from the hobby shop none from the the fire Dept. All too young I guess to play or see trains.
Yes I took pictures and video but nothing like the one I am sending you. Thanks to my daughter for finding on YouTube.
So hope you can share.
Eric the firefighter”
That’s all for today folks.
A big thanks to John, Ben and Eric.
Please do keep ’em coming.
And if you want to your start, on your very own layout, the Beginner’s Guide is here.
Best
Al
PS Look for the ebay cheat sheet? It’s here.