When it comes to model railroad planning, there are always a few things to look out for.
Here, John shares his:
“Alastair, your looking for ‘disasters’
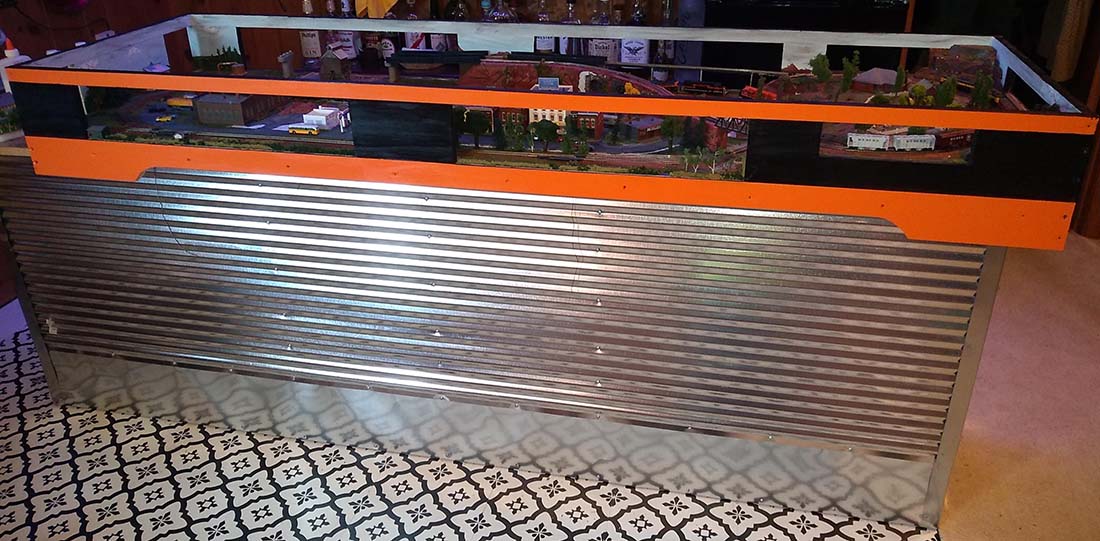
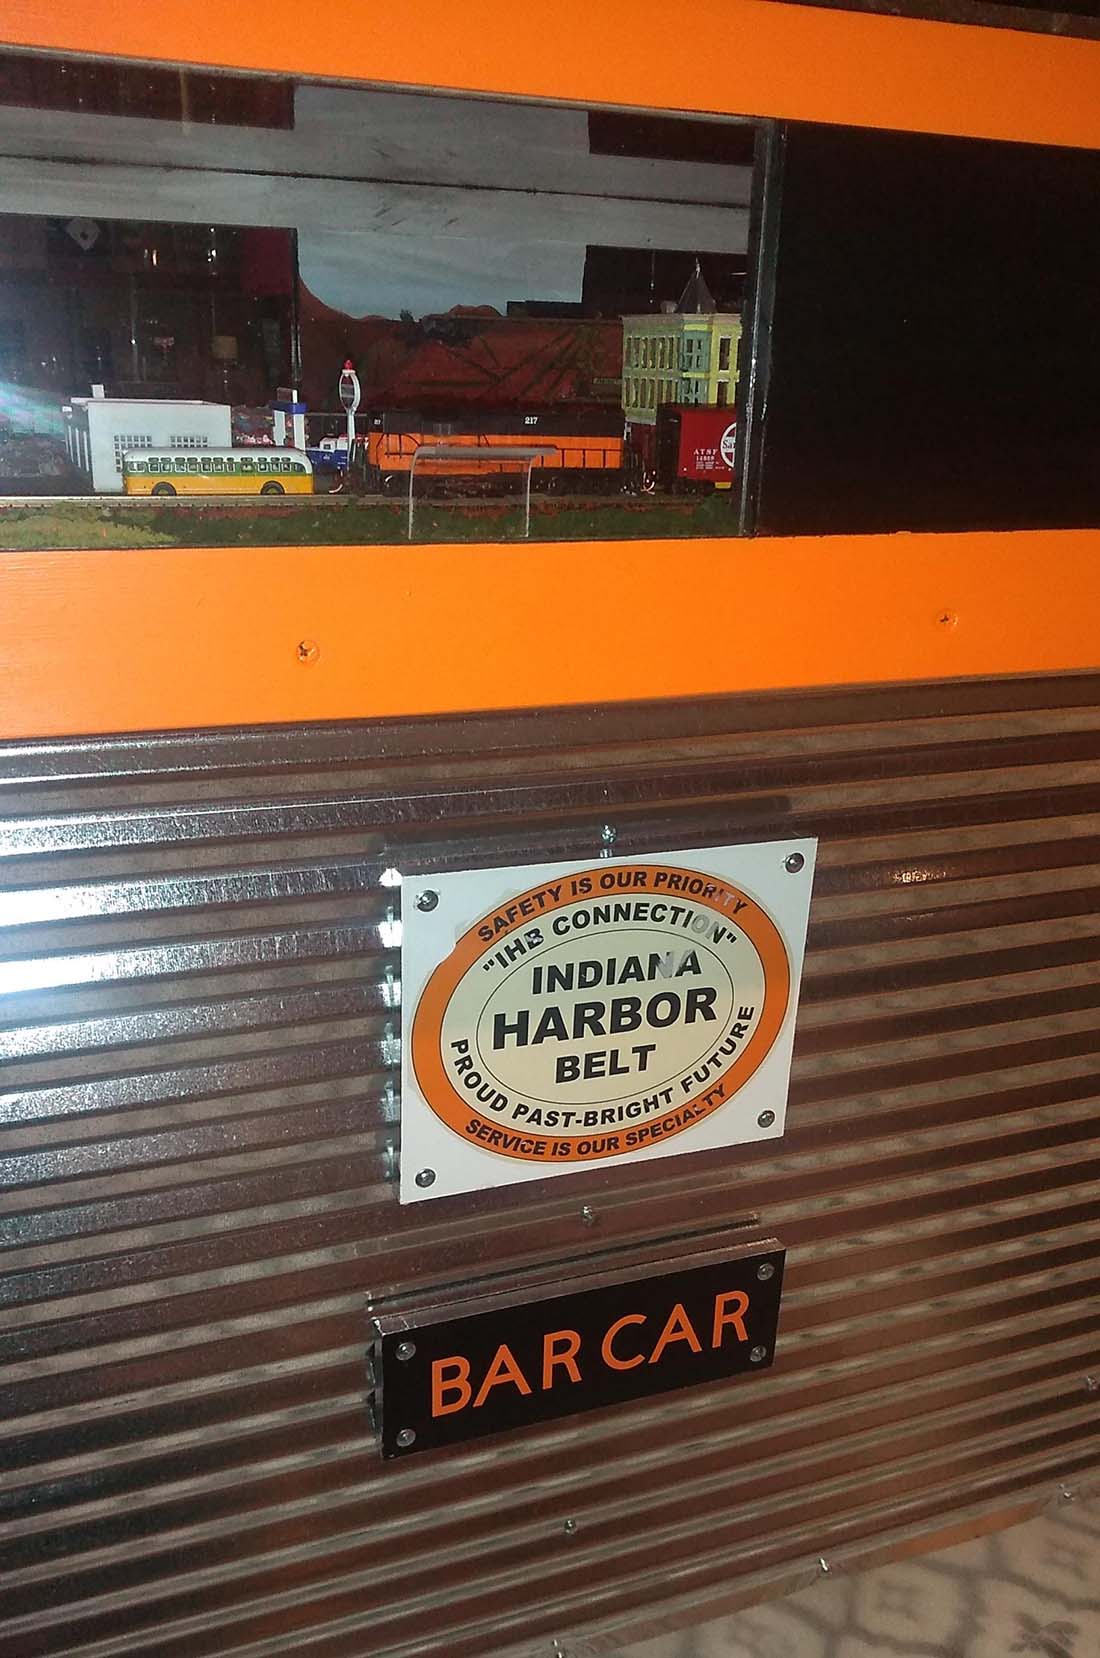
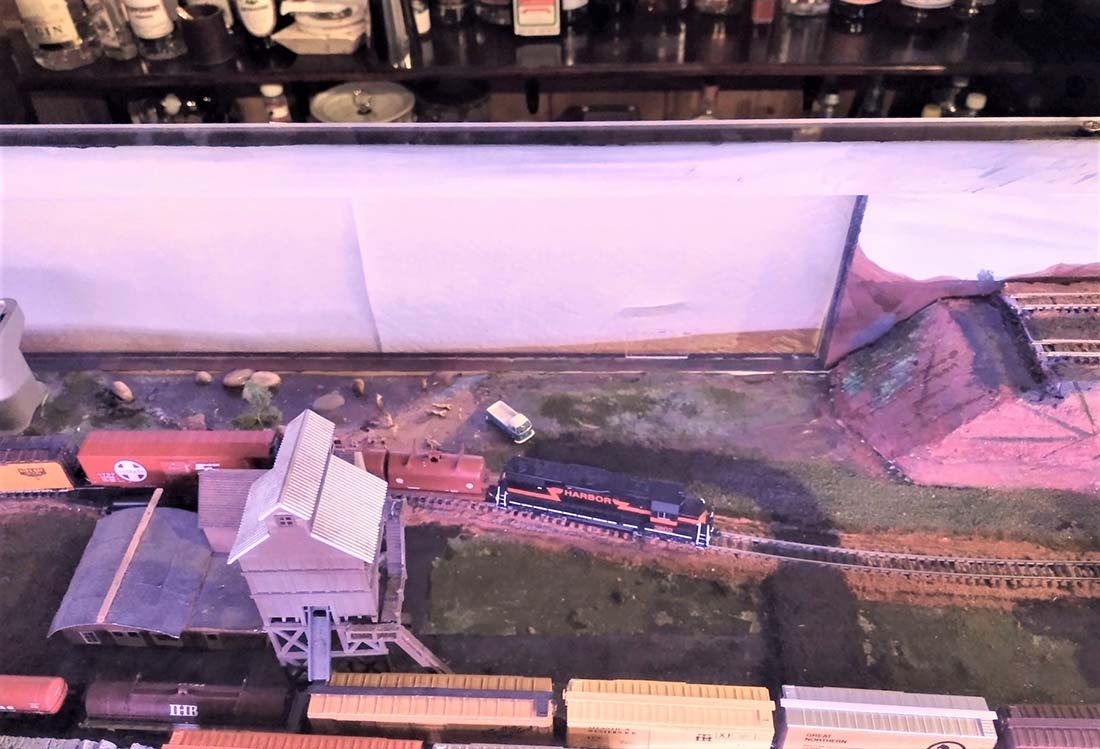
I was finishing my ‘bar top’ table for a show (before I permanantly installed it as a bar). Two days before the show I discovereed 3 disasters/errors on my part. (Photos attached)
1) I forgot to install power to the track as well ss a rerailer track! I had to remone a section of track, install a rerailer, and terminal wires, then of course re-ballist and paint the area just repaired.
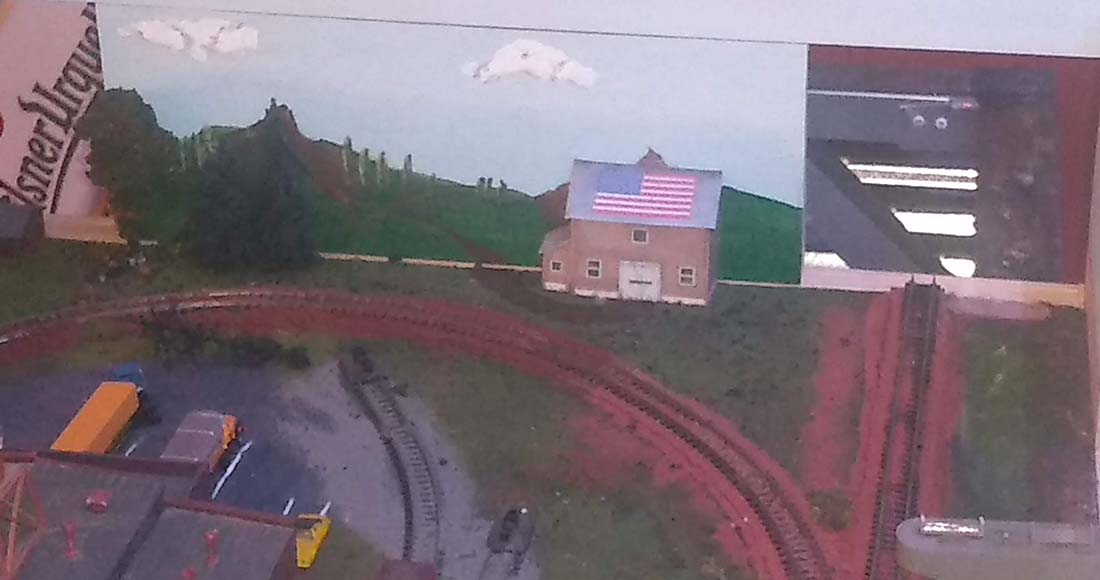
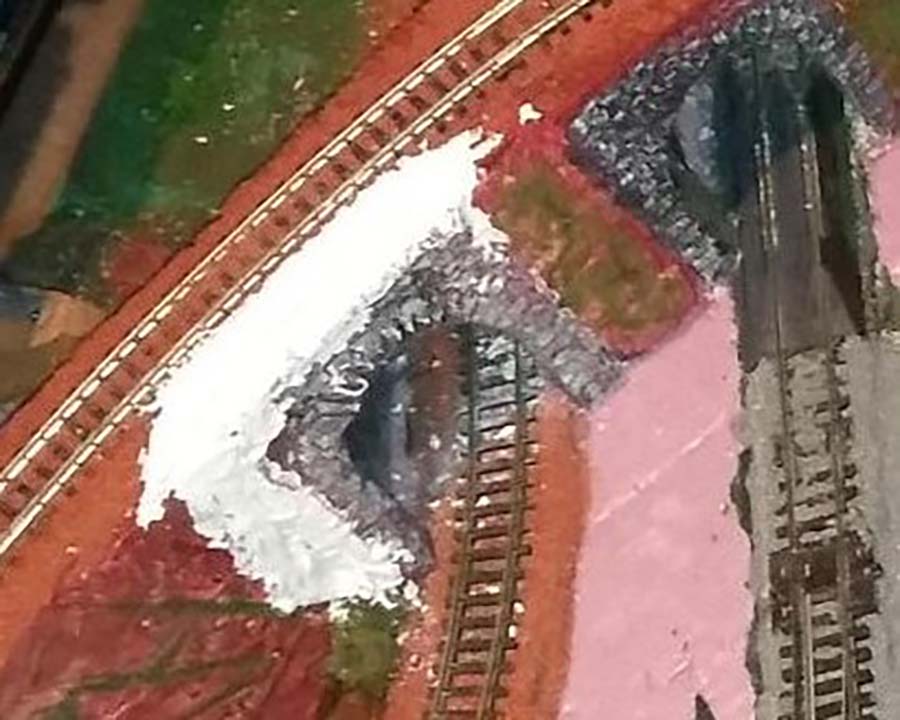
2) A tunnel I installed earlier was too small for ANY cars to pass under it; thanks to a Dremel rotory tool and a hand-held vac I carved out the portal so even a 40′ N scale high-cube would pass through without bumping. Of course I had to repaint and detail the portal again.
The first two repairs were accomplished in 1 day and, as they say the “show must go on” was the word of the day.
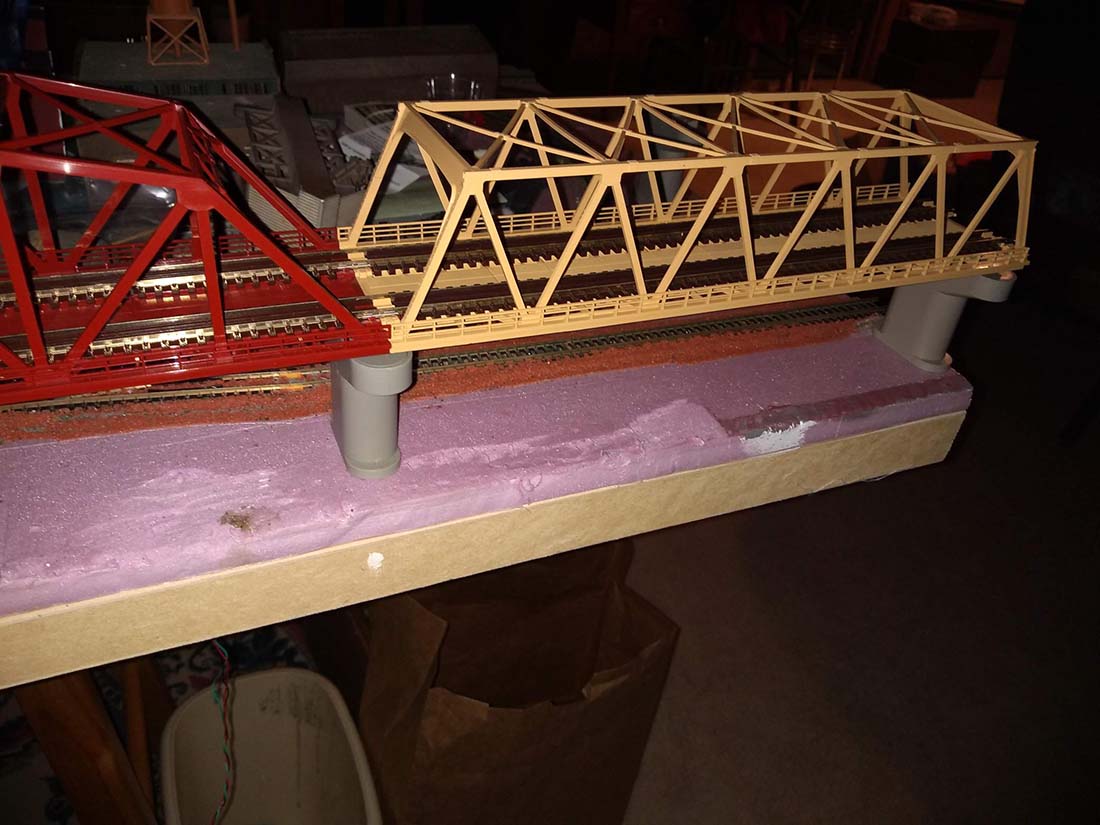
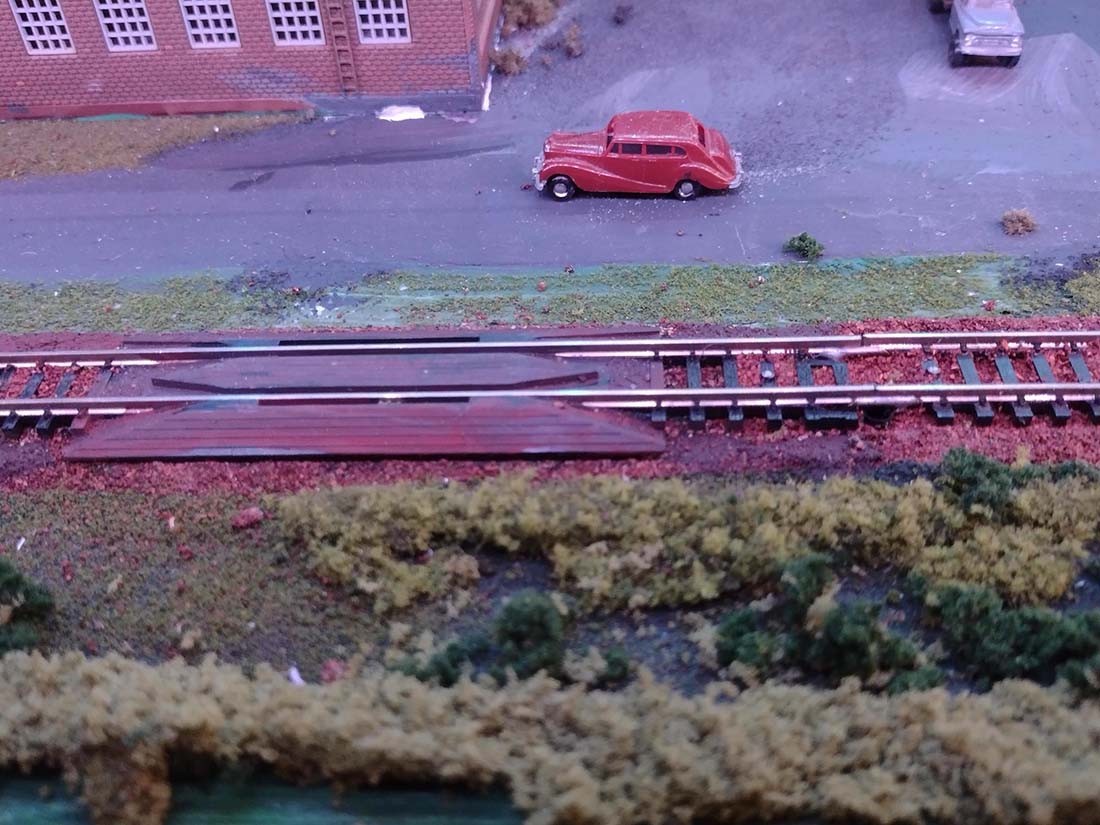
3) The trestle bridge was bumped before I enclosed the table and the train set sitting in it derailed; I had thought I could install the trestles and reach inside through the ports (windows) but even without the sides on the table I could NOT get the engines. End result is I am still working on a girder plate bridge to span a scale 450 feet.
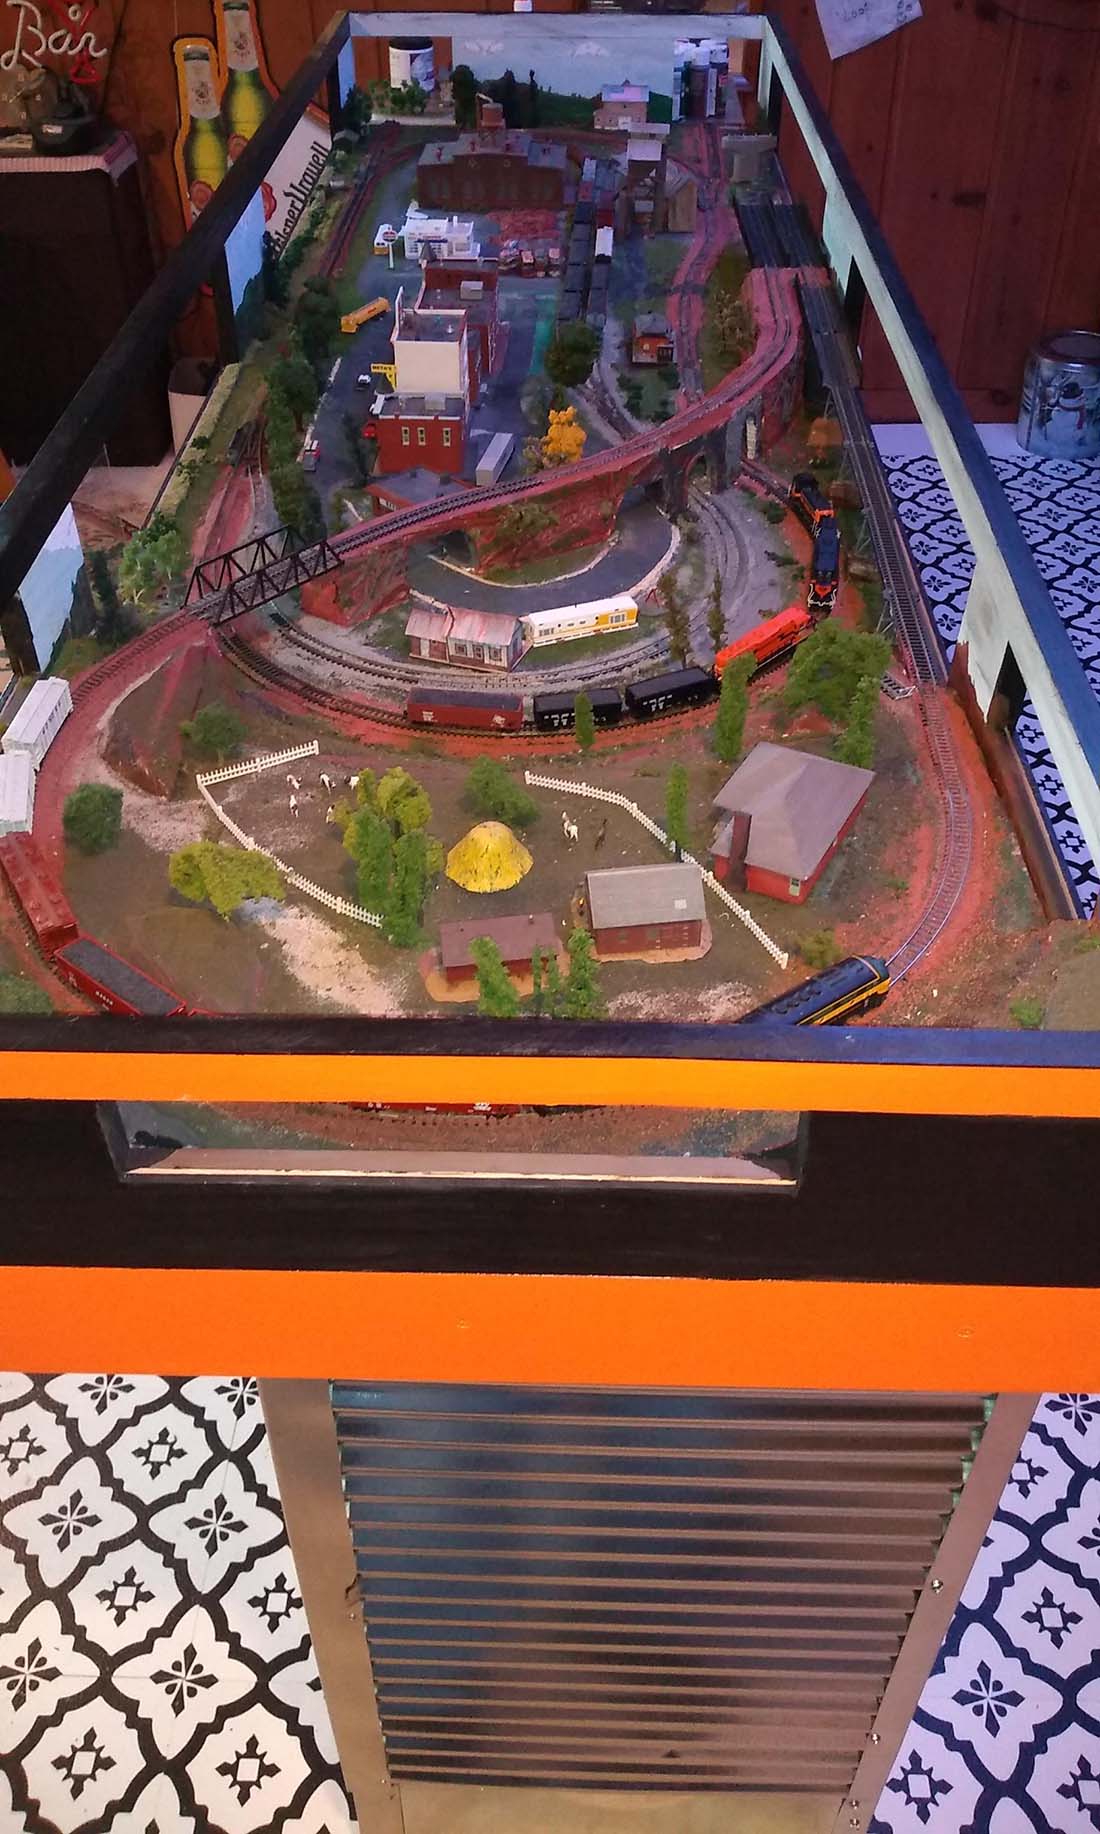
It should be noted that this is step one of four separate tables/tracks that will cross the room on two different “book shelf” tracks onto another “turn around” table. I’ll keep you posted. The intent is to have the “end of bar” table done next, the turn around table before October and the book shelf tracks done be Christmas. A bit ambitious but I believe I CAN do it if I only FIRST get the 450’ girder plate bridge built.
John – Chippewa Falls, Wisconsin”
It just goes to show, time spent on model railroad planning is seldom wasted.
Rob talks us through his layout in his last post, which is here.
But perhaps the post you’ll remember Rob most from, is this one, because who doesn’t want moving cars on their layout? They look great and are a lot of fun.
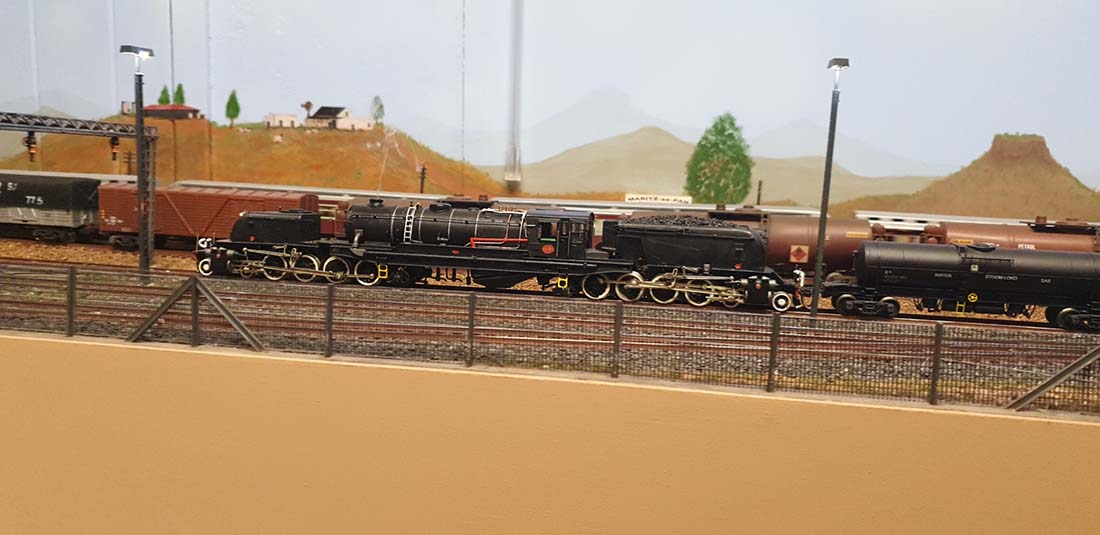
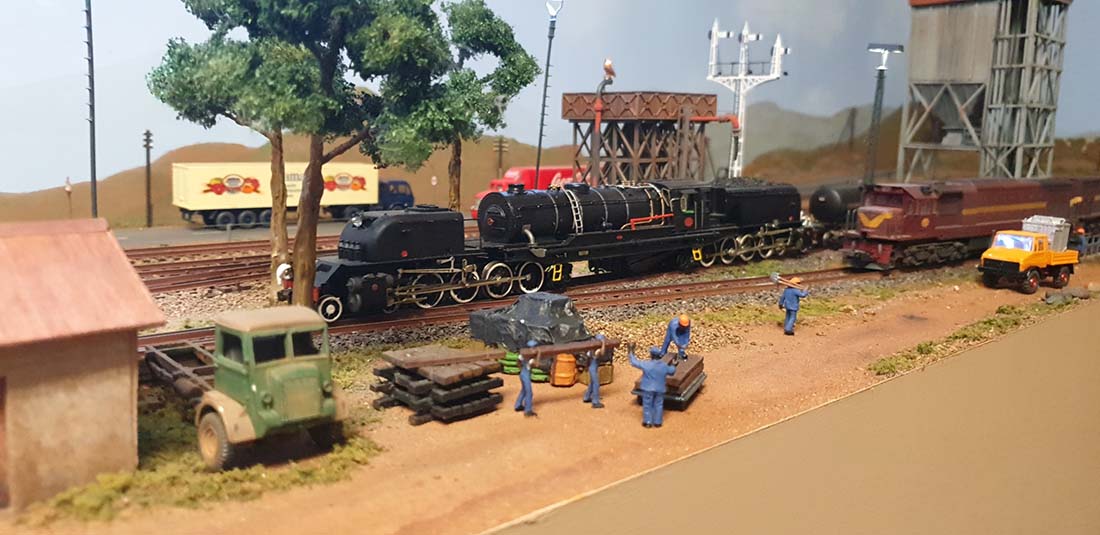
Gary’s Pennsylvania model railroad is based on a class of streamlined electric locomotives, the GG1:
“Hi Al,
I have had many starts and stops on my layout due to medical issues with both my wife and I.
I knew that I was not going to get done with as much as I wanted to, so what I have been concentrating on was my track work, turnouts and running trains with no derailments.
That is why when you see my video, you will notice, especially with my track work, that I have not completed weathering the track and applying ballast.
Two of the main reasons are, first, I had two areas of my layout where the base was just not level.
The second is that I made a big mistake when I started by using Atlas switches.
The points just do not close tight against the rails. I have had to replace about half of them with under table Tortoise switch machines and also Micro Mark under table Switch Tender Switch Machines and used many Peco Turnouts.
I have about four more Atlas switch machines that I need to replace.
Also, you will notice that there is a lot of unfinished scenery and spots on my layout that must be completed; the track work comes first. As they say, a model railroad layout is never done.
Also when you look at my video you will note that it is not built to model an era in railroading like most of the modelers do.
The layouts that the modelers send in are fantastic and beautiful and I view them all to look at how and what they do to learn as much as I can from them.
But my layout is all about one locomotive, the General Electric GG1 engine.
The Pennsylvania Railroad GG1 was a class of streamlined electric locomotives built for the Pennsylvania Railroad (PRR), in the northeastern United States.
Between 1934 and 1943 General Electric and the PRRs Altoona Works built 139 GG1s. The GG1 entered service with the PRR in 1935 and later ran on successor railroads Penn Central, Conrail and Amtrak.
The last GG1 was retired by New Jersey Transit in 1983. Most have been scrapped, but sixteen are in museums.
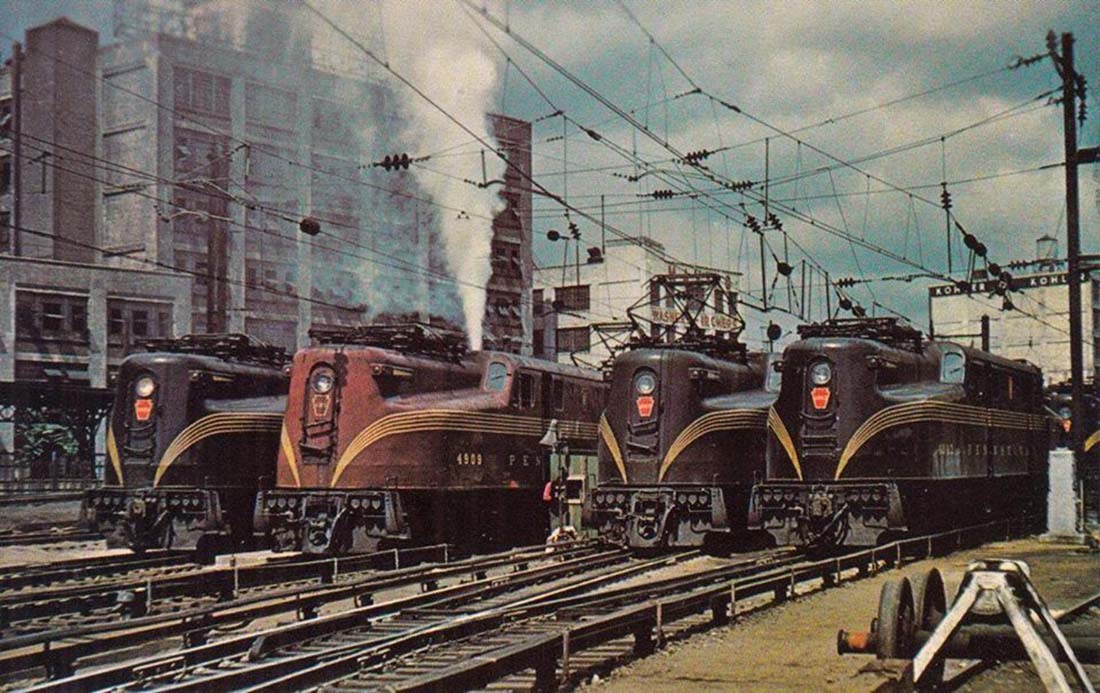
I was a freight conductor for the Pennsy in the late 1960s and early 1970s working in New York and New Jersey and most of the time the engine we worked with was the GG1.
I am very biased towards it, I think it was the most beautiful locomotive built in its day.
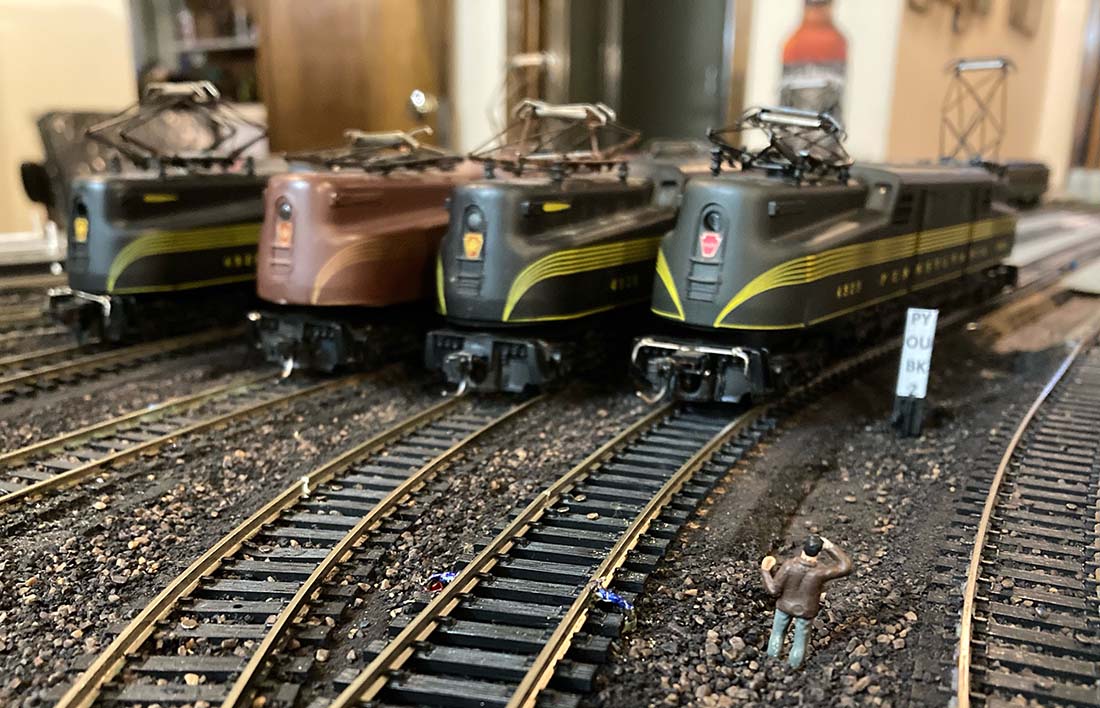
Here is a famous picture of the GGs in Sunnyside.
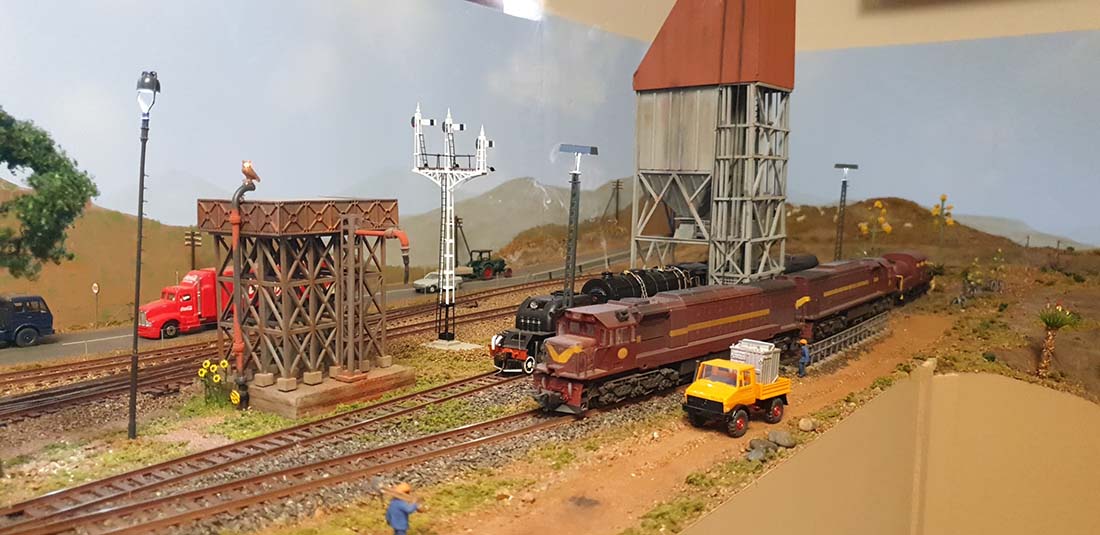
Here is my Pennsylvania model railroad version.
What I want to accomplish in my layout is to model a passenger train headed by a GG1 coming from Penn Station, NY. Park that train in one of the tracks in my Sunnyside Yards passenger
yard. Uncouple the engine and run it into the engine yard for maintenance.
Then, get another GG1 from the engine yard, run it out to the passenger yard and couple up to a train which has been serviced by the crews in the commissary yard. Then take that train out onto the main line going to Penn Station, NY to pick up passengers.
I wanted to do that all automatically with me controlling the blocks, signals, hands free uncoupling, and the movement of the engines and trains. All of the passenger yard tracks
have blocks and all of the engine yard track are blocks.
Most of the signals work in conjunction with the switches and blocks. All of this I did purposely with DC. I know now that DCC would have made things a lot easier, but I started with DC and decided not to stop, convert and start over again.
It has been a fun and a learning experience but sometimes a very frustrating learning experience. The electrical component of HO is so much more complicated then the O scale which I grew up with. I have so much more to do.
I have to install blocks and signals on my two main lines so that I can bring in trains from either track. I have to ballast and weather all the track. I want to add a road on the north side of the layout that will have a White Castle Hamburger scene and also a Harley Davidson motorcycle shop.
I have to install railroad crossing signals on the road that I currently have within the yard. AND I have to dirty up the yard (railroad yards were not the cleanest places to work in). I also want to build a factory building backdrop for the layout using some of Al’s printable buildings.
With the trains, I want to add lighting to the passenger cars and add seated people. Also, I am getting all my engines maintained and running smoothly. I am also building dummy shell engines with parts and broken engines that I have bought off of EBAY.
Plenty to do and I will be at it for a long long time but I enjoy it and I am always learning from all of you modelers that send in blogs and videos and tips.
Well, that’s all for now; I hope you enjoy the video I put together. It won’t win an academy award but for my first one, I think it came out OK.
And I thank Al for his site and the posting of all our layouts and tips and pictures. Keep them coming.
Gary M from Long Island”
I thought I’d add some links to Gary’s previous posts so you have see what a journey he’s been on:
A huge thanks to Gary for sharing his Pennsylvania model railroad every step of the way – it really is wonderful to see. I’m really looking forward to seeing his next update.
That’s all for today folks – please do keep ’em coming.