Brian’s been back in touch with his HO scale harbor layout:
“Hi Al, here is the final article on the build/kit bash of the repair dock for my Pelican Bay section of my layout – the conclusion of this part of the HO scale Boat Repair Dock building project.
The supplied photo below is of the complete kit built up as a diorama showing in the four buildings included in the box. (unknown builder)

With all the modifications I made to it, has taken tooooo long (just over 3 months) but the end result is worth it in the end.
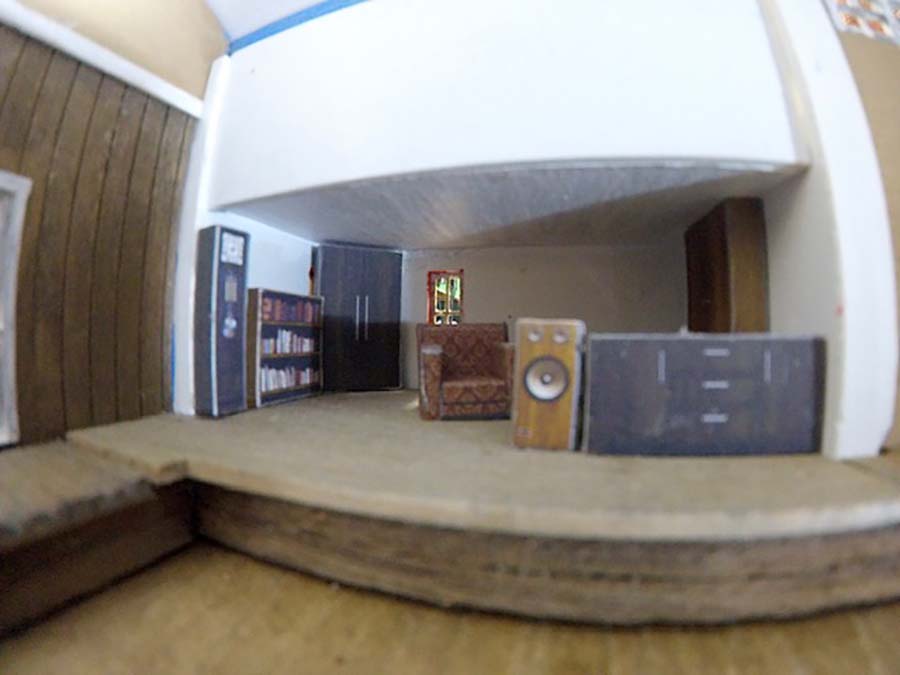
Below is a photo of the proposed interior. On the left back is a doorway leading to the wood storage area. The closed off part in dark wood (with the white door) is a machinery section (not detailed but is where the woodworking machines are supposed to be kept).

The white walls at the right back is the downstairs office in the brick side attached building and the other doorway on the right leads out to the side platform work area.
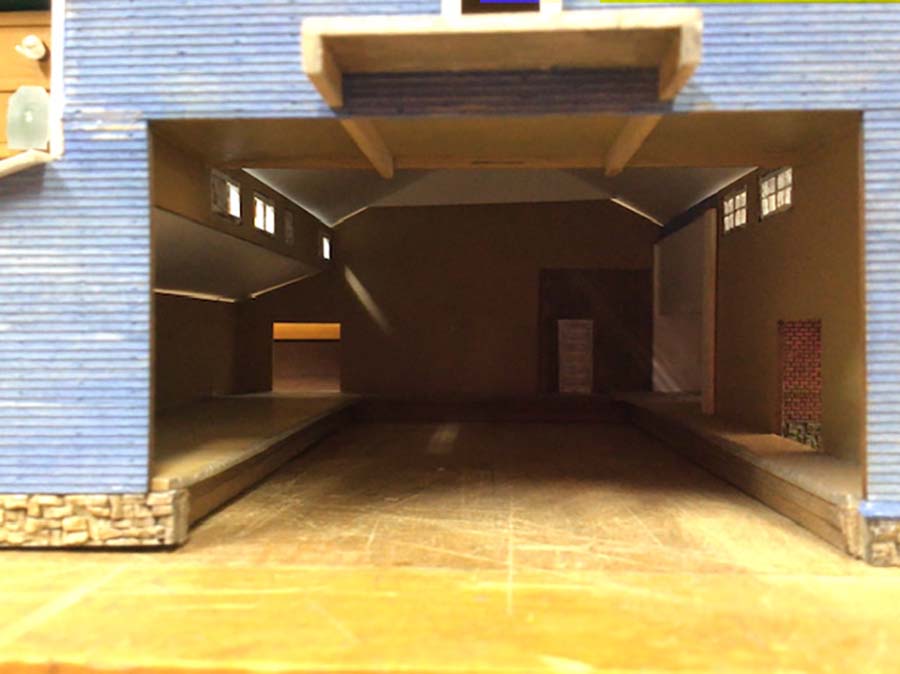
This photo shows the proposed layout of the interior.
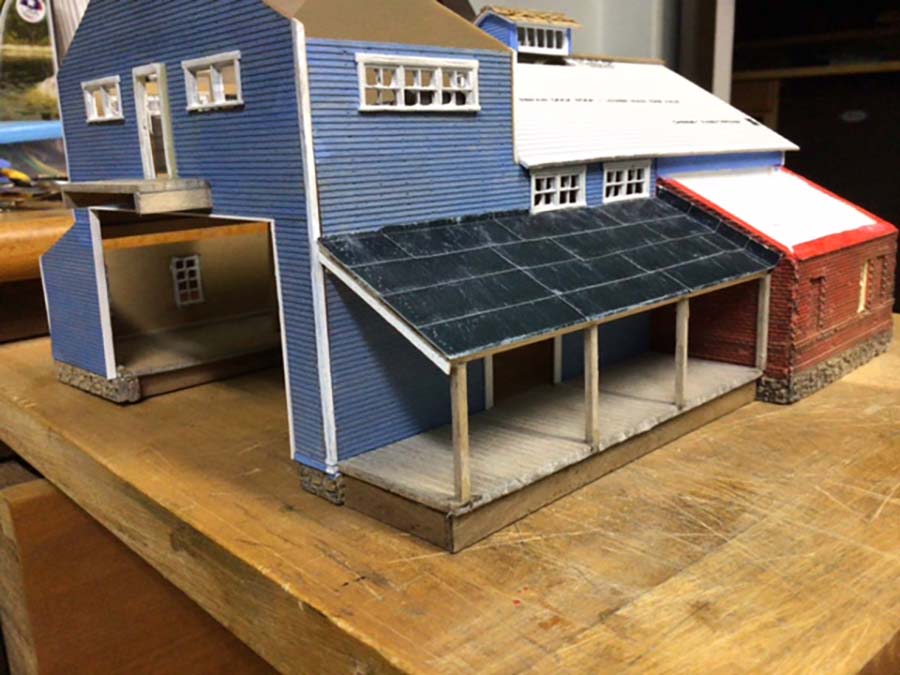
Here the “tarpaper” roof and supports are in place in front of the brick office. The tarpaper on the roof is masking tape painted black and weathered.
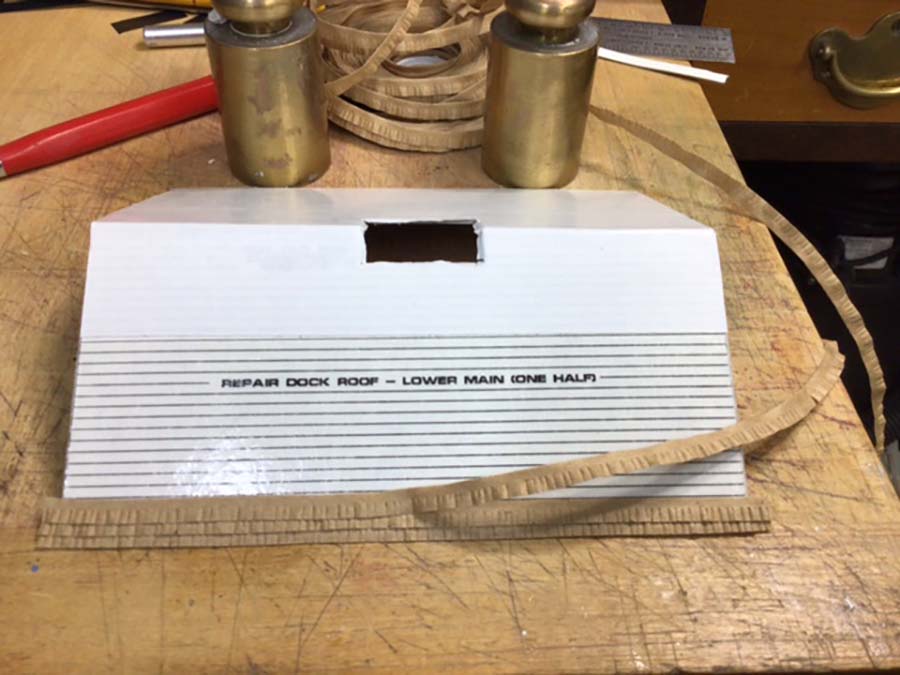
This has to be the most tedious part of the hobby – putting shingle strips on the roof.
I use double sided tape on the lined roof to stick the Campbell Scale shingle strips down. So much easier than the glue and stick-it method suggested. The brass weights prevent it moving away while laying the strips.
The office roof completed and busy laying shingles on the side workshop roof. The weights help to stop the roof moving while doing this.

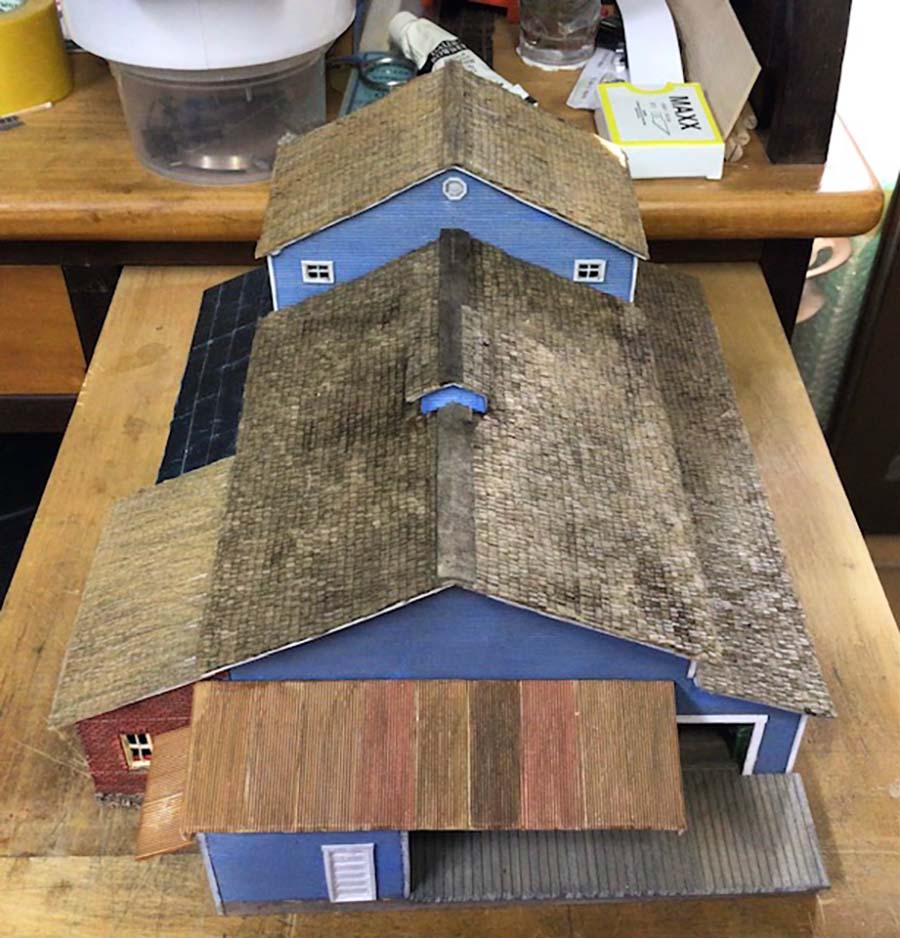
All the shingling is done and I have added the corrugated iron sheets on the back roof of the wood store. They were also added onto the double sided tape. They were painted and weathered before placing on the roof. Final weathering was done using pastel powders. Support posts were added afterwards.
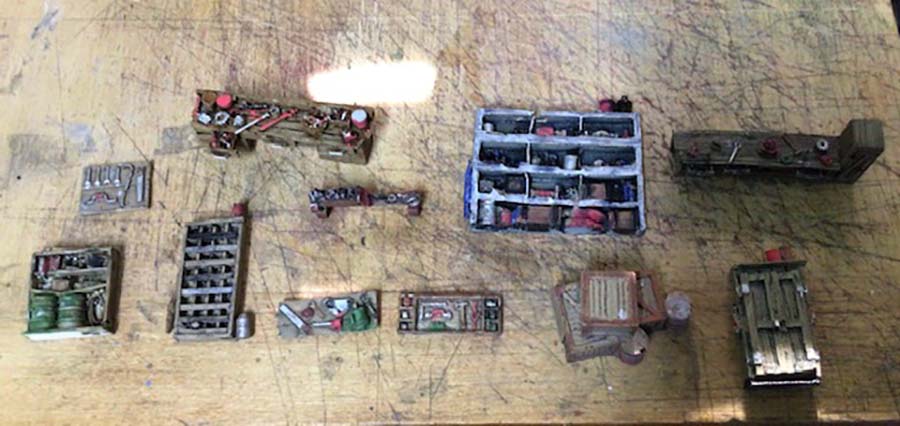
Another time consuming job is painting and weathering all the tools and racks for the interior and exterior walls.
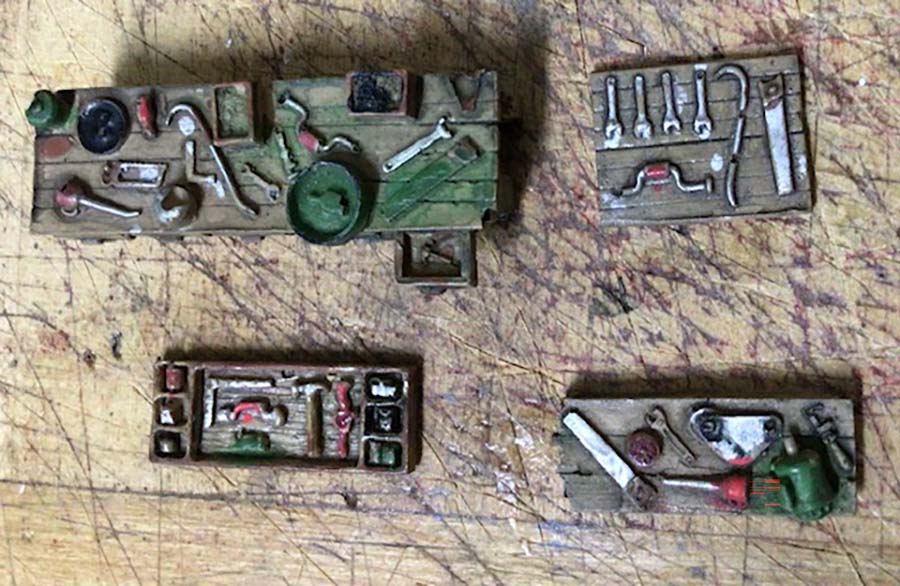
All these castings come from my “bits box” and they get painted as and when needed.
Here the upstairs office has been finished using bits and pieces again from my “bits box”. The door is from the same source (bits box). The one supplied in the kit is a solid metal one and could not open. I needed a door that was open as I could then place figures on the deck outside as well as being able to see the details inside through the door and windows.

The downstairs office was given the same treatment by filling it with the necessary office equipment and figures. (Figures were added later). These photos were taken while the building was still on the work bench.
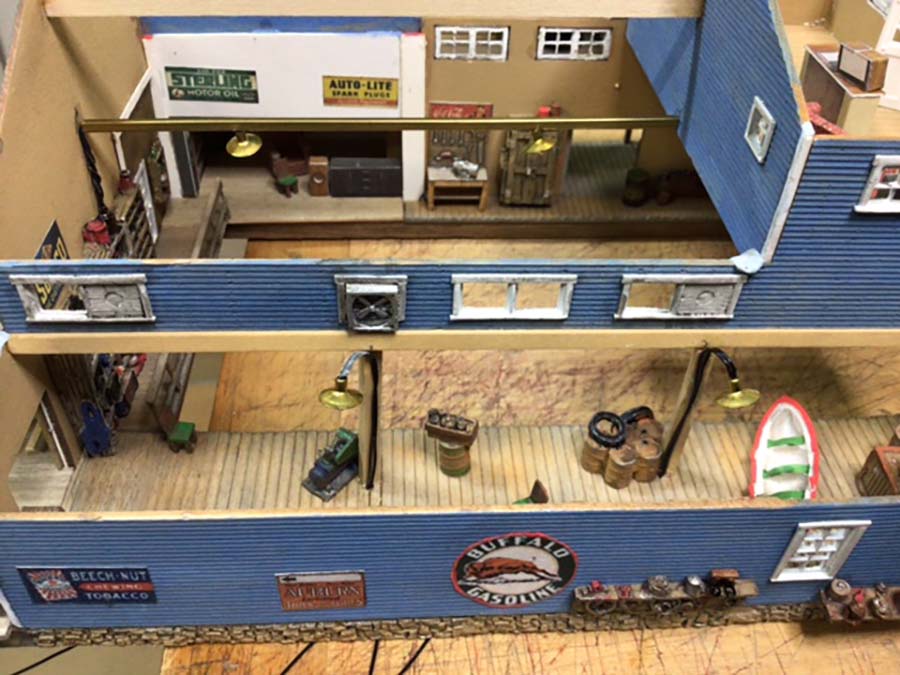
Below shows all the bits and pieces being placed in strategic positions as well as the installation of the lights. Signs were added around the inside adding to the atmosphere. Some of the castings can be seen on the exterior walls as well as signage.
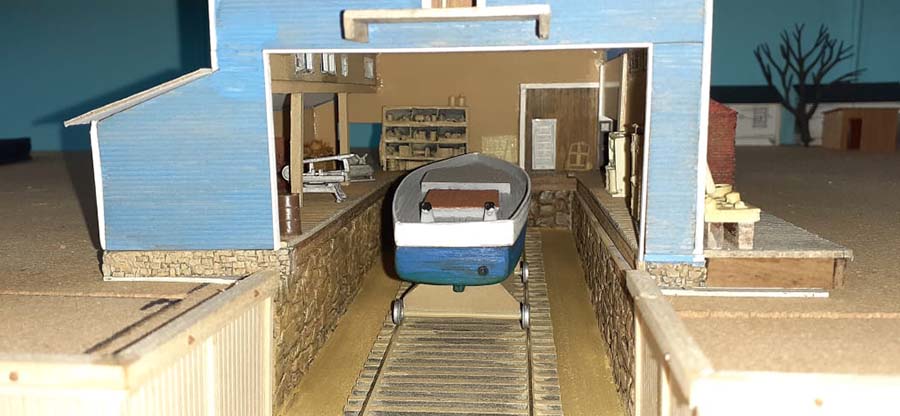
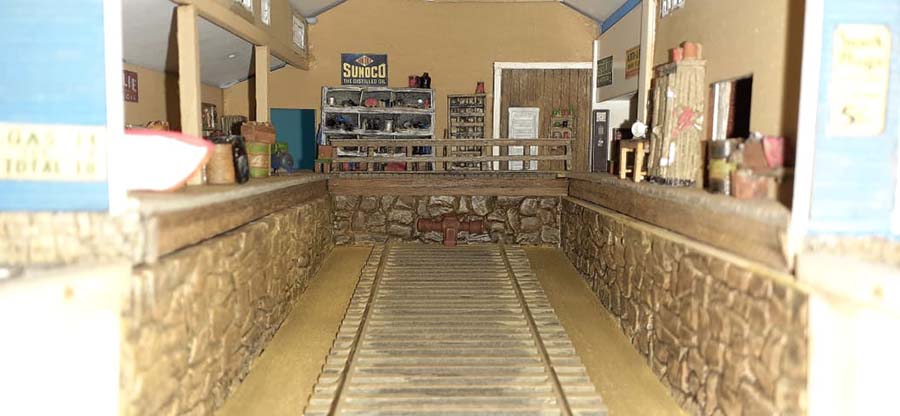
Here is a view looking up the ramp from the waters edge and into the detailed interior. Sand will be added to the ramp as a floor area and will be level with tops of the sleepers.
Another view of the outside work/repair area before placing the final details and adding the sliding door over the doorway into the main building.

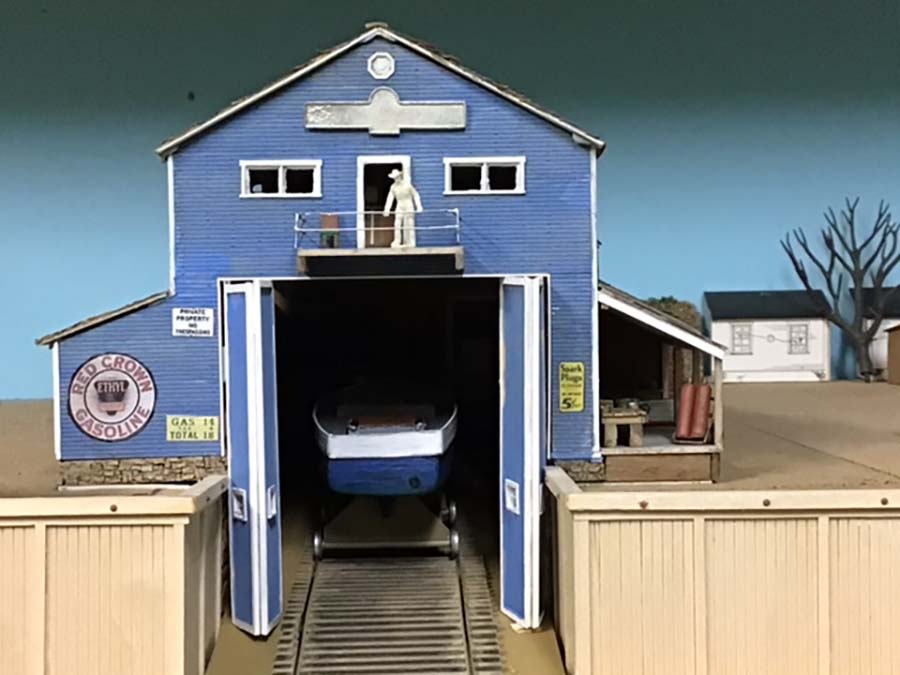
This view shows the front exterior with the deck from the office as well as temporary fitment of the bi-fold doors to get the right height above the rails. And error was made here (to long) and I had to cut three millimetres off the bottom and redo them so that theoretically they could close.
Temporary placement of the details outside while still on the workbench to ensure that it looked right before placing them on the layout. The crooked top roof is just from the camera angle that made it look like that.
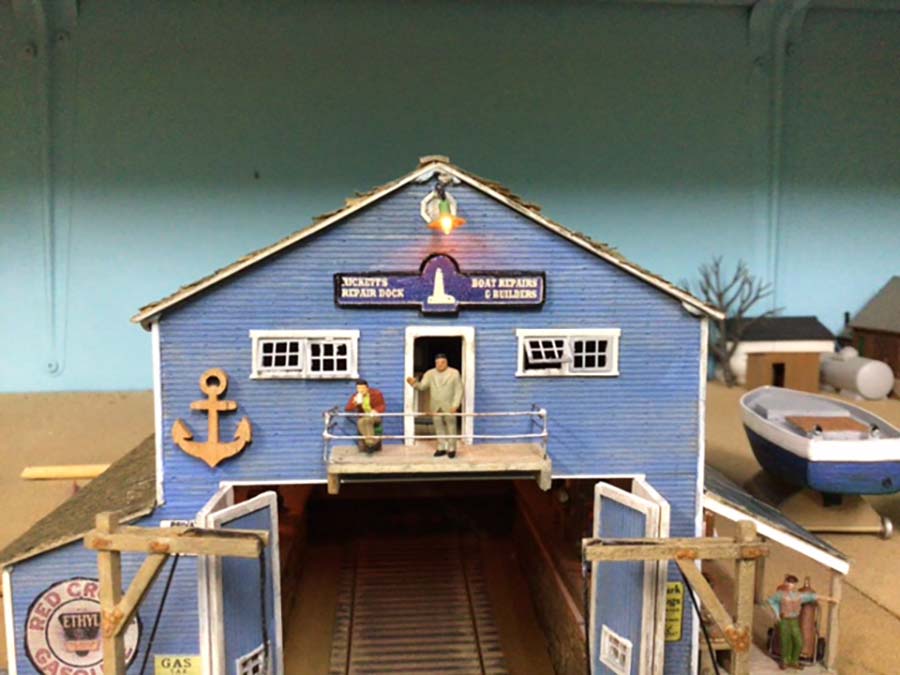
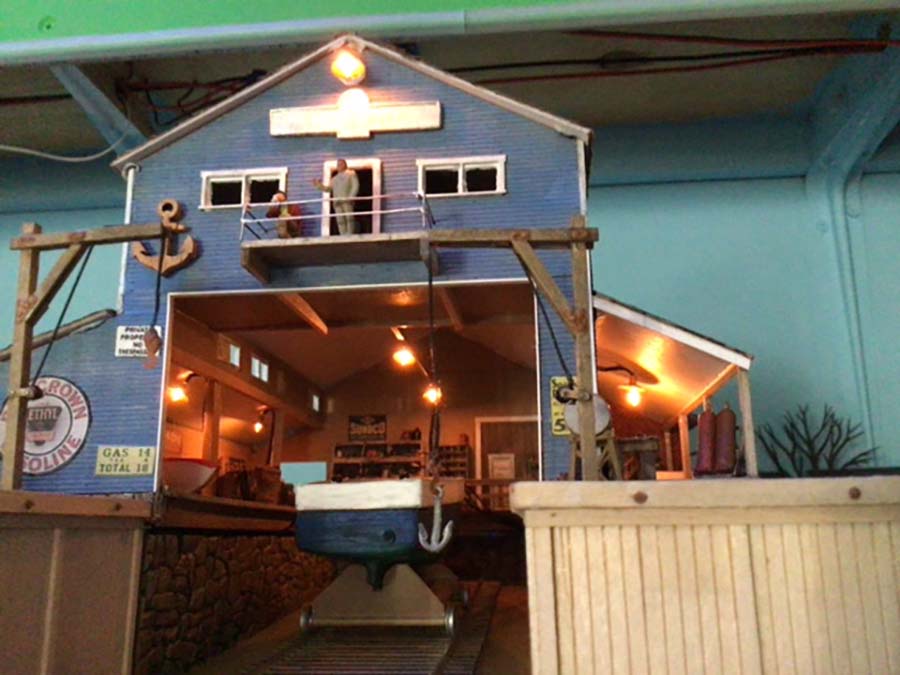
Here the sign is now complete, windows have the open parts in position (brass inserts into the white metal window frames). It is obviously tea time as the boss is sitting on the deck outside the office chatting to the manager and a worker is taking a break down below on the right.
The dockside cranes are in position. Here the interior lights as well as the lit up outside repair area on the right hand side can be seen.
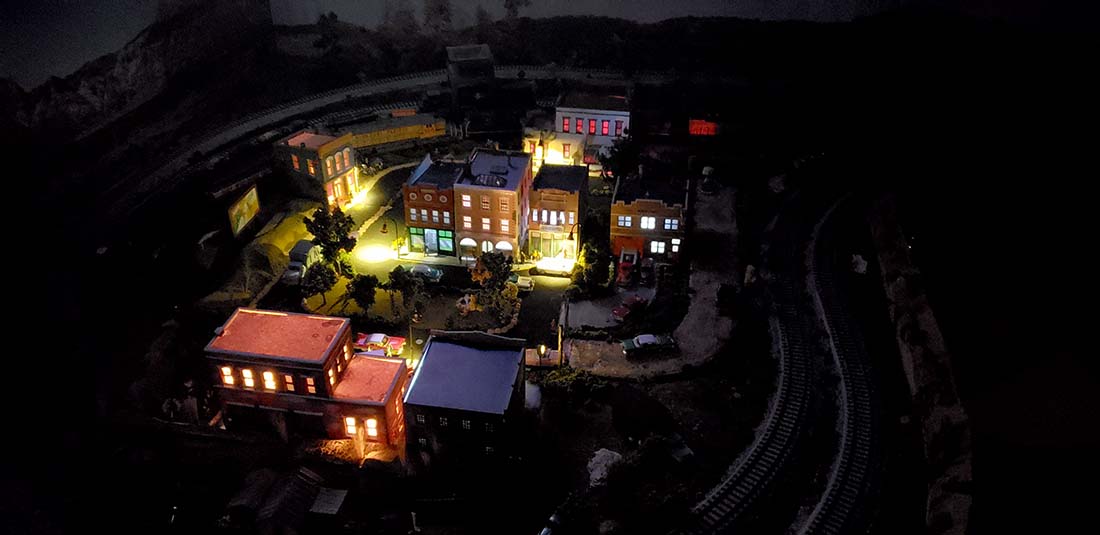
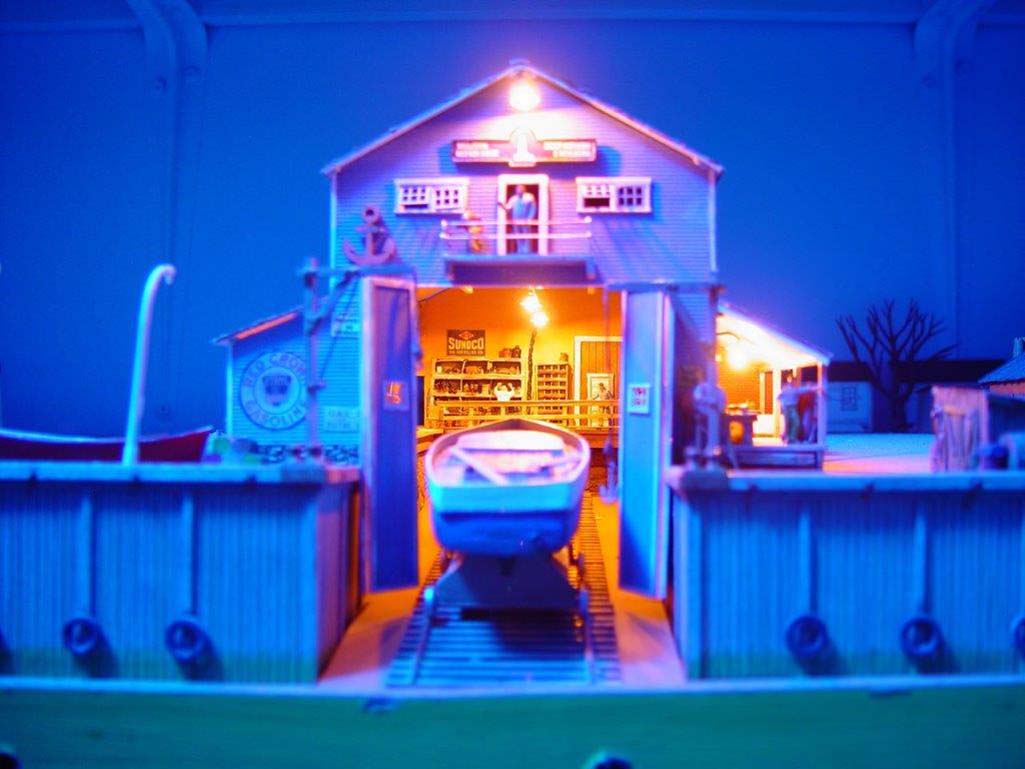
A moonlit photo of the whole setup showing the front wood barrier walls all weathered and the tires added as bumpers on them. The ramp leading from the water up to the interior work area will be covered with a sand floor.
It also shows the well lit area inside giving it a great atmosphere.
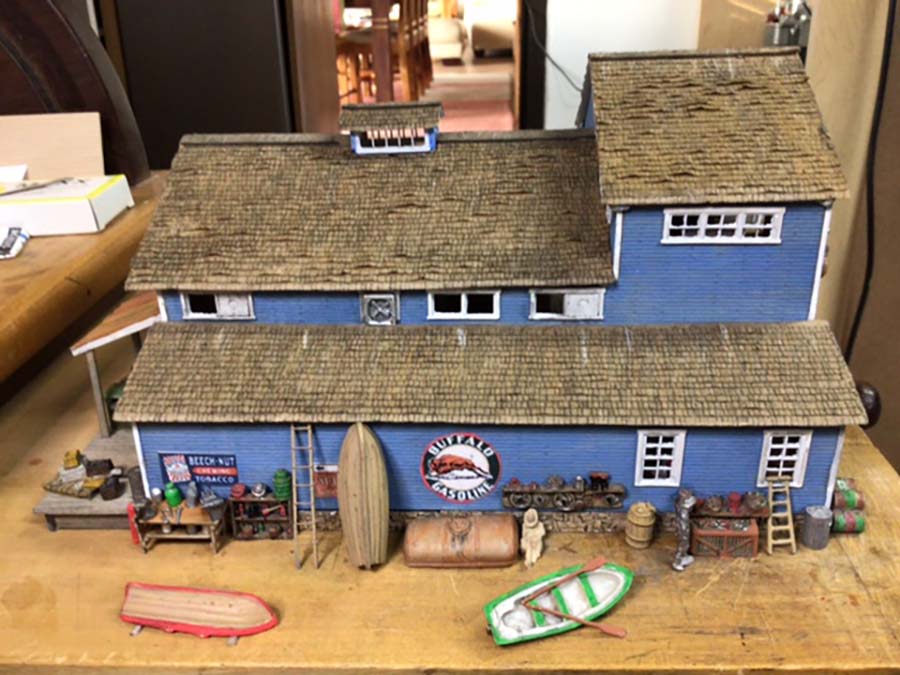
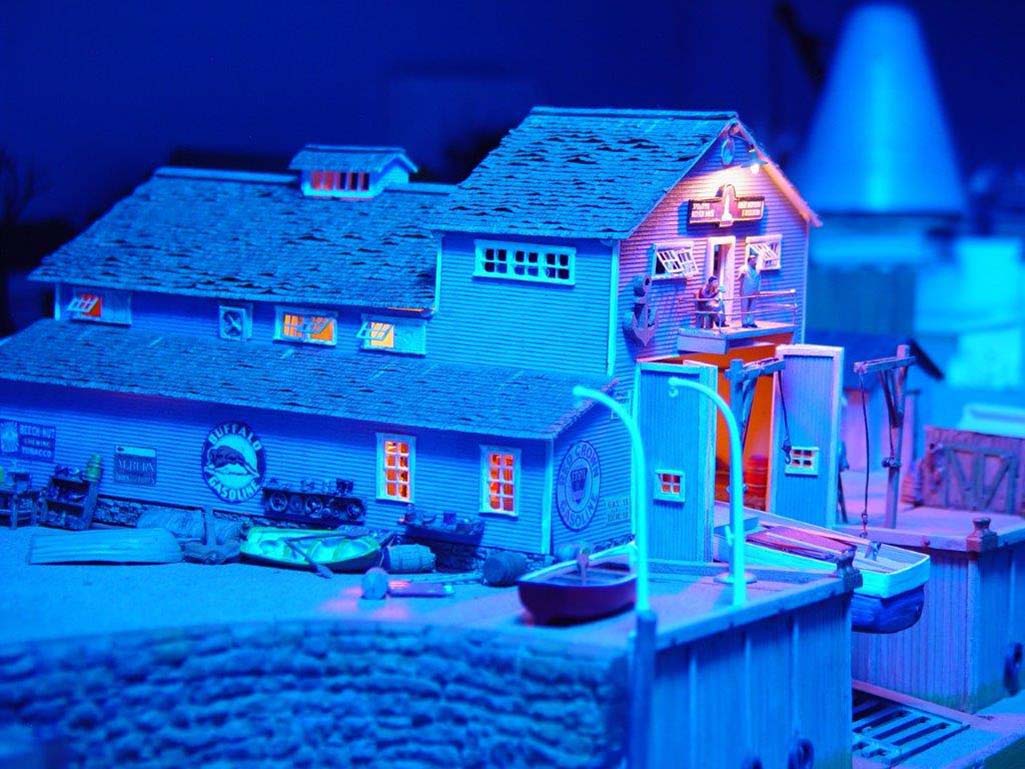
A side view of the building also taken on a moonlit night. When I am a bit further with this section, it will have ground cover on it and everything will be bedded in properly.
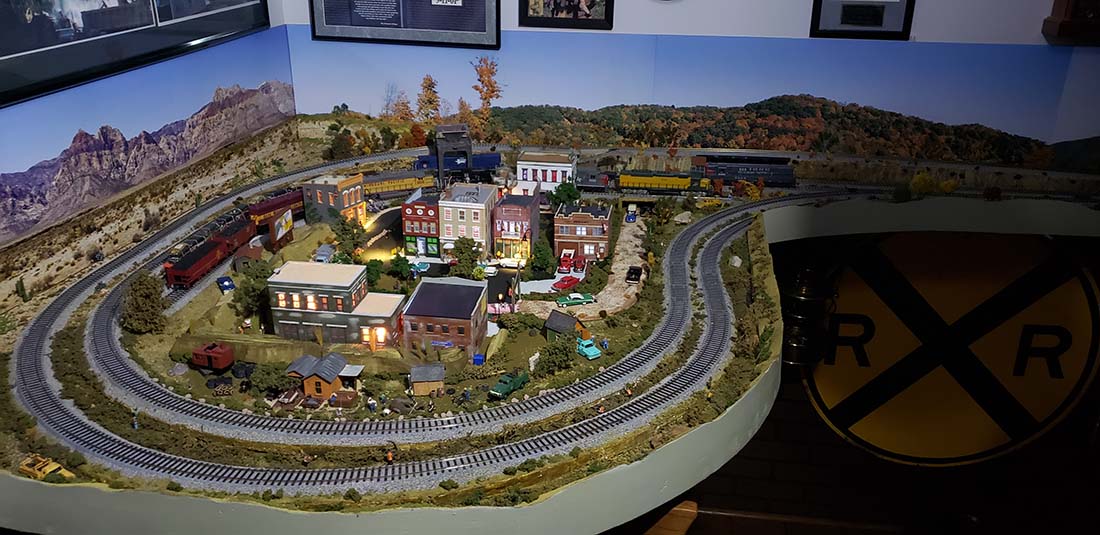
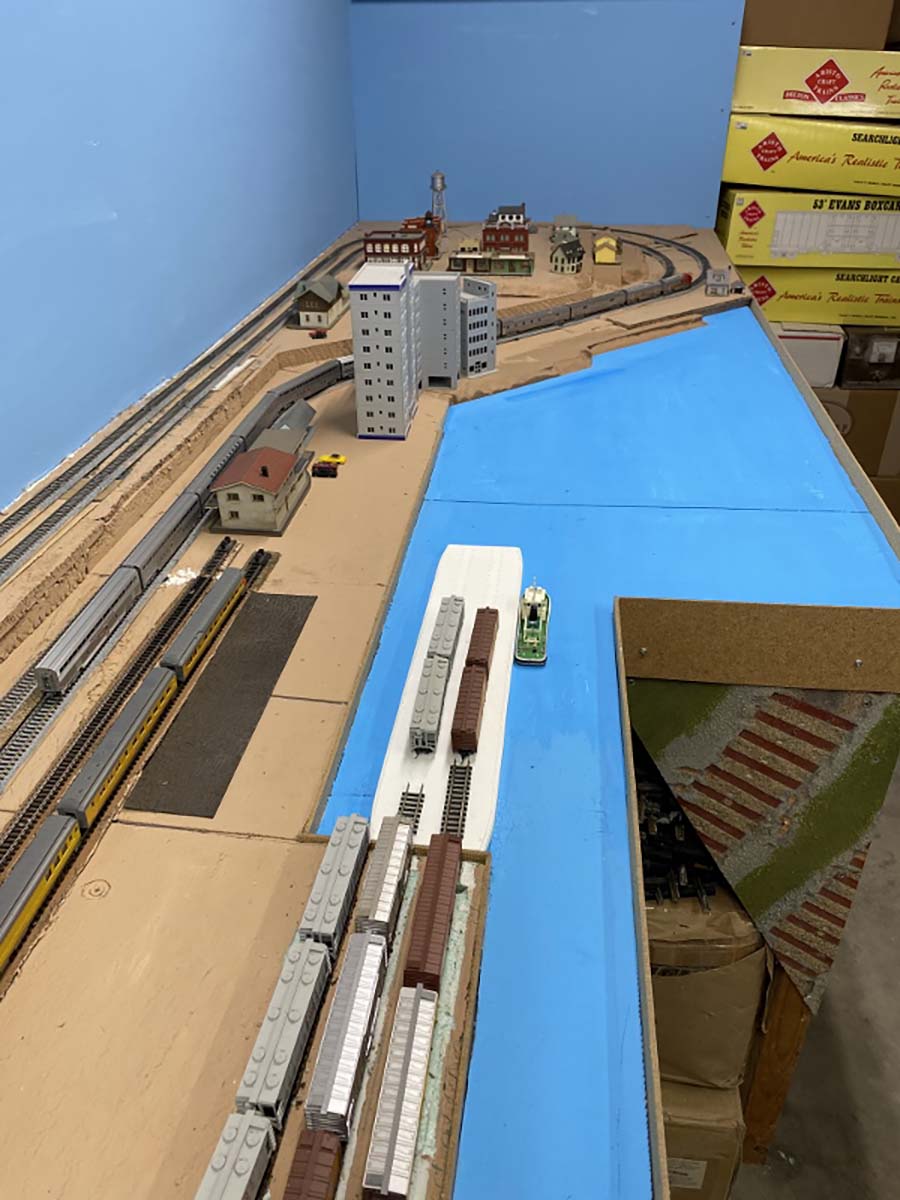
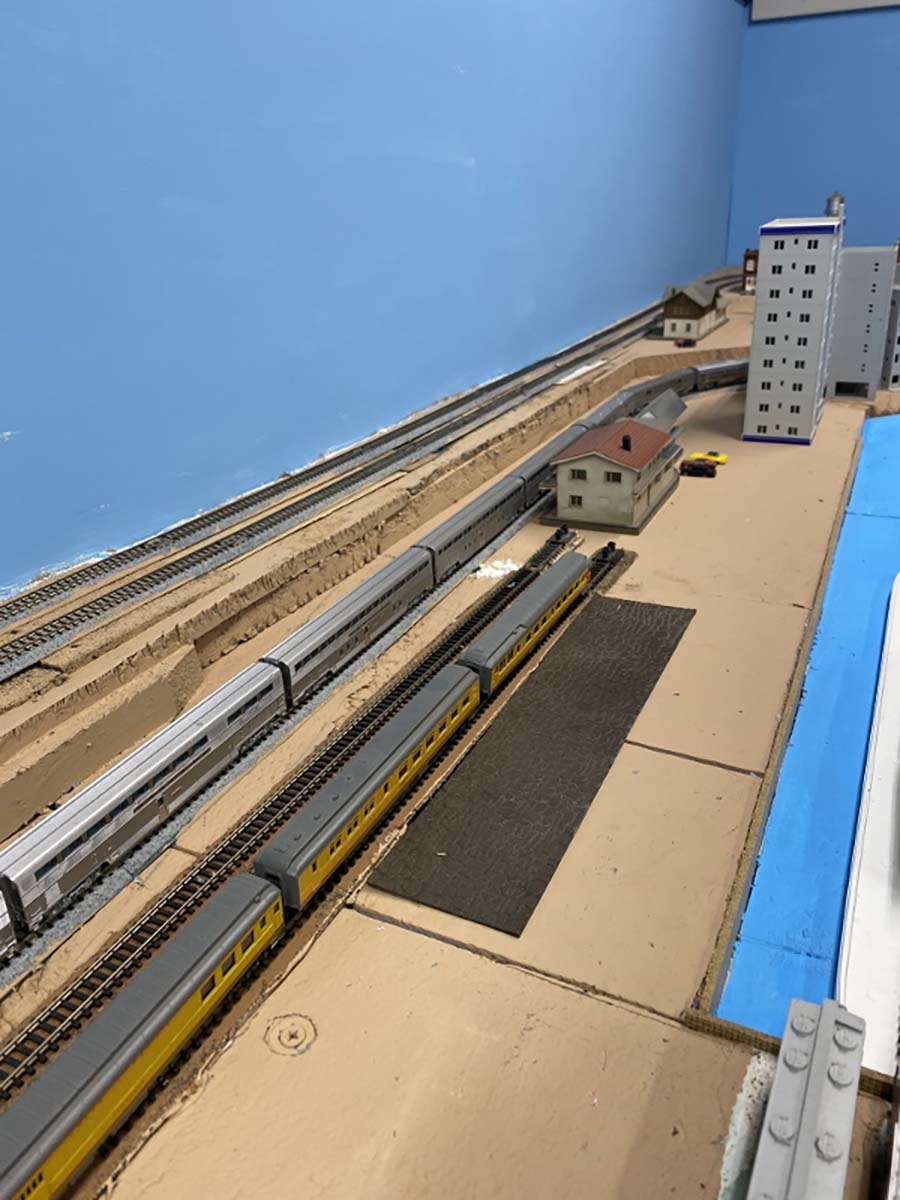
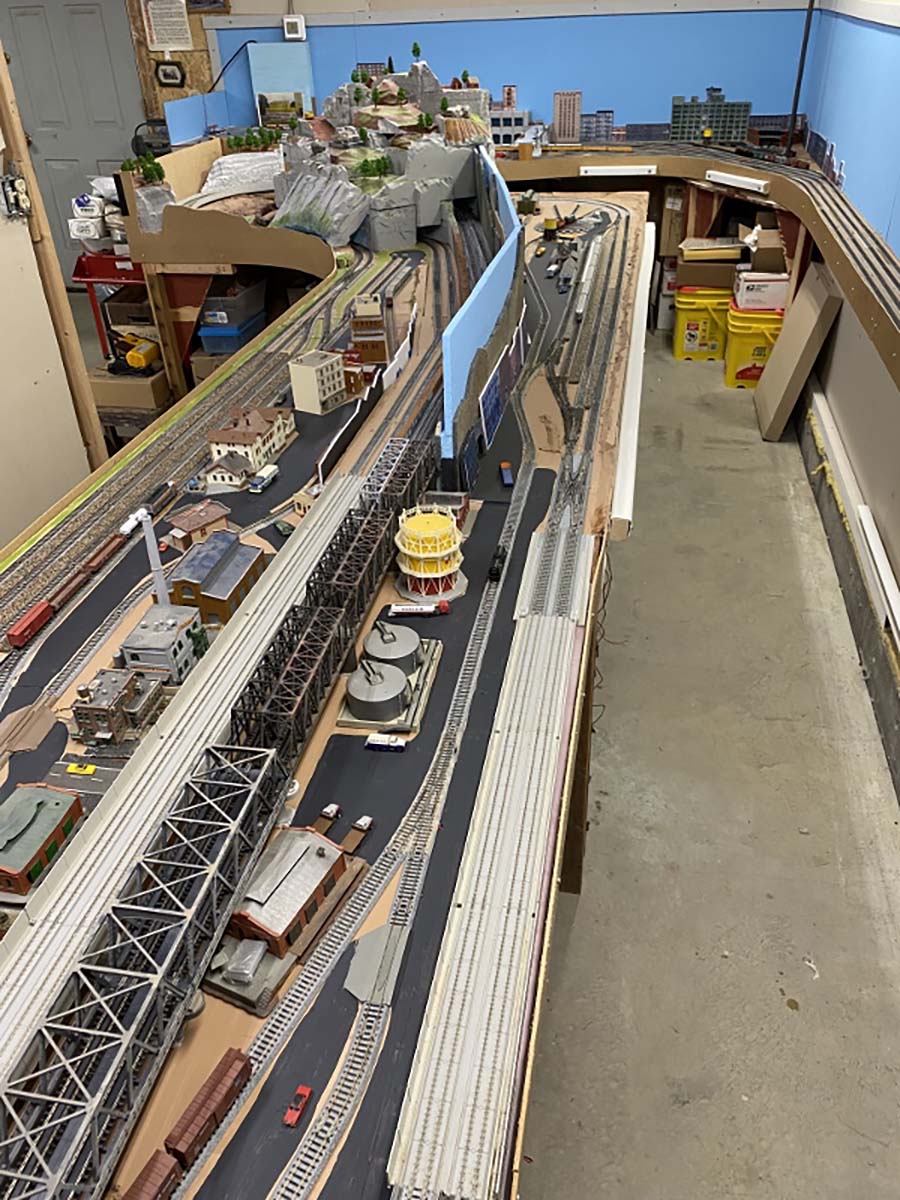
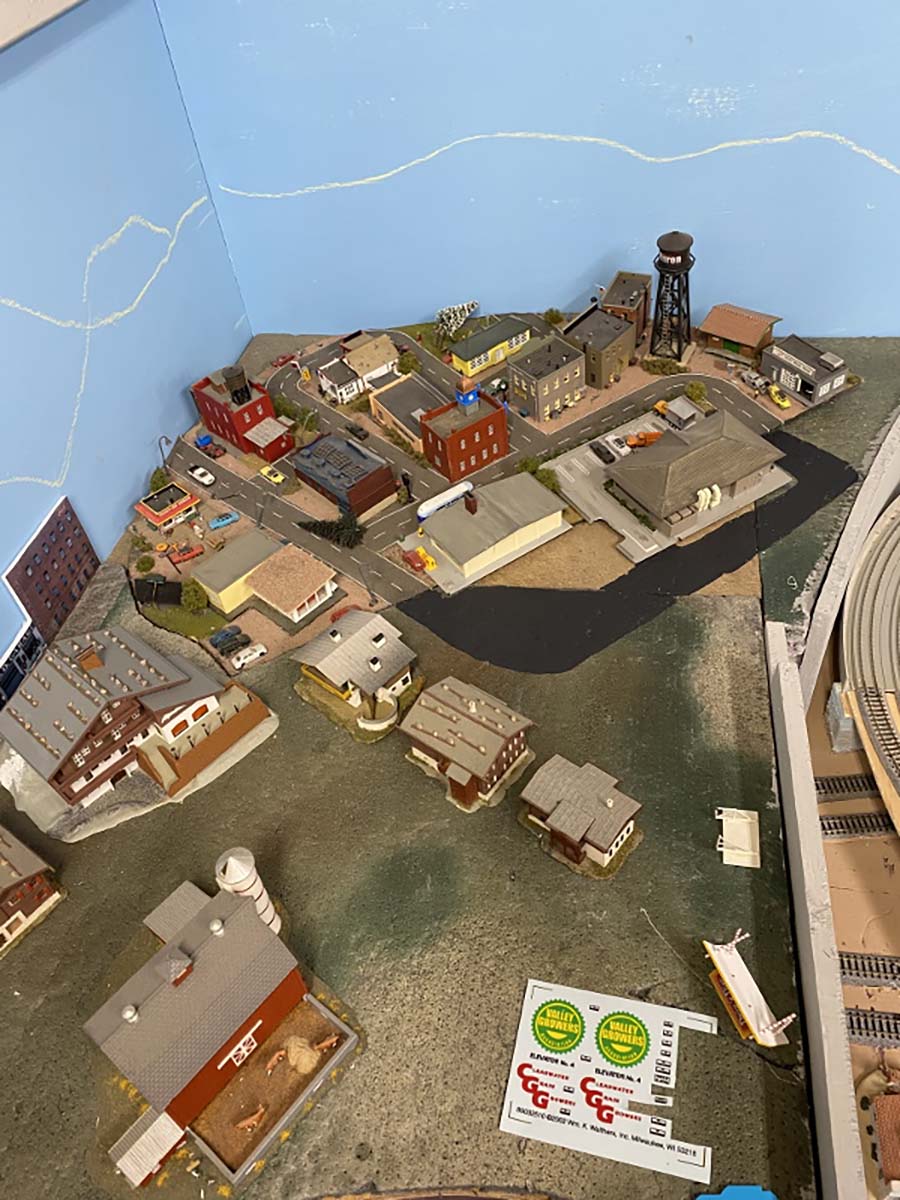
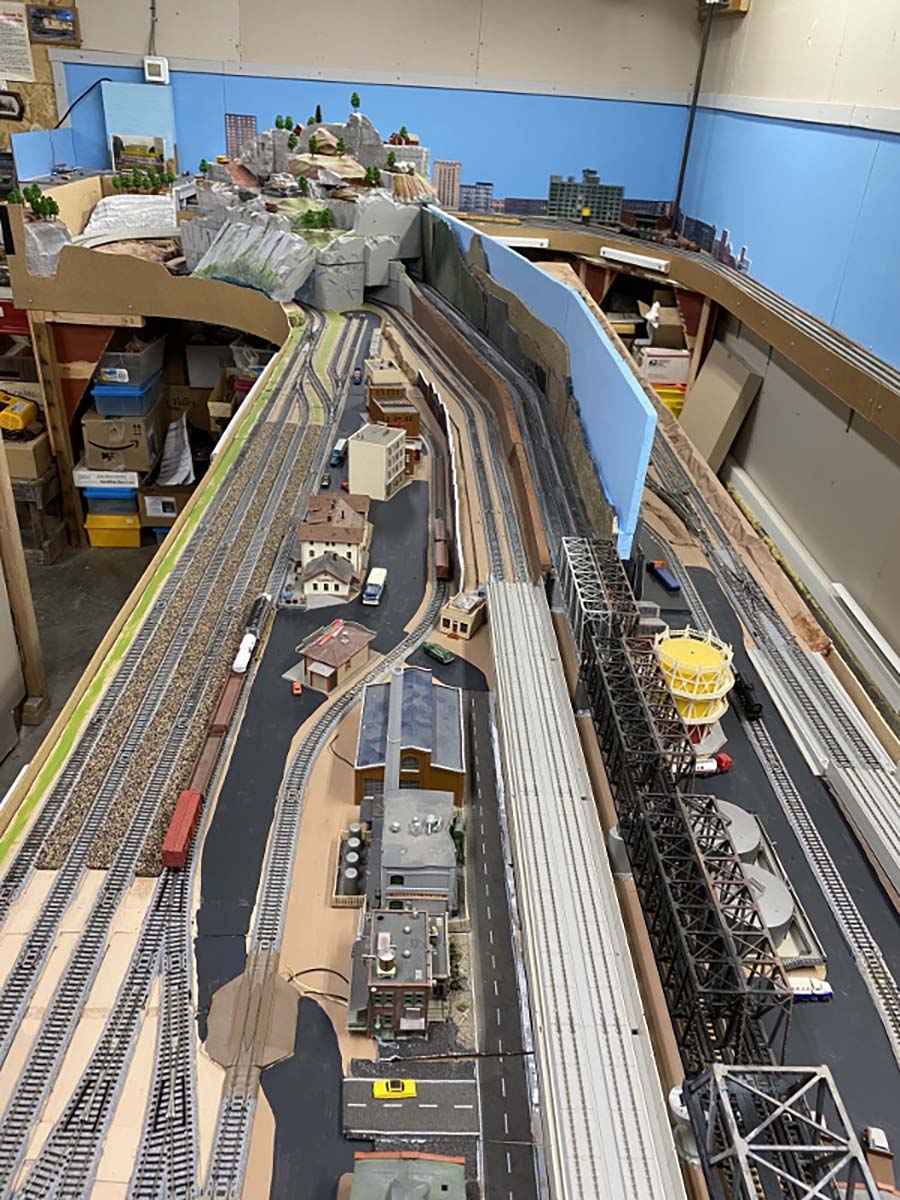
This I where it is situated on the layout as part of Pelican Bay extension.
Once the “green” building from another kit (currently a card stock mock-up of it) is built and placed on the pier, the base for the water will be textured, painted and then Woodland Scenics realistic water will be poured to match the existing water on the left.
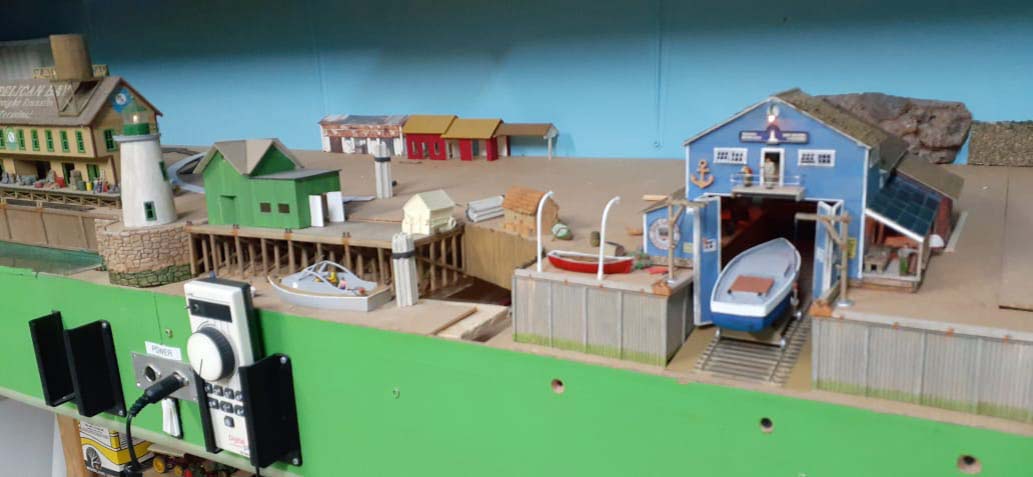
The railroad tracks will be laid to fit the area and supply the various industries along the waterfront here. Currently the tracks are laid to just behind the extreme left hand side building. A piece of track can be seen between the lighthouse and the green building on the pier.
At the back against the wall is a card stock mock-up of a Fine Scale Miniatures freight house that still has to be built as well. (The red one).
This Repair Dock building (Builders in Scale kit) is one of four supplied in this kit. This building will also be used for repairing and building of small boats for Pelican Bay. The second one (a sail maker, although it may be called something else as I already have on on this level) will follow around to the right of the above. (Future extension)
The third building in the kit is a restaurant and the fourth one is the lighthouse shown on the left.
This construction will be covered in another article later as I did alter it quite substantially into a working lighthouse.
I do have photos of the interior taken with my GoPro cube camera that show off the whole interior of the above building with all the figures and bits and pieces.
If requested, I can send them to Alastair for inclusion in future posts.
Till next time, keep modelling.
Brian – the HOn3 guy in Knysna.”
A huge thanks to Brian for sharing his HO scale harbor scene – if you want to see his last update it’s right here.
That’s all for today folks.
Please do keep ’em coming.
And if today is the day you get started on your layout, the Beginner’s Guide is here.
Best
Al
PS Latest ebay cheat sheet is here.
PPS More HO scale train layouts here if that’s your thing.