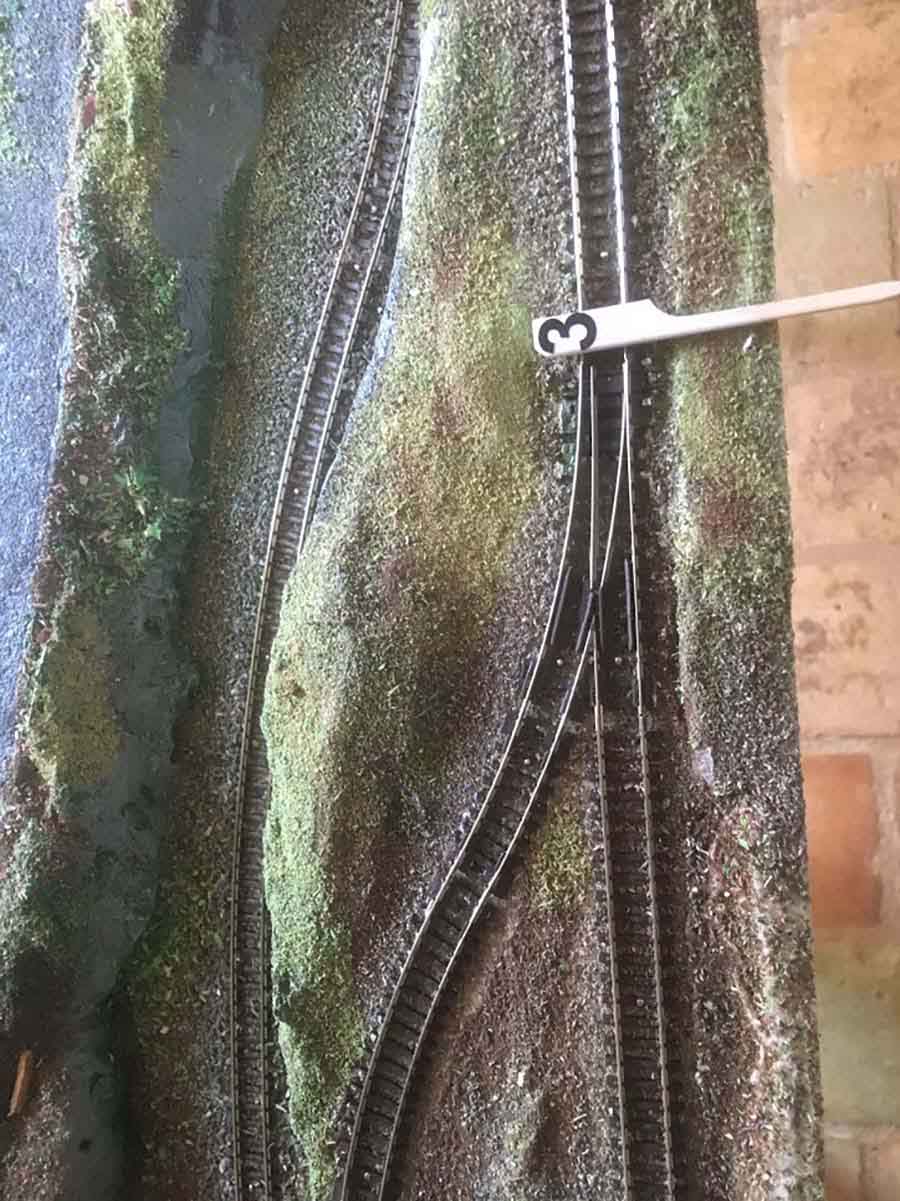
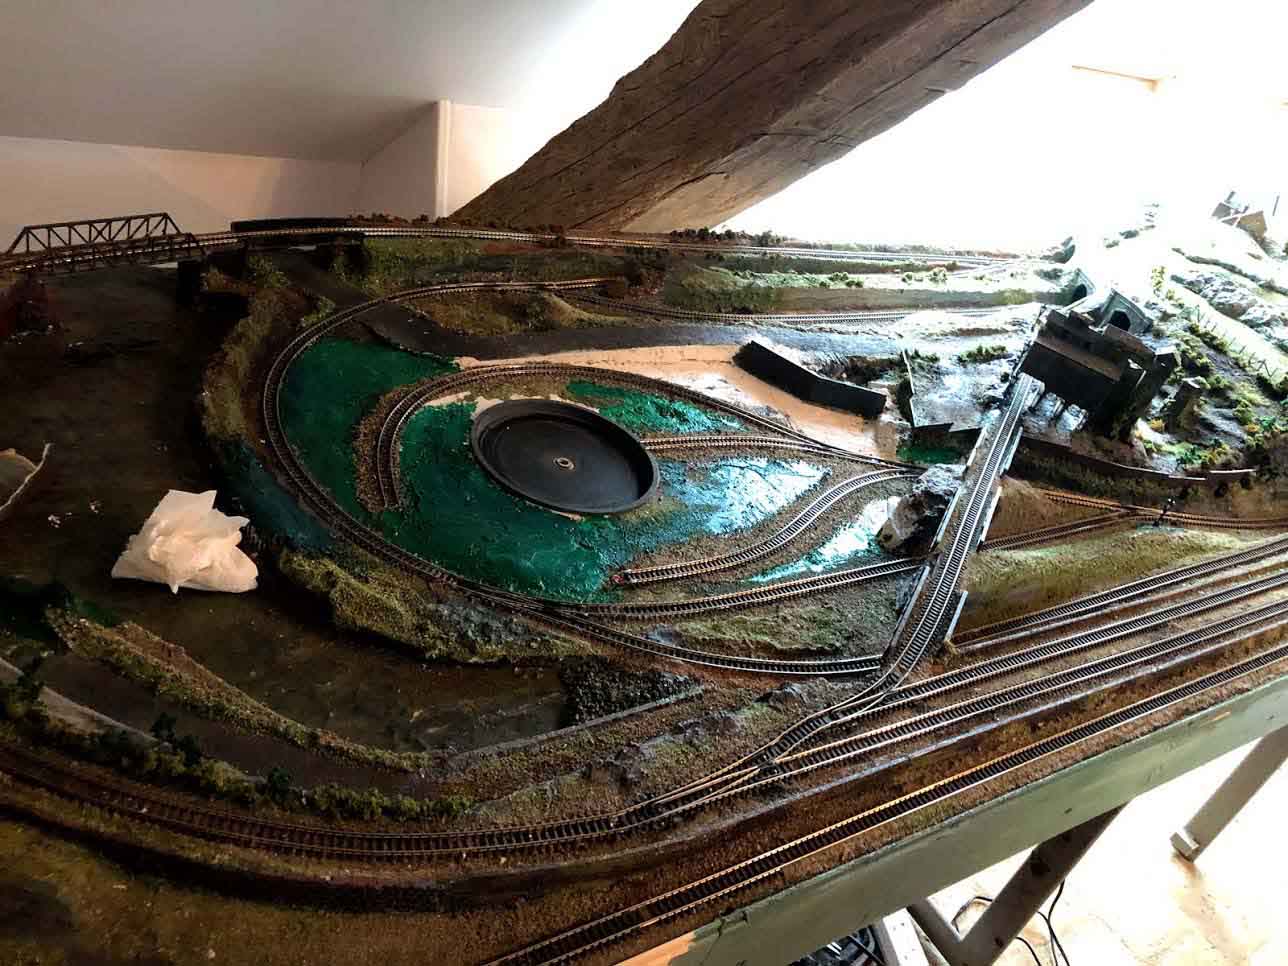
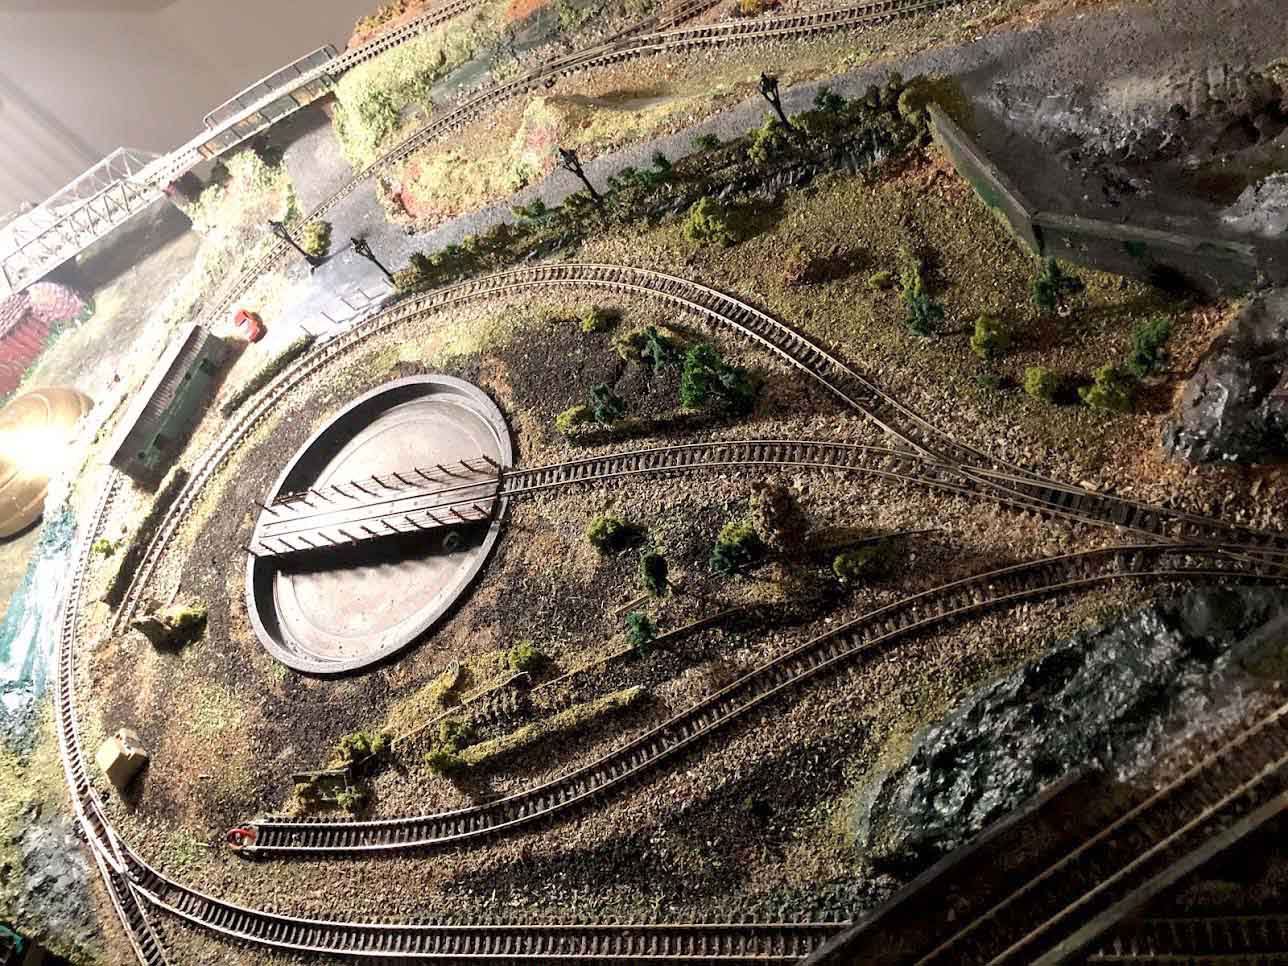
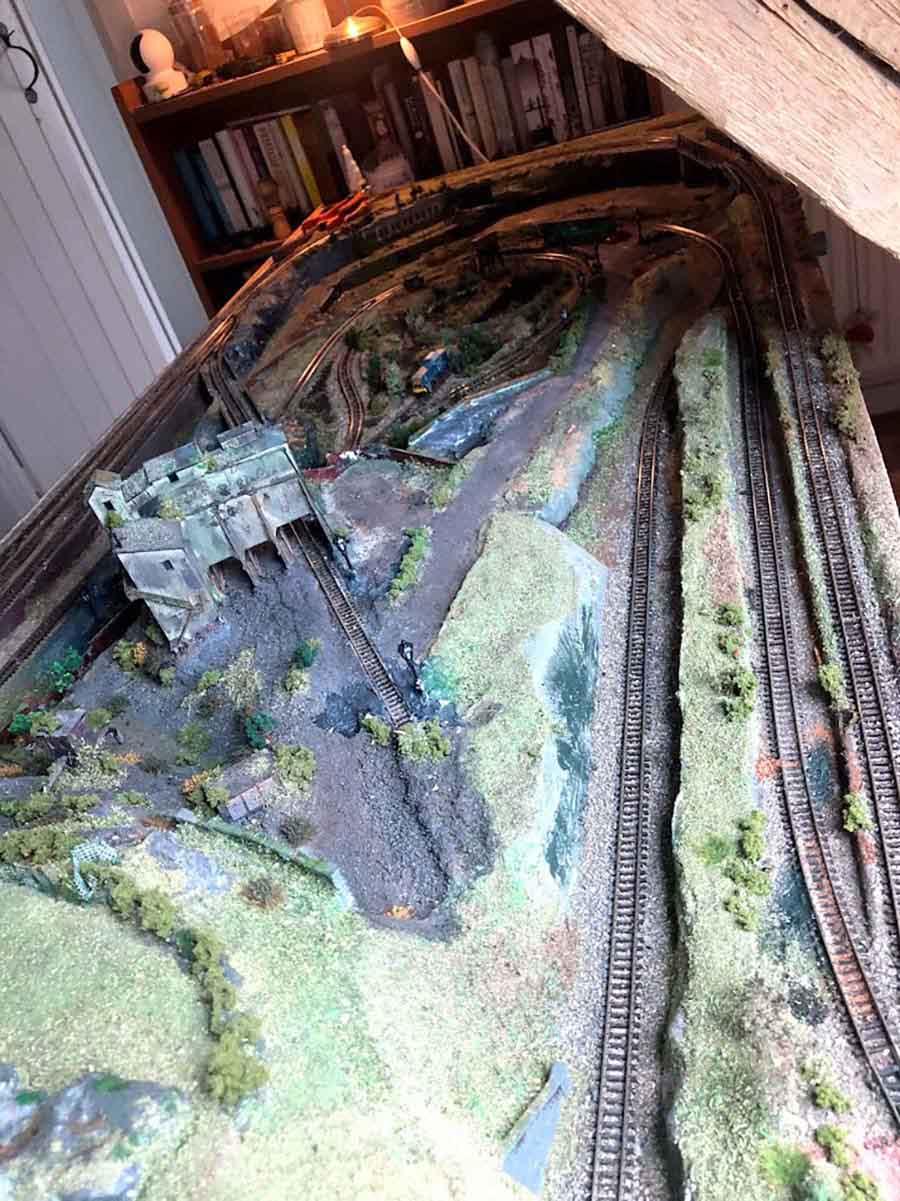
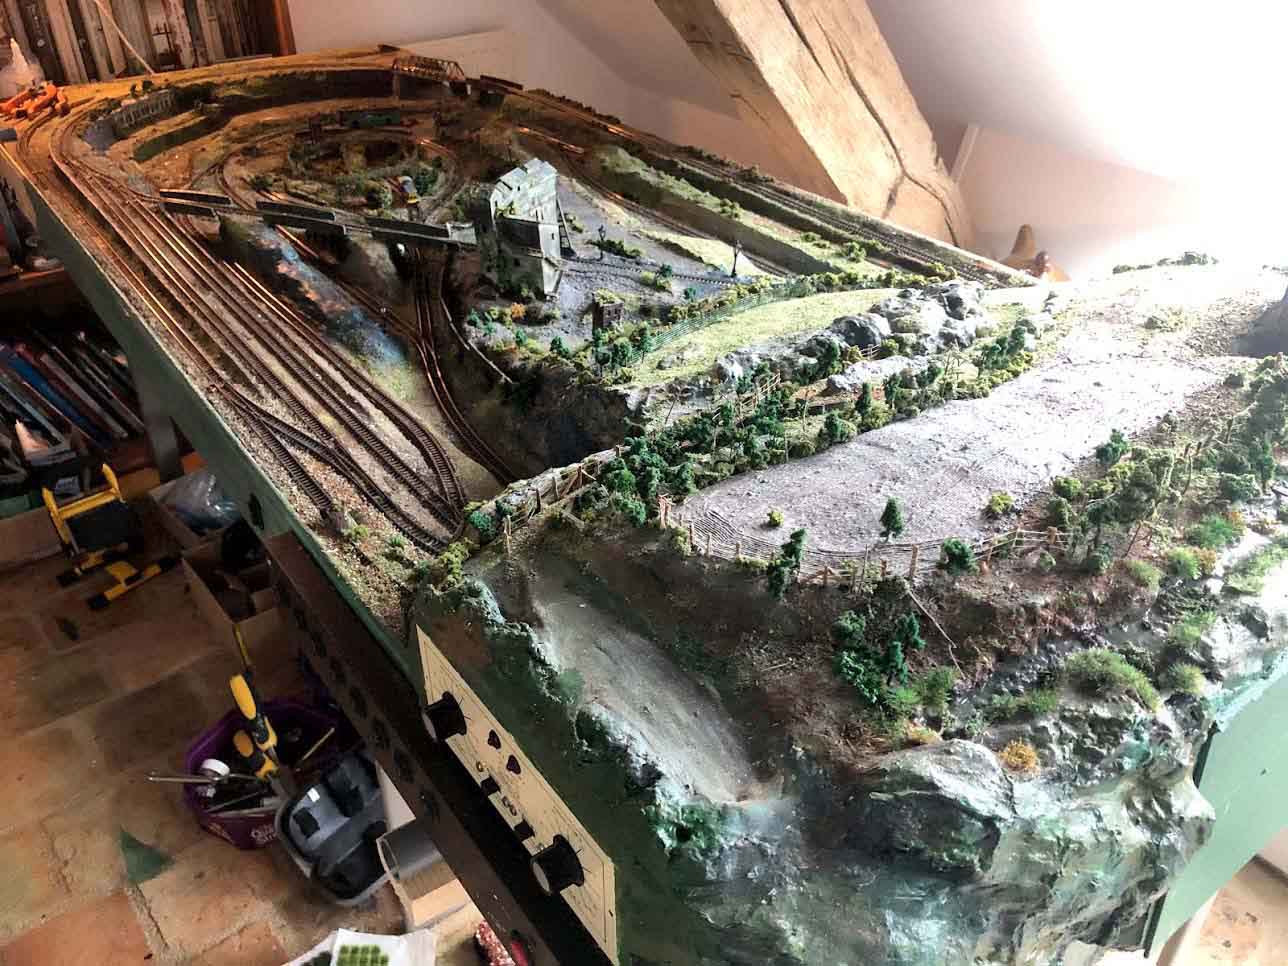
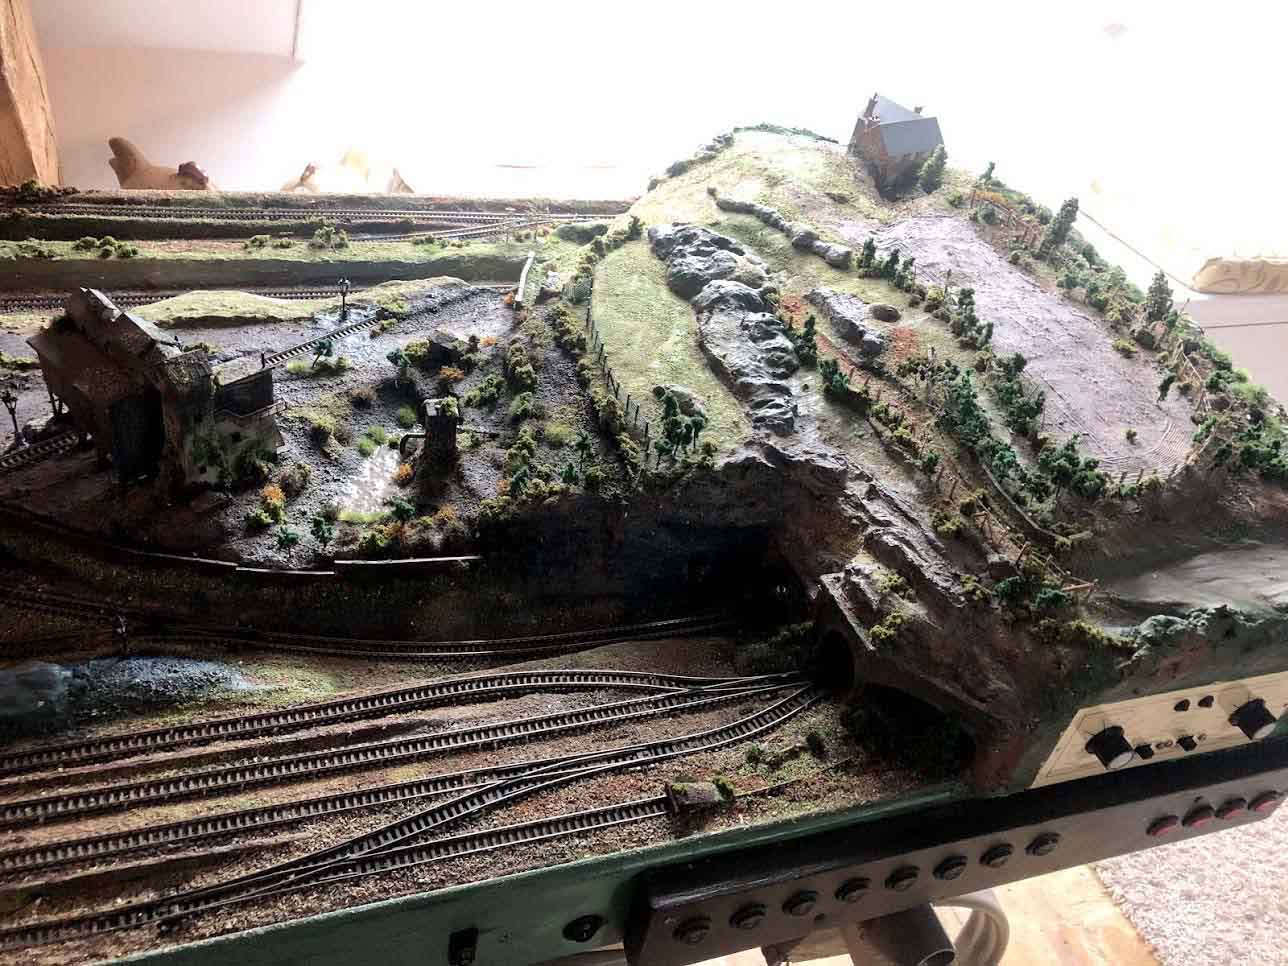
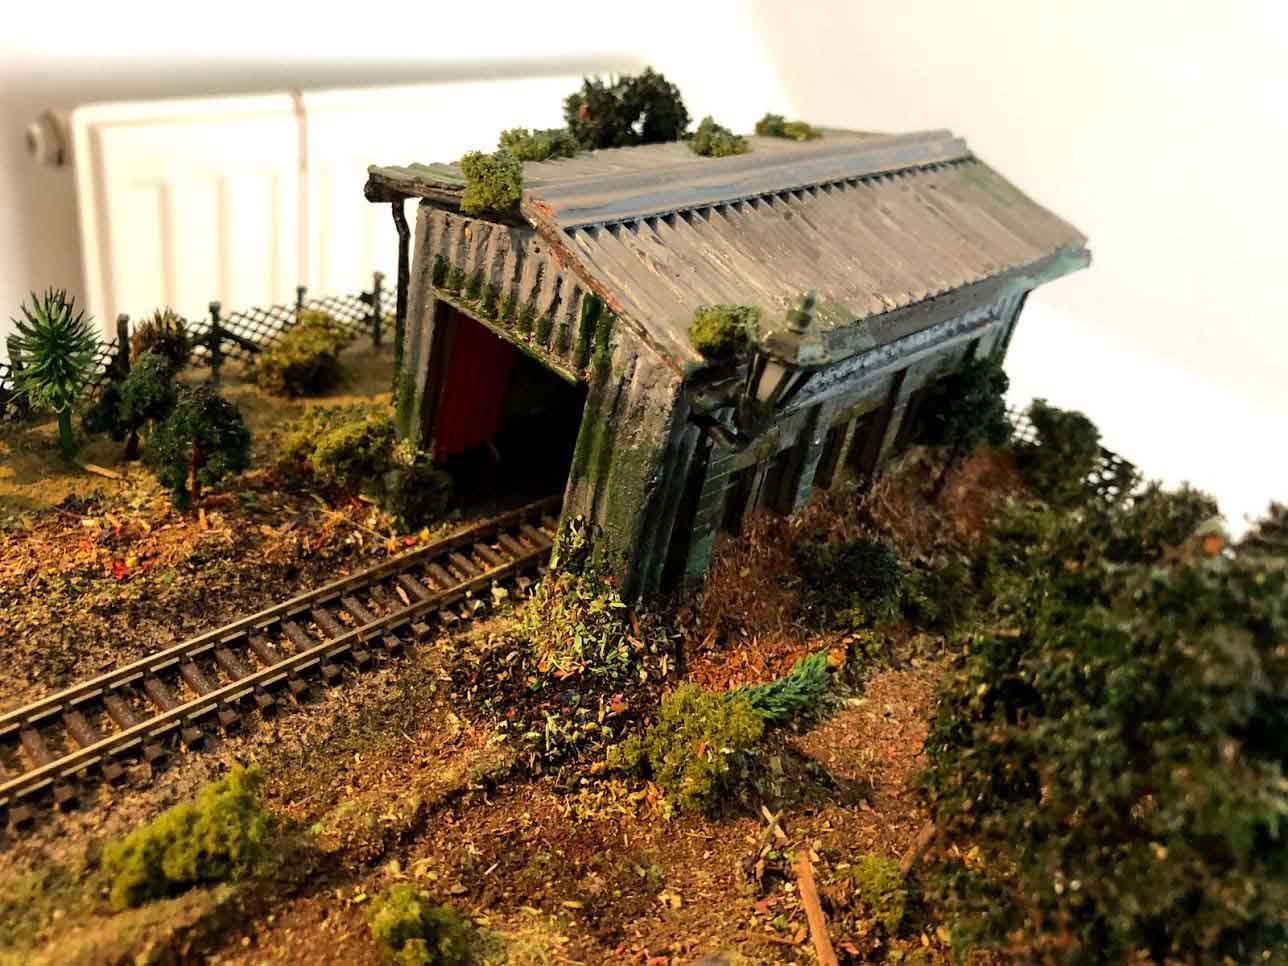
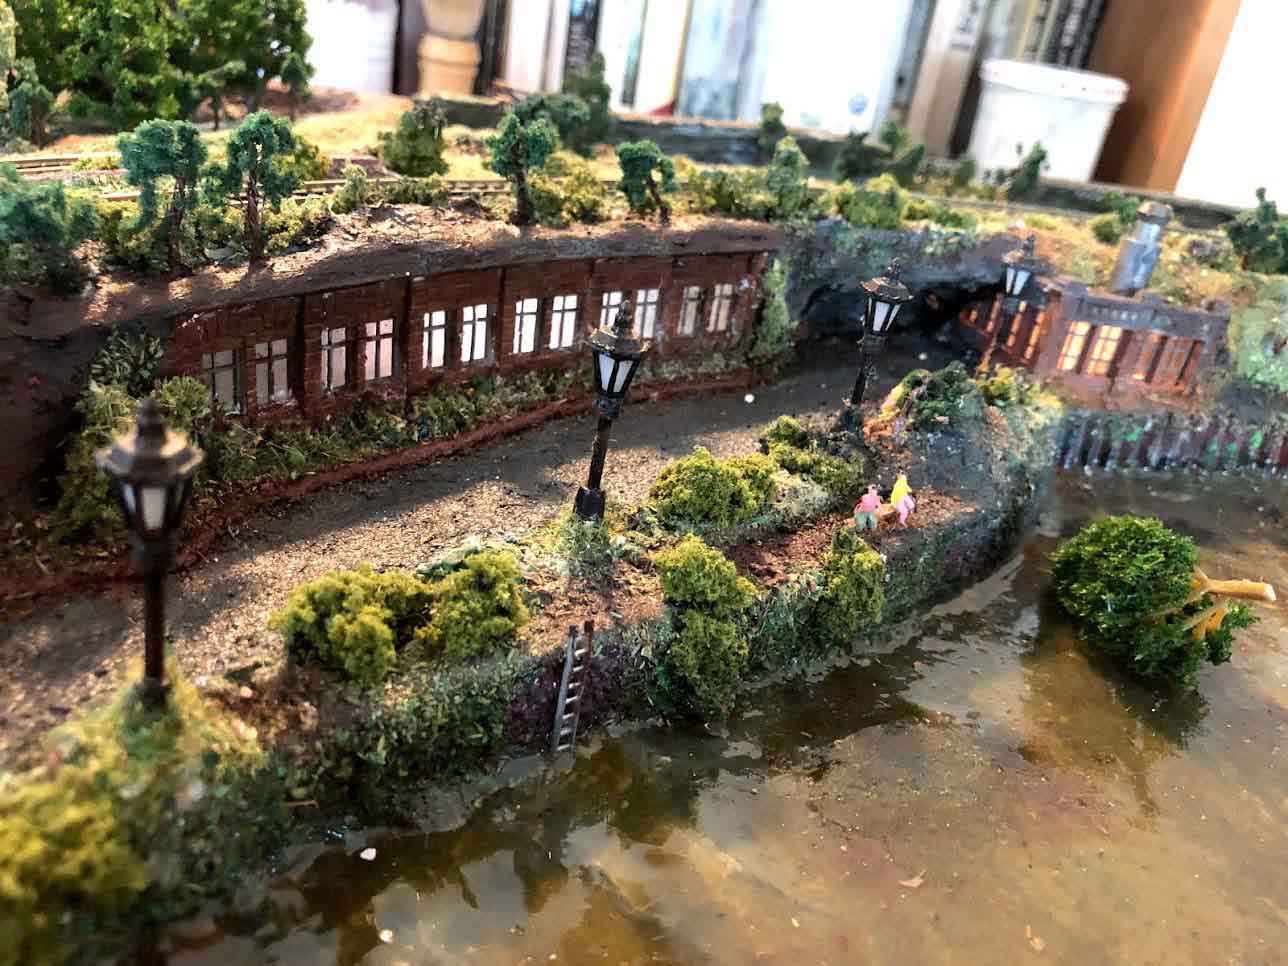
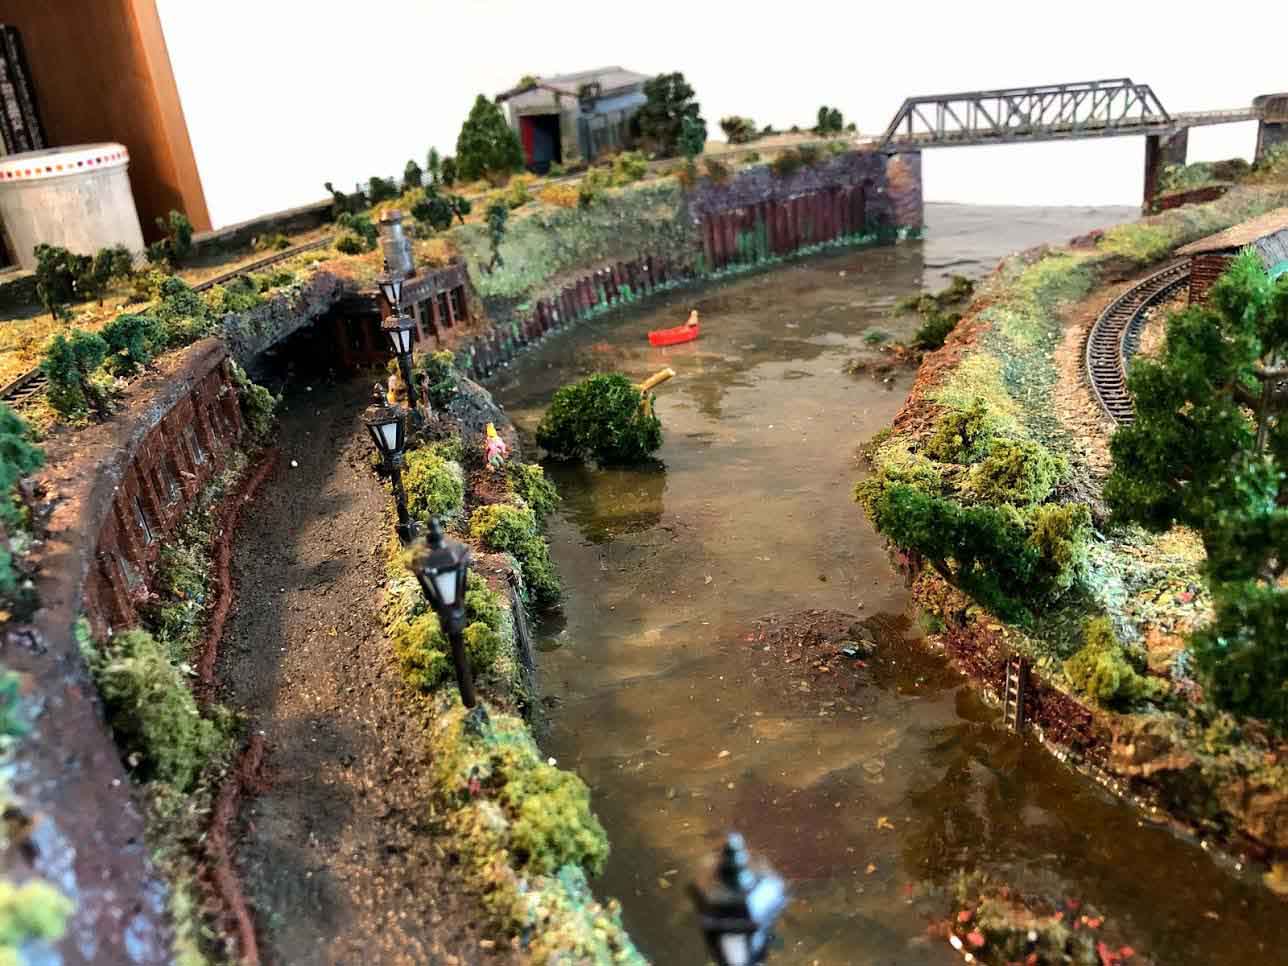
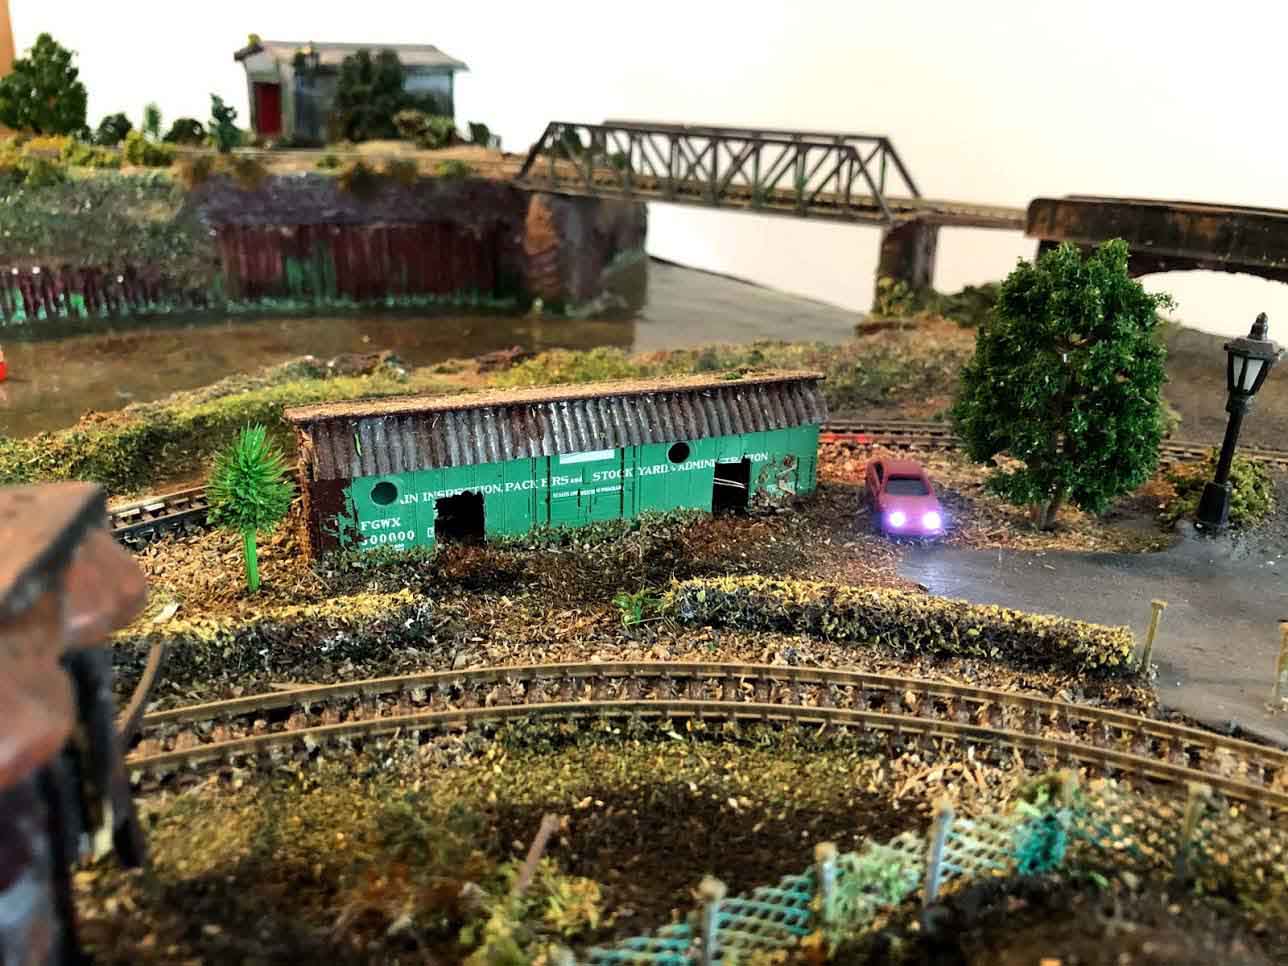
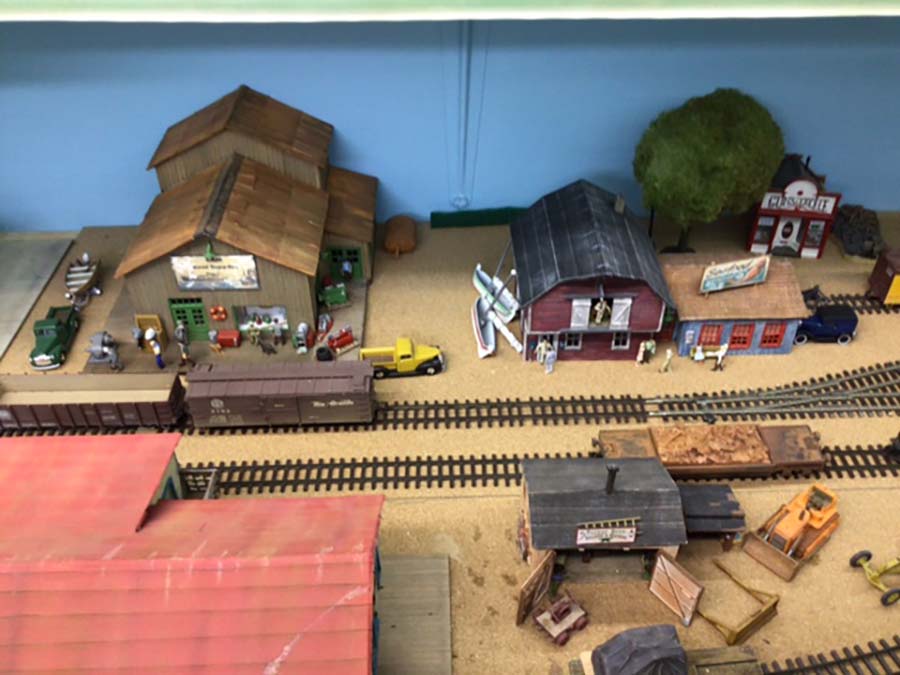
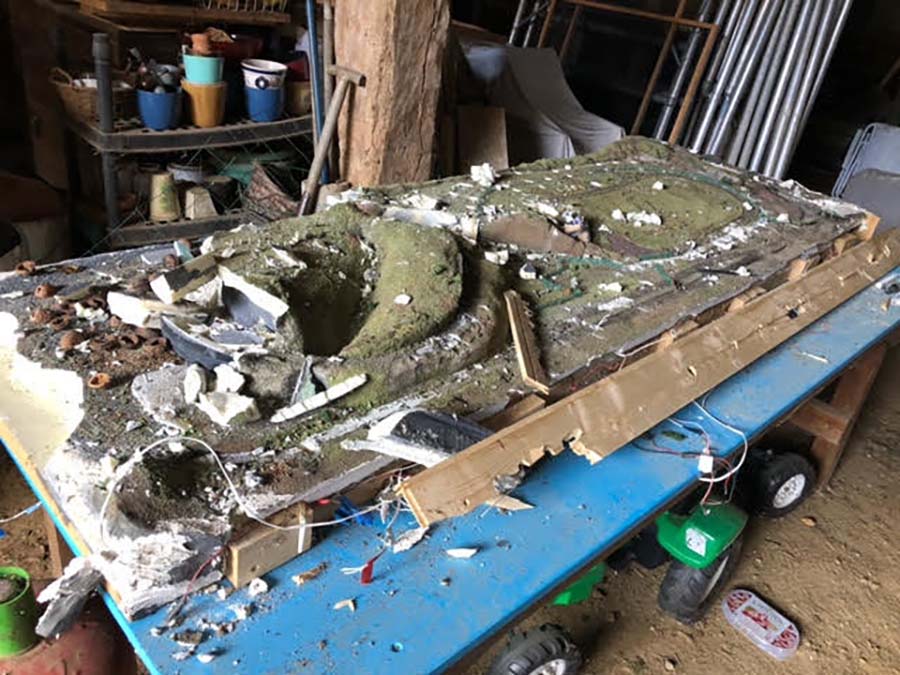
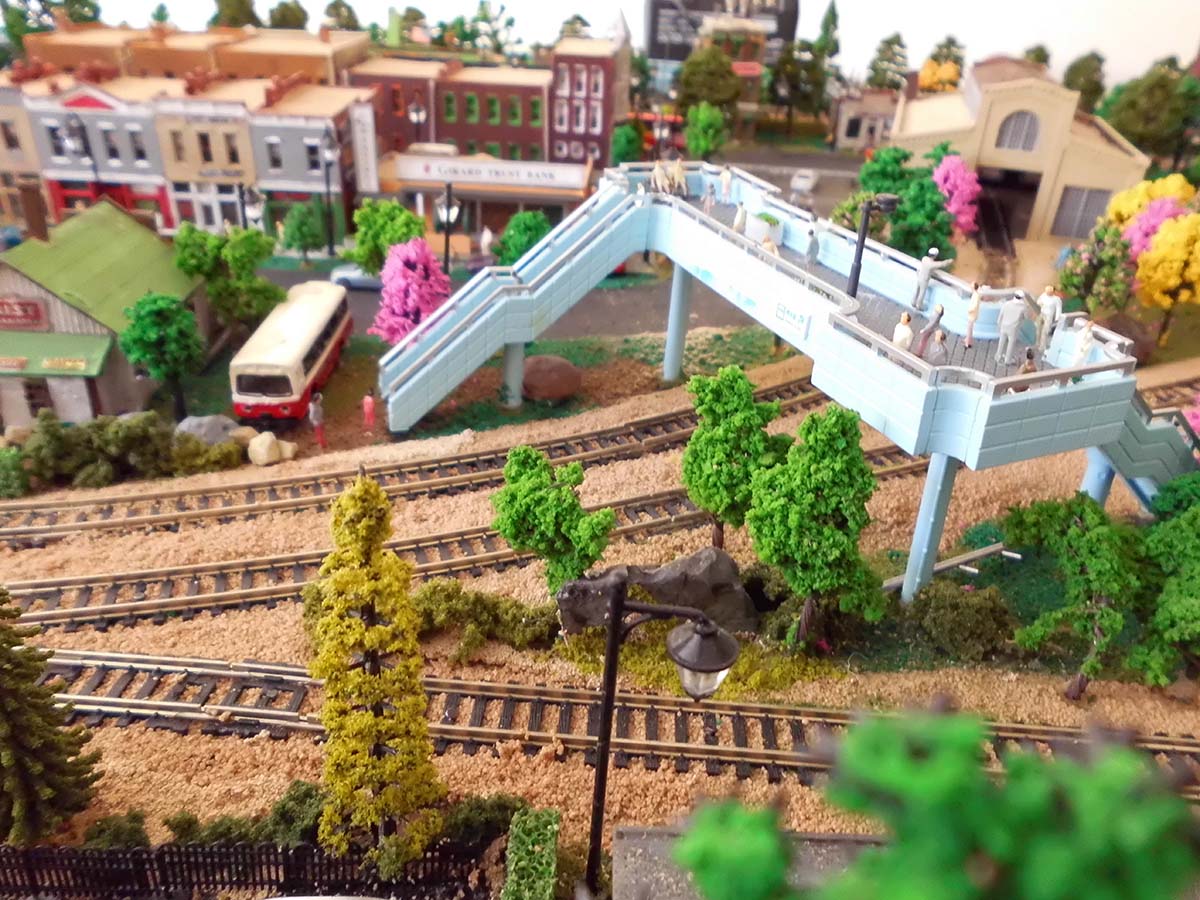
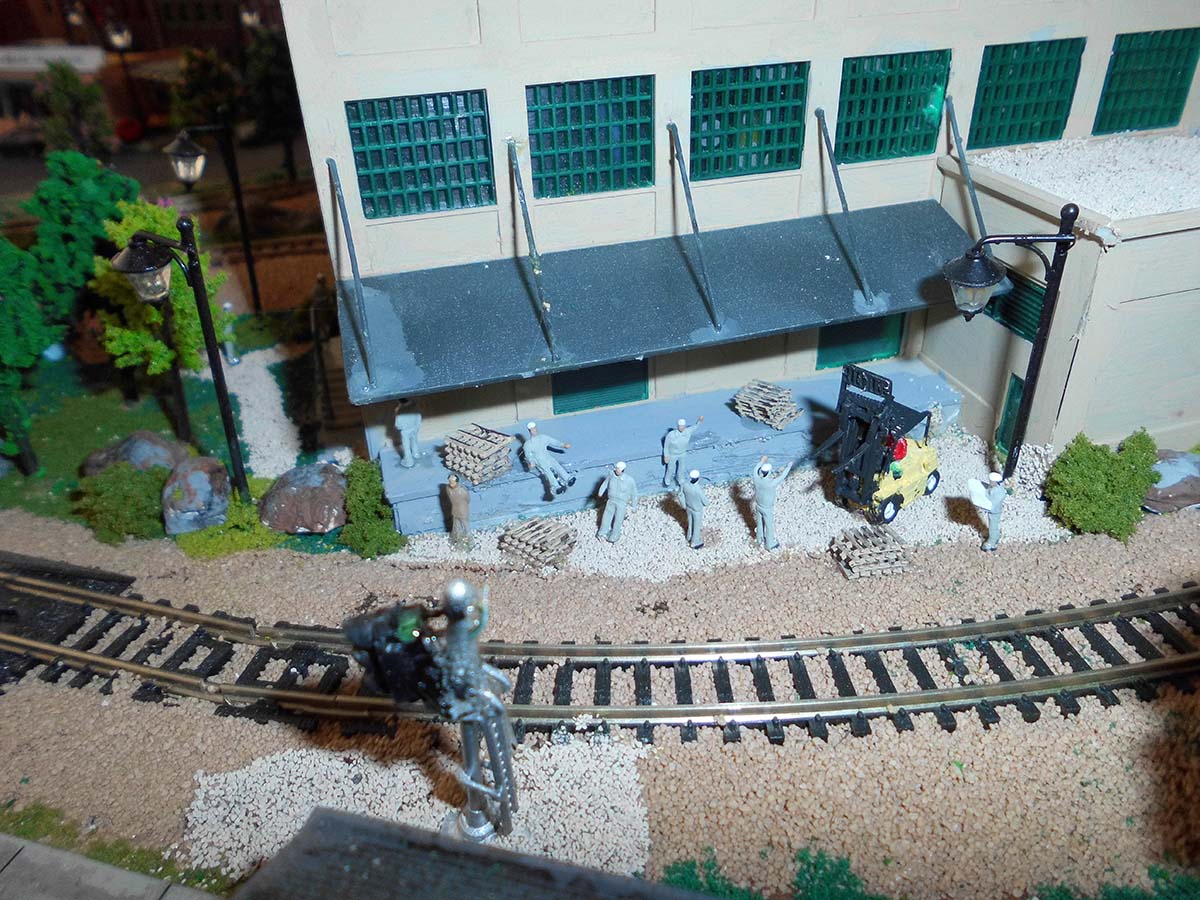
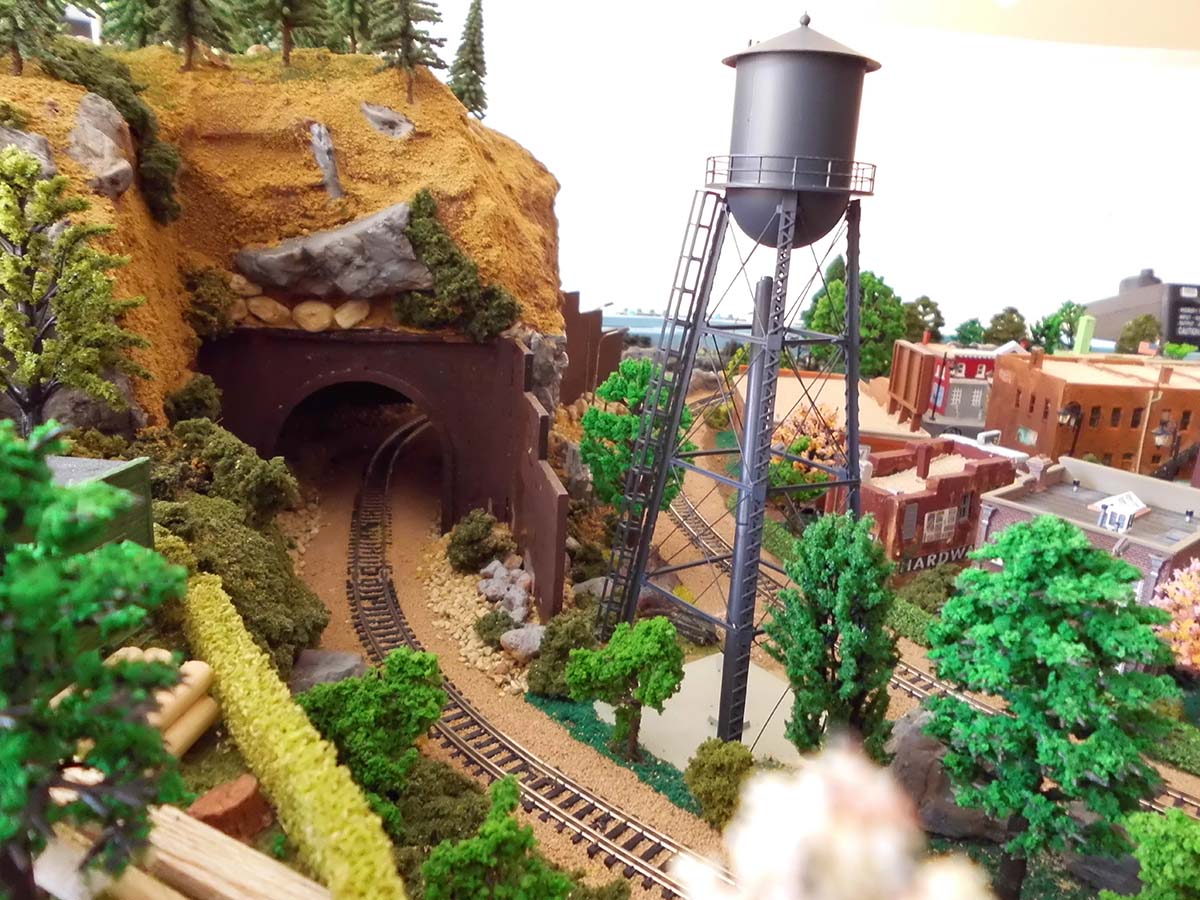
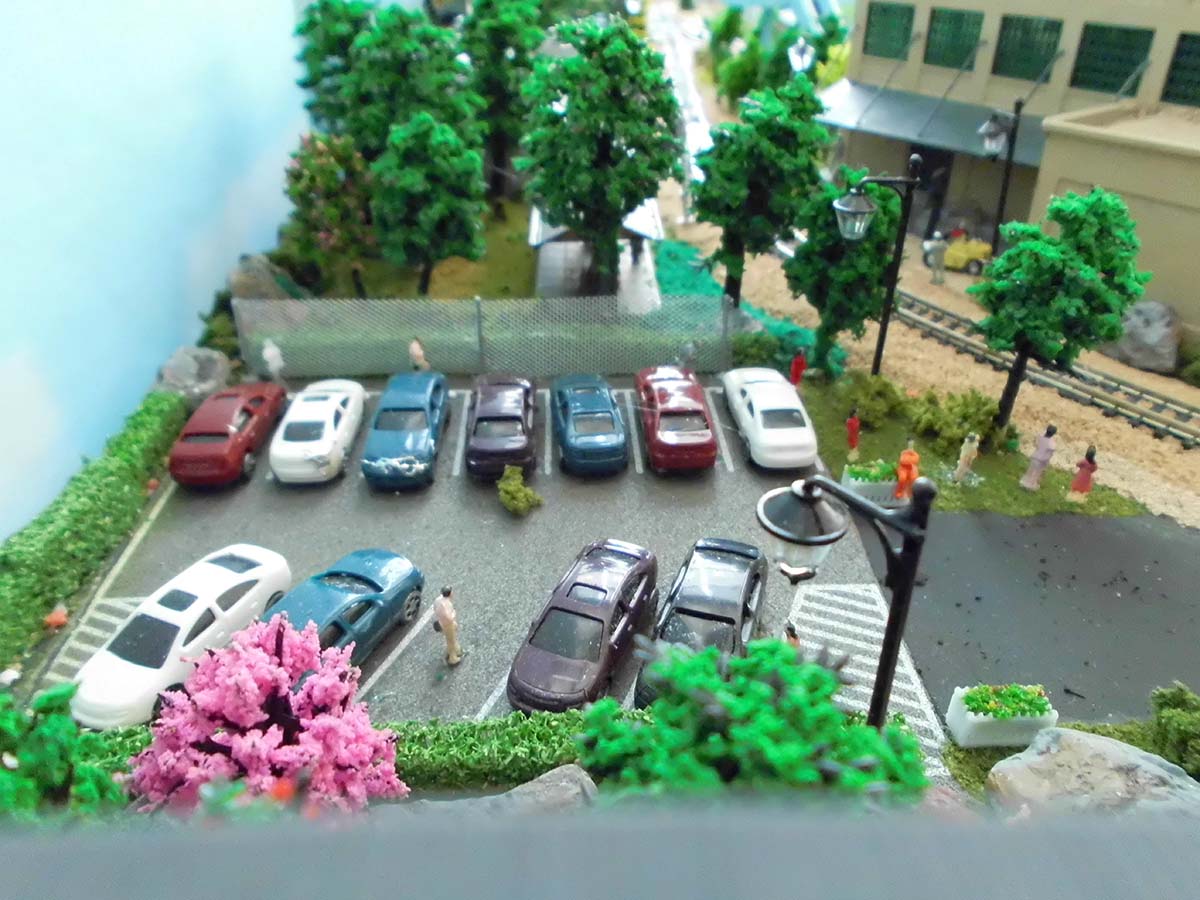
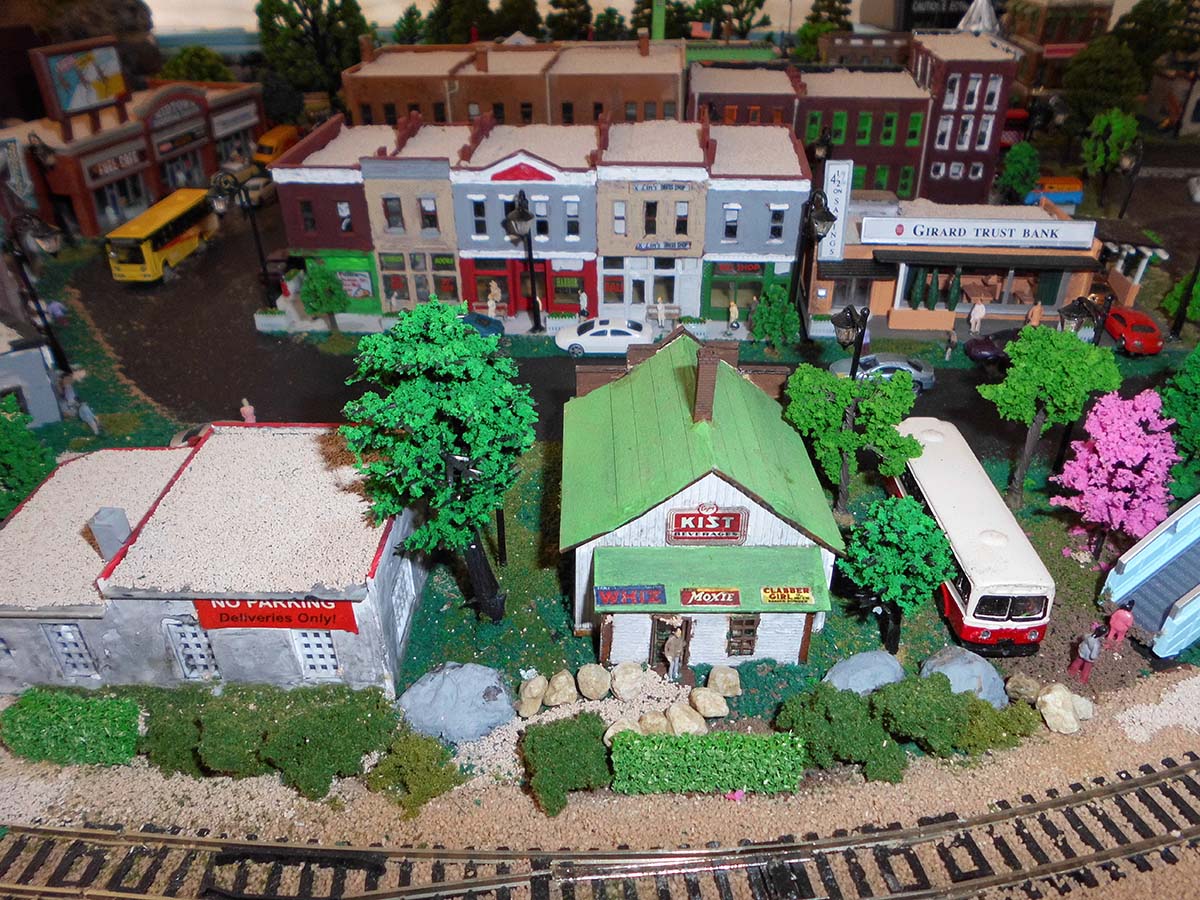
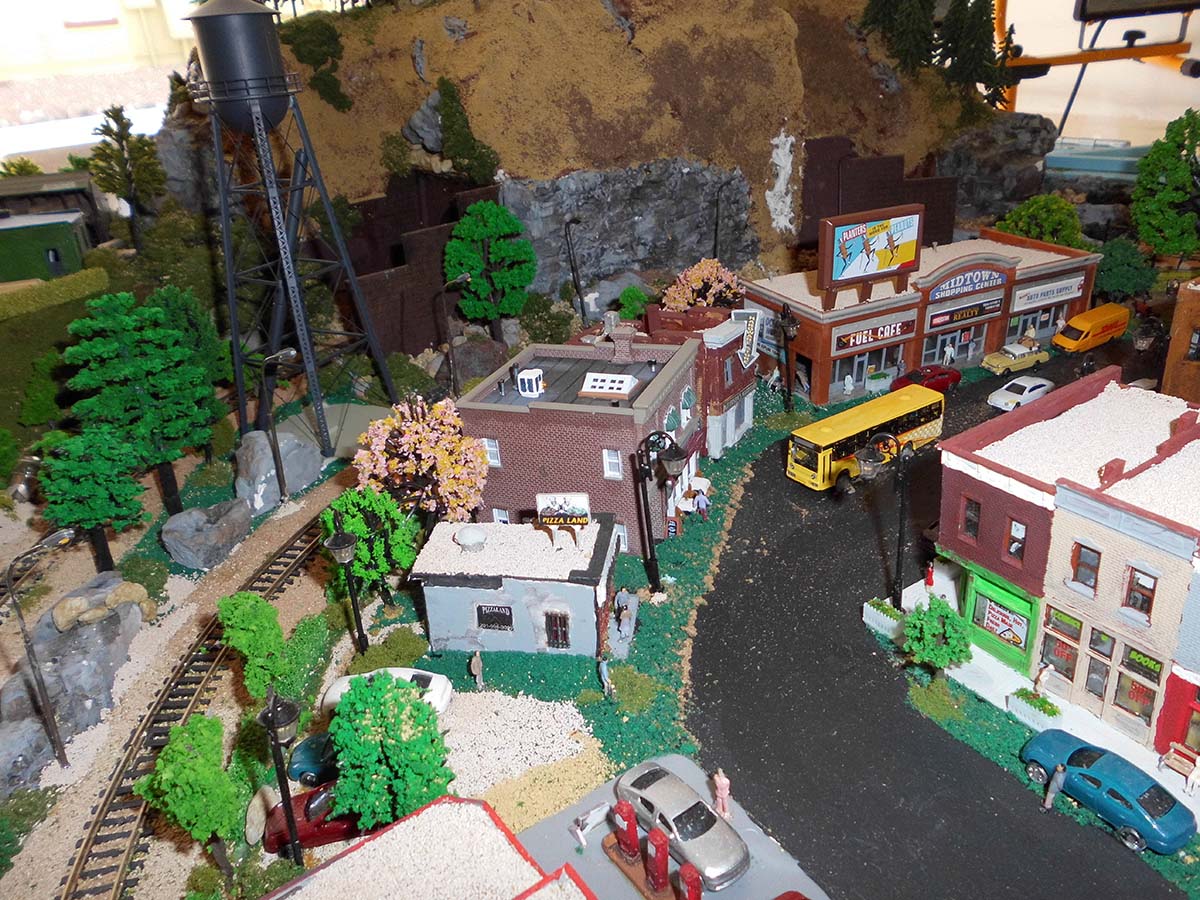
Steve’s been in touch his N scale track switching layout:
“Hello Al.
I have built and sold many HO layouts over the years.
However, this time I am building an N Scale layout for my grandboys.
I wanted to make the train layout very simple for them to operate with 6 switch tracks for a good variance of operation.
Everything on this layout lights up – all buildings, cars, streetlights, railroad lights, tunnel lights and spotlights.
Again, the operation is simple but the city and decor is extensive.
Thank you for letting me share this tilt table layout.
Steve”
“Hello Alastair:
I found this in some of my father’s old memorabilia. Perhaps some of your followers could comment on this.
My father was chosen to travel with this locomotive while it was here in the US in 1969-70. He worked for the CB&Q (Burlington Route) as was one of the few who understood boilers, steam engines and the US routes.
He had other items which I gave to a nephew. This was still in my possession. I vaguely remember he was gone for a little over a week traveling with the tour as an advisor.
I do remember how impressed he was with the sheer beauty of the craftsmanship. A side note… He also travelled with CB&Q #5632 which was painted gold in 1964 to tour the line in commemoration of the 100th anniversary of commuter train service in Chicago.
His father (my grandfather) was part of the team that built the shroud for the Aeolus, an S-4 Hudson 4-6-4 numbered 4000.
Cheers Mate, and I hope someone remembers any of those events.
Mike”
![]()
Now on to Ed, who has made that all important start:
“Hi Al,
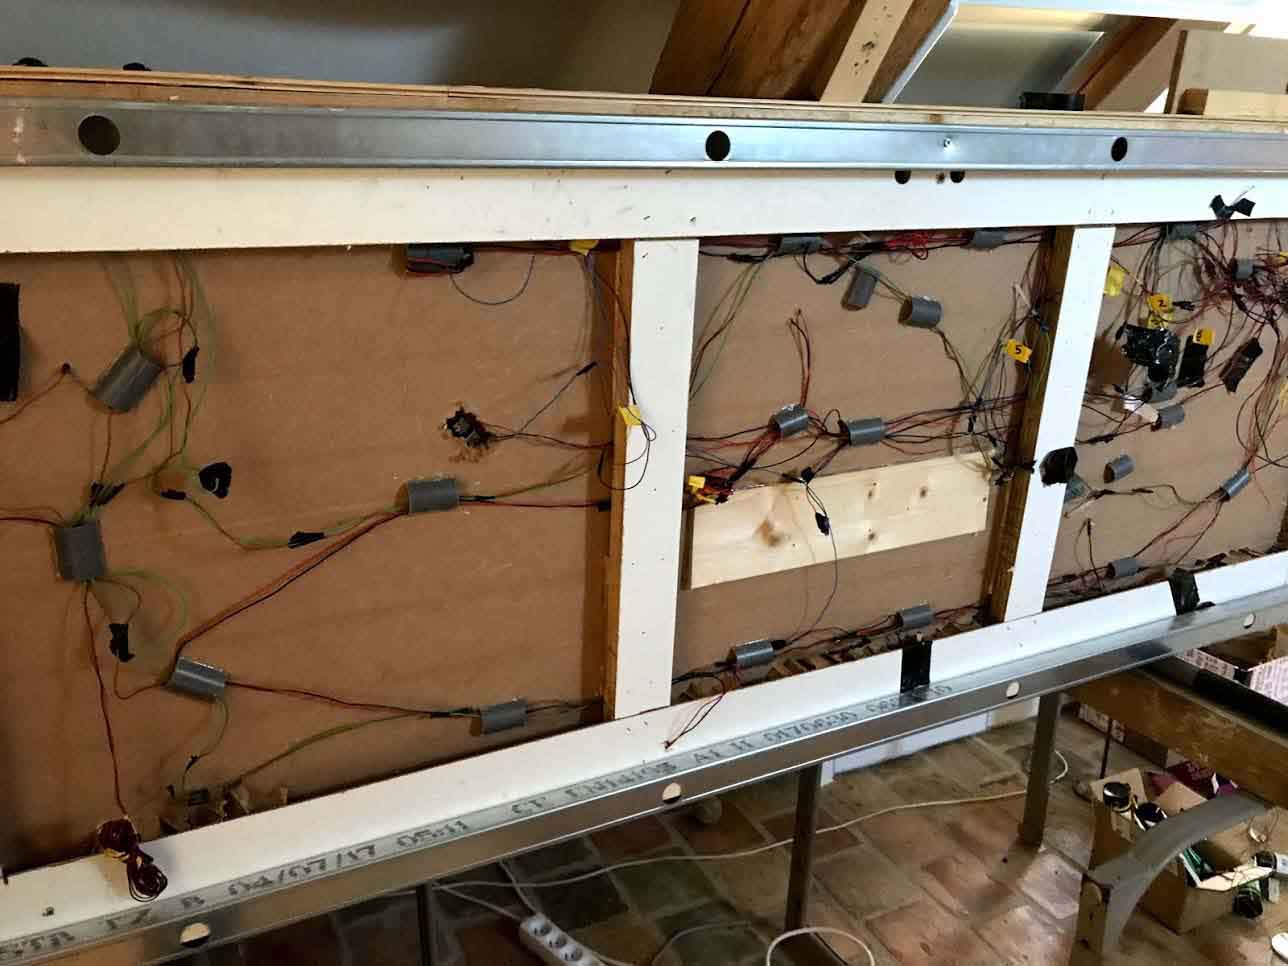
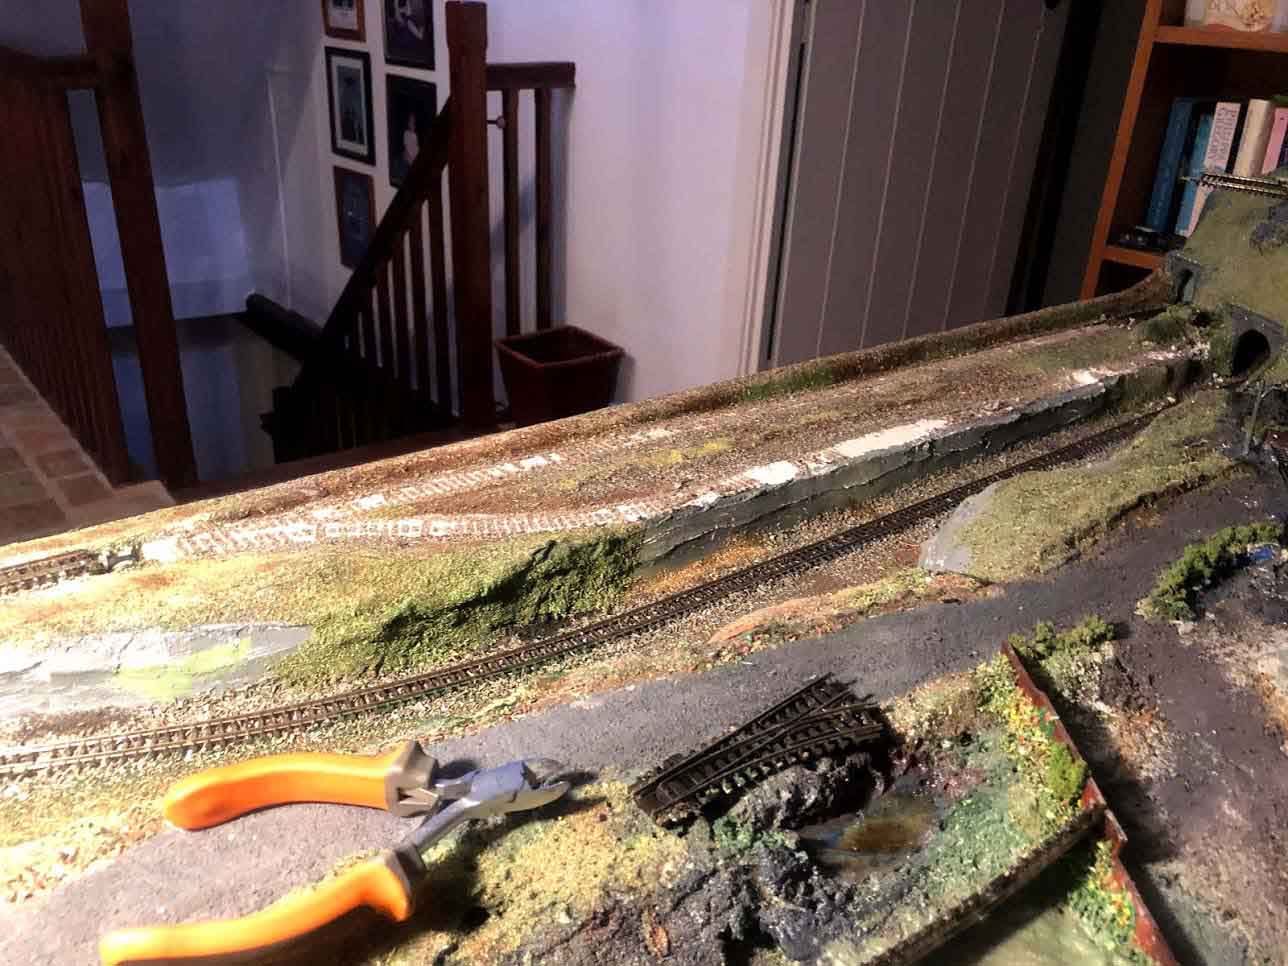
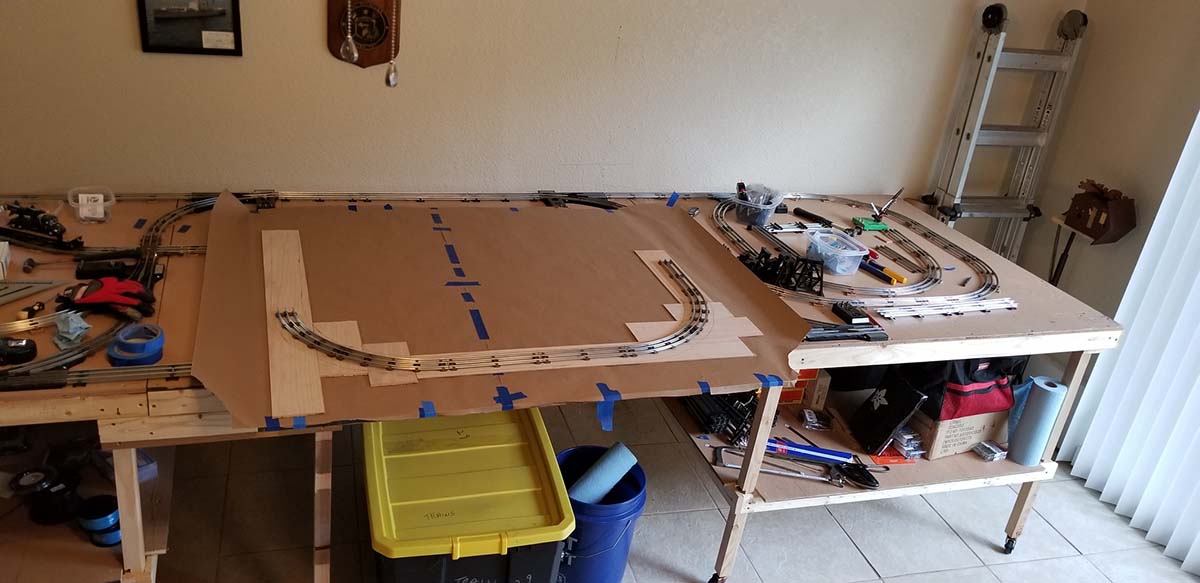
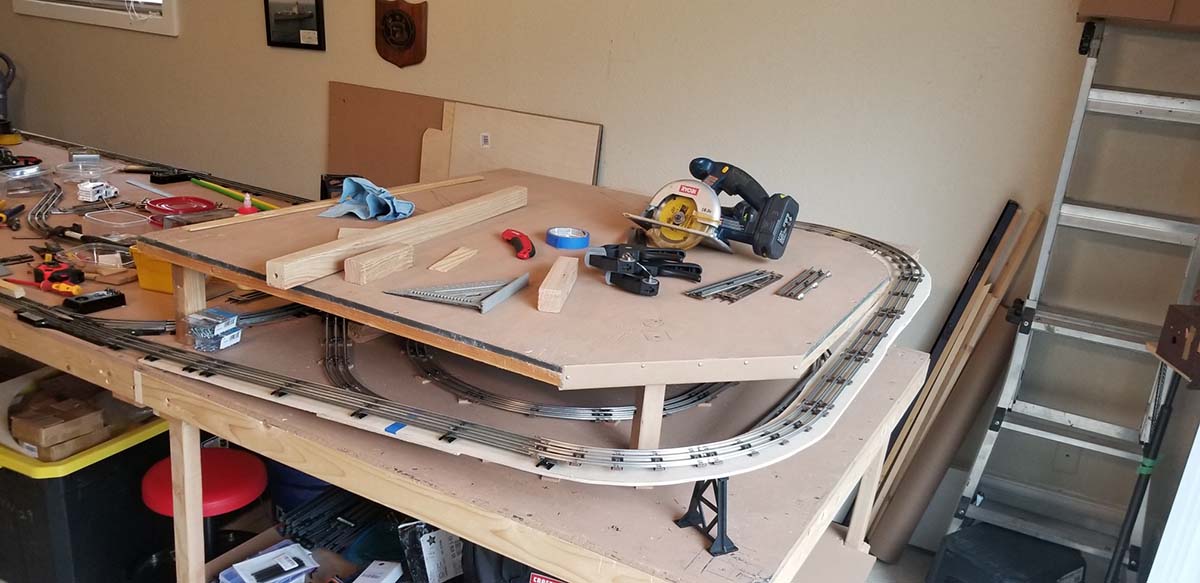
I retired a few years ago and have finally started to set up my O gauge trains.
My setup will contain 2 modes, manual and auto via a PLC (Programmable Logic Controller) the three rail system makes this much easier, I have used a combination of insulated and wired track sections and relays.
The table is 4 ft. X 14 ft. with 2 4×4 second levels over each end.
I am working on the ramps right now and when done will start buildings using the Big Kahuna and others.
The pictures show the initial layout and the ramp to the second level.
The table is on casters to allow for movement.
I will keep you posted on my progress, I give myself a year to complete, hopefully.
Your beginners guide got me going, your print outs look great.
Ed”
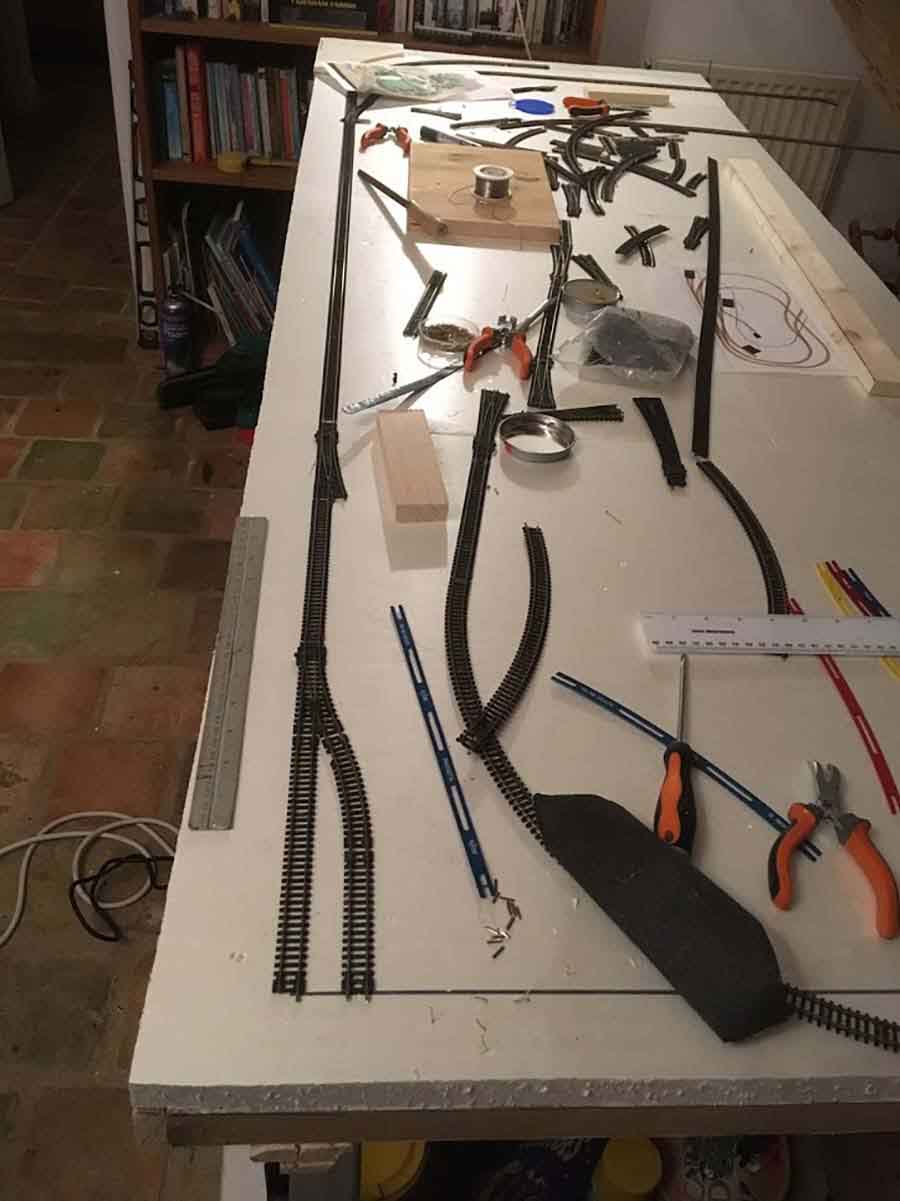
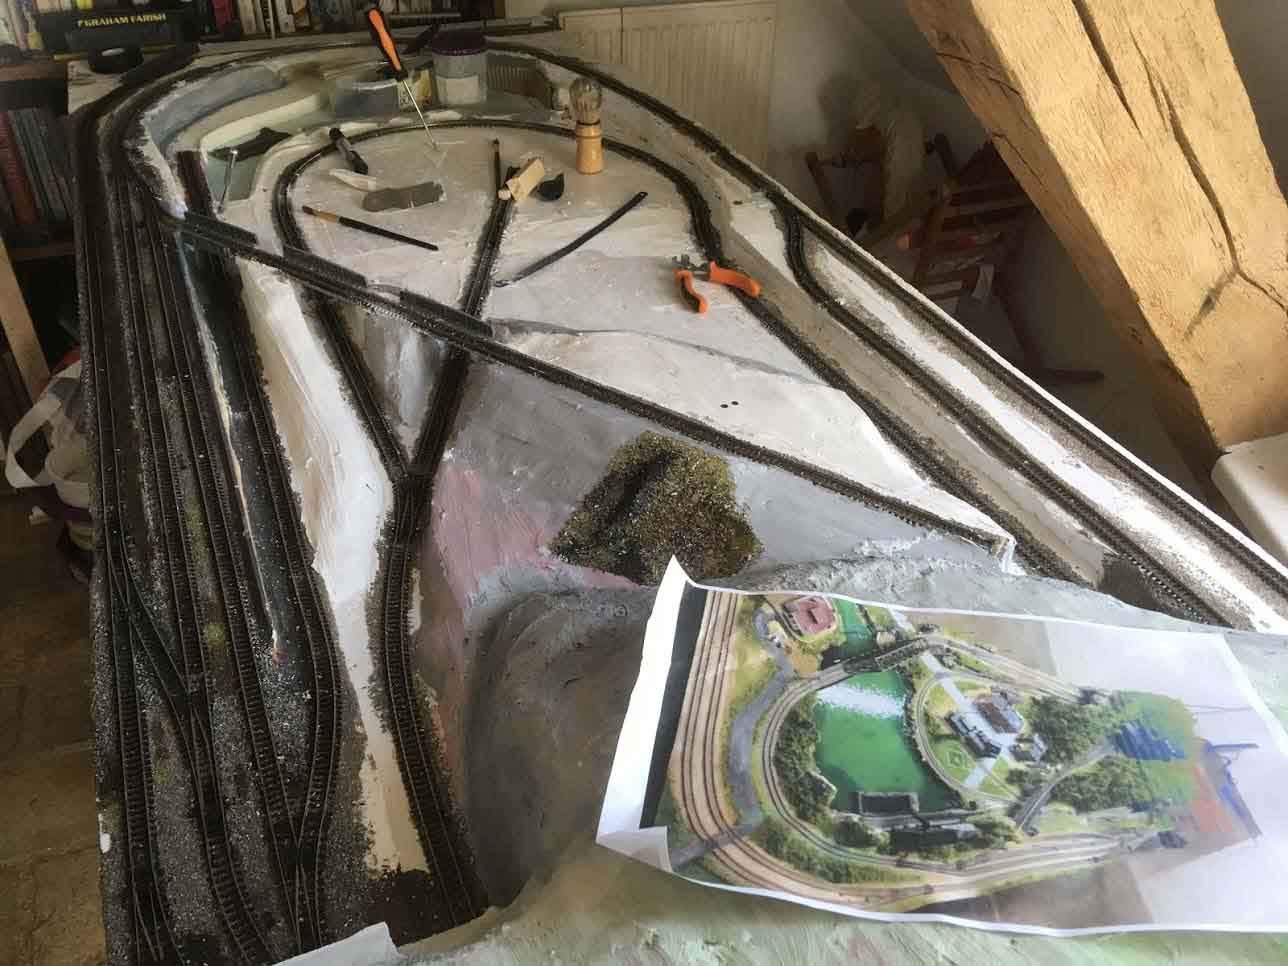
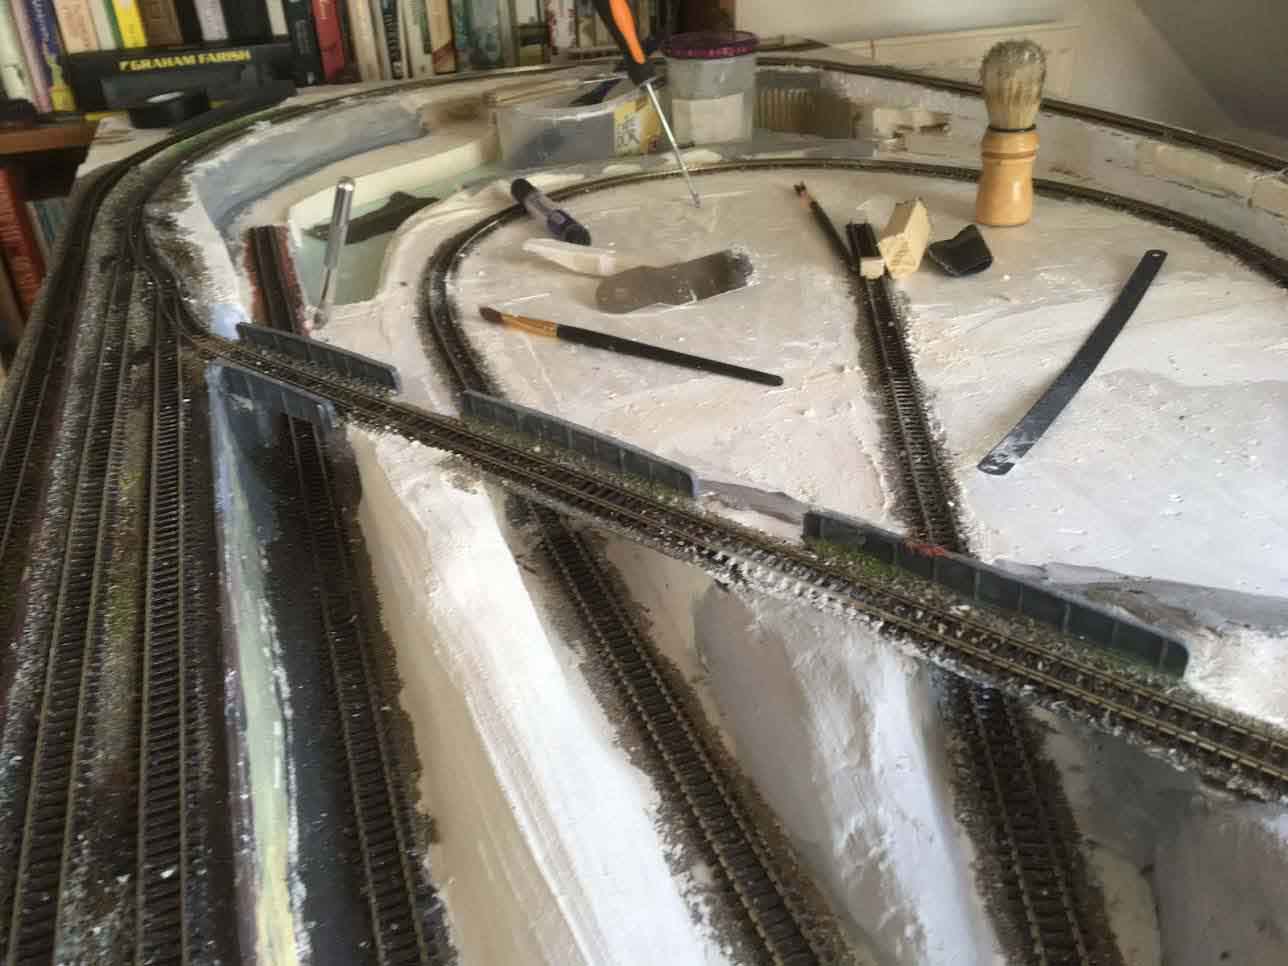
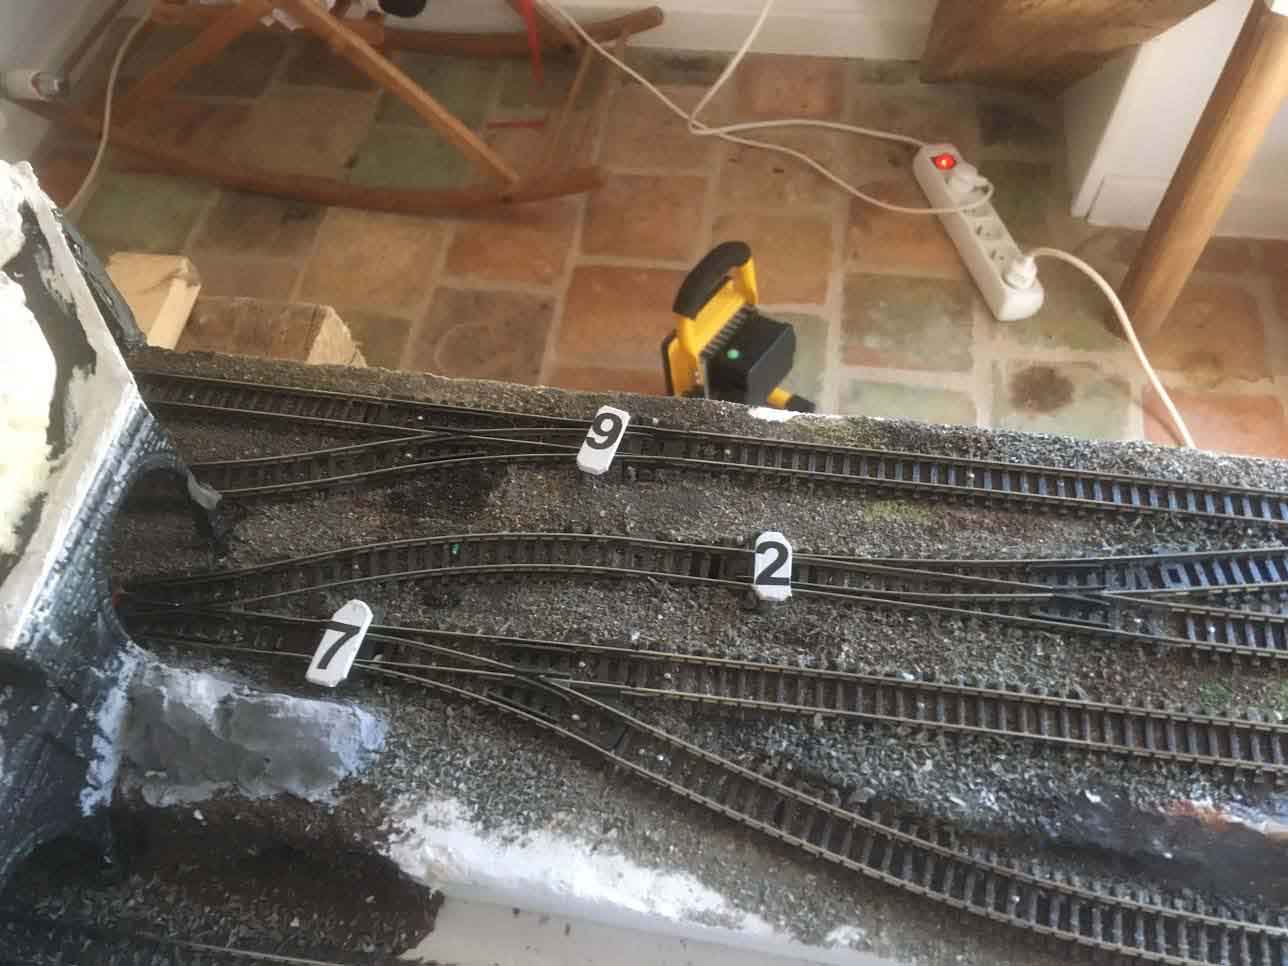
“Hello Alastair,
Thanks for your emails, it is inspirational to see what other modelers are doing.
I have been very quiet lately, but reading your emails daily. So, I thought I will share the progress on my layout with the readers.
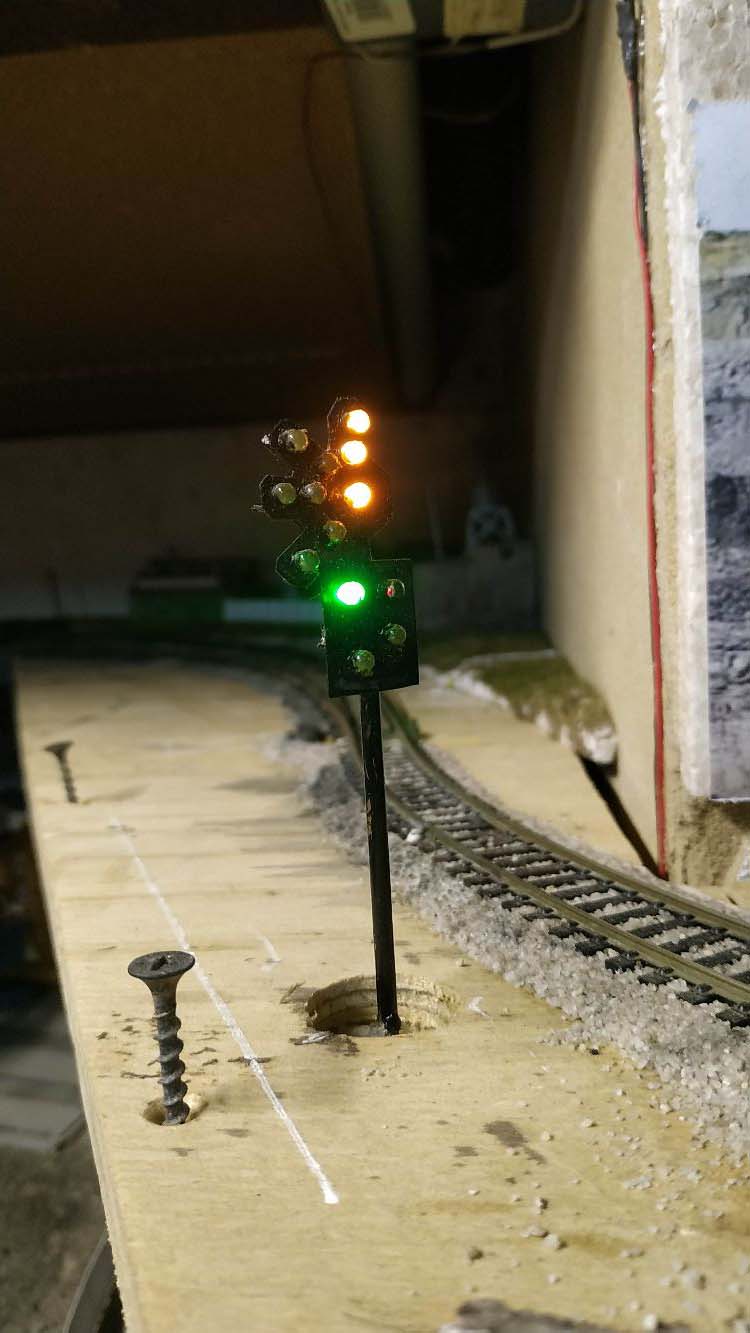
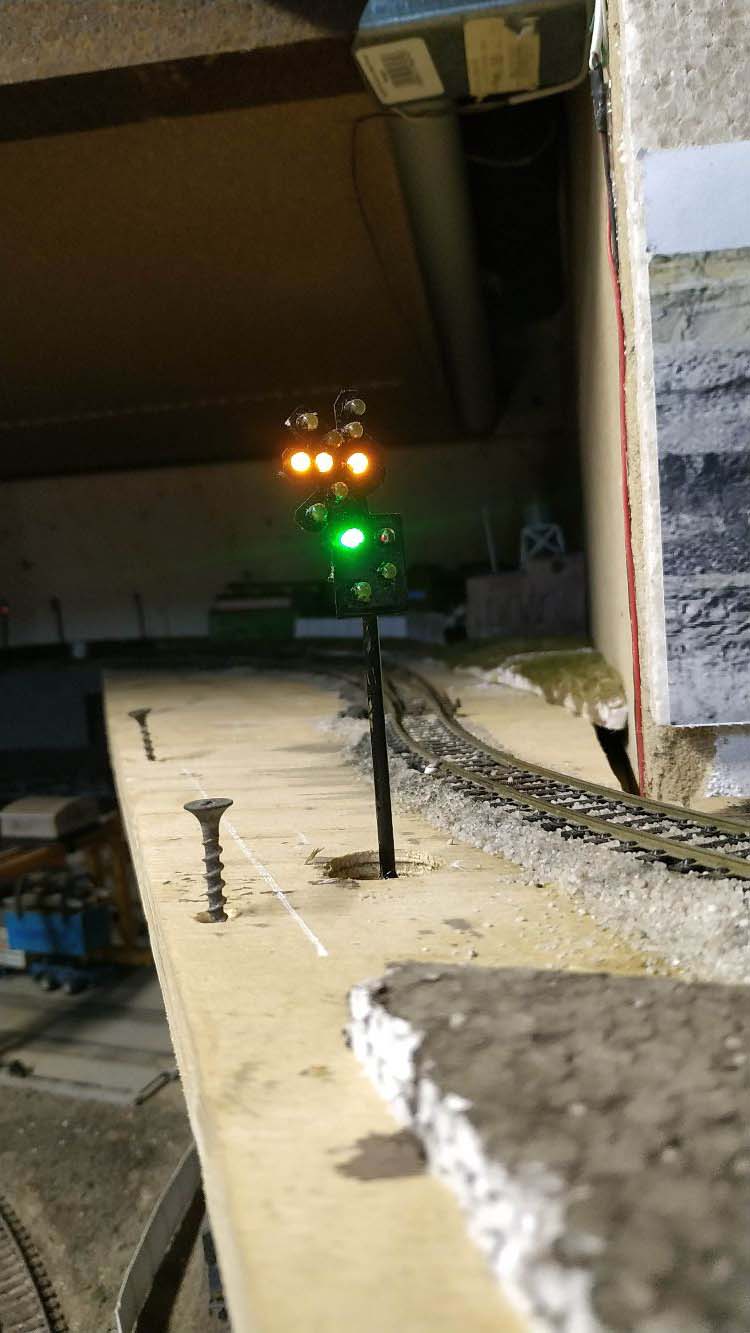
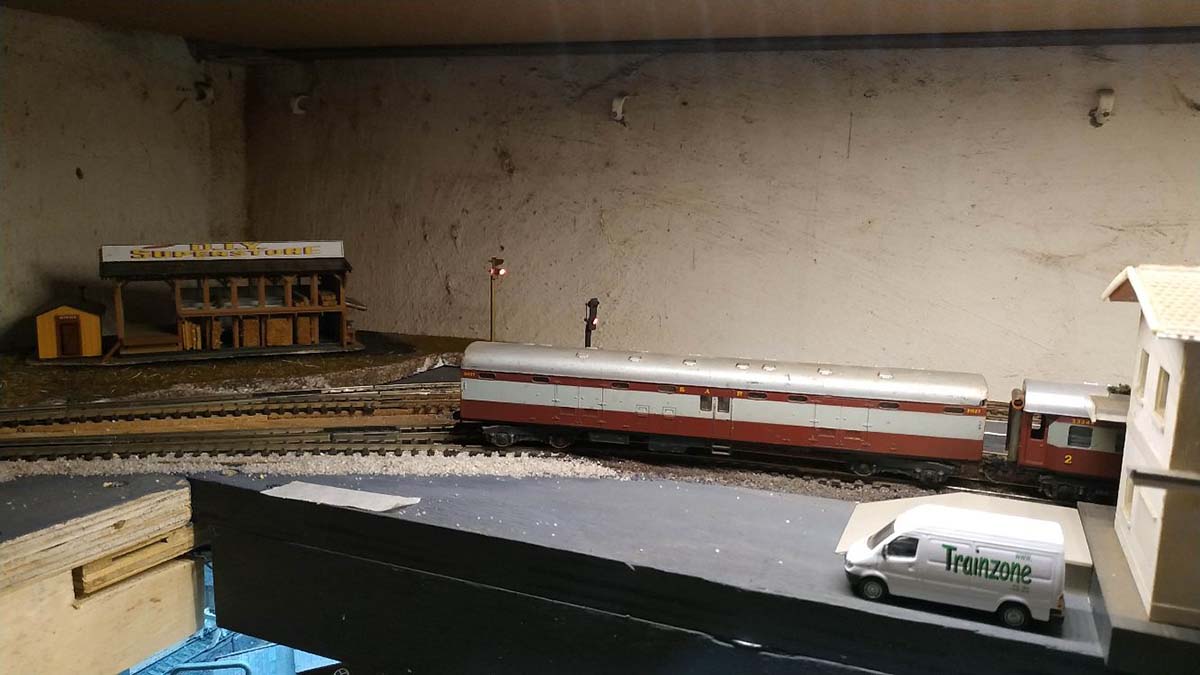
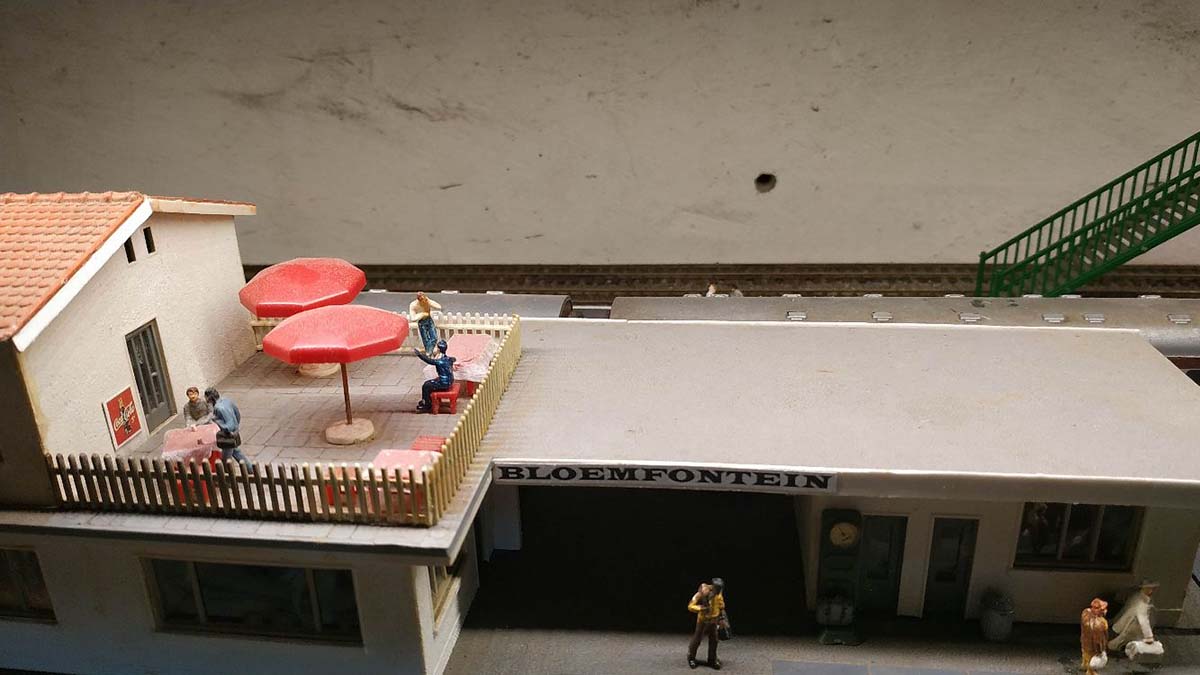
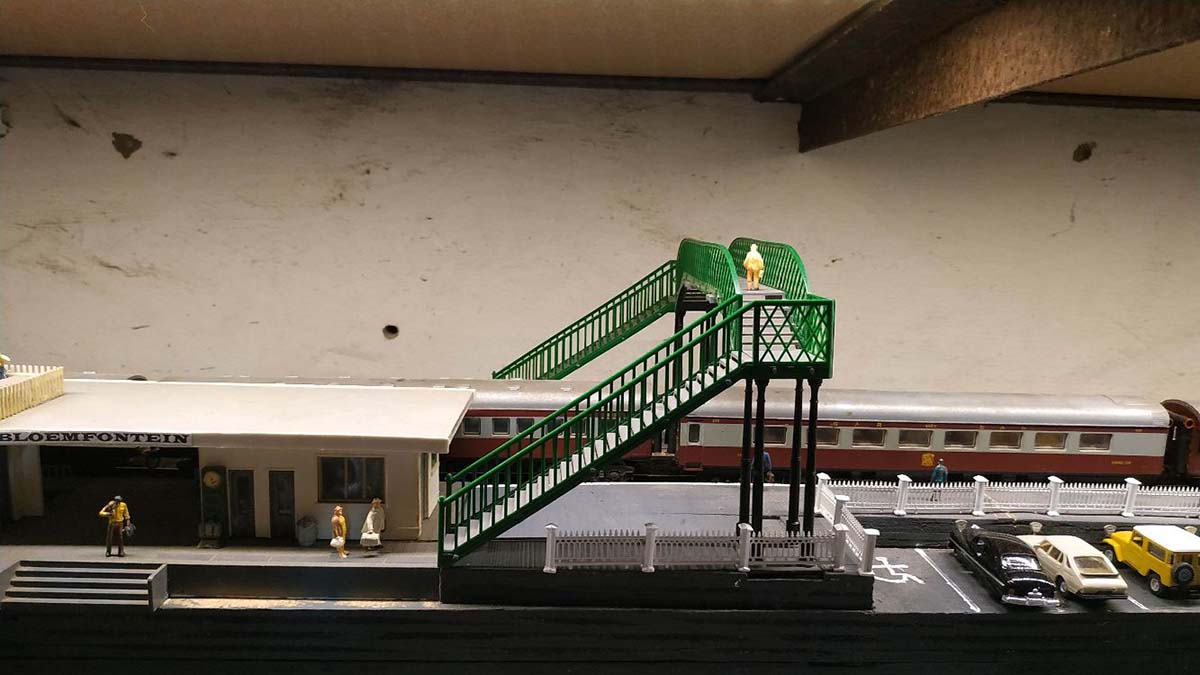
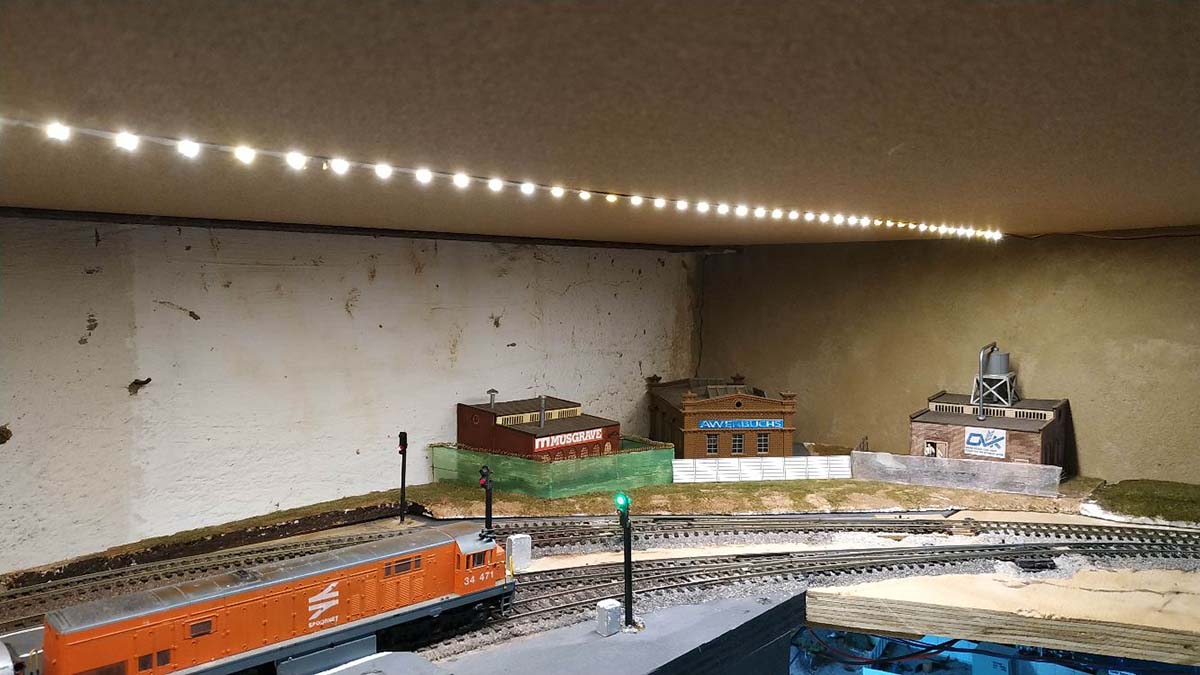
I am building a double deck layout in a single garage, with 6 “stations” or towns, the first one on the upper deck to be closed to finished is Bloemfontein, a city in the geographical middle of South Africa.
I am not following the prototype for buildings and track layout as I do not have the space. So I have used the names of some of the well known businesses from Bloemfontein to on kit built buildings.
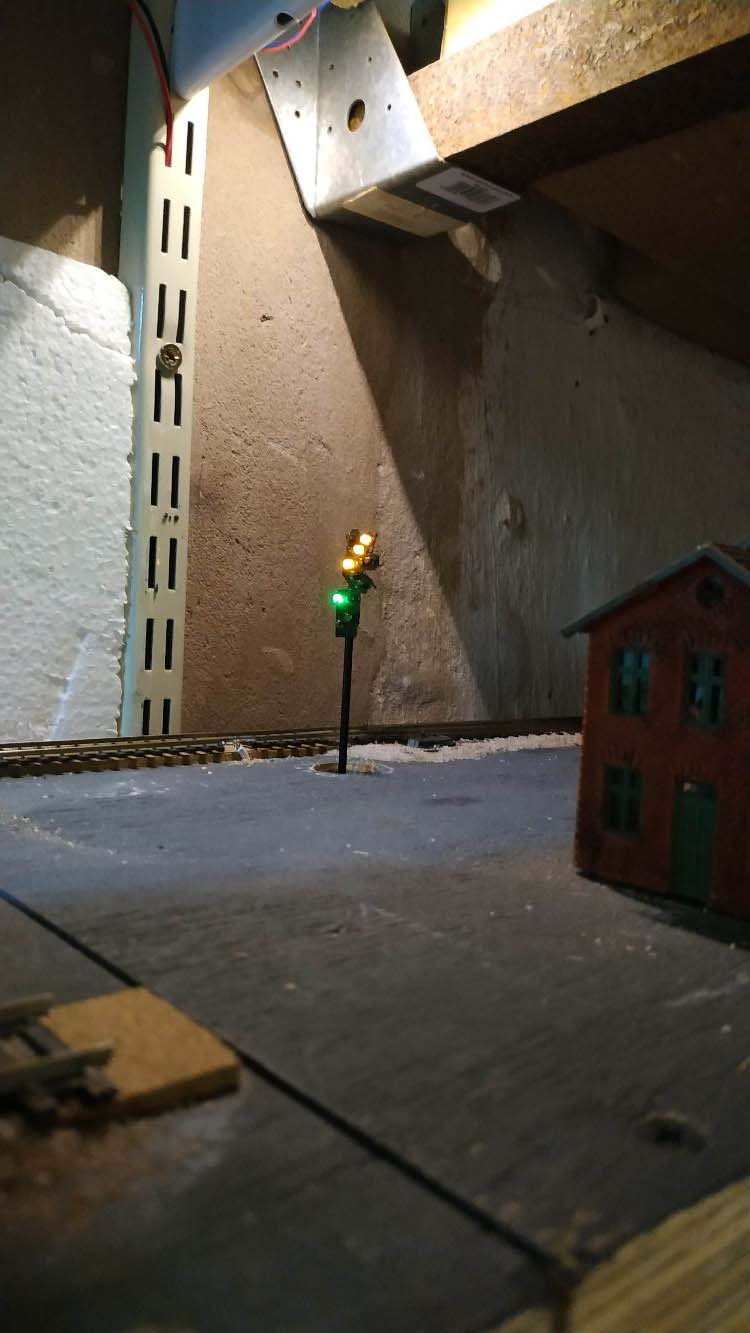
There is still some scenery work to be done, but the signals are operational, and the entry signal on each side of the station has route indicators as you will see in the pictures.
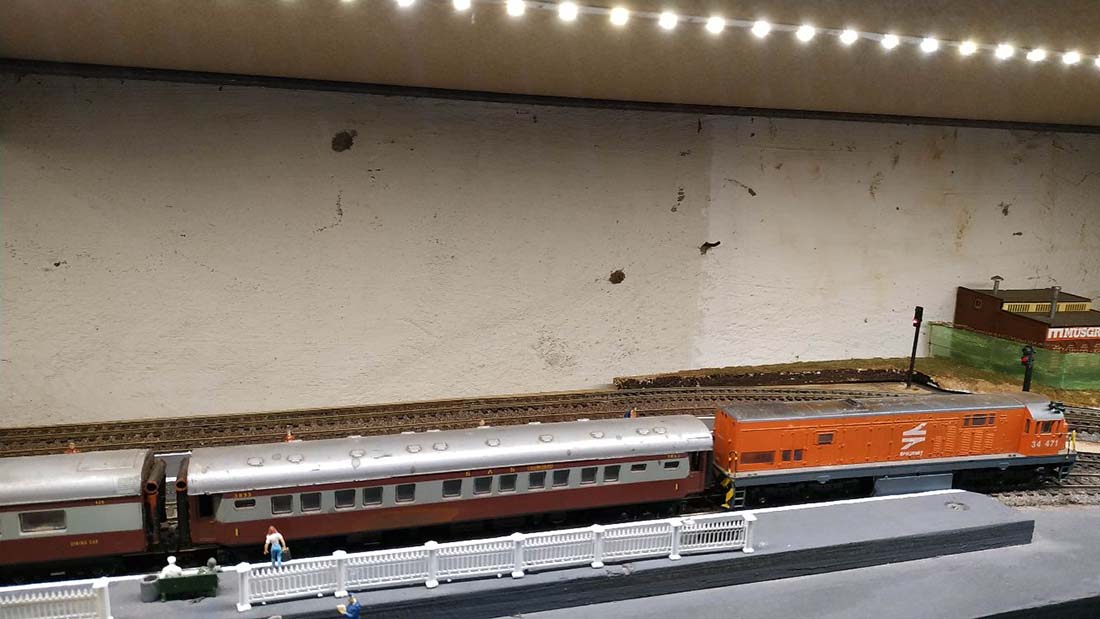
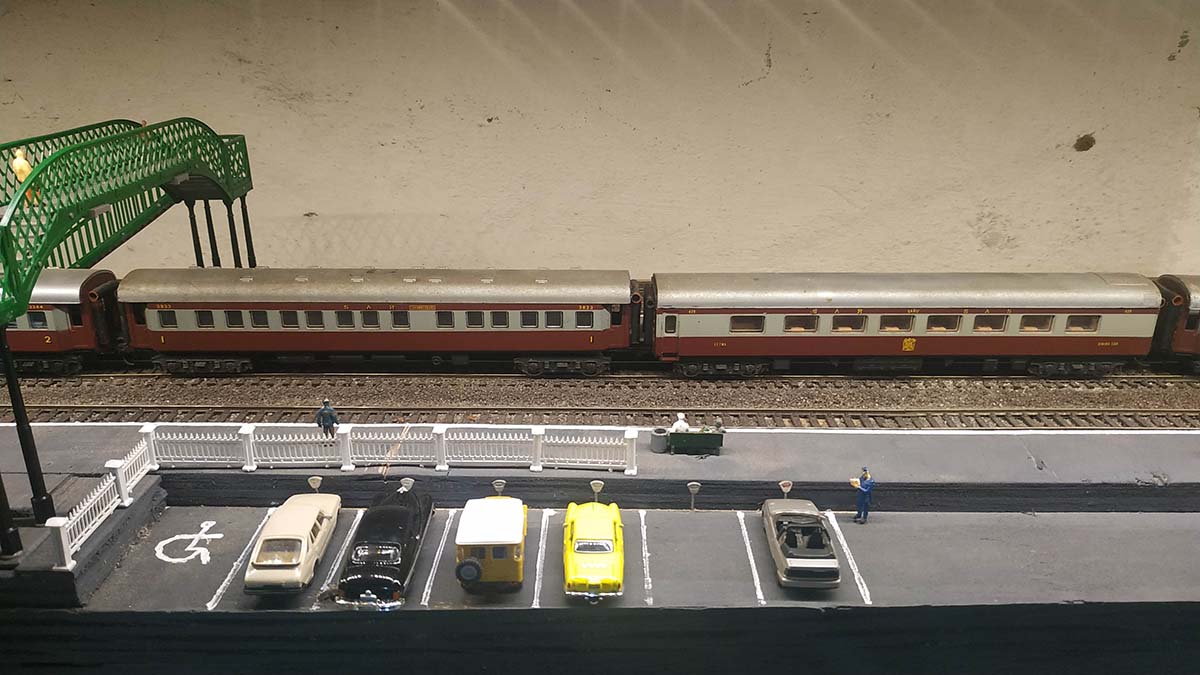
Bloemfontein Station is a passenger station, with 3 platforms for passenger trains and a mainline running behind the 3 platforms.
Freight trains will be routed along the mainline.
I enjoy adding small details to the scenes such as the glasses on the restaurant’s table and the handicap parking bay and the expired parking meter, with an officer writing a ticket.
Regards
Henry”
That’s all for today.
A big thanks to Steve for sharing his N scale track switching layout. And too Ed and Henry.
Please do keep ’em coming.
And if you want to make your start, the Beginner’s Guide is here if you want to get going on your own layout.
Best
Al