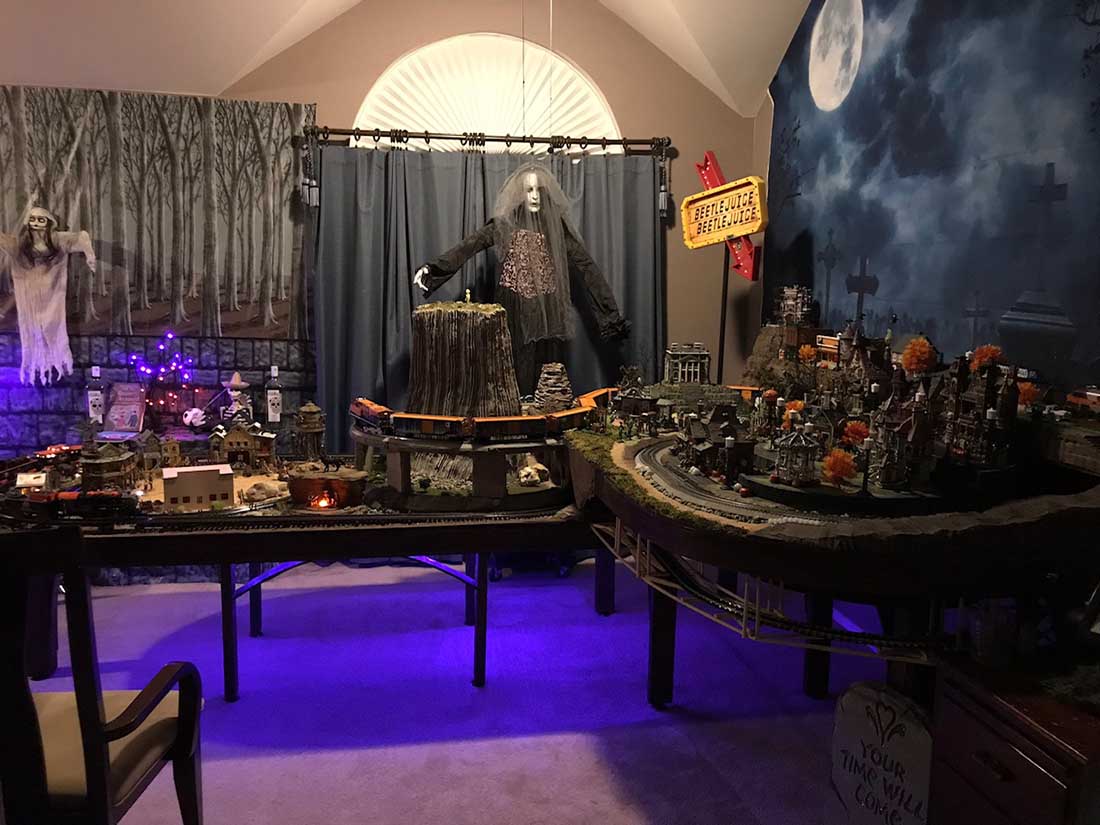
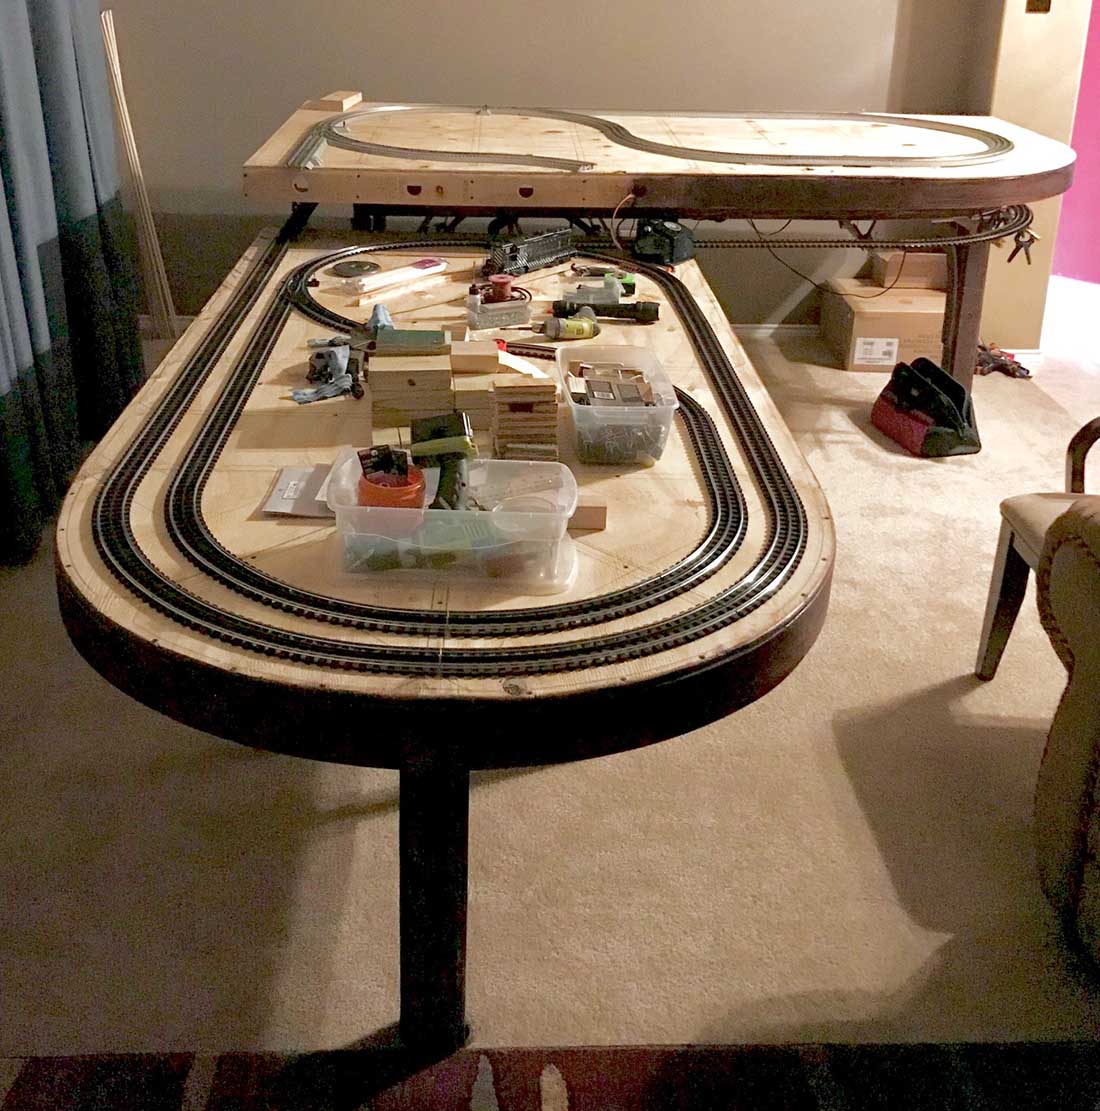
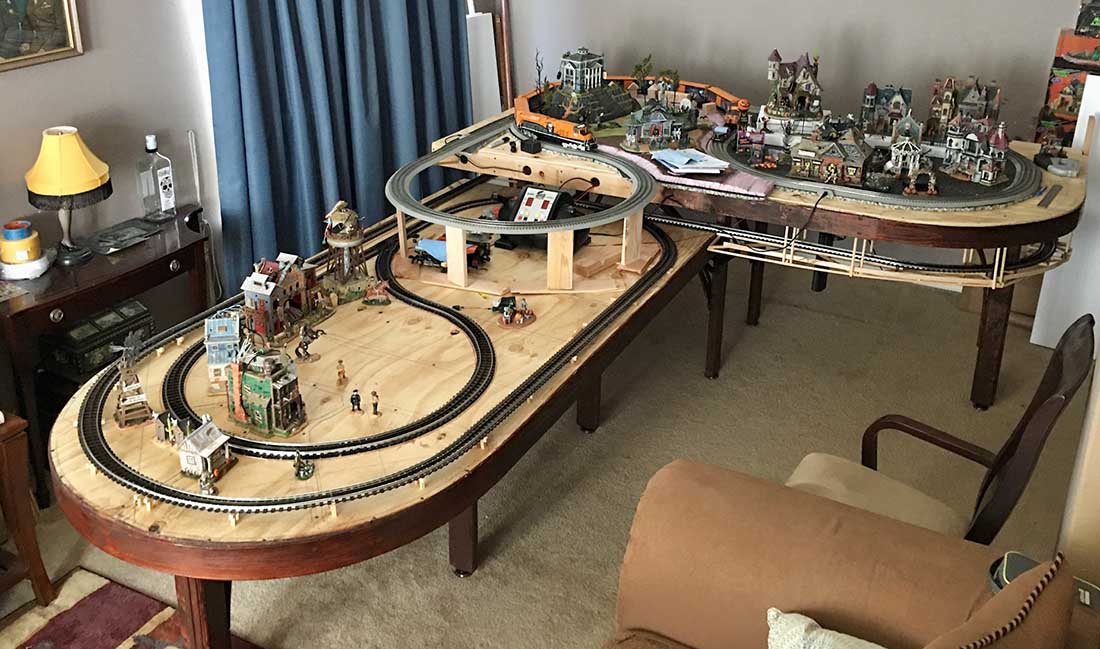
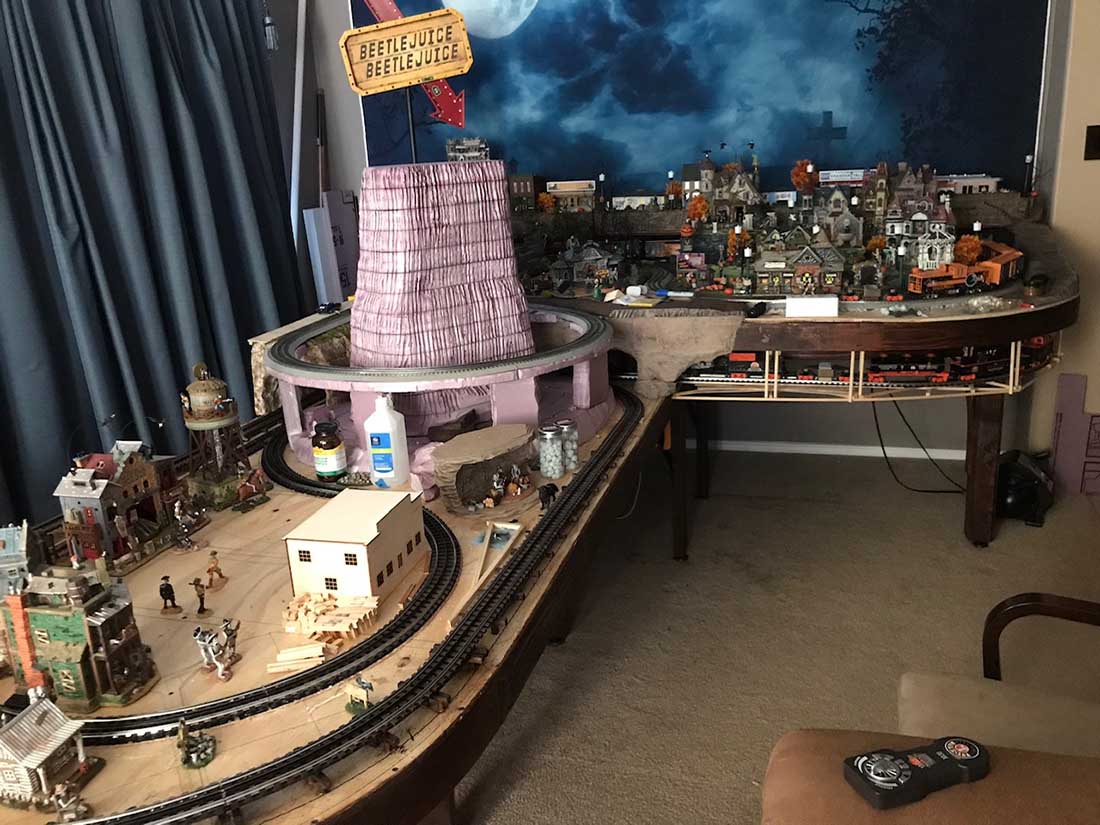
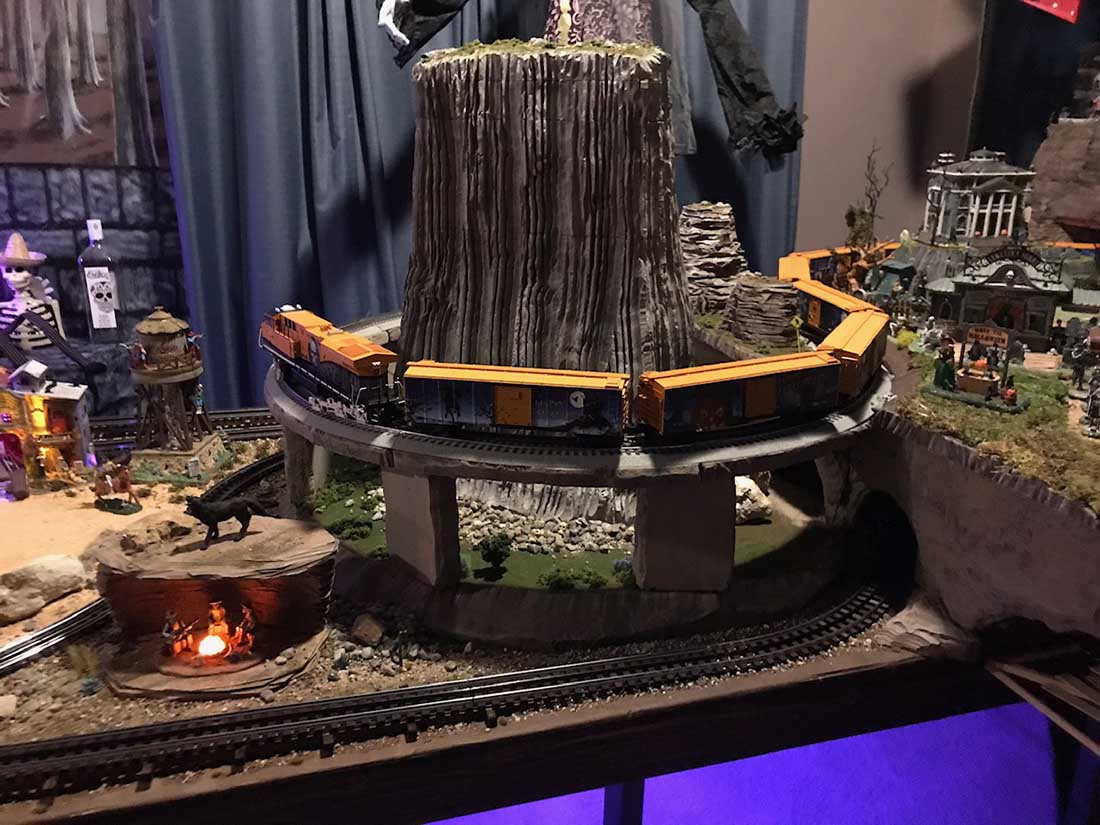
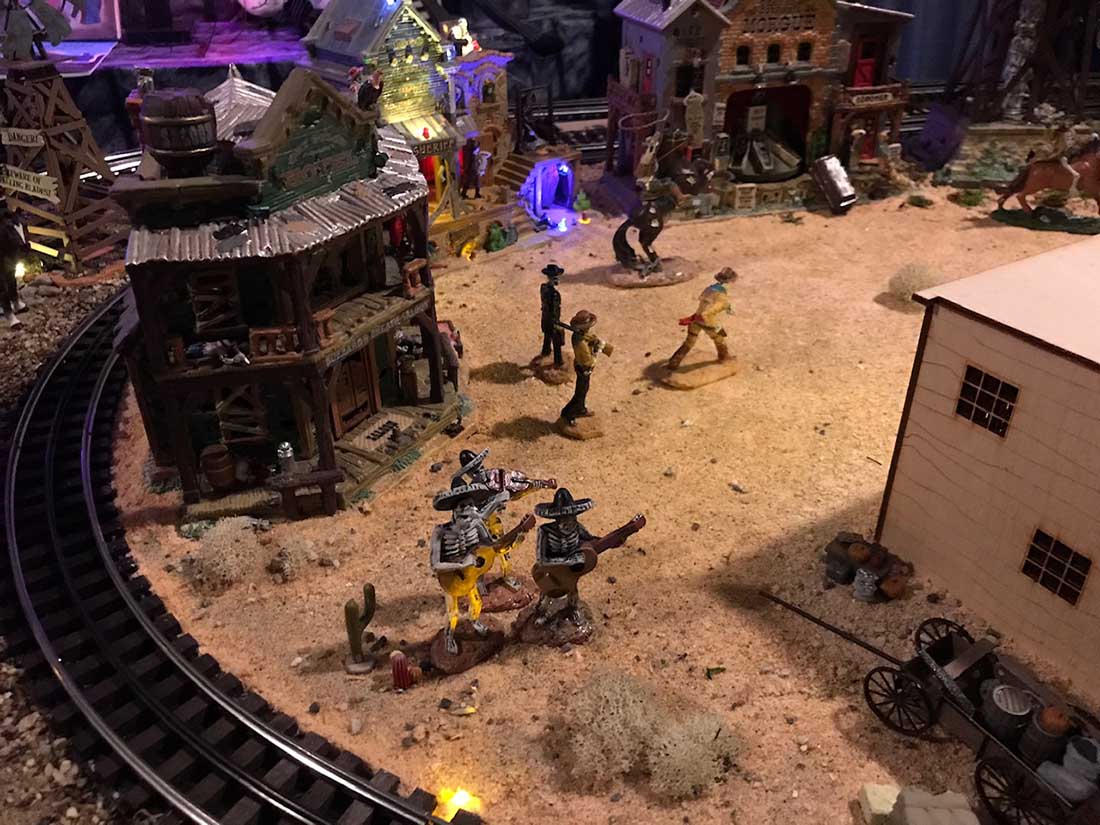
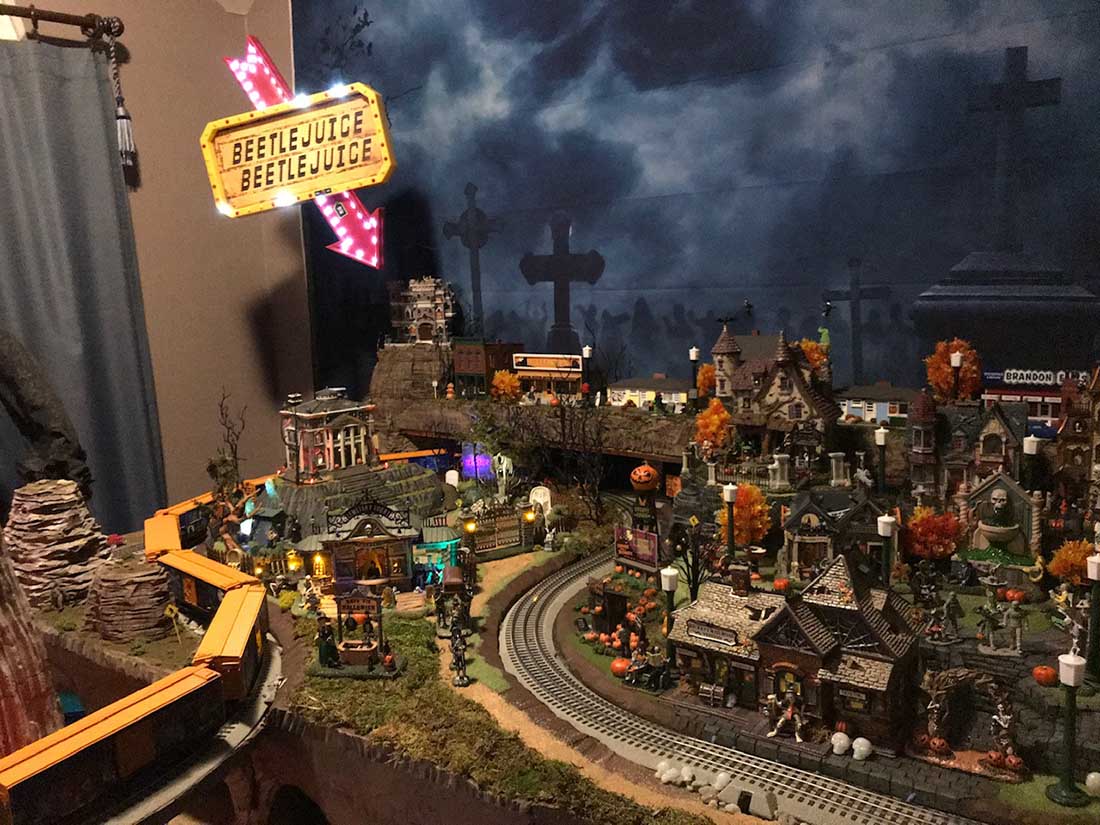
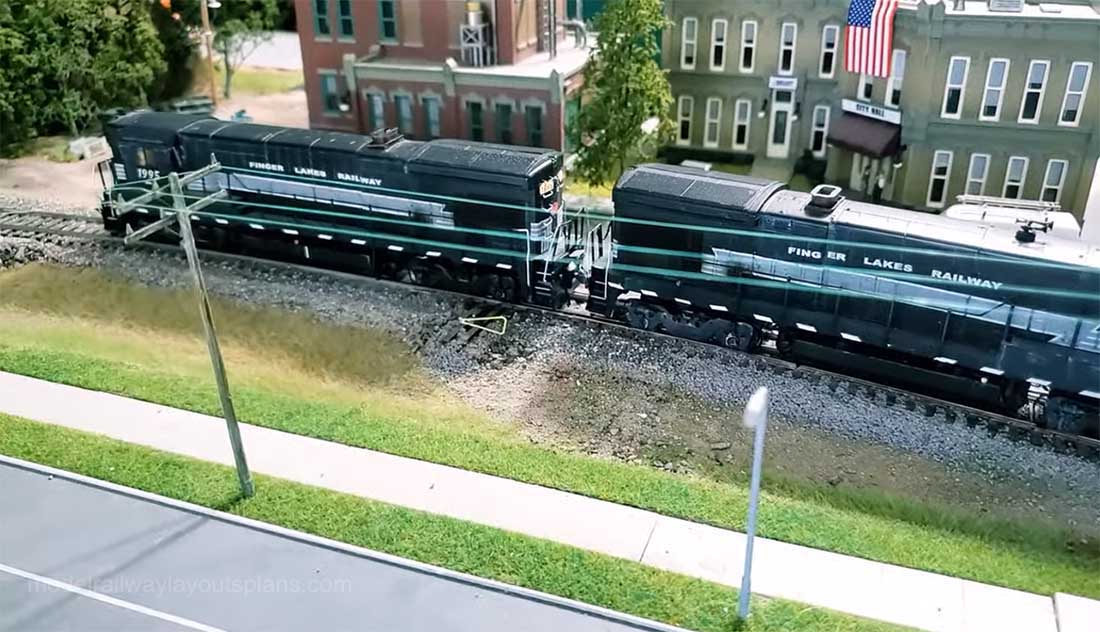
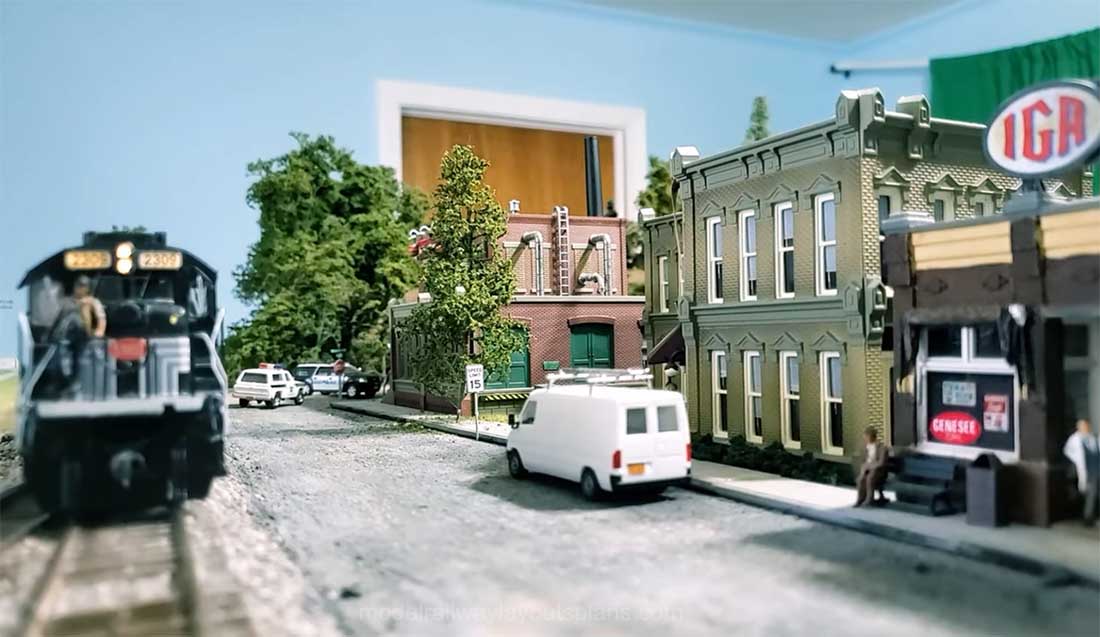
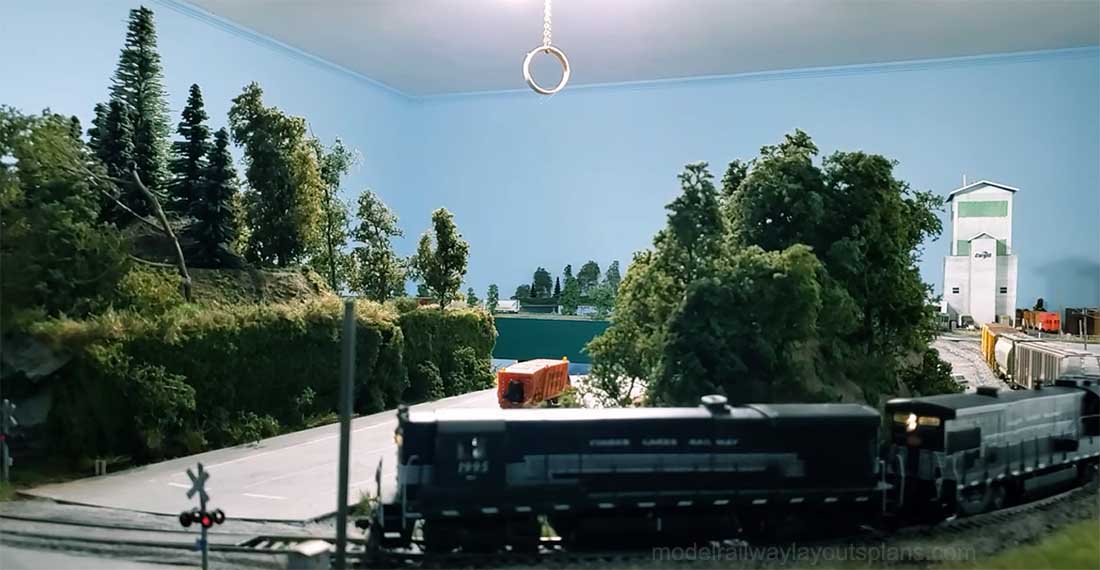
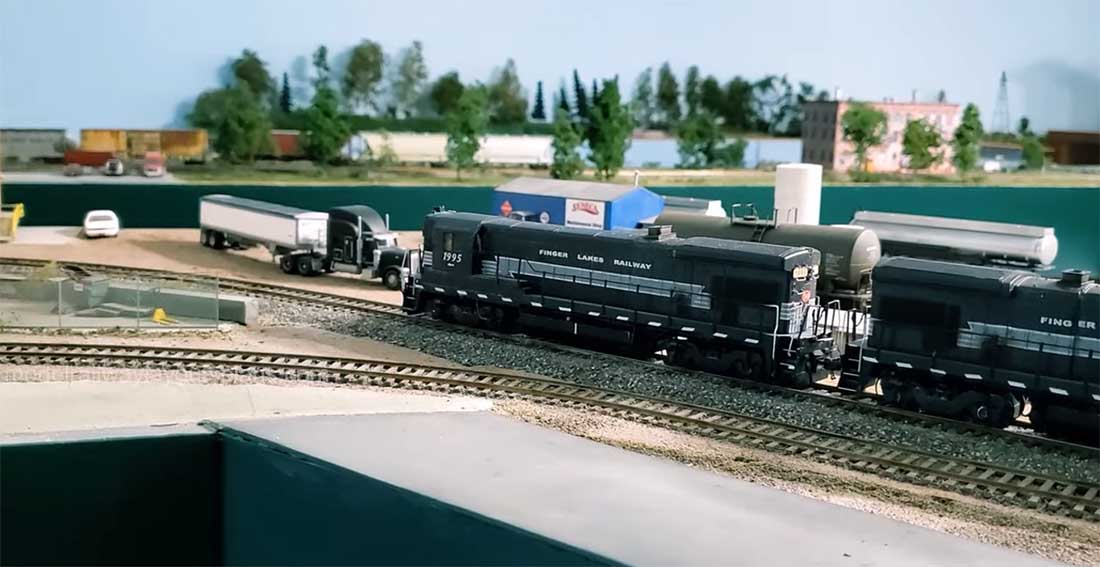
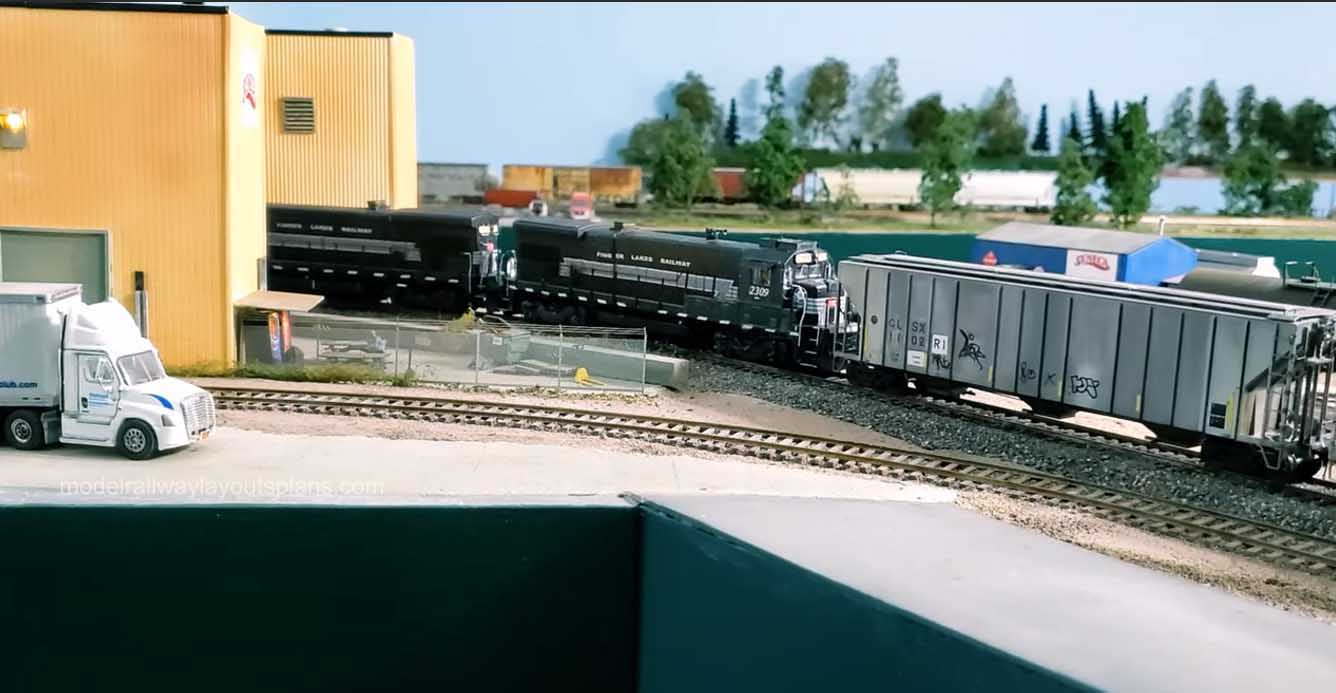
Dean’s been back in touch with the latest on his woodland scenics scenic ridge railroad.
“Al, as you and your readers know, for the last several years I’ve been working on two small layouts.
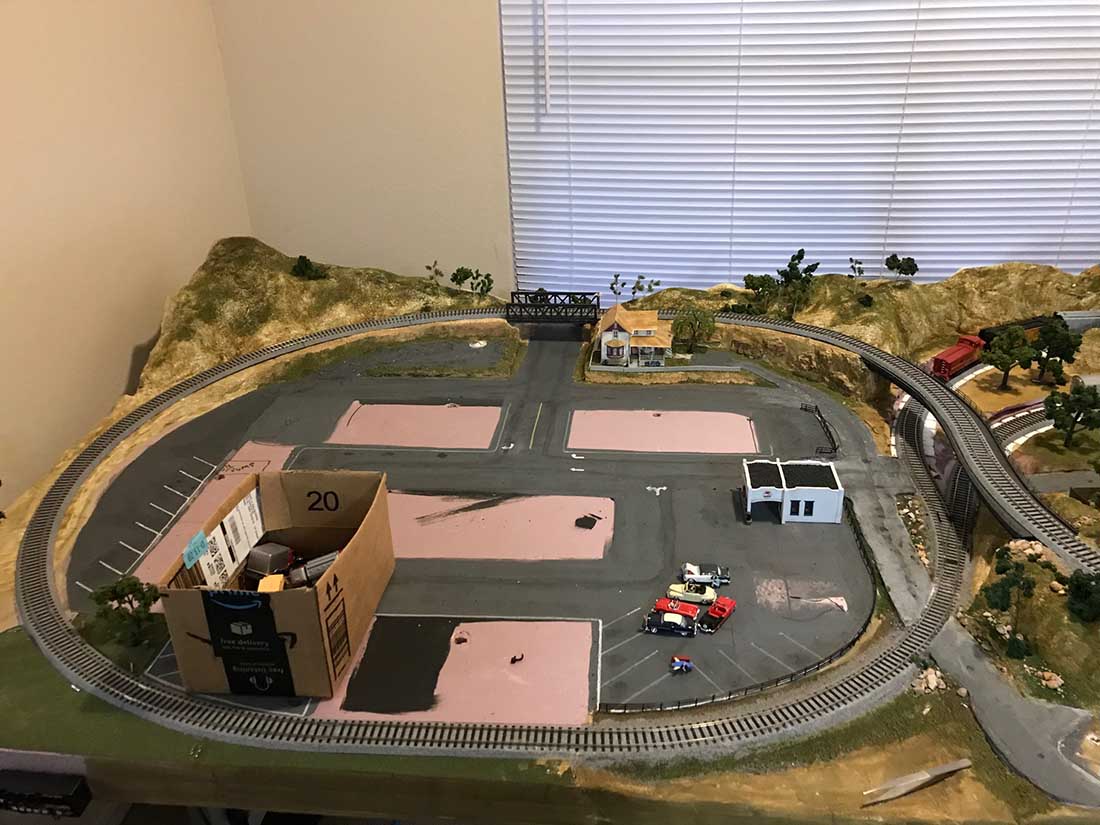
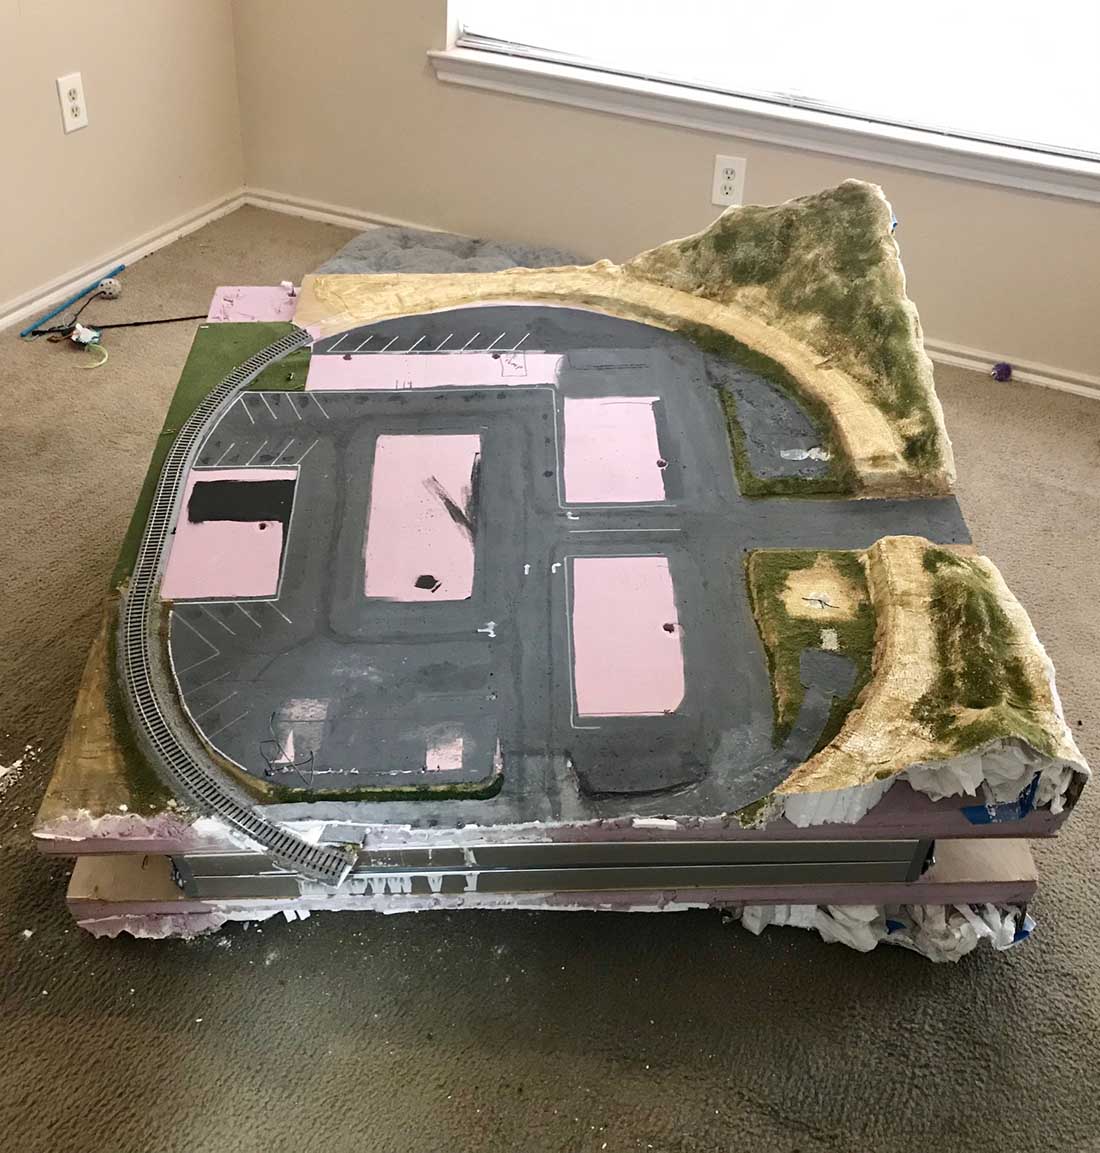
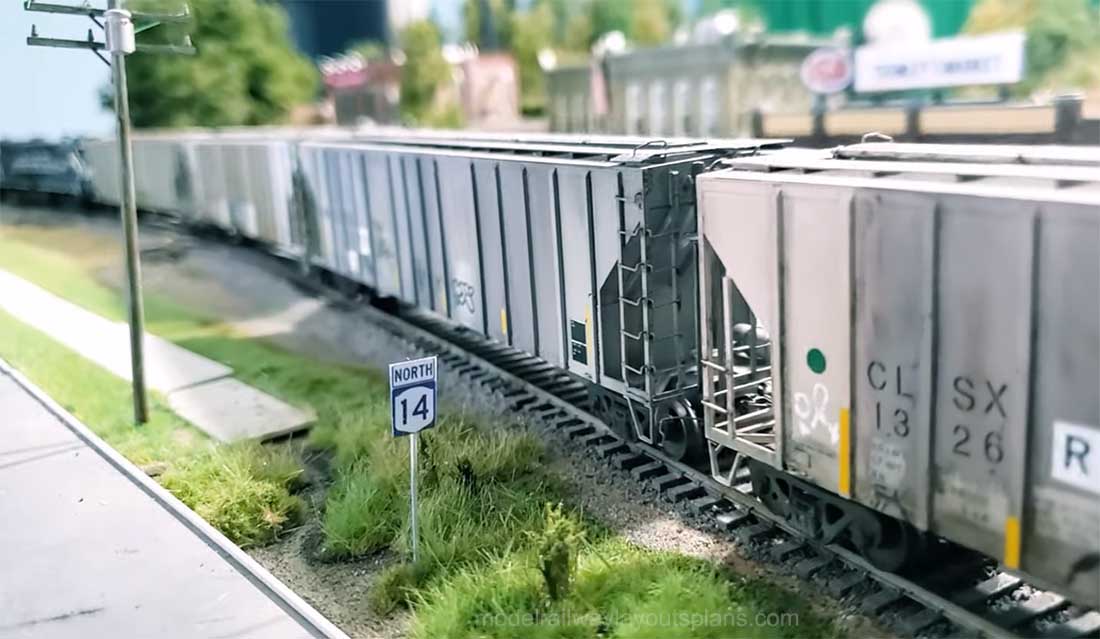
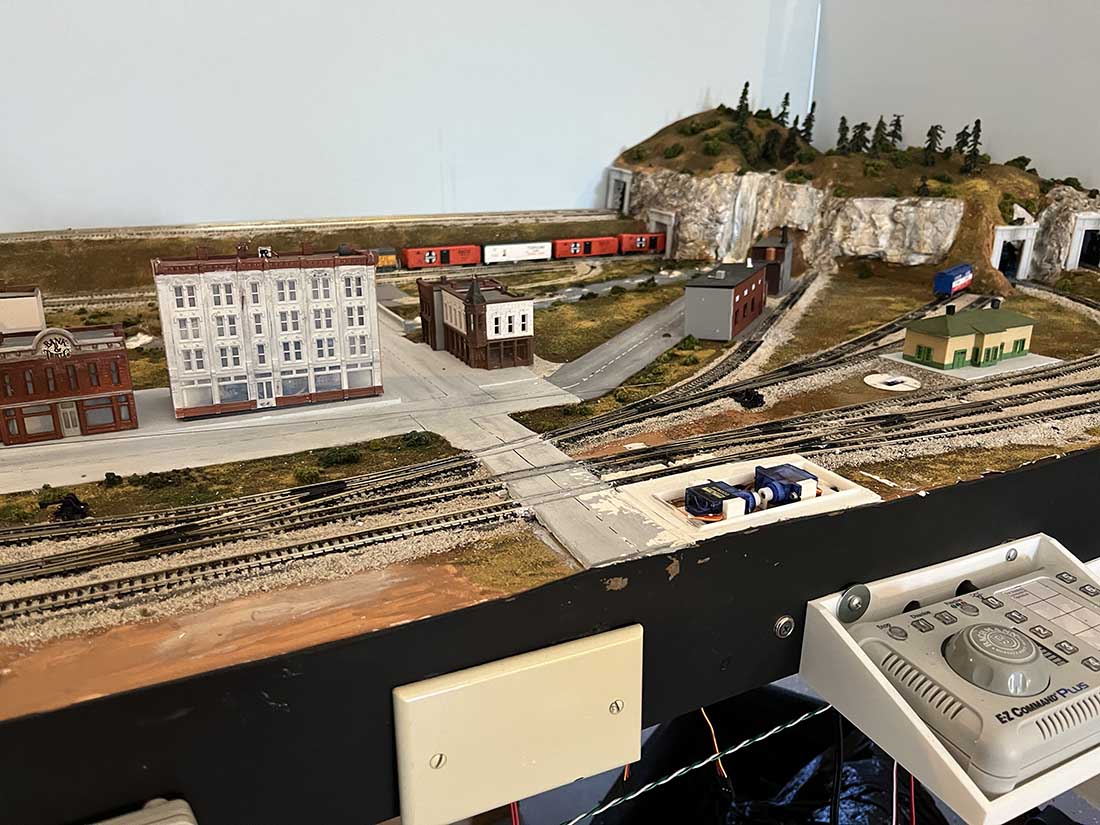
The first of these is the Scenic Ridge Railroad made from a Woodland Scenics kit. It’s virtually completed.
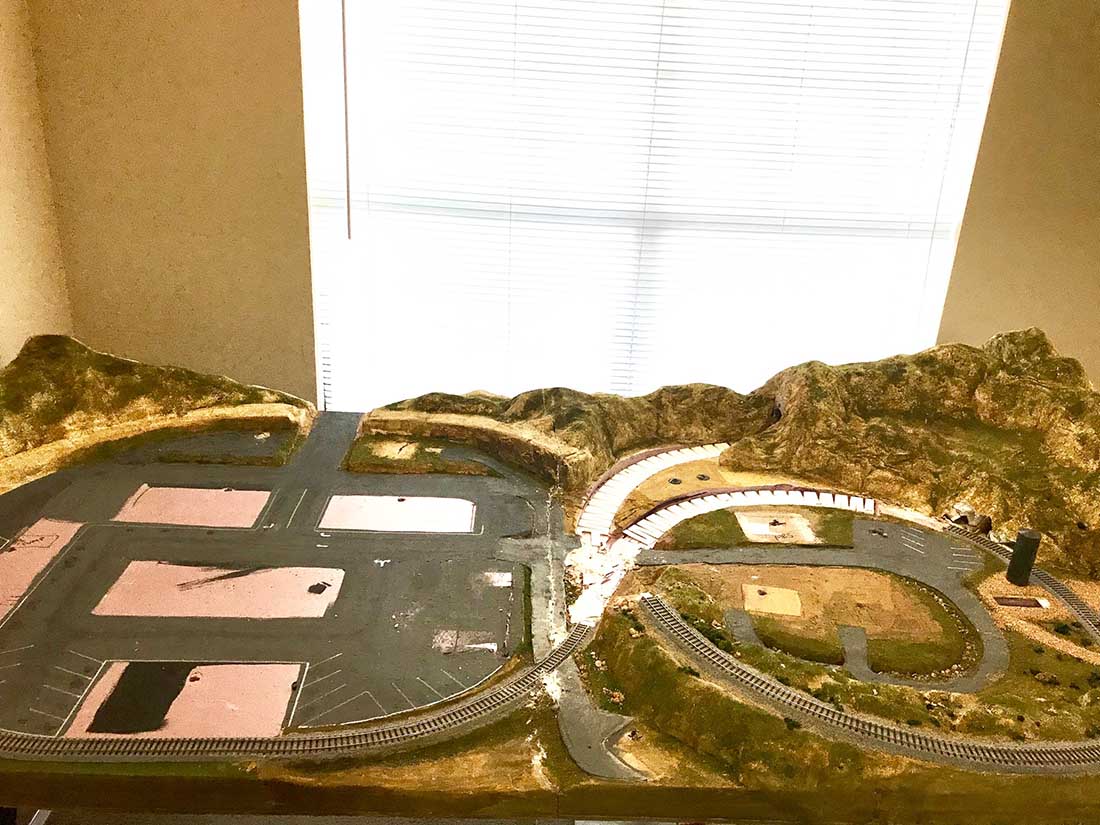
The second of these is my Conejos Valley railroad which is probably about 95% completed.
For some time, I’ve been trying to decide what to do next. One possibility was to totally tear down both layouts and start all over with a brand new one, but I hate to do that.
So, I had the brilliant idea: why not combine the two layouts into one. That will keep me busy for some time and provide a larger layout with more possibilities.
Below is a plan that I came up with. I used the free computer planning software SCARM to draw the plan.
I started in my thoughts by adding the first red line connecting the two together. But this had the problem that if you started at one layout, say the bottom one and ran a train over to the top one, there was no way to get it back except by backing up the train over the red line again. Which was not really acceptable. I could have added turntables or wyes for each layout, but there was no room.
Two people had the brilliant idea of adding the second track, which I’ve shown in blue below. That allows the train to go back and forth between the two layouts without any problems.
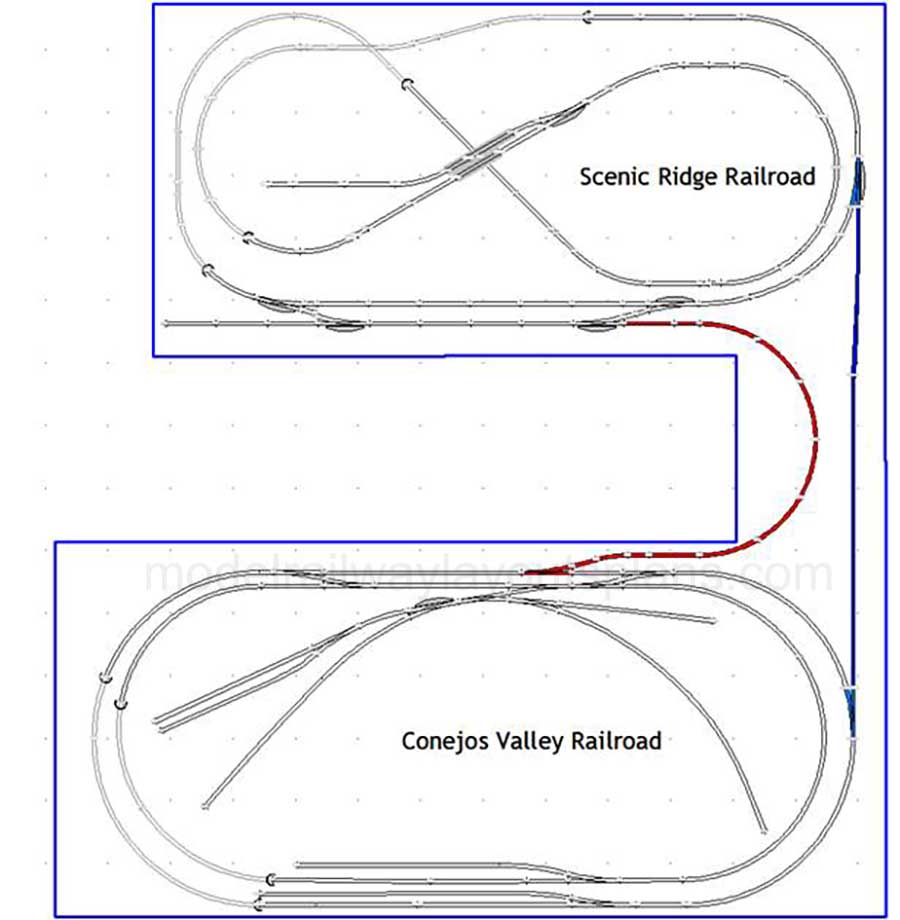
So that’s what I’m going to be doing in the next few months. Standby to watch my progress.
Thanks, Al and all my followers for the support and interest.
Dean”
A big thanks to Dean for sharing his woodland scenics scenic ridge railroad.
If you want to get up to speed on his layout, here are his last two missives:
Scenic ridge railroad bridges and tunnels.
And now on to another Al:
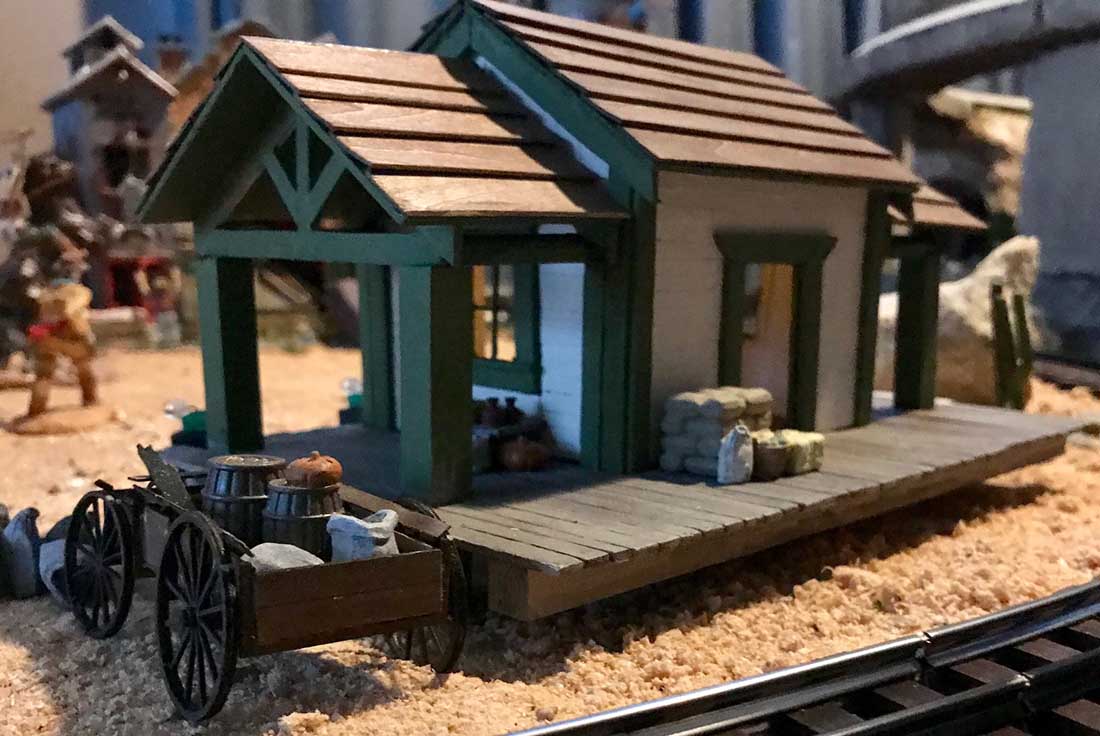
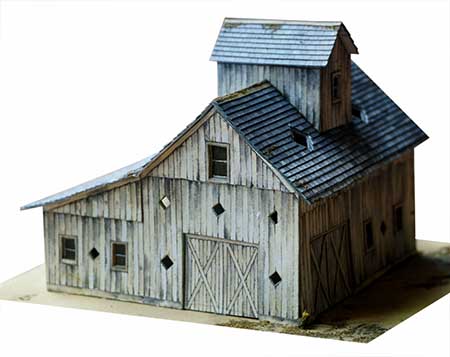
“Al, thought I would share these photos of 3 of your printable buildings that I built with strip wood and scribed siding for the Altima and Tide Creek.
I have been working on an expansion in an attempt to get continuous running but building a suitable lift bridge is a head scratcher for me. Again thanks for all you do and to all fellow modelers who share out there.
Al”

A big thanks to Al for sharing his pics. It’s taken me much longer than I thought it would to get the printable buildings on to the new store.
I have managed to get the barn on there, you can see it here: Printable building barn.
Next, on to Hall of Fame Dangerous Dave:
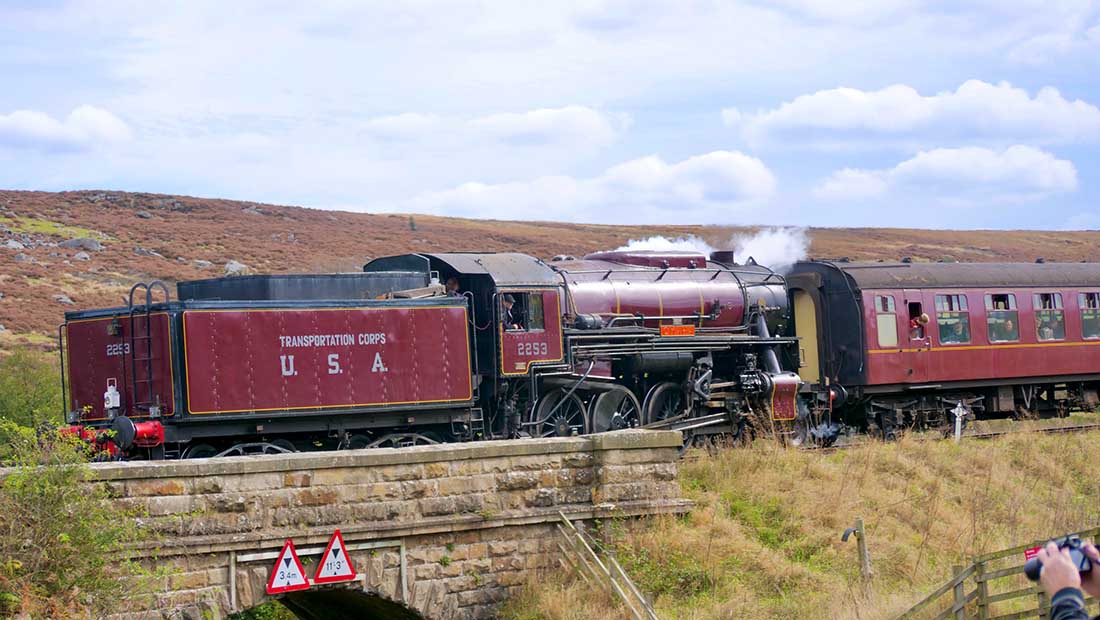
“Hi Al,
my last visit to North Yorkshire moots Railway about 3 weeks ago, it was there steam gala, some nice locos shown.
Cheers
Dave”

That’s all this time folks.
Please do keep ’em coming.
And if today is the big day when you spring into action, the Beginner’s Guide is here.
Best
Al
PS Latest ebay cheat sheet is here.
PPS More HO scale train layouts here if that’s your thing.