Brian’s been back in touch with a very short but useful youtube on How to get good videos of model trains:
“Hi Alastair,
This submission a bit different than what’s normally seen here. I do note that more and more model railroaders are taking advantage of the television studios in our pockets these days, aka Smart Phones.
A bit of background. My career was in television news and corporate communications. As a News Director and Executive Producer I got to work with some very talented videographers. Later in corporate communications working with some major television providers I continued to see how video equipment became less bulky and more importantly less expensive.
Technology as you well know, and you prove it with the work you do here, empowers us all to tell our stories, including model railroading.
One thing I do see however, is so many people holding their smart phones vertically instead of horizontally when shooting video. Sort of like turning your big screen tv on its side at home. You get a narrow picture with black bars on each side instead of the full 16×9 ratio we’re used to seeing on TV and our Digital Devices.
So here’s some comparison shots of the same scenes from my own model railroad, first we see vertically, then horizontally. There is a difference! The second example I’m including is something called video sequencing. In this case a locomotive leaving the roundhouse, going on to the turntable then heading out for work. I shot the same scene three times from different angles then edited the sequences together. The technique adds interest for the viewer.
Video editing is a skill set for sure, and I get to use it all the time with some pretty fancy productions. But like the equipment, video editing software like iMovie is so intuitive and easier to use than one would thing. And yes, empowering.
You just have to give it a try!
So here’s the video:
Brian”
A big thanks to Brian – I do get quite a few mails asking about How to get good videos of model trains – Brian’s youtube is very helpful.
Hall of Fame Rob also has a very good video on this: Filming model trains.
Now on to Kim:
“Hi Al.
These are my sidewalks .They are not tacked down yet or painted yet.
I used the shelf trim with the glue side up to walk on.
Then i used coffee stir sticks to stiffen it and to raise it up. When glueing the sticks, stagger them to keep it stiff.
I added a strip onto the bottom and attached to the stir stick’s to act as water guttering (warning Al, don’t use white glue as it wont stick well). I use instant glue.
To turn left or right with the sidewalks, place sticks left or right as in photo.
When you finished a section, take fine sandpaper and run it along the road side of the sidewalks yo make it square and smooth. Then glue a small strip to make the guttering.
Now for the 1/100 scale or Ho scale bike. I used left over Led posts ya cut off. If you are really interested in how to make those bike’s i will send in a more informative way to make them. Was pretty easy. But i think you agree and use the word dang it’s small, honestly Al.
I think my bikes look more realistic than any plastic bike you can buy at this scale, if you can get them and i dont think ya can. Seat and peddles will be added later.
Im trying to make a sort of jig to follow how to make a mass amount. I could see a bike race on the road with these. I also attempted a kids bike. Now understand,this is my first tiny bike, so wont be perfect.
Tell me what ya think.
Can ya see a bunch in a bike rack in front of a store or something, or a bike shop?
Kim”

")


“i have a tip,i make a lot of stone walls,i first coat the screen or surface with plaster. after its dry i mix another batch with what’s called rainbow cement color (its cheep) comes in black or red,a little black makes gray.
i then coat the surface with almost smooth surface.let dry and take a small screw driver and drag across the surface to make bricks,the red really looks like brick.the screw driver goes through the red or gray layer and makes motor joints.
Mike”
“I use the plastic sprues left over from a model. I take them and use them for metal piping for oil refineries, gas stations, rooftop vents, etc. I also use them for scenery, pipe loads. I cut them down to the size of the load, I also drill out the ends, and then paint them whatever color you need to give it a more real appearance. I don’t have a pic handy, but I just made a fuel island for my truck stop. Hope someone can use this idea.
John”
And lastly, on to Michael:
“Interesting stuff. In case it might appeal….I’m an Englishman living in New York…building my second ‘N’ scale layout with the help of my stepdaughter who is now 32 yrs… the first one we made was in California when she was 11 yrs.
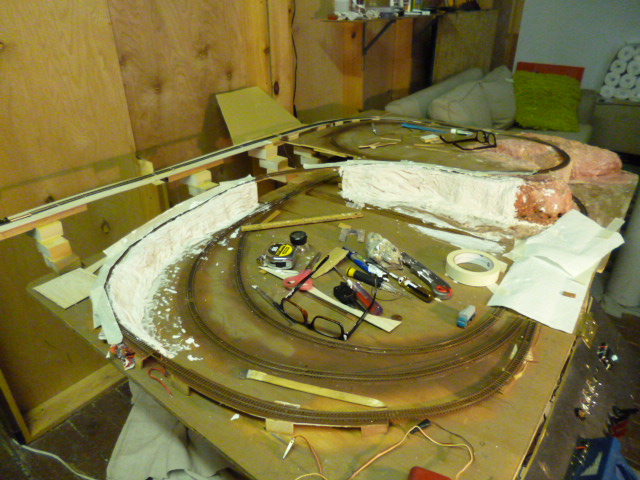
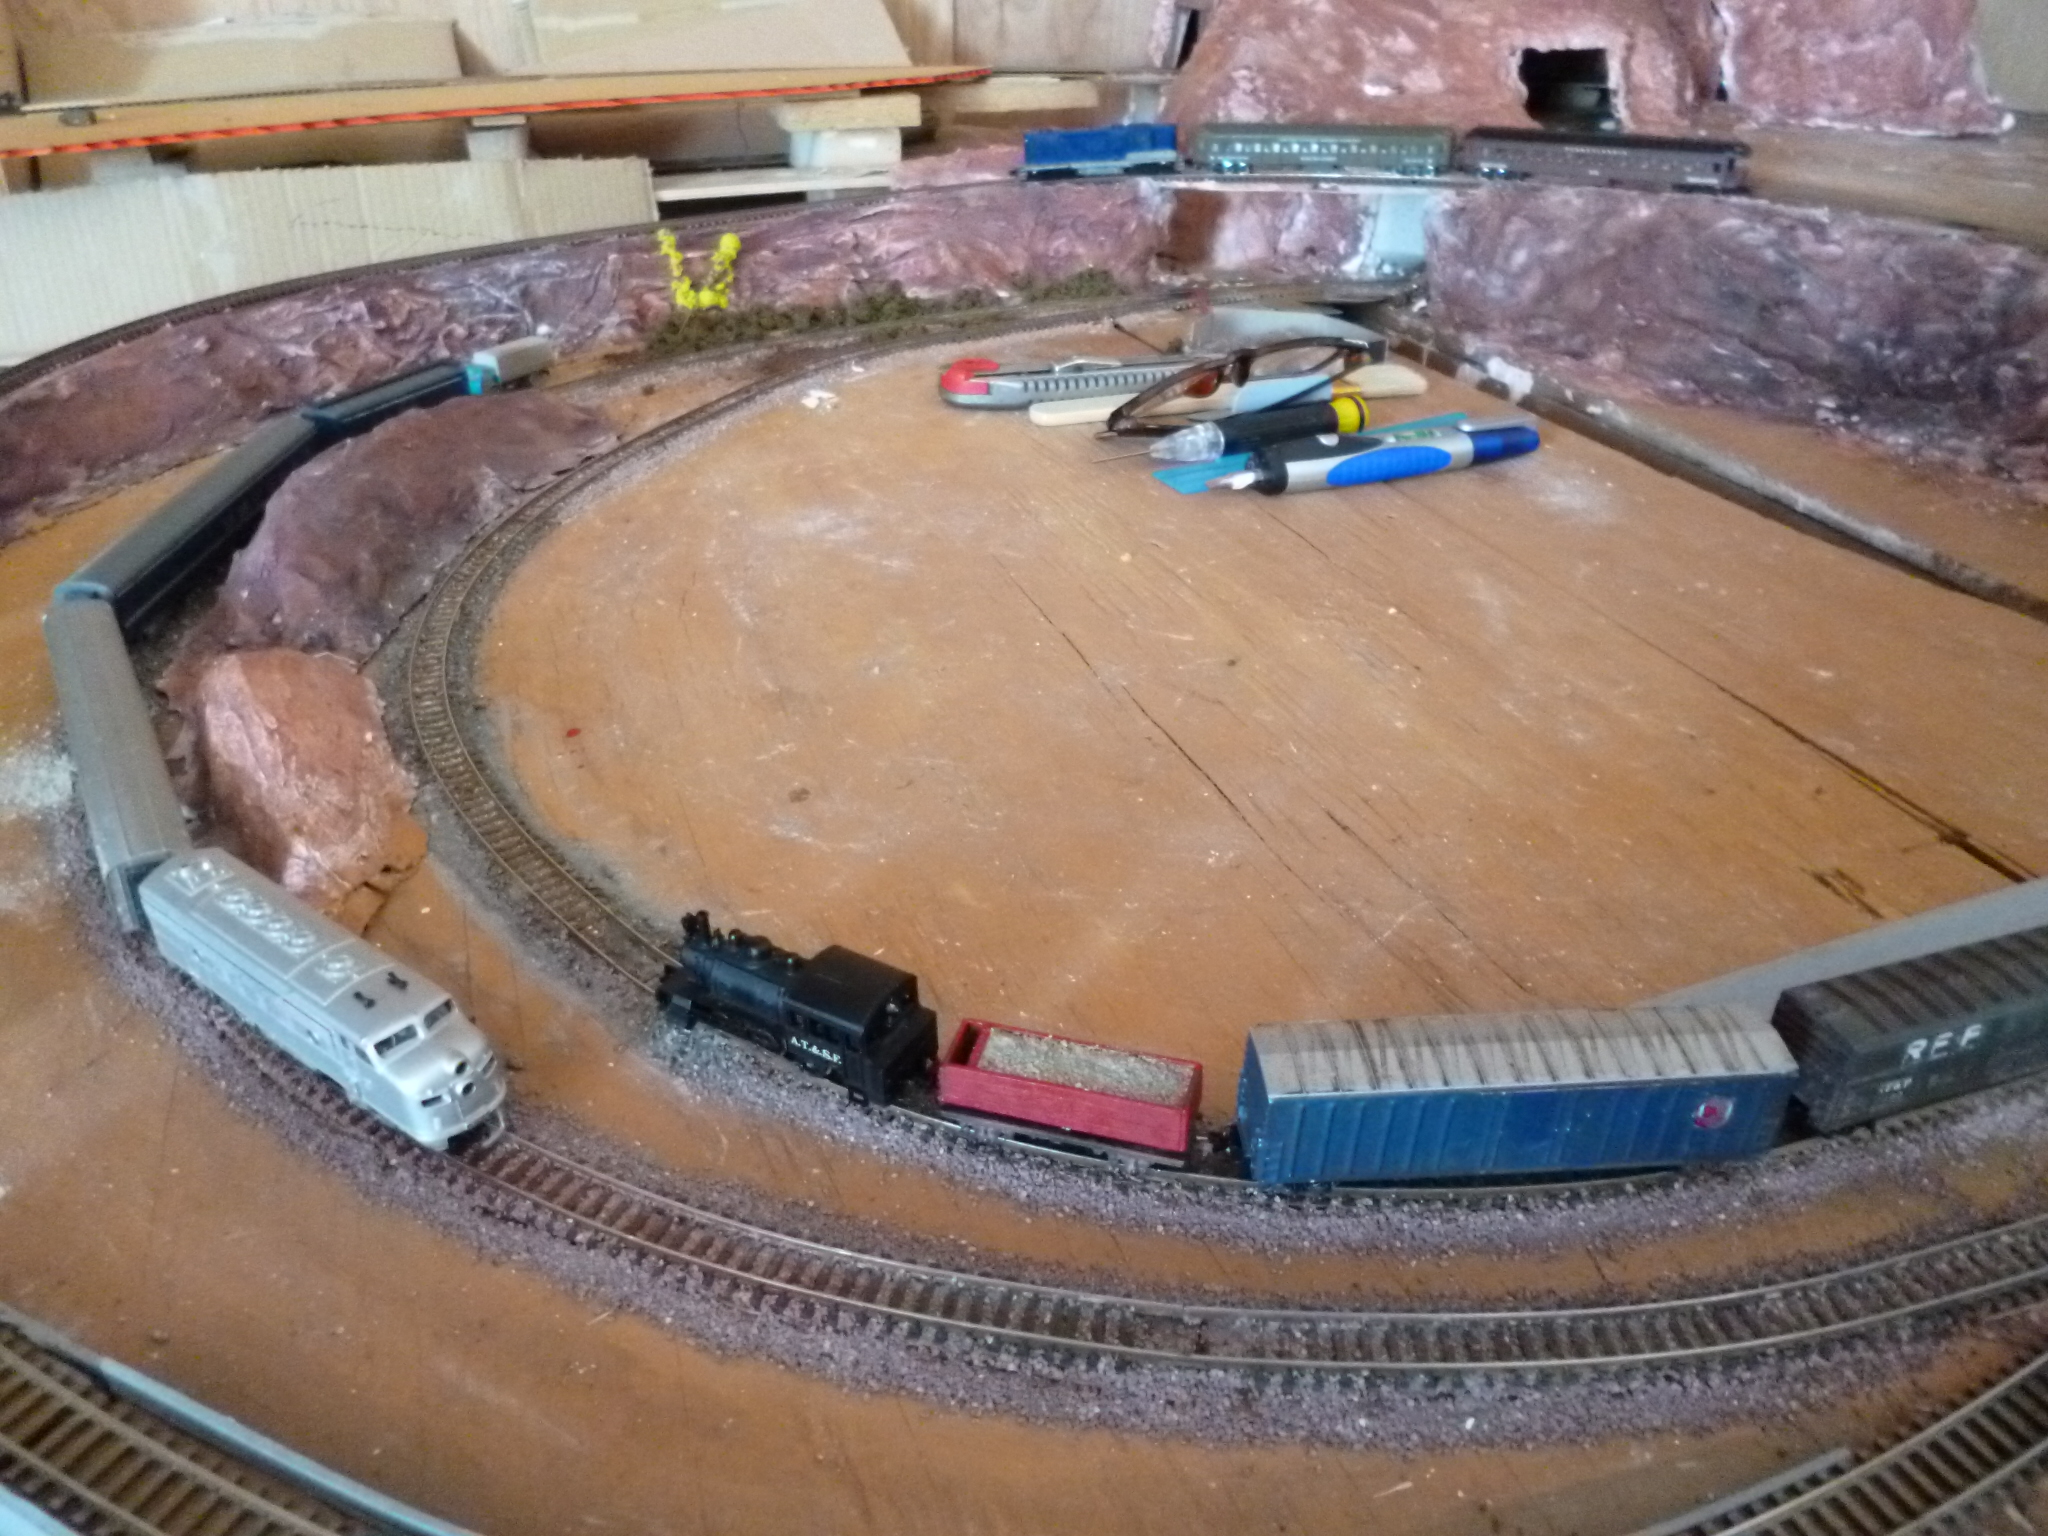
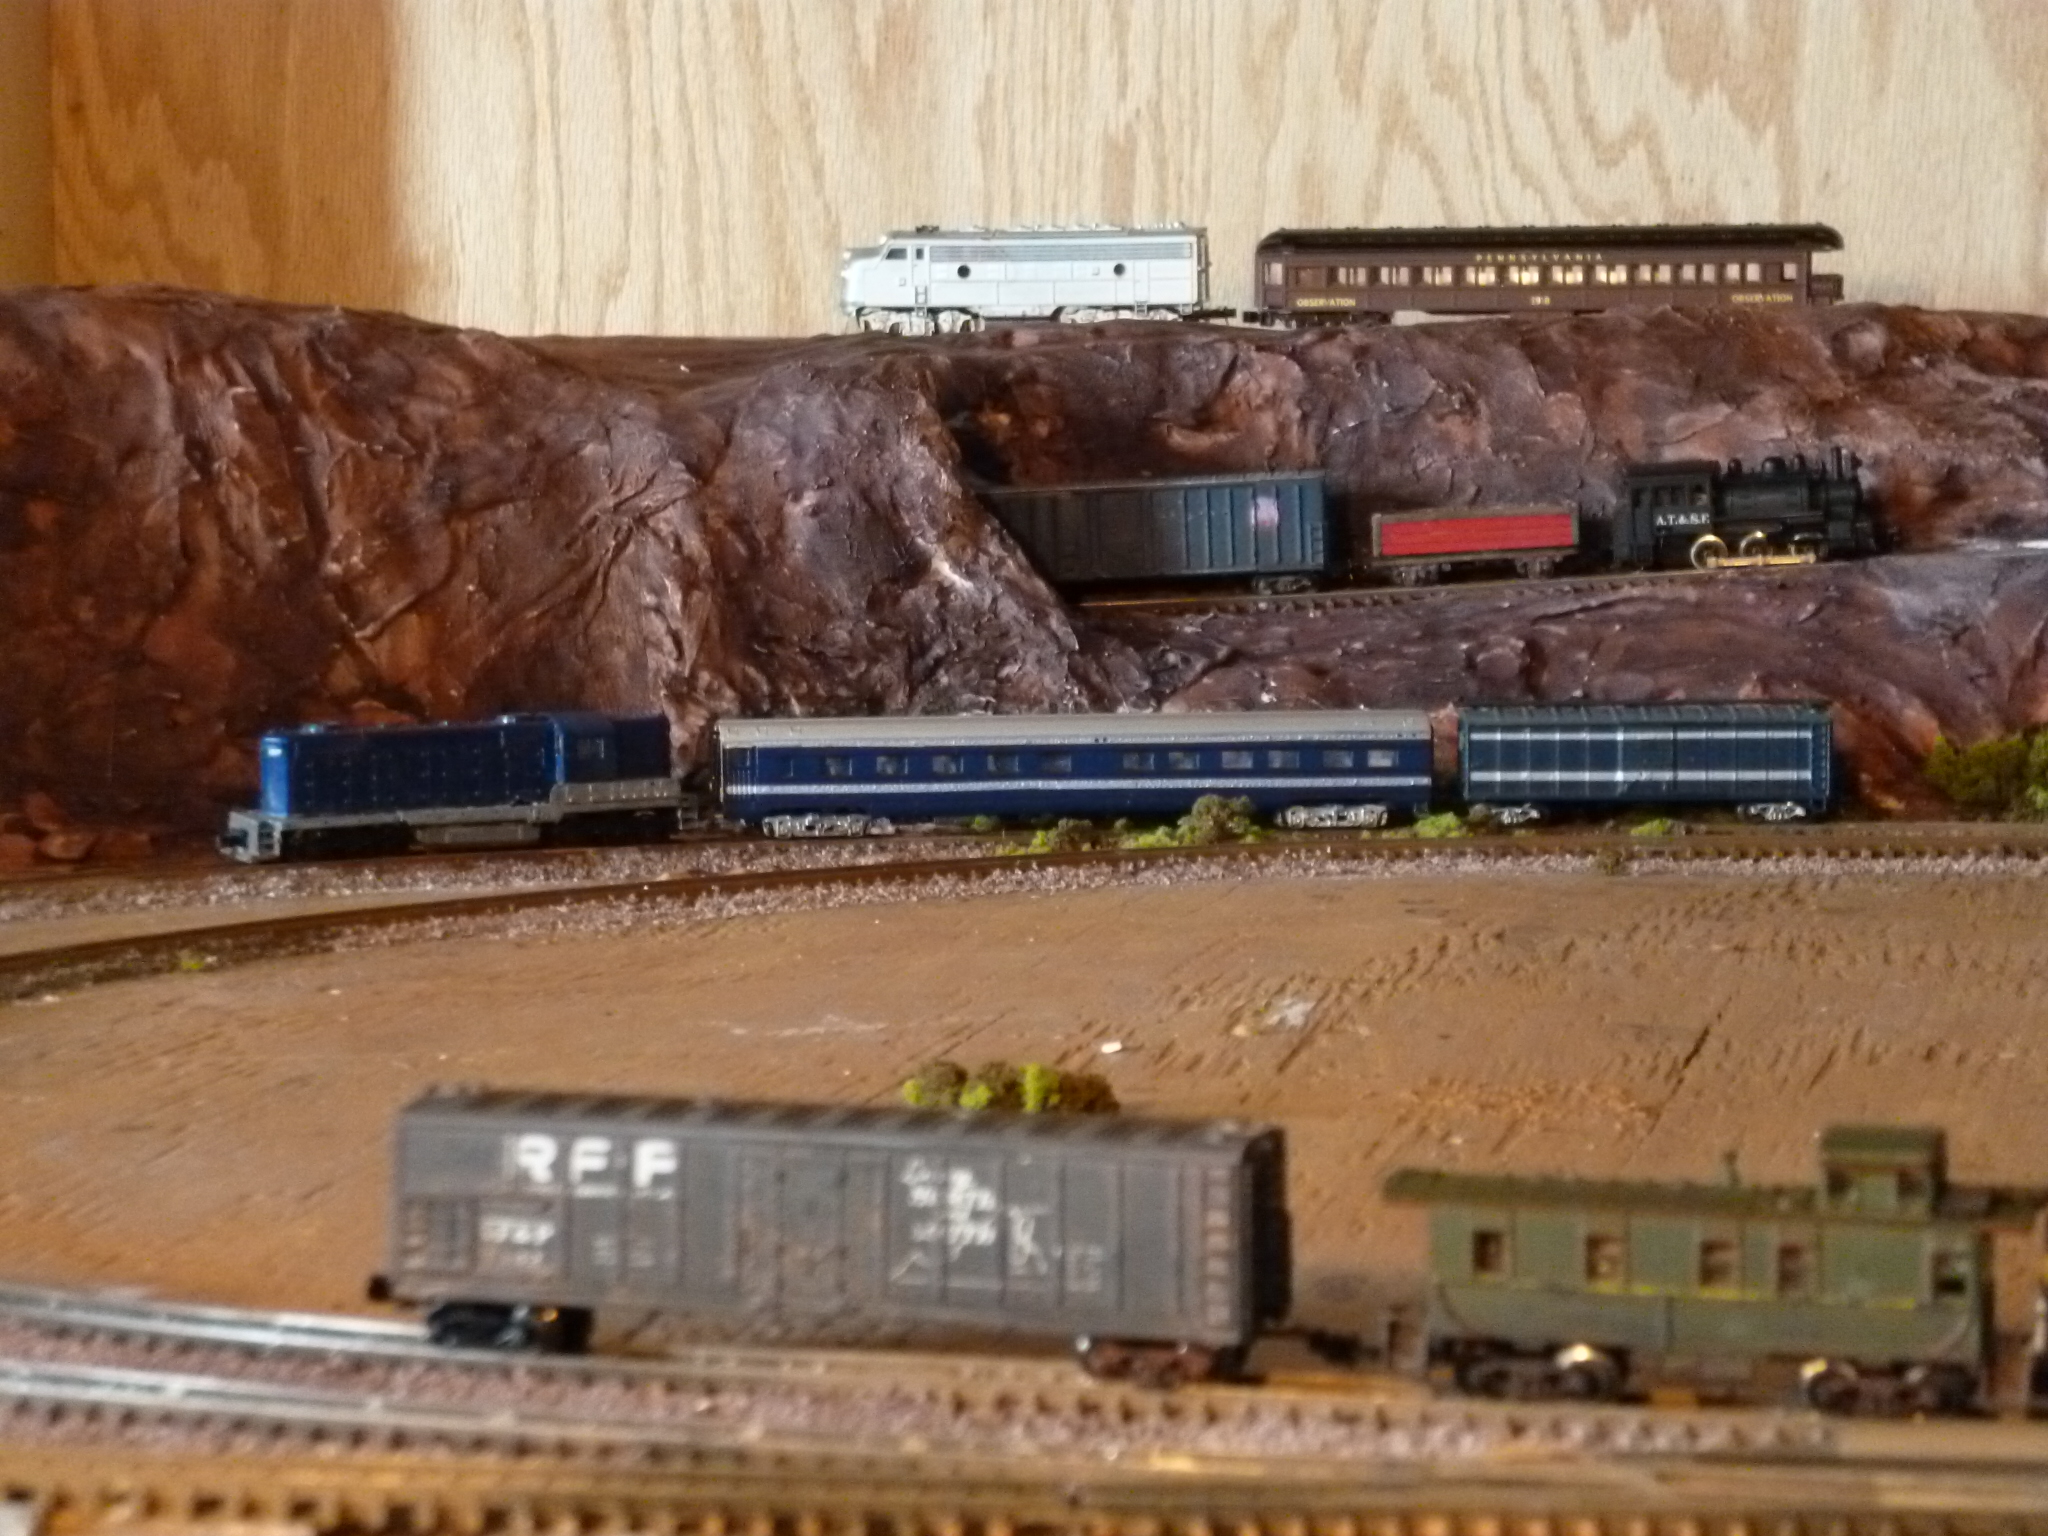
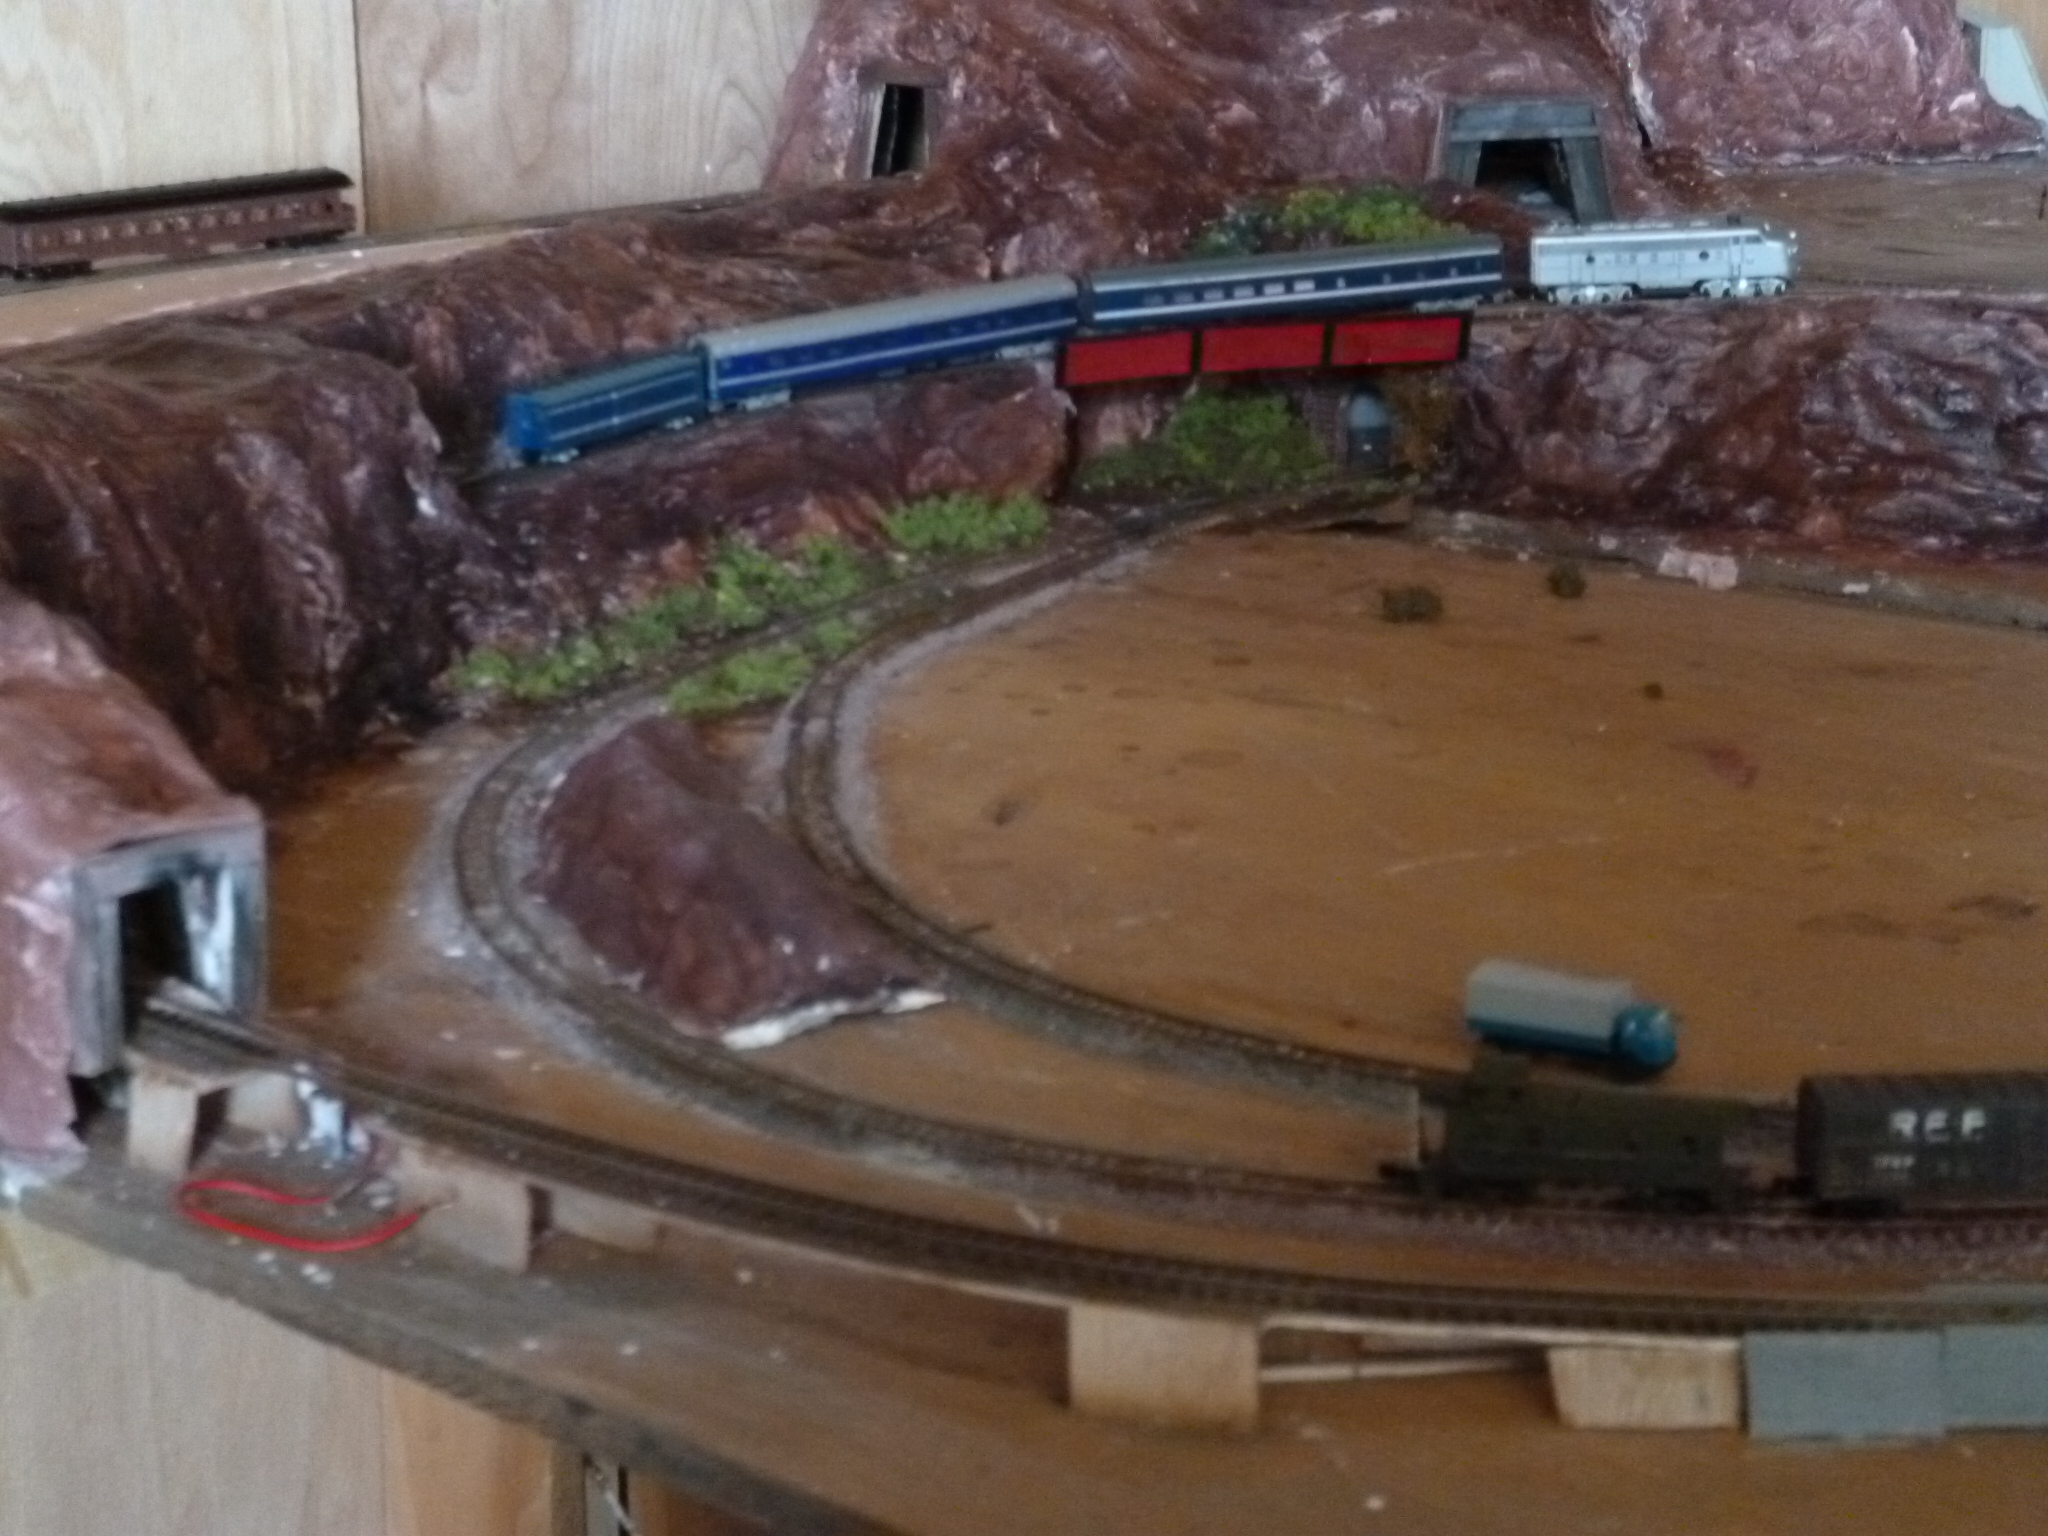
The whole point of this one is to use as little as possible things from the model shop (which are lousy in NYC anyway) and also to make it as individual and asymetric as possible…. it’s going to be a sculpture/diarama of New Mexico that happens to have trains.
My rolling stock is nearly all pre-owned (second-hand things) that we bought as ‘broken’ and rebulit/painted whatever…the baseboard is an open 3’x3’x3′ cube that the scultor downstairs in my factory/loft used to put sculptures on, covered with teo sheets of plywood from the dumpster….the furniture factory on my ground floor supplies foam that I grind up for foliage etc and we collect coffee/tea for ground cover/ballast etc.
We break ALL the rules..train liveries are all my designs, passenger cars all lit with their own LED/batteries inside…I have a flair for rebuilding locomotives, old pre-war American ones are particularly tricky in steam (the first trick is to put current pick-ups in the stupid 8 wheel,2 truck tenders so that the short wheelbase 6 driving wheels don’t stall on the turnouts (points) …the list goes on…just thought it might be of interest..specially ” What Not To Do’ written in a funny, entertaining way.
My loft overlooks the Harlem River by the Park Ave lift bridge which carries ALL the trains out of Grand Central (sadly now only boring details) and there is a freight line IN THE RIVER on piles which takes the CSX garbage trains from New York to Virginia twice a a day so I am not lost for references.
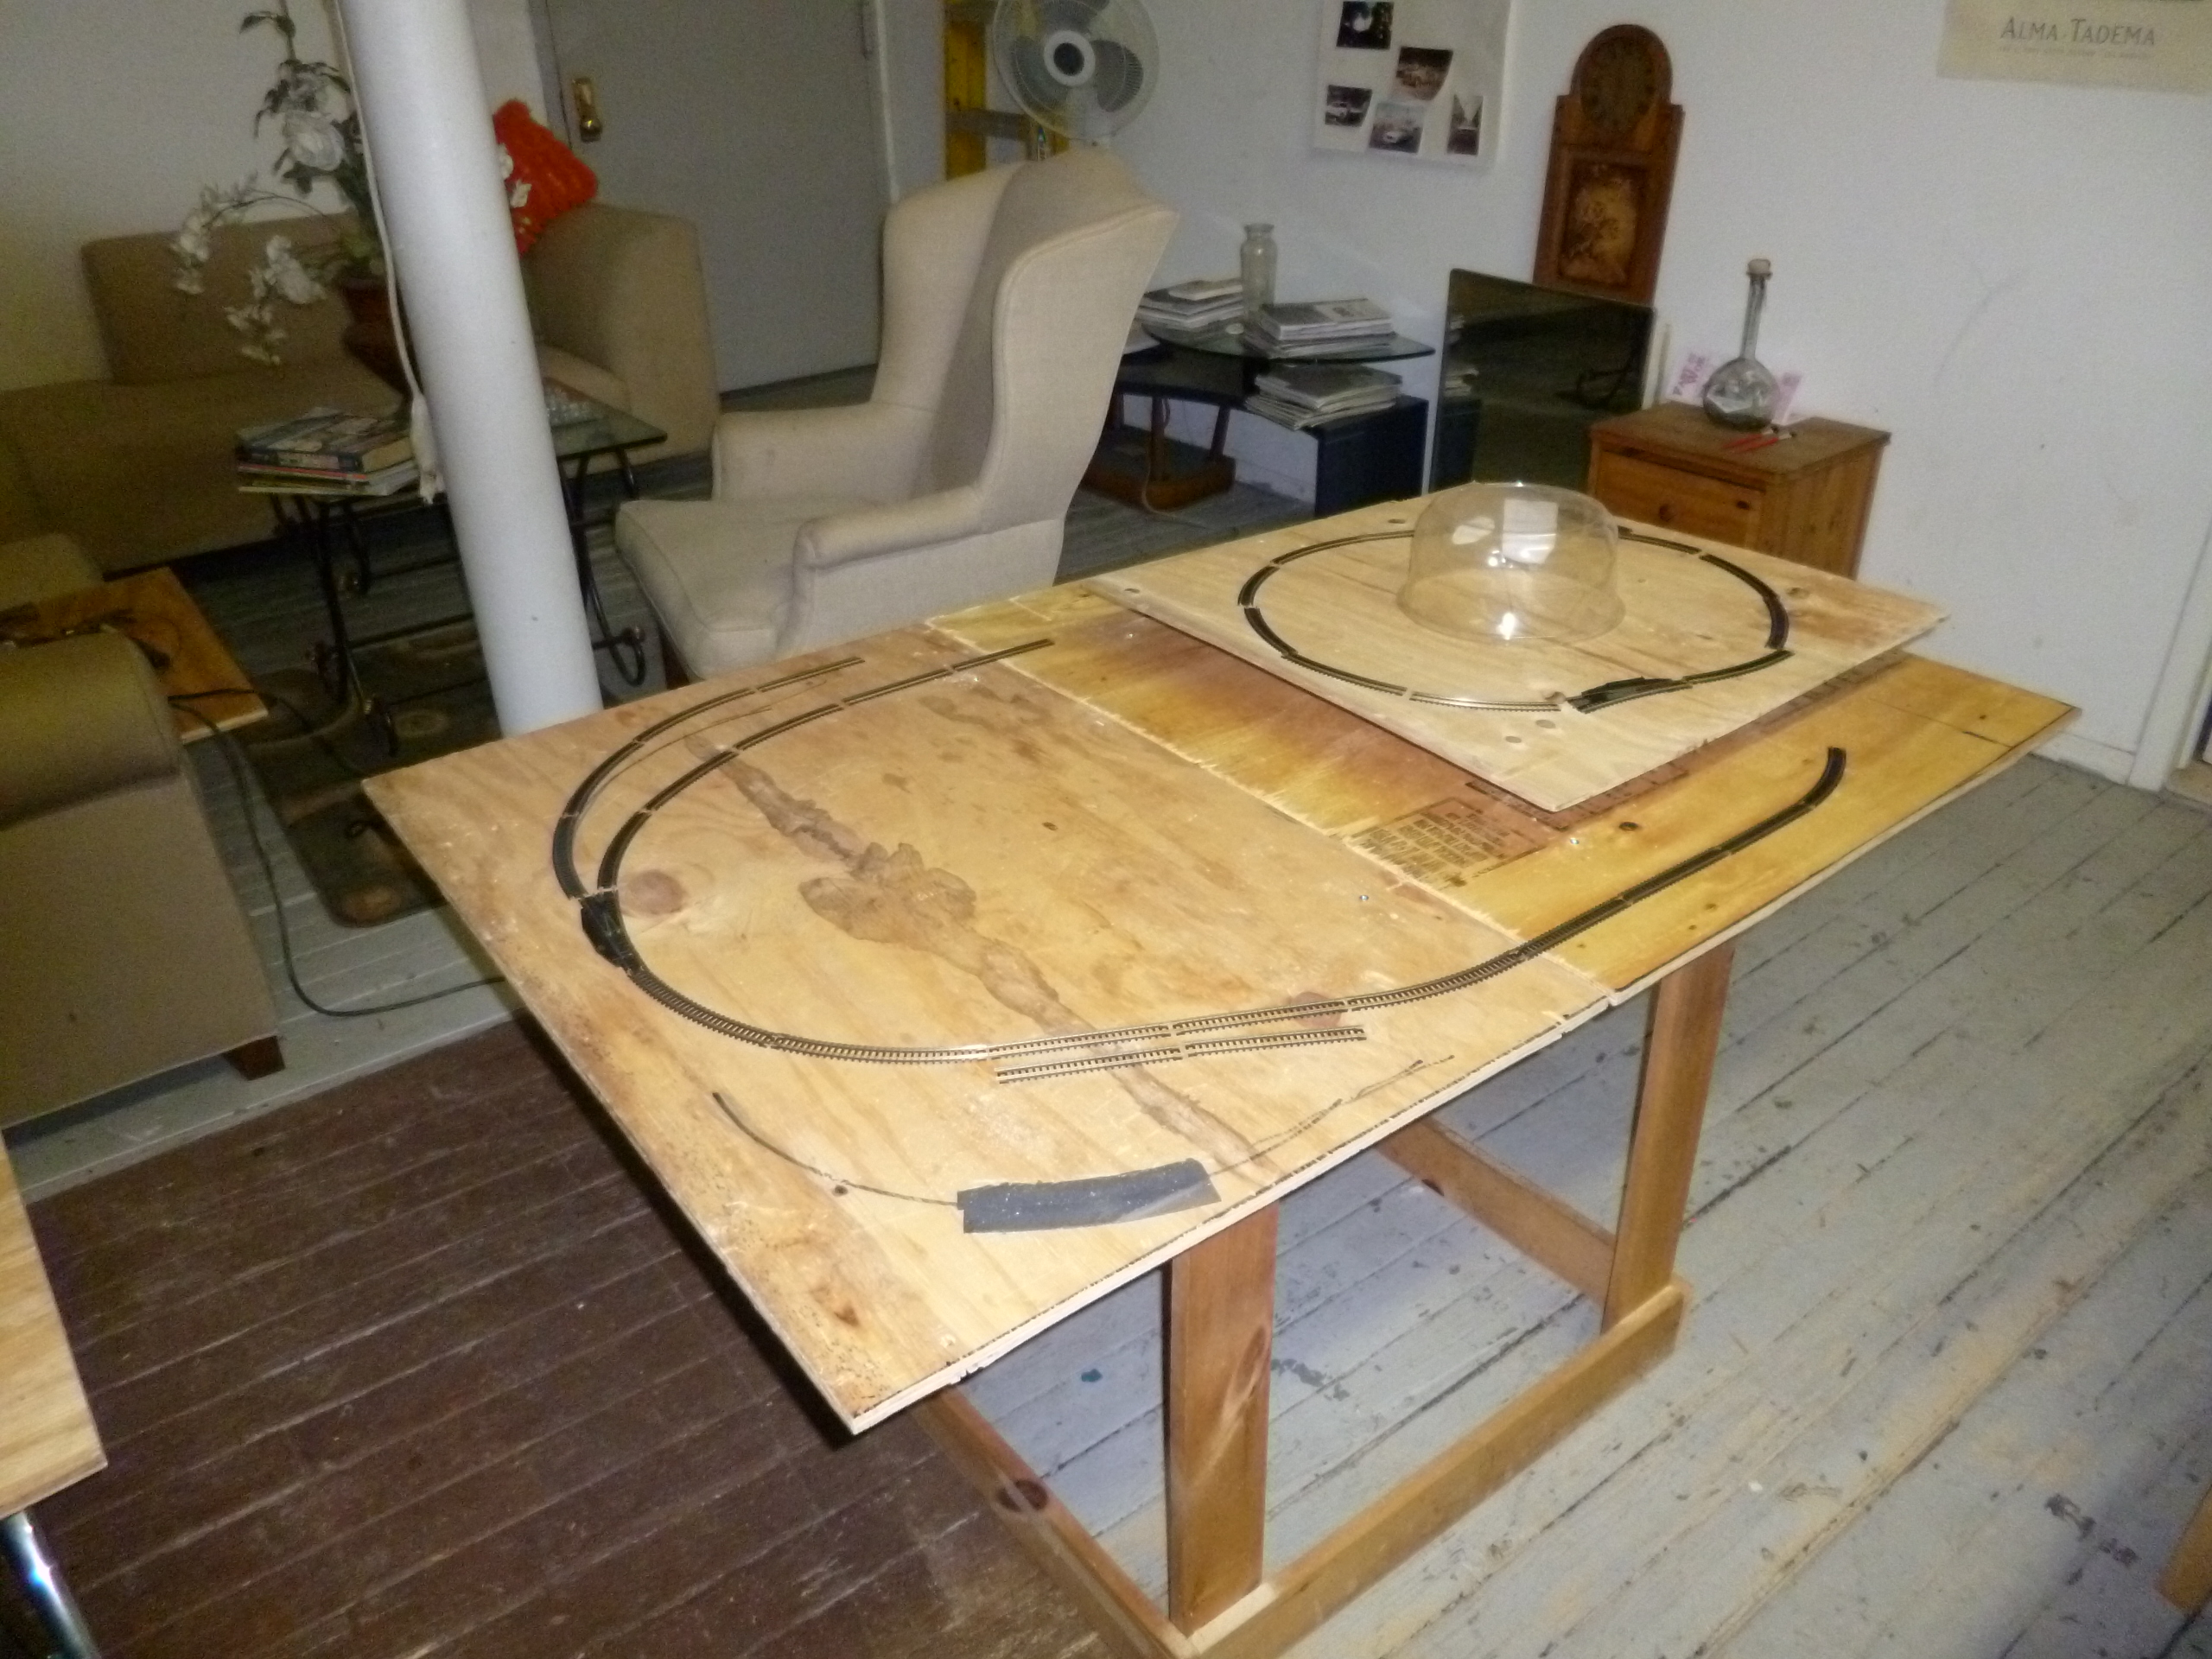
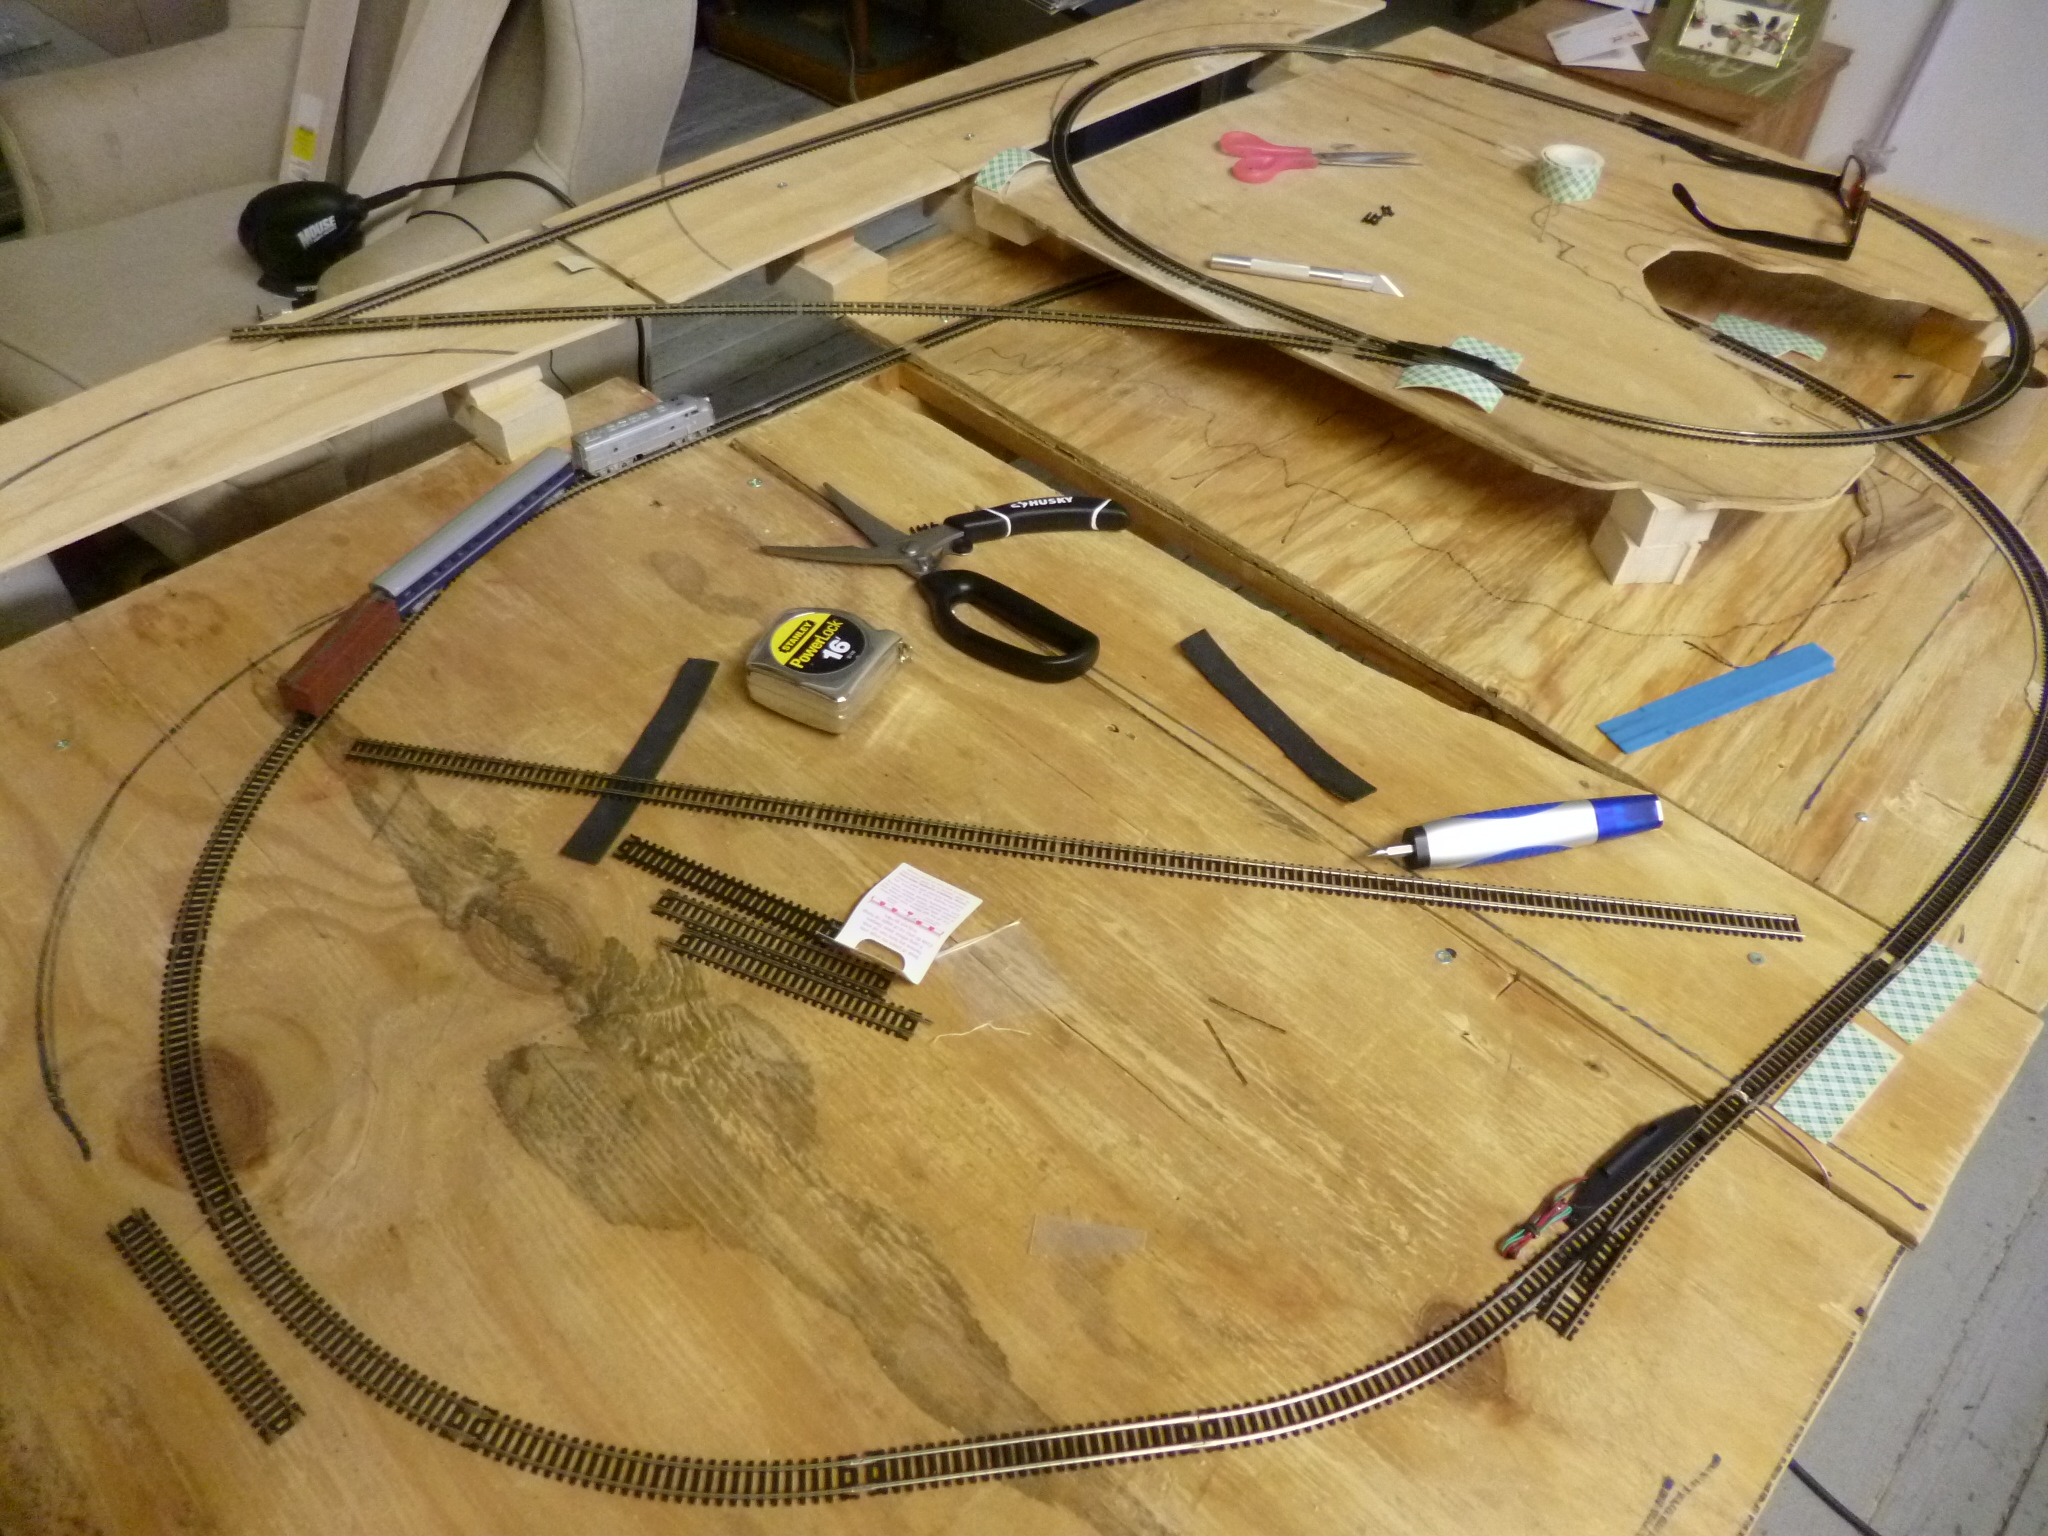
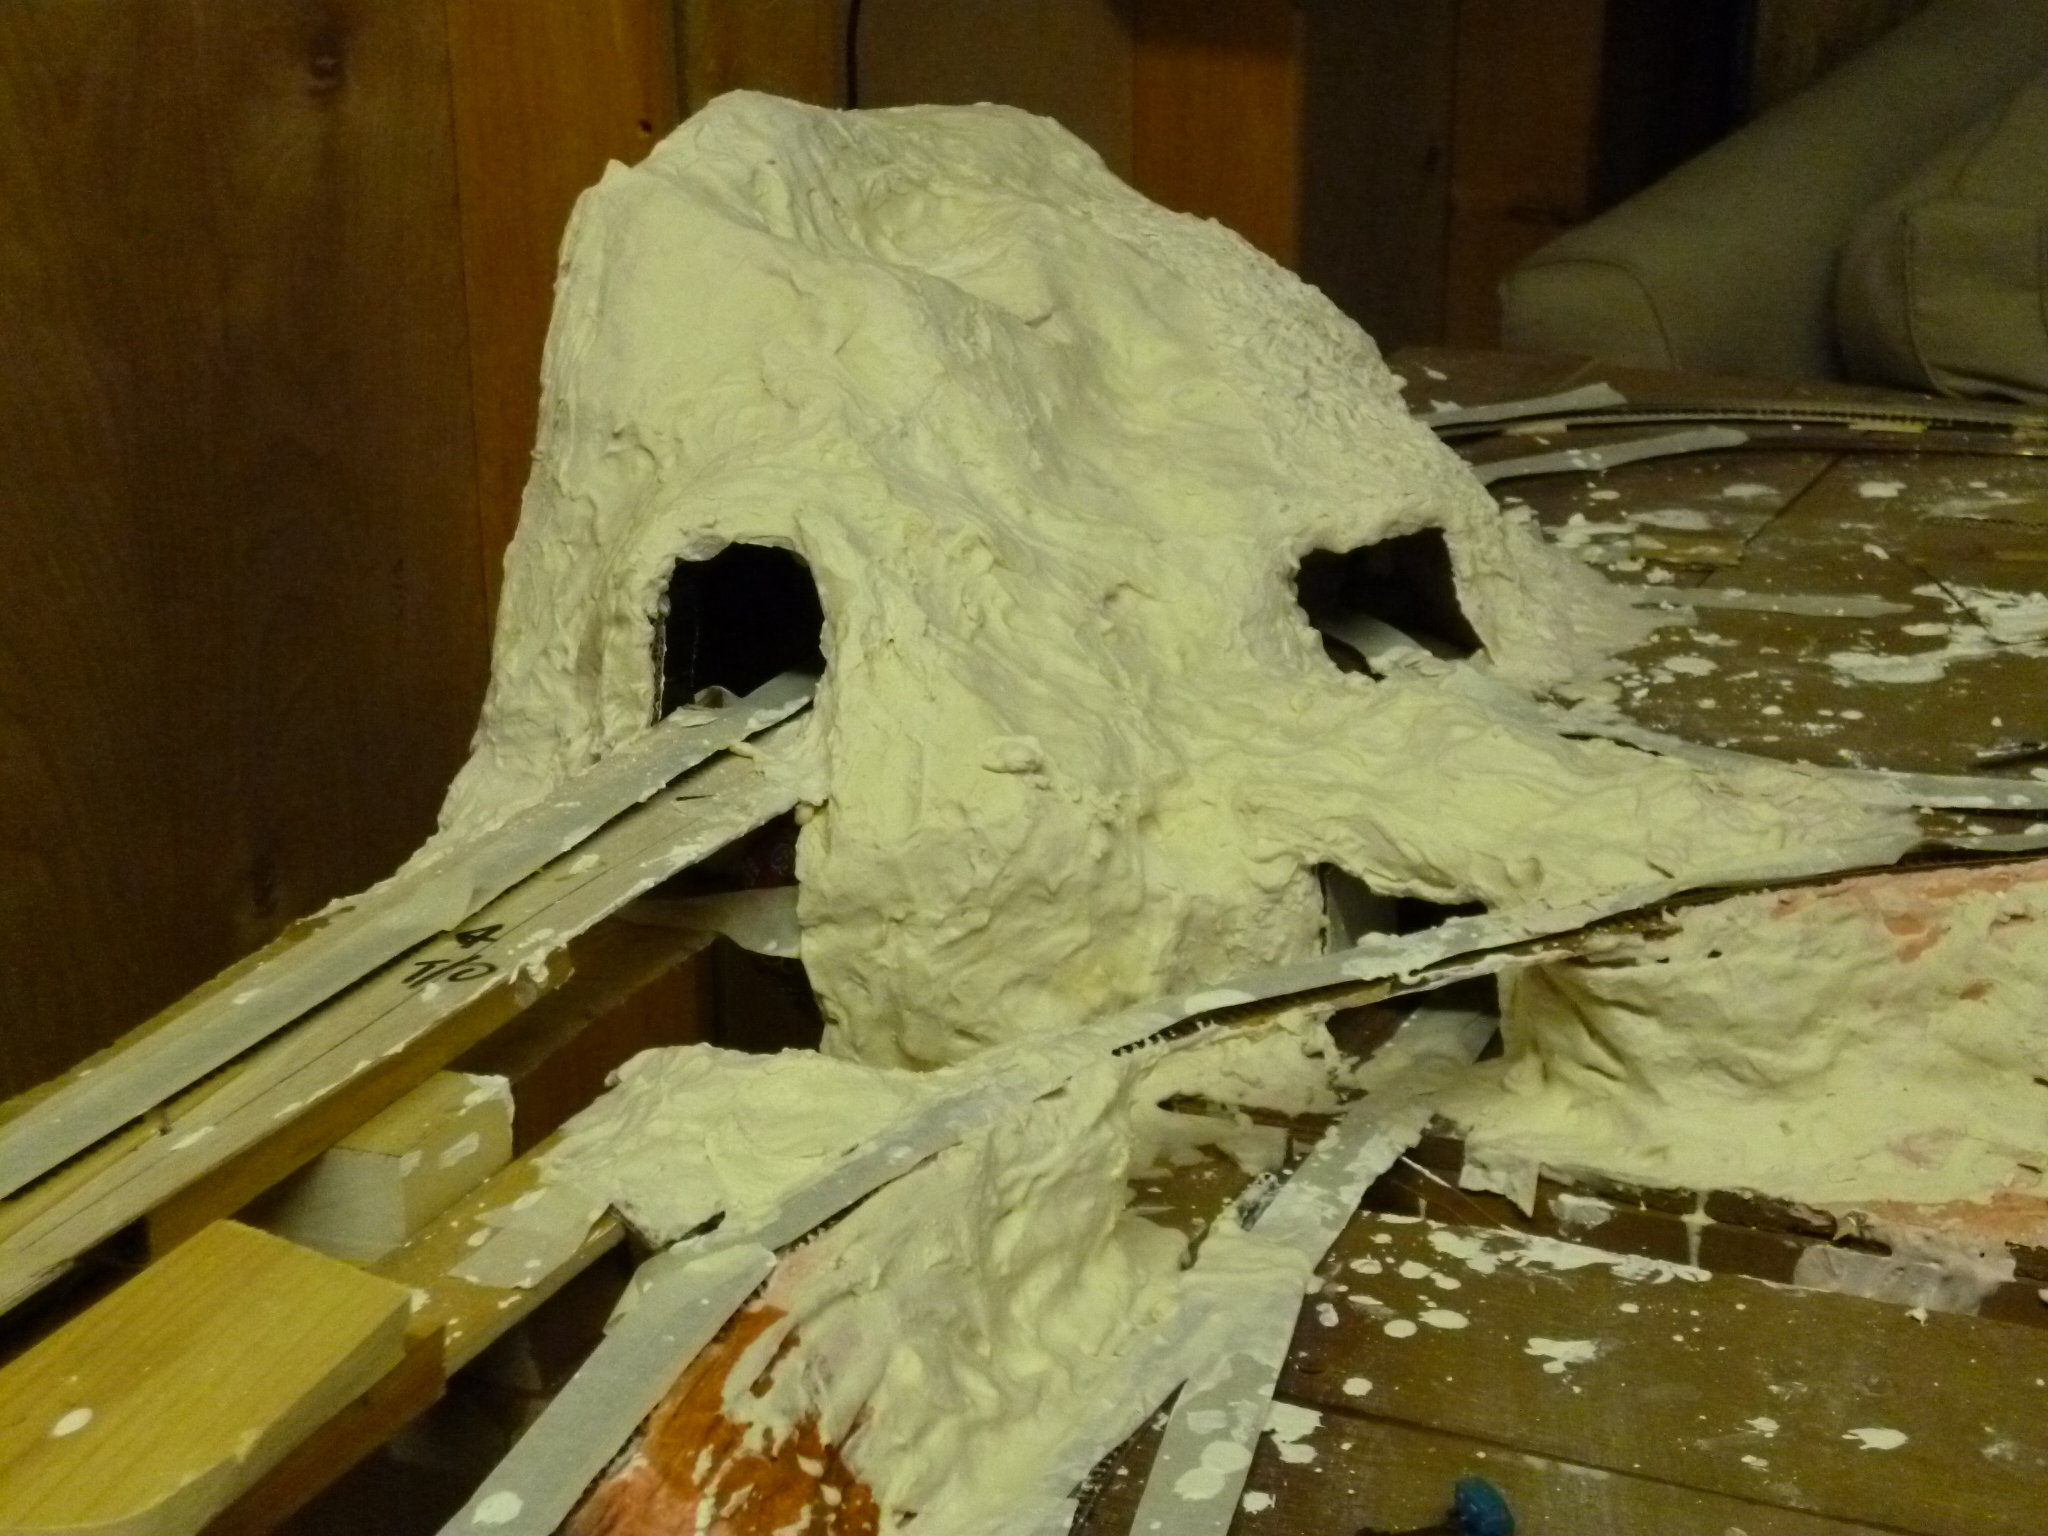
Here’s a few pix of how we have progressed since December
Michael”

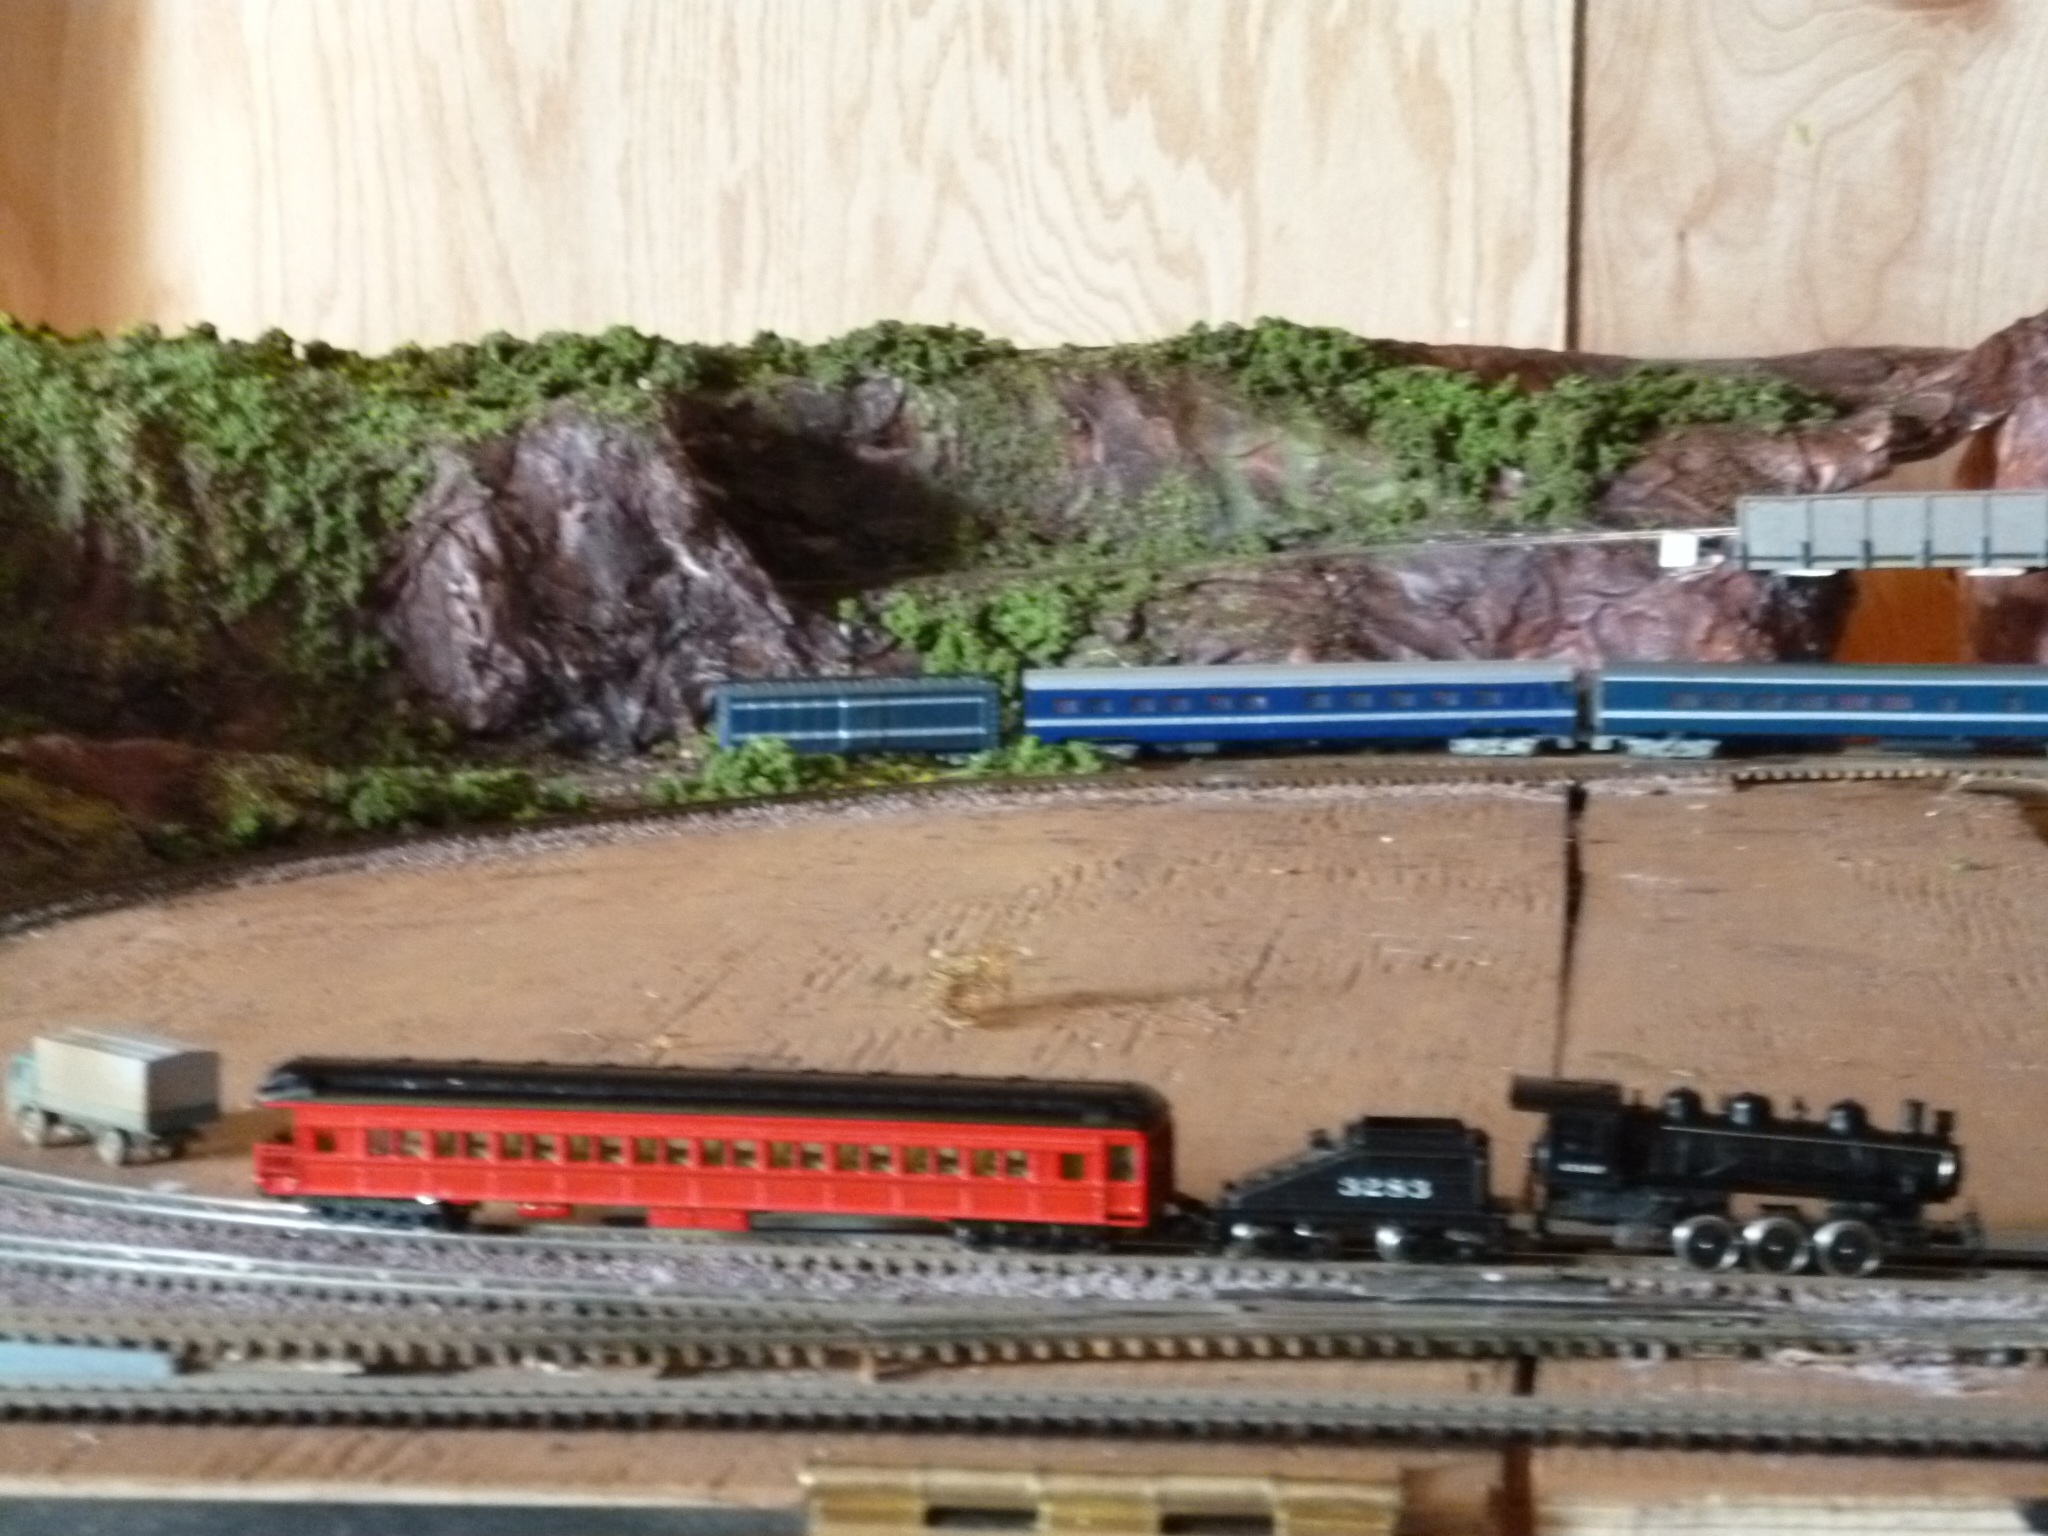
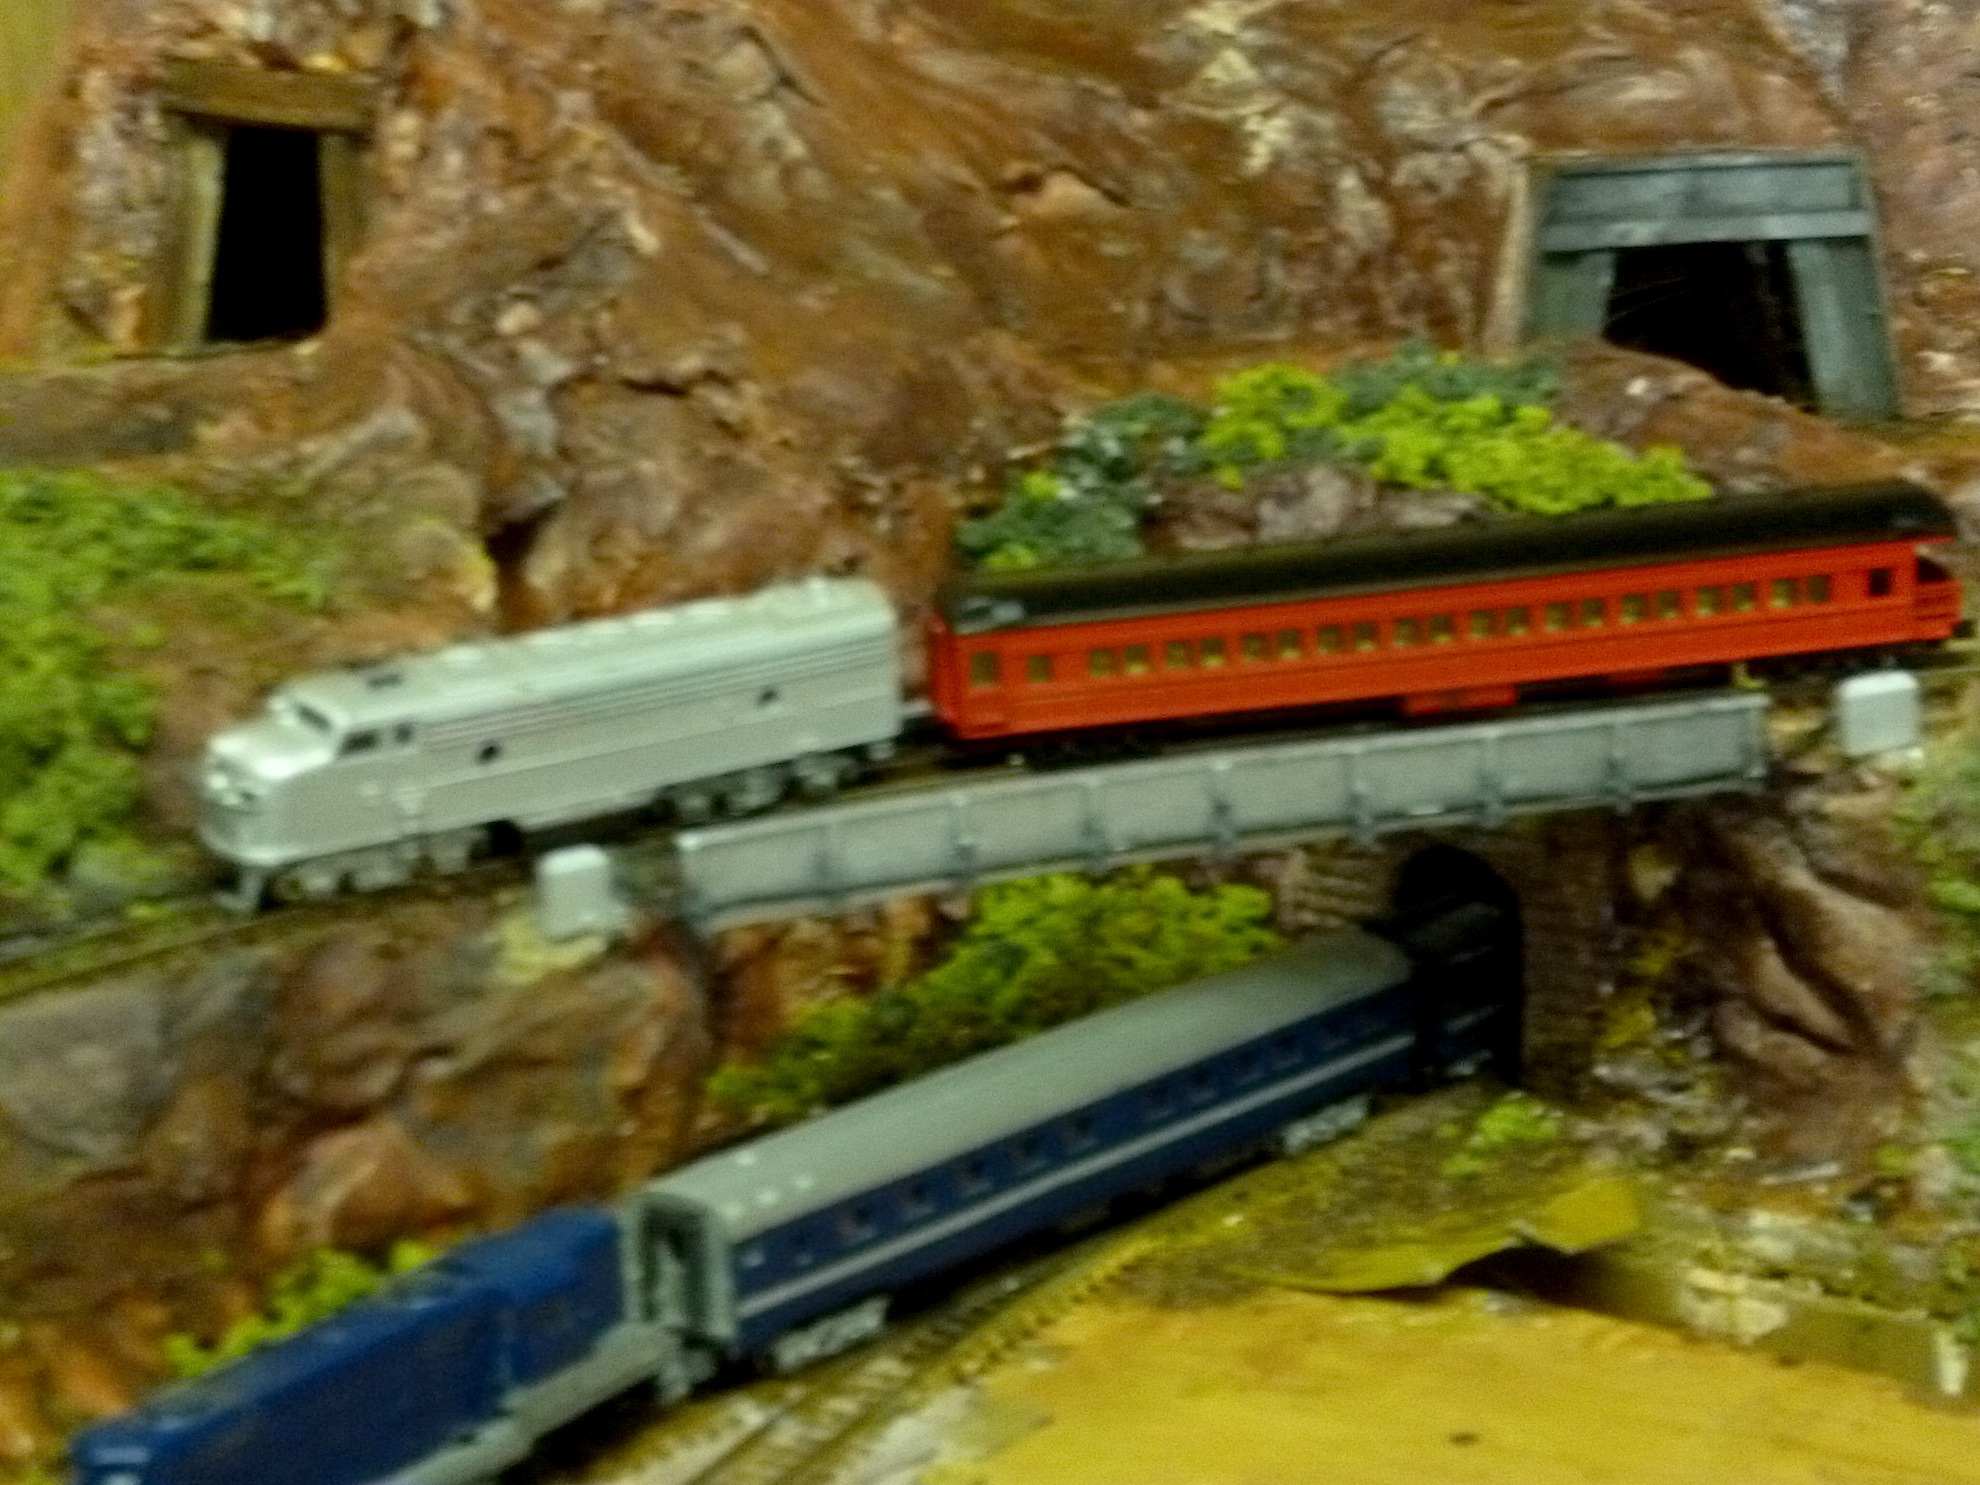
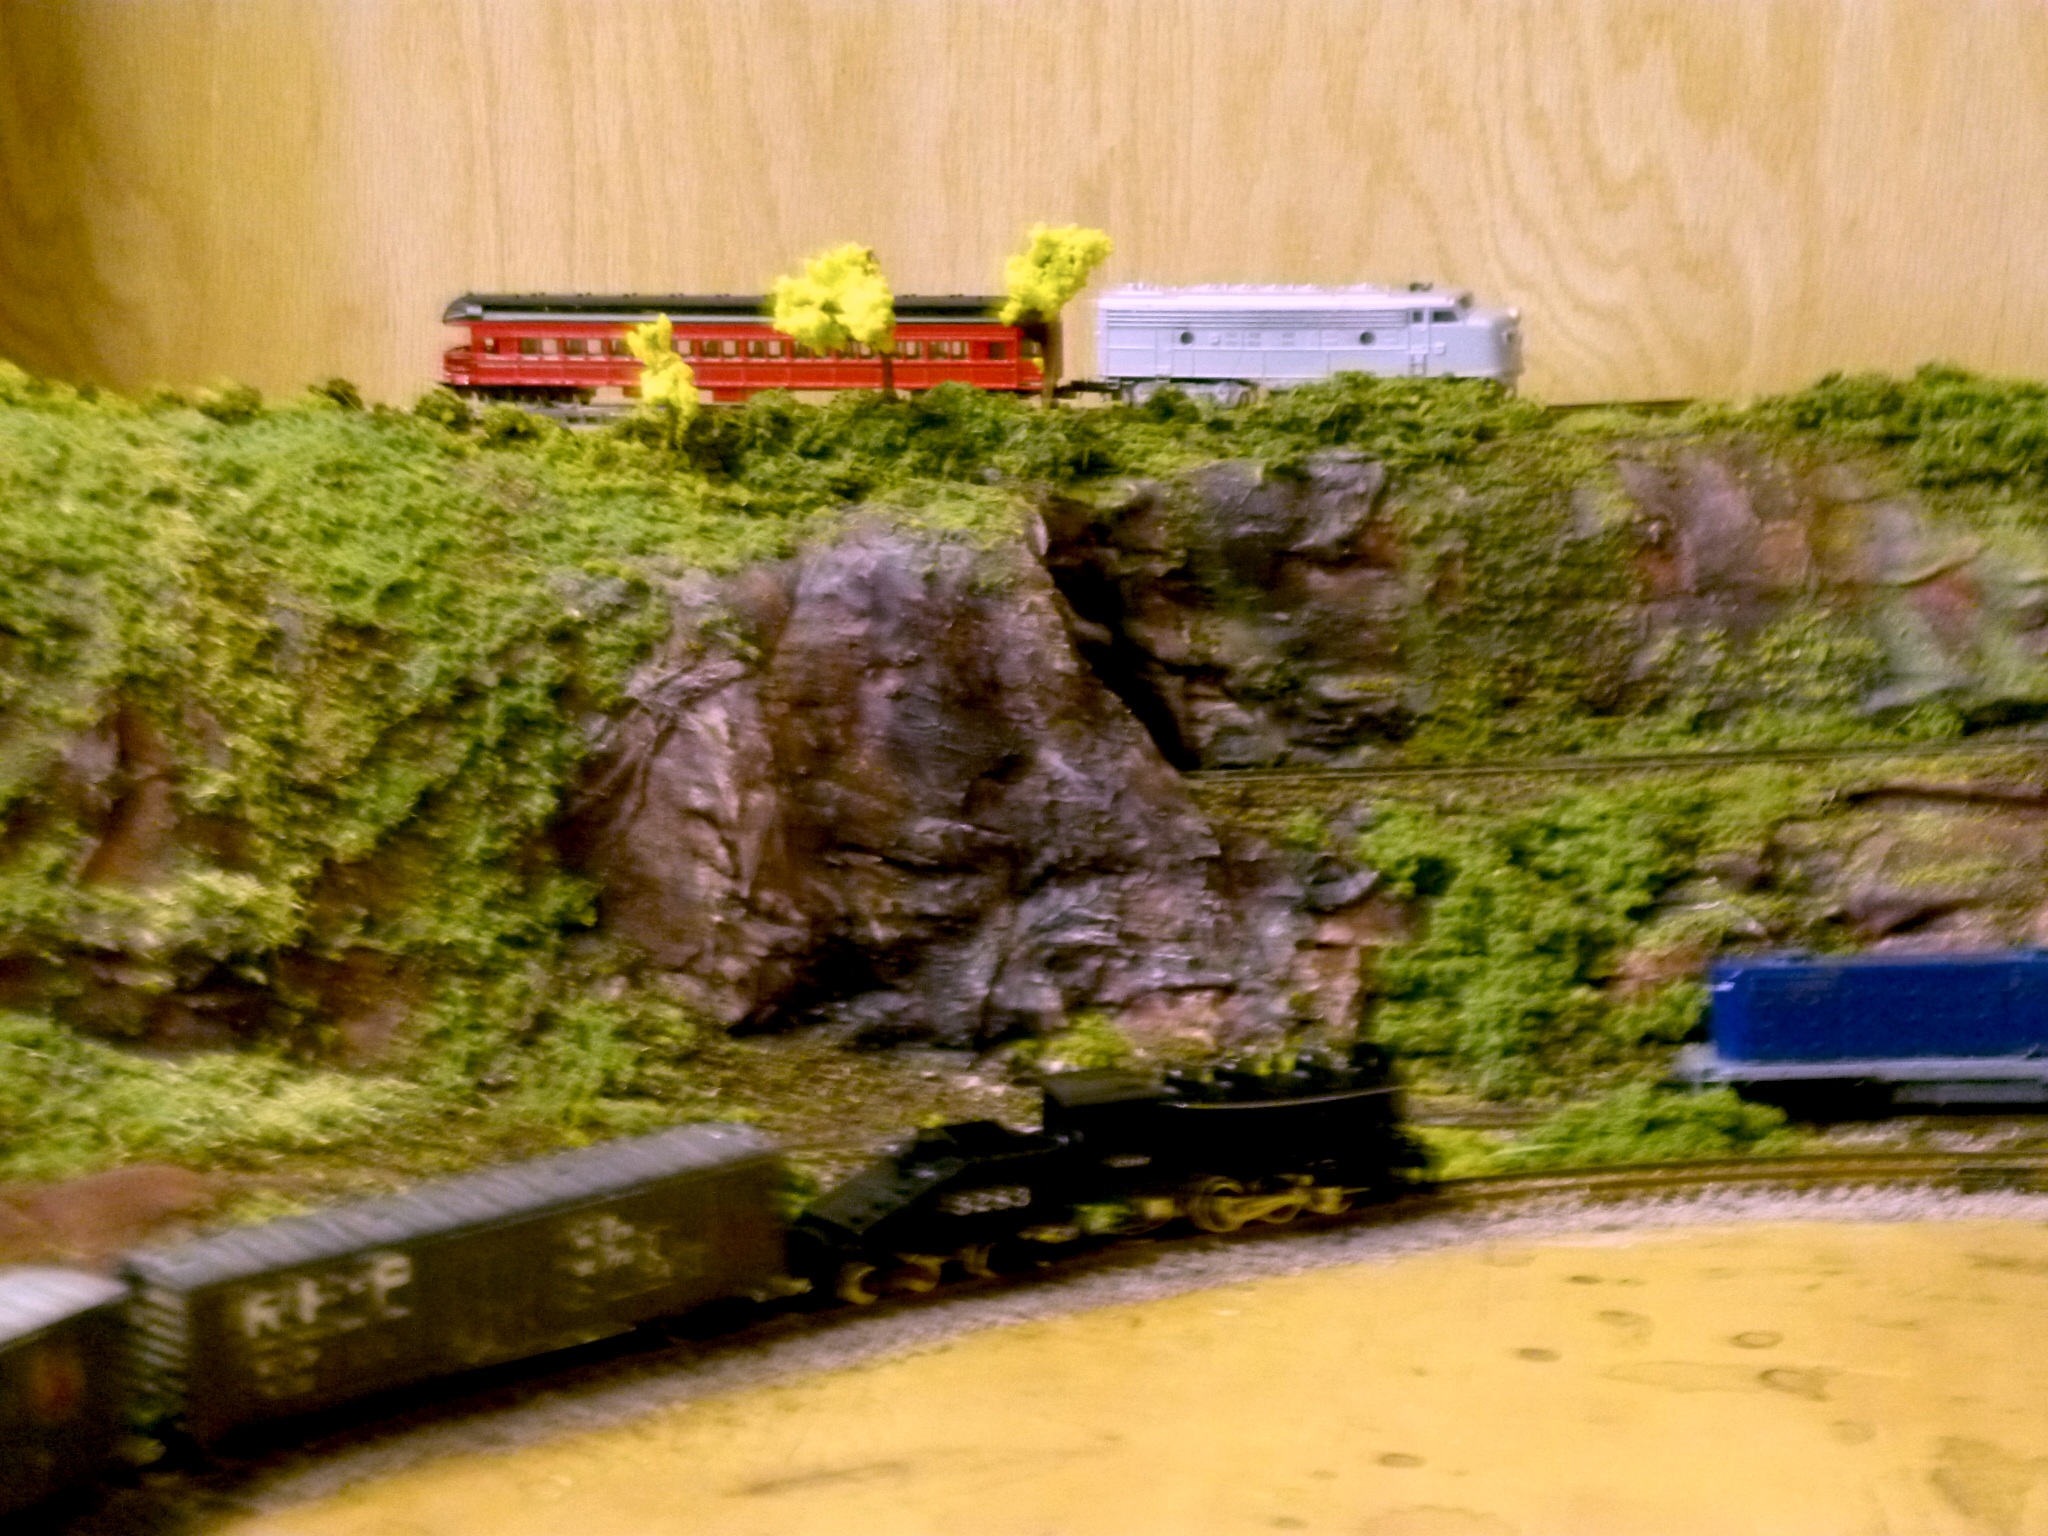
A big thanks to Brian for his how to get good videos of model trains youtube, and to Mike (his layout jogged my memory: N scale canyon layout.
That’s all for today folks.
Please do keep ’em coming, because it does feel like you’ve all gone to sleep from this end.
And if today is the day you stop dreaming, start doing, and join in the fun, the Beginner’s Guide is here.
Best
Al
PS Latest ebay cheat sheet is here.
PPS More N scale layouts here if that’s your thing.

And there’s the Silly Discount bundle too.

Great pictures. Great information. thank you.
Michael,
Nice railroad you have there, I liked seeing a RF&P boxcar in the pictures, the railroad I started a 52 year railroad career, now part of the CSX system.
Good work and take care!
John from Baltimore
Brian: I liked the video approach. It shows the complete story in an enjoyable way; however, when I grew up in the still photography world the terms you used as Vertical and Horizontal were known as Portrait and Landscape respectively. Has the Video market changed those terms? Just asking. I really like your approach. Also, what scale was the layout. Thanks, Ross
Great post today….. good to see and learn from others
Wow
A bushel of good stuff today.
Brian- great treatise on pics & videos
Kim- You described my biggest headache. I cannot successfully build a road at scale level 0 ft, then a sidewalk at scale level 8″, lawn at level 10″, then the rest say at level 10″ and have it look half way decent. Love those bikes.
The rest- good ideas!
Big Al- thanks
It is amazing how the computer and camera in your pocket have changed so many things. Having a good quality camera with you always makes it so easy to snap pictures or take a short video clip. I take too many myself, but it is tough to delete them even when they are not very good. There was something I wanted to preserve and my phone made it so easy. Nice one, Brian.
Rob McCrain – Farland Howe
Looks Awesome
Very good read Al. There’s so much information in this blog that I’m gonna have to read it 2 or 3 times. Brian do you use a tripod To hold your camera. I’ve started to use a Controller that operates my camera without touching it to get away from the jiggles. Well done gentlemen there’s a lot of it’s a lot of smart people out there with good ideas keep them coming.
Oldtaz
All good stuff today. Great talent abounds. Every day we learn and appreciate how great this hobby is and are thankful for Alastair providing this site.
Jim AZ
Like the rock outcrop great colors
The Critic
Thanks for the video tips Brian, my pet hate with people using smartphones to film something is to use portrait mode instead of landscape (my wife is just as bad!). please can all readers spread the word on using a smartphone properly, it will help my blood pressure no end!!
Brian, what if you don’t have a i phone, what program can you use to make your movie’s ????