Jim’s been back in touch. He’s adding to the 2×4 Ho train layouts – using them for his module size.
I do love it when we get to see a layout from the very start:
“The room size is 10×12 feet with door and closet at one corner. Which happened to be the perfect size for my 2x 4 foot modules. You may have to adjust one module to fit your specific space.
The layout is designed to fit along two walls. The only problem I had was to keep the height below one window. The height turned out to be 38 inches with a 4 inch rise on the long wall.
This turned out to be comfortable to either sitting or standing. Height is something one has to determine to suit one’s own needs.
The system is powered by DCC. This setup plan can also be used with DC.
I found this plan to be very flexible with the placing of turnouts with regards to bench work and future buildings.
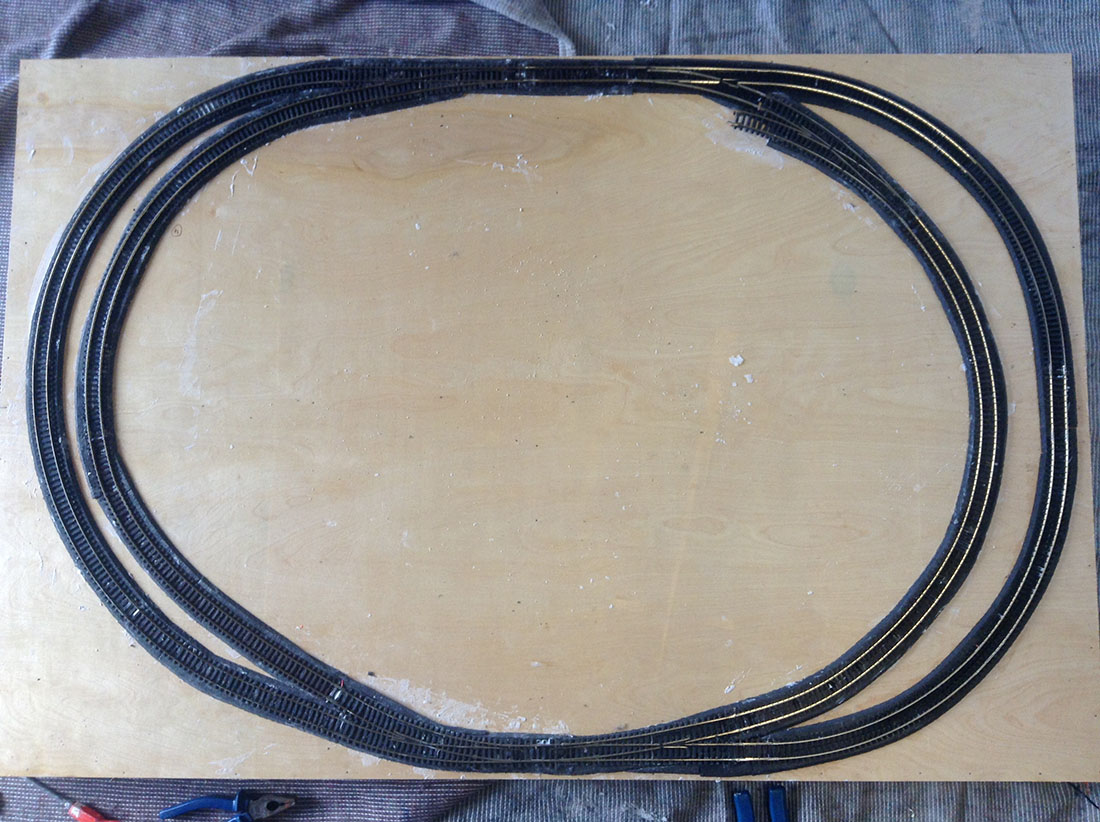
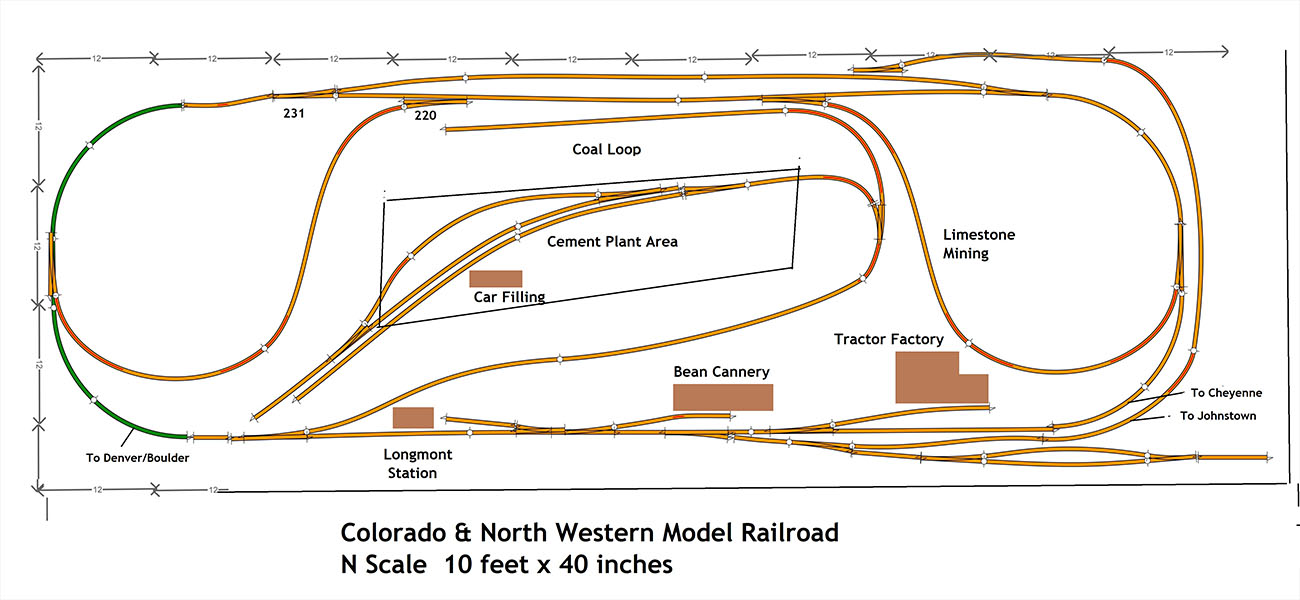
Track plan:
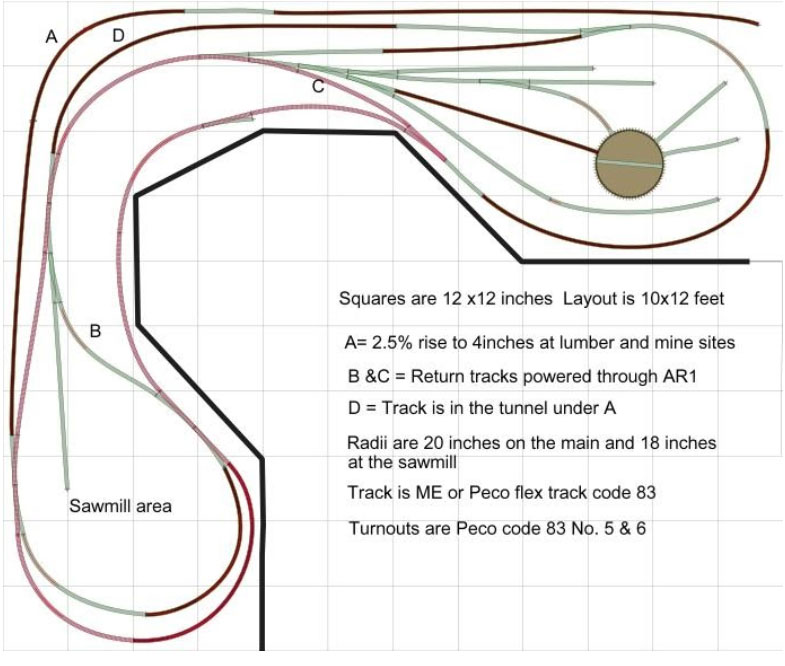
This plan suits my space as we have moved into a rented apartment. I did not want to attach anything to the walls. Thus, it is constructed to be free standing.
I designed the plan to be either left as is or, added on at the end of track A and go back down and join the main line at some place. Or, extend track A to be a return loop back on its self.
The plan is designed to be an operating layout. All turnouts have to be switched by hand. This means you have to be able to reach them. You could power them if you so desire.
All electrical work is done at the front of the layout. The buss wires and feeders all come to the front allowing me to do the wiring without going under the layout.
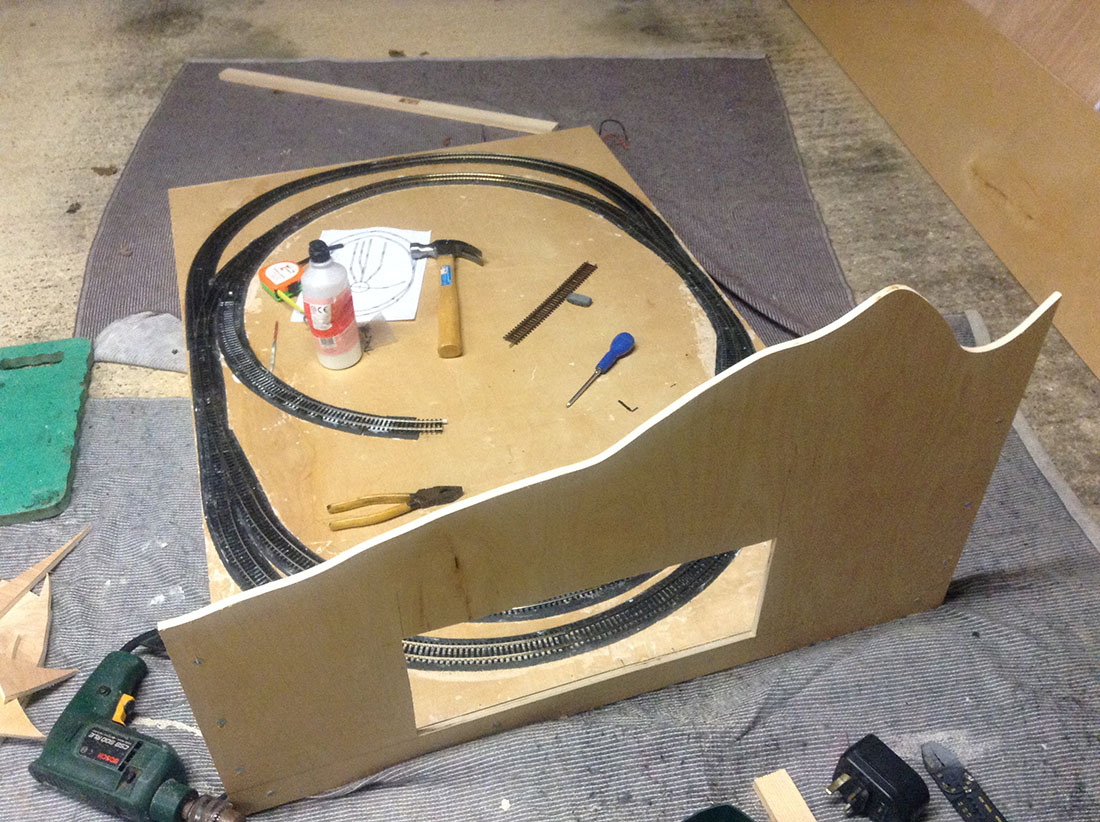
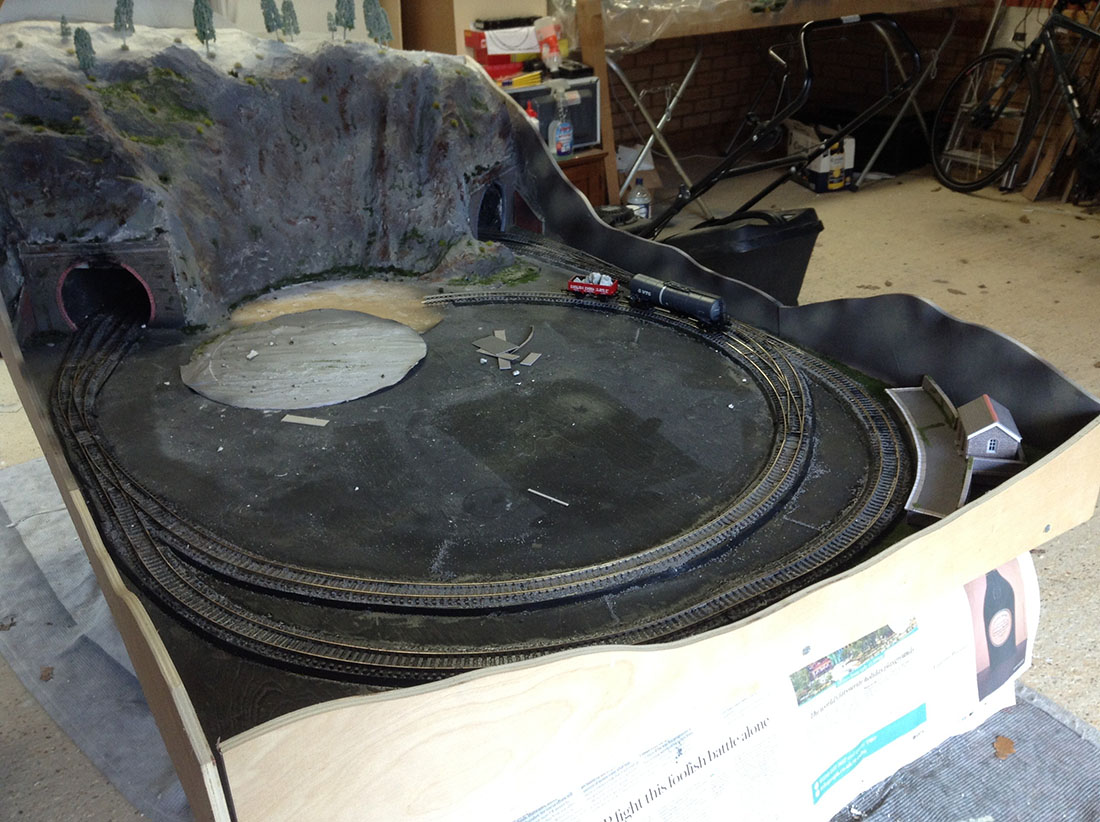
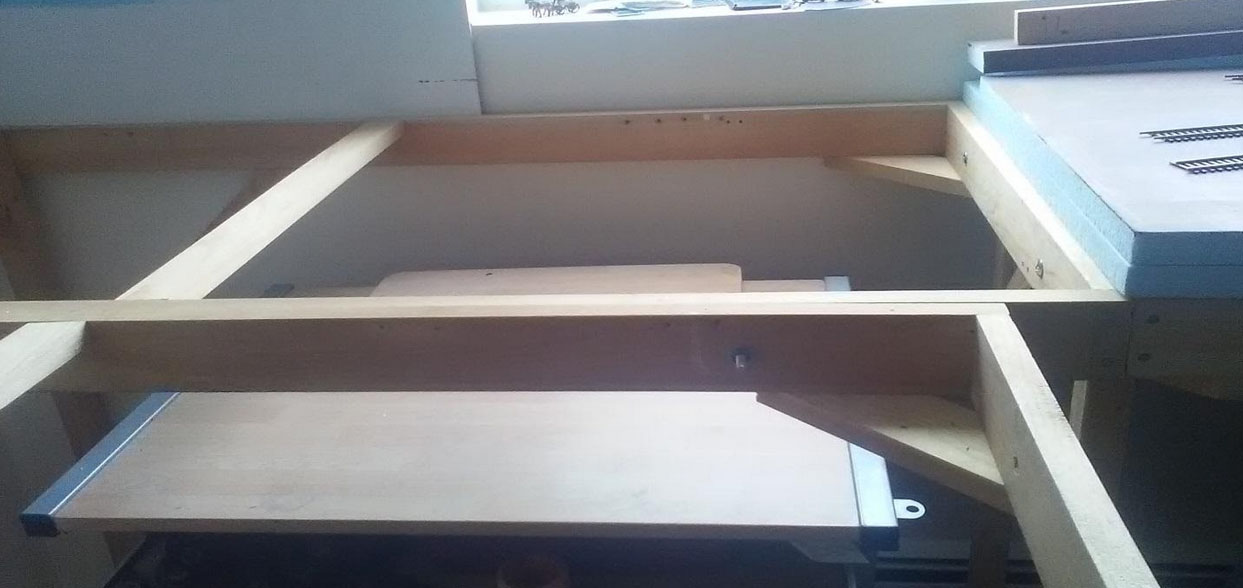
Bench work:
The bench work was constructed of 1”x3 “pine wood. The modules are 4 feet long by 2 feet wide. That is the outside dimensions.
This is the size to accommodate the foam panels which are 2×8 feet cut in half to be laid on top. The corners were braced with small diagonals. The center strip is 1 x 2”. Make sure it is flat with the top to support the foam.
I have found that we have a tendency to make bench work too heavy in most cases, especially if you do not have to move the layout.
This way of construction allows you to work one or two modules at a time. The legs were constructed of 2 x 2 inch posts. I put four legs on the first module then just added two more legs as I joined the modules together. Here you can use any leg system you choose.
The modules were bolted together with 3/8” x 3”carriage bolts.

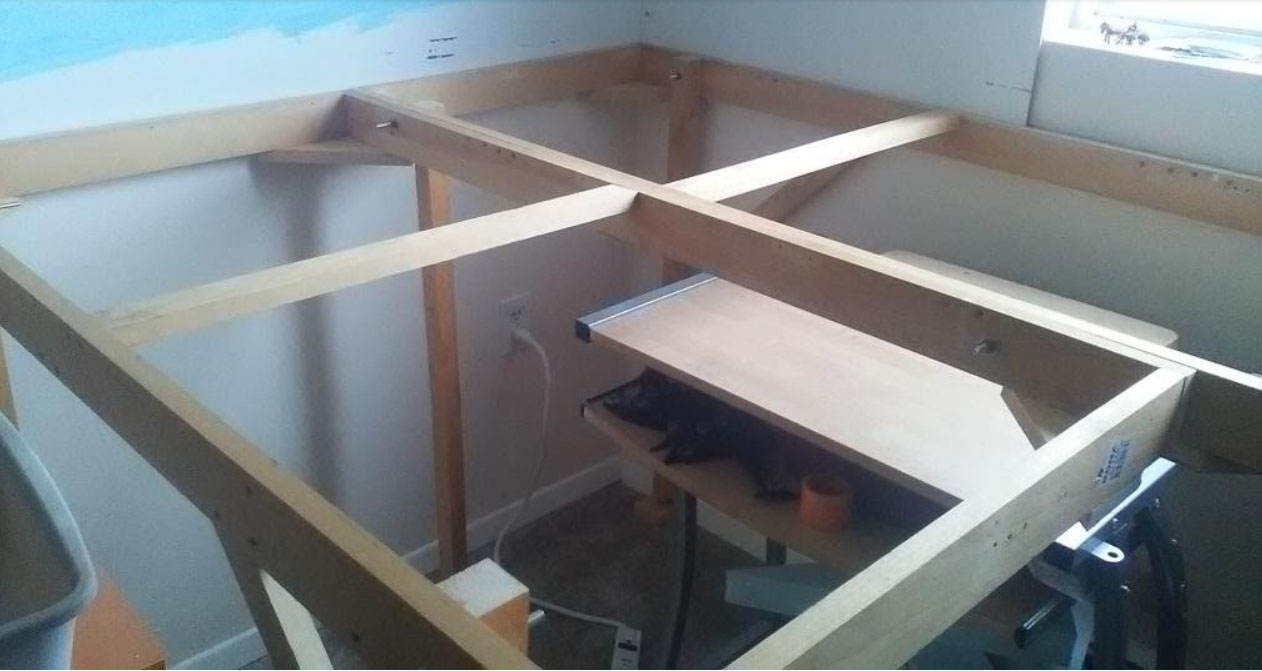
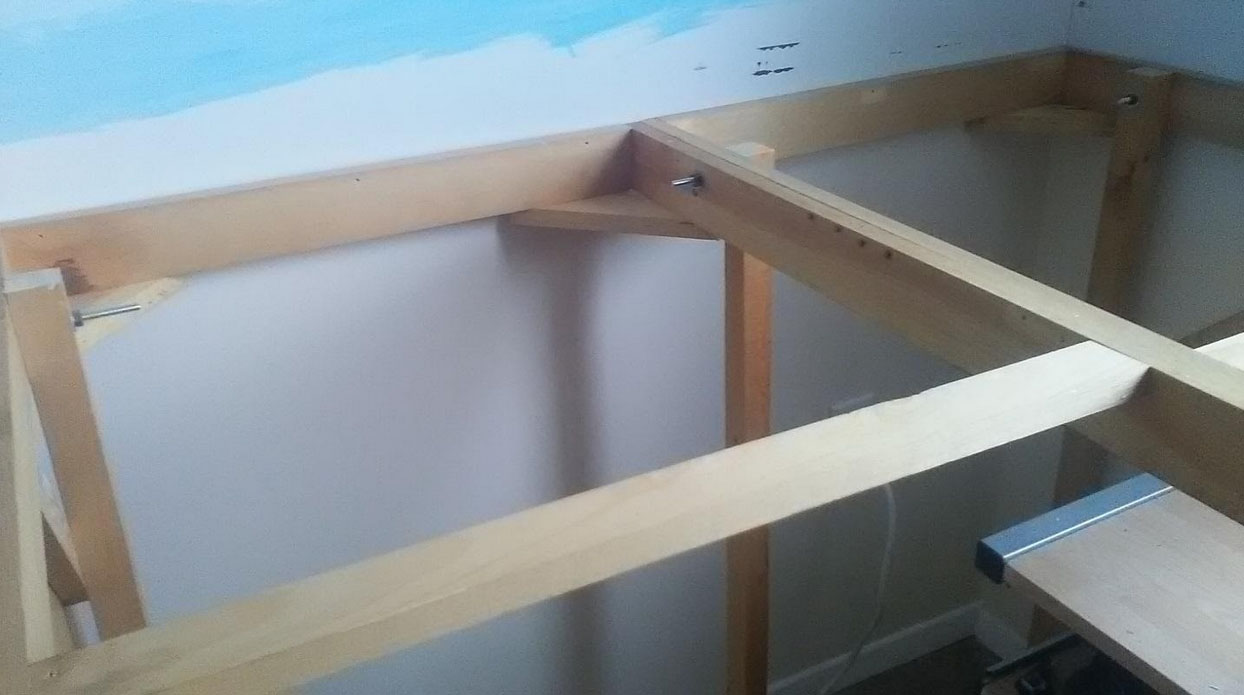
The back drop is 1/8th Masonite attached to the frame work. You can use any height you wish. I used 16” strips.
The Masonite I used had white on one side so, I used this as the clouds with blue painted on it to represent the sky.
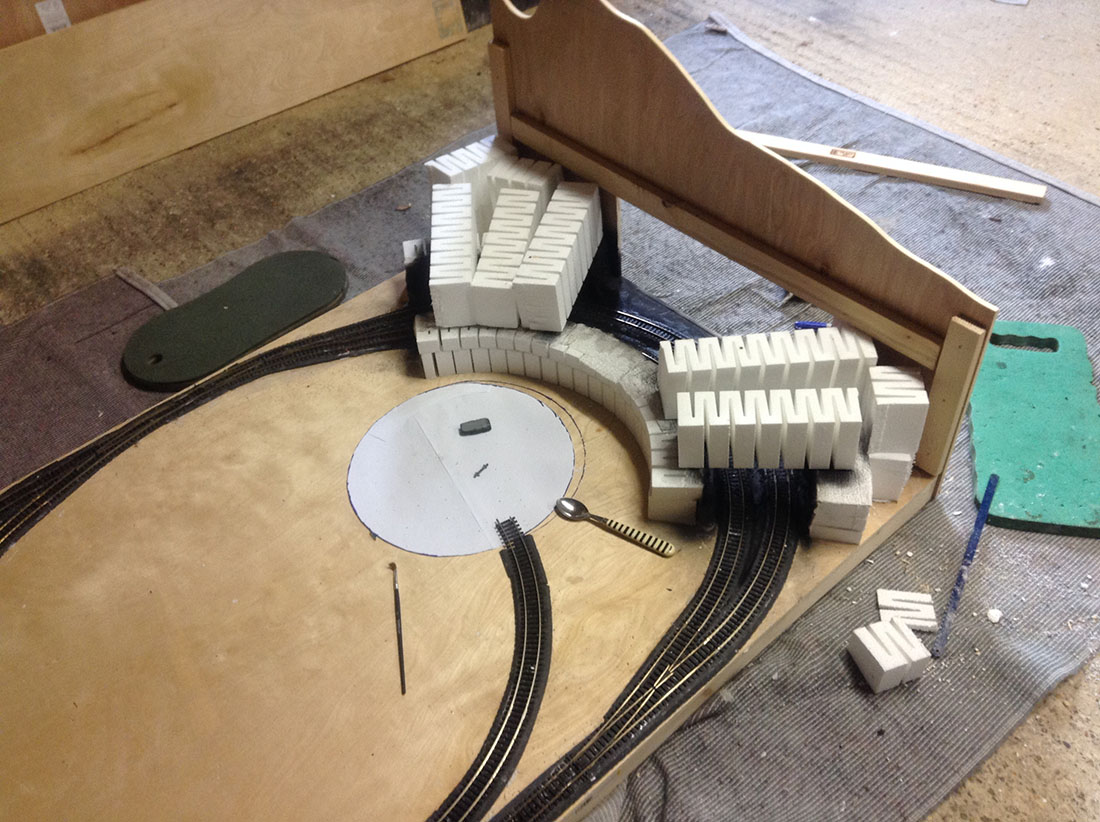
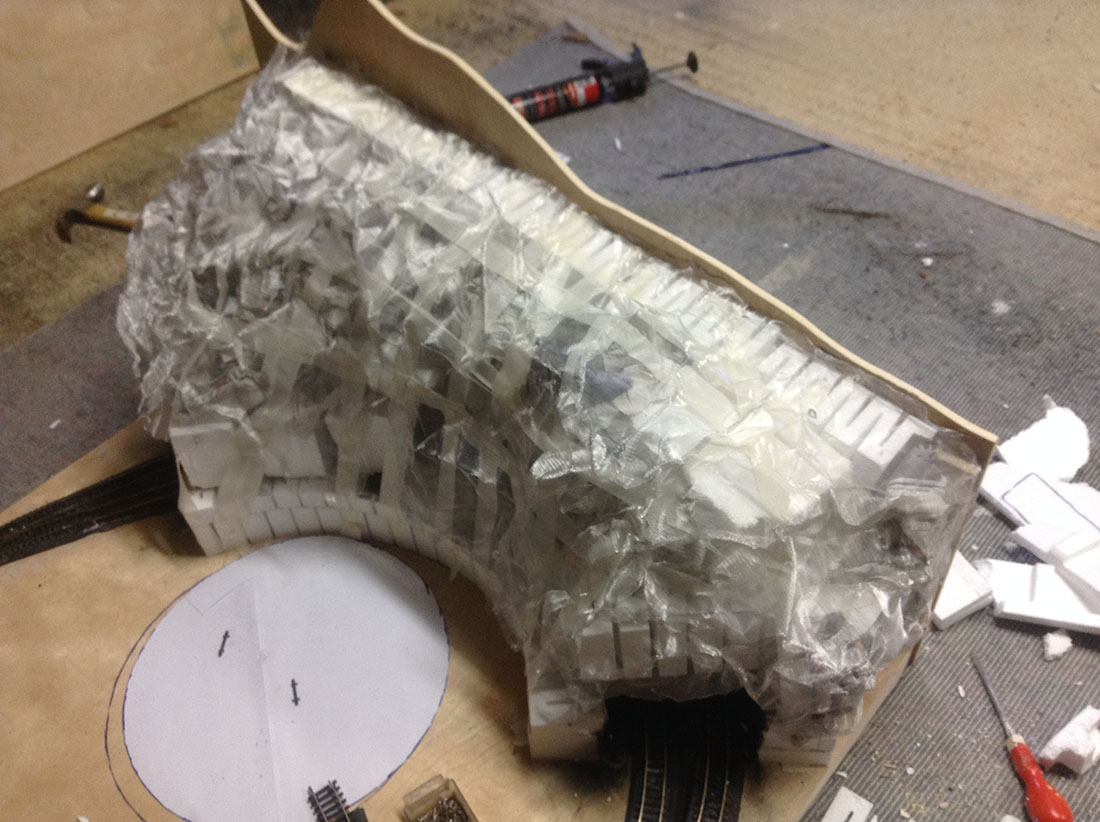
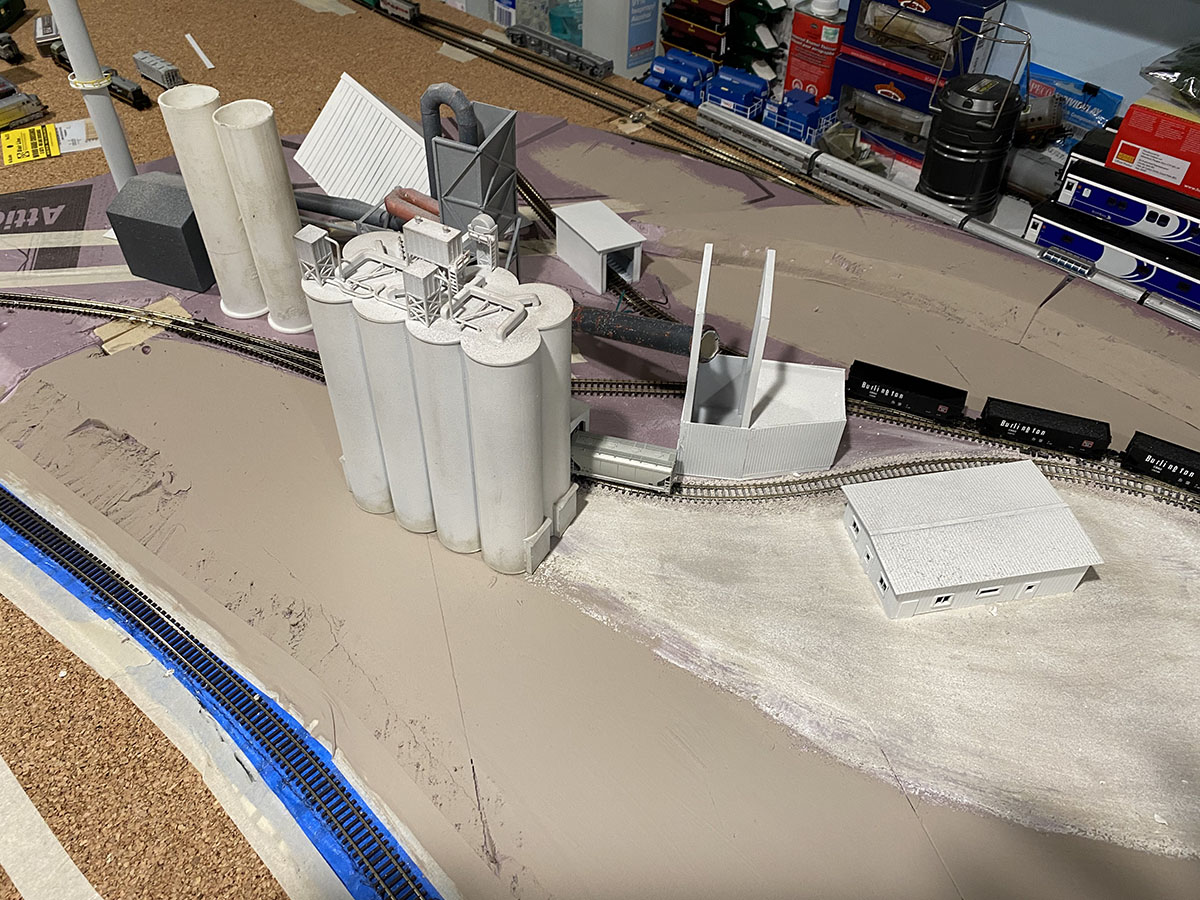
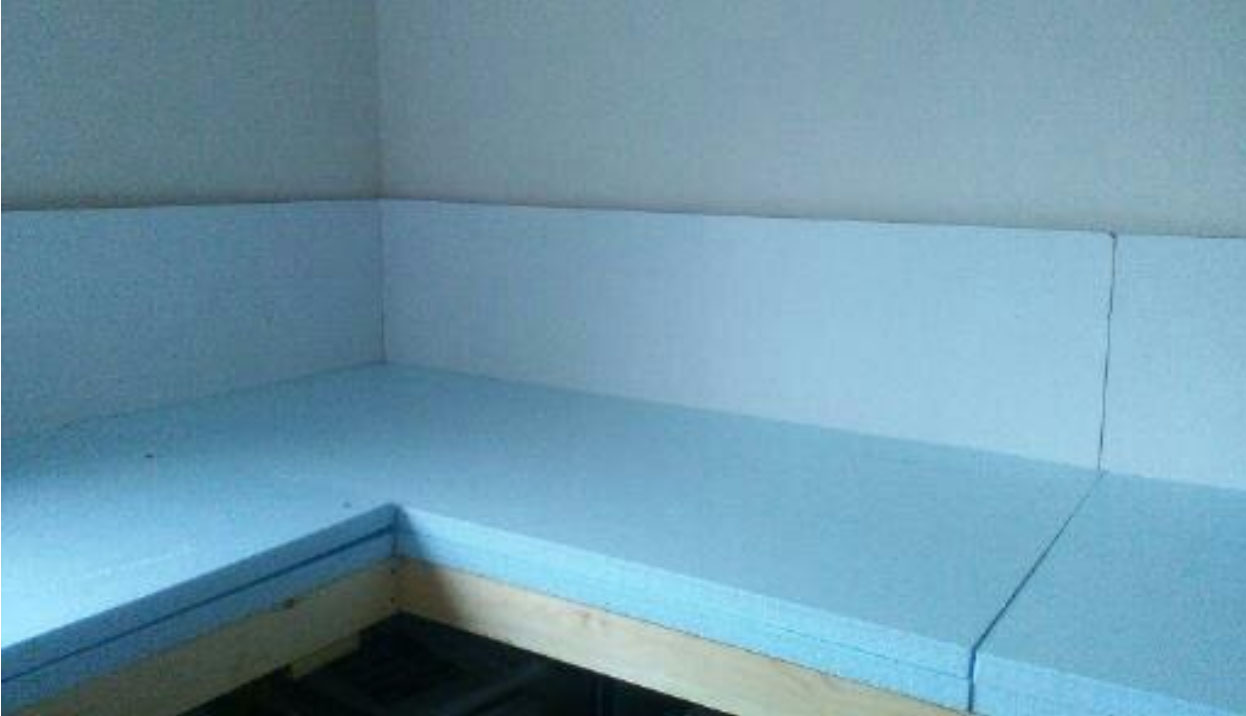
Foam work:
The foam bed is just your 1” blue foam board glued to the frame. I use two 1” boards glued together instead of one 2” board.
I found this allows me to go down 1” in elevation and still have a flat solid base. I also found it easier to carve this way than to carve out the 2” foam.
The foam sheets are then glued on to the frame. Remember the frame was made the same size as the foam. I used foam construction adhesive as per instructions.
I attached the back drop to the frame before placing the bench work in place. If this was a free standing unit with walk around, this step can be done later.
Two things that I discovered are:
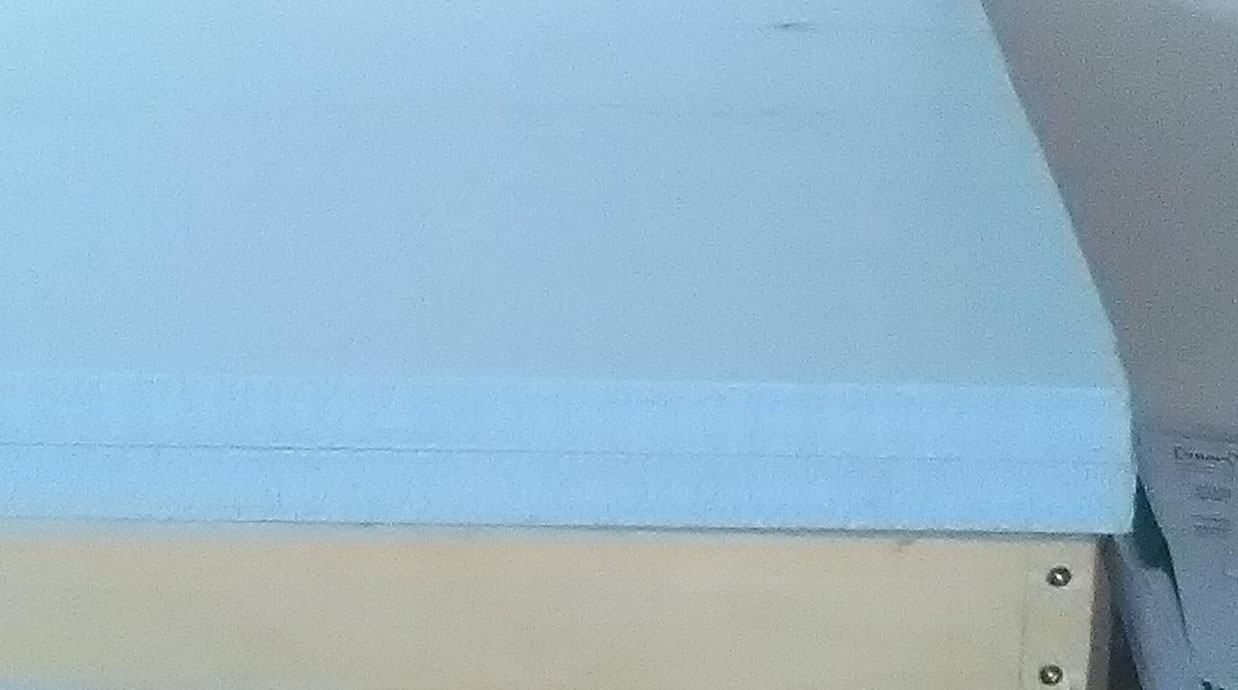
1. Beware, all lumber is not the same size. This seems to be true if you buy from different sources. This can be a pain when you go to join pieces together.
2. Two pieces of 1” foam are not the same thickness as one 2” piece. This can be a problem when laying track.
2×4 HO train layouts – or any module size – need to match pretty much exactly, otherwise it’s no end of problems.
That’s all for now. Stay safe and happy modeling. See you again with chapter #2- Laying track.
Jim”
A big thanks to Jim. 2×4 HO train layouts make a good module size. Useful for when you want to move your layout, which is something most people give no thought to whatsoever, until they need to…
And now for an update from Will.
If you want to get up to speed, his last post was here.
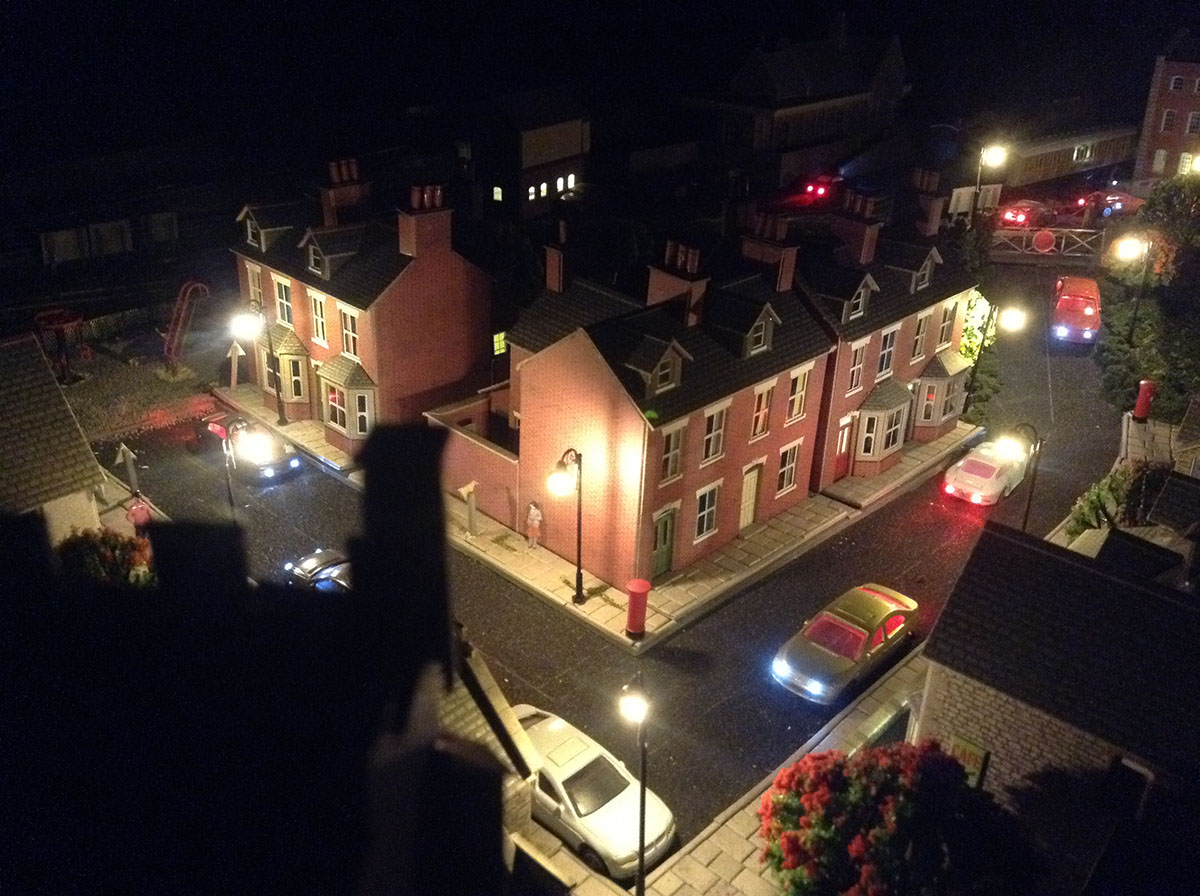
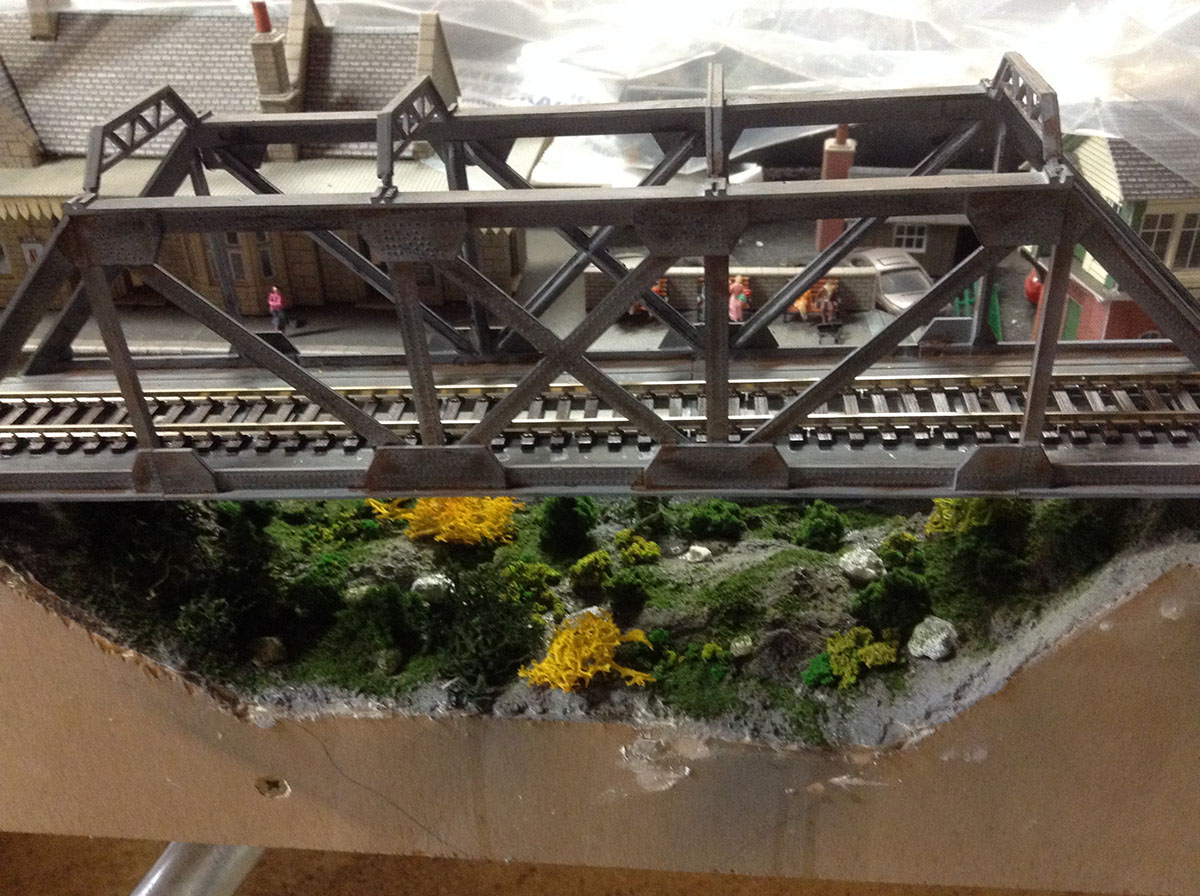
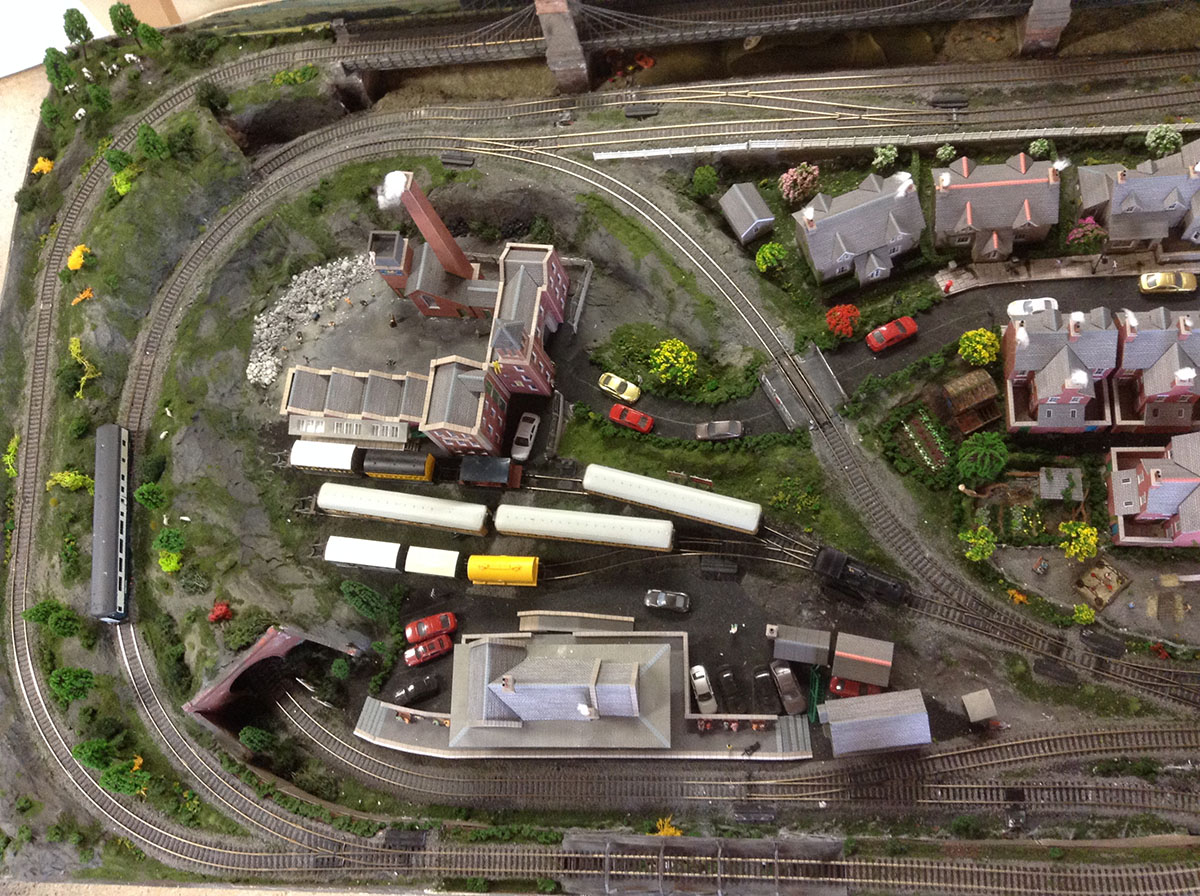
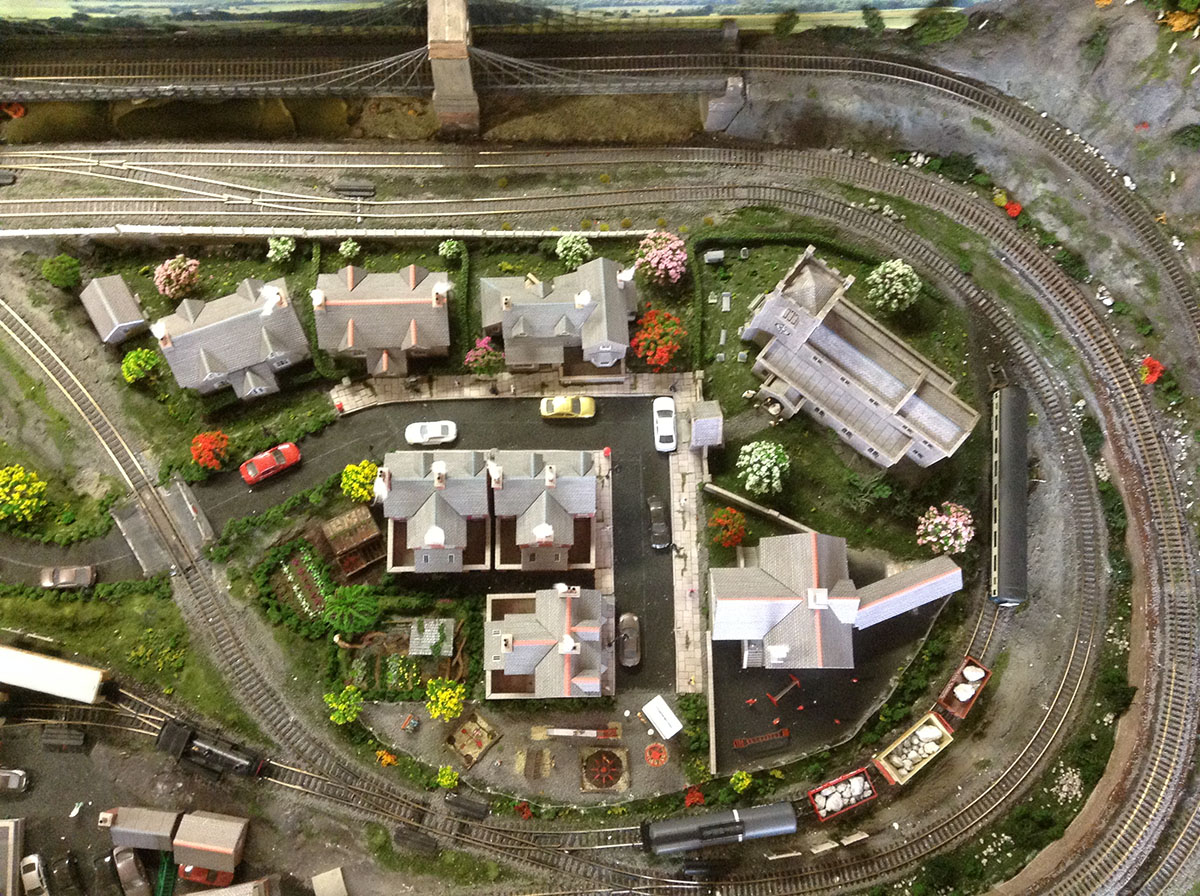
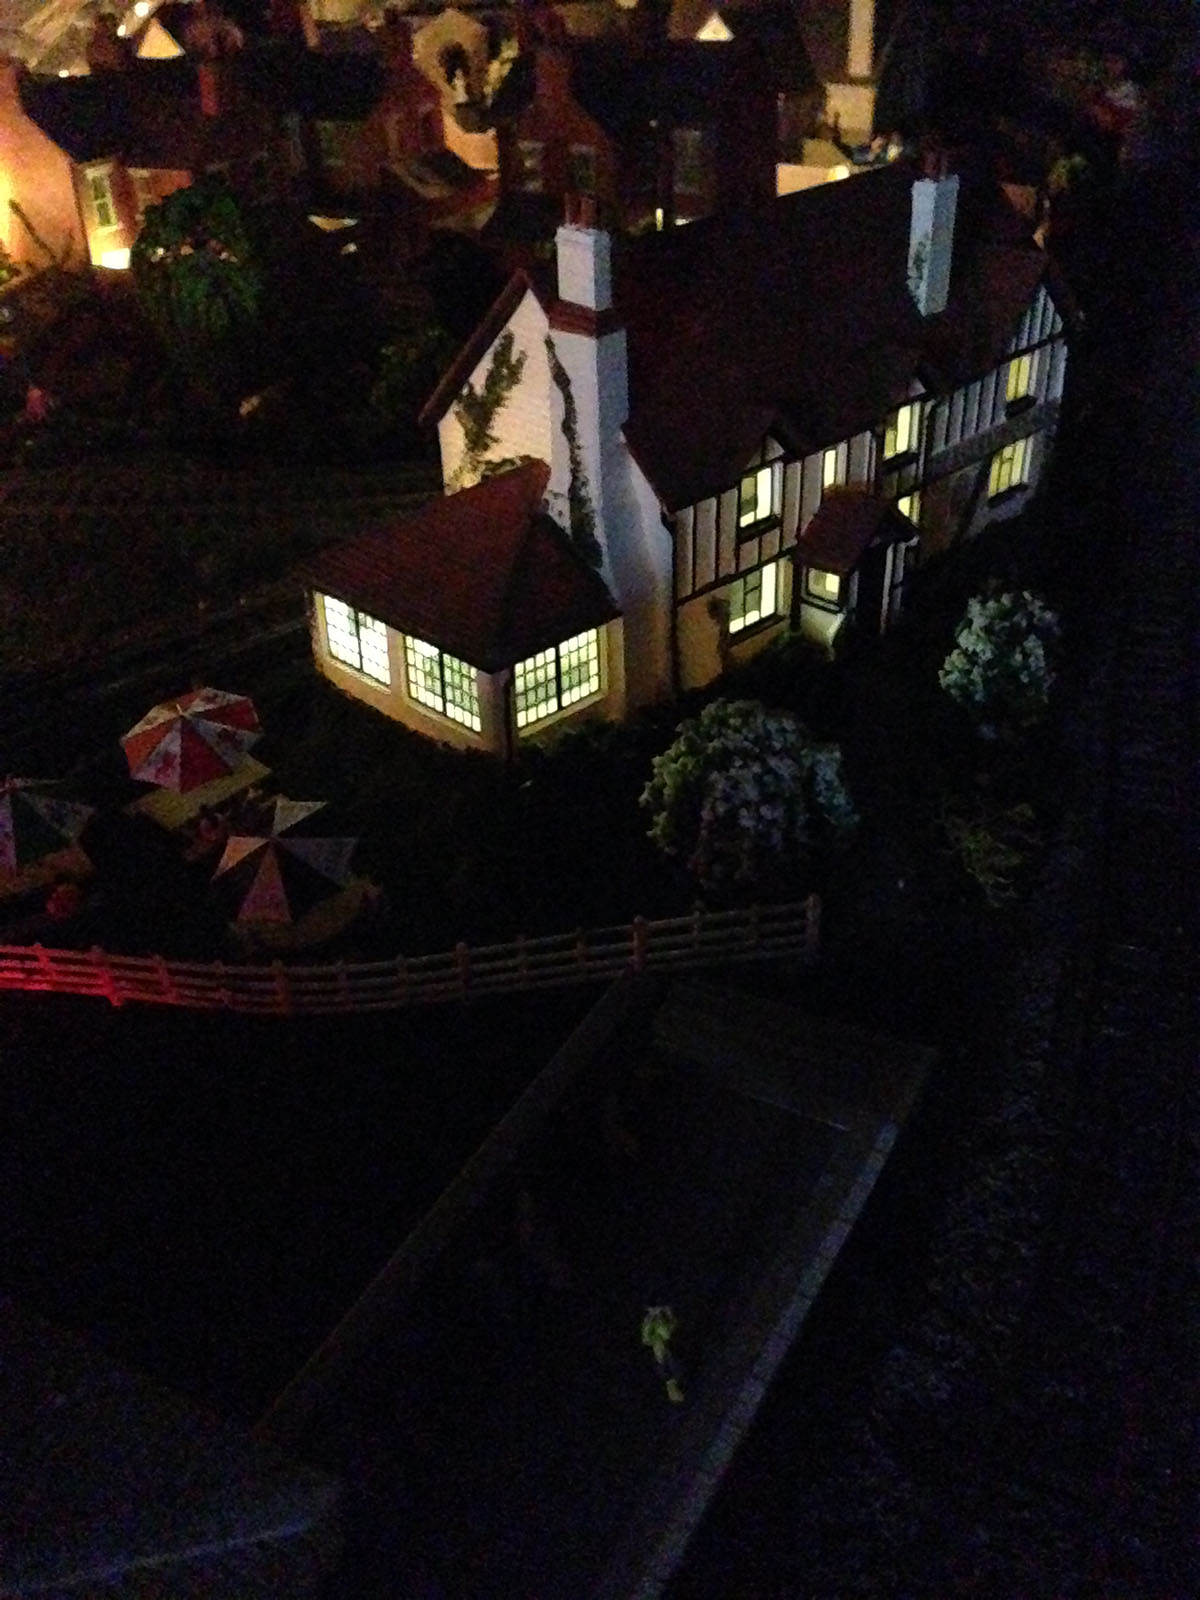
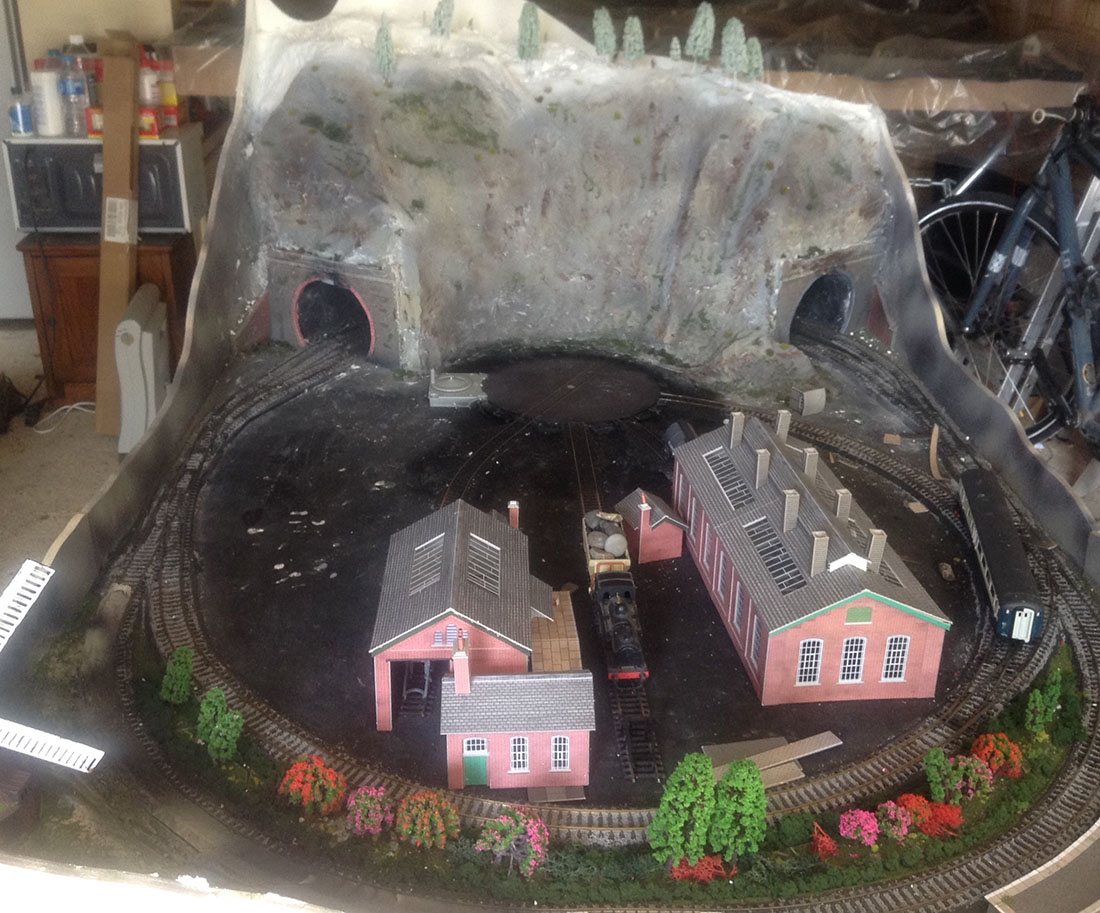
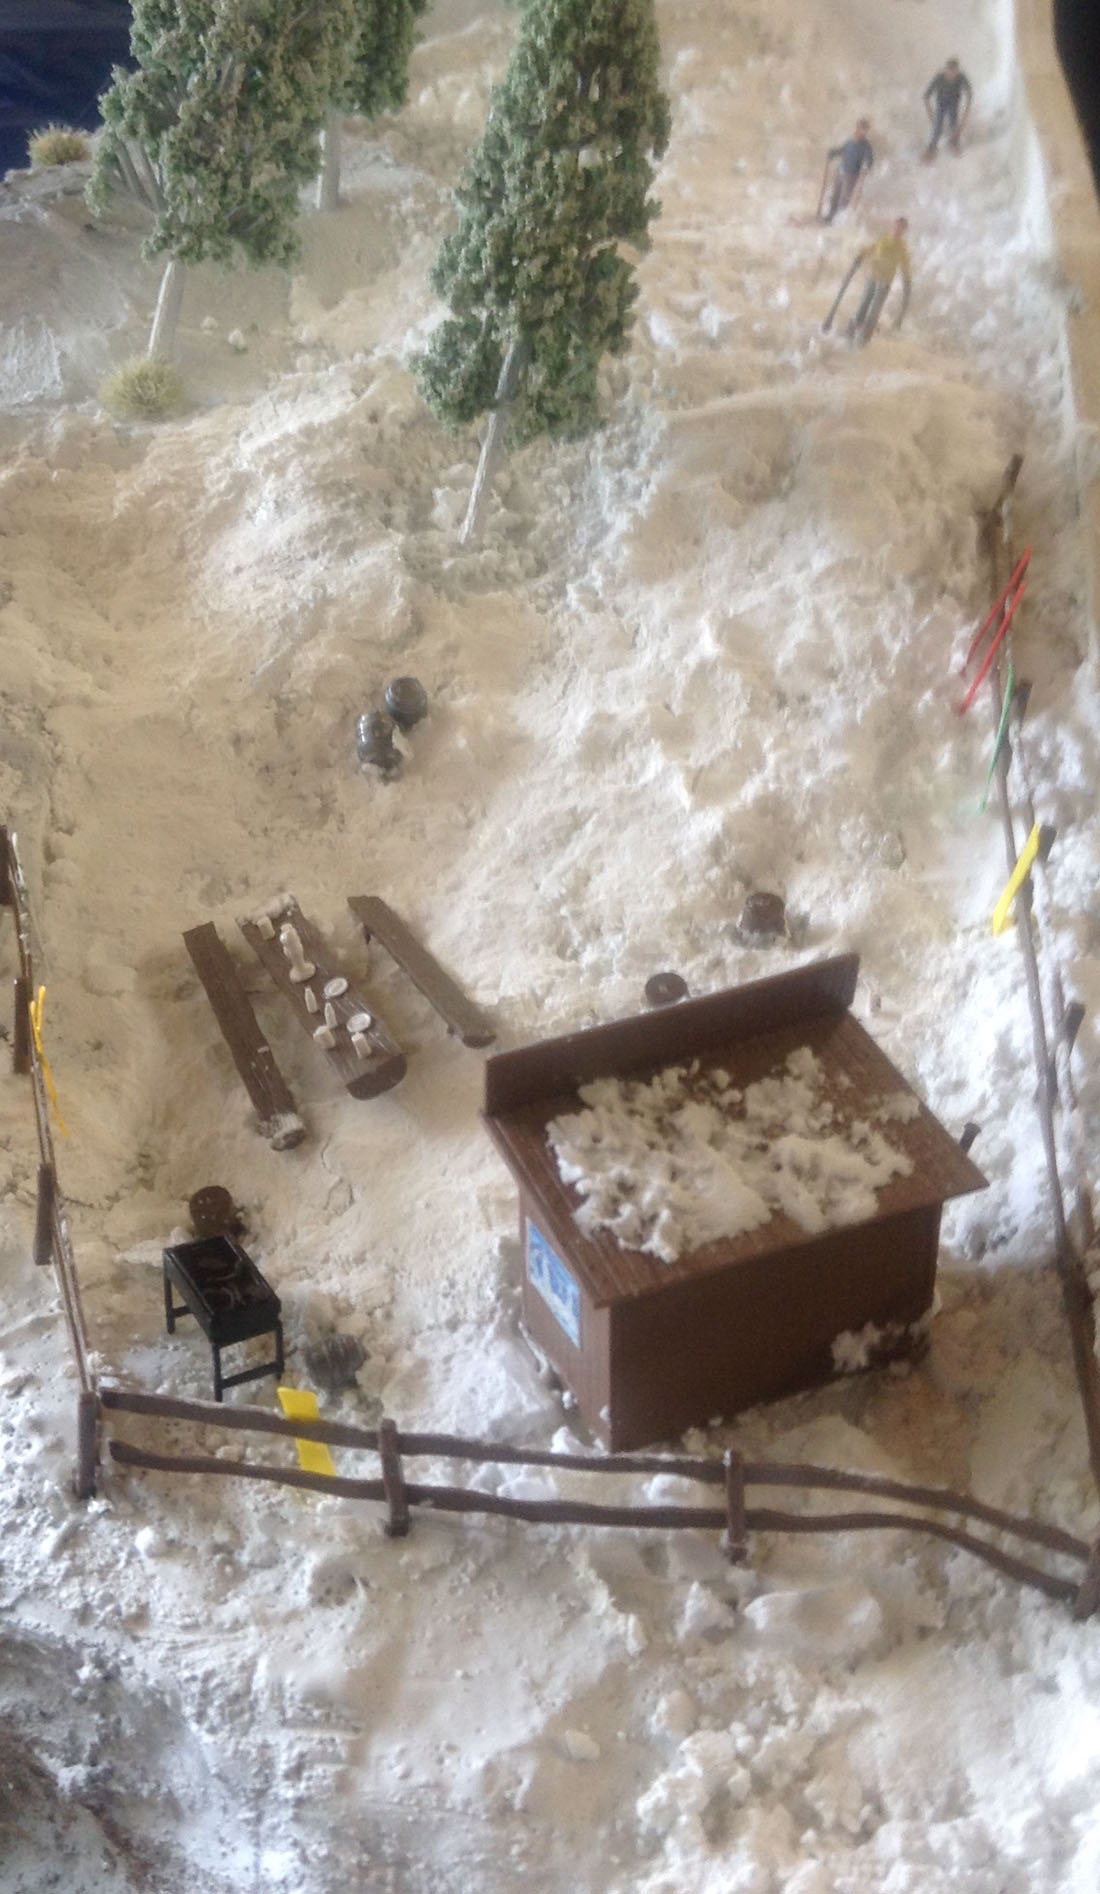
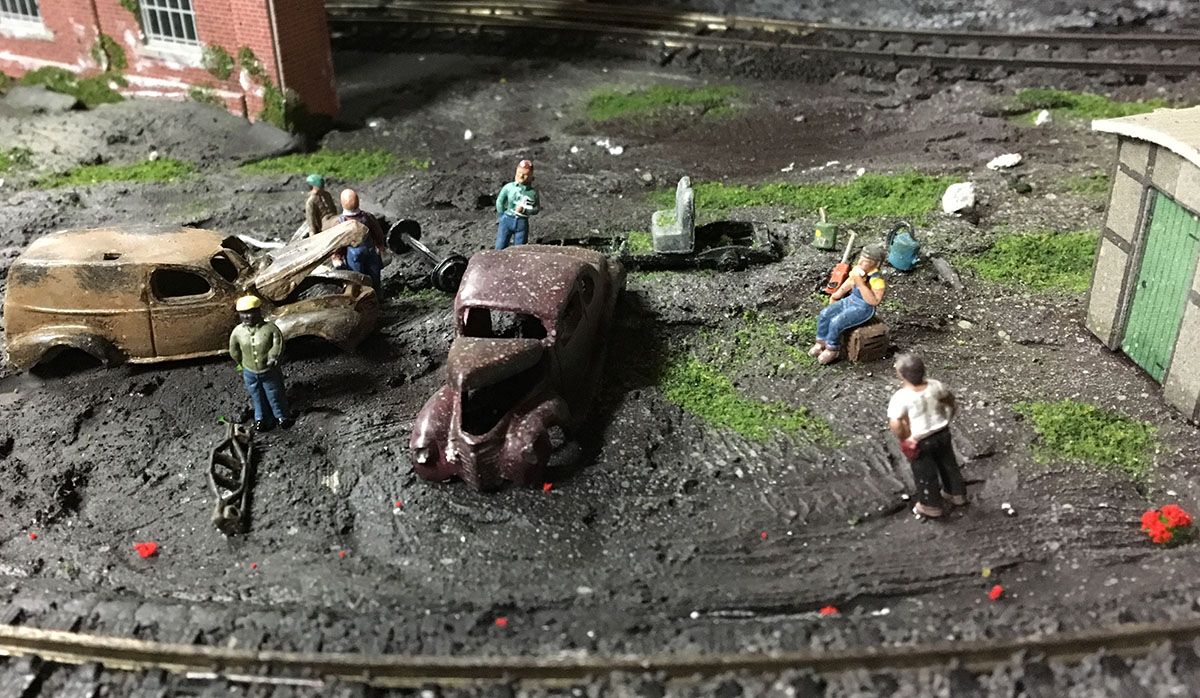
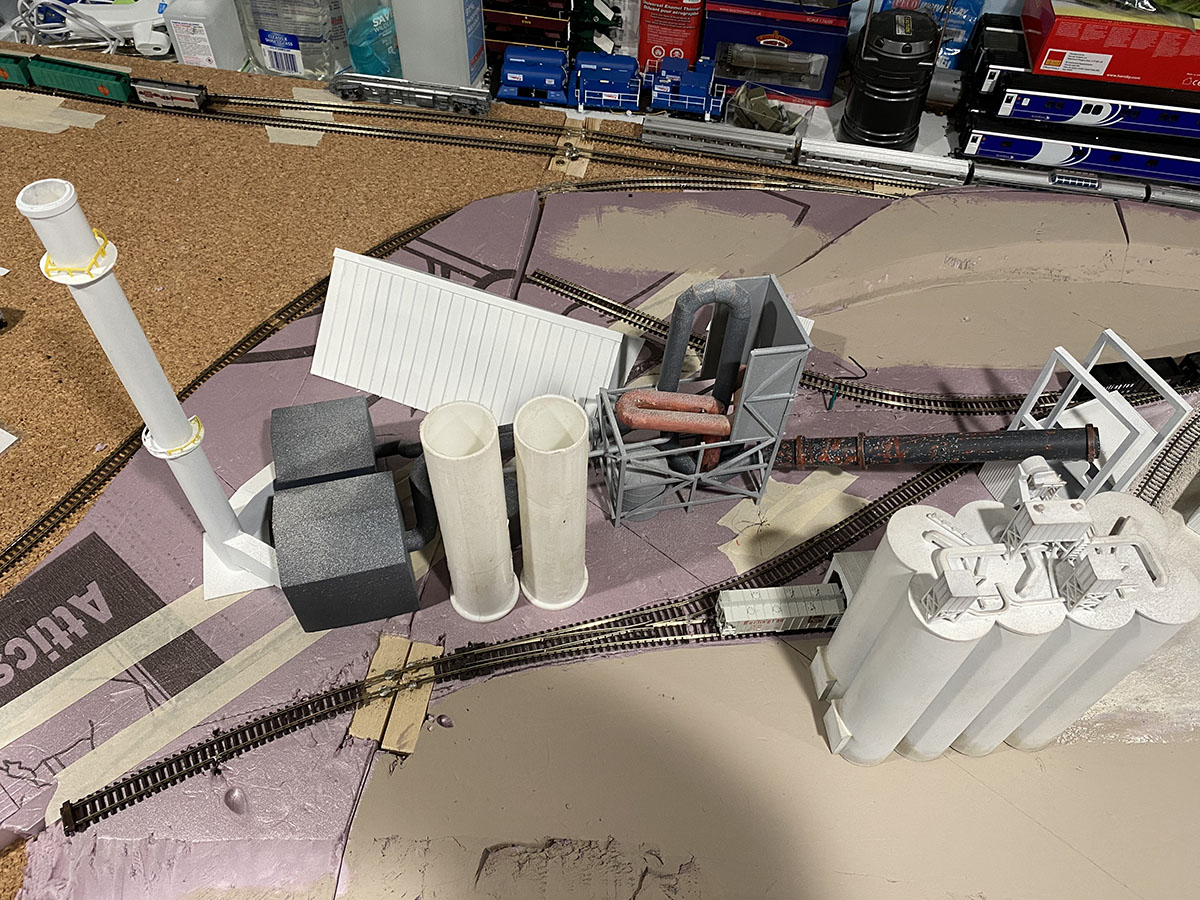
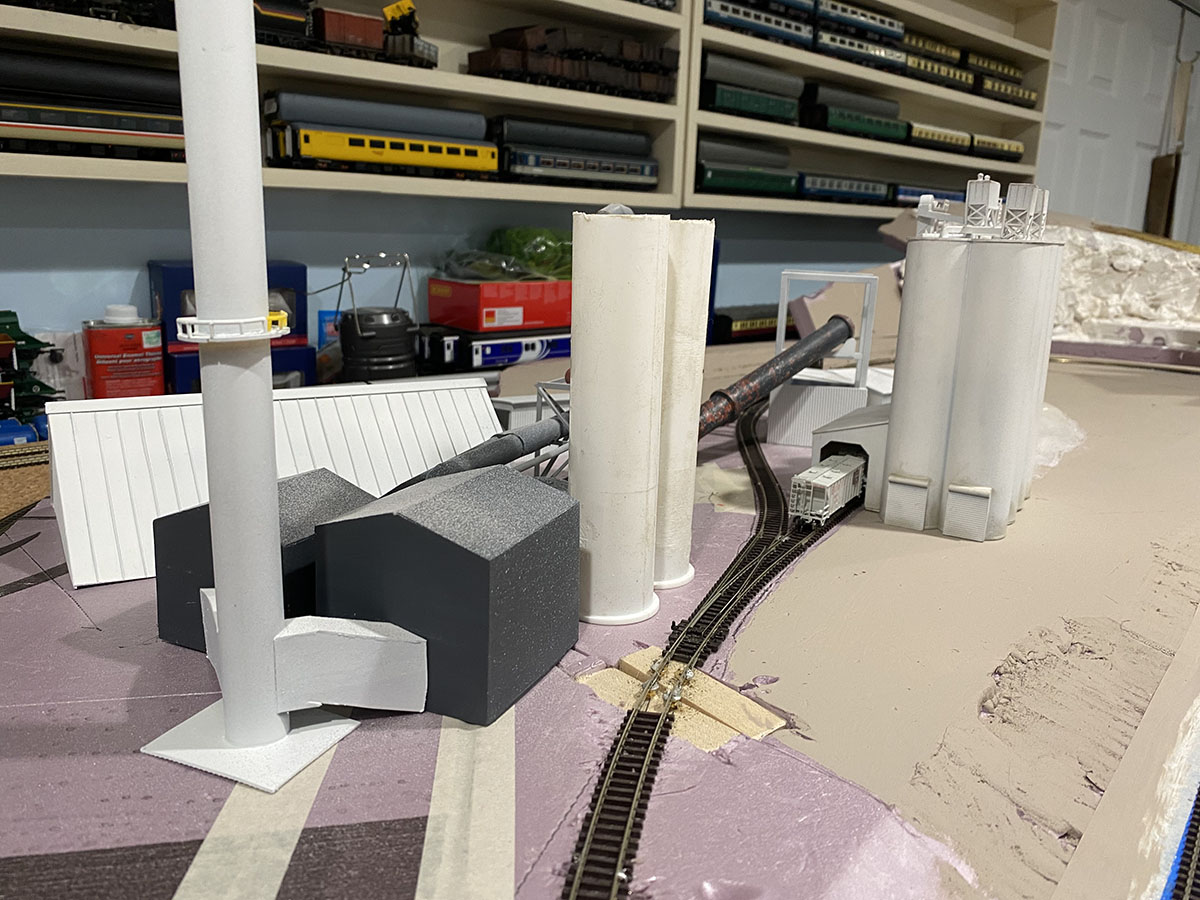
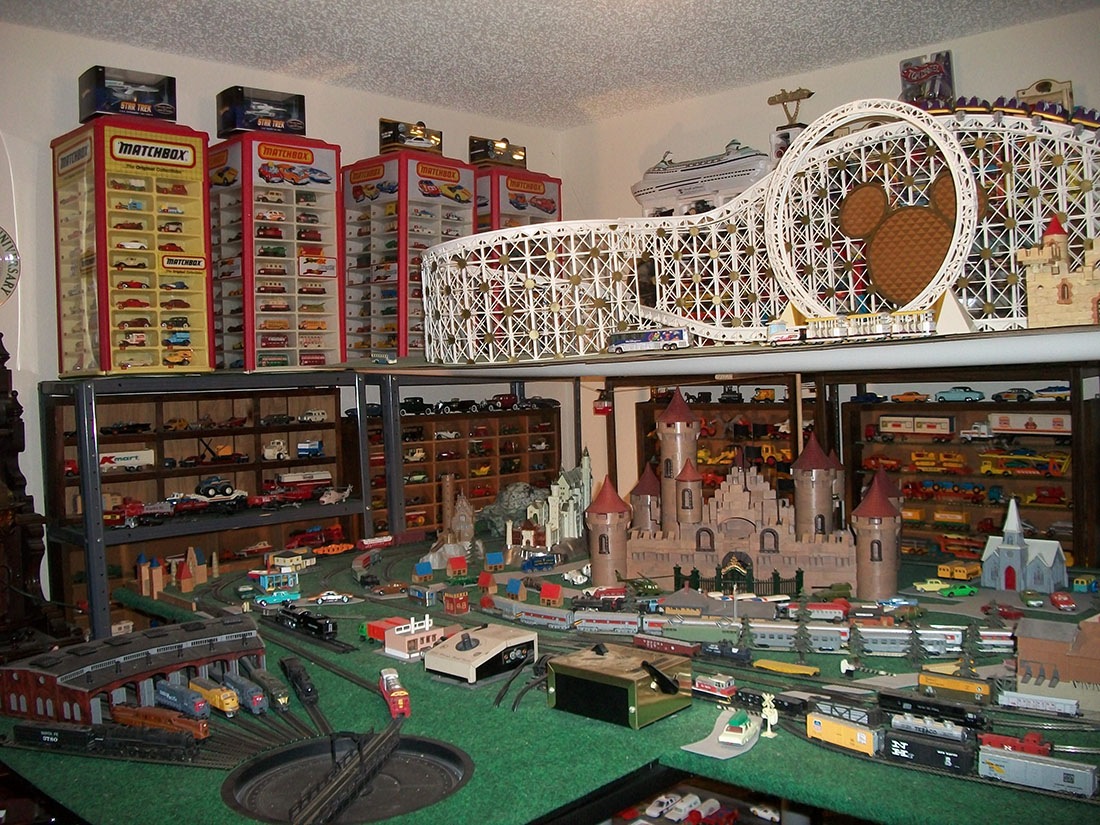
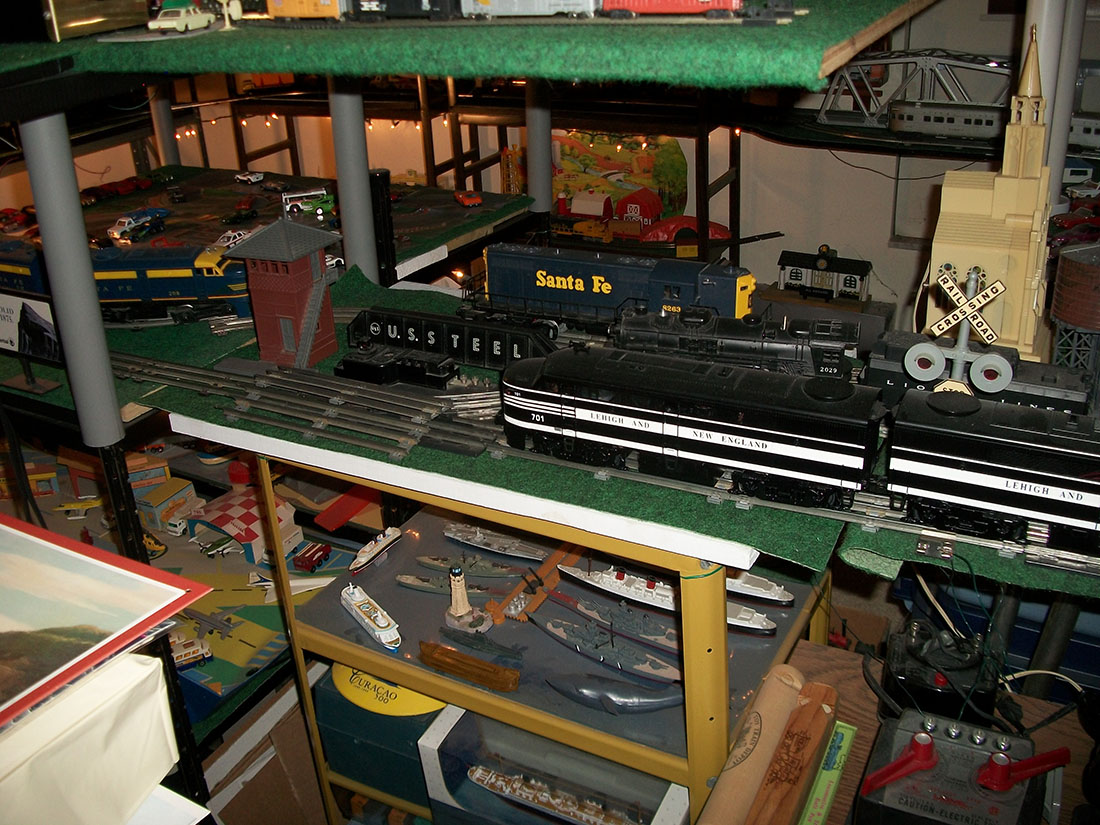
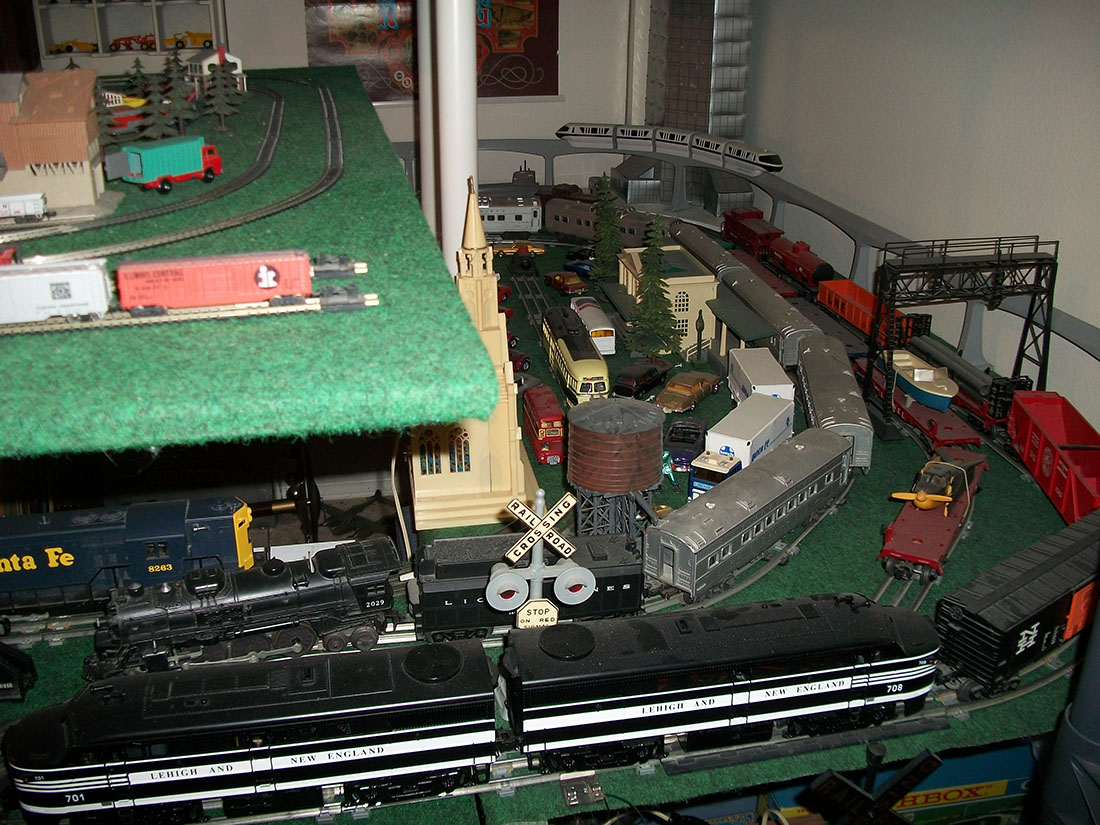
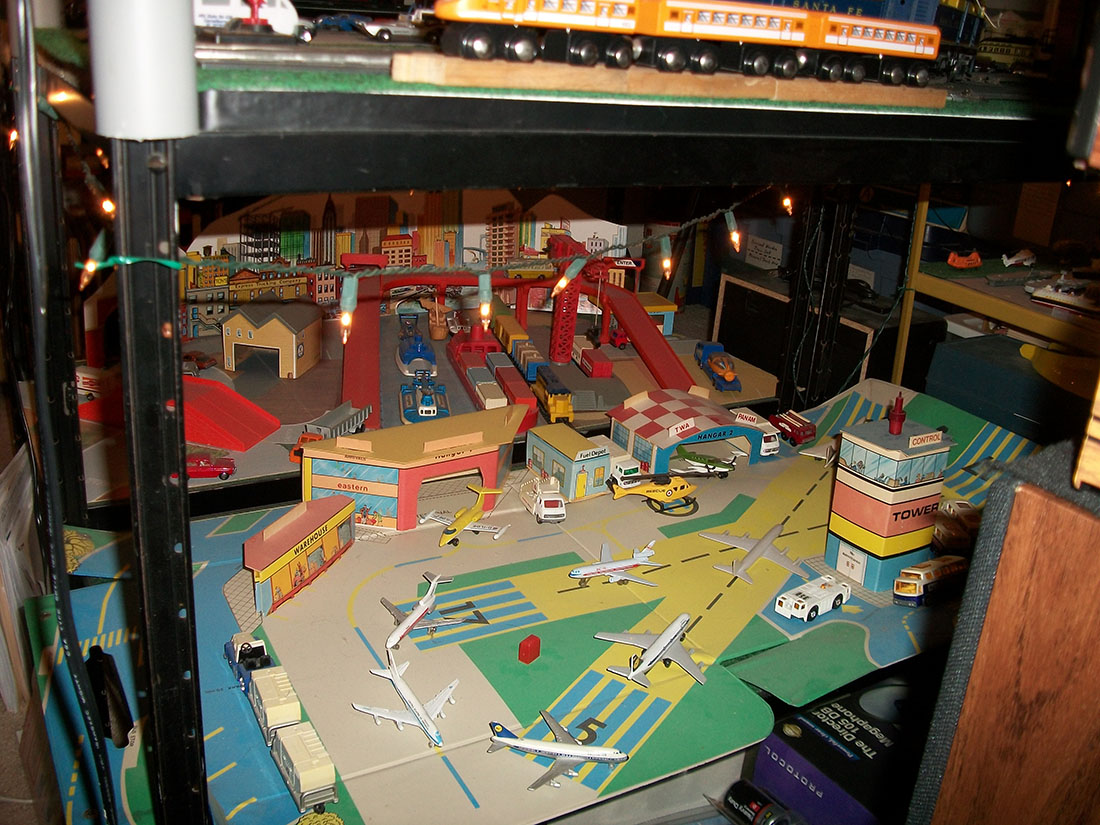
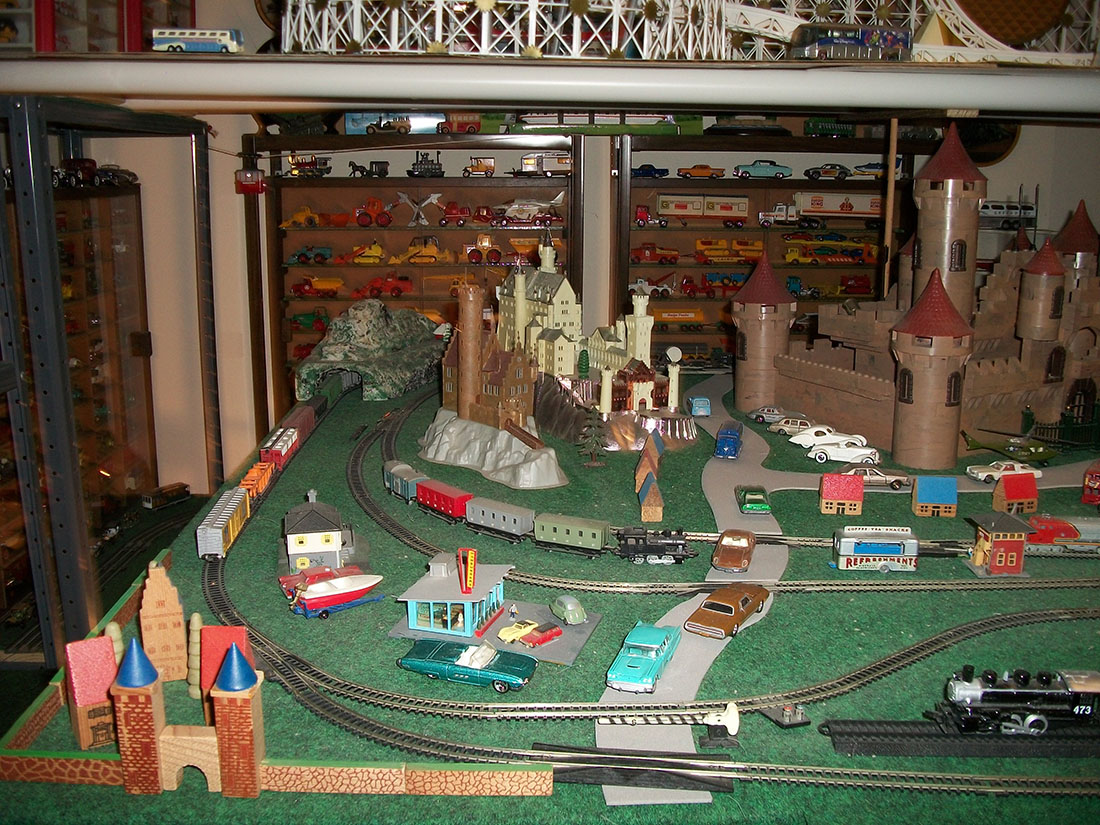
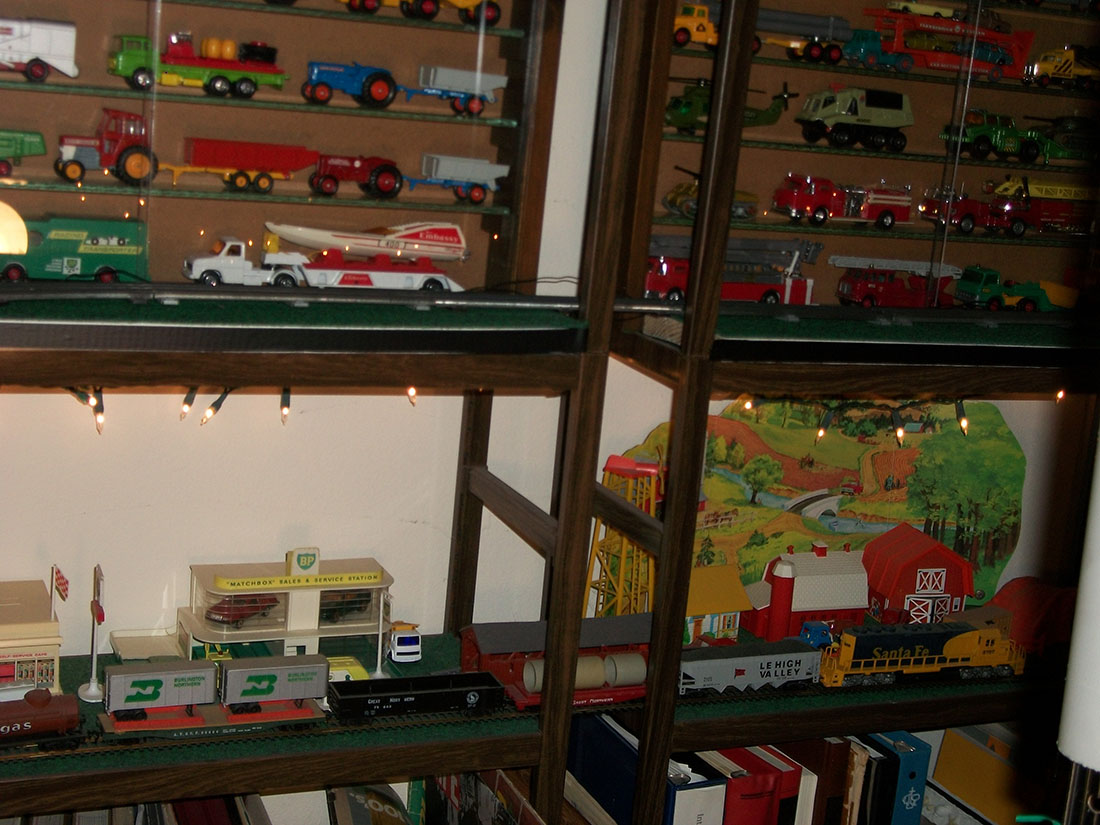
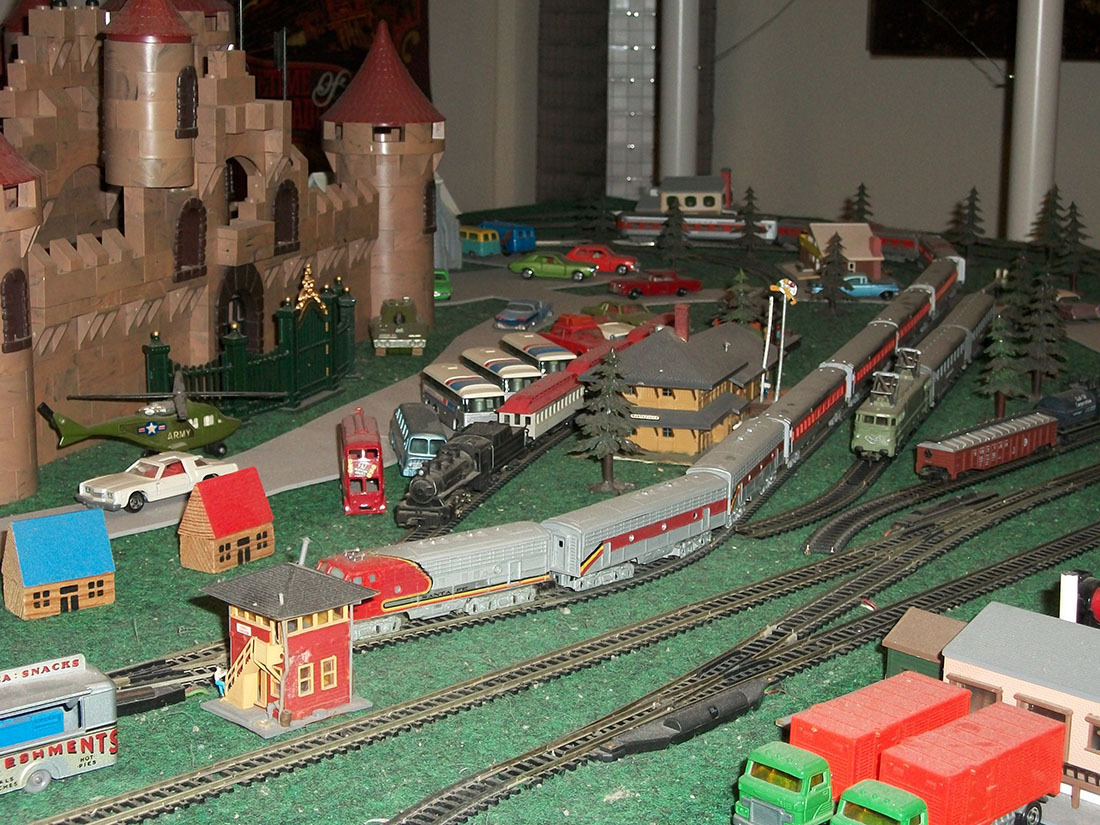
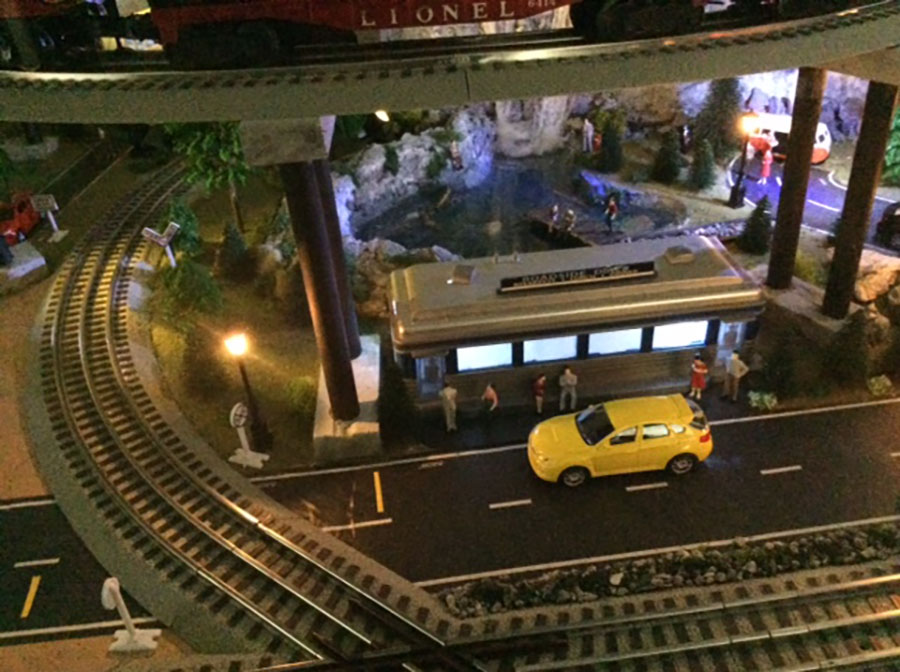
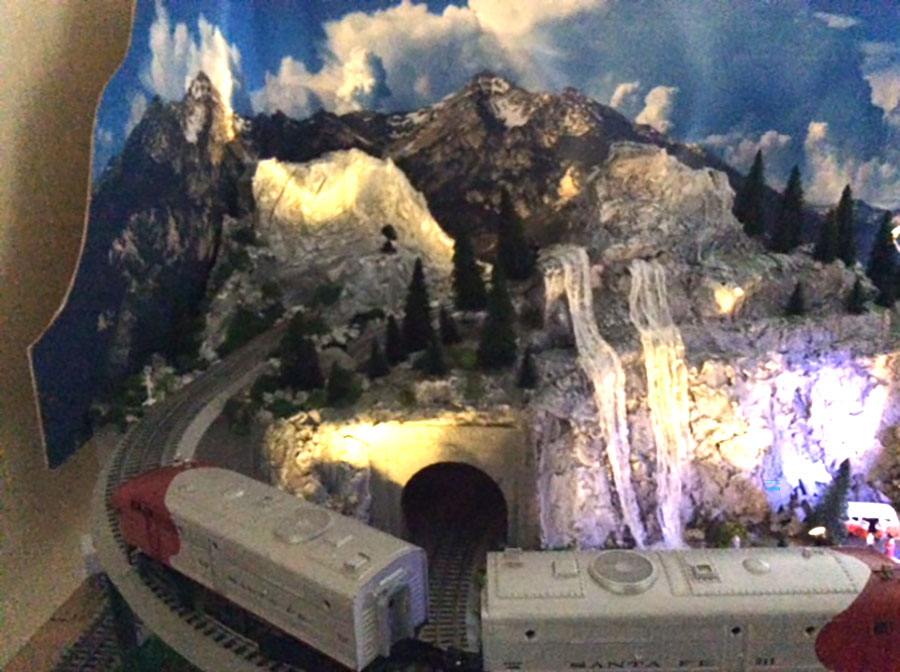
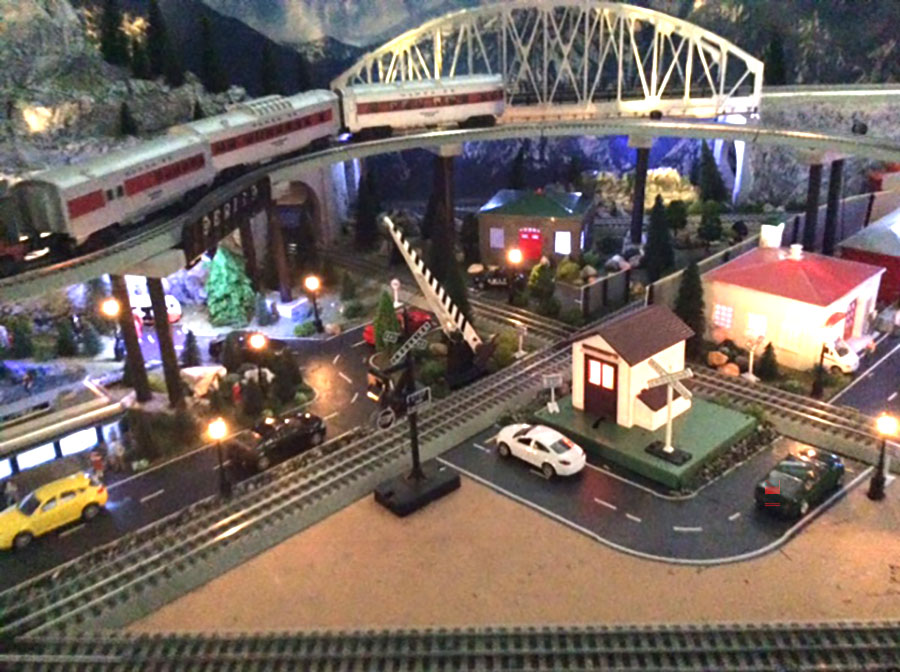
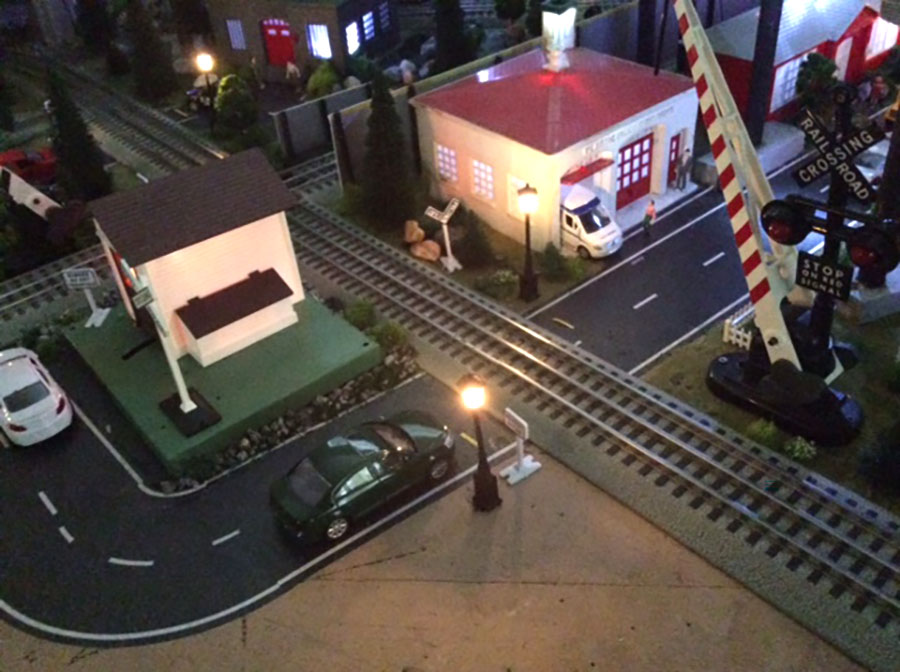
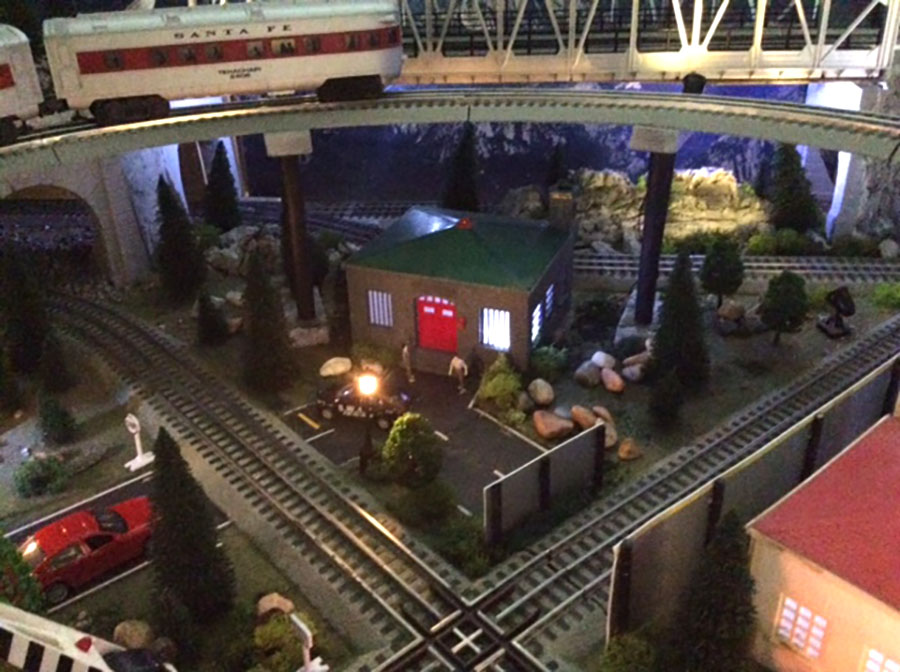
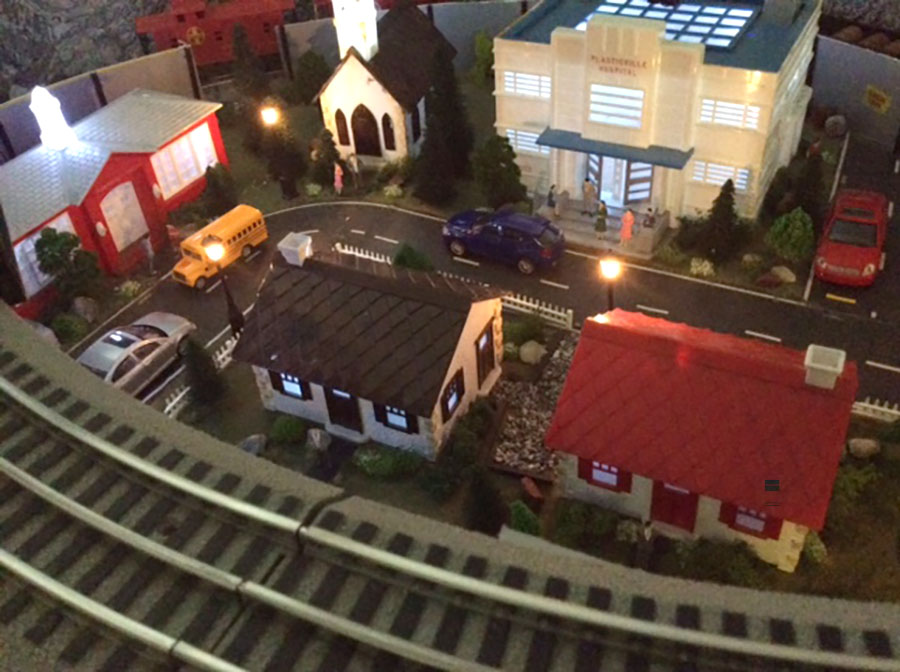
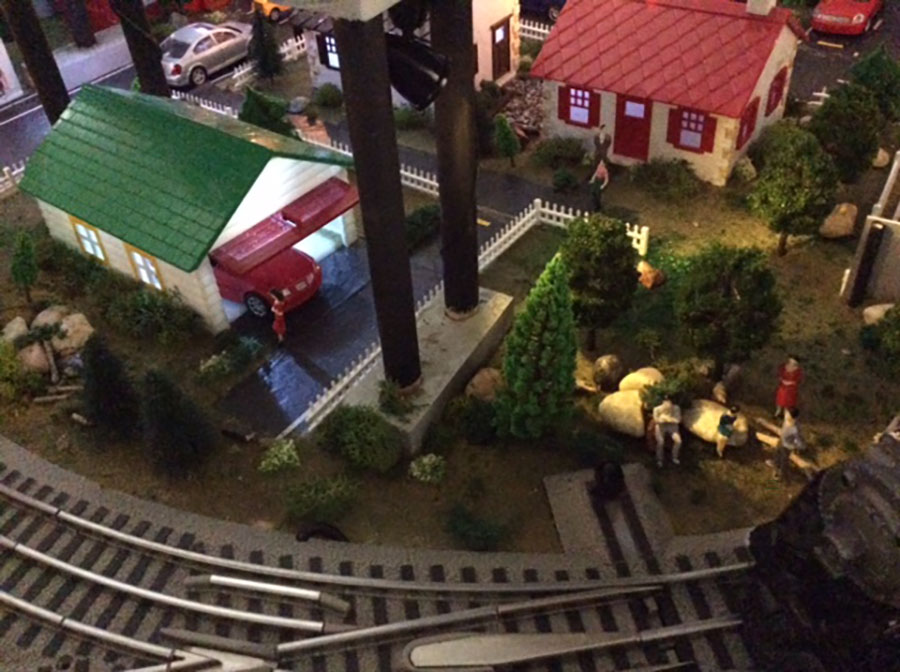
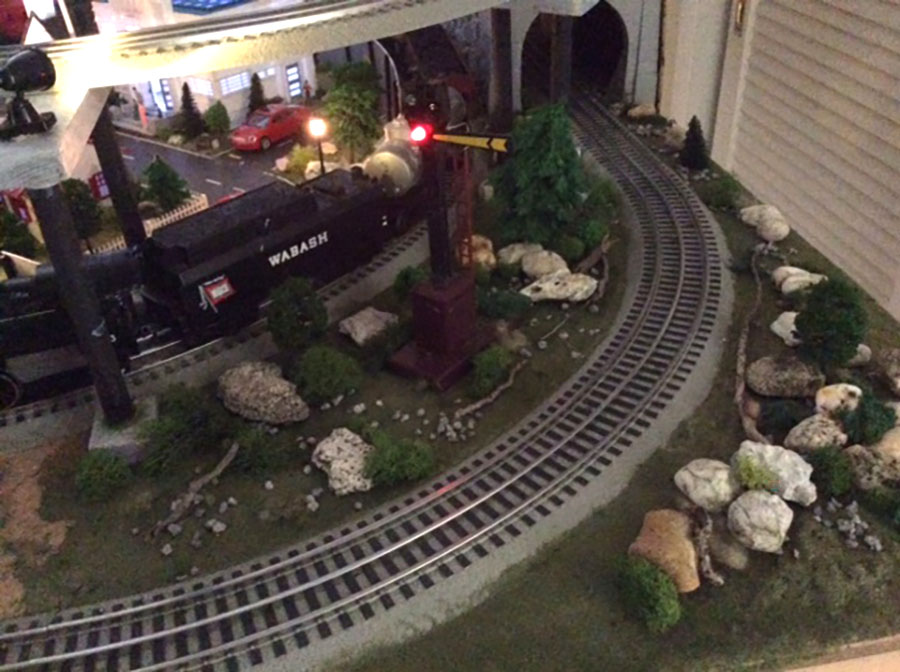
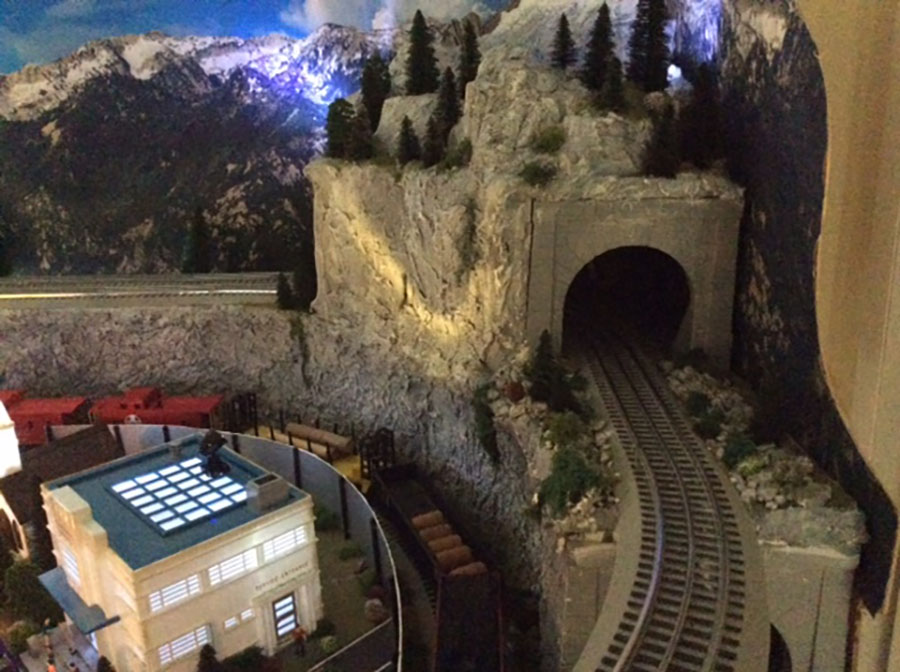
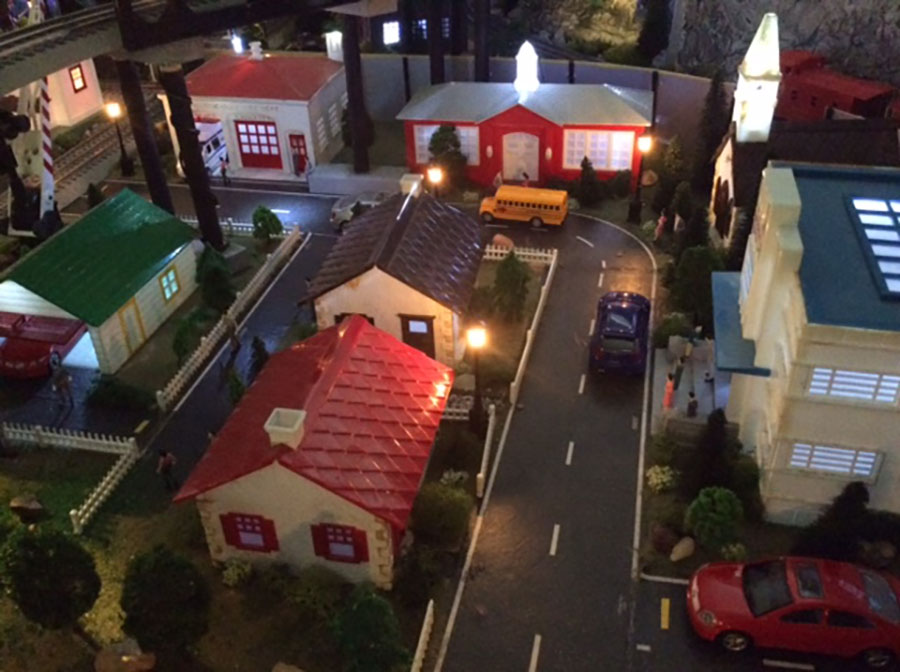
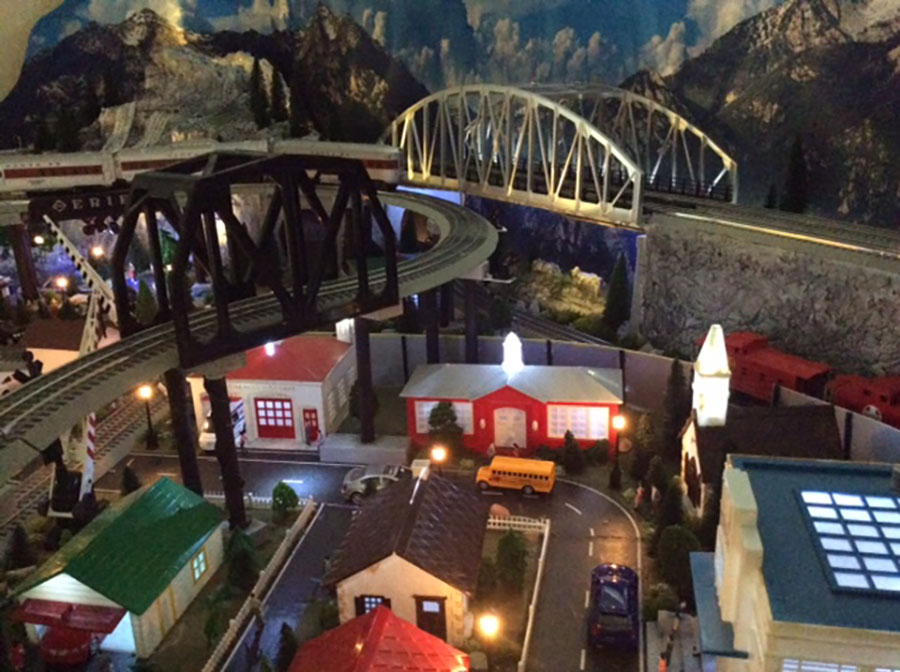
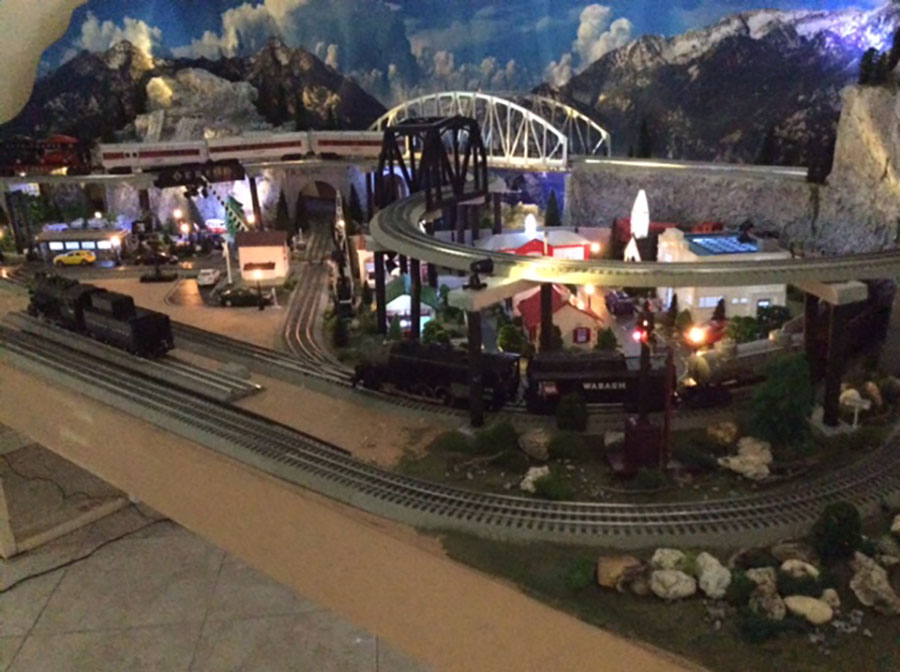
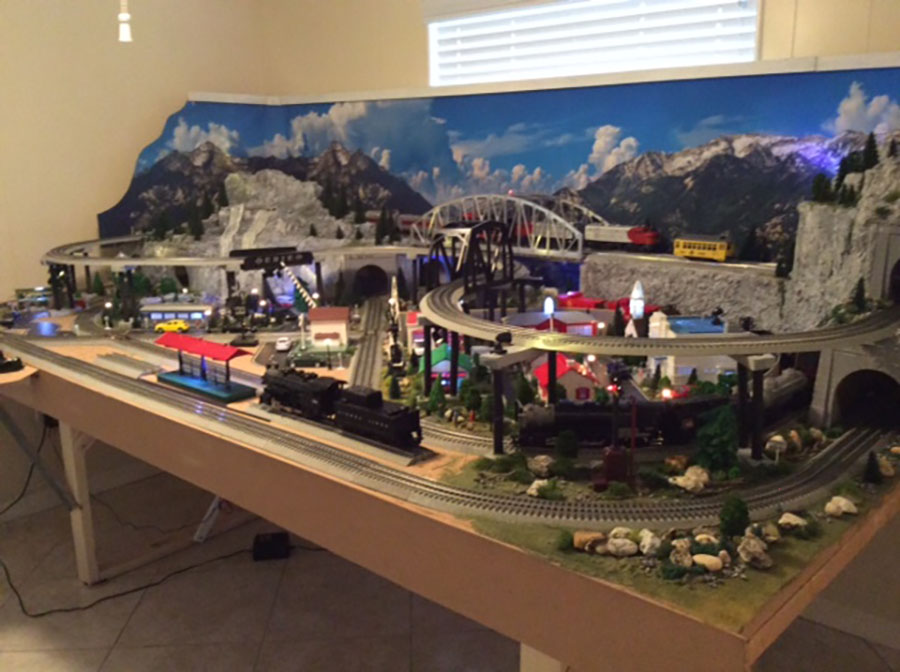
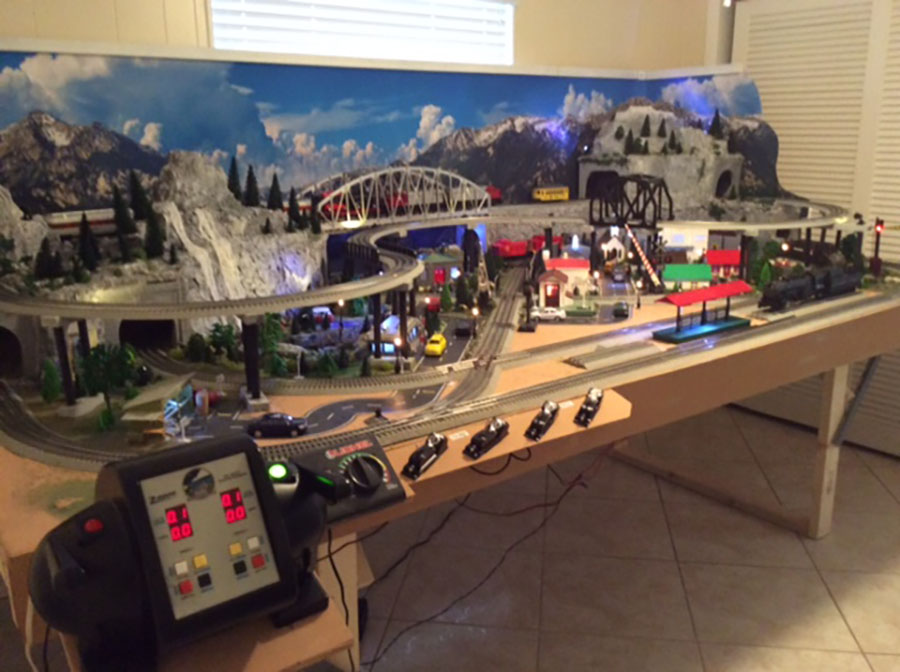
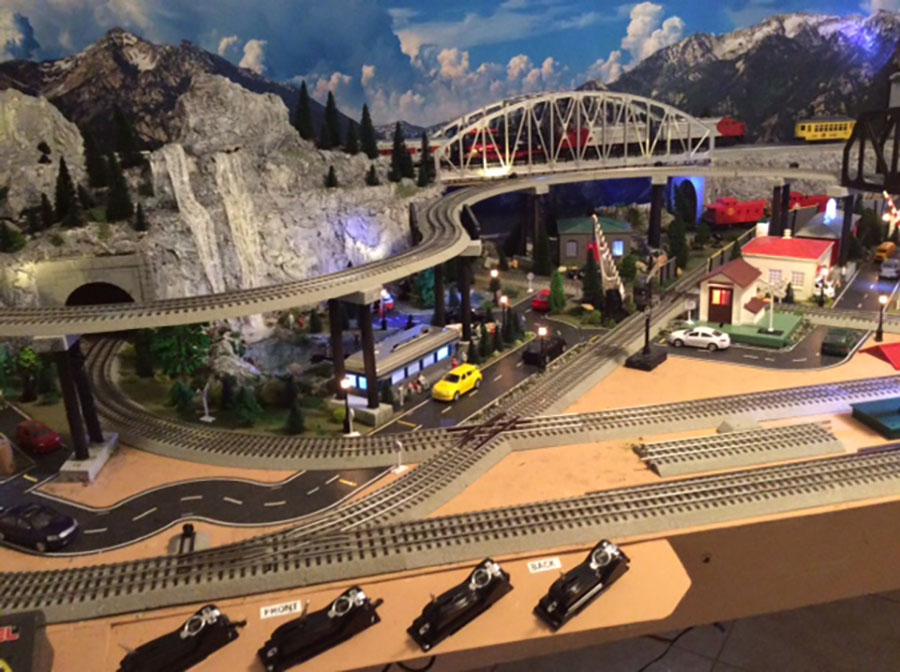
“Moving right along… Lots of flood lights… Rocks from my yard… Installed lights in my plastic ville buildings.
Used some of my Lionel accessories.
I already want to make it larger, but would have to move to living Room.
Will”
A huge thanks to Jim and Will.
I know I keep saying it, but it just goes to show it’s all about making that start.
It’s absolutely wonderful to see your layouts starting from a bare bench, to works of art.
That’s all for today folks.
Please do keep ’em coming.
And if today is the day you decide to get going on yours, the Beginner’s Guide is here.
Best
Al