Bill’s been back in touch with his N scale backdrop:
“Al
As always I continue to look forward to your posts each morning and seeing what wonderful creations peers make and send in.
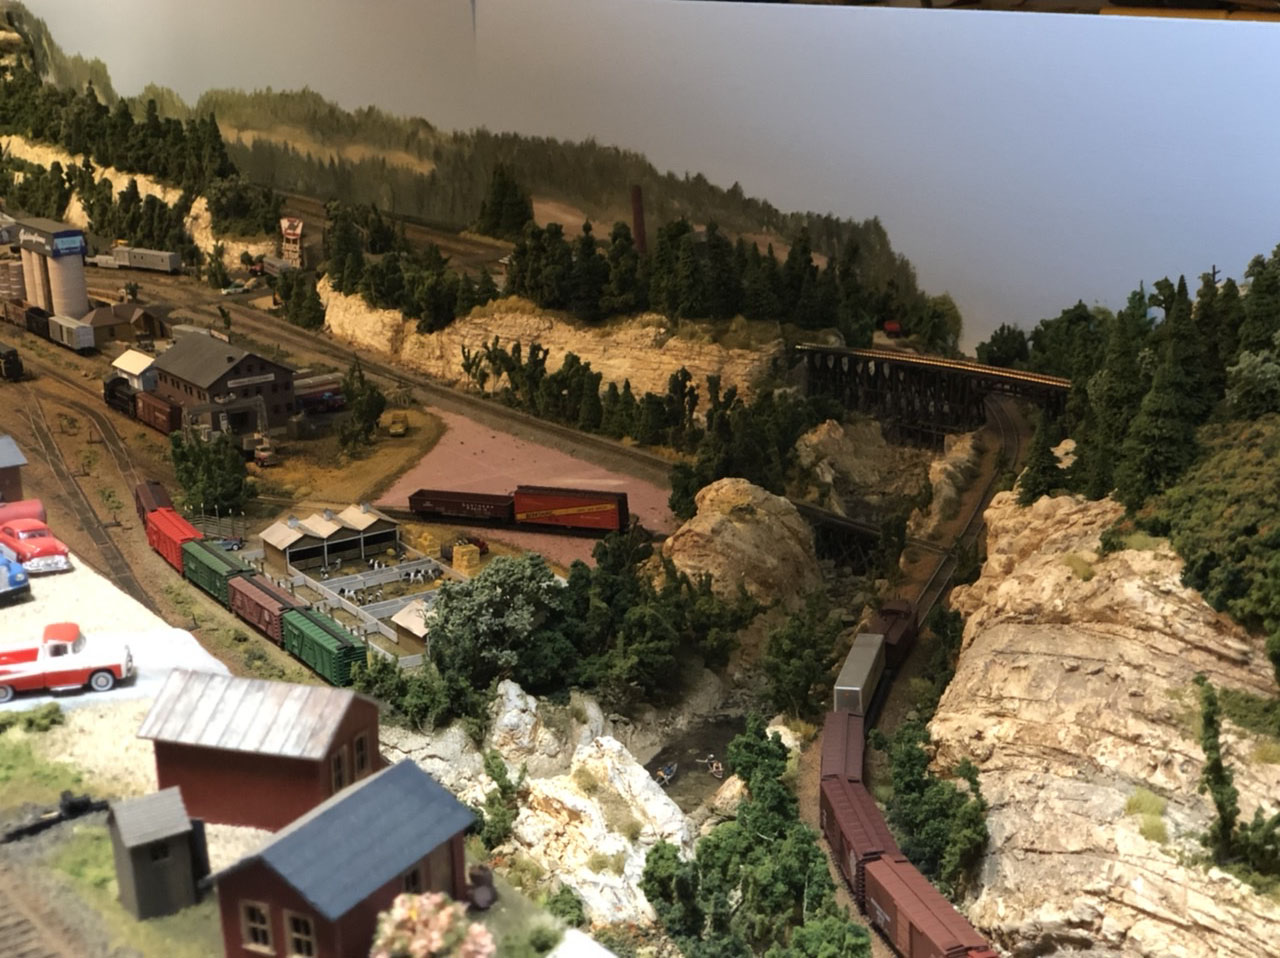
I’ve taken some days off and put together a backdrop for part of the n scale layout.
With my layouts being portable I wanted to make sure that a backdrop was portable and removable as well. So with that in mind what follows is how I made mine.
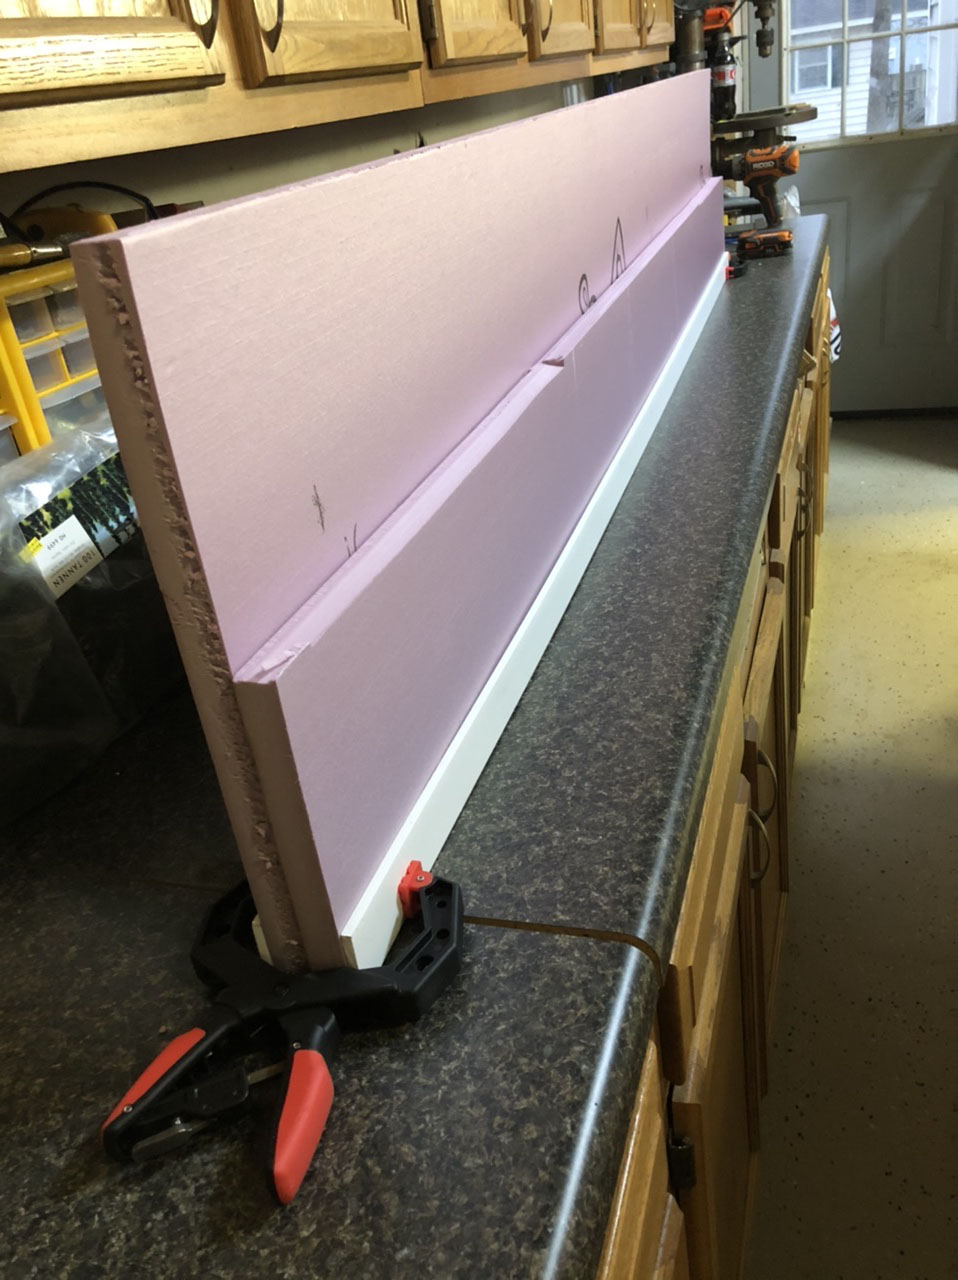
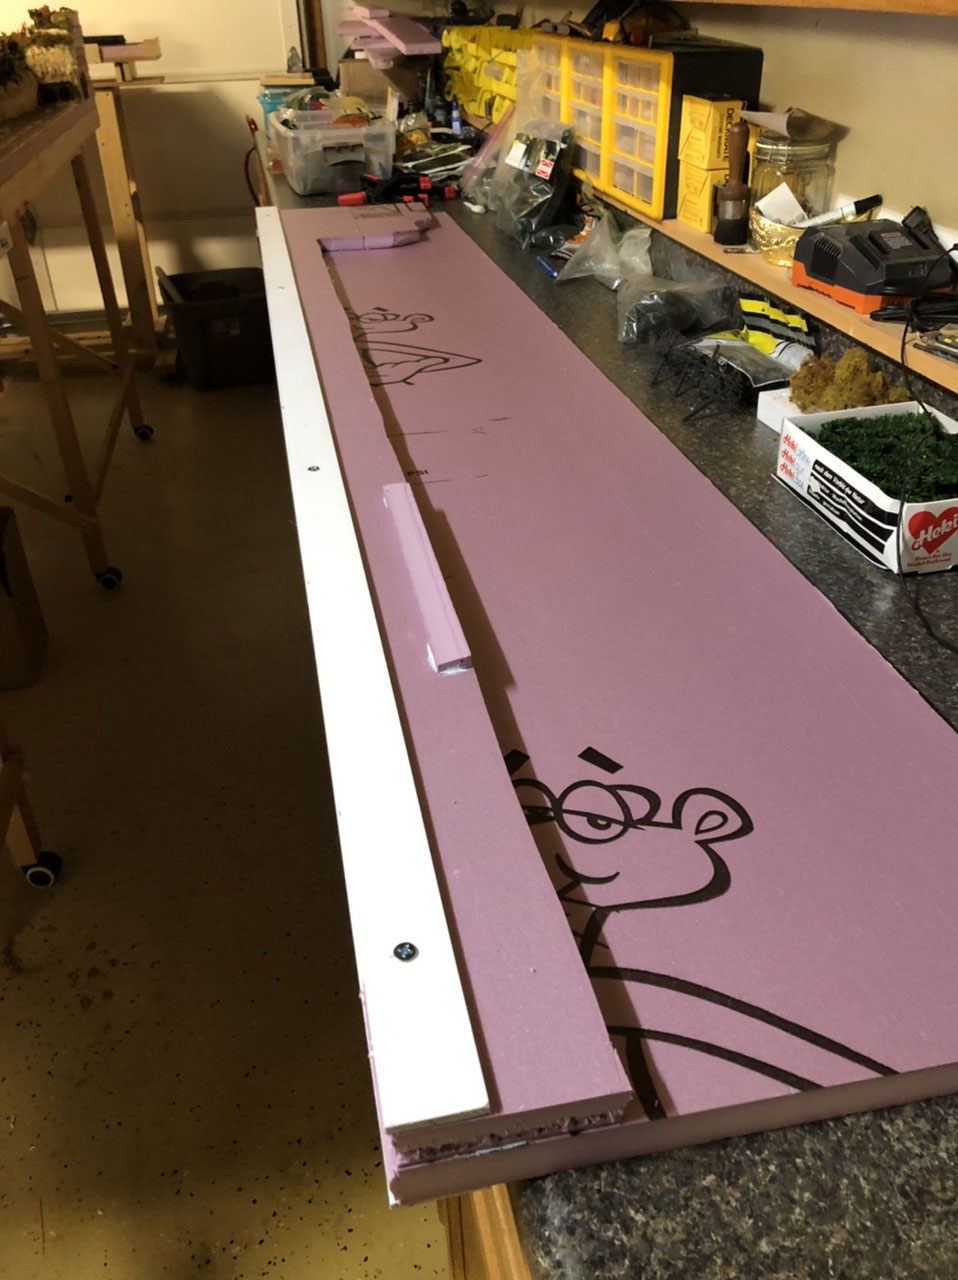
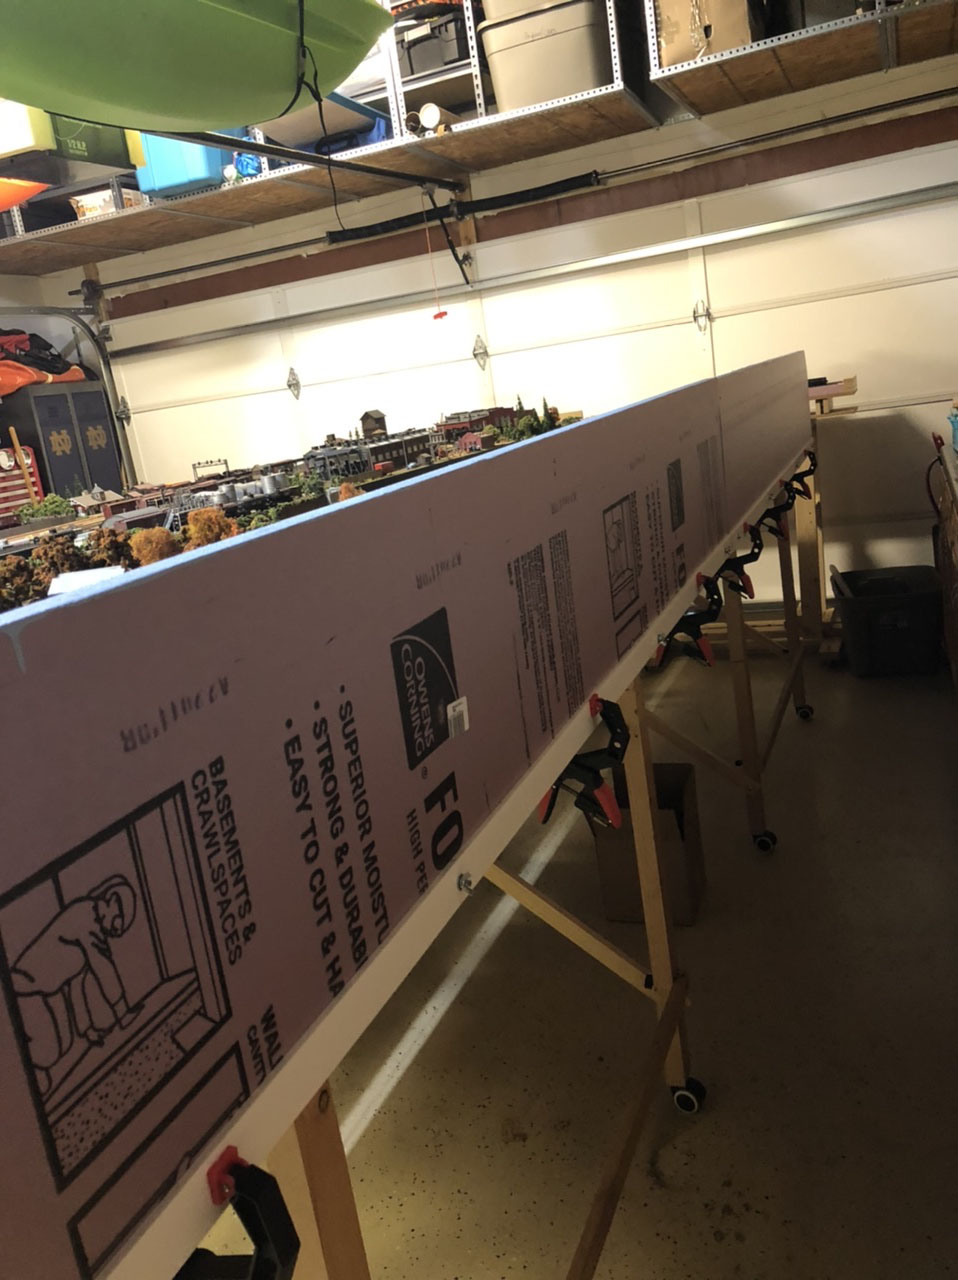
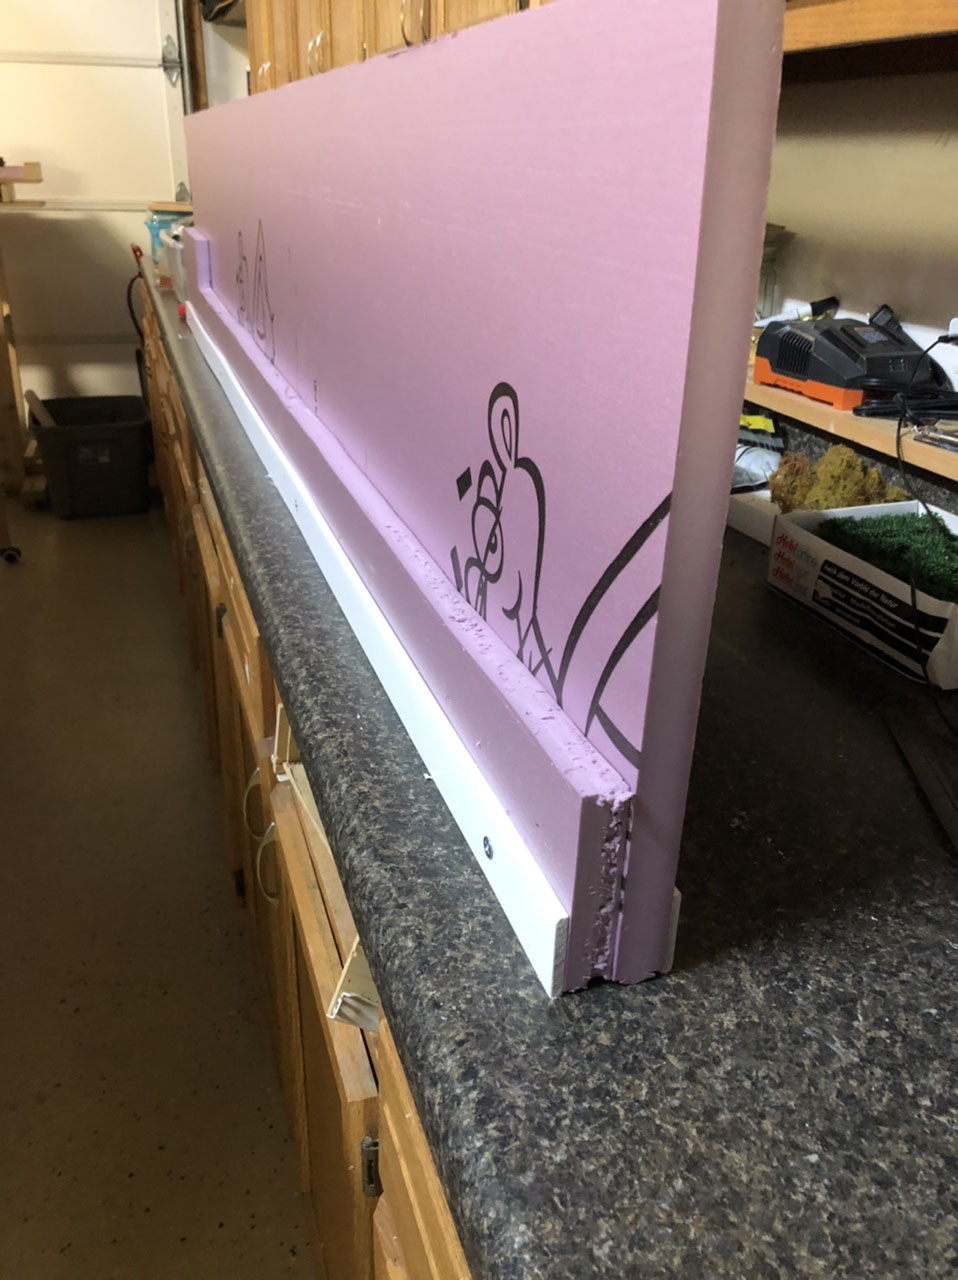
I started with getting a full 4×8 sheet of foam board that was 1 inch thick. I figured I could get a backdrop that was 16 inches tall from that and also make a 1 inch filler piece to give me a little depth to work in scenery. I also bought 2 trim strips that were 1/4 x 3 x 8 that I would use as a clamping surface.
On the layout I added a small ledge that stuck out roughly 1/2 inch and was about three feet long for the backdrop to rest on.
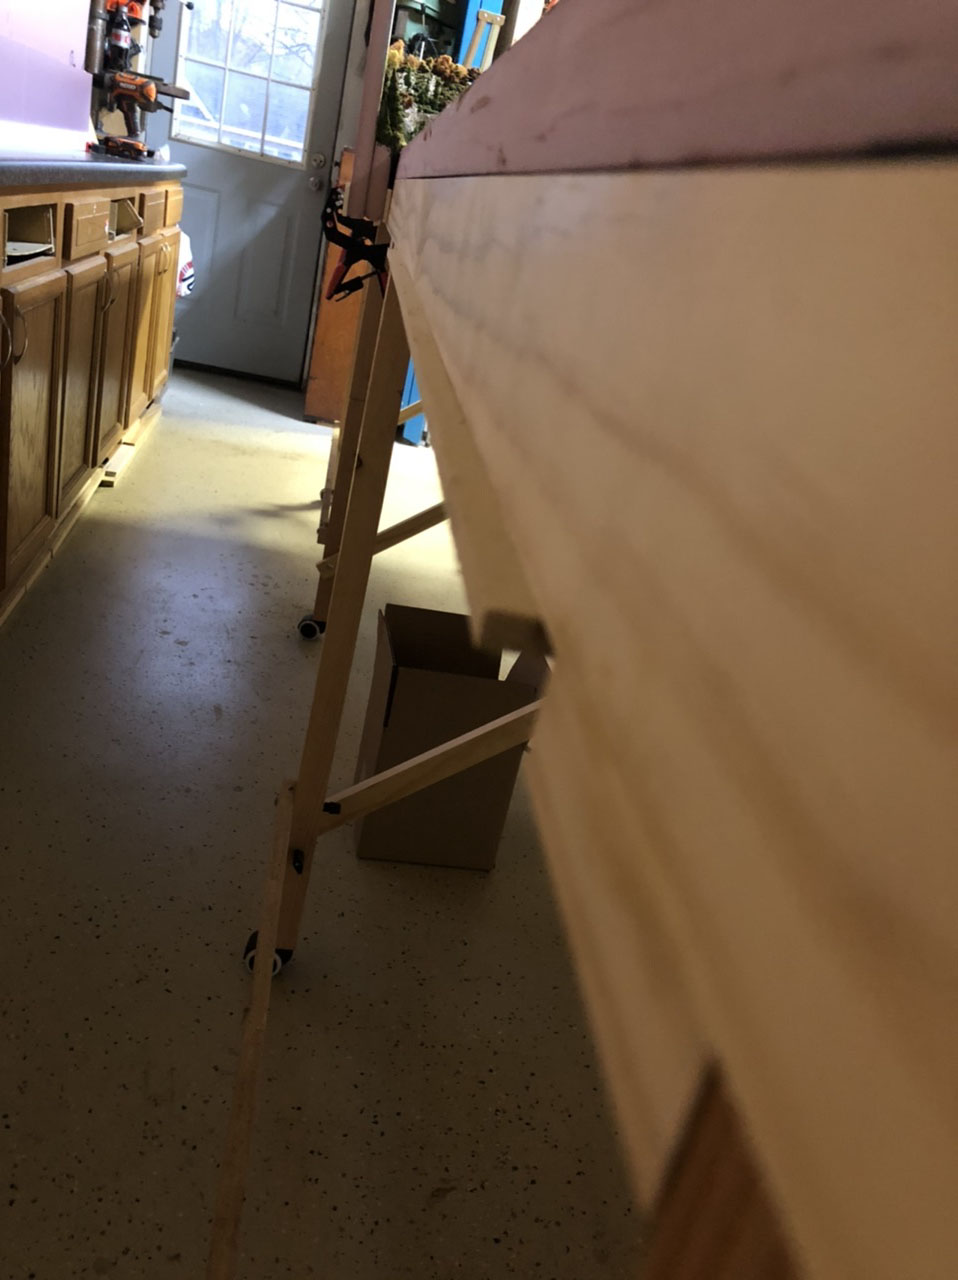
I cut one piece of foam board to about 8 inches wide and then traced the outline of the layout scenery on that and cut to shape. This I glued on the full 16 inch foam board with foam board adhesive. Next I drilled thru the trim pieces snd foam board and added in flat head 1/4 inch bolts and wing nuts to hold it all together.
This gave me an excuse to buy some additional clamps so I bought 4 inch capacity ratcheting clamps. Three of these are used to hold the backdrop in place once on the ledge.
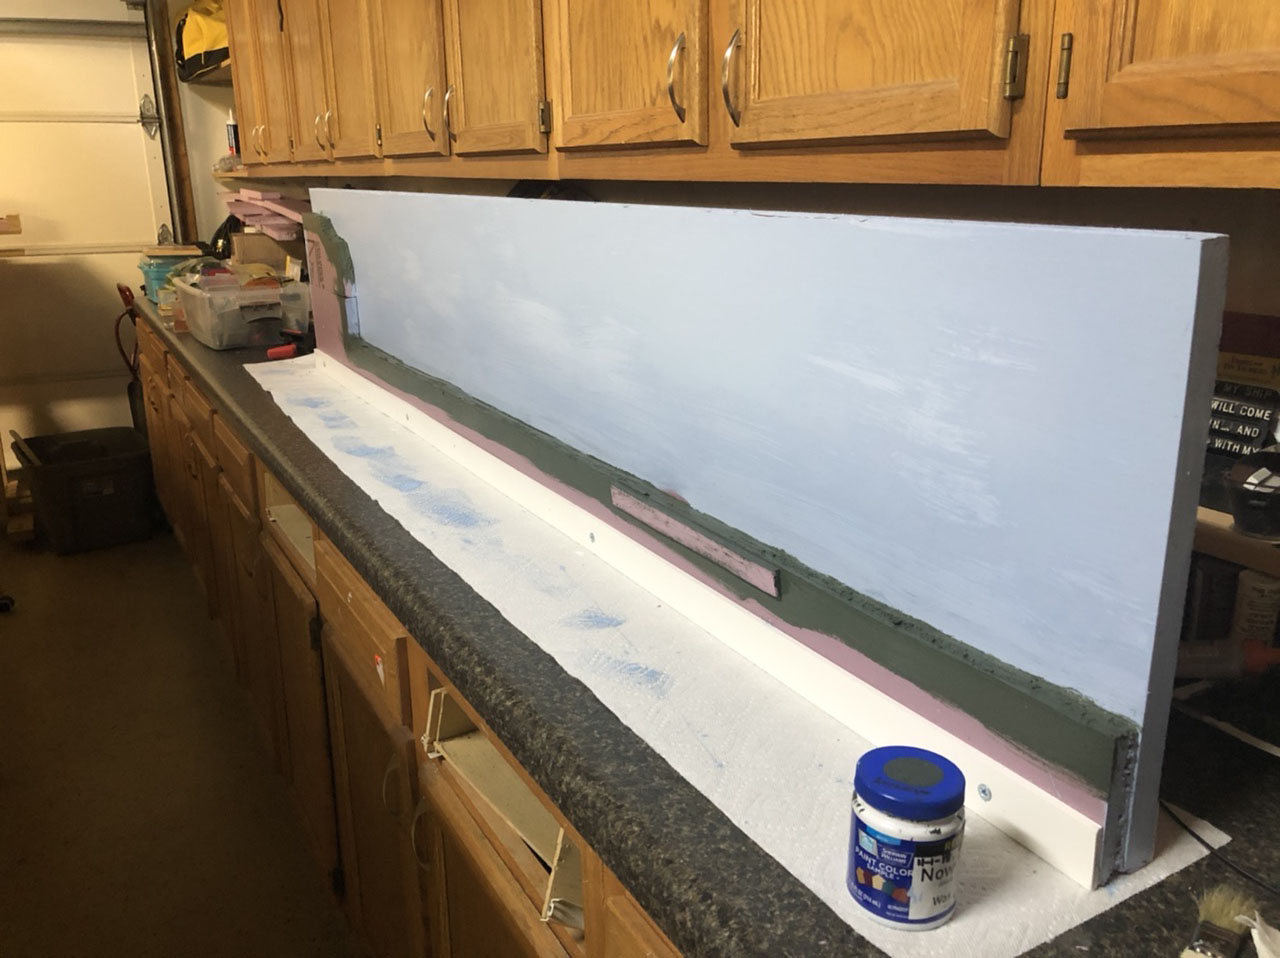
Next I painted the backdrop blue and a dark green where scenery would be added. I used latex paint. Any oil based paints will give you a melting disaster.
Once the paint was dry I put it in the layout snd took some pictures so I could visualize what I wanted to paint on the backdrop while I had it at the work counter.
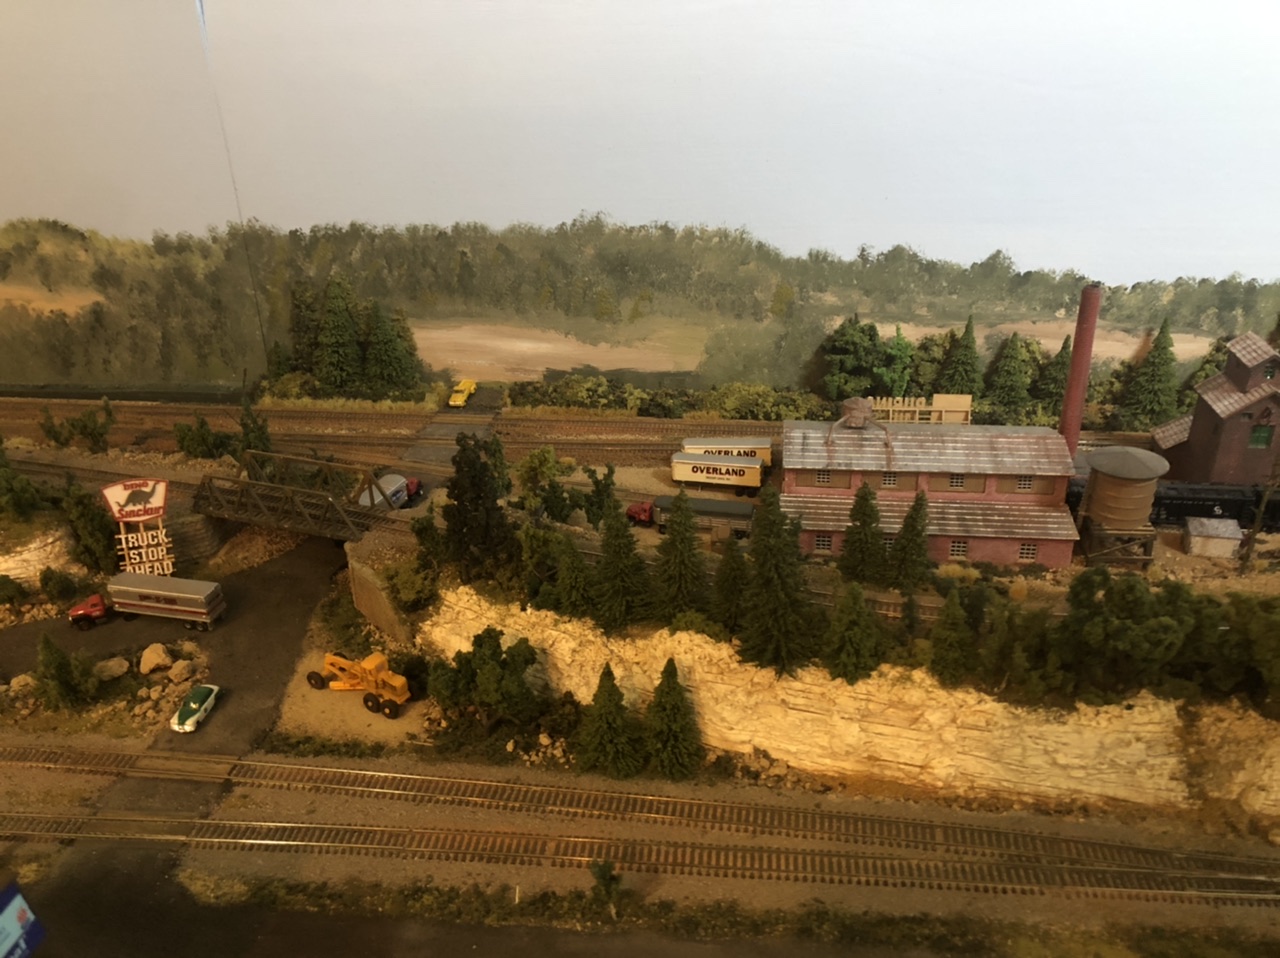
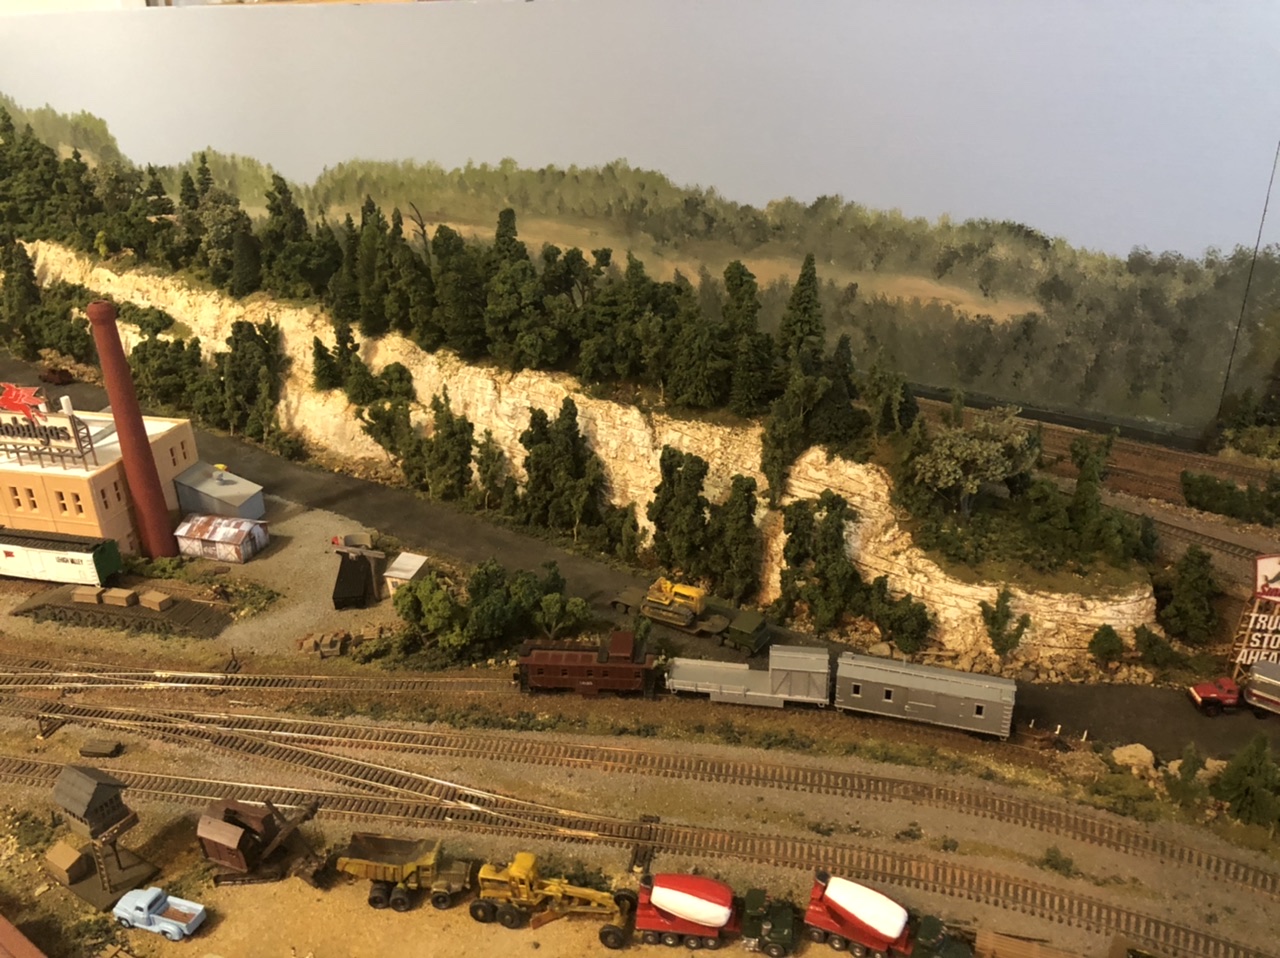
Next I took a few colors of brown, white, gray, and a couple of shades of green and painted out the background I wanted. Once dry I took polyfiber and added it to close the gap on the backdrop and layout. To this I added various sizes of ground foam to build up layers and make an underbrush look.
Trees were made and planted as well. Next I painted white glue on the back drop and used ground foam to give the backdrop a 3D feel behind the real 3D scale trees.
I also have added in continuations of the roads and stream on that side of the layout. While I still have more to do like adding in some building flares and some painting behind the stream and the city piece of the backdrop I’m satisfied with the results so far.
It’s been a fun little project snd makes a huge difference when watching the trains run. I’ll make another for the n scale backdrop and will do the same on the HO scale layout as well. Always fun things to do and try in model railroading
Attached is a link to a video showing how I painted and gave a 3D feel to the backdrop.
Alan’s been in touch with some model train fun that had me smiling.
In yesterday’s post (which you can see here) we touched on the importance of having fun with your layout, whatever that may be.
Some like scenery. Some like running trains. And some like both.
But as long as you’re having fun, that’s all that matters.
And Alan shows this in spades:
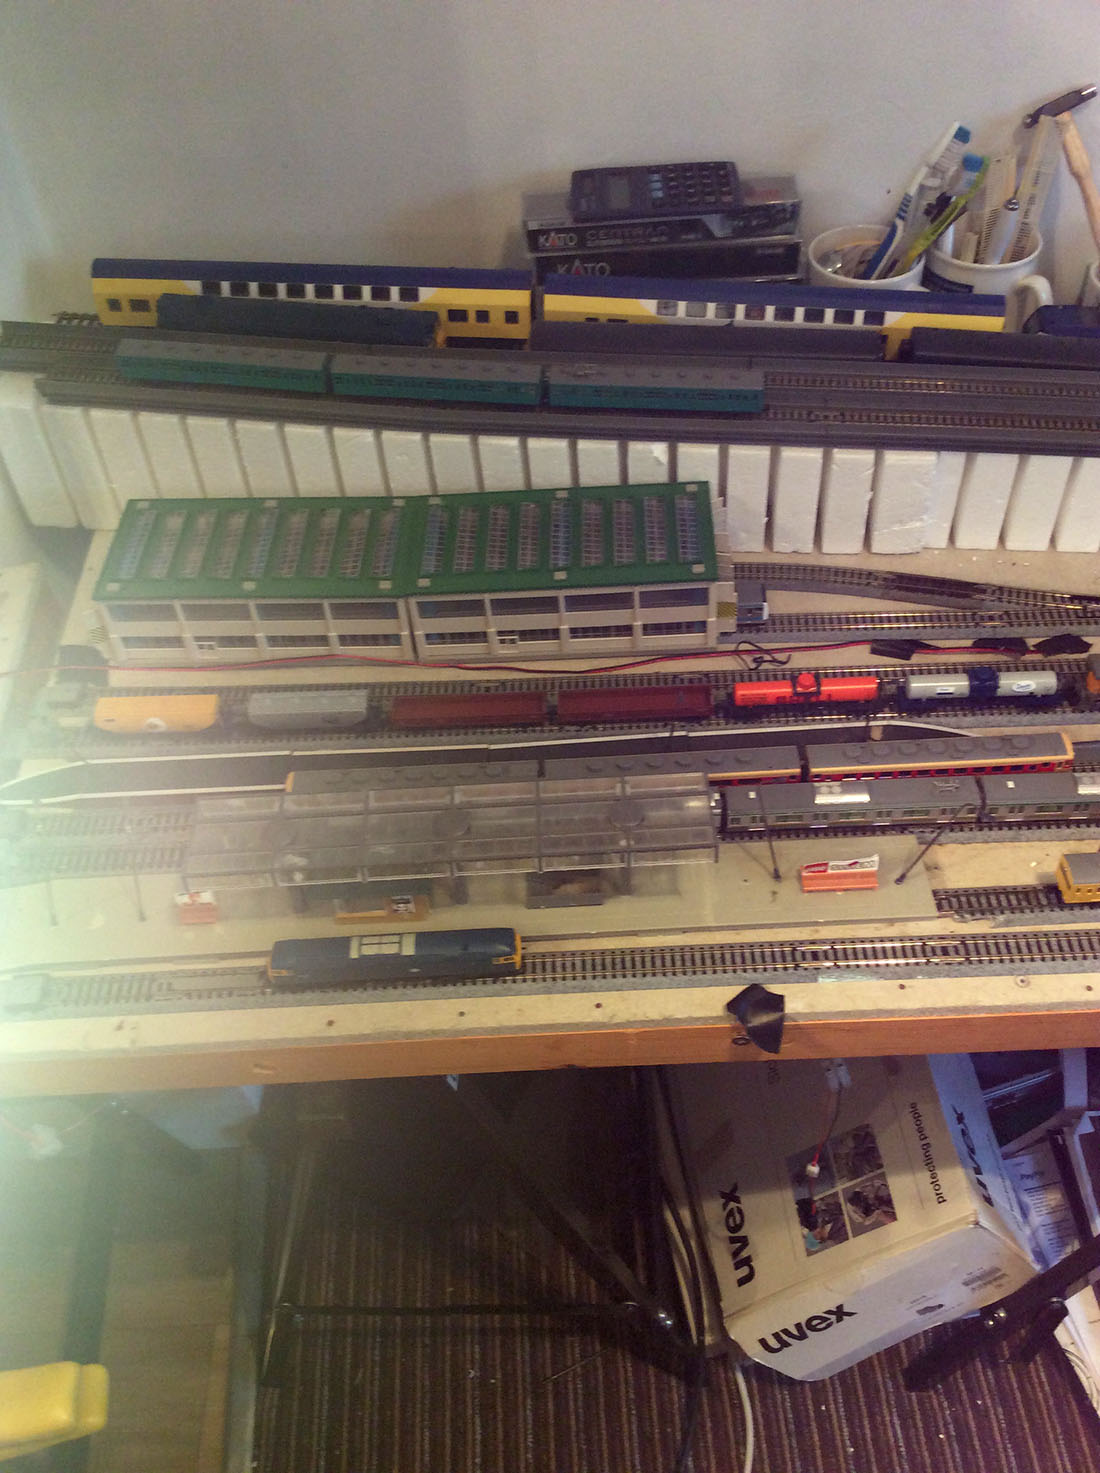
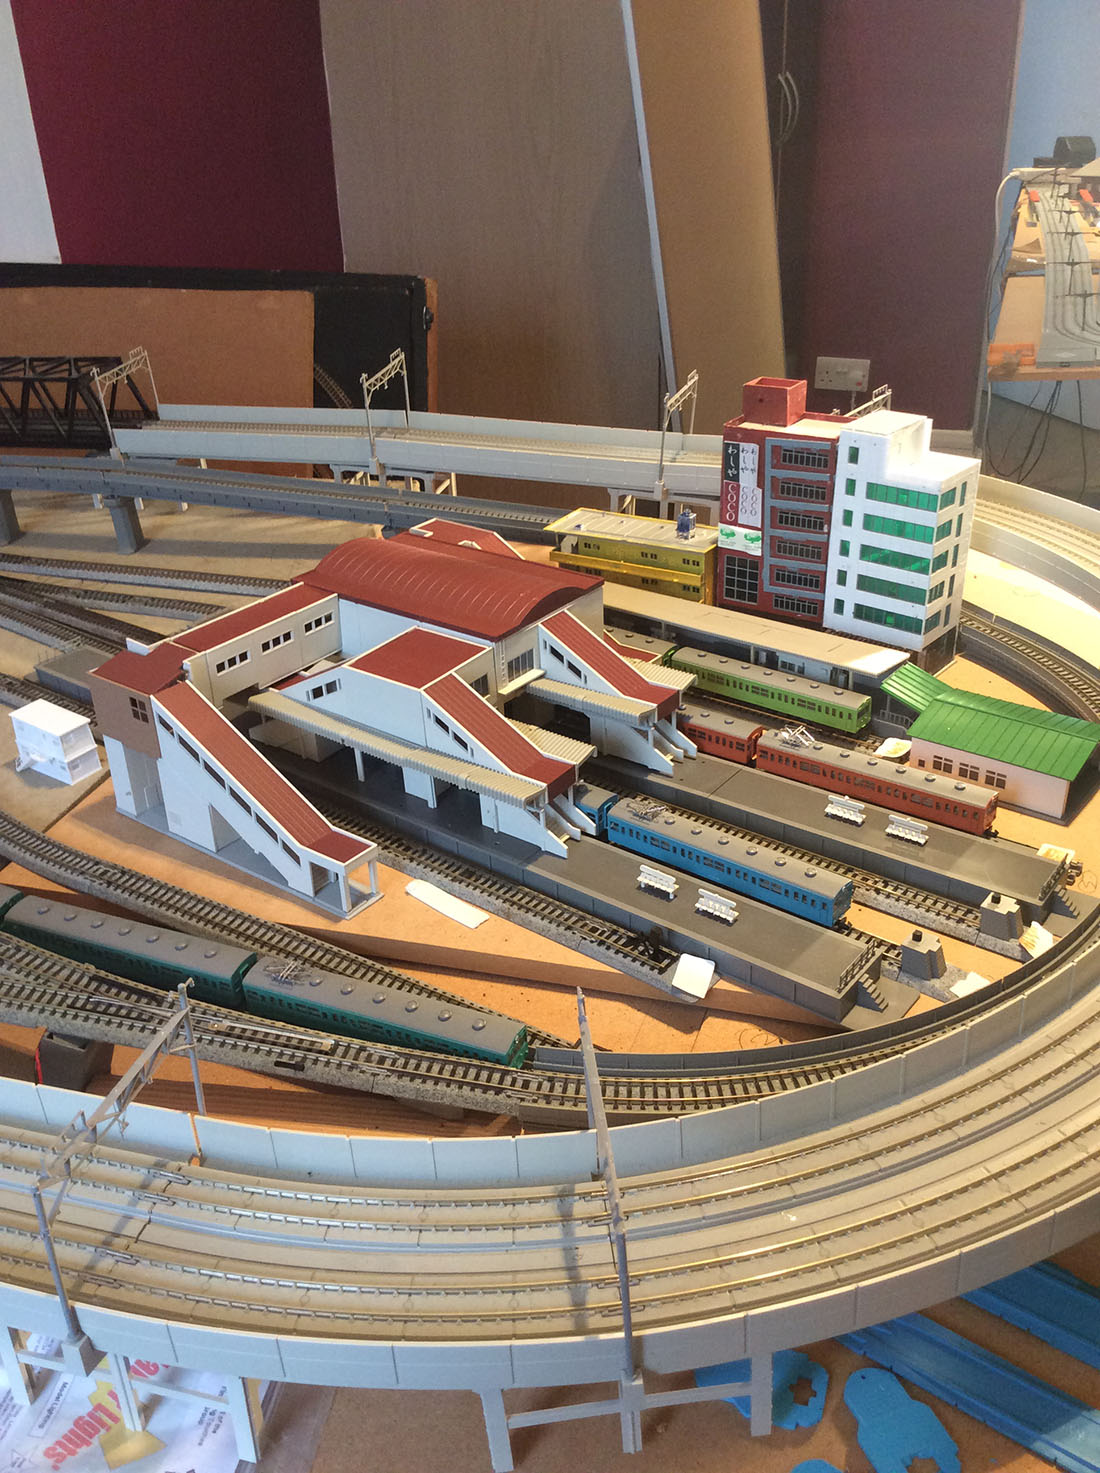
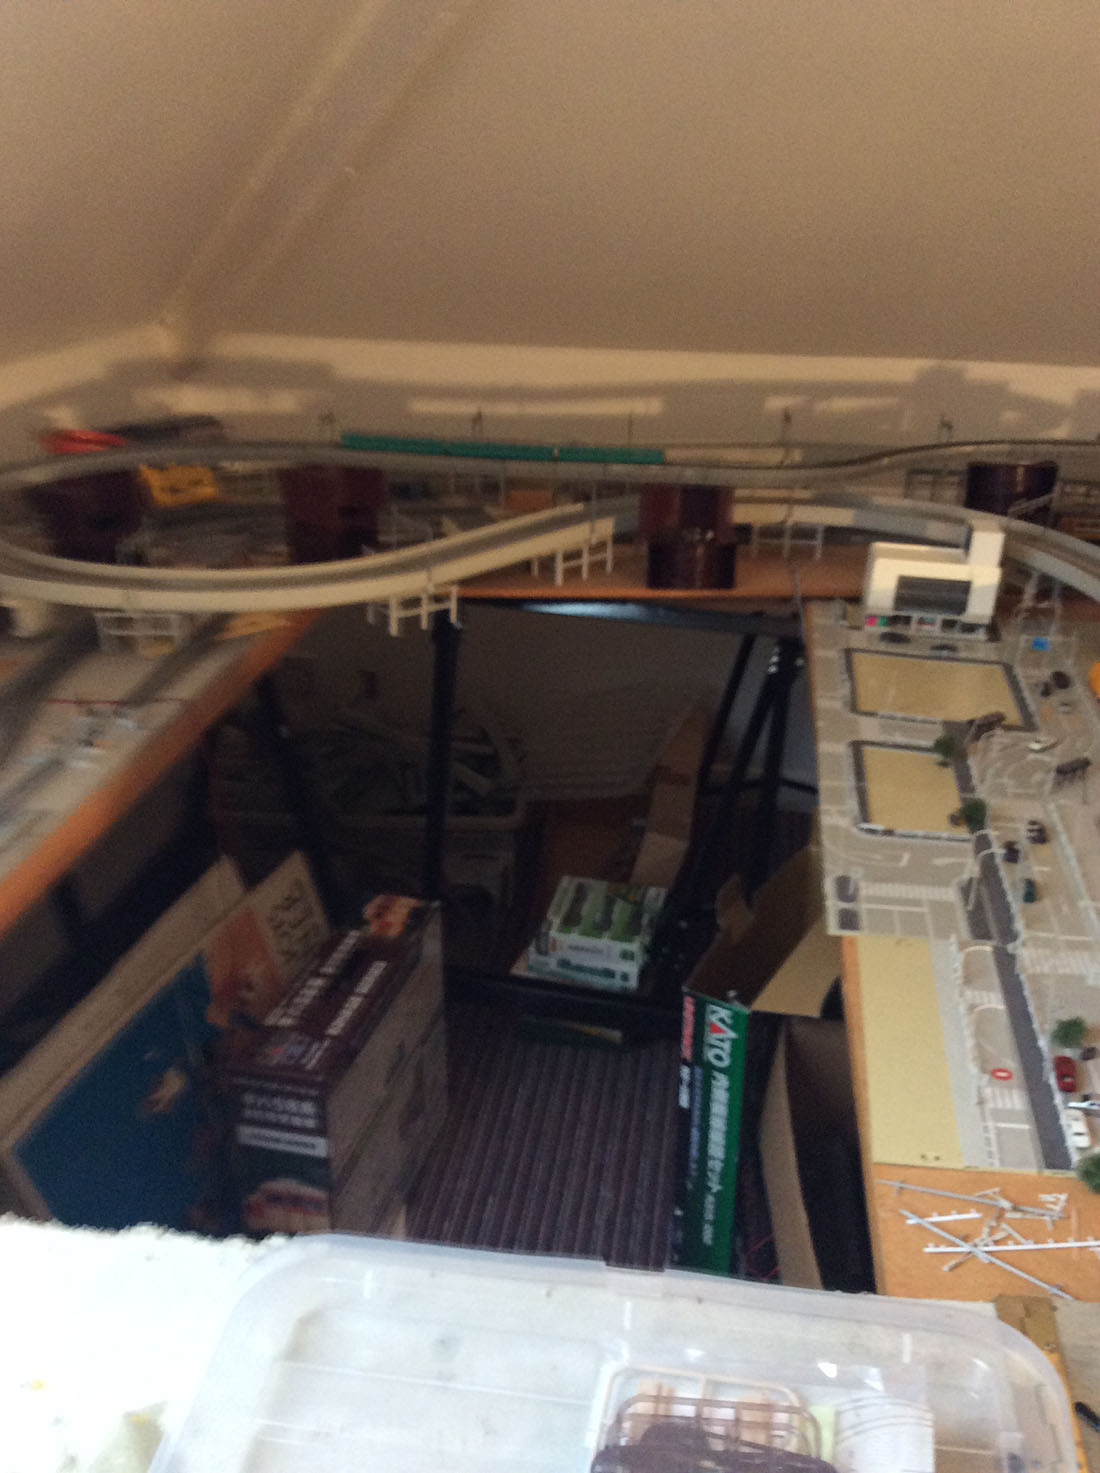
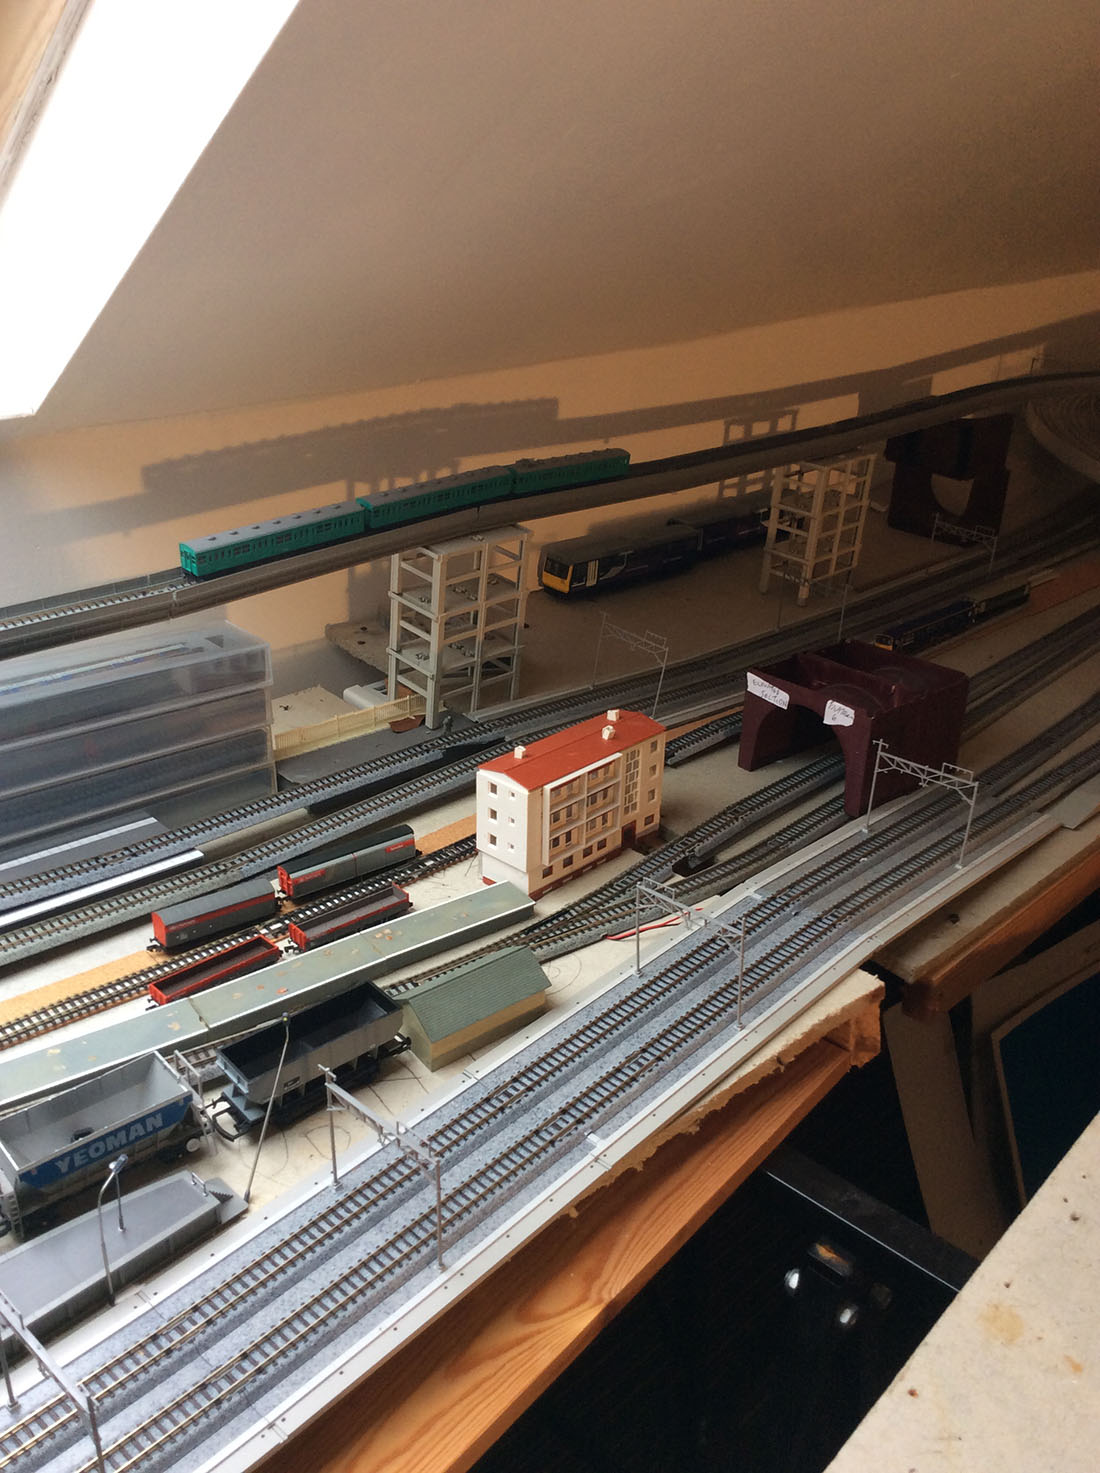
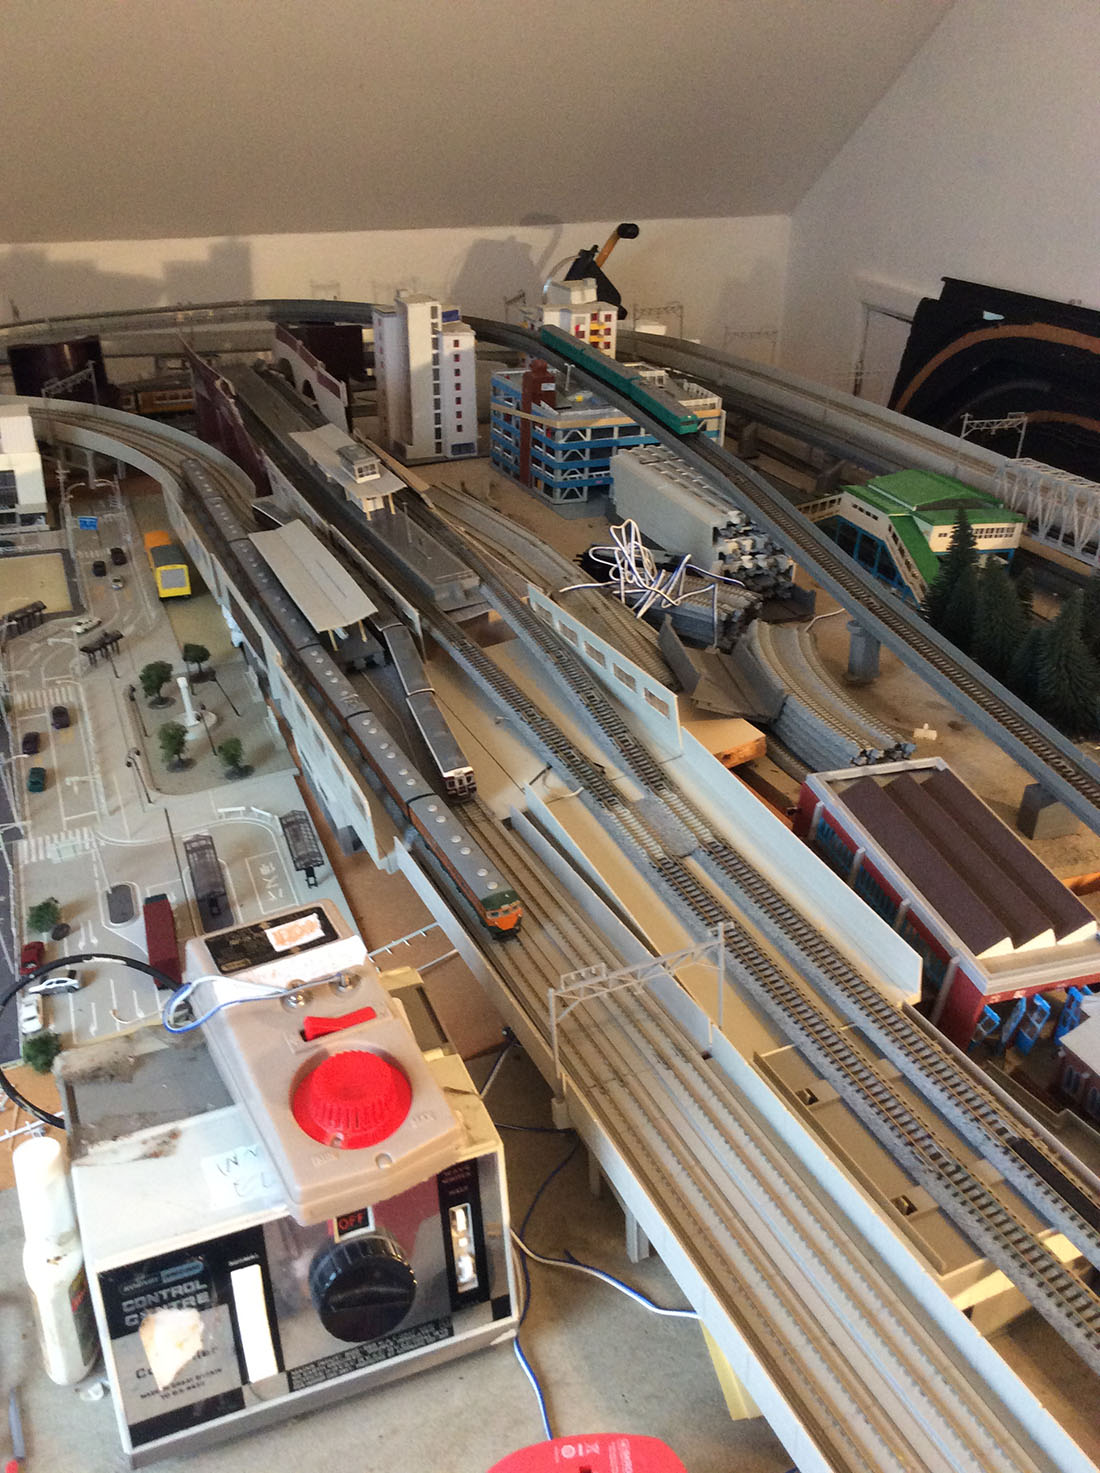
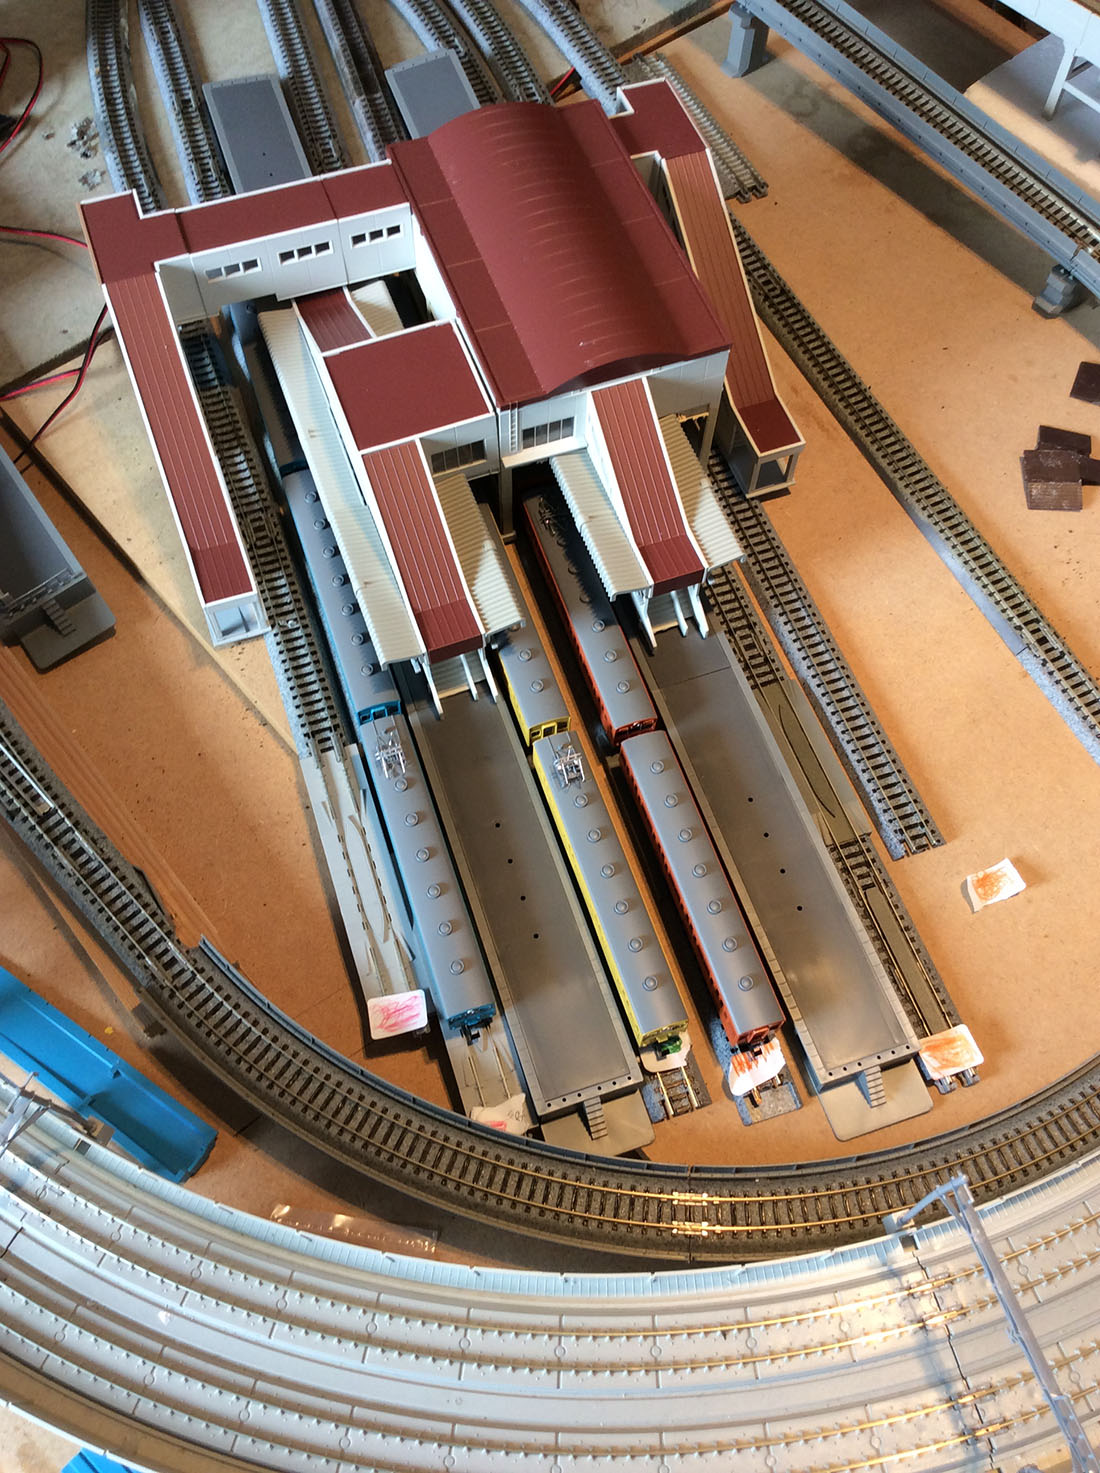
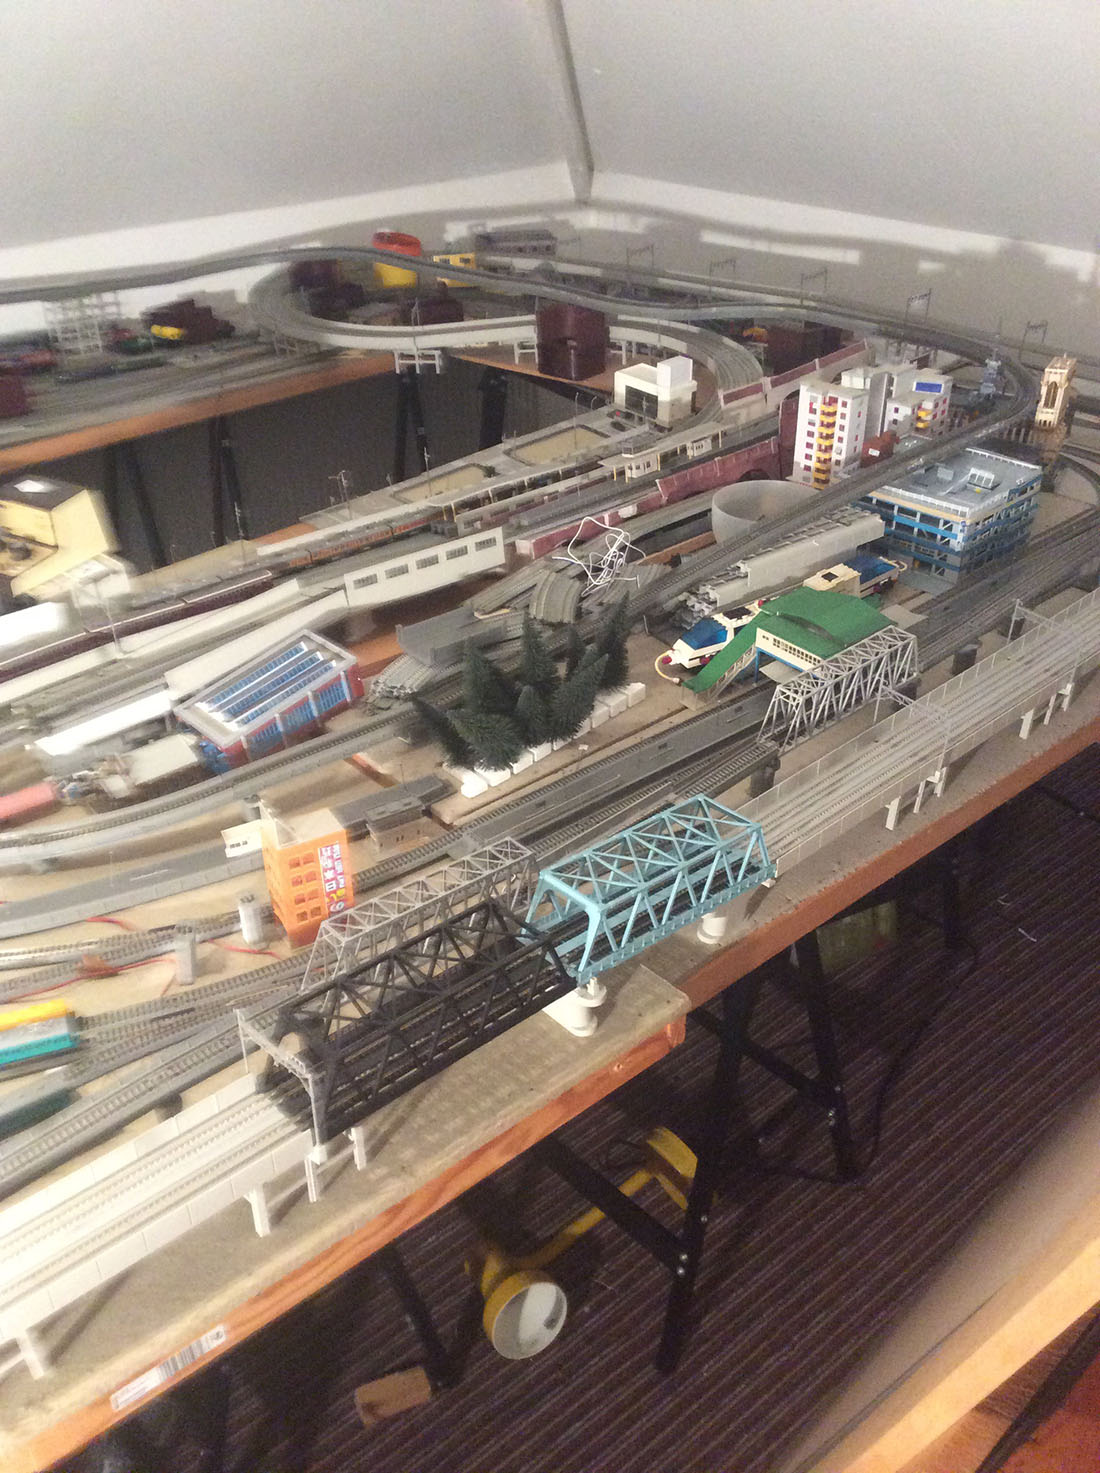
“Hi Al enclosed pictures of my newly erected elevated Kato with the cheap Kato unit in dark green ascending and descending.
As you can see a mix of all sorts all mixed up but as Dangerous Dave commented, as long as you enjoy it forget the purists.
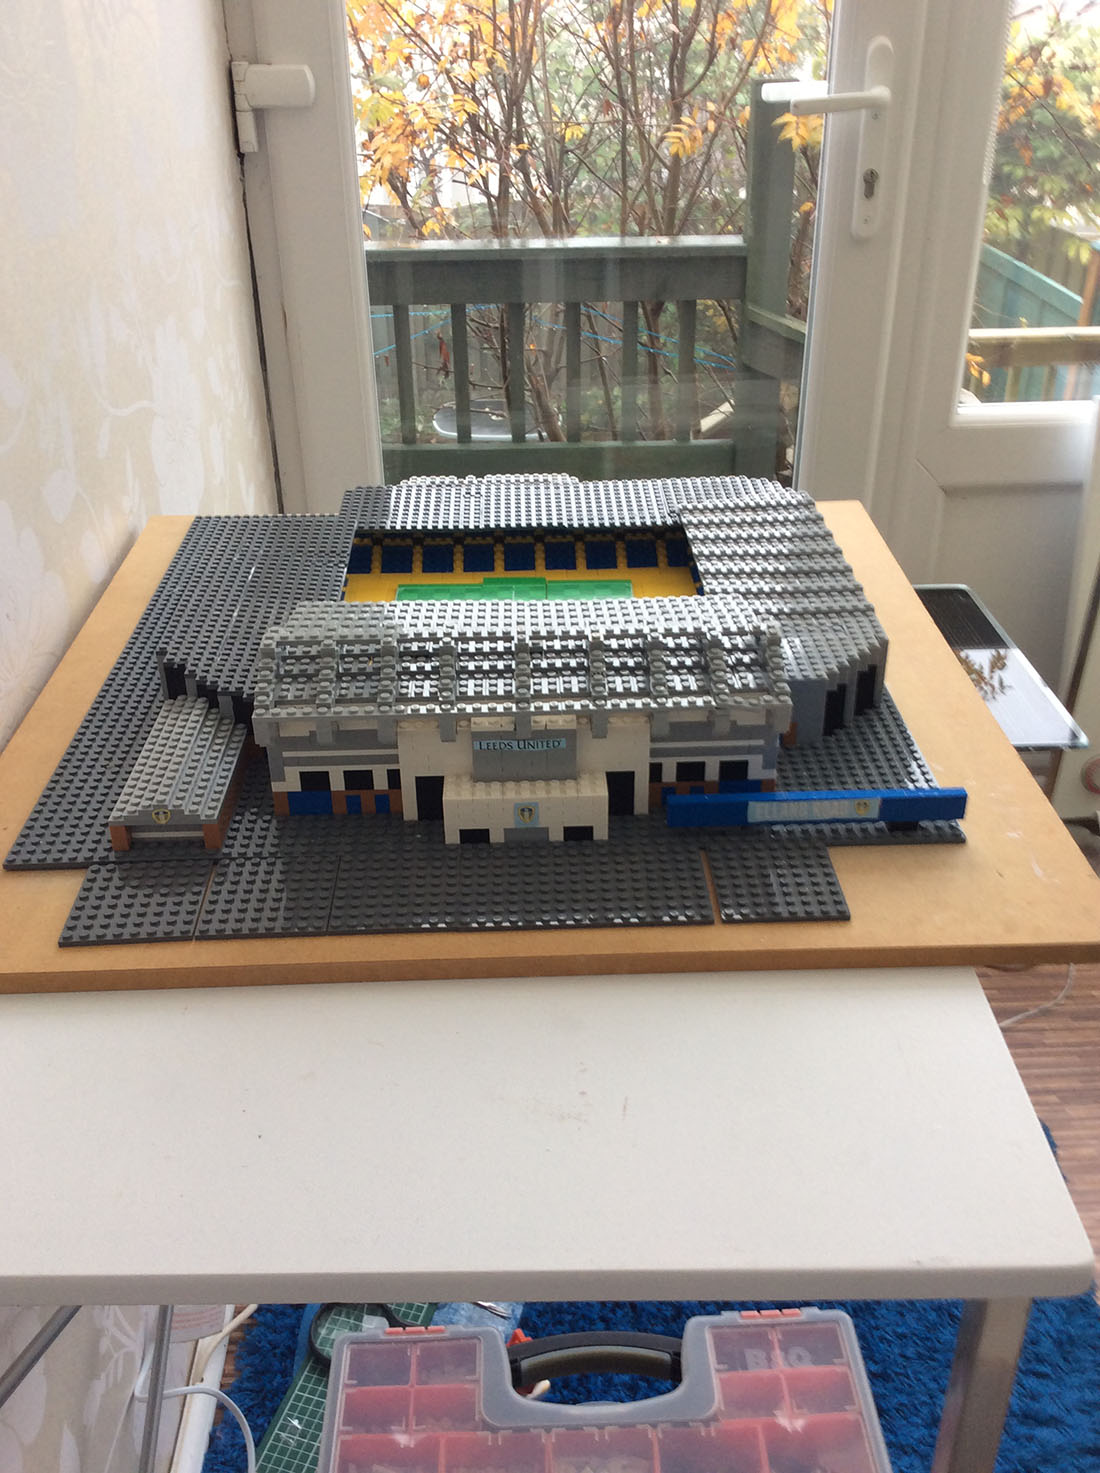
Also I have just built my local Leeds United ground in Lego – 4000 pieces and because planning permission from my wife has been declined it will be in the loft with the Kato layout.
Hope you can display
Alan in uk”
Alan’s lego stadium really did make me smile.
If you have any thoughts on having fun, and ignoring the purists, I’d love to hear them – please do post a comment below.
Everbody is different when it comes to enjoyment. I know some of you don’t concern yourselves with any scenery at all, and are perfectly content just running trains.
Other just throw themselves into the scnenery side of things, and effectively create large dioramas.
But do you know what? Both are fine. Both are fun. It’s your layout, do as you please…
Personally, I’m all for some model train fun whatever that may be.
That’s all for today, folks.
Please do keep ’em coming.
It’s become very thin on the ground all of a sudden this end.
And if today is the day you stop dreaming, and start doing, don’t forget the Beginner’s Guide is here.
I know I keep saying it, but it’s the start that stops most people.
Idaho USA Dec 31 2020 — Owners of the Damnit2 scenic railroad announced today that would cease effective Jan 1 2021.
The action affects all aspects of the railroad which began in 2018. Officials blamed it on the current Covid 19 virus and said state and local regulations made it impossibe to continue. The rolling stock and structures are expected to be auctioned off in Februrary.
THE HISTORY
The railroad, originally part of the NW route, was built at the turn of the century to haul freight over the Siskiyou Mountains between Saracemento California and Portland Oregon.
During construction it suffered major delays and cost over-runs due to frequent strikes by workers. Work during this period resulted in sub-standard construction leading to washouts, bridge failures and a tendancy for trains to fall off the track once in a while. Officials called them minor problems.
A bypass route was built to the east of the previous route in the late 1920s providing easier grades and lower mountain ranges and the original line was shut down completely in the 1930’s and went though several owners during the remaining years of the 20 th century.
During that time the maintenance of way department, with a reduced staff, attempted to make repairs to the famous Hurry Tunnel which wound itls way through a 30 mile mountain section. While the tunnel still exists, rock falls and lack of maintenance has made it dangerous to travel.
An earthquake caused by blasting in an attempt to eliminate part of the tunnel, destroyed the round-house at the bottom of the hill and permanently damaged the turntable in the
rail yard. Although repairs were made to the roundhouse and out buildings, most sat vacant until 2018 when the entire operation was purchased by Damnit Limited.
THE PLAN
Damnit Limited decided to use the track, land, and buildings for a scenic passsenger railroad operation and proceeded to acquire used cars from the Southern Pacific, Northern Pacifc, Great Northern Railroads, which were legacy lines in the area. They were refurbished and staged in the valley to await weekend railroaders.
The company managed to obtain the Southern Pacific’s famous Shasta Daylight passenger train with its unique triple unit dining, kitchen, coffee shop car and billed it as the most beautiful train in the world.
It was determined later that the cars required a minimum of 22 inch radius track and could not handle the sharp 18 inch track. It was written off and still remains on a siding having never made a journey on the Damnit 2.
“The idea”, said railroad president Terry Miller, “was to recreated the hey-day of passenger travel and run the individual trains from the main station in the valley to what had become a ruined ghost town at the top of the mountain.”
“we expect our visitors to experience the thrills and chills of the route, have dinner on the train and then return to the valley later in the evening. Our plans included a ski train for winter travel and excursions” said Miller.
Initial response was positive, however the cost of the Shasta Dayling along with the 2020 shutdown of the country and later strict rules governing gatherings by the public due to Covid–19 produced no revenue and left the company teetering on bankruptcy.
THE SPIN
In an attempt to over come that, the company turned to land sales in a large valley south of the railroad operation. It was developed to hold the excess train cars (“if they cant ride the Shasta they can at least walk through it” Miller complained).
To generate money, they create a new modern town. Initial sales of lots and land were brisk based on pictures of the area supplied by the railroad featuring modern buildings, shops,
stores, etc.
An on-site visit to the valley however revealed the Damnit2 company had purchased old one-sided building fronts used in making Hollywood movies and propped them up on the bare property to give it the appearance of a fully operating community.
Potential investors also noticed the absence of any trees, bushes,,etc anywhere in the valley or on the mountain sides.
Promoters were quick to explained passengers were riding on history because all the trees had been cut down during the original building of the track and used as sleepers for the rails “They’ll grow back” was the official explanation and the unobstructed view from the train was touted as not “having anything in the way to block the view”.
Also an advantage, according to the railroad “There is absolutely no surface water, water falls, ponds etc because water needs would be drawn from a purported underground aquifer thus avoiding potential water hazards and eliminating mosquitos during the summer and ice skating accidents during the winter. There was no aquifer.
Several large plastic pelicans and other bird species were installed for aesthetic purposes and pointed out that there was no worry of bird droppings on buildings, statues, or residents.
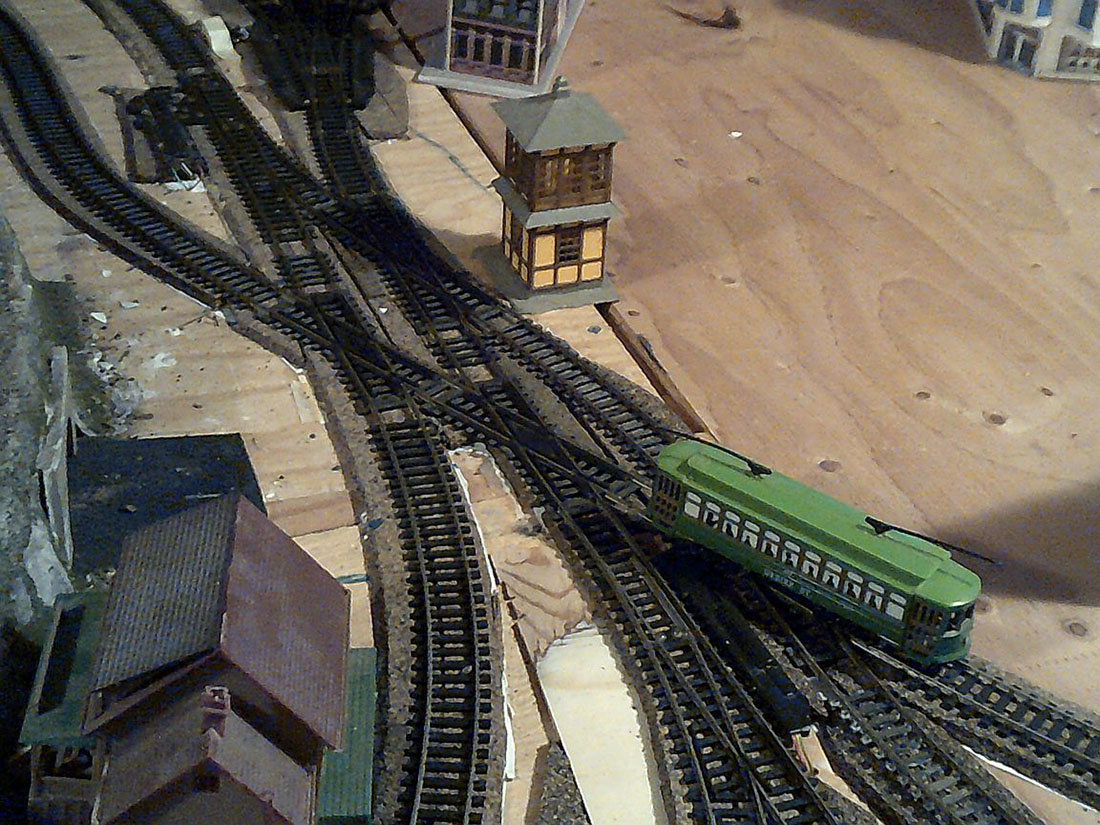
In addition to the bridges, tunnels and viaducts for the track, the new owners decided to construct an interurban line which would take residents from their palatial valley homes to the main railway station at the foot of the mountain.
Because of space and terrain this involved a complex series of track cross-overs and switches at one point which in turn kept engineers on their toes in order to avoid derailment.
That small section came to be know as Hell and several small commercial buildings and way stations were built at the crossing. A large festival complete with bands and banners officially opened the new line with the slogan: “Take the Damnit 2 Hell”
THE TRUTH
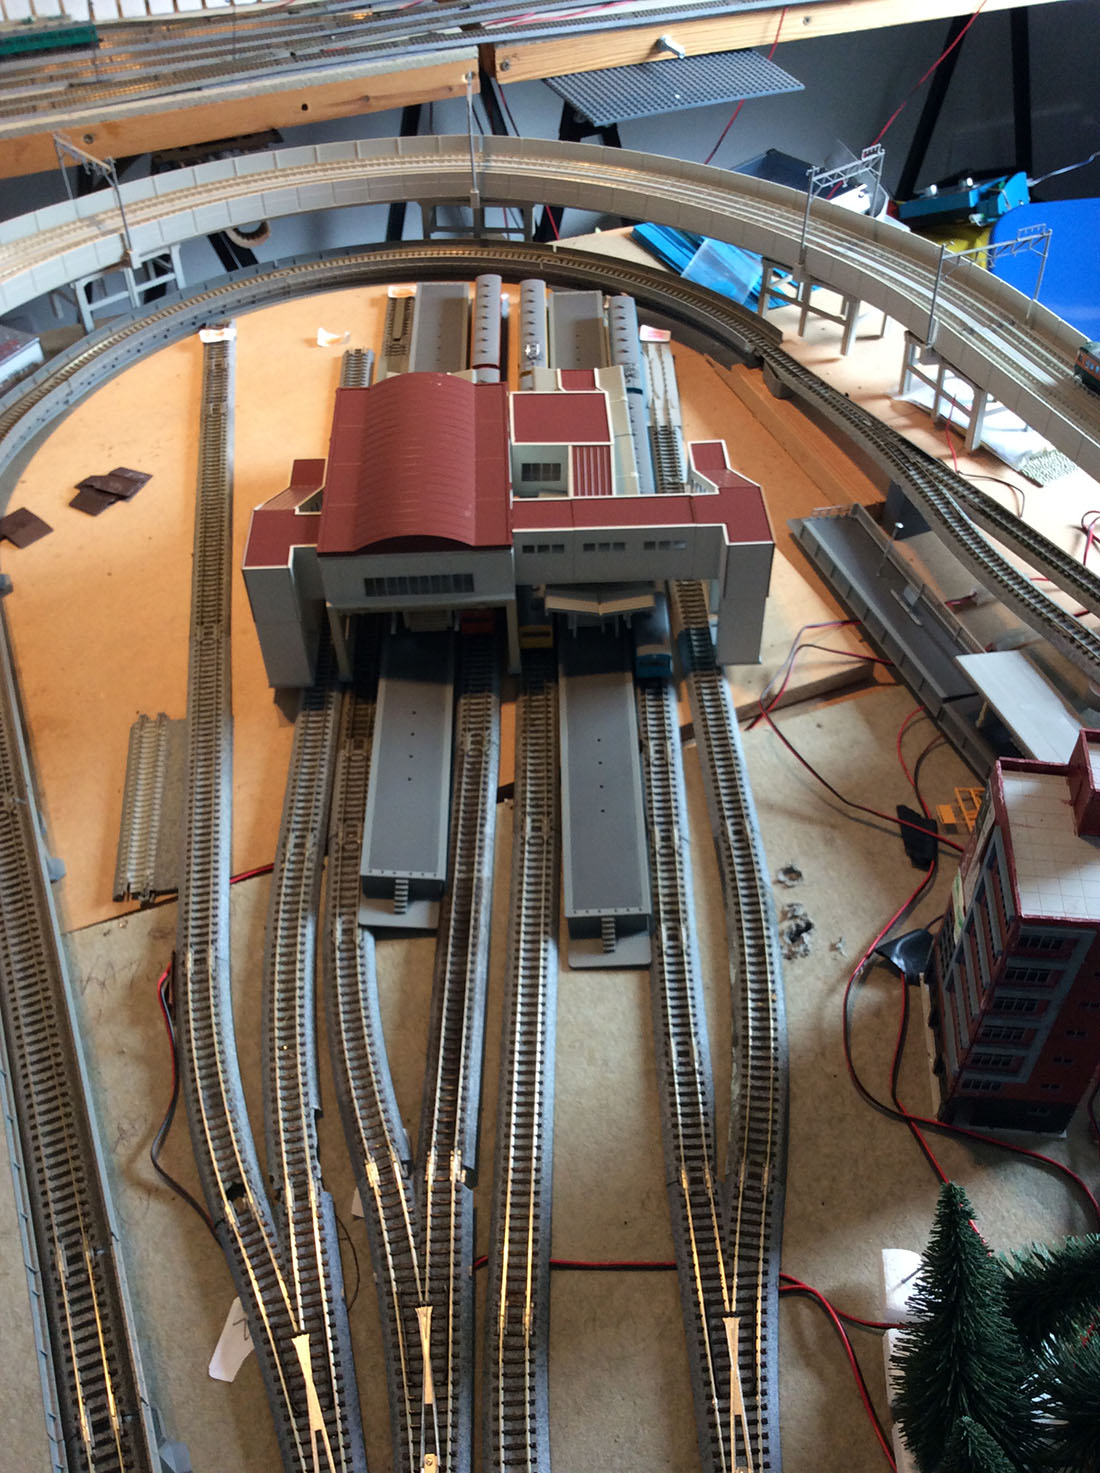
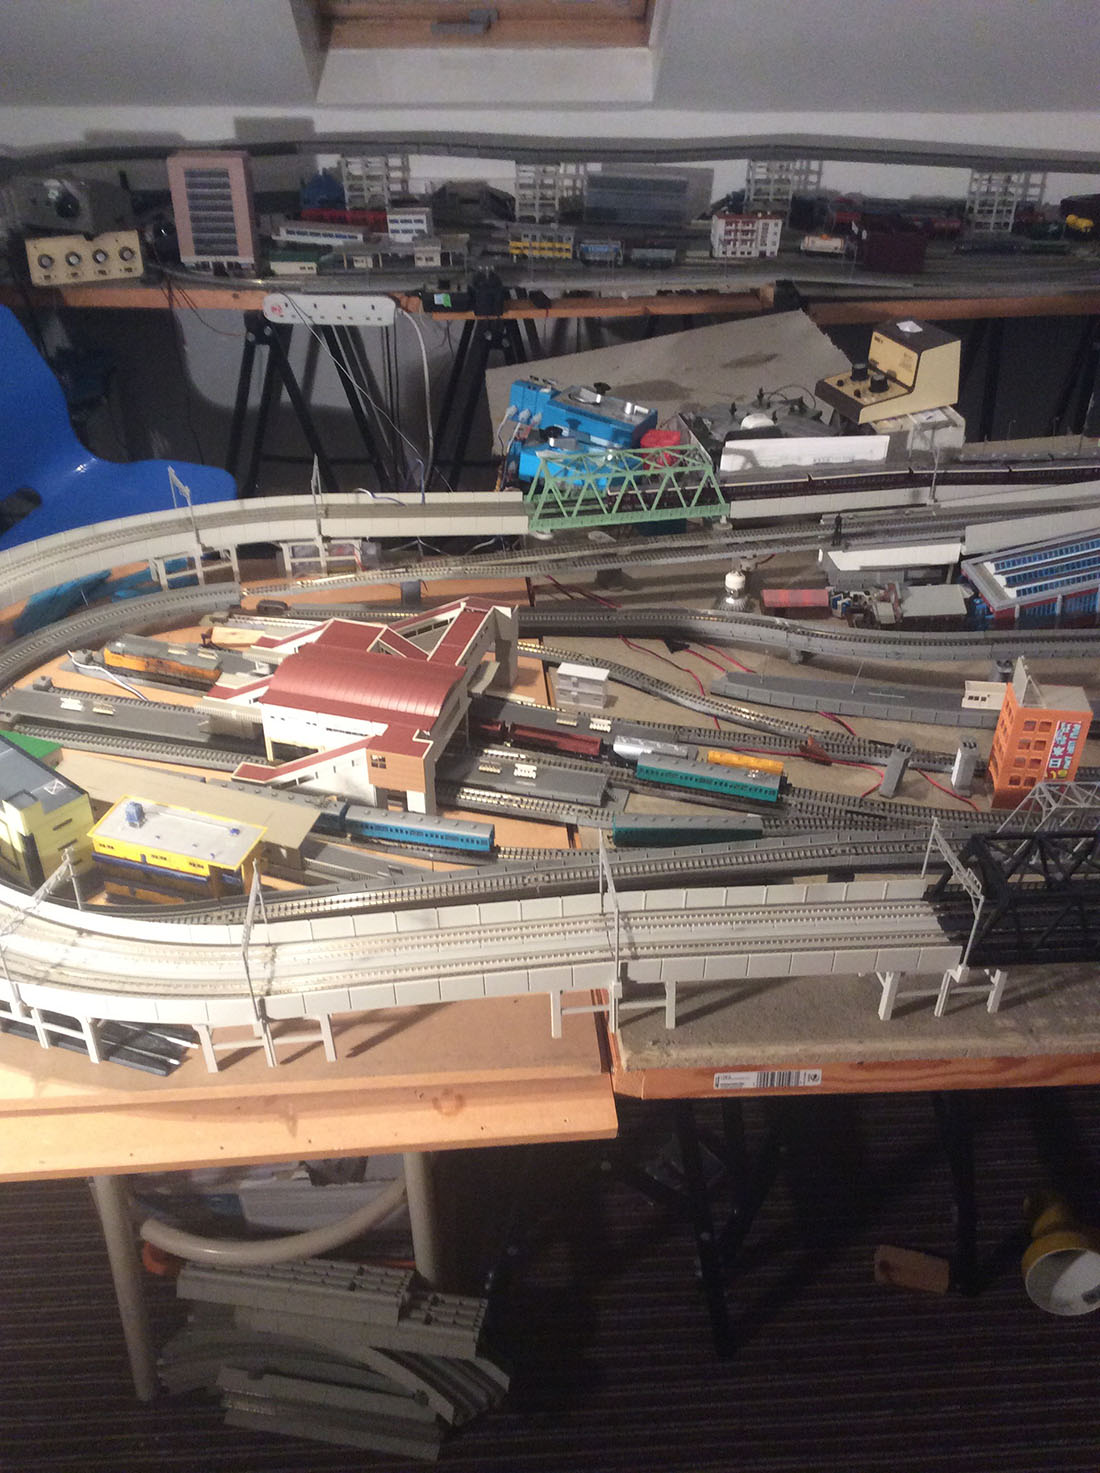
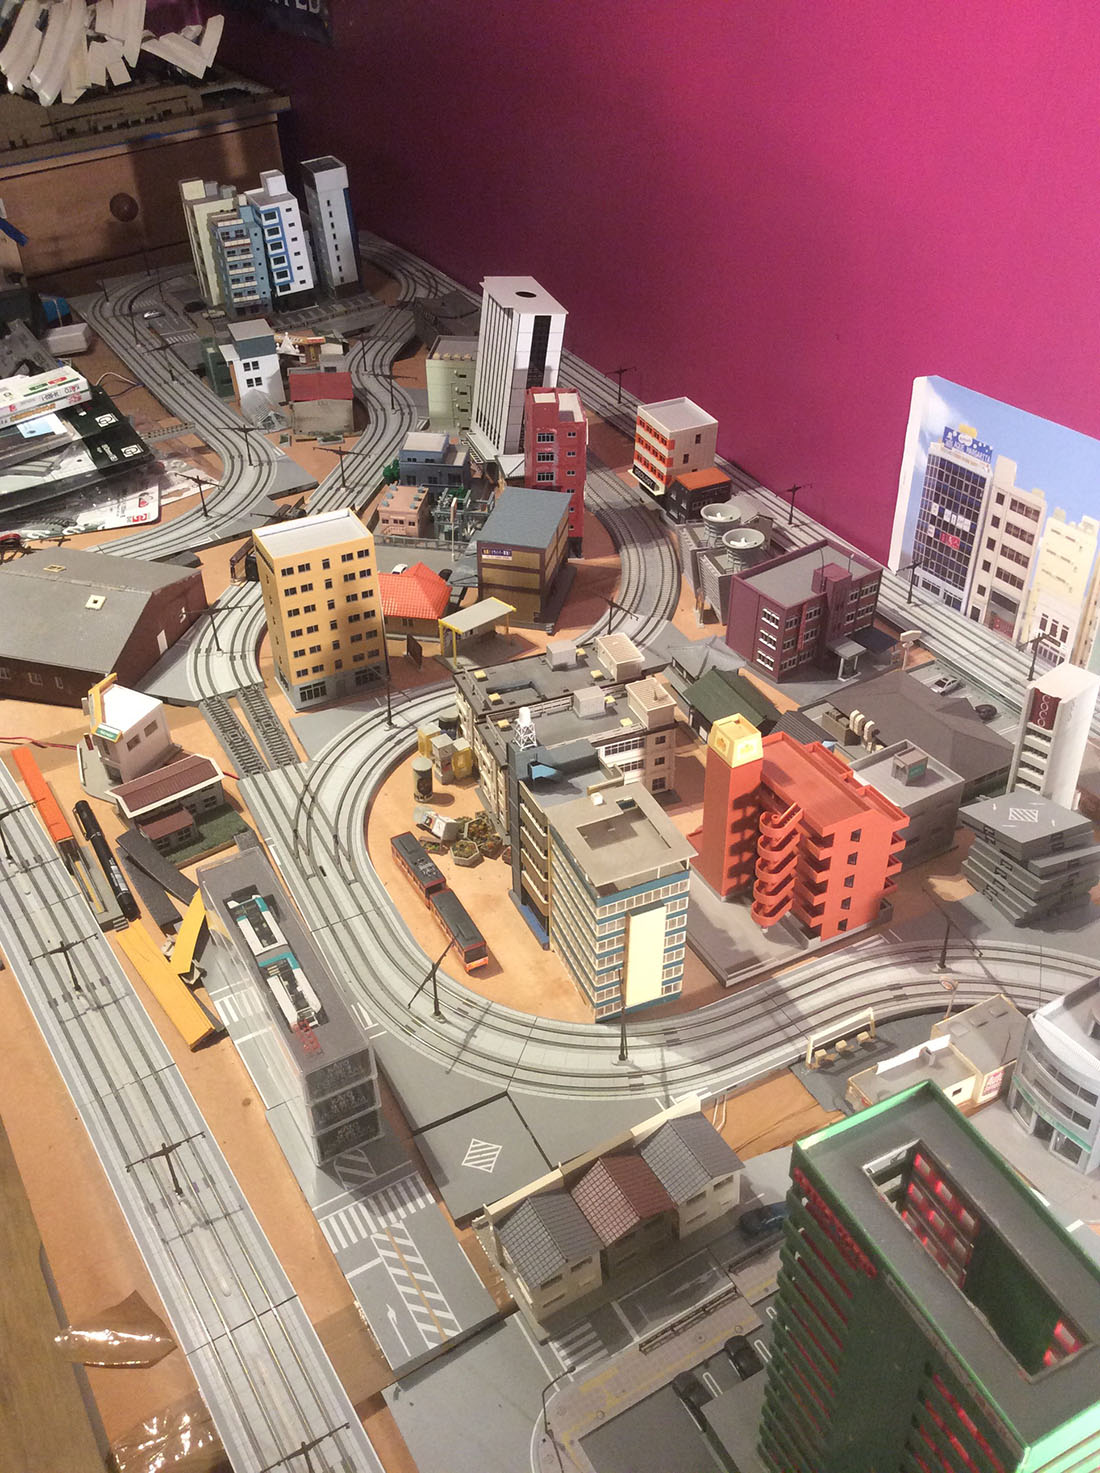
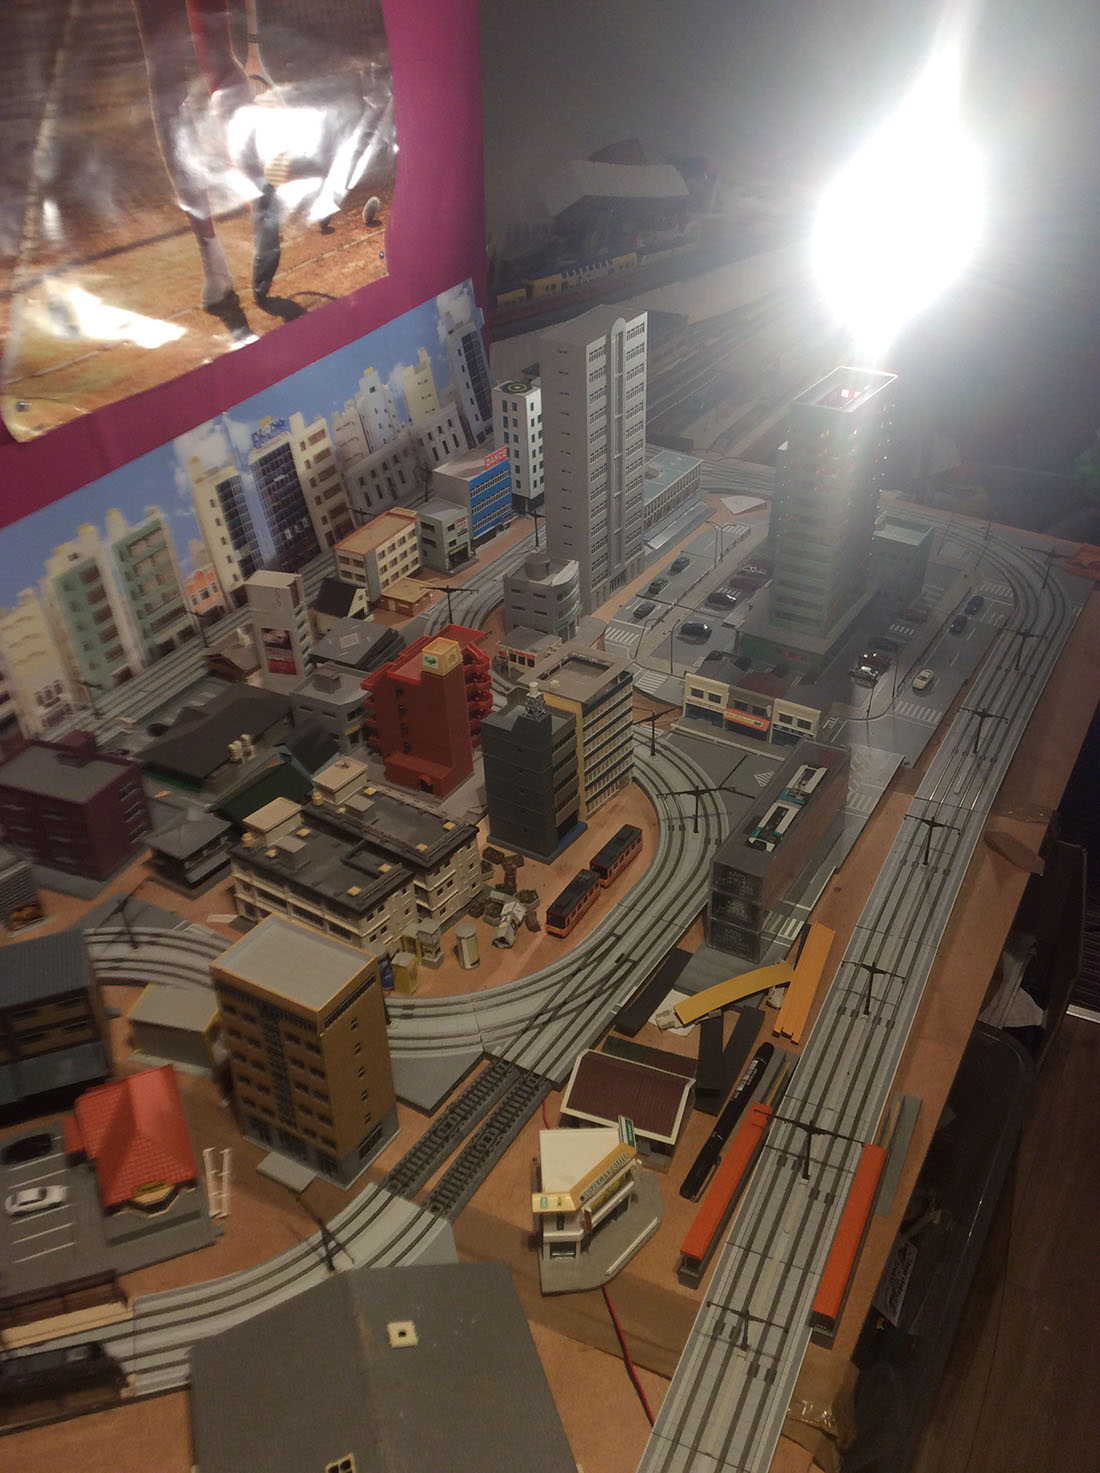
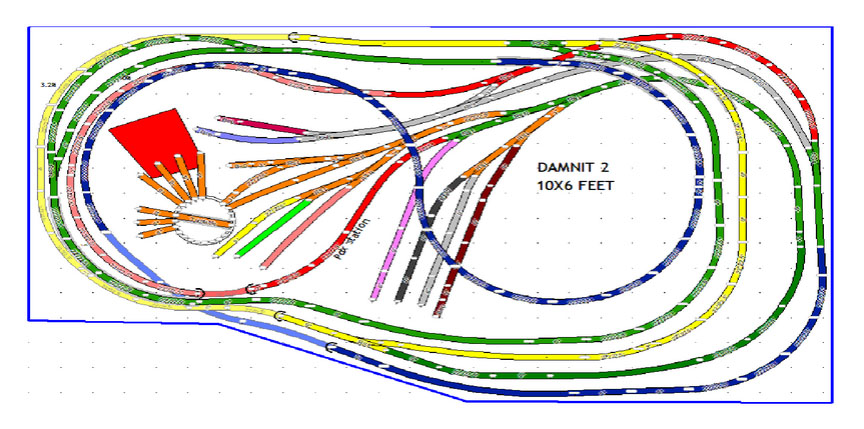
I really did build the Damnit 2 starting in 2018 after many months of track planning.The one requirement was there would never be a reverse loop requiring polarity switches
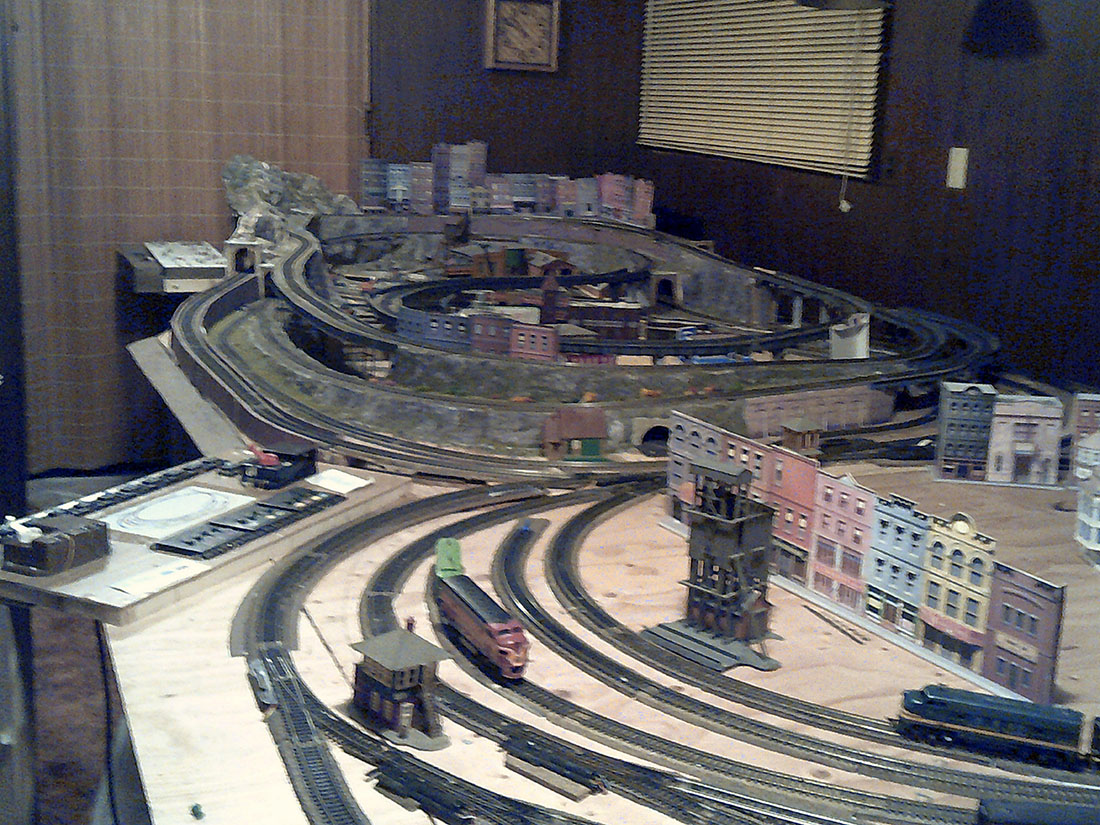
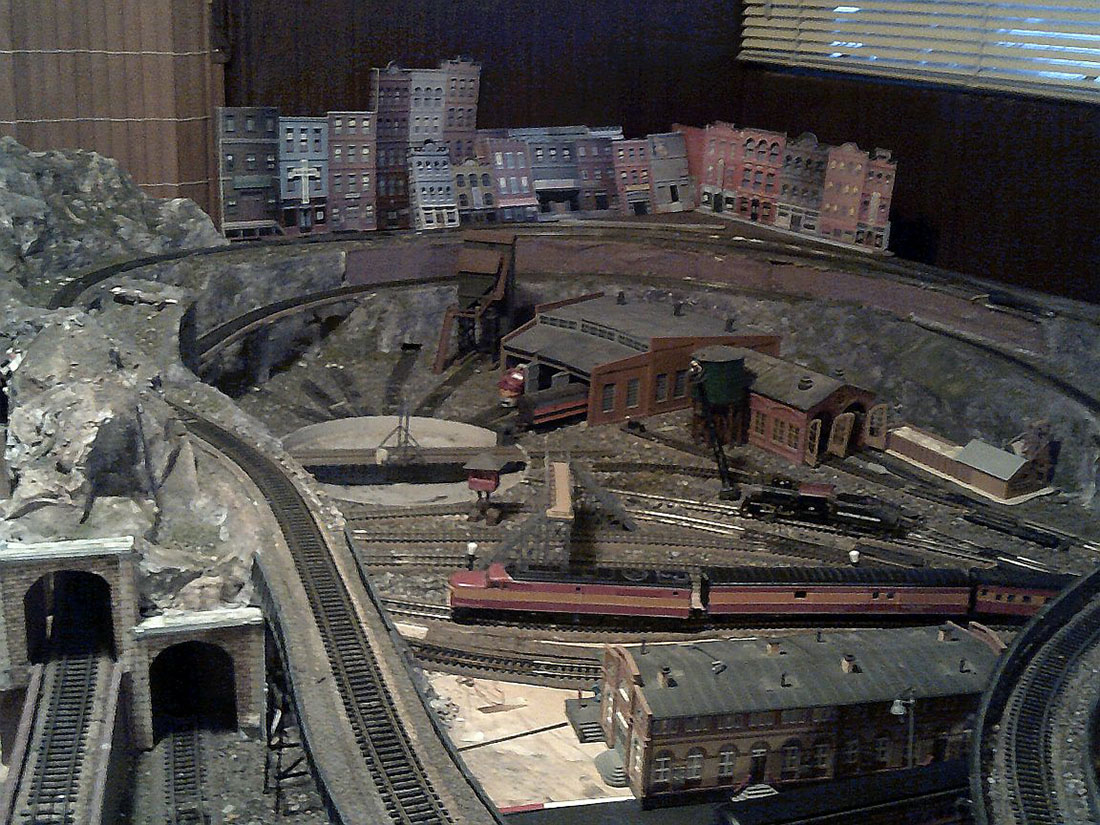
After completing the initial mountain section I realized the railroad really didn’t go anyplace or have a purpose. The original section looked like this:
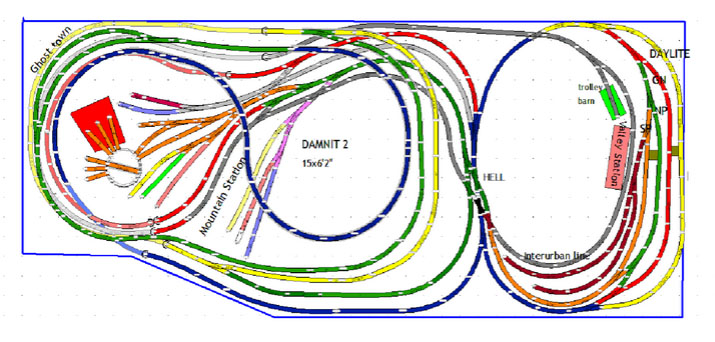
I asked for help and ideas from Al’s followers and got a bunch of ideas and thoughts on my HO scale 15×6, added a 5×10 section and incorporated them into the “valley” section. It now looks like this:
The HO scale 15×6 is DC powered.
The Shasta Daylight story is true and if I had looked at the required radius I wouldn’t have spent a lot of money on the cars.
I believe the triple articulated food unit was the only one of it’s kind on U.S, railroads and there’s nothing more depressing that watching it take a 18 inch curve & fall apart.
I figured the stay-at-home orders during 2020 would allow me enough time to finish the whole layout but frankly I ran out of interest.
I like to create layouts and lay track but running trains and switching cars just doesn’t interest me.
One thing I had never done before was use cross-over track and the ‘hell’ section created space and radius problems I had never experienced before. But it works and although it is a hell of a arrangements, it’s kind of cool.
Terry
Idaho USA”
A big thanks to Terry for sharing his HO scale 15×6 – his ‘news’ story did raise a smile.