Paul’s been in touch with a DC to DCC conversion:
“Hi Al another project completed so I thought I would send some photos and a short video.
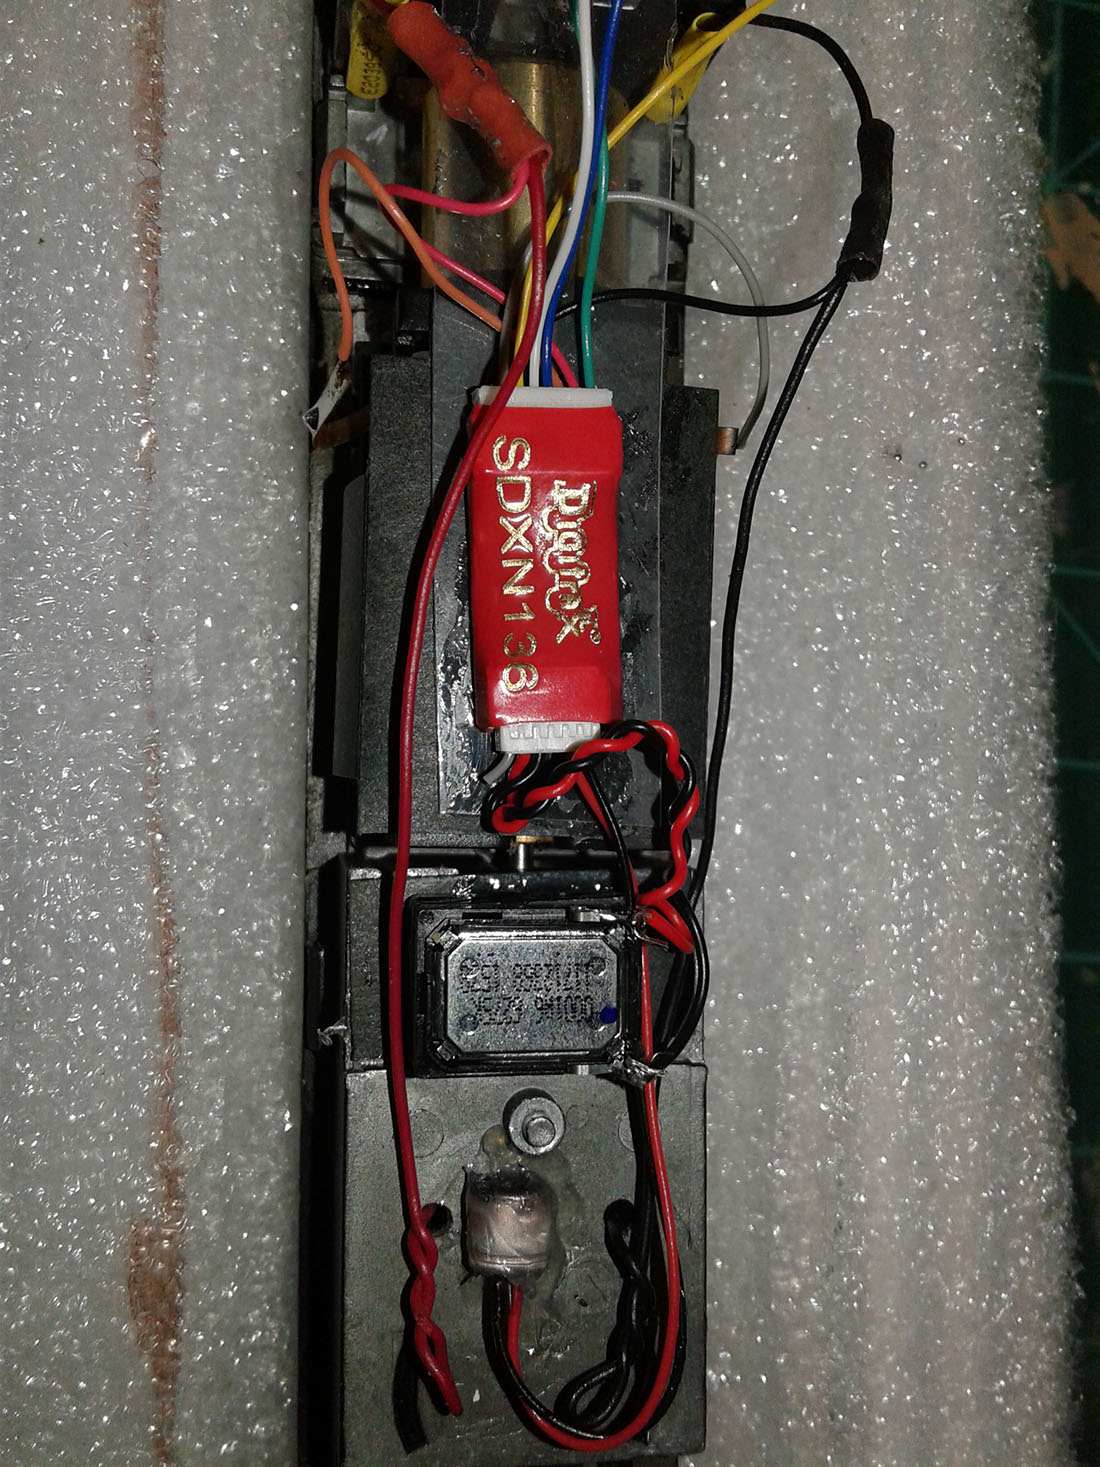
I bought the Doodlebug on Ebay and thought I would convert it from DC to DCC.
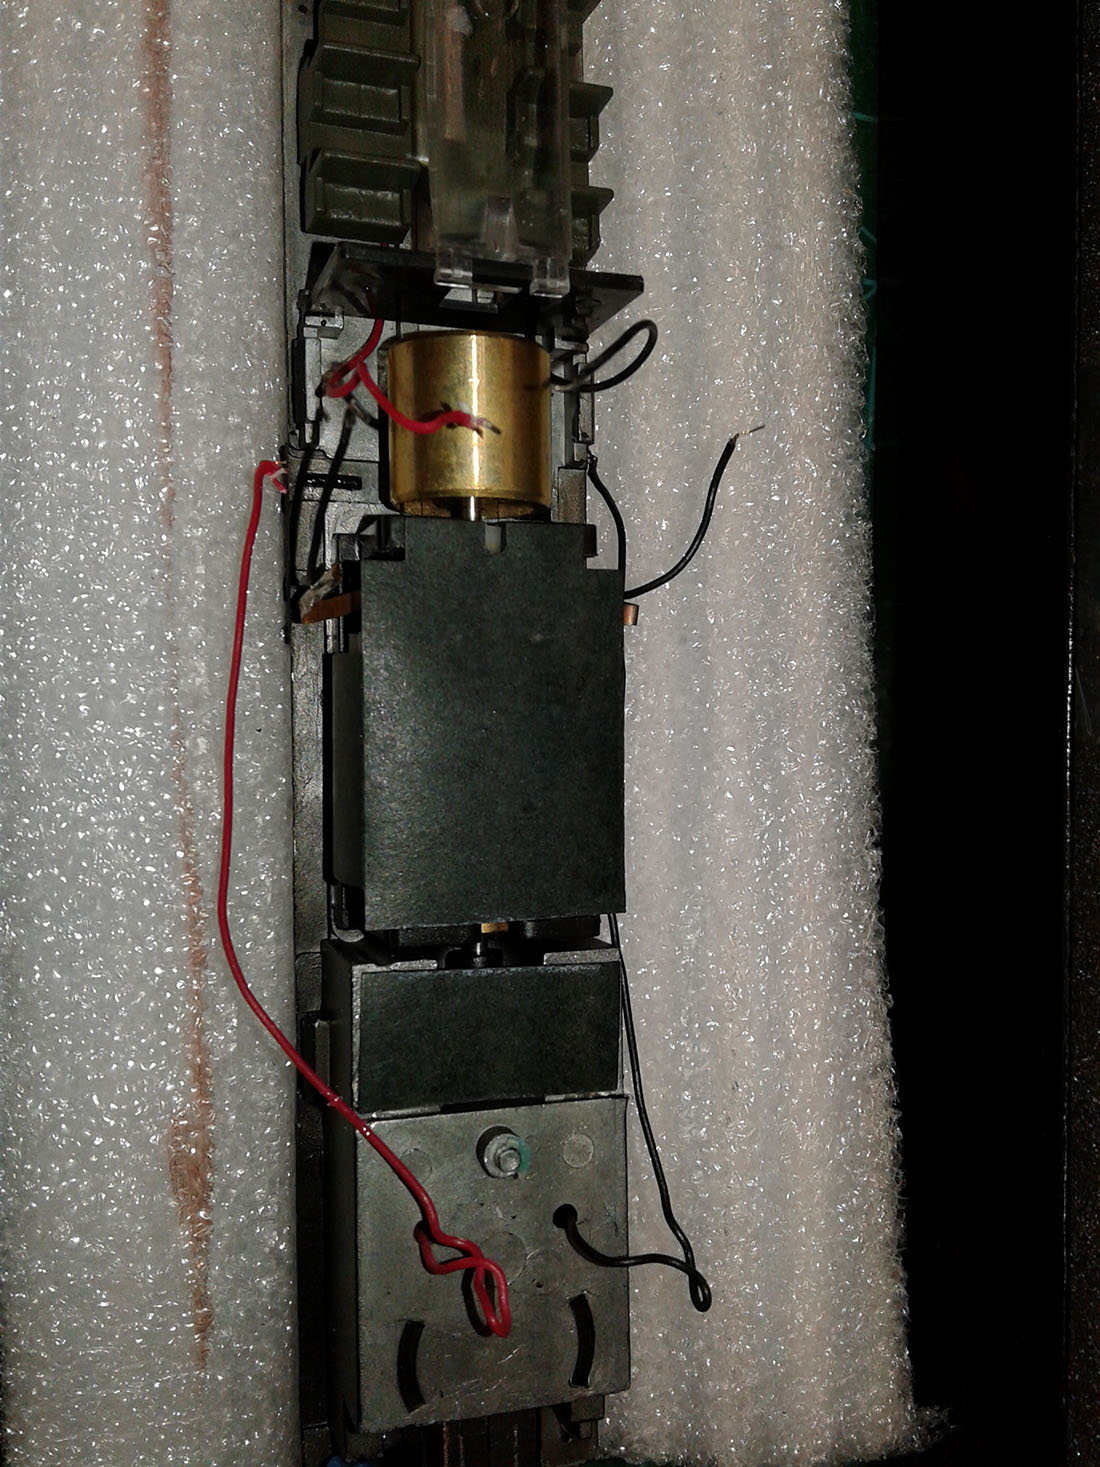
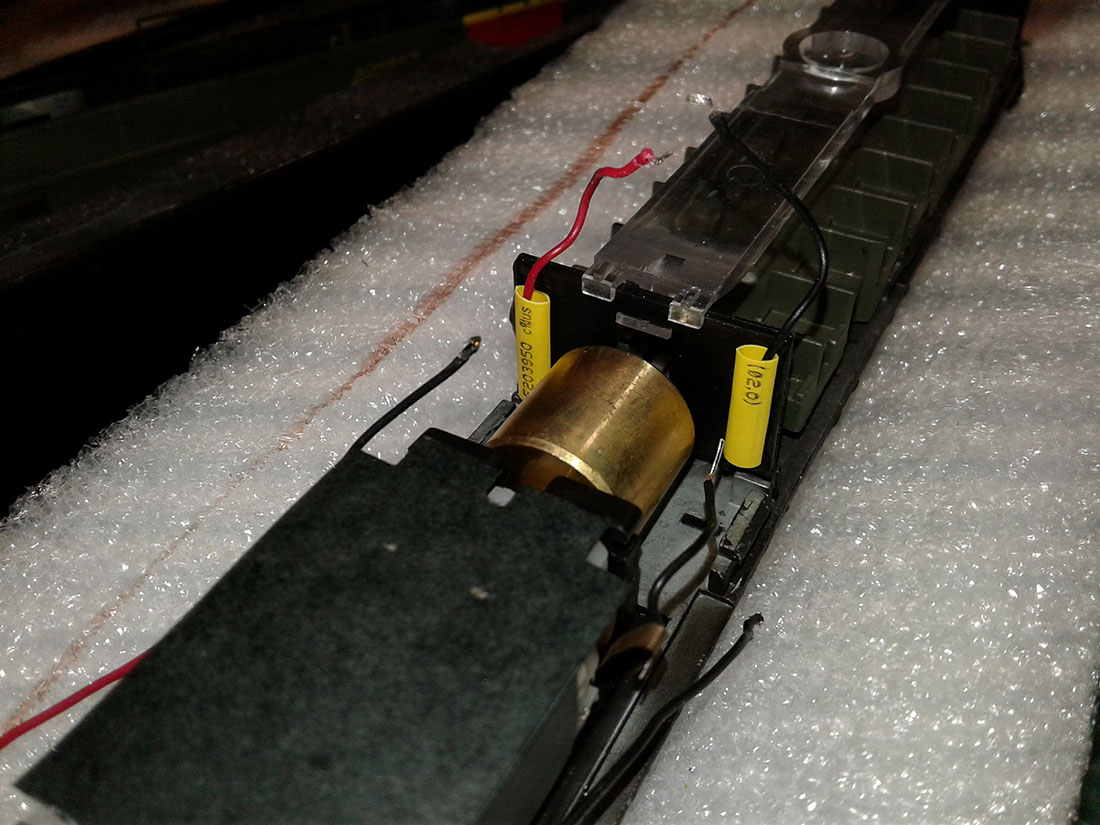
The accompanying photos show what the Bug’s electricals looked like before the conversion and during the process.
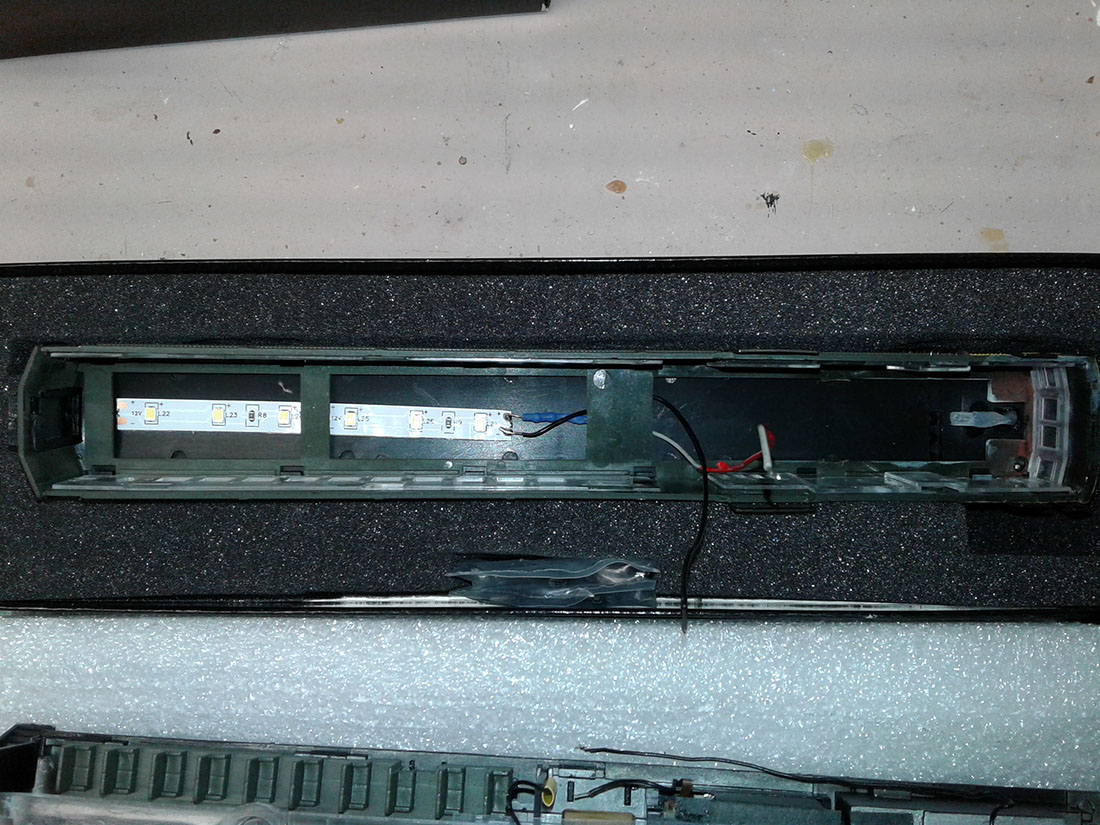
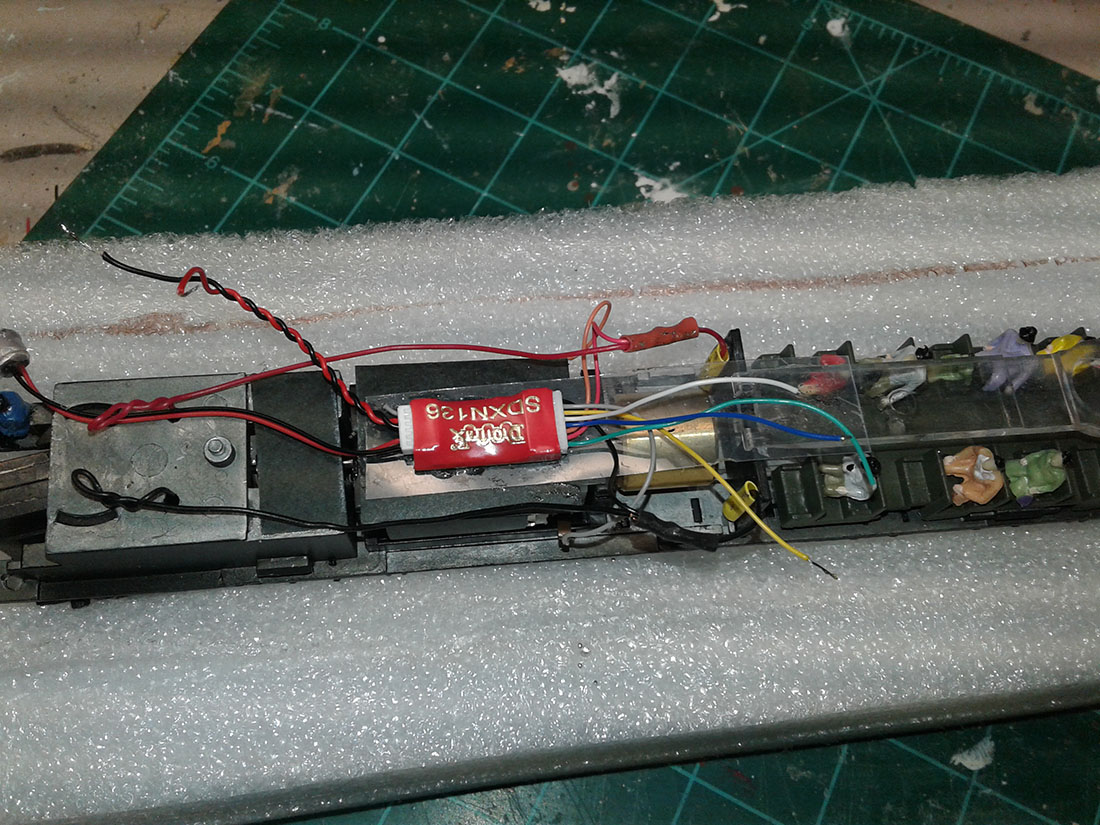
I also converted the headlight over to an LED which also required the addition of a 1000 ohm resistor. I added a stick-on strip of 6 LED lights on the ceiling of the interior cabin to allow the passengers to read at night.
So far no one has complained that the light is too bright. I guess the ones that want to sleep might, but so far I haven’t heard a peep from them.
The decoder I used allows you to choose different horns and bells so I picked the bell that sounds like a trolley since the Bug looks like one.
The speaker is the sugarcube type 11X15 mm.
Hope you enjoy the photos and video.
The colors in the video didn’t come out as vivid as I had hoped using my phone.
Paul”
I know Paul’s camera is a bit shaky, but thought it worth showing the video too:
Latest ebay cheat sheet is here.
You can see Paul’s last post here.
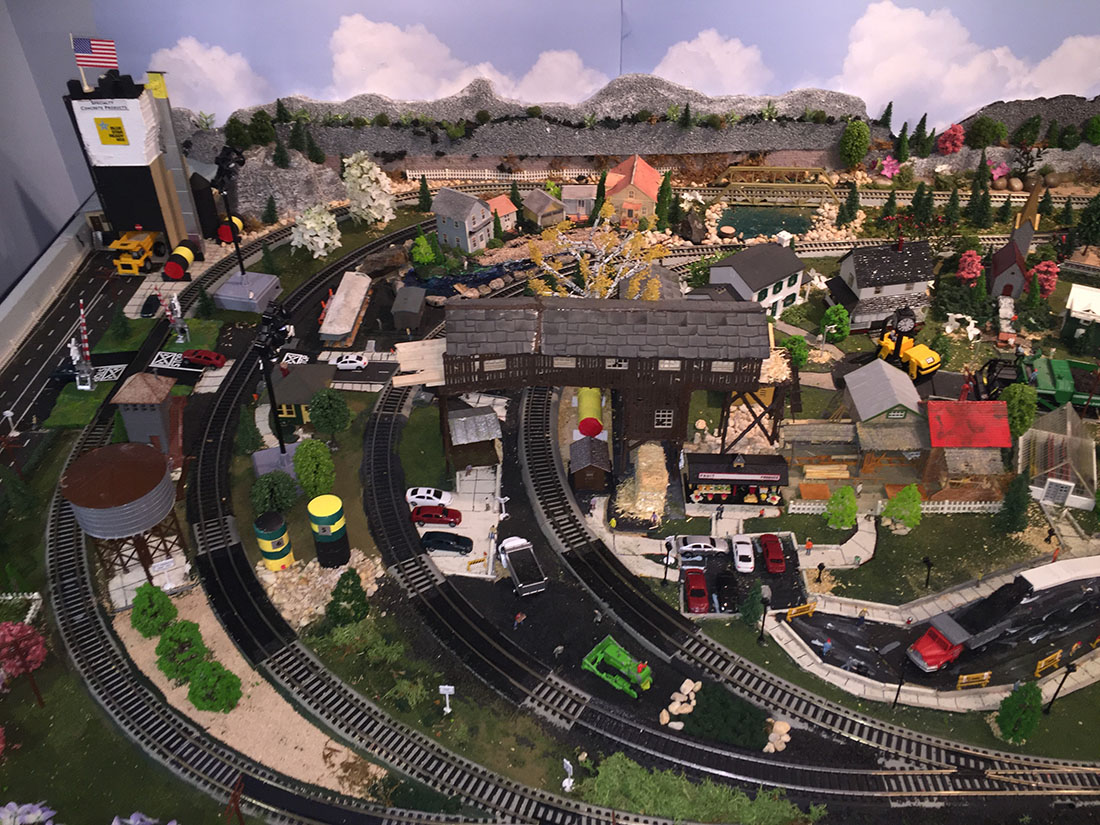
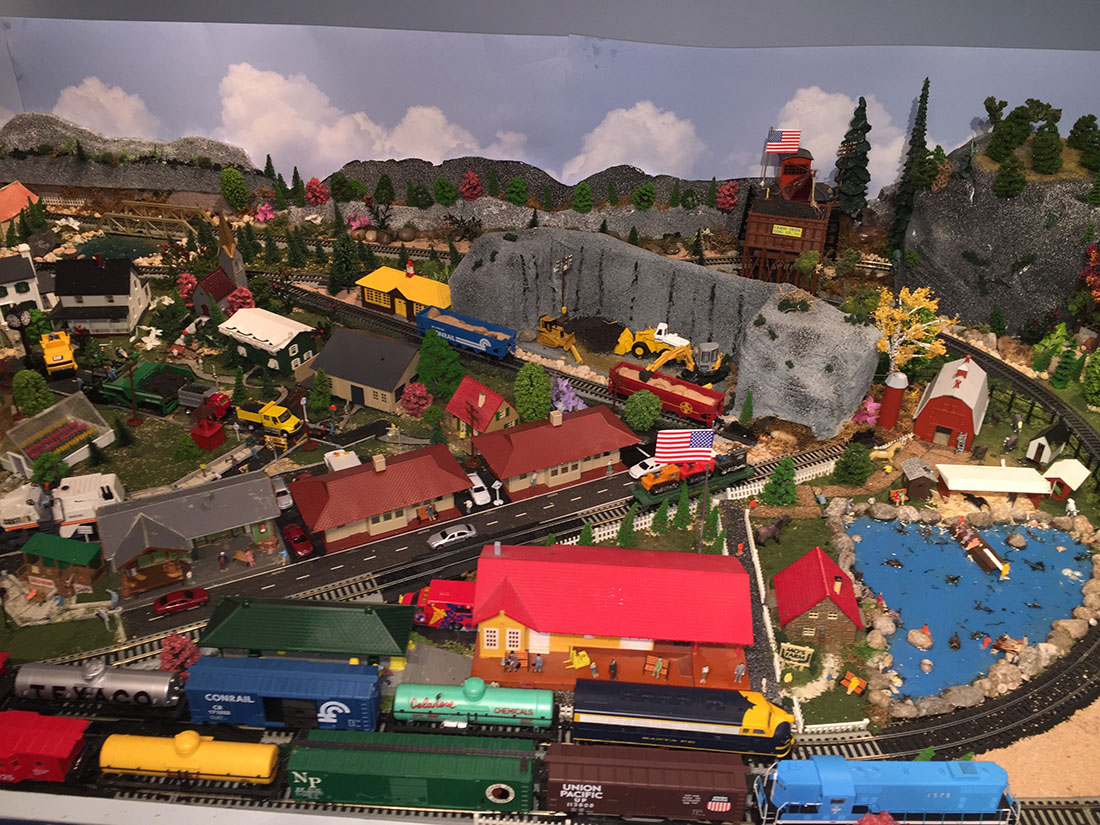
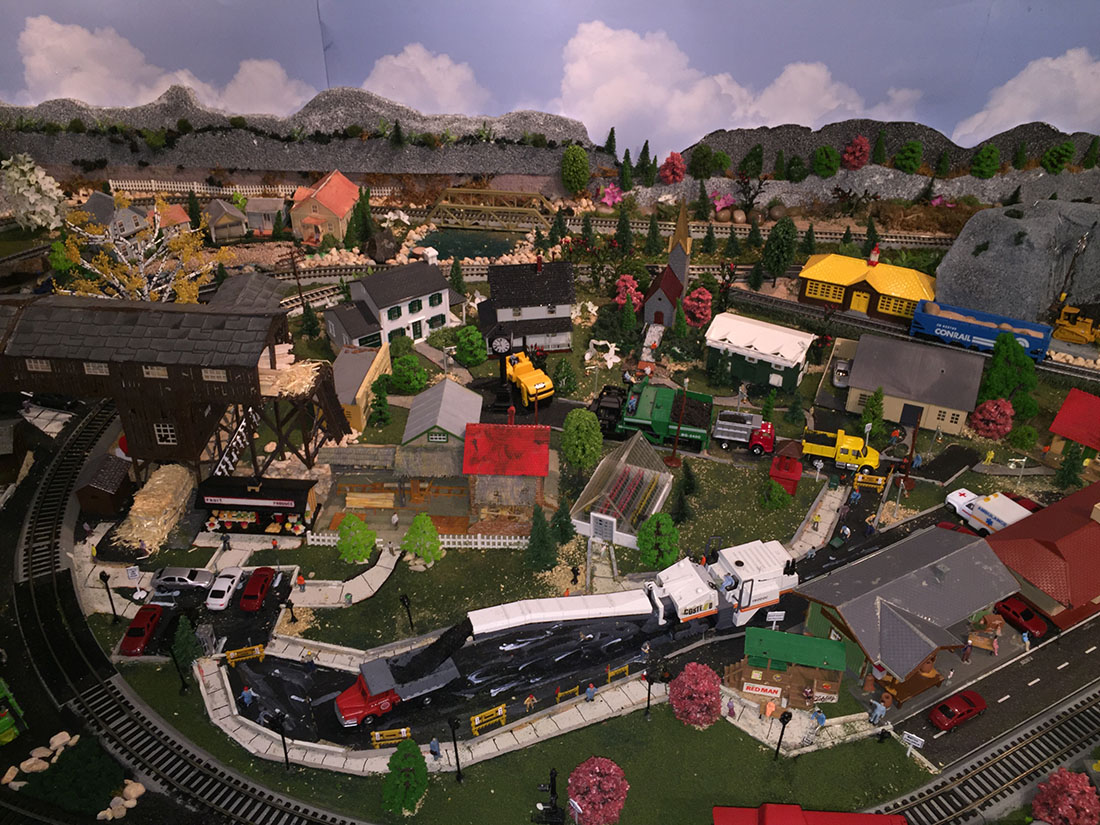
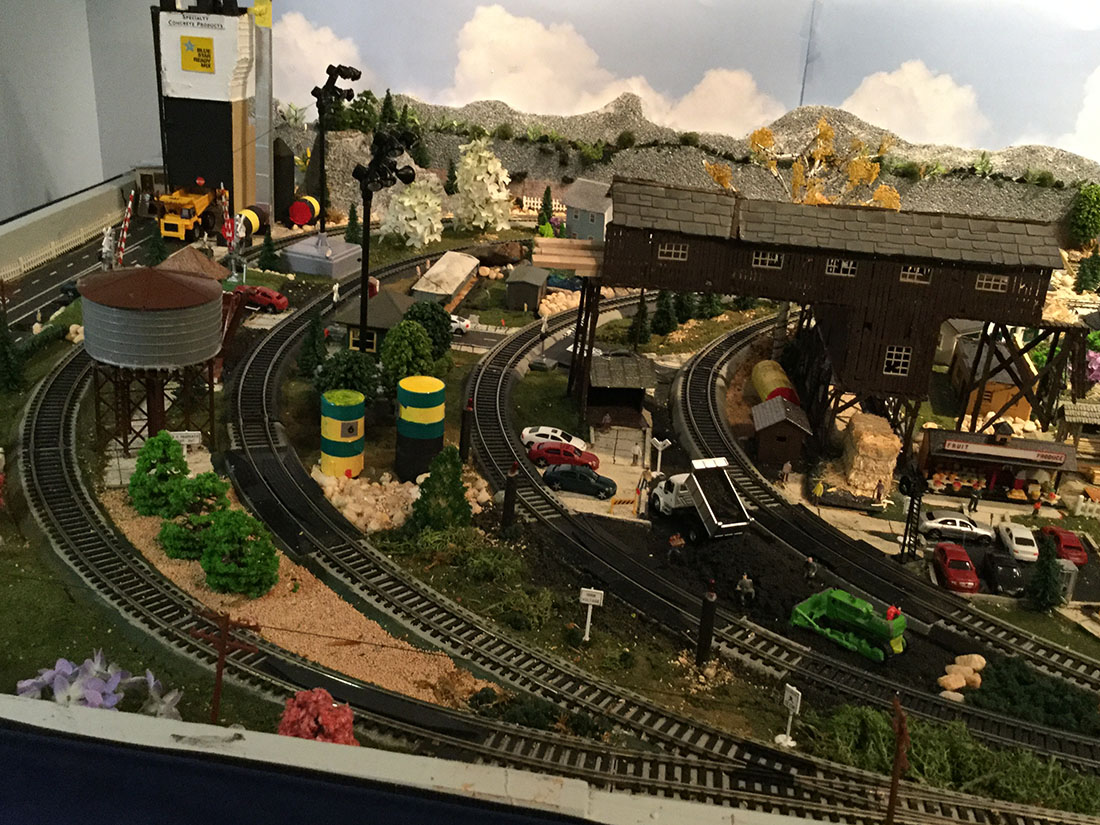
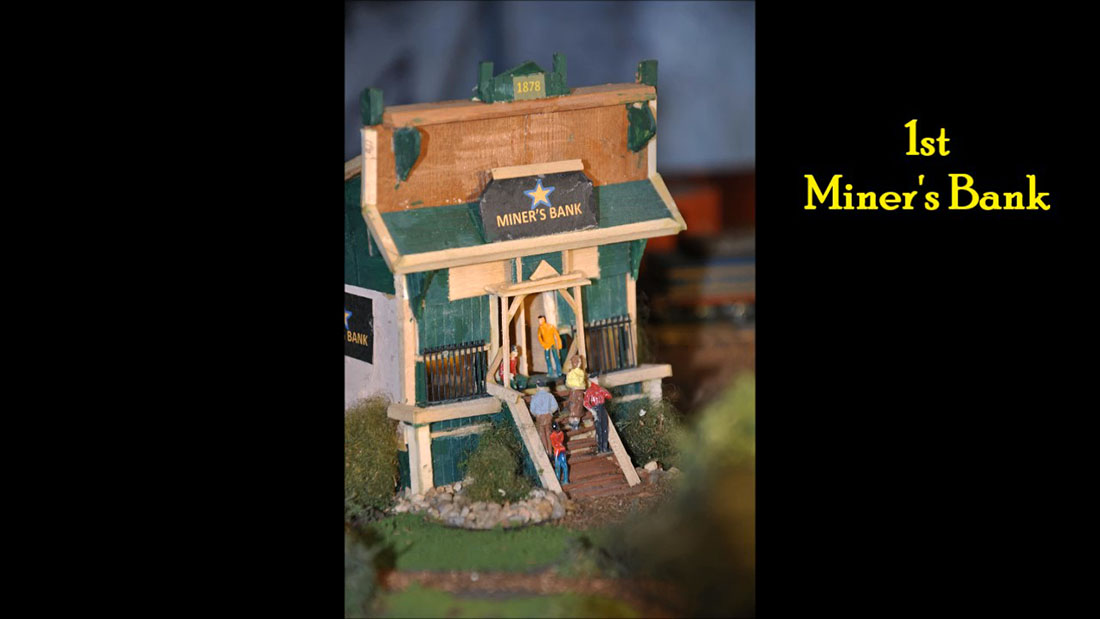
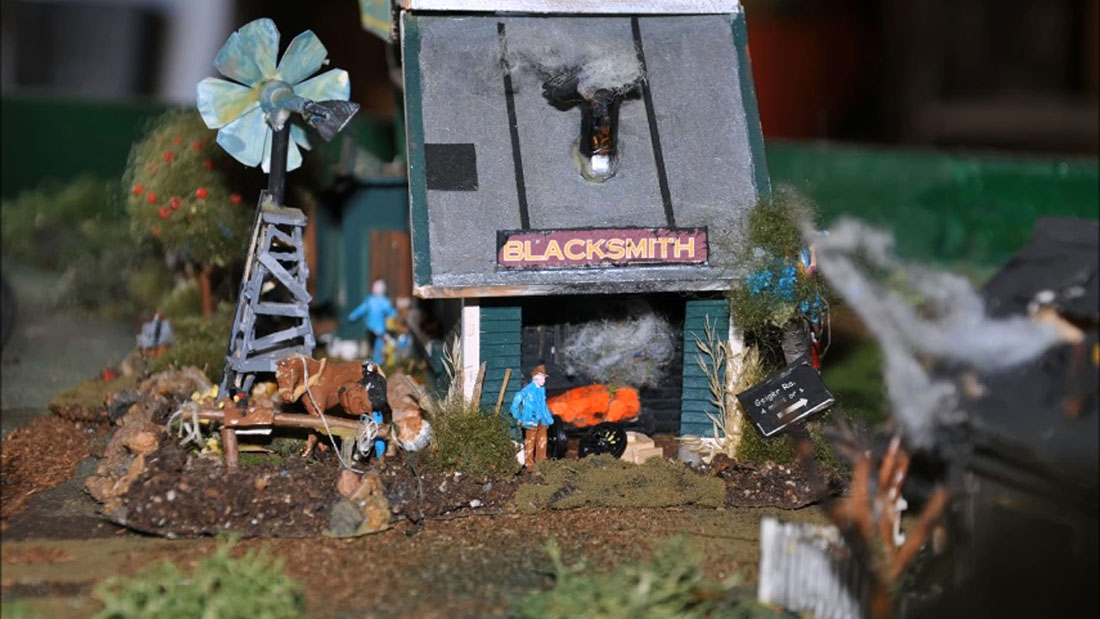
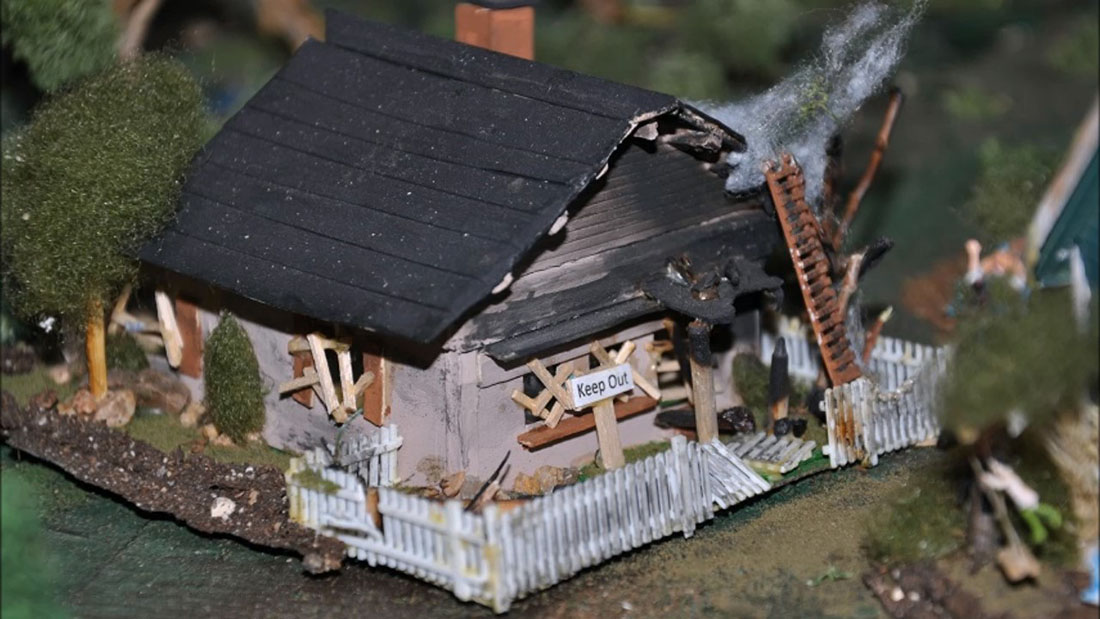
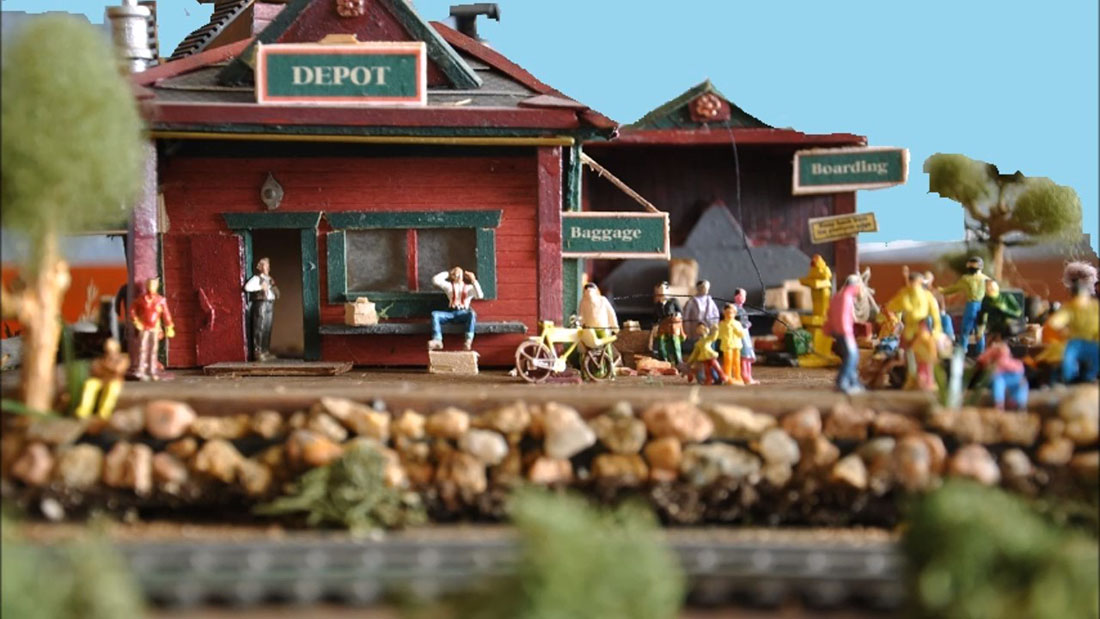
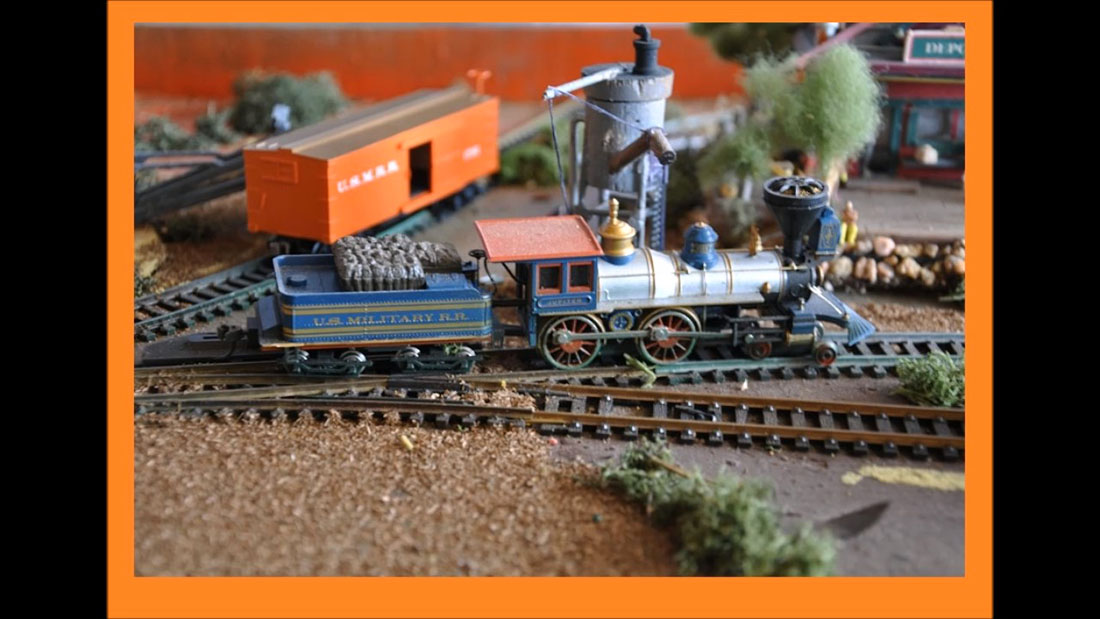
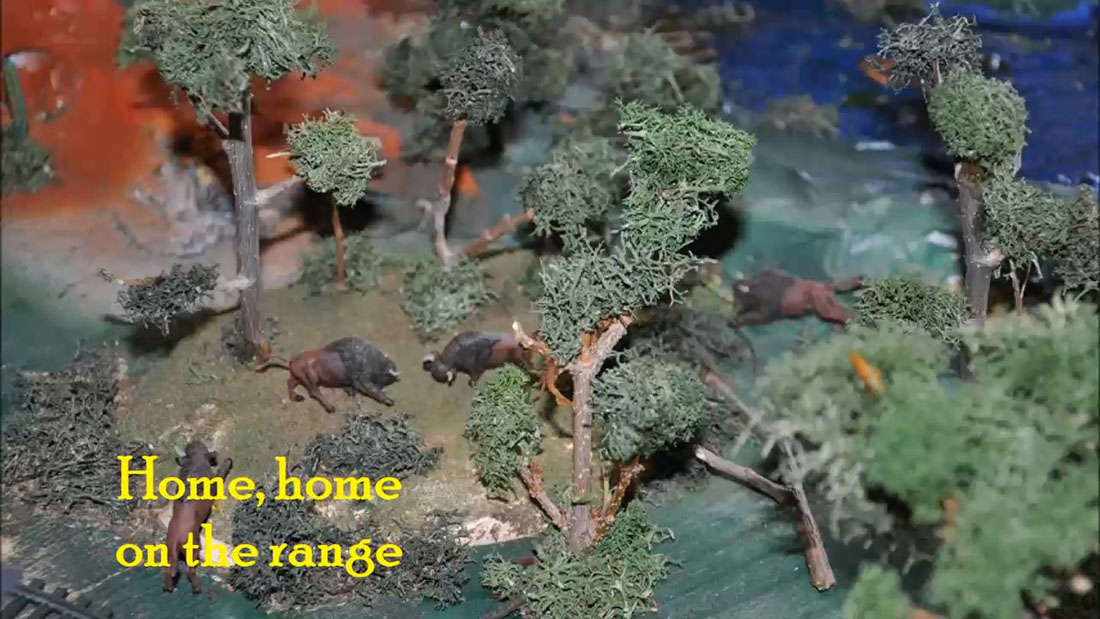
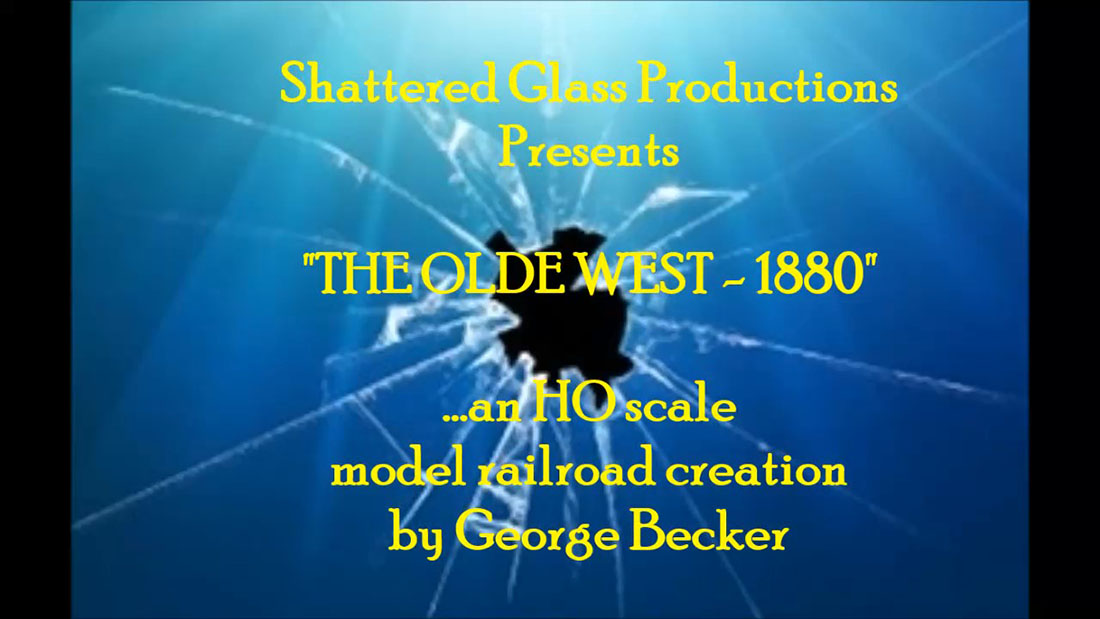
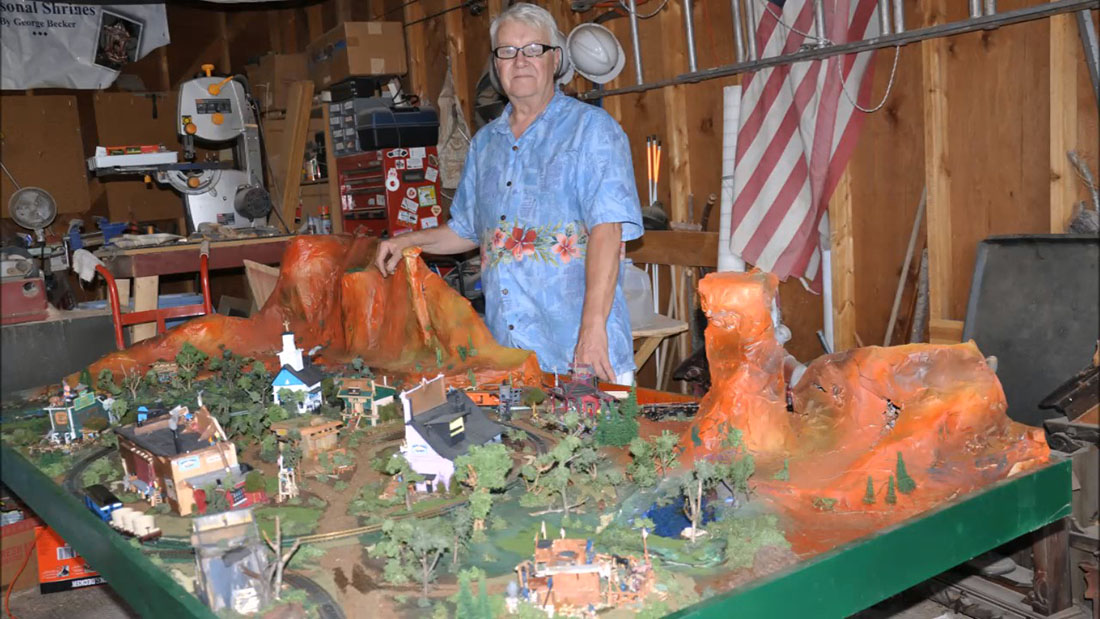
And now on to Gary. You’ll remember him from this post. He sent this in, and I rather liked it, so here it is:
“Hi Al……. I came across this and would like to share it with you and the other model railroaders.
Gary”
That’s all for today folks. A big thanks to Paul fo sharing his DC to DCC conversion, and to Gary too.
Please do keep ’em coming.
And don’t forget the Beginner’s Guide is here, if you want to stop dreaming, and start doing.
Best
Al