Gary’s been back in touch with his Railpower 1300 problems.
On Friday, he posted about his electrical problem (which is here).
After a wonderful response from you lovely lot, Gary has sorted it – for now:
“Hi… Good Morning and Good afternoon to ALL
First, I want to thank everyone, Alastair and all the railroad modelers that responded to my call for help with the electrical problem I have been having with my layout.
The problem has been identified and – for now – the problem is solved and everything is functioning properly.
I will explain further down by what I mean “for now”
Right now a heartfelt THANK YOU to you all. I really can’t express fully my appreciation.
Now for the specifics:
The problem was the overheating on my original MRC1300 power pack which was providing power for all the AC accessories; Atlas switches and all lighting.
As of this morning, I had received 51 comments on the blog that Alastair had posted.
Three were on Tony’s layout, two mentioned possible shorts and the remaining 46 (90%) all suspected an overload of the power pack.
Friday morning I made a telephone call to technical support at MRC (Model Rectifier Corp), the manufacturers of the Railpower transformers.
I sent them the blog I sent to Alaistair and the videos and they were 99% certain that this is Railpower 1300 problems – an overload.
Also, which I had never noticed, was that the Railpower 1300 was very warm to the touch, not hot but very warm. MRC actually confirmed all of the causes that you all mentioned and also confirmed all the solutions that you also mentioned.
They first want me to disconnect all the wires from both the 1370 and 1300, plug them in, turn them on and see if they heat up. They did not, they stayed cool.
The next step to test was to split the AC power supplies between the 1370 and 1300 power packs.
Since the problem occurred with the 1300, they wanted me to just put AC1 bus on the 1300 and the remaining AC connections leave on the 1370. They told me that the amperage power on the 1300 was 3/4 of an amp and on the 1370, it was 1 and 1/4 amps.
Also that the voltage is the power and the amps are how long it will last before the Circuit Protector power packs kicks in and shuts down. The layout functioned with trains running and all lights on (buildings and signals) and switches working for 3 hours (HOORAY!!!!).
This morning (Saturday), I also added AC2 bus to the 1300 and the layout functioned with no problems for over one hour. Problem solved but with a BUT. I said earlier that the problem was solved FOR
NOW because I felt each power pack and they all were slightly warm, not very warm, not hot but slightly warm.
I don’t know if that is normal since I had never checked that before until now. I tried using my multimeter but I got crazy numbers. It is a Commercial Electric model #mmm-8301S Multimeter.
The instruction book really didn’t mention how to measure amperage. I am going to read through all your comments again because some of you mentioned that. I am also going on the internet to look up how to use this multimeter to measure amperage output or draw and also call MRC on Monday to ask if the power pack being a little warm is normal.
For now, my major worry (going under the layout looking for a short) did not come to pass; and now I know what to watch out for and what to be aware of if I add more accessories. I am going to get one more power pack AND I just have to become more electrically literate and knowledgeable.
Again, many thanks to you all and especially Alastair for posting my blog and having a site that can bring all of you and all your knowledge together to help one another.
God Bless you all.
Gary M from Long Island”
A big thanks to Gary for sharing his Railpower 1300 problems – and a bigger thanks to everyone in the comments that has helped.
Now on to Jeff.
Last week he sent me this:
“Hello,
Review your sight regularly, it’s great.
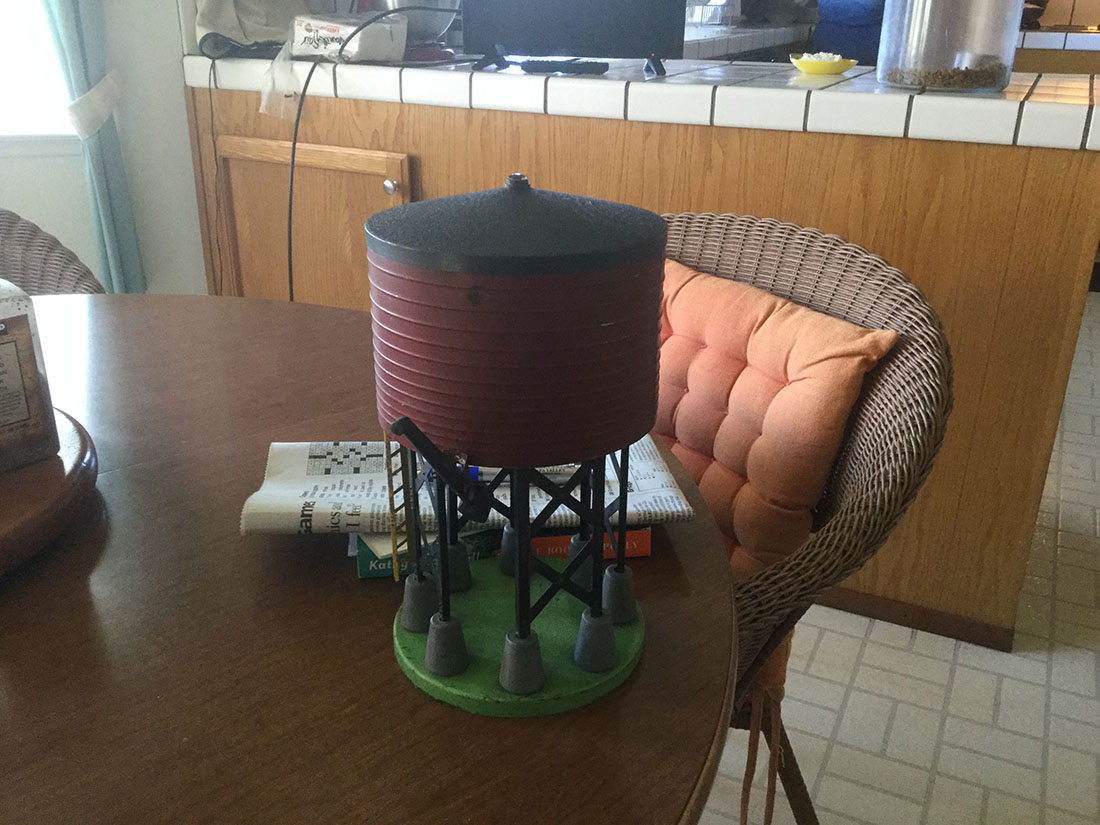
I got a #596 American Flyer Water Tank from eBay in good shape ( picture attached).
However, they cut off wires that operate tank water spout and lamp right at the underside of the tank. Can’t get to them.
I’ve tried to gently remove tank top, but it’s stuck firm.
Do you have any suggestions on how to remove the tank top safely?
Thank you,
Jeff”
But before I could post, I then received this from Jeff:
“Hi,
Re trying get top off of the tank.
I put a fantastic parts loosener called Kroil Oil, into seam, let it sit upside down for an hour.
I then taped gently around perimeter for 5 minutes with a rubber mallet taping a soft wood block against seam and it popped off, no damage.
I electrically repaired, works great. Onward.
Thank you,
Jeff”
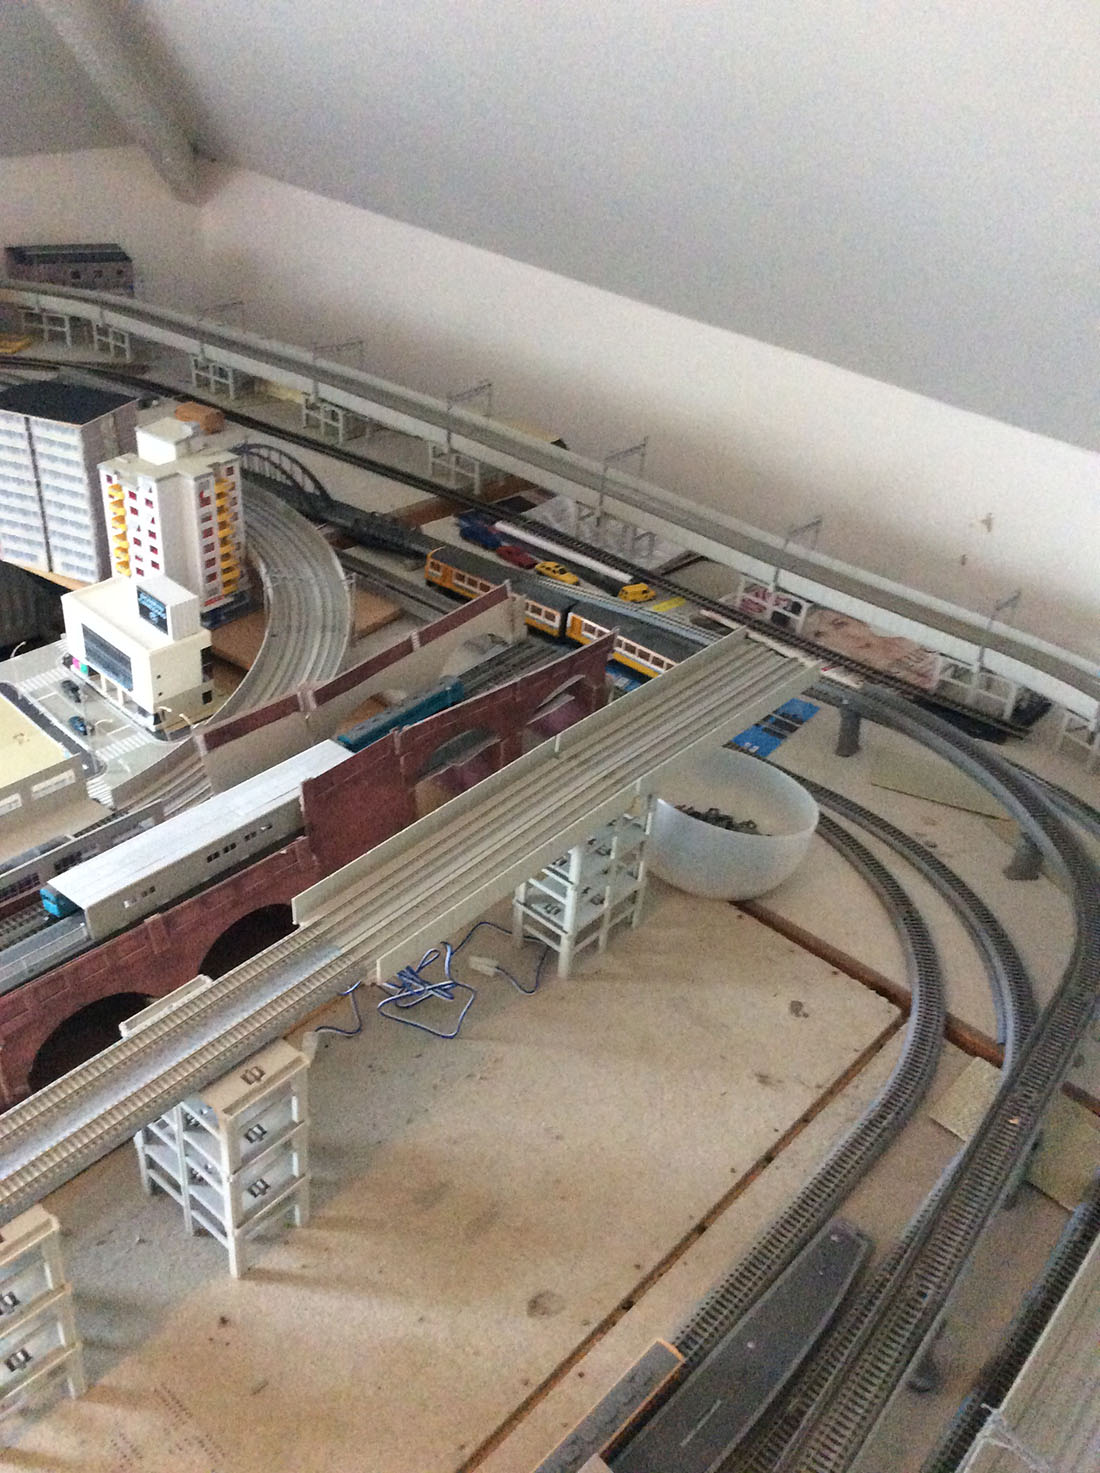
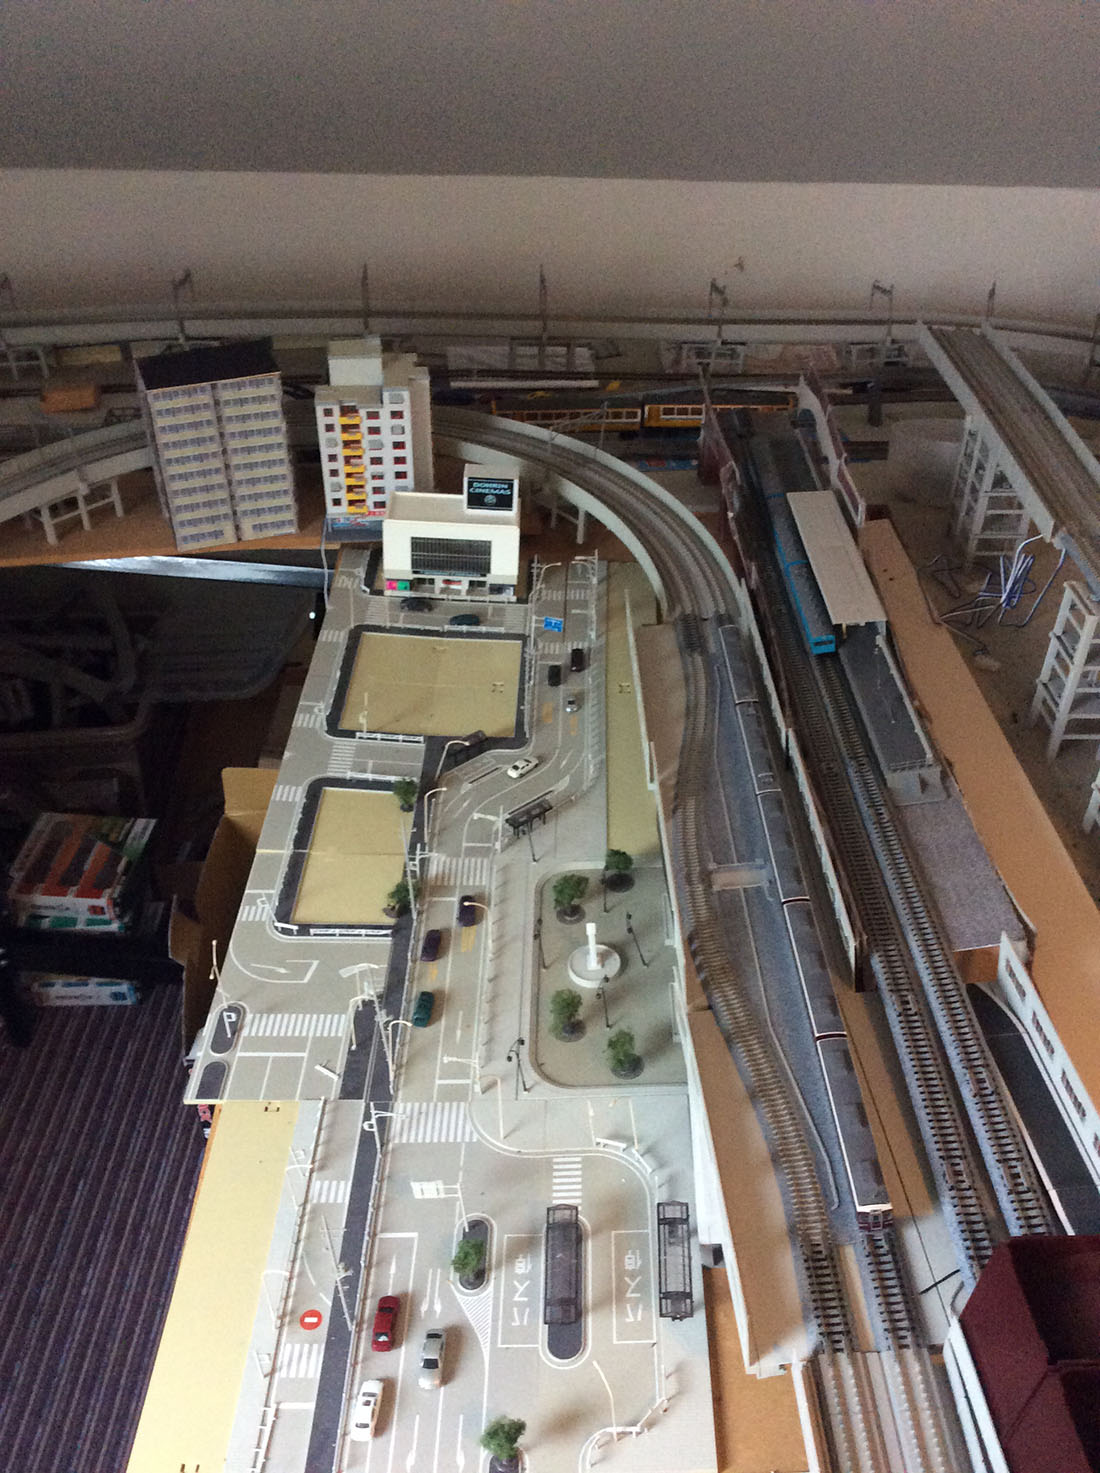
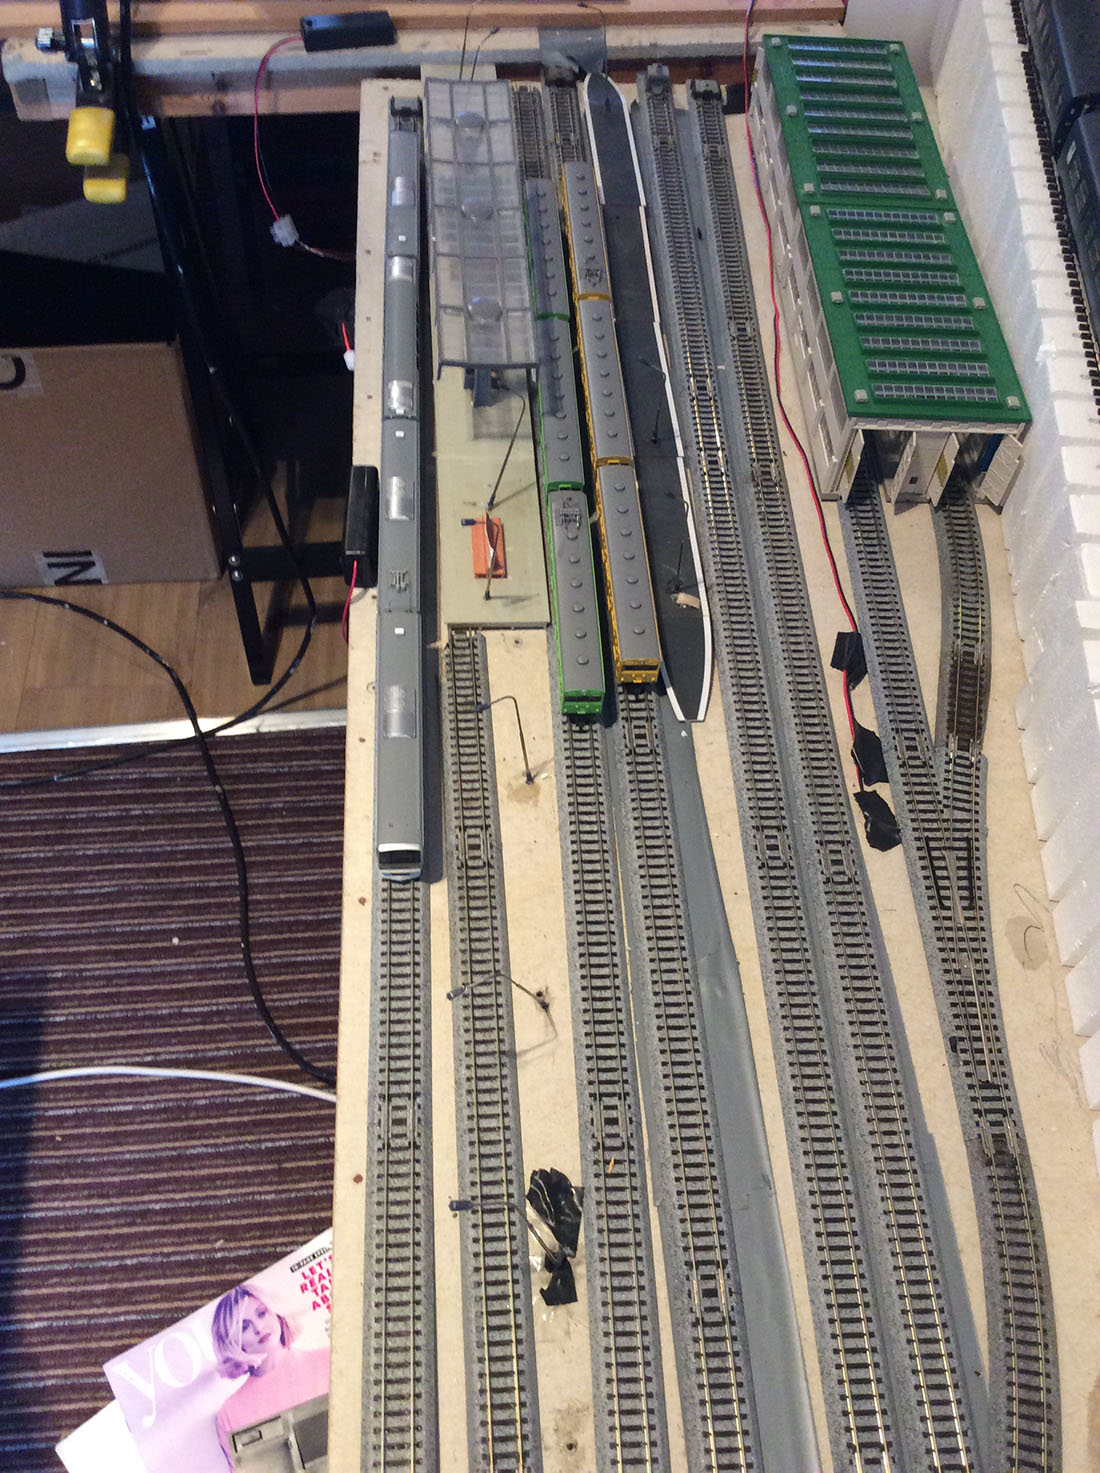
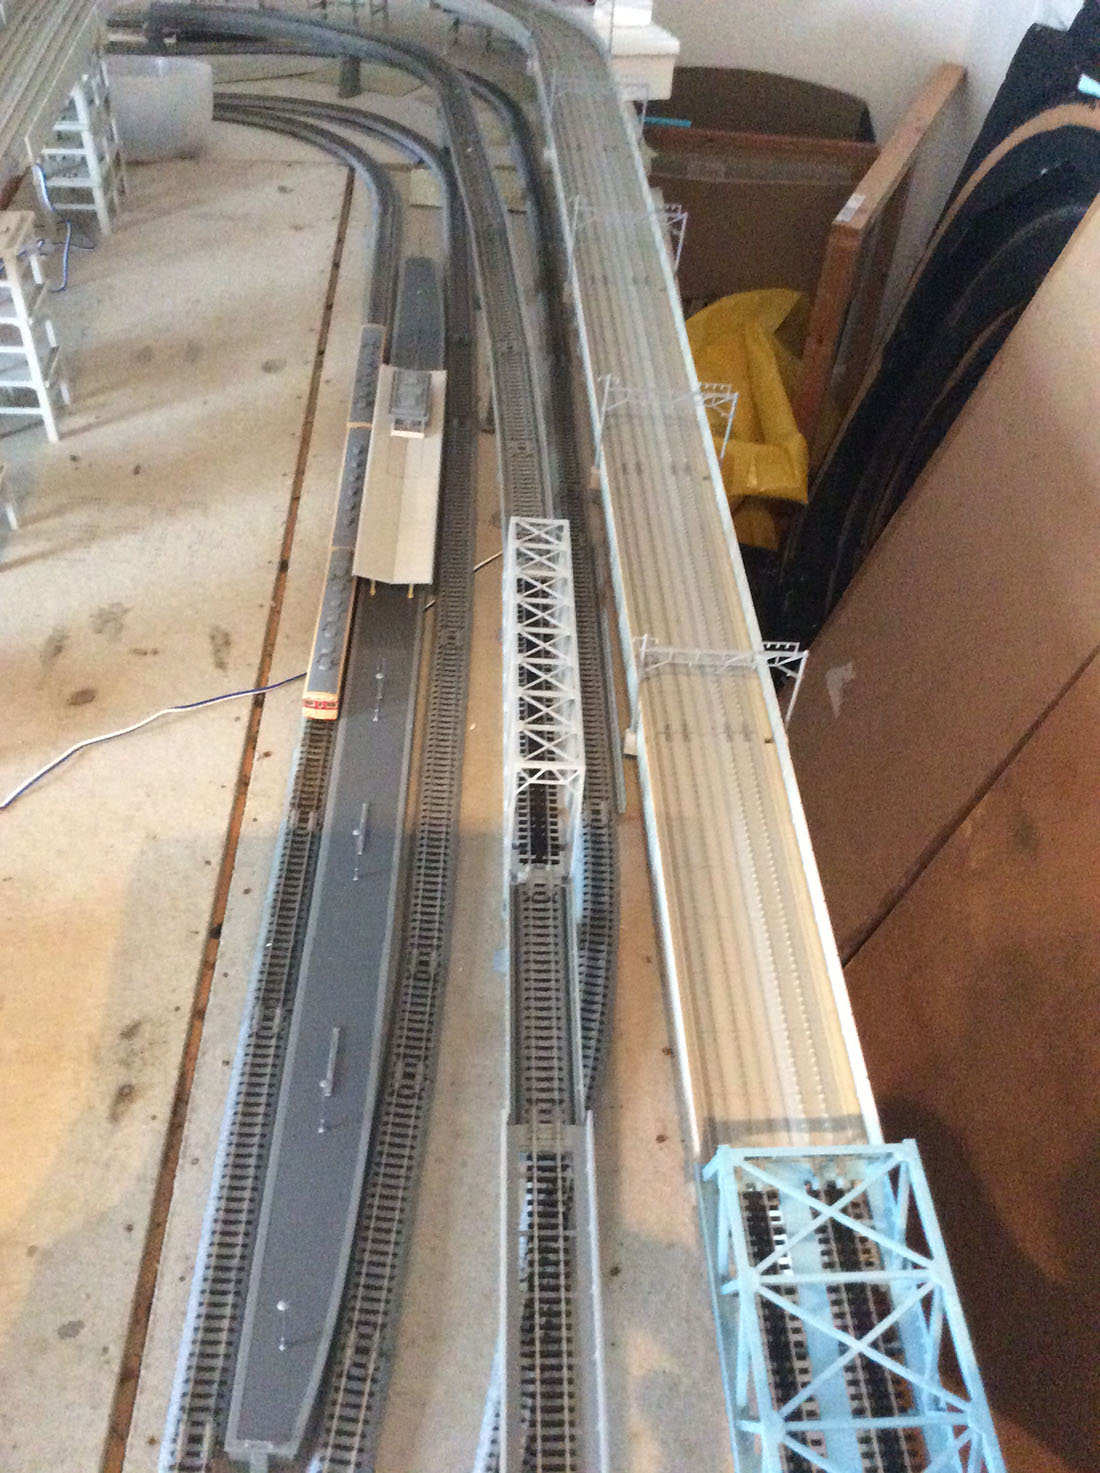
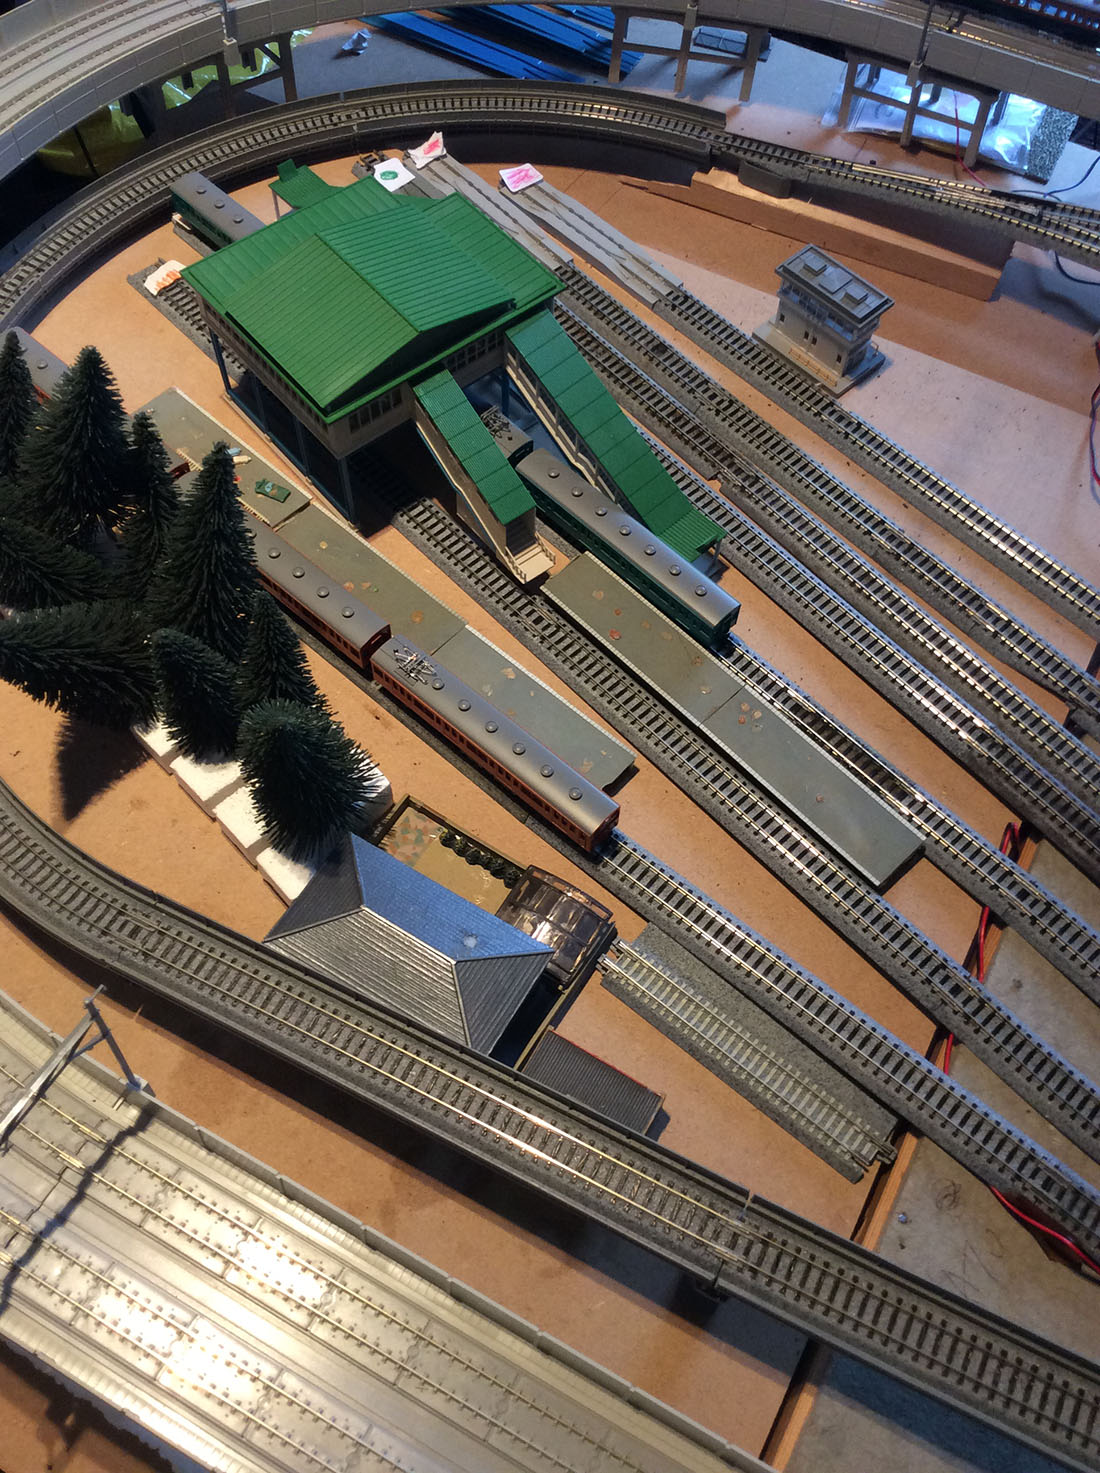
“Been working on my kato stations and platforms during lock down.
I have bought and built an extended platfrom. I have grouped all my point switches together o easy on Kato as there is no wiring or soldering to do.
I have bought 5, 3 car units – only 45 pound each. Basic units, no lighting but work well in five different colours. My next task is to have more scenery and extend my elavated track.
I would recommend Kato if you want a quick easy fix for a layout the quality is second to none.
Alan”
Now on to Jim – who has made a working drive in movie theater:
“This project started with a bit of nostalgia for the old time drive in movie theaters I went to as a child in Tacoma Wa.
We had a huge drive in with the largest screen in North America, called the Starlite.
While I had no room to replicate this, I decided to make a much smaller model that would fit on a future portion of my N-Scale layout.
Starting with a Blair Lines kit for a drive-in, I was inspired to take it further after seeing a tiny Video Player kit.
This little one-inch screen shows fairly high definition videos using miniature electronics. The video files are stored on a micro-SD card, and the whole thing can be powered by either a supplied battery, or USB connection (I chose the later so I would not have to worry about the battery running down).
This soon morphed into a full-blown kit bashed scene with vehicles from Showcase Miniatures, lighting from Miniatronics, fencing with graffiti, scraps from older kits, and lots of patience.
I took some stills of old drive-in snack bar ads, and created “Feature Presentation” and “Coming Attraction” images using Photoshop.
I spliced these together using Adobe Premier Pro and some original music I composed, to create the intro to the feature movie, “Walter’s Last Stand”.
This movie was made by a friend of mine in Arizona, a film maker, and runs about 45 minutes.
After transcoding the output using some software supplied by TinyCircuits.com, I was able to make this work on the module, as shown in the build video that I uploaded to Vimeo.com.
The project took about 6 weeks working evenings on and off. I call this my “Covid project”, as it was something fun to do while sheltering at home.
Jim”
A big thanks to Gary for sharing his Railpower 1300 problems. Also thanks to Jeff, Alan and Jim.
Can’t wait to see what’s in my inbox tomorrow – please do keep ’em coming.
And don’t forget, The Beginner’s Guide is here if you are tired of dreaming and want to start doing.
Best
Al
PS Latest ebay cheat sheet is here.


Generally for the measurement of amps it’s carried out in series. i.e. you need to break the circuit, that way the current flow is thru the multimeter. And not across, like you would voltages or resistances .
What a busy day today. Gary I’m glad you seem to have your electrical problem solved. I believe that you can buy small current meter that you can build into a facia some where adjacent to your layout so that you can monitor the current drain in real time (another built in meter could measure the voltage too). They are very easy to build yourself with a bit of electrical knowledge, I’m sure there is something available on the internet!
Jim I love the drive in I think it’s brilliant. You could show movies of your layout as a feature film.
Used to be a starlight drive-in theater in South Point, Ohio when I was growing up in 60’s.
Pleased to hear that Gary’s electrical problem has been solved. Just reinforces how powerful this site is. It therefore provides me with the confidence to start when I retire knowing there is a team of experienced people out there to help a newbie. Also are there any of you living in Portugal as this where we are retiring to next February.
Cheers
Martin
Hi Gary Had the exact same problem with my layout, after an hour all my lights started to go dime and go off. I found that it was the amps. that were not enough. I was only giving out one and a half amps. I was told to increase the amps so i bought a 10 amp 12v dc unit. Since then i have increased my lights and have had no trouble at all. John
ALLEN: Where did you get that elevated station ?It’s just like my home town station ! I really need one Please tell Alistair, he’ll get back to me as to ware I can purchase.
Is that ok with you Alistair ?
The Critic
Hi Gary- glad you solved your problem. If you need a larger power supply consider an old power supply from a PC. They have several different voltage outputs and are usually large enough to handle most layout loads.
Bob on LI.
That drive-in theater was amazing. Cheers! NJ Mark (NJ home of the first drive-in theater in the USA)
Power conduction problems are common with units that run long enough to have heat build up. I had a unit with a particular current requirement and I found that I had to increase the amperage capability 2.5 times just to keep the unit working.
You should be able to calculate what the current draw of your circuits are. Think of your power supply as the breaker or fuse that supplies a string of wall outlets. If you plug in (add) one 100 watt lamp in a 110VAC system it will draw ~1 amp. As you add more lamps the current draw goes up ~1 amp for each added. When you get to 15, the breaker or fuse trips because the breaker/fuse is only rated for 15 amp. If you know the wattage rating for each light or set of lights, you should be able to add up the total wattage. Divide the total wattage by the nominal output voltage and you will see what your current draw is. Compare you calculated current draw to the rated capacity of the power supply (in your case 3/4 and 11/4 amps). I never go above 75% of rated capacity to avoid situations like you are experiencing (it also ensures the packs stay cooler when run over long periods of time), but you can ask the tech rep what they recommend.
Drive in is amazing! Wow!
Great works!
Robert the kato elevated station is available in ckaretvor green and you can attatched platform to it Kato website where do you live robert I am in the uk
As to the drive in theater–I did a similar thing some 35 years ago when small hand-held portable tvs came on the market. They had a small screen (probably around 4 inches) and the whole unit was about 6×4 inches total.
I disguised the whole thing in a drive in theater screen building and simply hooked up my cable tv line underneath the table. I then had the option of 3 tv stations I could click on and let the movie goers watch from their cars as the trains rolled past. It was a little out of scale for my HO set but the novelty made it worthwhile. The only drawback of course was that the tv set was in black & white!
To a critic,
Walthers sells a similar station, which I’m planning for my layout. It can be kitbashed any way you want it.
I know it yells “European” in design but I think it looks really neat.
Jim, I was impressed by your drive-in movie idea but noticed the picture only fills a small portion of the modelled theatre screen. I don;t know about how it would translate to N scale, but it seems to me a old smart phone or small tablet PC would also be used to simulate a drive-in movie screen with less effort to get the video to the screen and would fill the whole screen area. Just brain-storming, no rleflection on your fine modeling and production skills.
Gary, you can use a “Clamp Meter” to measure your amp. usage. This meter has a hinged jaw that opens, then clamps around the positive cable. If you know a sparky with one, borrow it, it will save cutting cables to measure amperage.
Allen Thank you for come back I’m in US, Florida.I would love to have one,I’ll check kato site
Again Thank you Allen
Robert B
Great stuff!