Paul’s been in touch with a DC to DCC conversion:
“Hi Al another project completed so I thought I would send some photos and a short video.
I bought the Doodlebug on Ebay and thought I would convert it from DC to DCC.
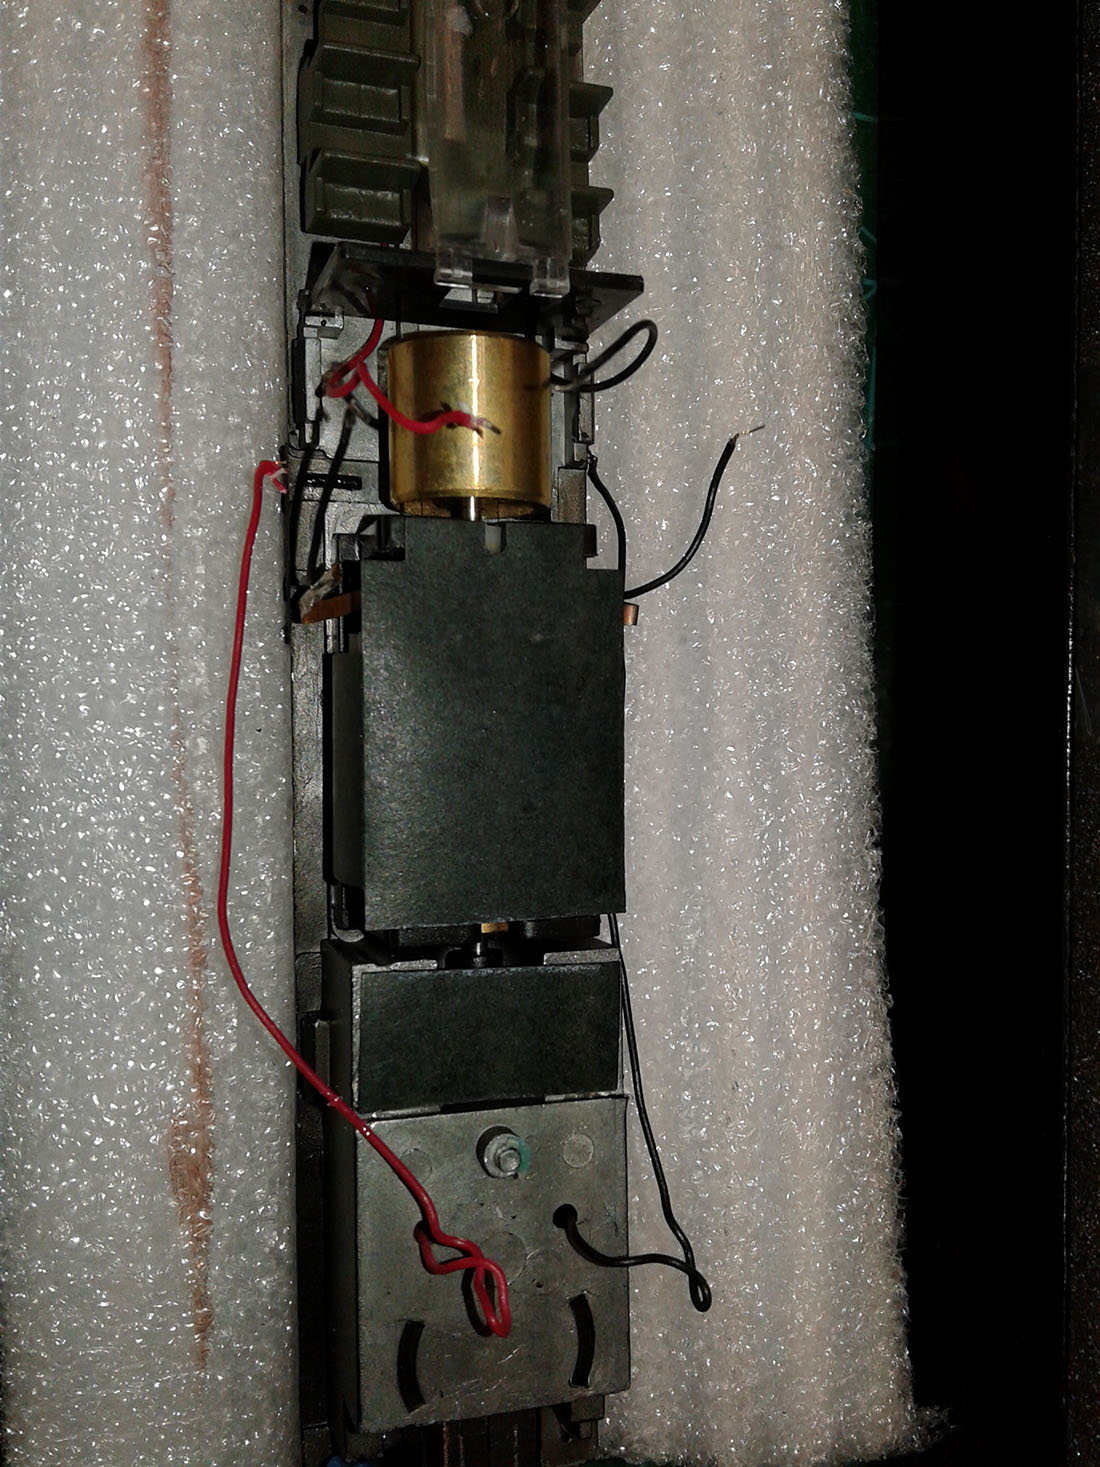
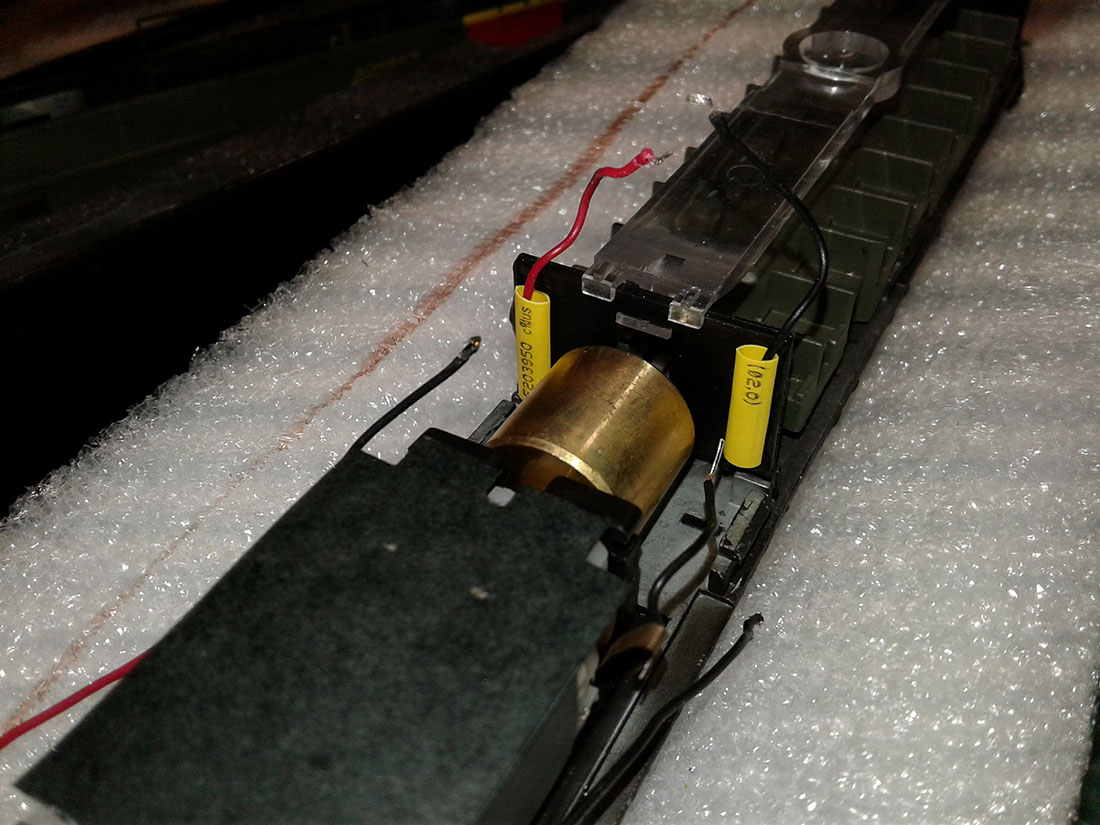
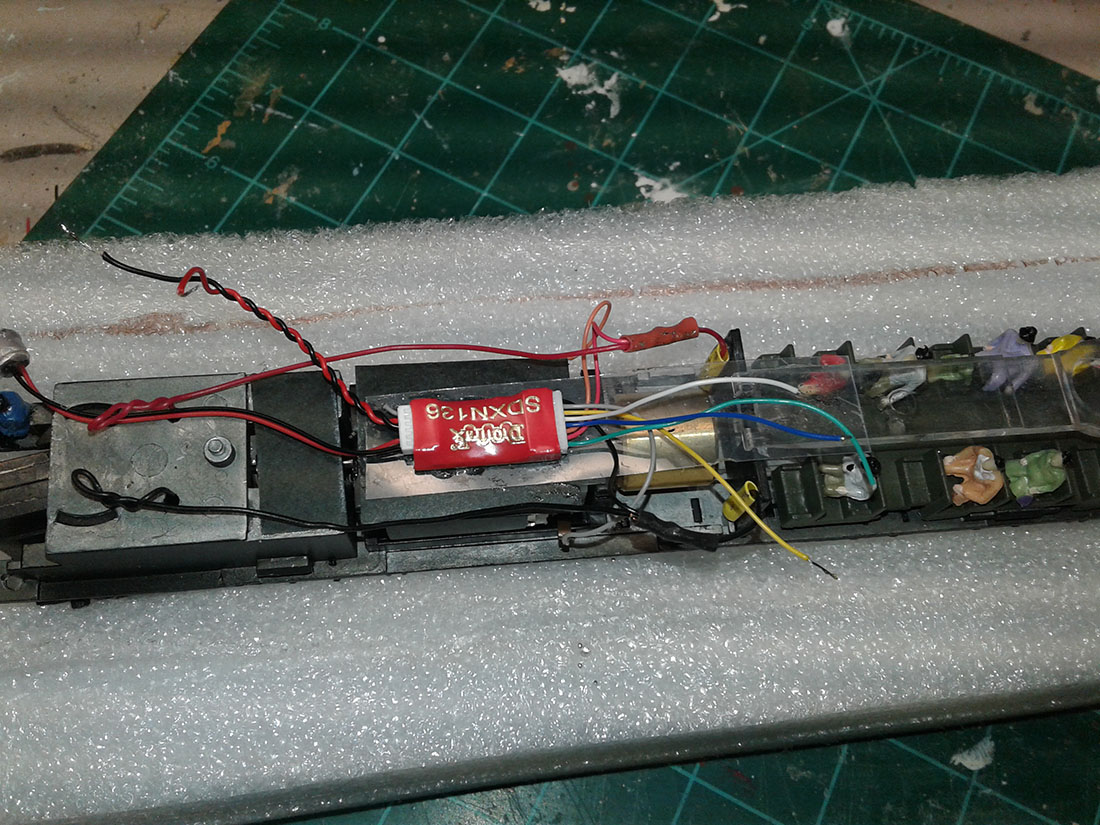
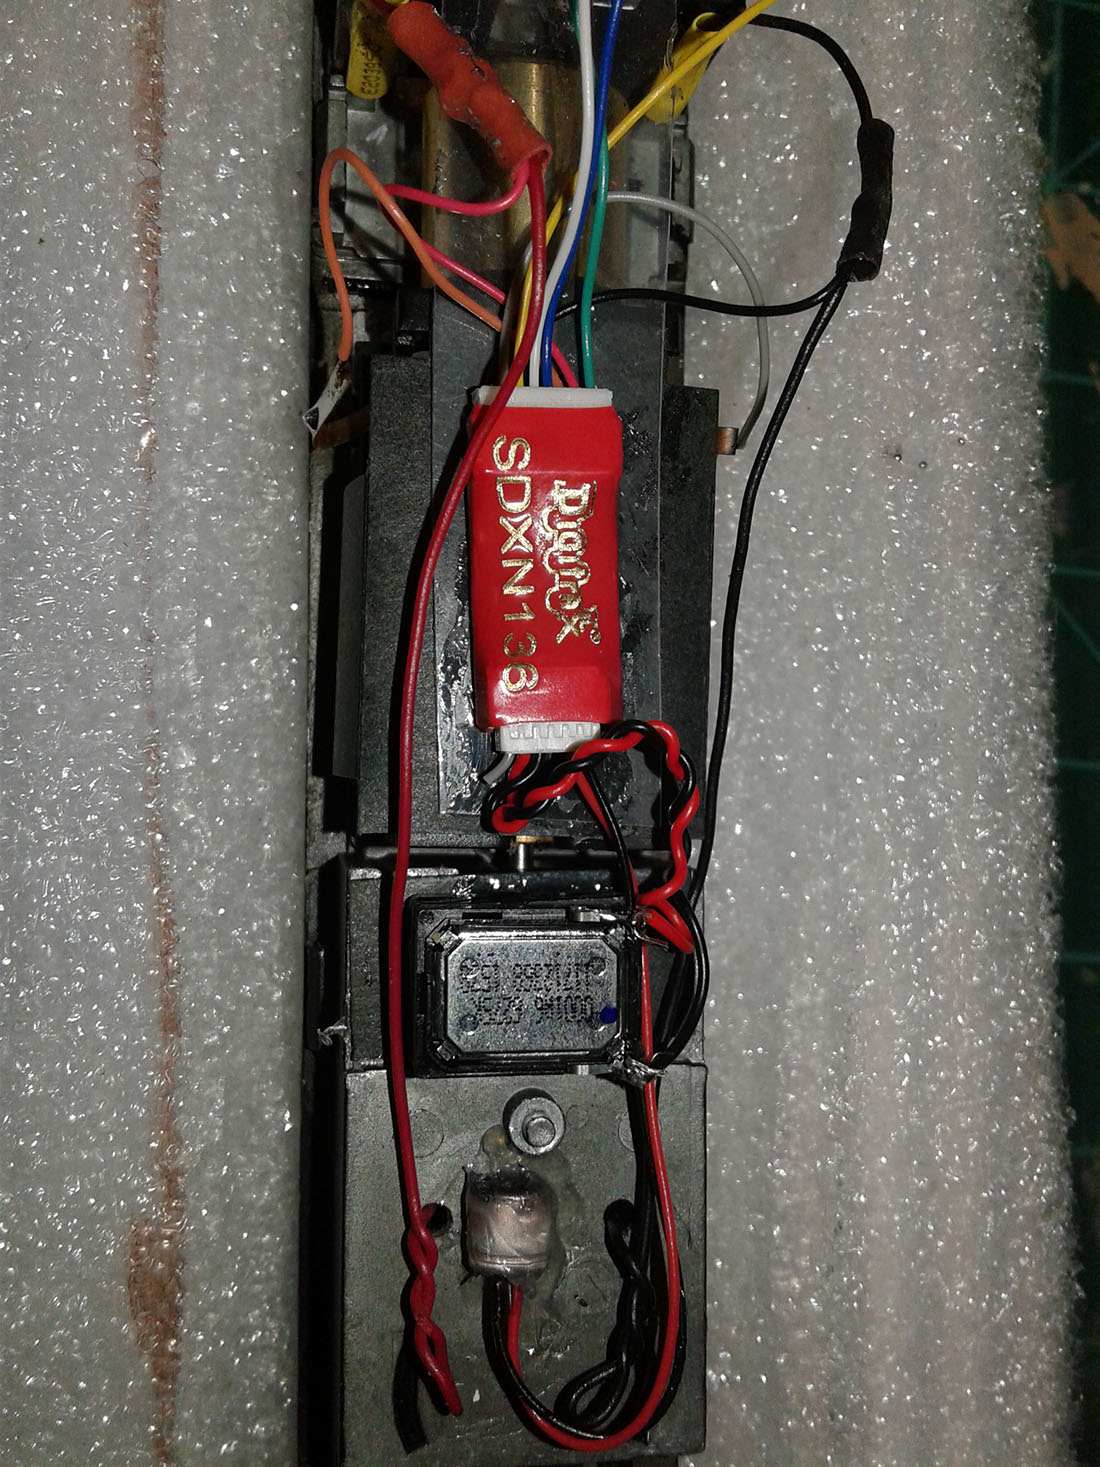
The accompanying photos show what the Bug’s electricals looked like before the conversion and during the process.
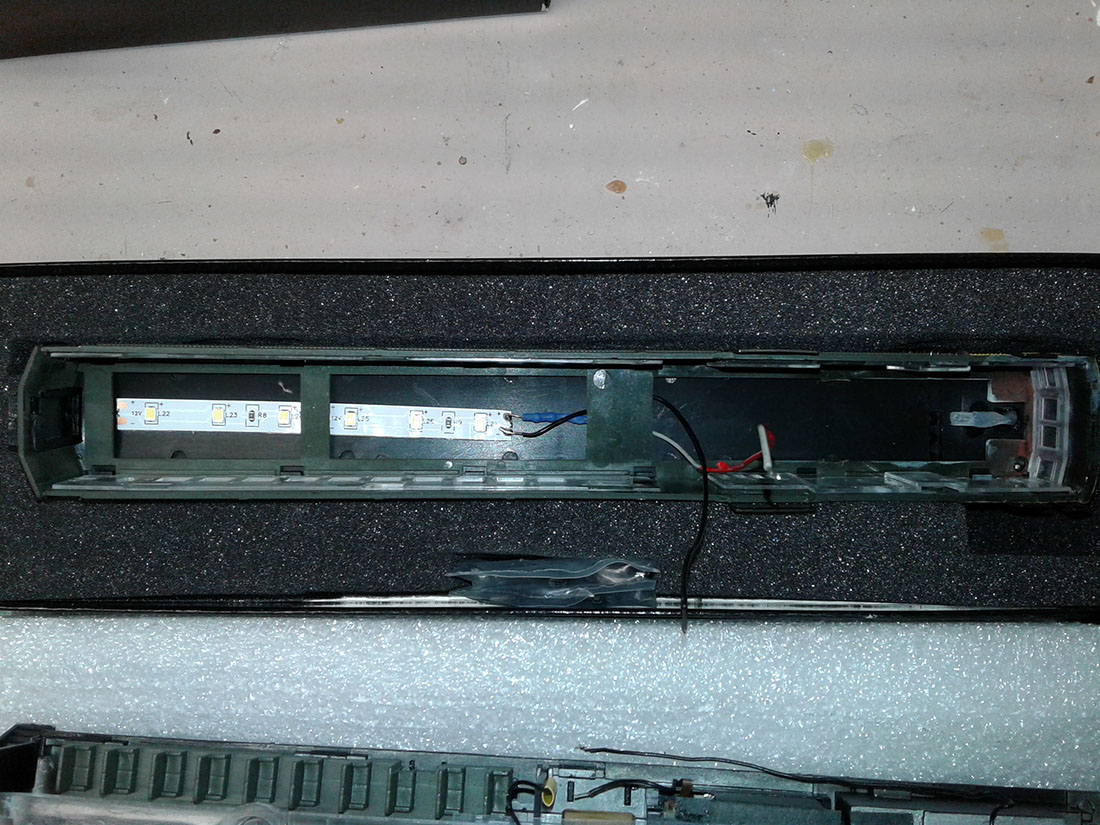
I also converted the headlight over to an LED which also required the addition of a 1000 ohm resistor. I added a stick-on strip of 6 LED lights on the ceiling of the interior cabin to allow the passengers to read at night.
So far no one has complained that the light is too bright. I guess the ones that want to sleep might, but so far I haven’t heard a peep from them.
The decoder I used allows you to choose different horns and bells so I picked the bell that sounds like a trolley since the Bug looks like one.
The speaker is the sugarcube type 11X15 mm.
Hope you enjoy the photos and video.
The colors in the video didn’t come out as vivid as I had hoped using my phone.
Paul”
I know Paul’s camera is a bit shaky, but thought it worth showing the video too:
Latest ebay cheat sheet is here.
You can see Paul’s last post here.
And now on to Gary. You’ll remember him from this post. He sent this in, and I rather liked it, so here it is:
“Hi Al……. I came across this and would like to share it with you and the other model railroaders.
Gary”
That’s all for today folks. A big thanks to Paul fo sharing his DC to DCC conversion, and to Gary too.
Please do keep ’em coming.
And don’t forget the Beginner’s Guide is here, if you want to stop dreaming, and start doing.
Best
Al


Thanks for sharing, Gary.
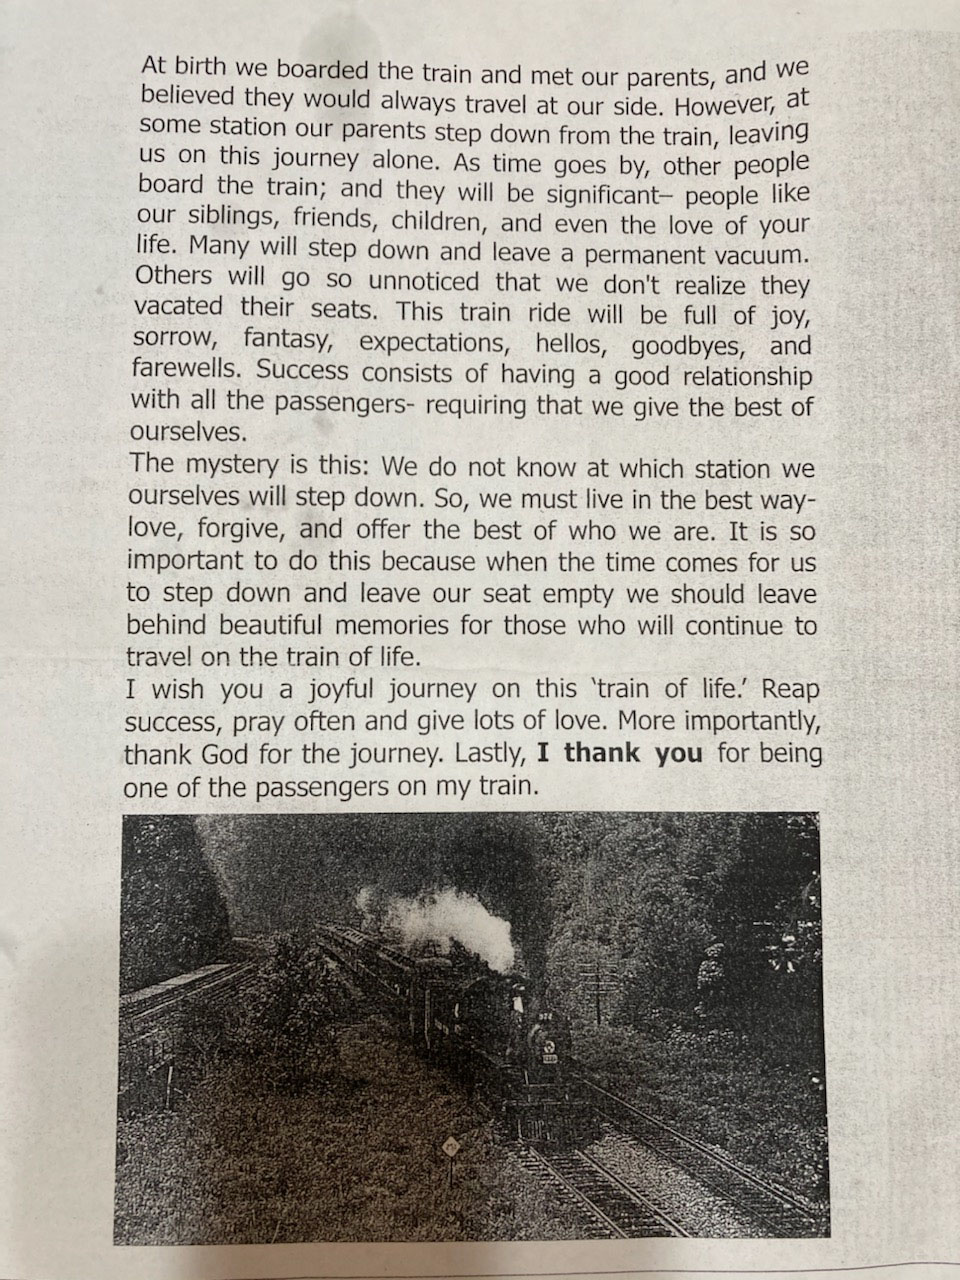
After over 47 years the love of my life recently stepped off the train and the seat is empty. The train continues and struggles up a very steep gradient but I know that in time it must reach the summit and the journey down will be easier.
Excellent how to article. I had to smile when I saw Al’s title: “Paul’s conversion” and thought for a moment it was about St Paul’s conversion on the road to Damascus! lol.
Terry/Idaho USA
An interesting analogy from Gary. The simplicity makes it powerful. Thankyou.
Macbear
Paul, Nice photos and explanation of your doodlebug DCC cpnversion. The video was even better and I really like your layout. It looks like the doodlebug needs pretty wide curves due to its length. Thanks for sharin
Paul, Beautiful layout and excellent “how to”. Gary, Beautiful words and a great metaphor for life. I hope we all can ride the train a bit longer. Cheers! NJ Mark
Enjoyed the Life Analogy Train Ride as it reminded me of Robert Frost and also the Eagles’ song, Just Another Whistle Stop.
Just a note, there are many variations of “The Train of Life” floating around…
Hi Paul.
An interesting conversion and what a great looking train/doodlebug. It sits well and looks a very interesting model.
I have a doidle bug in N scale this kooks like a good project. I spent a while changing over to dcc on my 4 by 6 foot layout. I ser it up to run dc or dcc trains. So far all my dcc trains I bought as dcc trains. The doodle bug project sure looks like one I might be able to tackle. I use sprog-pi3. And I have also use Dcc++ too. The project you did looks like a good one.. i don’t have that many passenger on the SP&CE.
Nice conversion job Paul! Runs real smooth! If anyone out there has replaced the cracked drive gear in an N scale Doodlebug, please post their solution. Bachmann discontinued the model and no parts are available. Either the gear only or the whole drive truck. Thanks Al for getting us all together in one place!
looking good boss
Hi Will in NM, the Bug is 10″ long so that scales to 80 ft –about the size of a passenger coach. The tightest radius I have on my layout is 23″ and it is fine going around that. The doodlebugs are pretty interesting looking engines and there are many available on Ebay. They are a nice addition to a layout and the conversion to DCC is quite straight forward. If anyone cares to try one I would be happy to give a more detailed description of the process.
Hi Paul:
Very good Doodlebug video. This is the same thing that I would like to do, get a Doodlebug, convert it to DCC and run it on the club’s layout.
When I was a child in Ohio there was a single railroad that ran across from our house. I was very small but I can just remember the top of the car going to Indiana, I believe it traveled twice a week from Union City, Indiana to Dayton, Ohio and return. And then like so much of the rail history it was gone.
The rails have long been gone from home and the line is gone and no one even remembers it, but I would love to do this project so that I and others can remember.
John
Bowling Green, KY USA
Bob M & Ed Audet to answer your questions. Bob contact North West Short Lines in Montana —NWSL.com regarding a replacement gear. I replaced one on another Bug that made a thumping sound as it travelled around the track. That is an indication of a cracked gear. I am not sure if they have N scale gears, but it is your only hope since Bachmann abandoned us. Ed the decoder I used is actually made for N scale, since the Bug draws little current it can handle the HO motor. There is very little room inside the Bug to place anything. I had to cut away some inside roof structure to gain sufficient space for the speaker which is only 11X15 mm and about 10mm high with the sound enclosure. I am sure it can work, but you may resort to placing the speaker in the passenger compartment. Another thing to consider when doing the remodel is that you want to keep any wires away from moving parts such as the flywheel. After removing the original light circuit board I glued a piece of thin clear plastic to the top of the motor to act as insulation and also to shield the space over the flywheel to keep wires away. You can also note in my photos that I glued some yellow shrink tubing to the bulkhead to route and guide the red and black rear power leads up and over the flywheel area toward the decoder. I guess you will have to open up your N scale Bug and access the space you have to work in. I hope your fingers are smaller than mine because it is challenging working with such small wires and parts.
If the train represents the journey of humanity through time, I should shut your eyes when one shoots by going in the other direction, might confuse the whole picture!
Rod