When it comes to small N scale layouts, Bob’s always springs to mind – his layout goes up in three levels, instead of out.
If you want to get up to speed on his stunning N scale, his first post is here.
He’s been kind enough to talk us through how it came about:
“Al,
I mentioned in my original post, my challenge with this new project was transitioning from an HO scale layout that filled most of a 400 square foot room to an N scale layout that could be no larger than about five by ten feet.
I made some preliminary drawings and quickly realized that to accommodate the number of trains I wanted to run I would need a terraced layout.
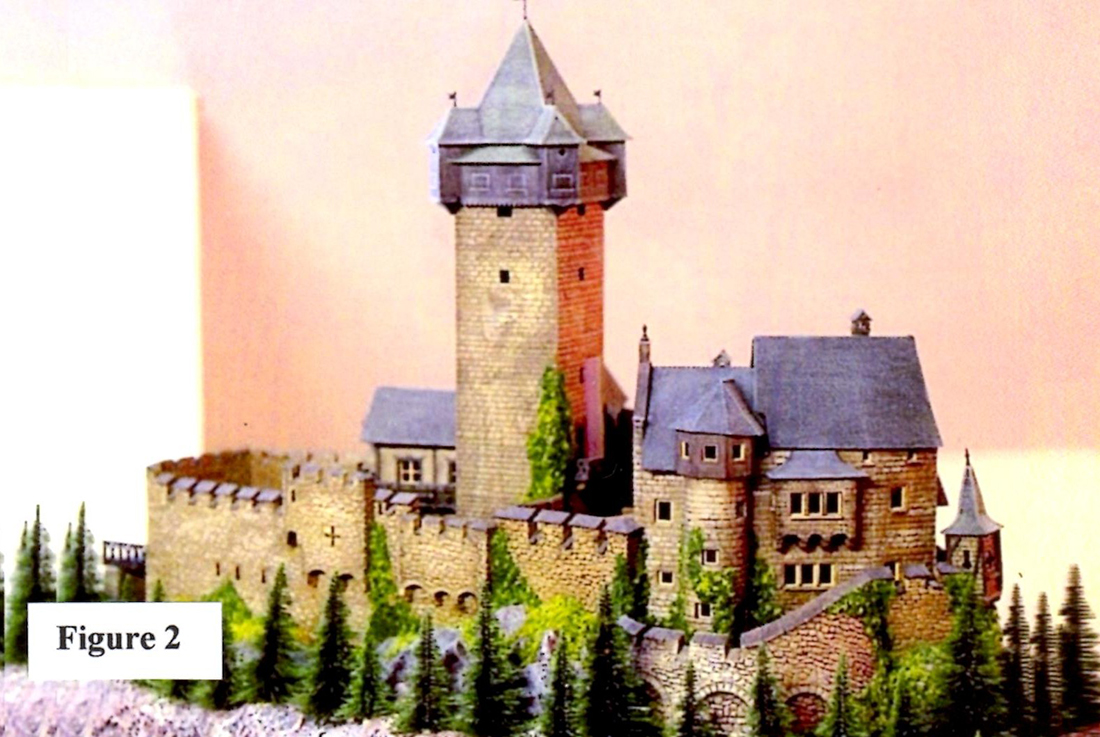
One of my favorite parts of my previous HO scale layout was a mountain that incorporated a trestle bridge at its base (Figure 1) and a castle on its top Figure 2). I wanted both in my new layout.

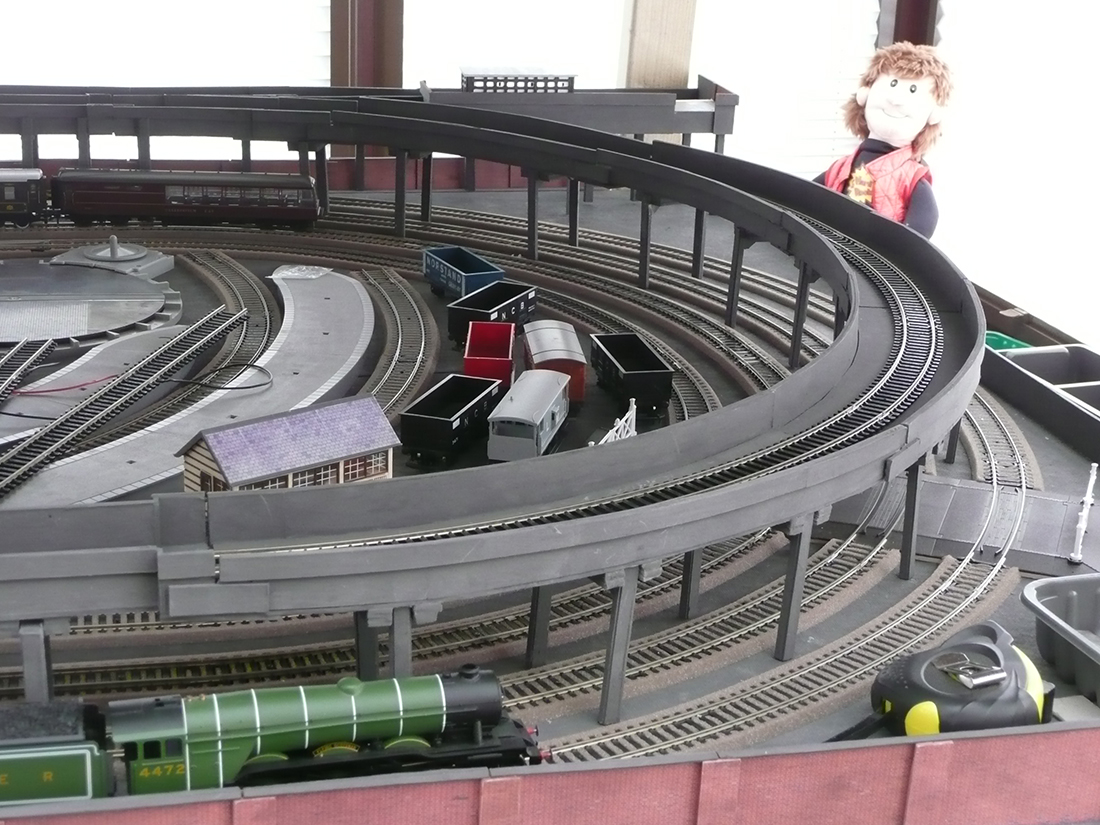
I made several scale drawings and finally decided on a terraced layout with three levels (Figure 3).
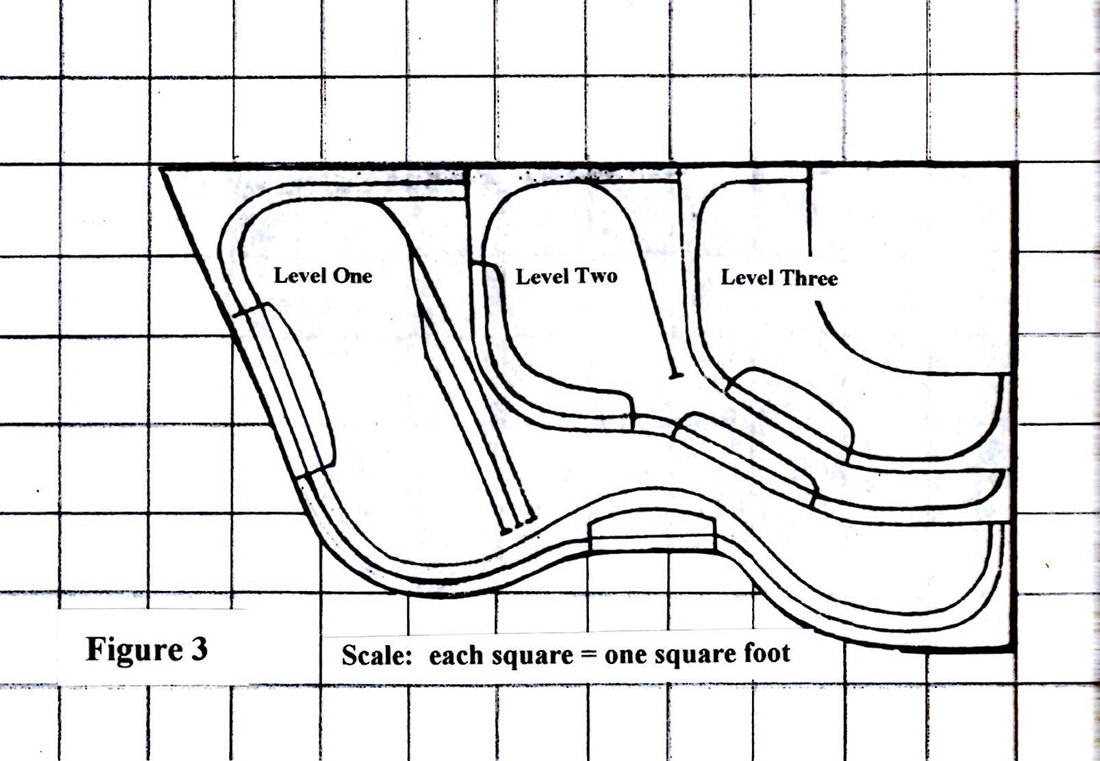
Level one would have two tracks and levels two and three would have one track each. In order to better evaluate perspective, I constructed a one-tenth scale model of the layout using foam core, Styrofoam, cardboard, and balsa wood (Figure 4).
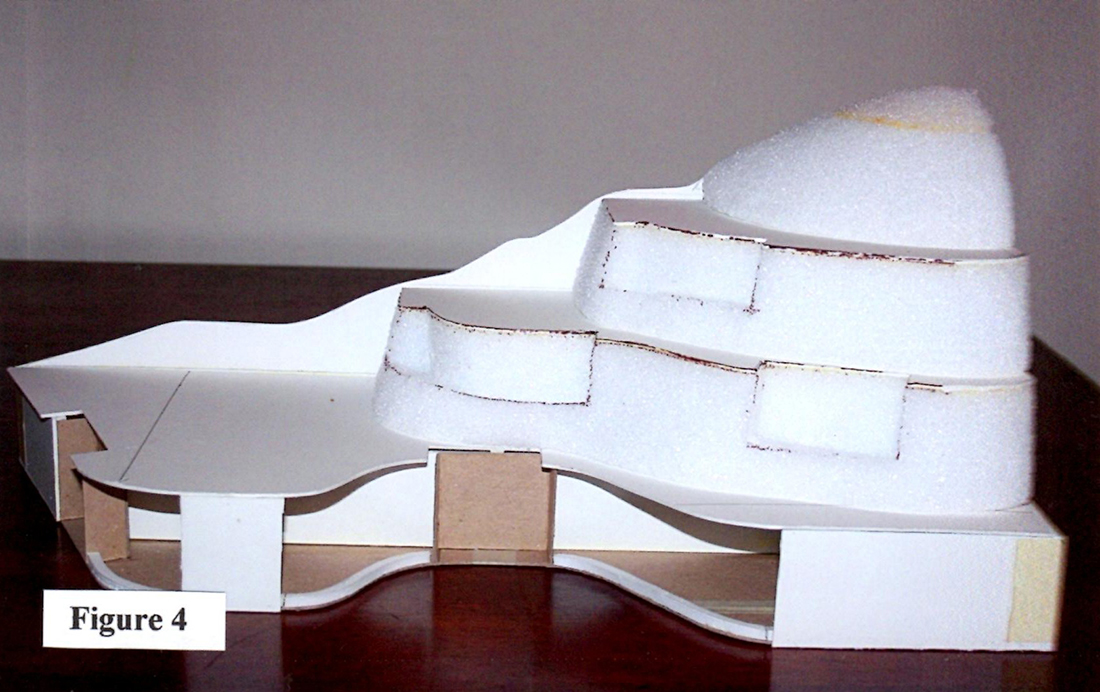
In the completed layout, both level two and level three would be removable.
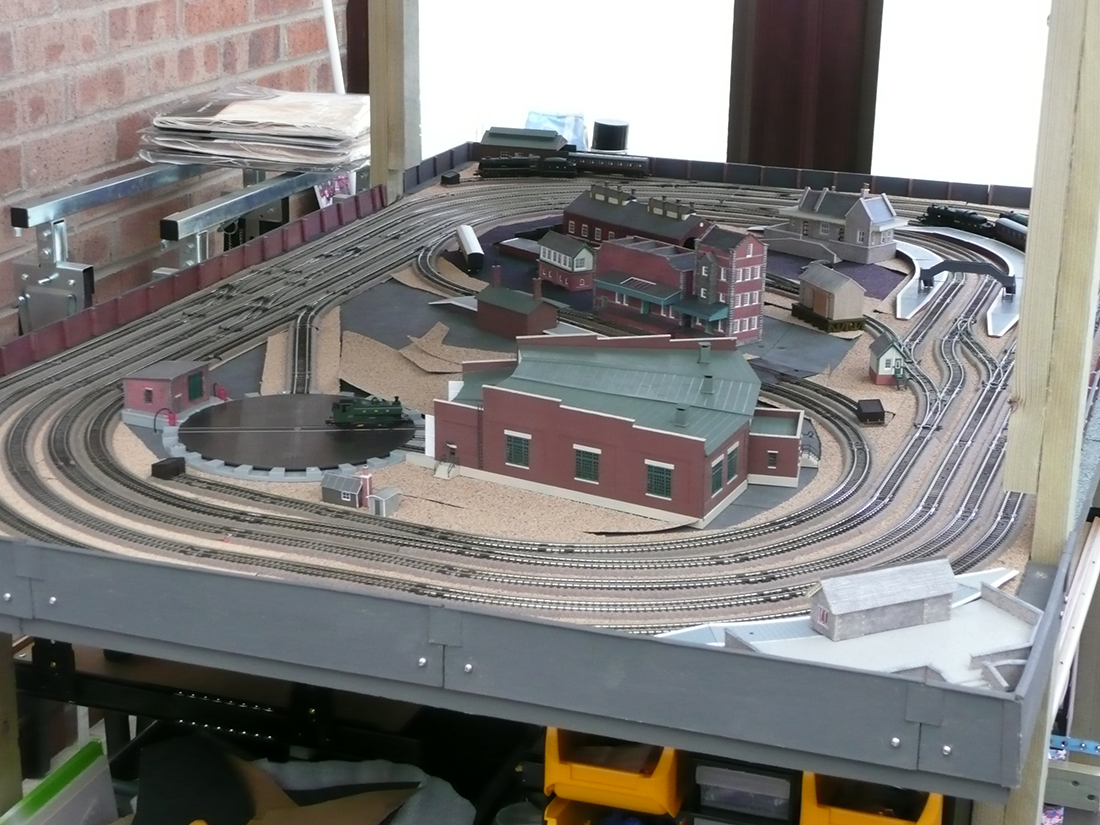
The layout is built on a custom-made platform supported by two wooden pedestals (Figure 5).


Since levels two and three are removable, there should be easy access to construct a helix.
As you can see in the schematic (Figure 3), the inner loop on level one has a turnout leading to a three-track siding and the loop on level two has a turnout leading to a single track siding. There are a total of four right-hand turnouts on the layout.
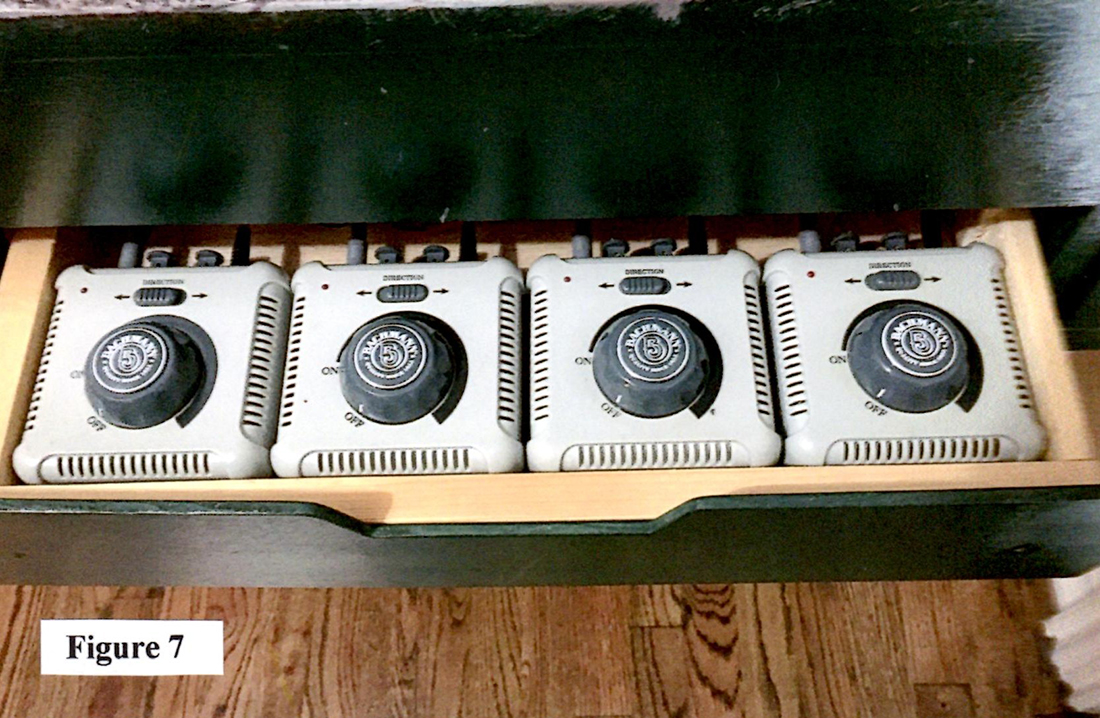
All the track (code 83 flex track) and turnouts are Peco products. I still need to ballast the track (my least favorite part of the whole process. I use four Bachmann Power Packs which are located in a small drawer at one end of the platform (Figure 7).
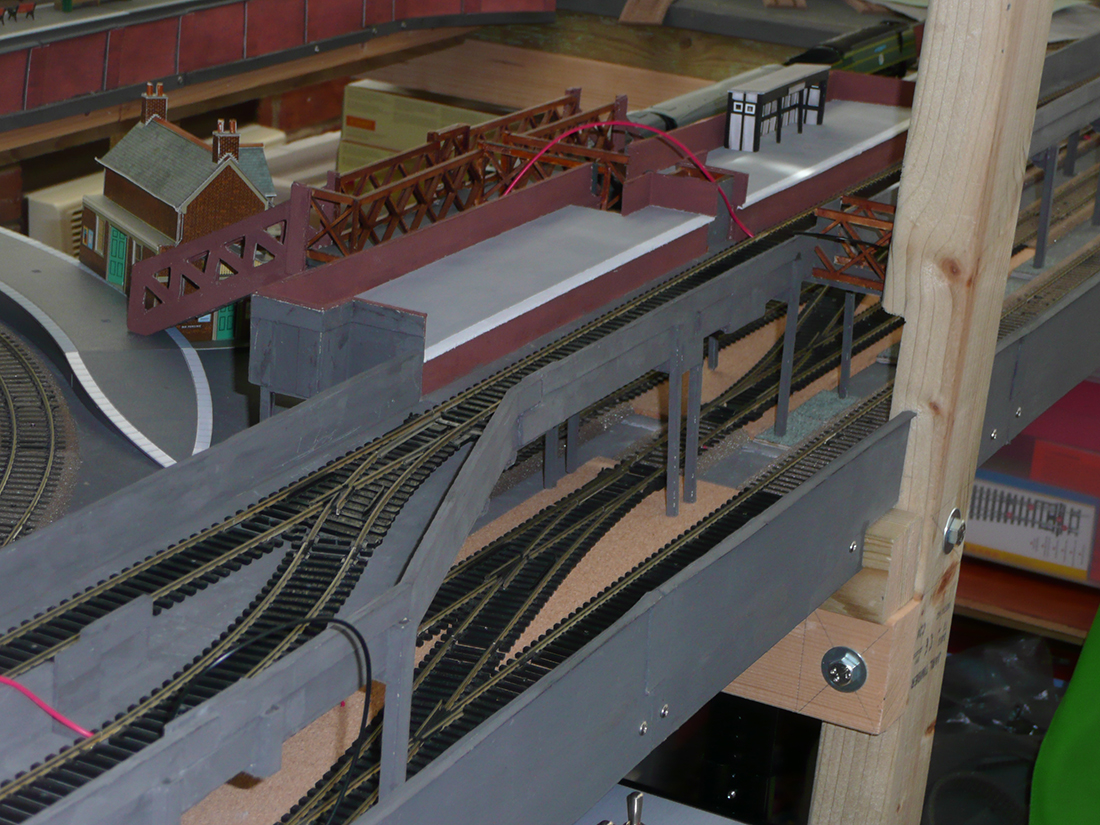
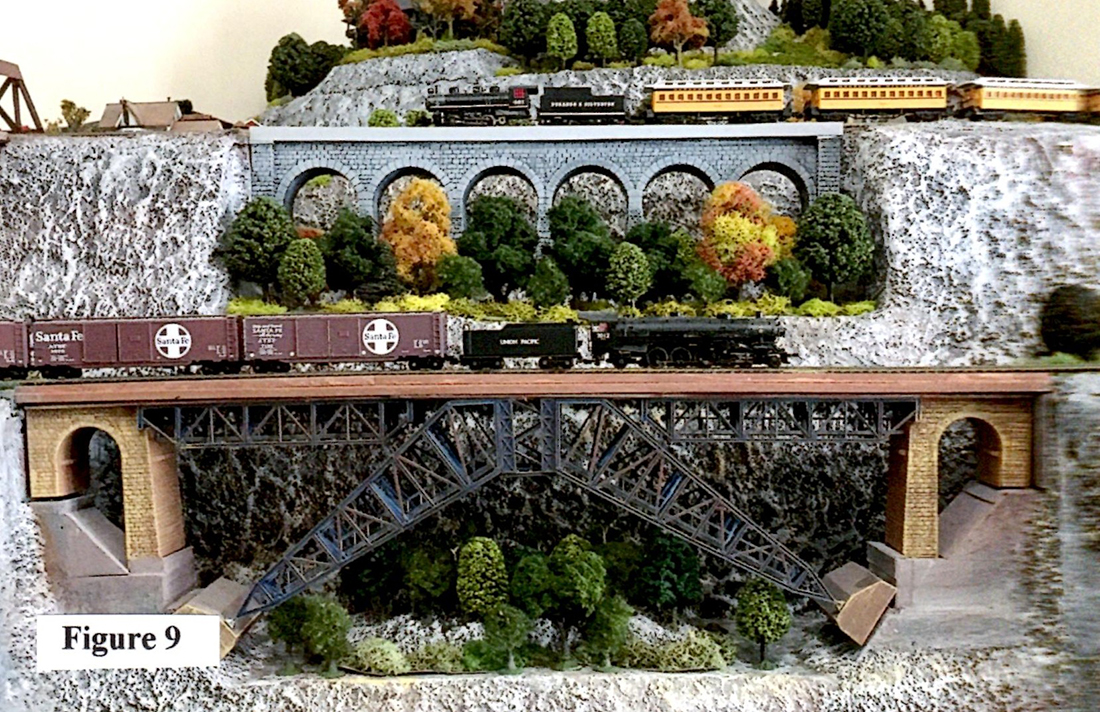
I used Mold-A-Scene plaster on a foam core base to build the mountain. I am really partial to trestle bridges and there are four on the layout (Figure 8).
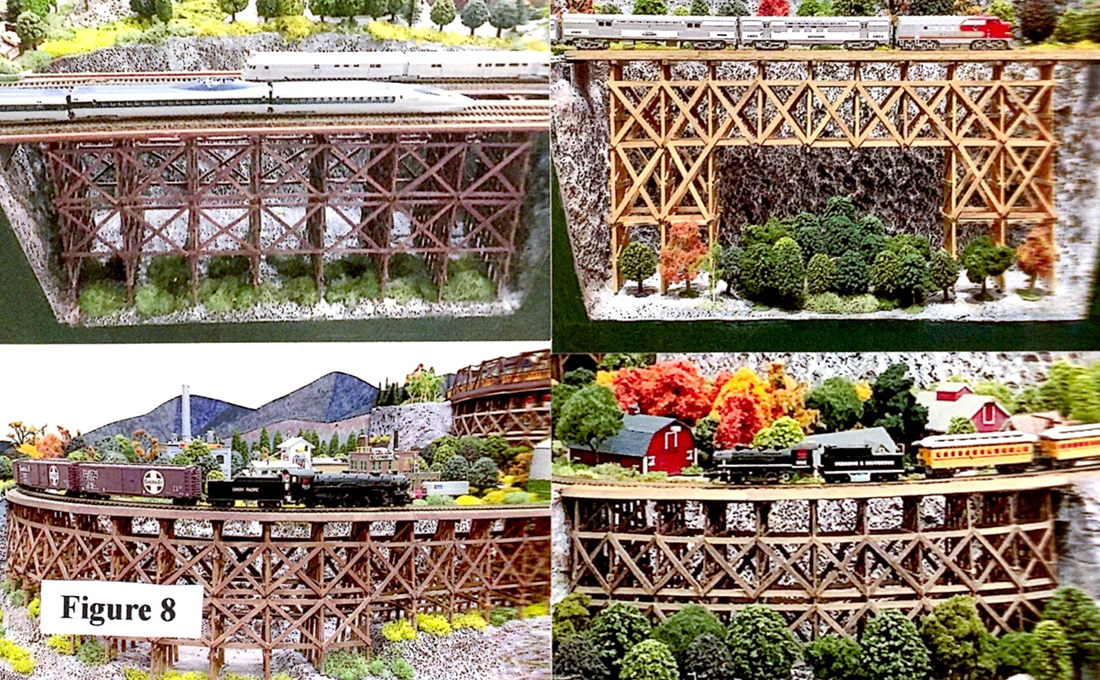
All four were scratch-built. At the end of the post I will share with you how I made the bents for the trestles. I also kit-bashed a viaduct model and a model of the Bietschtal Valley Bridge (Figure 9) to fit the available space. I incorporated a mix of kit and built-up structures on the layout.
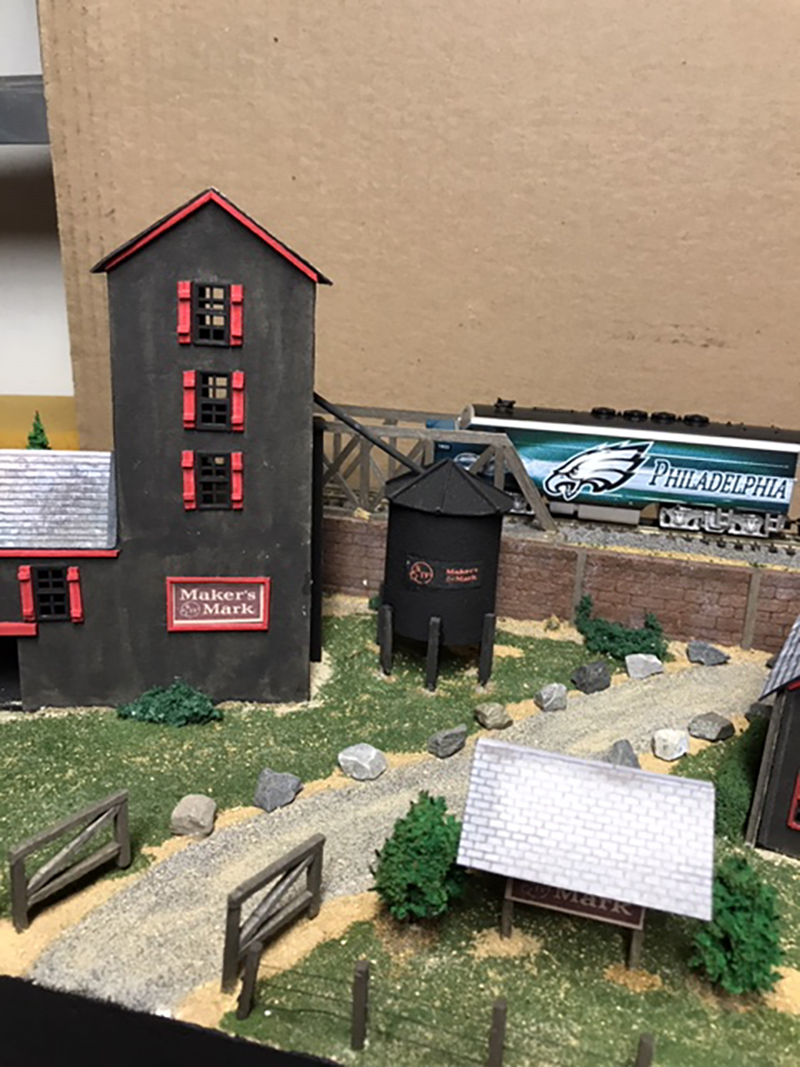
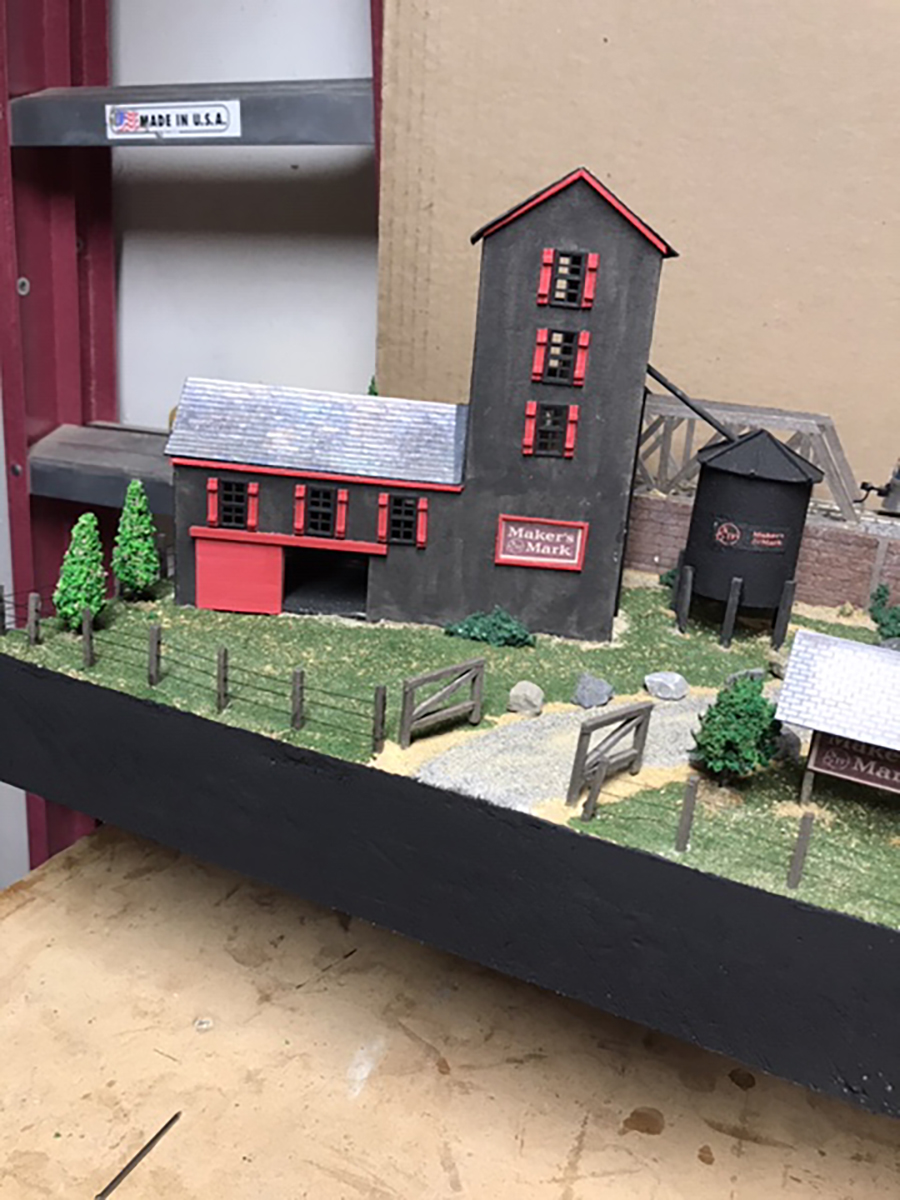
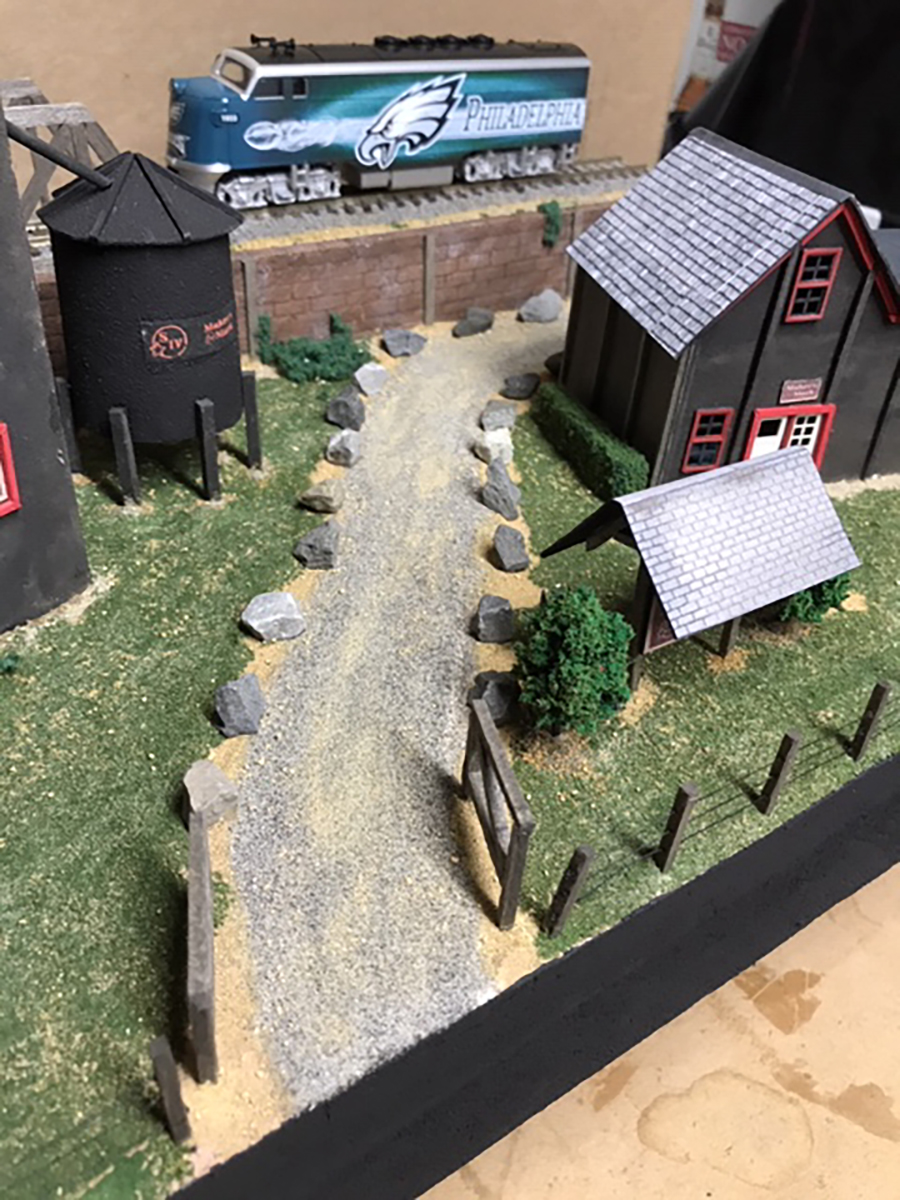
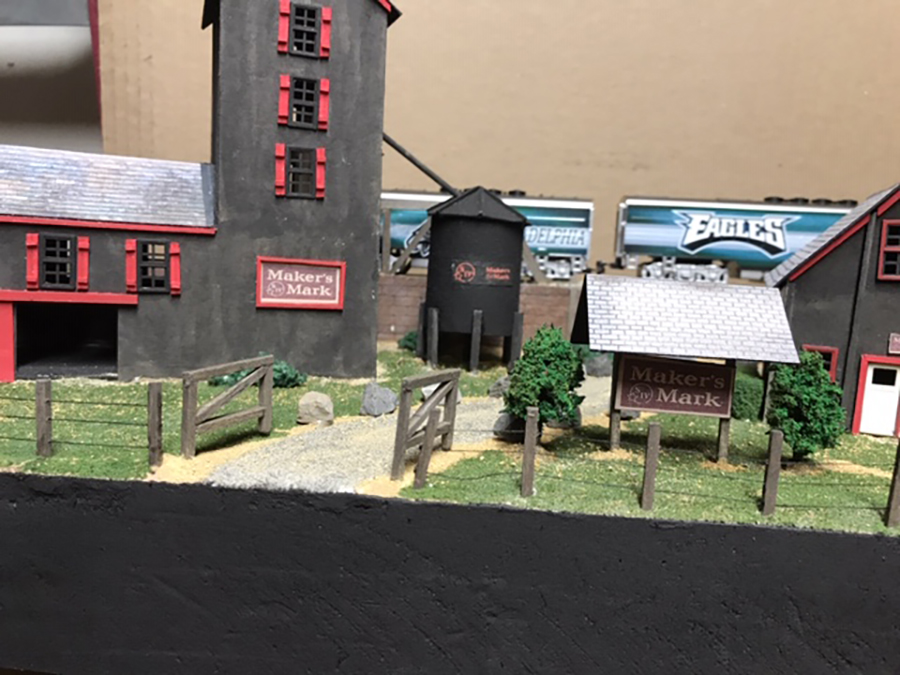
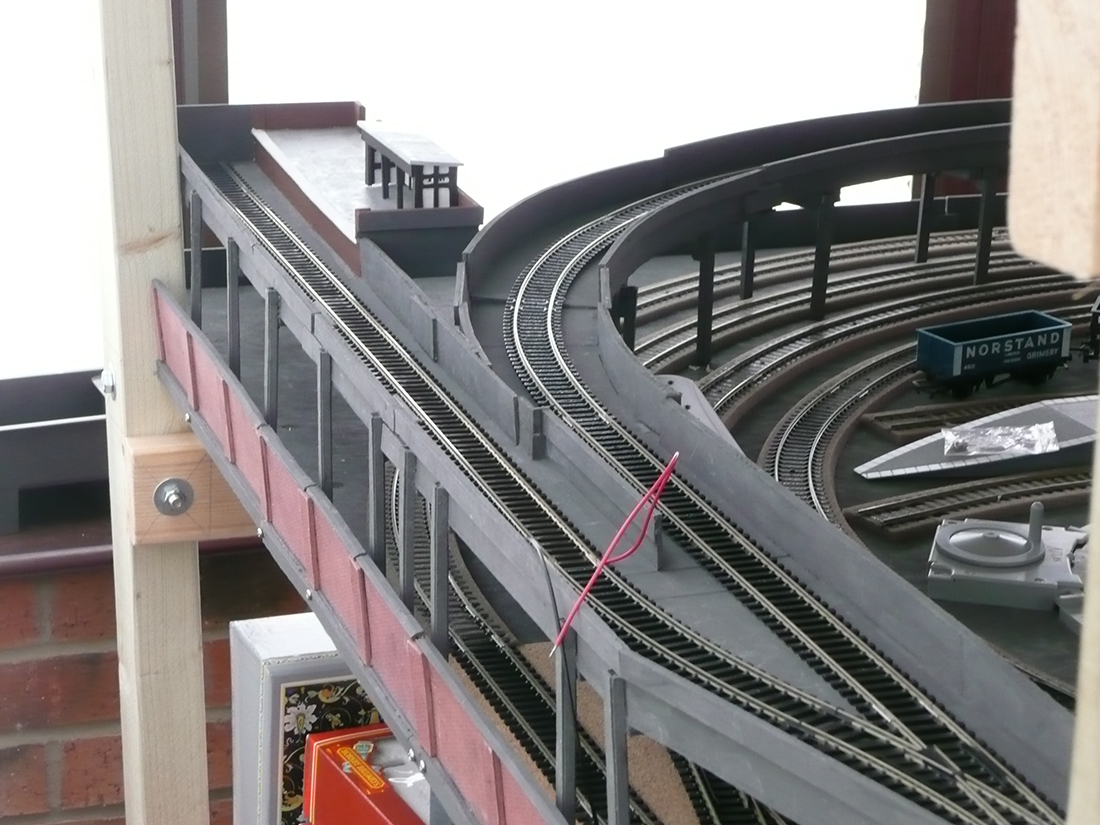
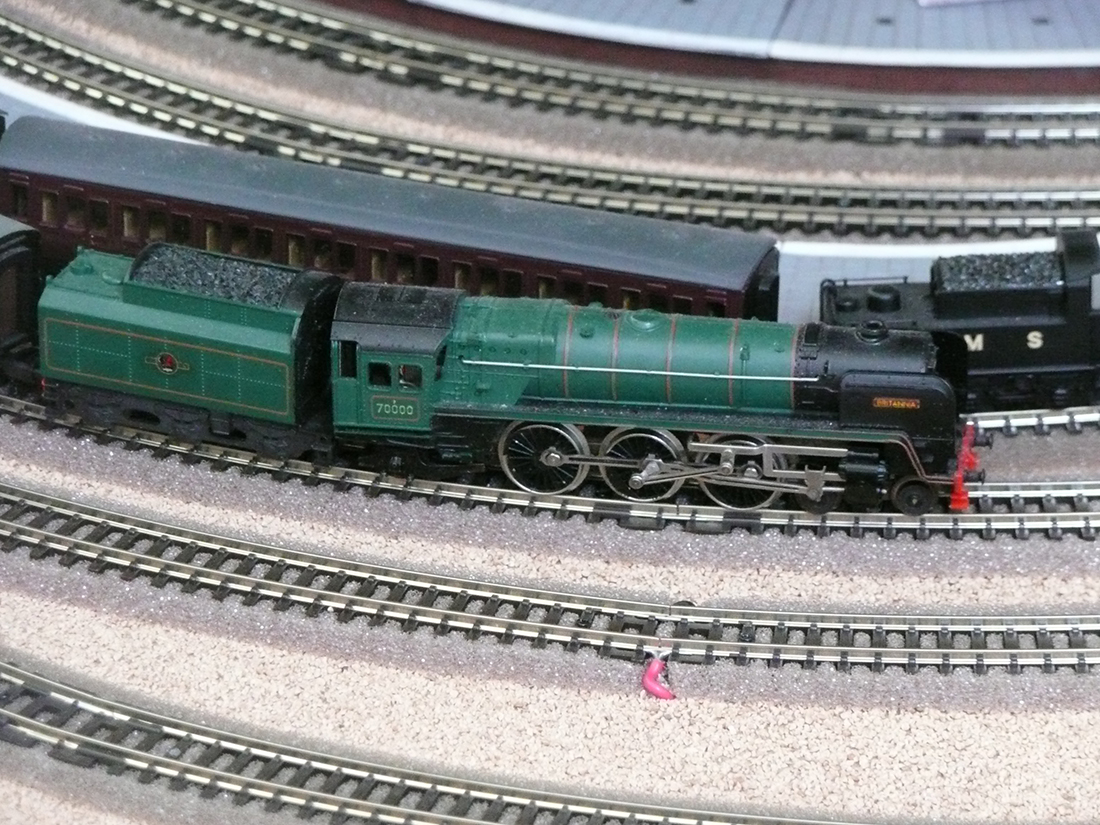
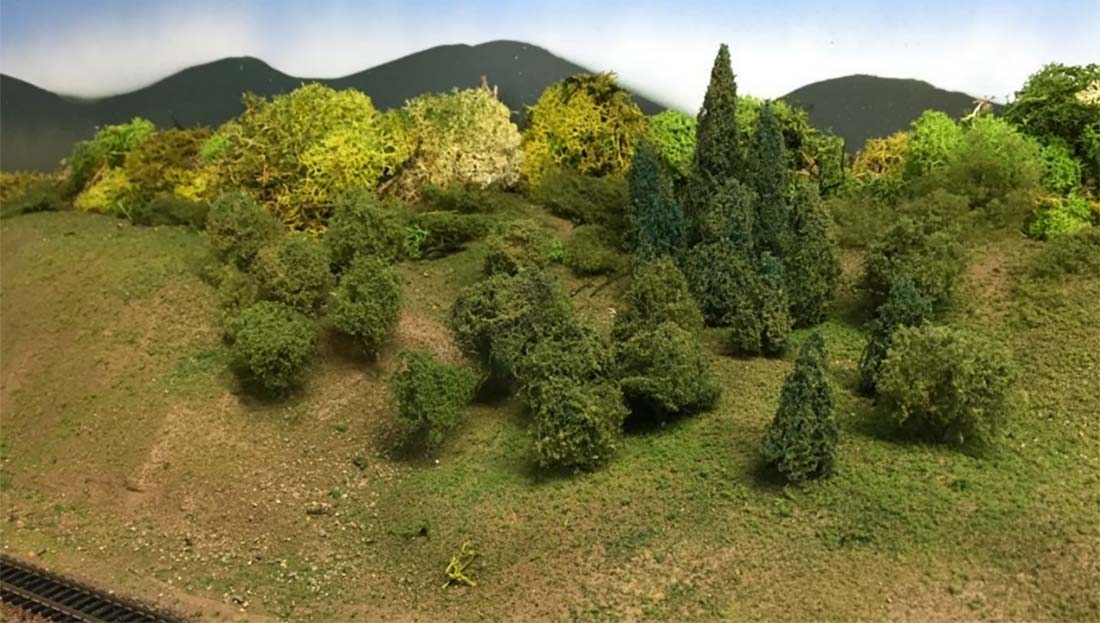
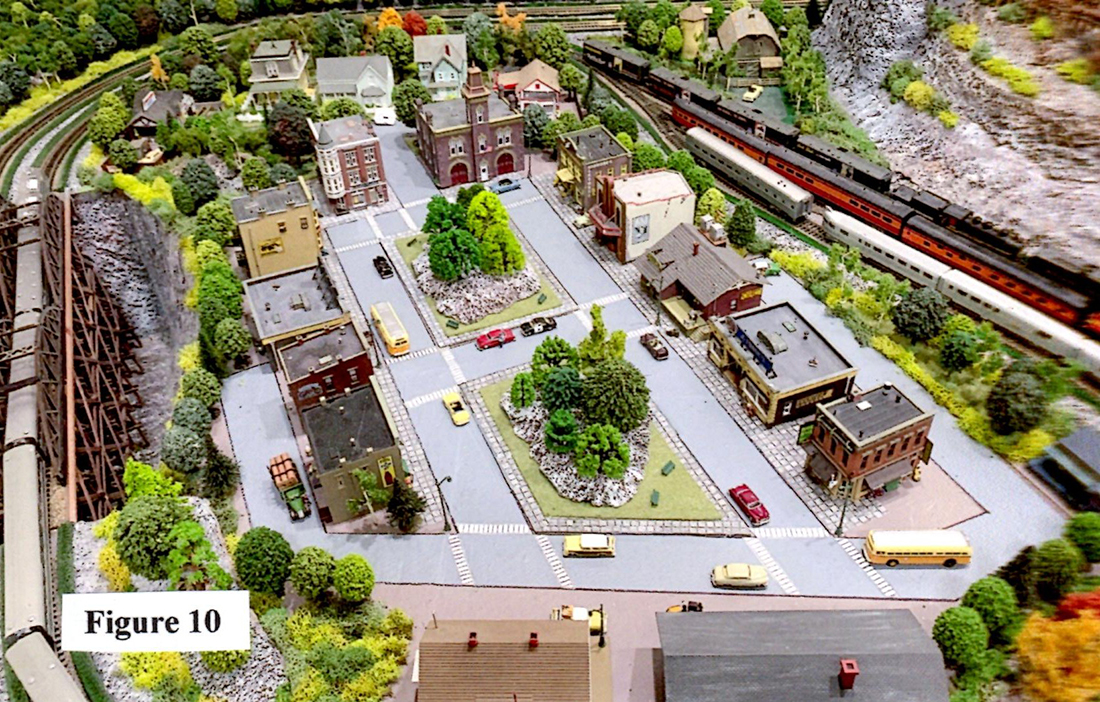
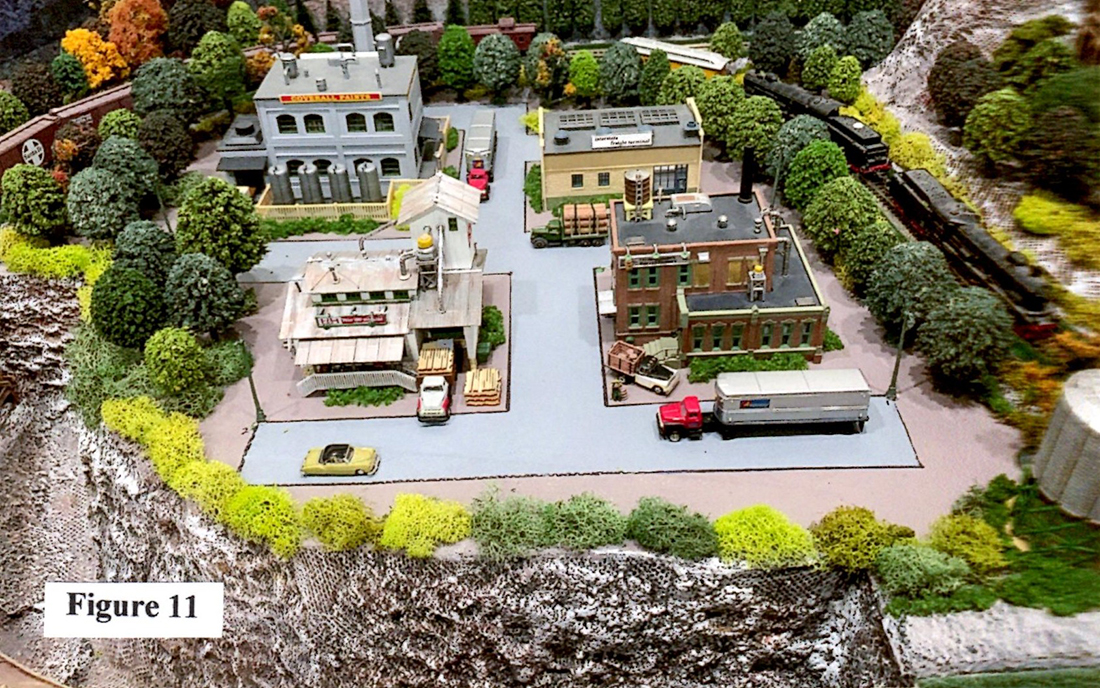
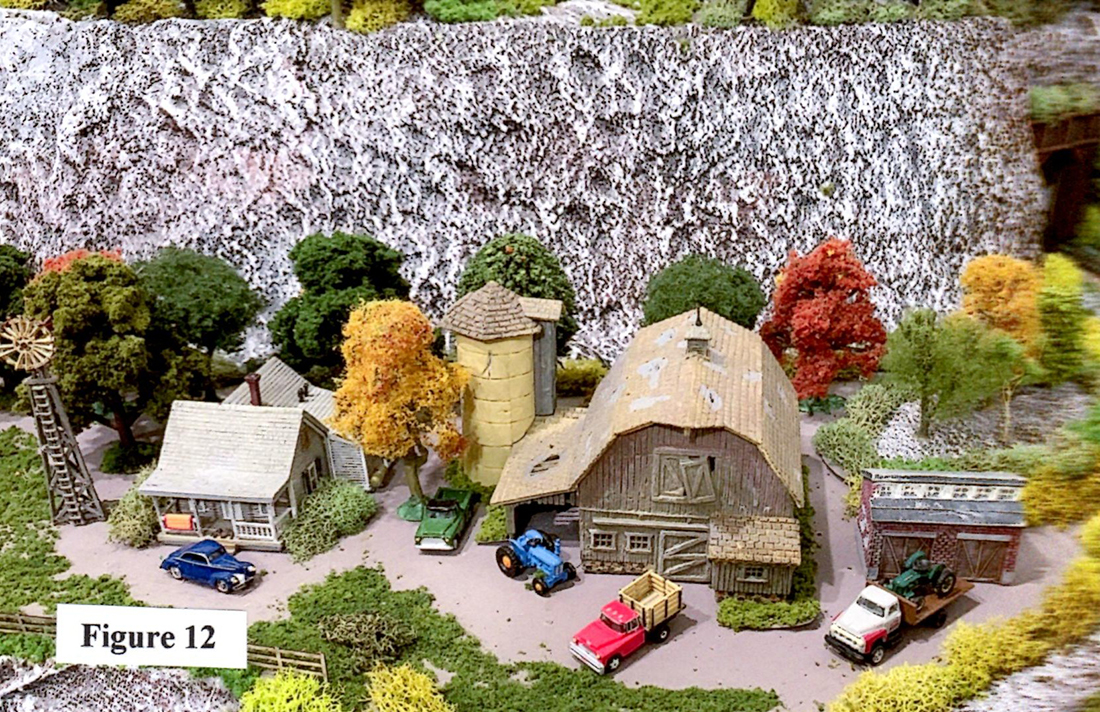
Level one is a small town (Figure 10), level two is an industrial complex (Figure 11), and level three is a rural area (Figure 12).
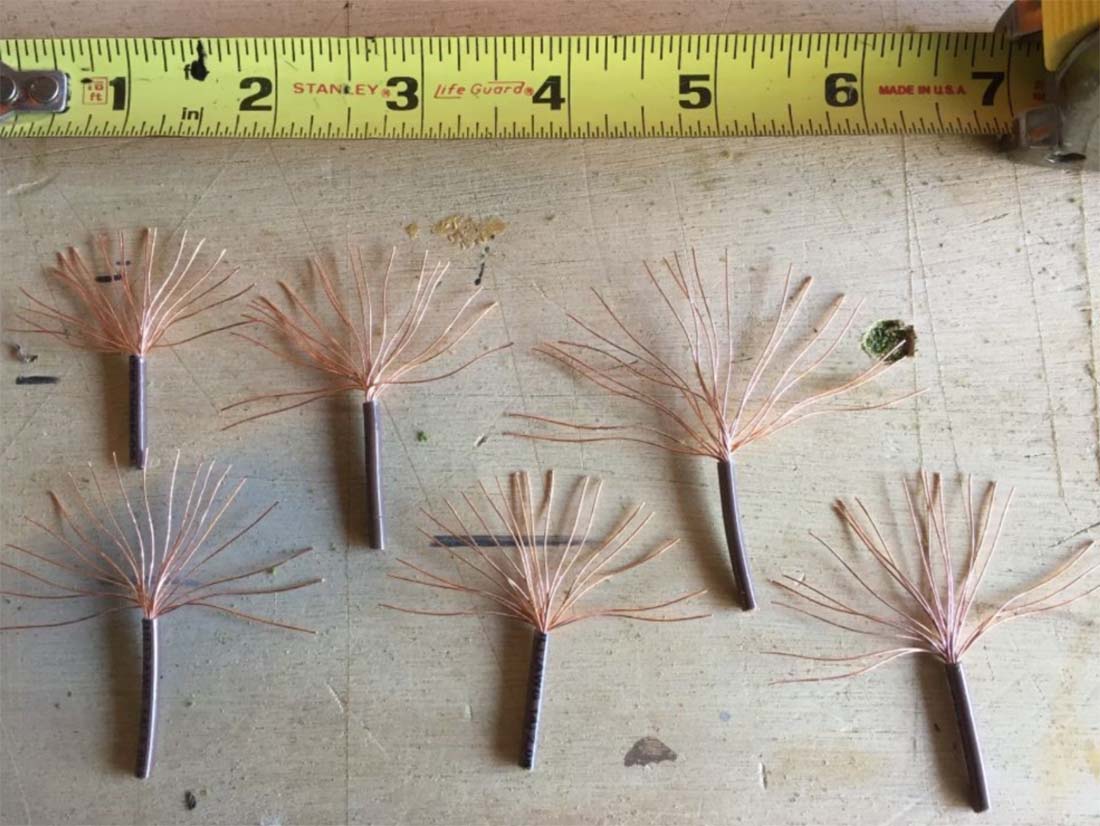
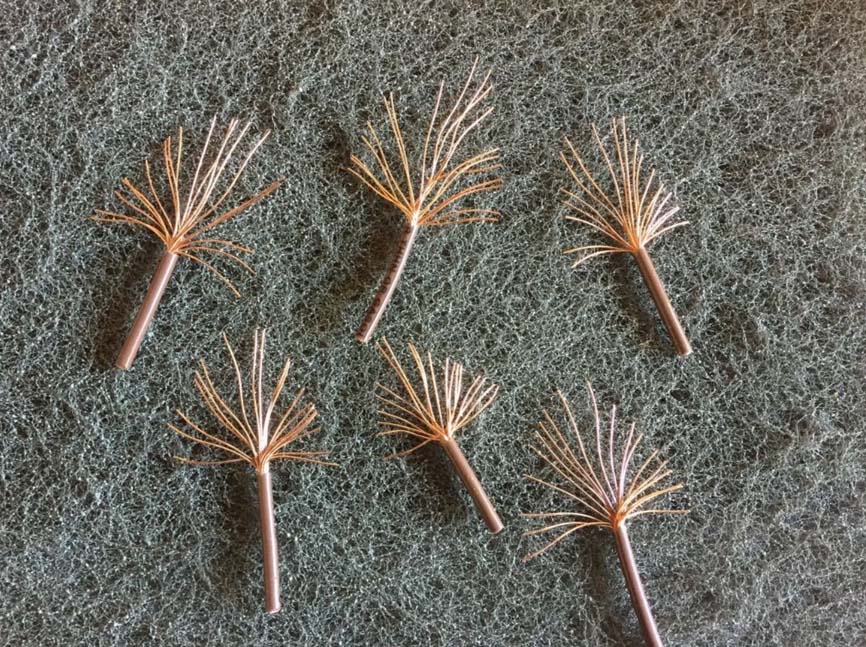
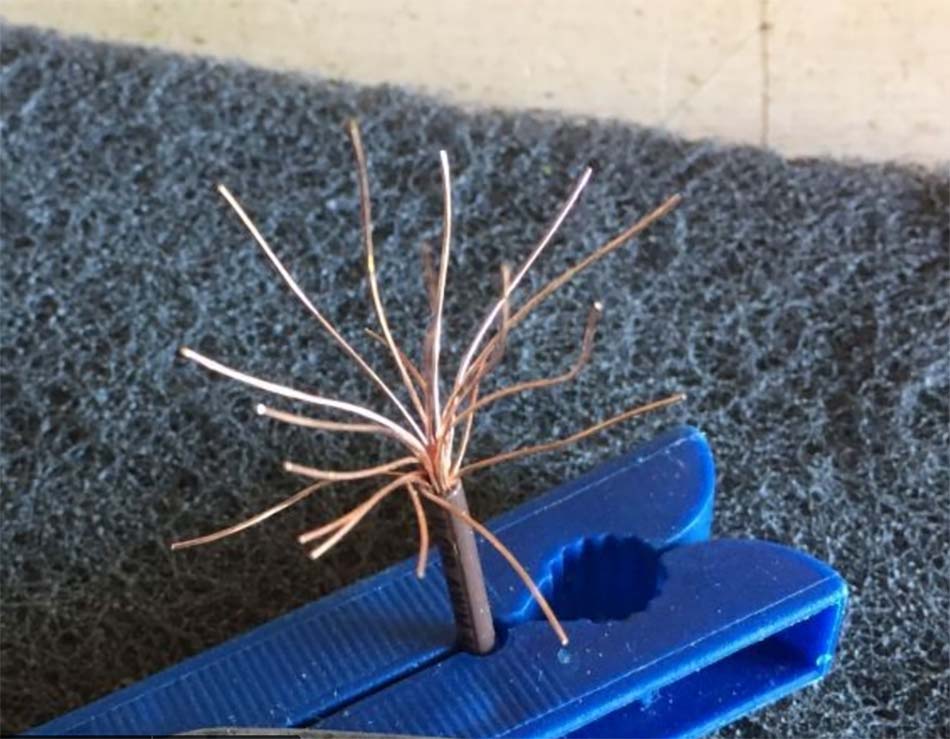
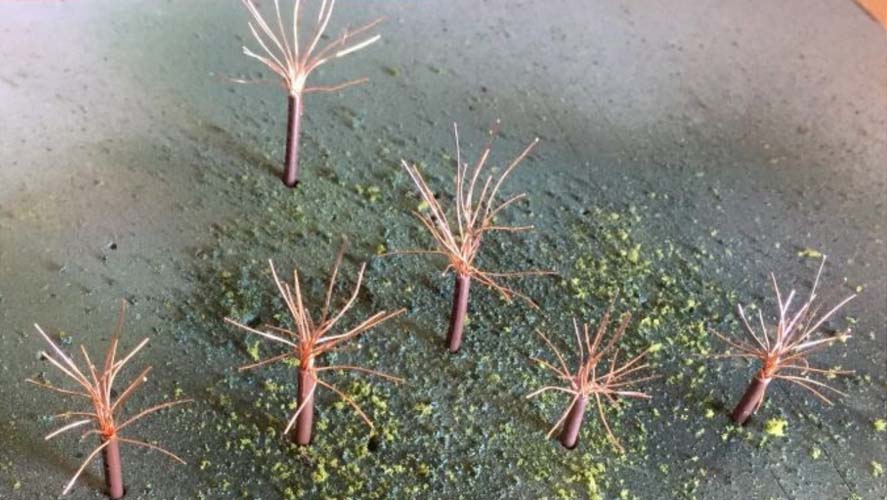
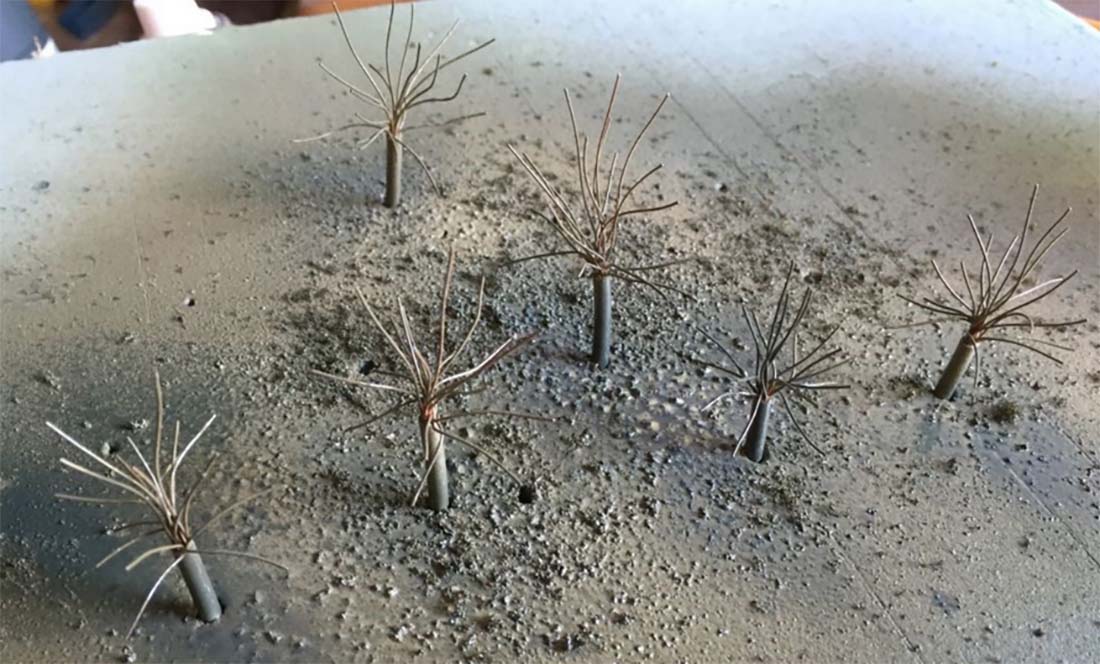
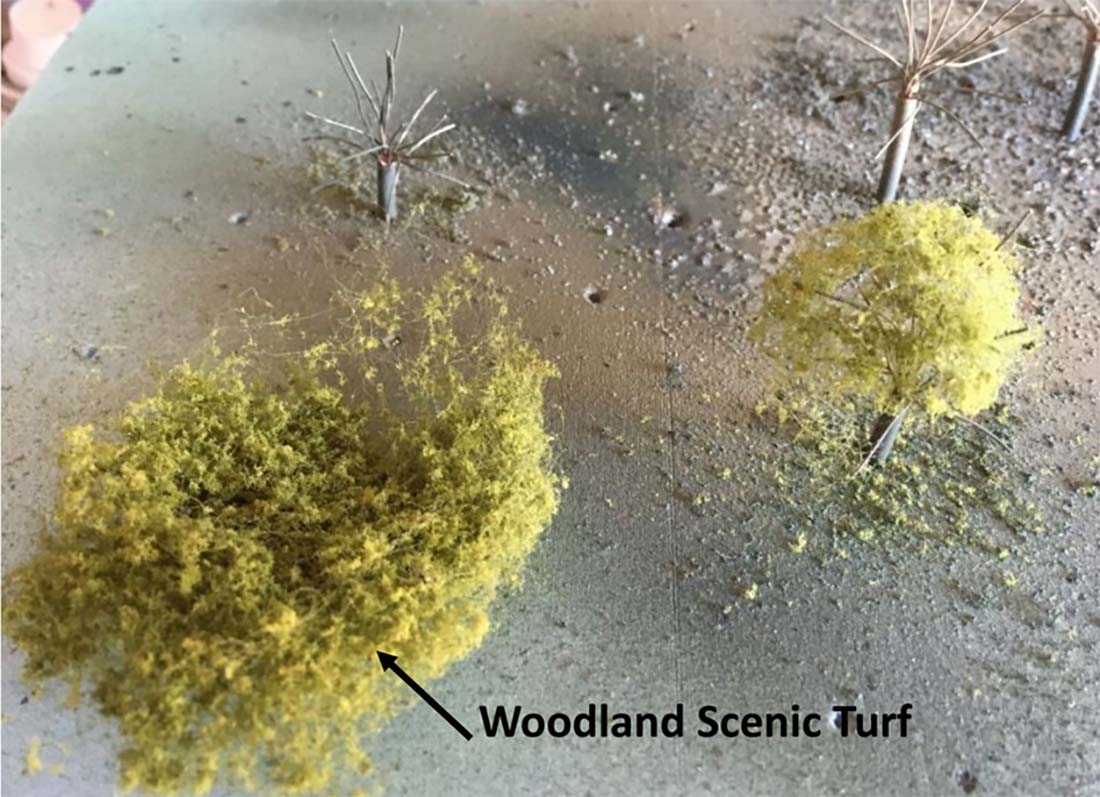
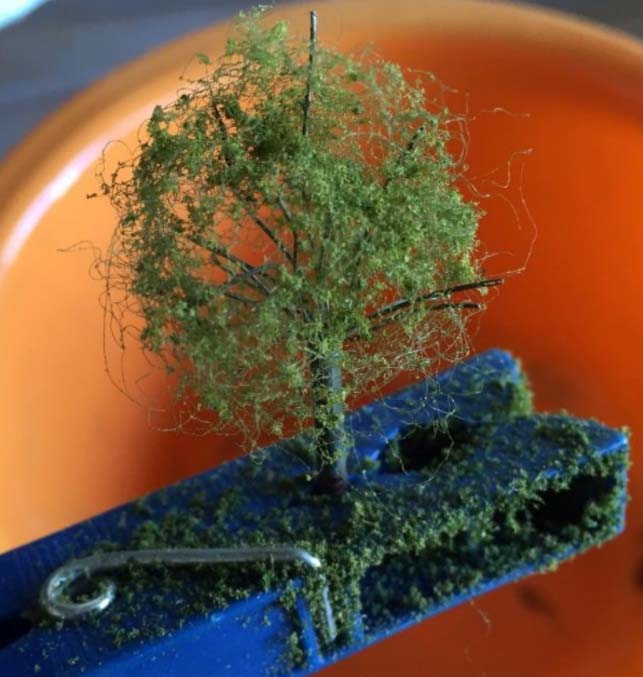
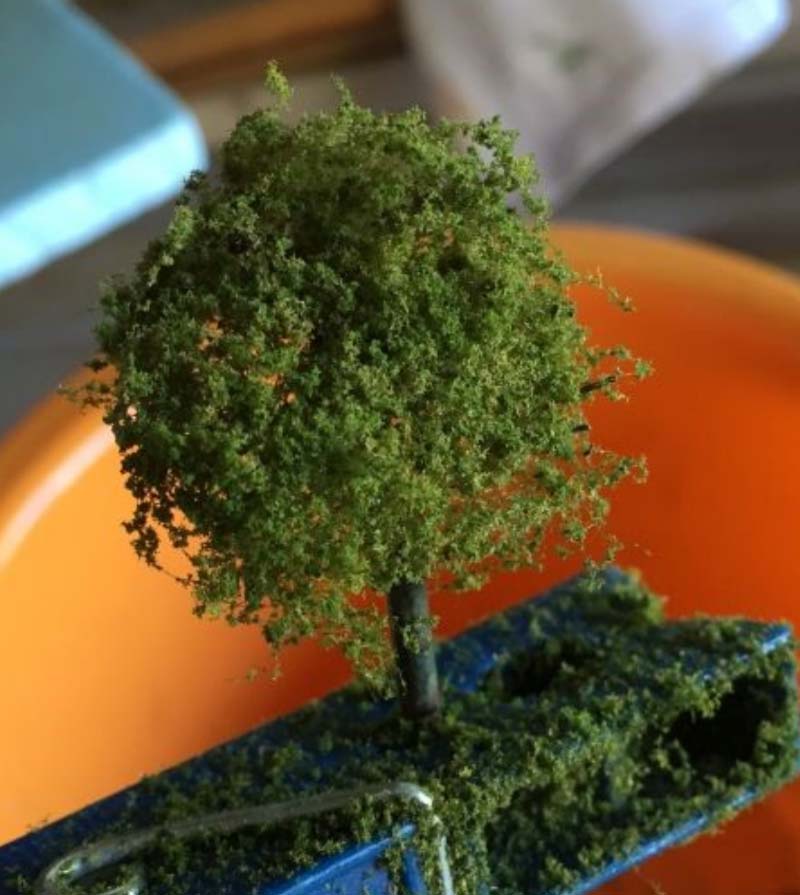
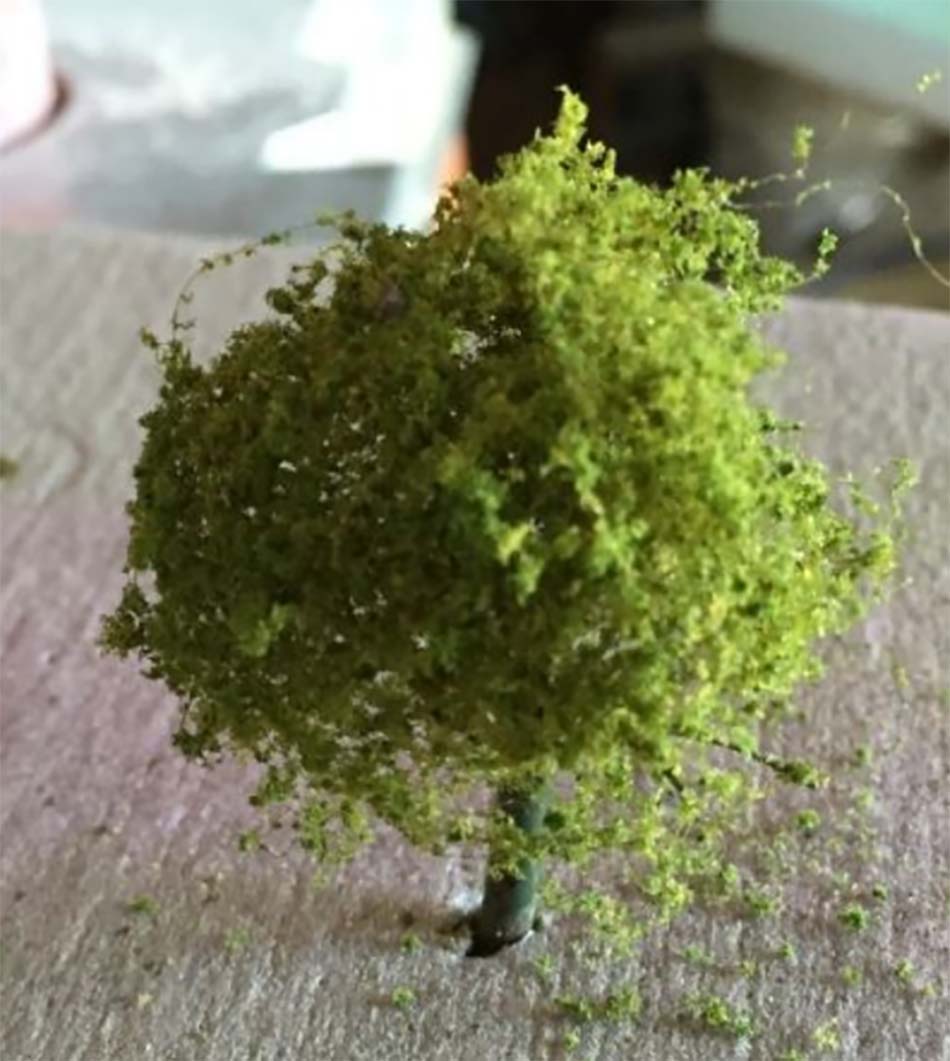
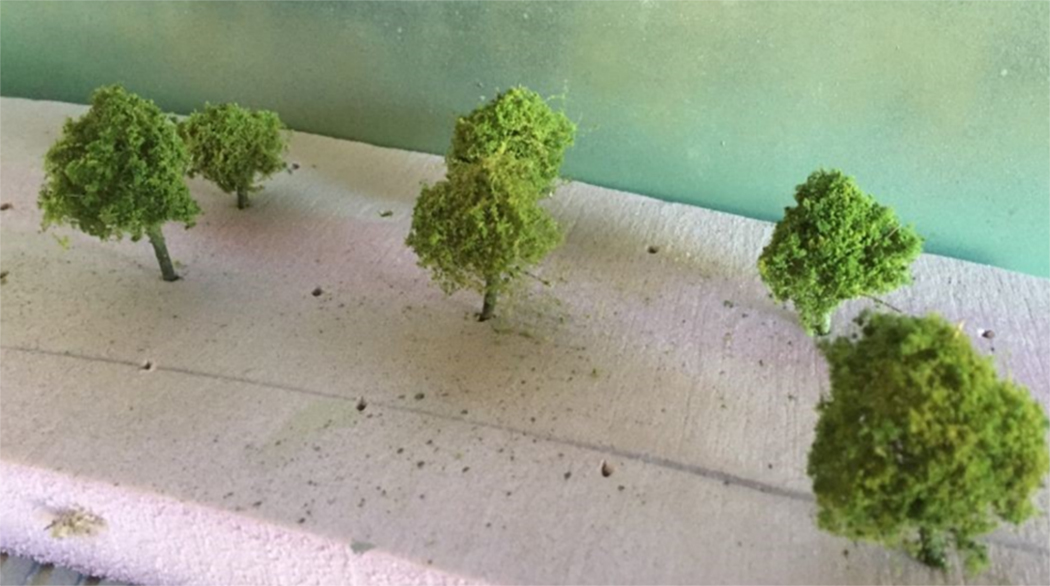
Most of the structures are lighted and there are street lamps in the town and the industrial complex. All the lights are Just Plug LED units, which I highly recommend. I scratch built a few of the trees (very tedious), but most are ready-made.
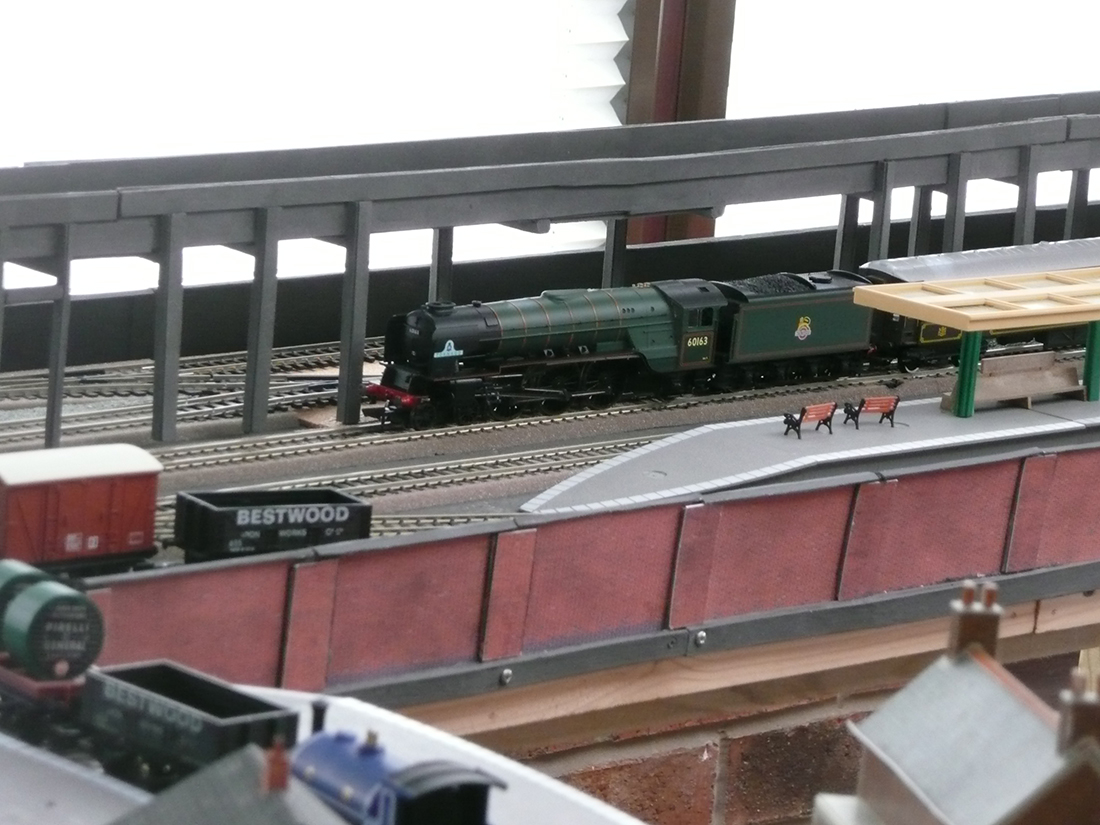
I typically operate a mix of trains including steam and early diesel-electric.
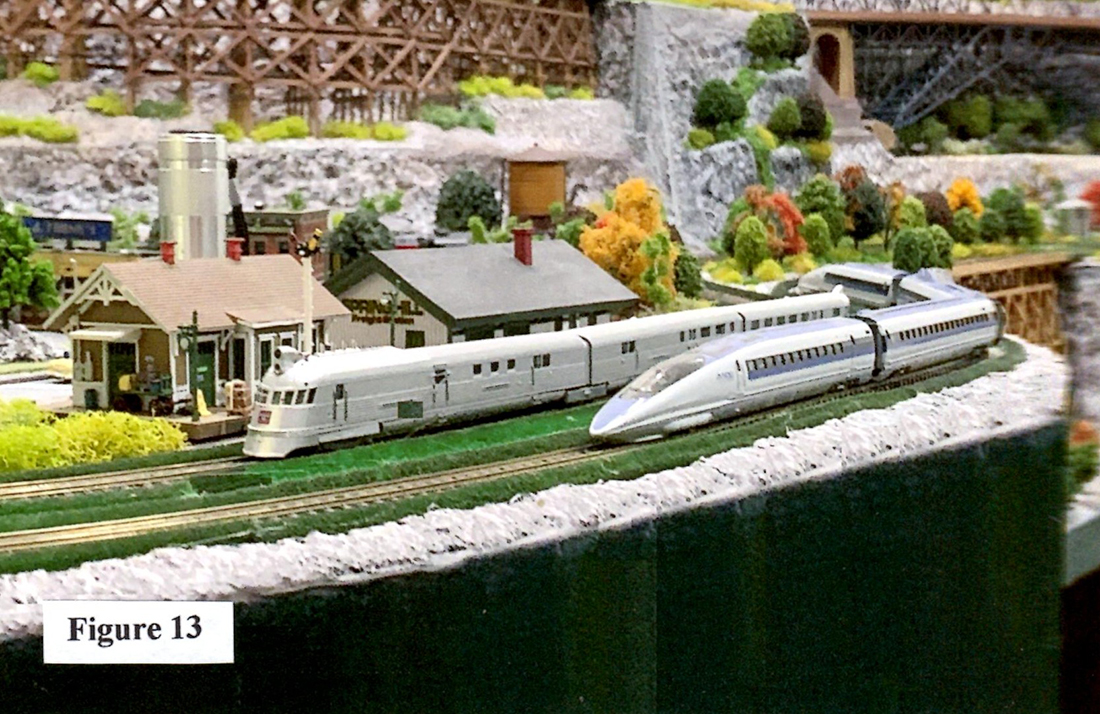
My favorites are a model of the Durango & Silverton Railroad and a model of the Burlington Pioneer Zephyr. Just for fun, I recently added a model of the JR 500 bullet train.
I occasionally run the Pioneer Zephyr on one tract and the bullet train on the other (Figure 13). It’s all about having fun.
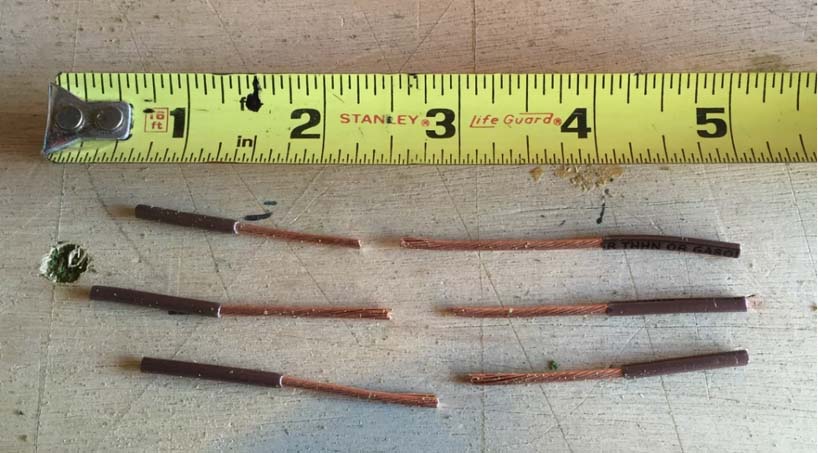
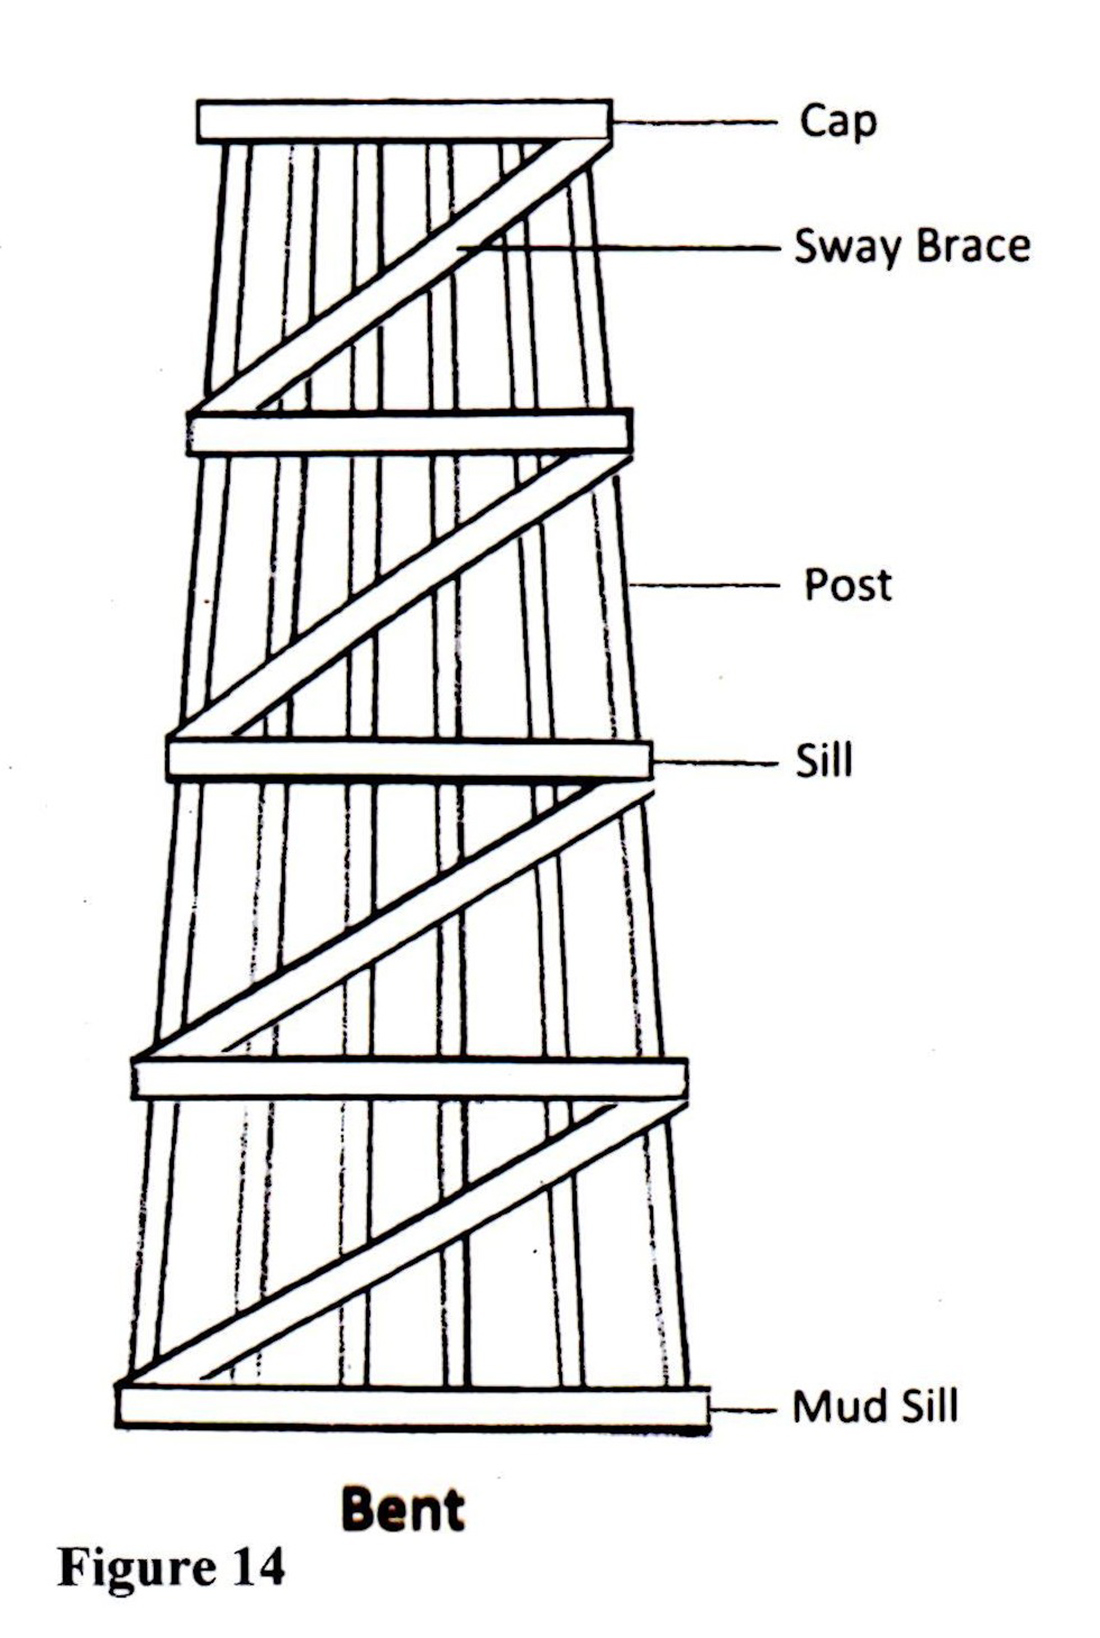
The remaining photographs show how I constructed the bents for my trestle bridges (Figure 14).
The first task was to decide the size and shape of each trestle bridge so I could design the individual trestles and determine how many I would need for each span.
Next, I fabricated a simple jig made from balsa wood attached to a foam core base to align the posts (Figure 15).
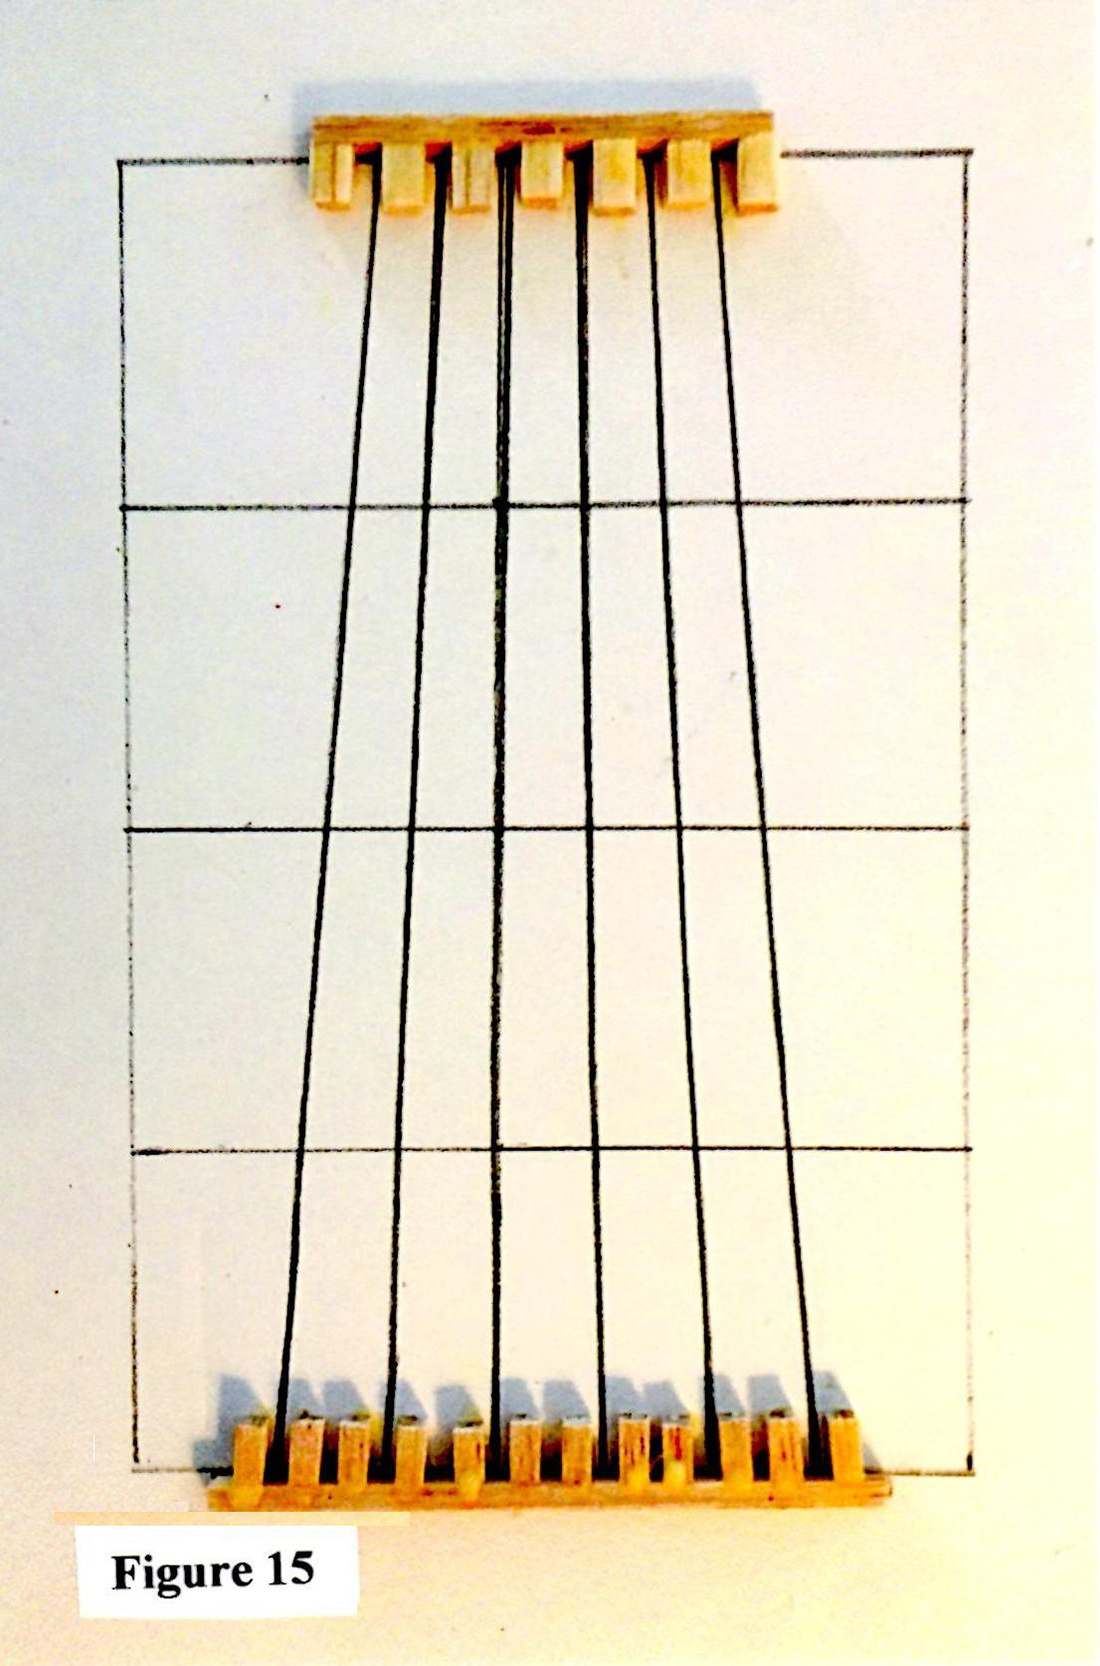
I used bamboo skewers for the posts and balsa wood strips for the cap, sills, and sway braces. I cut the bamboo skewers to length, inserted them into the jig, and attached the sills (except for the mud sill at the bottom of the bent and the cap on the top) with wood glue, and secured them with pins (Figure 16).

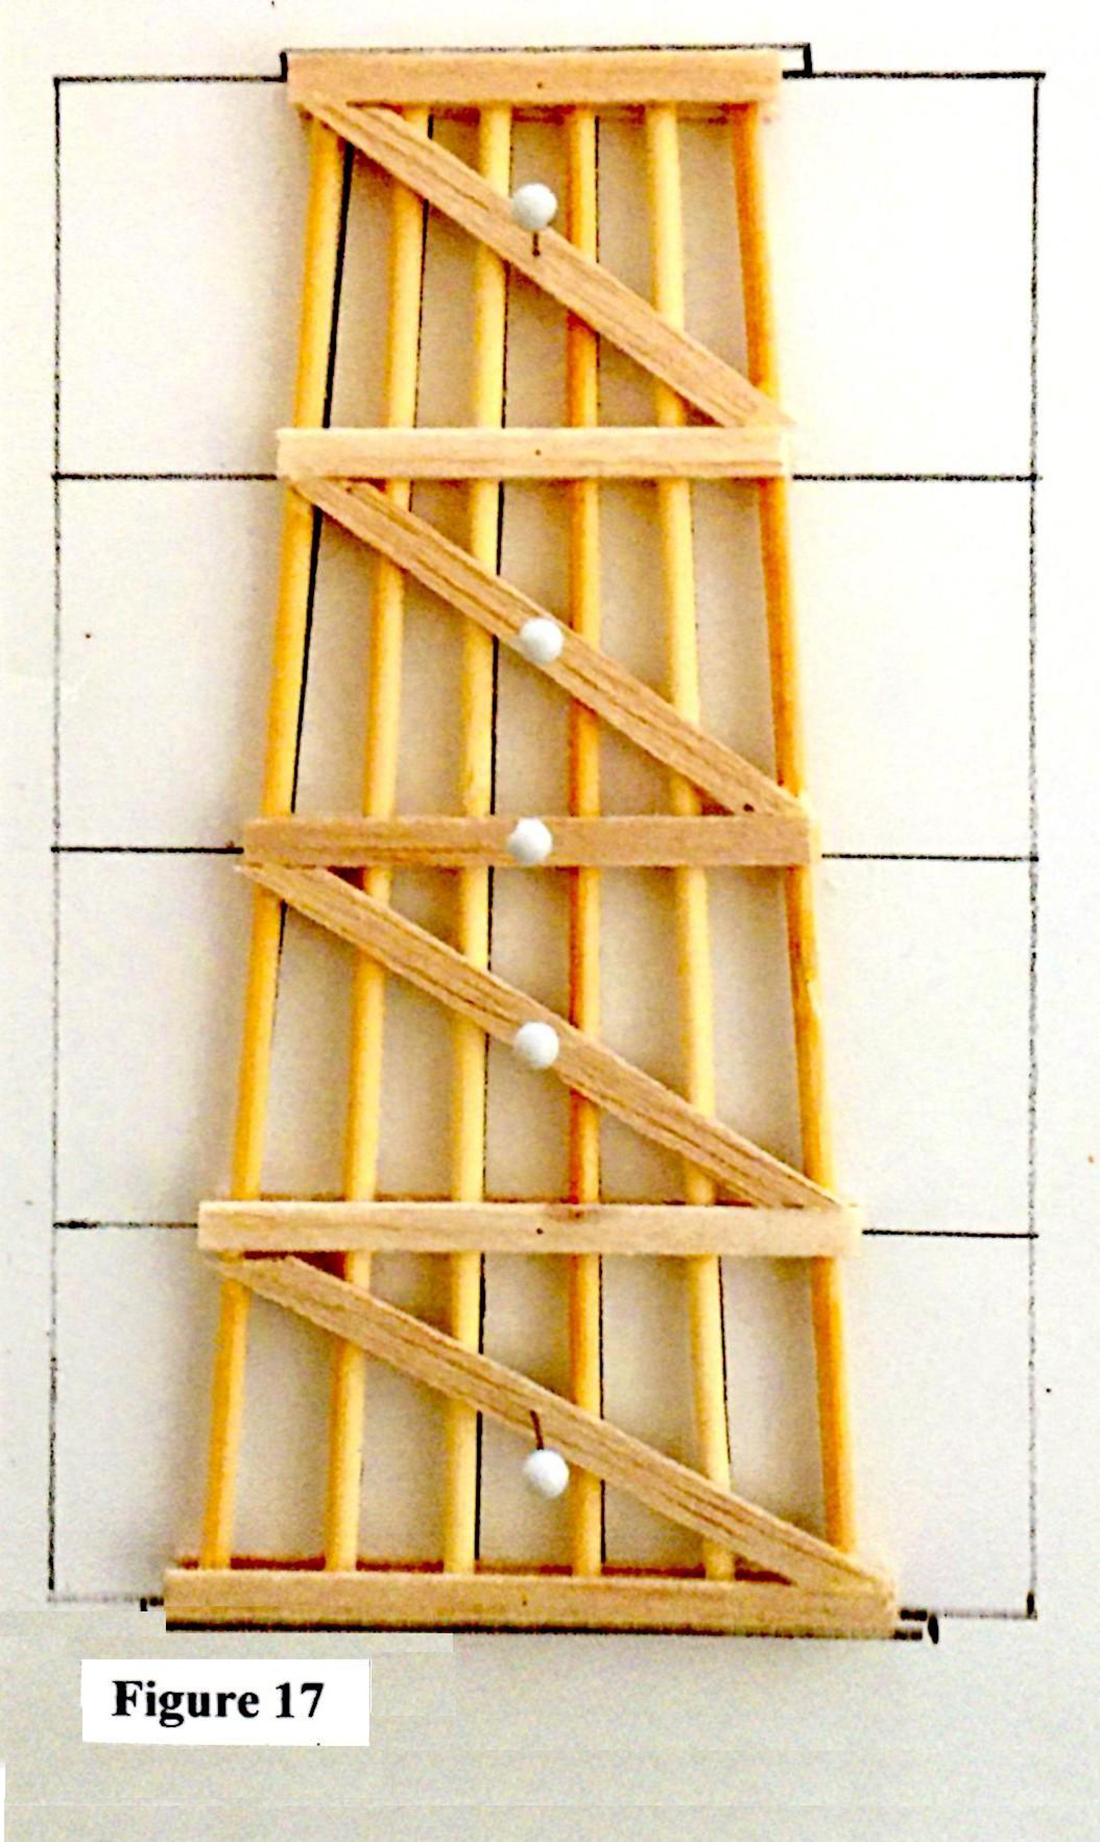
I removed the bent from the jig, placed it on a guide attached to a foam core base, and glued on on the cap, mud sill, and sway braces (Figure 17).
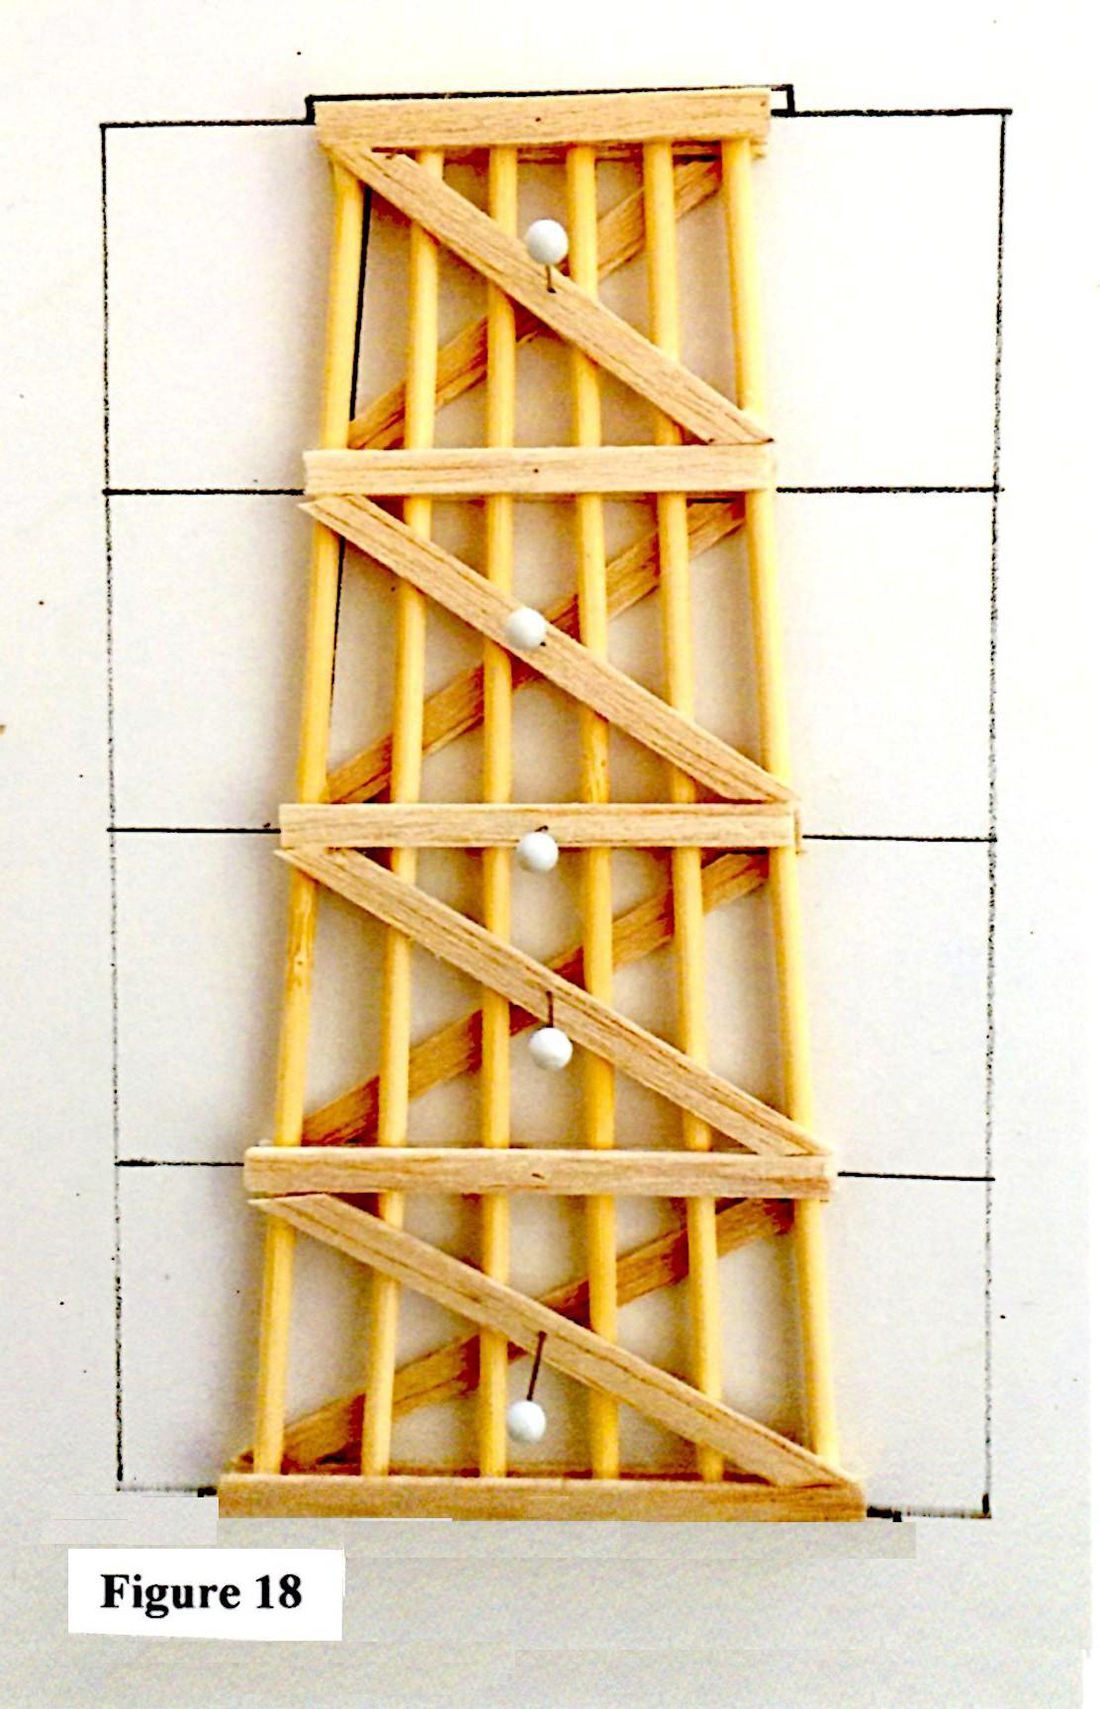
Once the glue was dry, I turned the bent over and attached the cap, sills, and sway braces to that side (Figure 18).
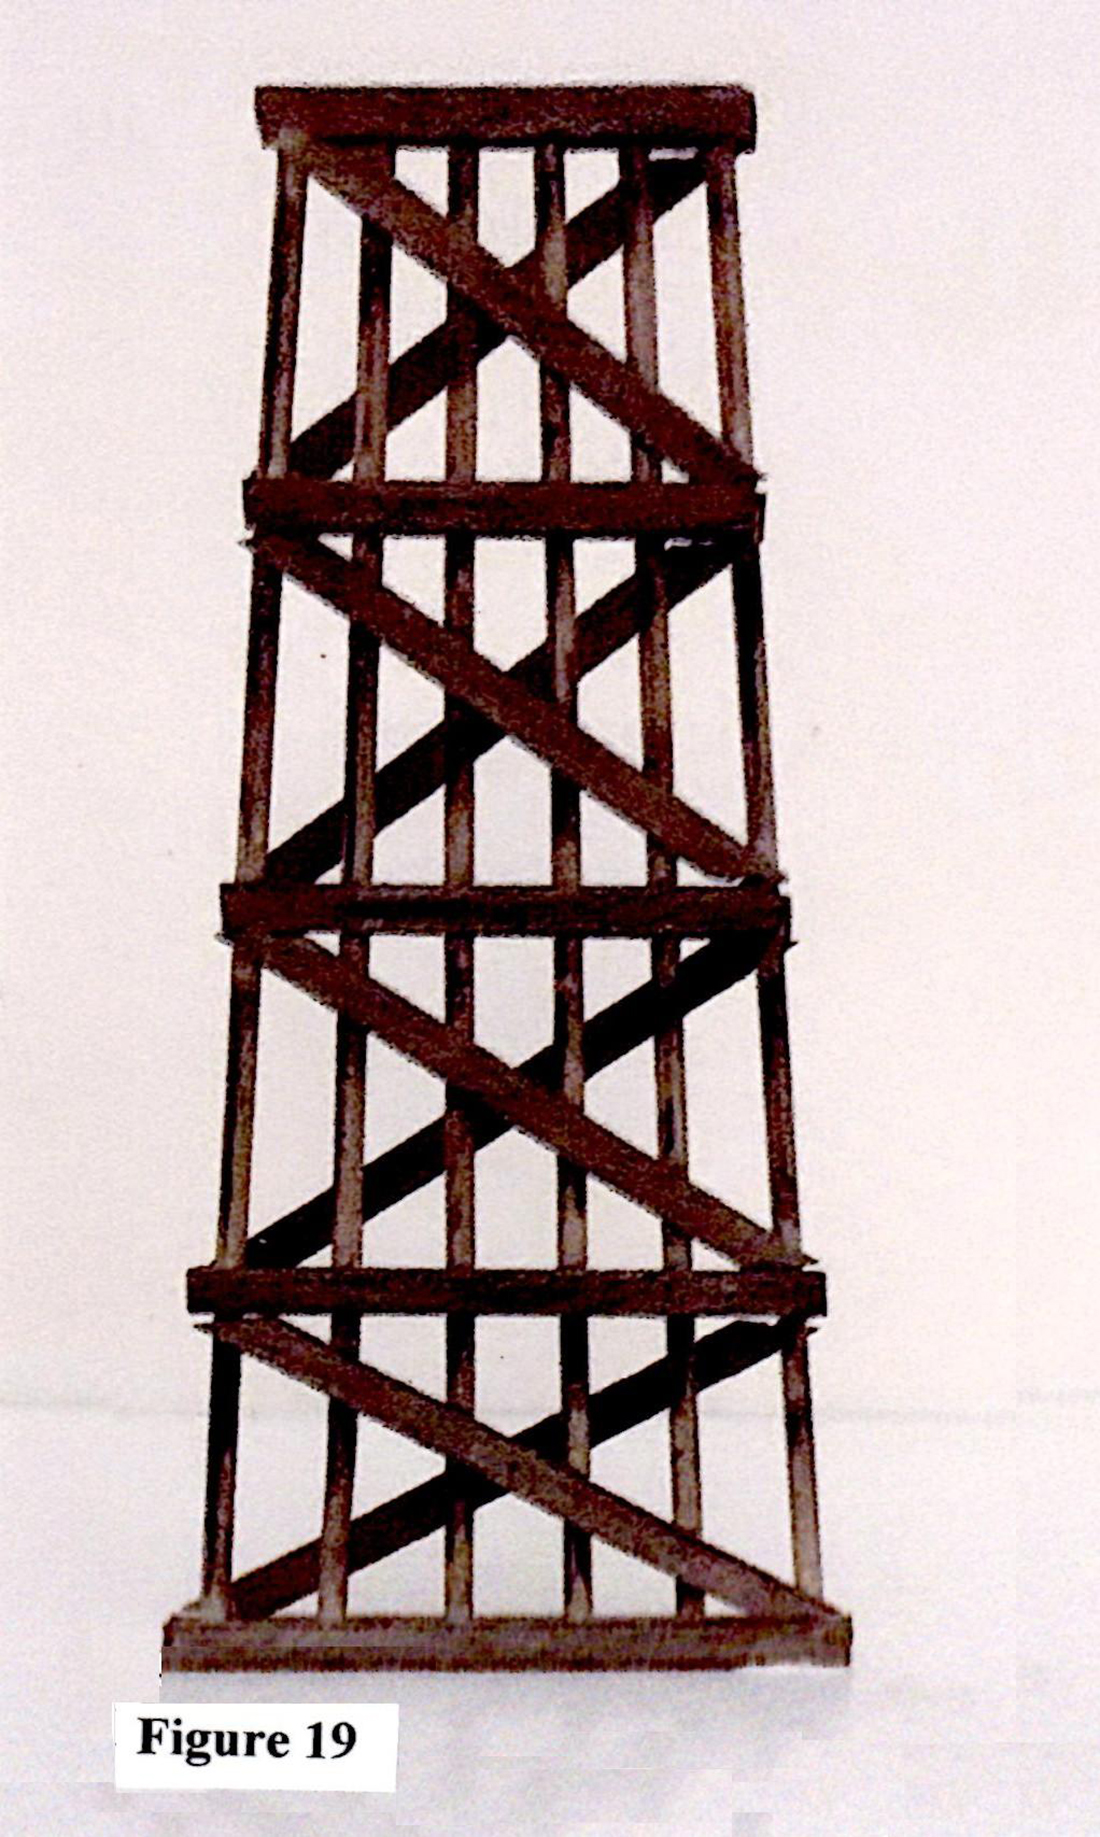
I painted and weathered the completed bent (Figure 19), and moved on to the next one. I hope you found this post helpful.
I’m still working on a video.
Thanks,
Bob”
A huge thank you to Bob for such a detailed walk through of his small N scale layout.
Hope you enjoyed it as much as I did.
That’s all for today folks.
Please do keep ’em coming – it’s all getting a little thin on the ground this end.
And if today is the day you want to start on your own layout, the the Beginner’s Guide is here.
Best
Al