I posted about Martin’s very clever uncoupling system not long ago.
You may remember it – it also showed off his even cleverer fiddle yard.
(If you missed it, it’s here.)
Well, Martin has been back in touch and he’s very kindly answered all your questions:
“Al,
I was completely overwhelmed by the response to my traverser video, I really did not expect so much interest, so firstly I would like to say thank you to all who responded for their encouraging comments.
There were a number of questions raised, so I will do my best to respond to them.
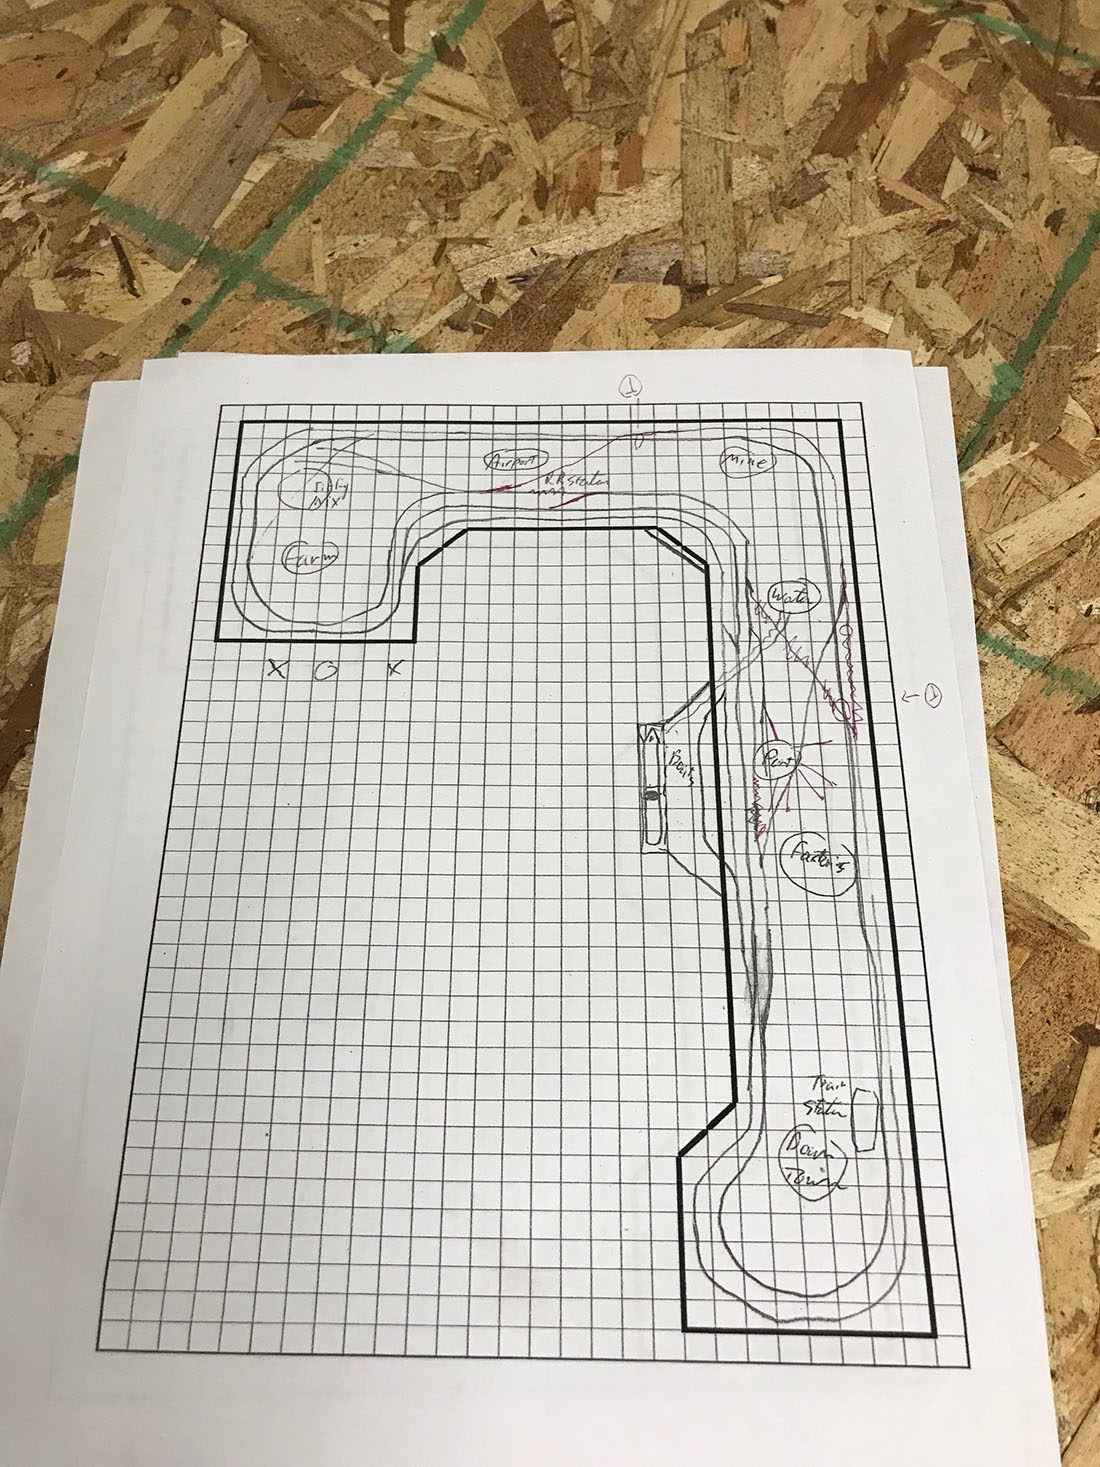
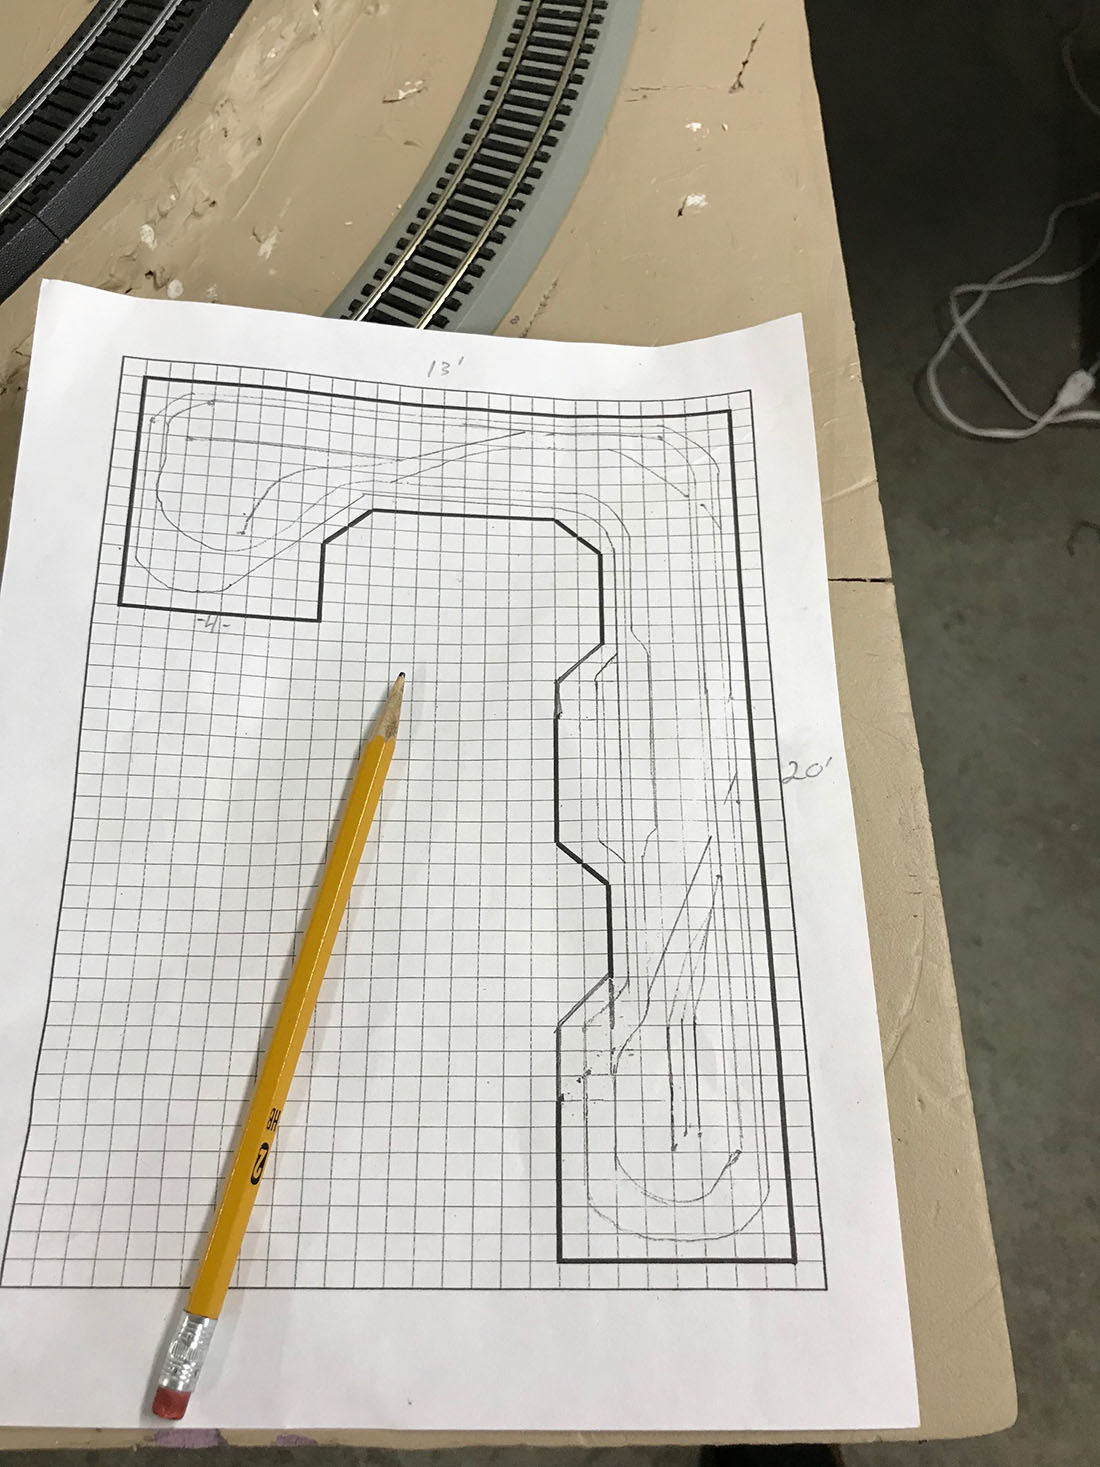
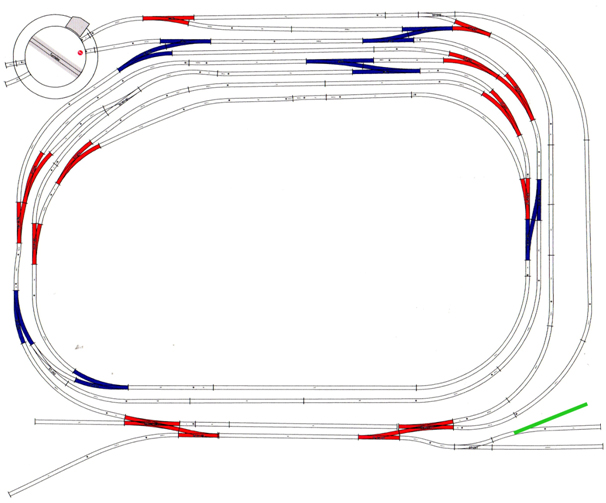
Colin – Here is the final version of my track plan, the green line on the bottom RH corner is the extra siding I added to the goods yard.
Derek – The turntable is standard Hornby product, it uses a mechanism called a Geneva Drive which causes it to stop at each location, which is actually quite irritating as the unit allows for 14 tracks and I only use 4, so if I want to turn a loco round it stops at all unused tracks on the way.
Having said that, it works fairly well even if it is noisy.
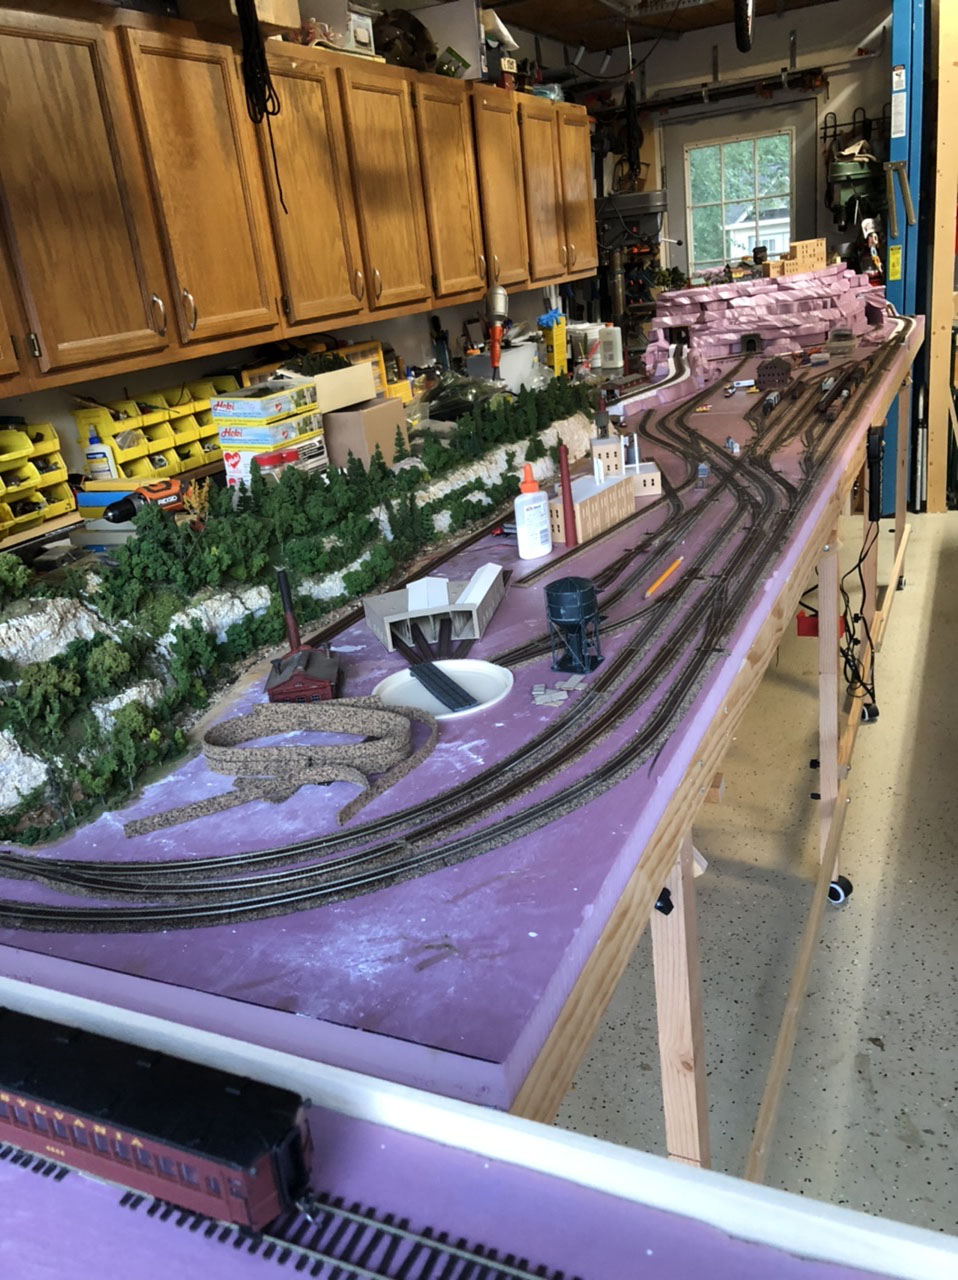
As built, the turntable stands proud of the baseboard and is supplied with short ramps, but I went the extra mile and sunk it into the baseboard to leave a level track.
Yes, it is a bit quick at the moment, there is a reason though – the turntable and the traverser share a power supply, and I increased its voltage to speed up the traverser. I intend to fit a resistor to slow the turntable down as soon as I get round to it.
Keith – Sorry, no sound on the video. I forgot to turn the radio off when filming and to be honest, I was too lazy to do a voice over.
Roger – Yes, it did use a fair amount of ink, but using recycled cartridges reduces the cost. I am quite mean, and save paper which is only printed on one side for one off occasions like this, so no extravagance there.
I do use your suggested method for a lot of projects, I think it is called “Dynamic Design” – i.e. make it up as you go along, but I do believe that failing to plan is planning to fail.
Kaustav – The traverser is level, it is just the camera angle. However, loose wagons can roll off, hence the removable strip across the end, which is set at buffer height to allow couplings to pass under it.
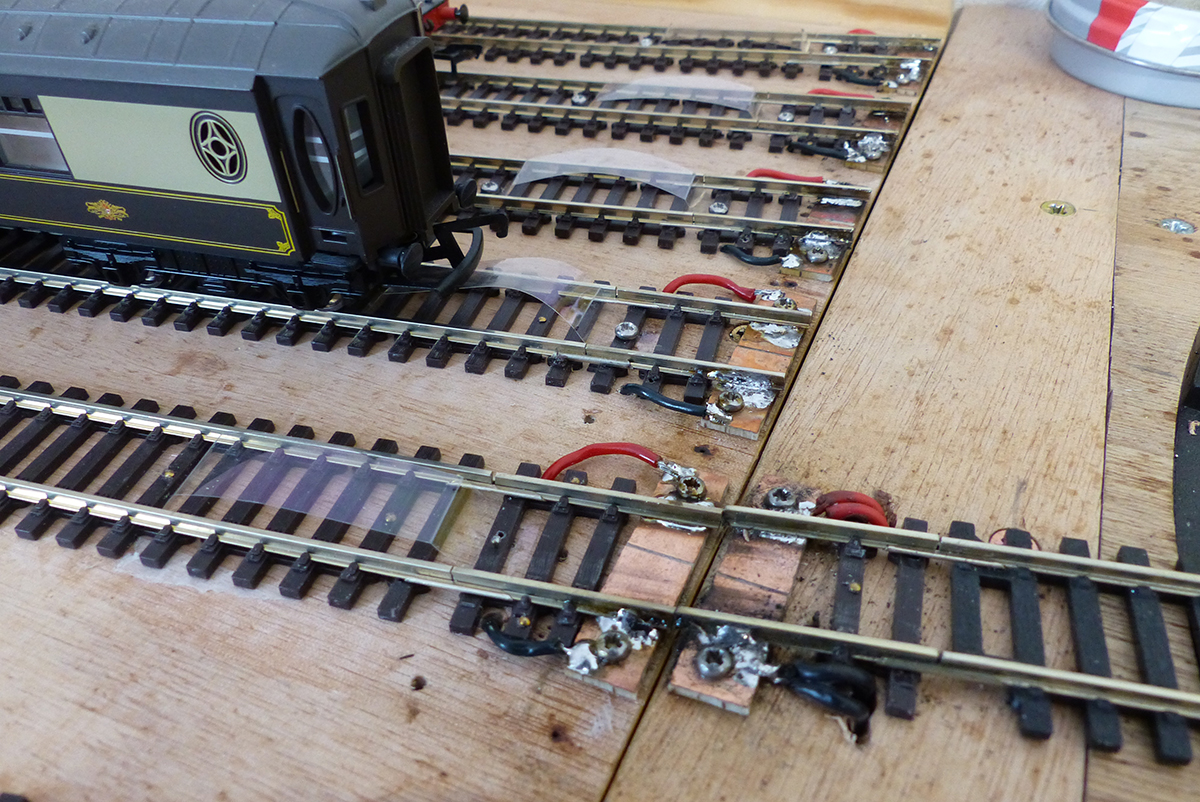
Michael – Accurate track alignment is the key to the whole project. In the words of Thomas Edison, success is 10% inspiration and 90% perspiration!
Everything needs to be level and the indexing needs to be accurate, then it should all go to plan.
Aligning the first track is easy – lay it across the gap, (I use copper clad board sleepers and solder the track to them) then cut through the track.
The rest need lots of care and patience. I did cheat a little with the two front tracks, which are curved – I sacrificed a curved section of set track and cut it to fit, to keep the curve constant.
Chris – Yes, I confess to being a retired mechanical fitter and have worked on a variety of electro-mechanical equipment.
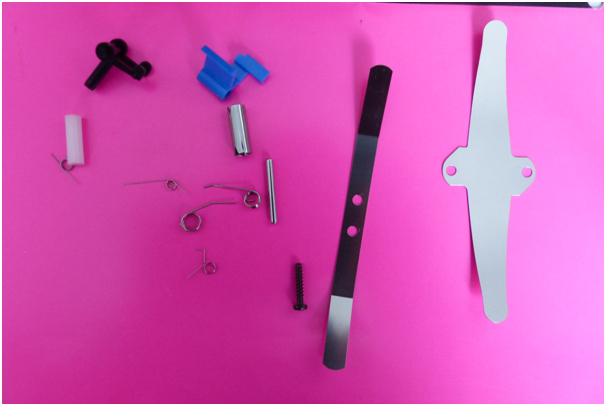
Dean – Here is a selection of the goodies available from VHS cassettes: –
BTW our ages are not so far apart – I am 72.
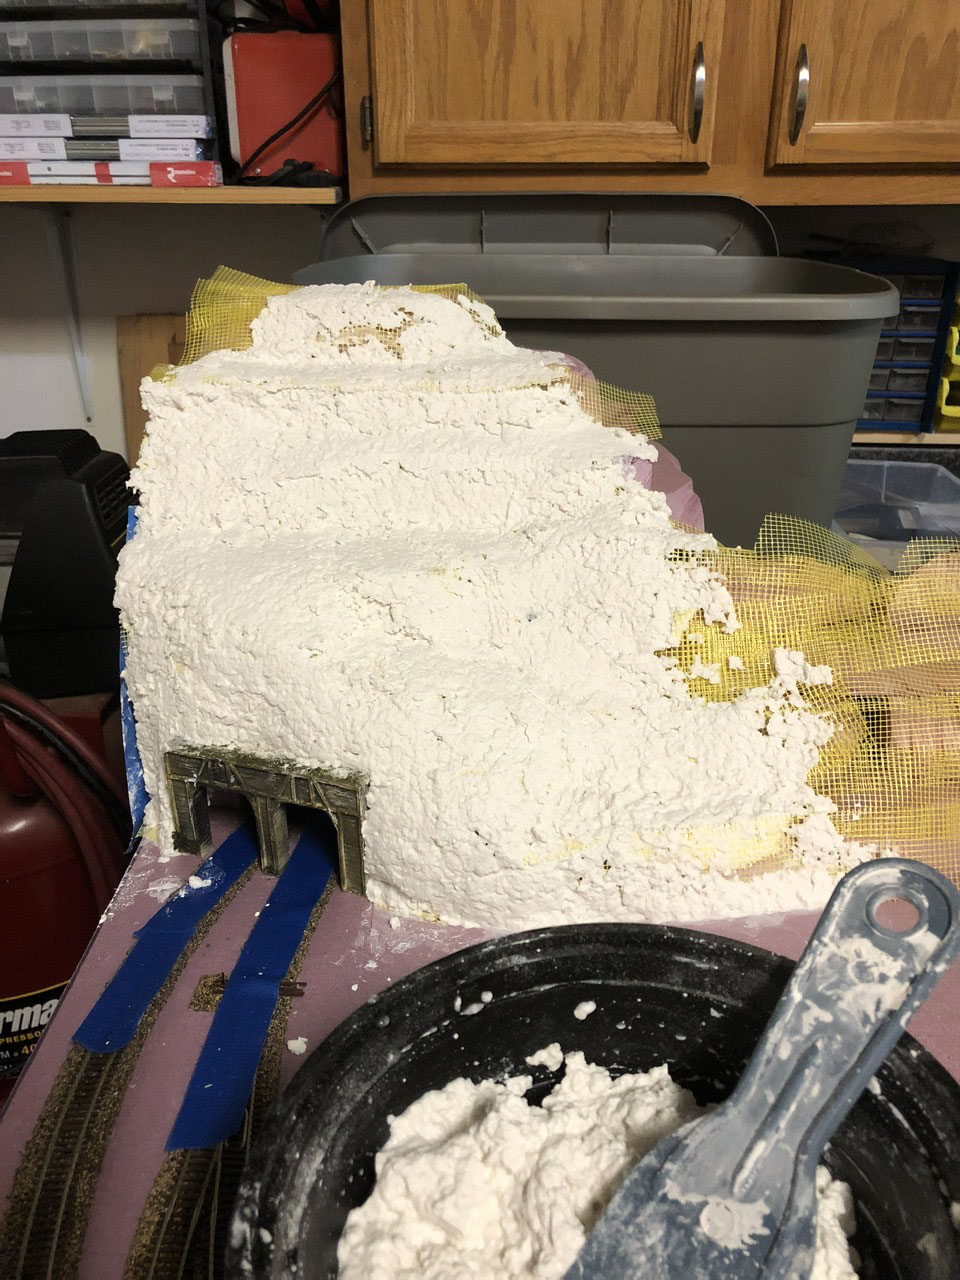
Bill – Green paint would be welcome as hope to get some scenery off the ground soon (pun intended).
Gary – My uncouplers are just a very simple version of the Hornby uncoupling ramp but at negligible cost and much less obtrusive.
I tried this approach as the Hornby ramps need a significant length of straight track and I have limited space on the traverser. They work OK with tension lock couplings – I have couplings of 3 sizes and after careful adjustments they work with all 3.
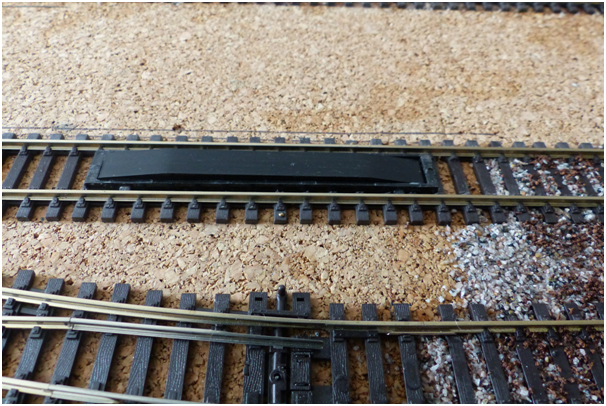
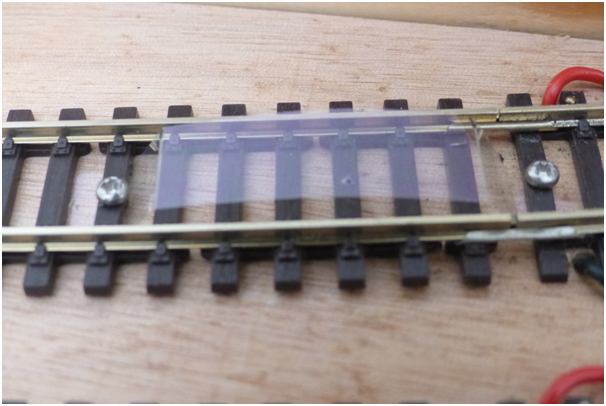
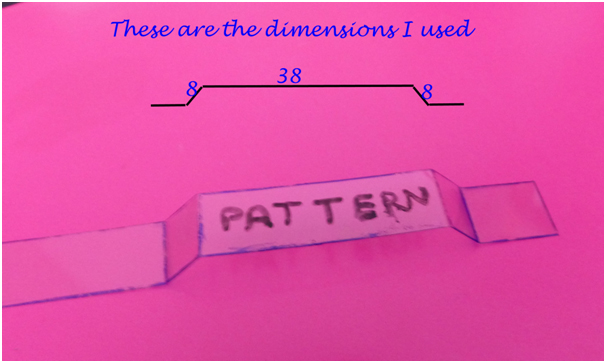
You should aim to have the centre section of the ramp just high enough to lift the hook as it passes over, but not too high as it will lift the wagon off the track. This is especially true with a light wagon.
Once you get it right, I would suggest you lock it in place with a track pin through the sleeper. Where they are not in the scenic area, I have used screws to make it easier to replace if necessary.
I hope I have answered everyone, once again many thanks for all your interest and kind words.
Regards,
Martin”
And now on to a short update from Peter.
His last post is here (where I wrongly call it HO scale – it’s O and On3).
The video is short – and there’s no sound – but it really does give you an good peek at Peter’s layout. Stunning stuff.
Thanks to Peter and an even bigger thanks to Martin – what wonderfully thorough answers!
It’s fabulous to see how you lot solve the problems that are thrown your way.
It just goes to show there is never a wrong or right way. If you’re having fun, and it works, all is well with the world.
That’s all for today folks.
Please do keep ’em coming.
And don’t forget the Beginner’s Guide is here if you want to join in on the fun and see what layout problems surface for you.
Best
Al
PS Latest ebay cheat sheet is here.