Paul’s been in touch with a very interesting HO scale project:
“Hi Al
I am sharing a new project I started.
The idea came from an article in a recent Model Railroader magazine.
In it the author mentions that many folks, including myself, install a fascia around the perimeter of their layouts which creates a barrier between the real world and the modeling world.
By removing this barrier and softening the edge the two worlds can come together.
I started making the change about 3 weeks ago and like the way it looks. It’s a simple HO scale project too.
In the photos I show how I did this and what the outcome looks like.
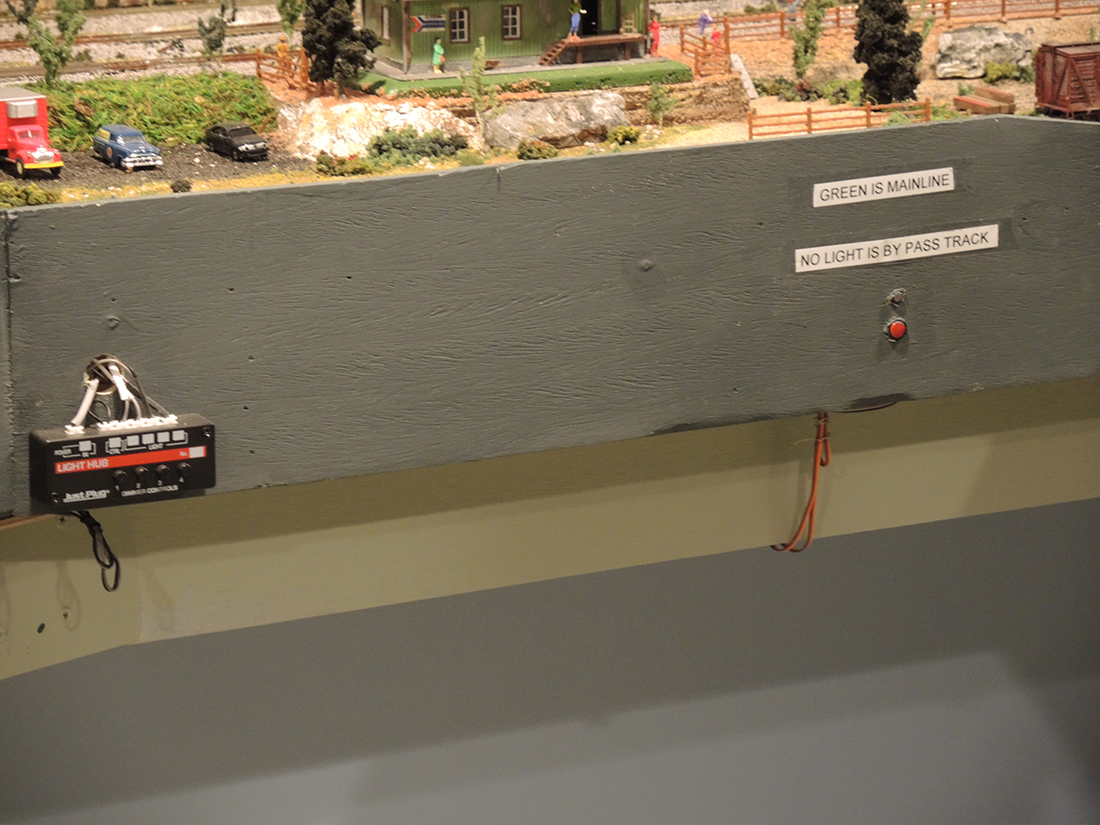
Some existing fascia on part of my layout which I plan to change.
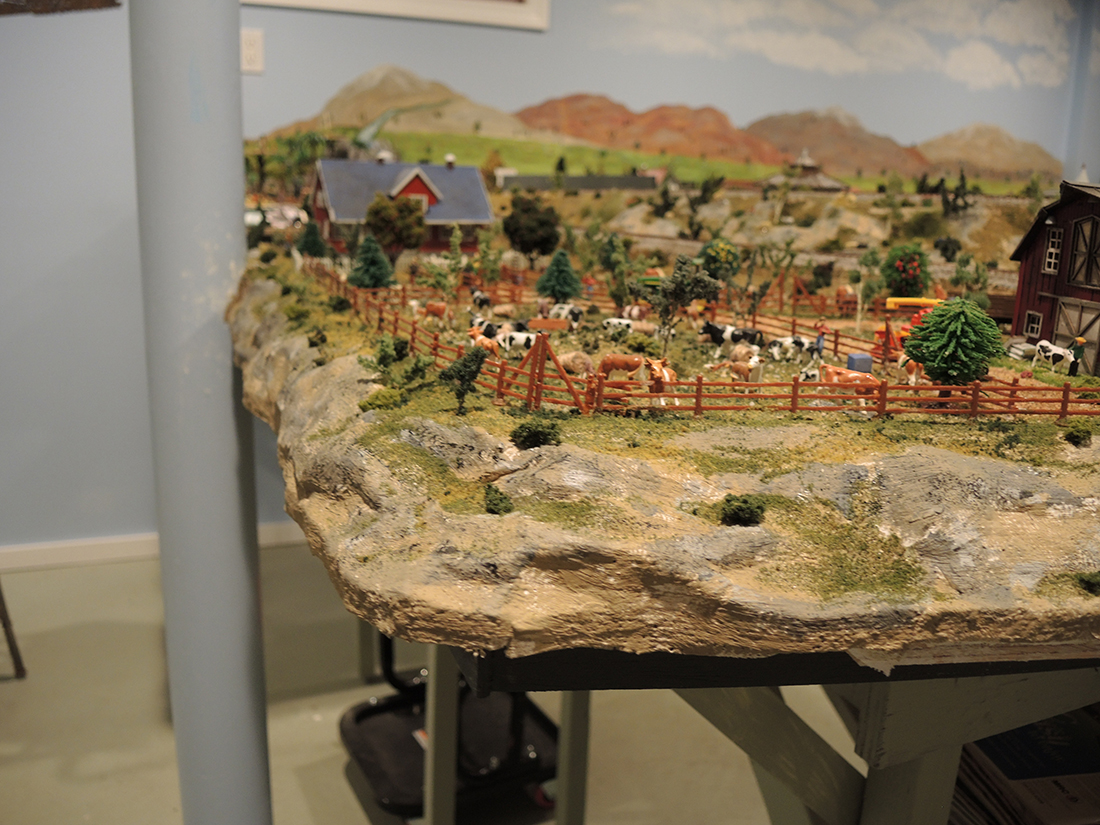
The new look with the softened edge and no barrier.
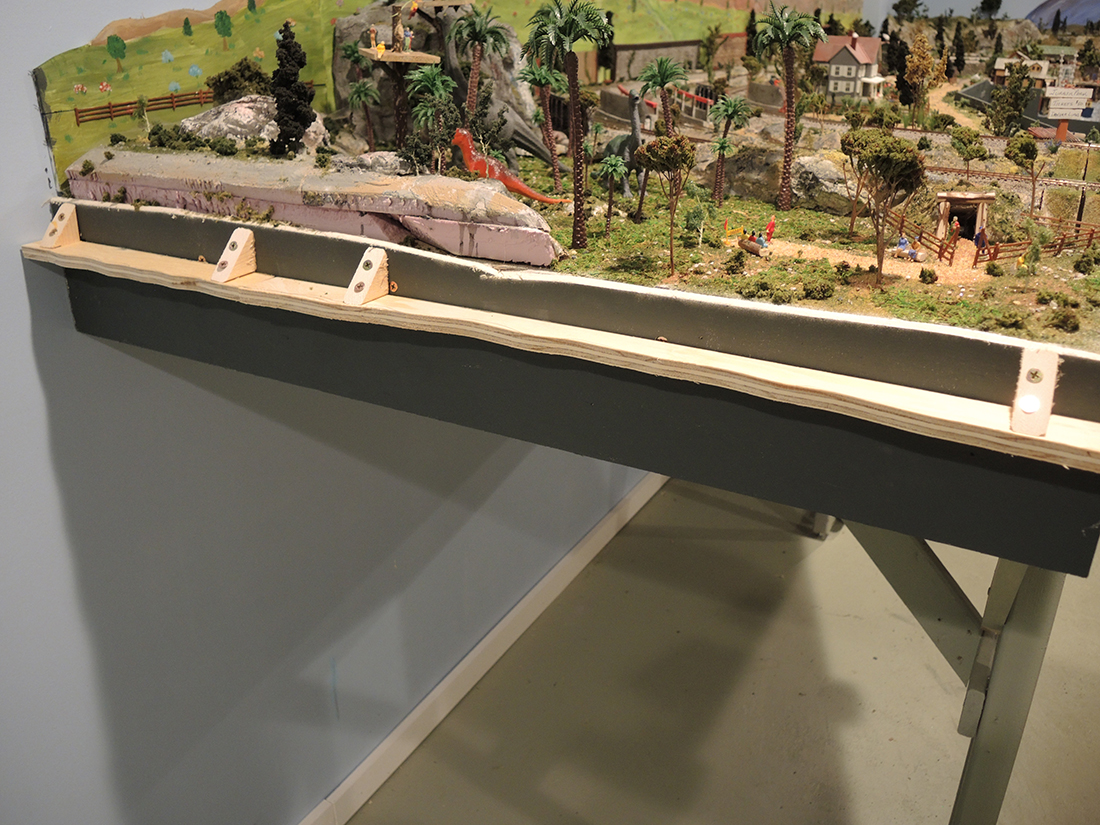
The plywood structure attached just below where the top edge of the fascia was removed. I used 1/2″ plywood and some wedges I made and screwed to the layout to hold it on. On my first attempt I used metal brackets but since Covid-19 I wasn’t able to get anymore so I made wooden wedges which cost zero.
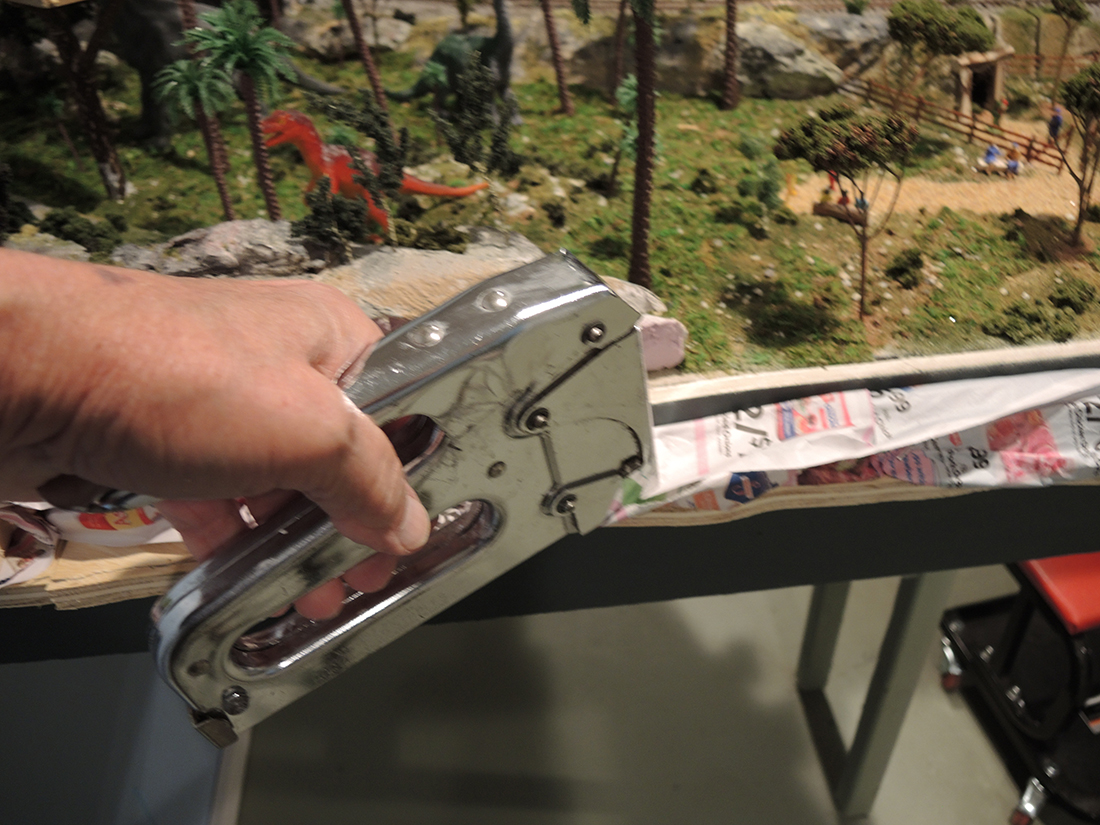
Shows bunched up newspaper being stapled onto the plywood to provide shape for the plaster cloth to follow.
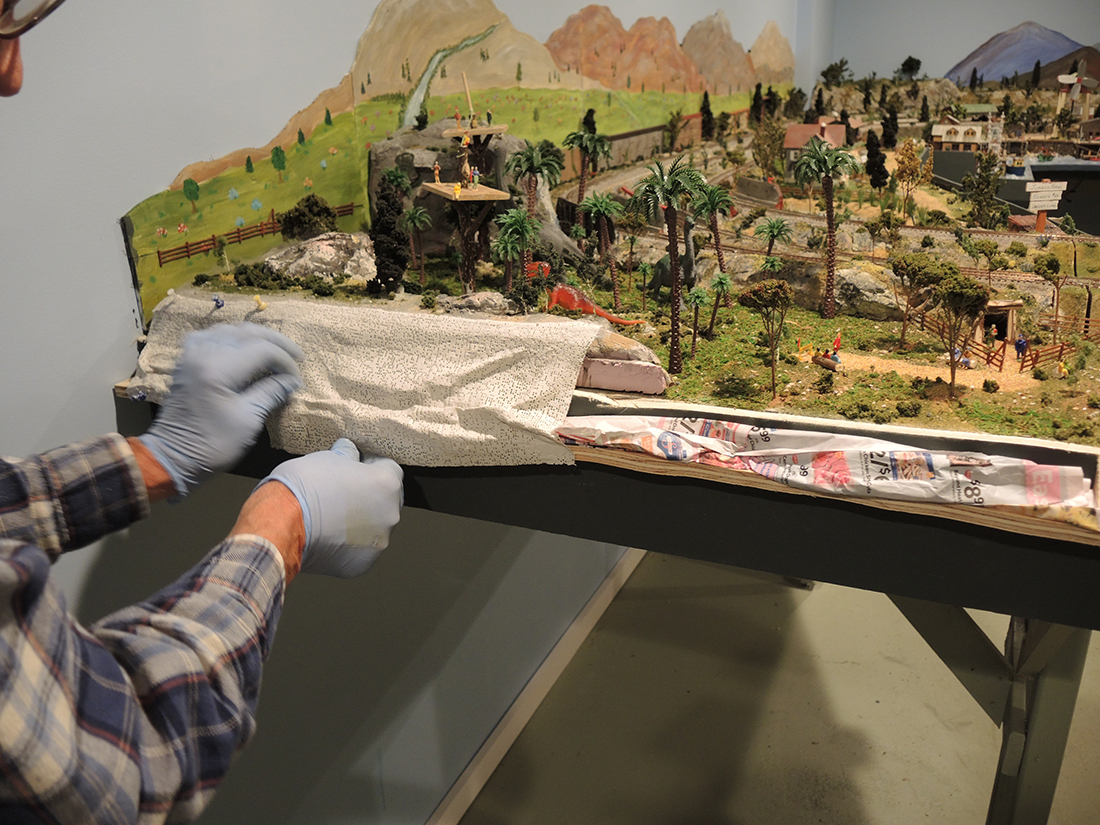
Shows plaster cloth being applied.
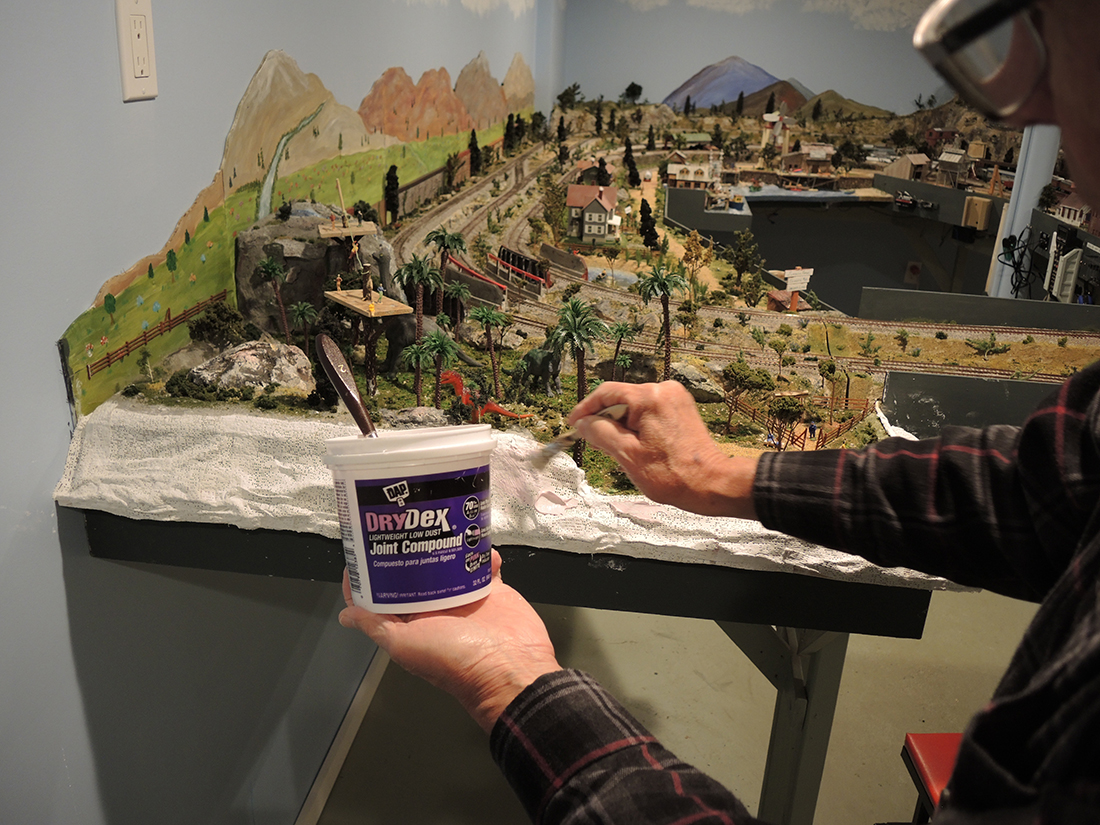
Shows spackle being applied over the paster cloth to fill voids and add texture of soil and rocks.
Paint with tans and grays to simulate soil and rocks —I normally paint the convex areas to look like rocks and the concave areas to hold soil.
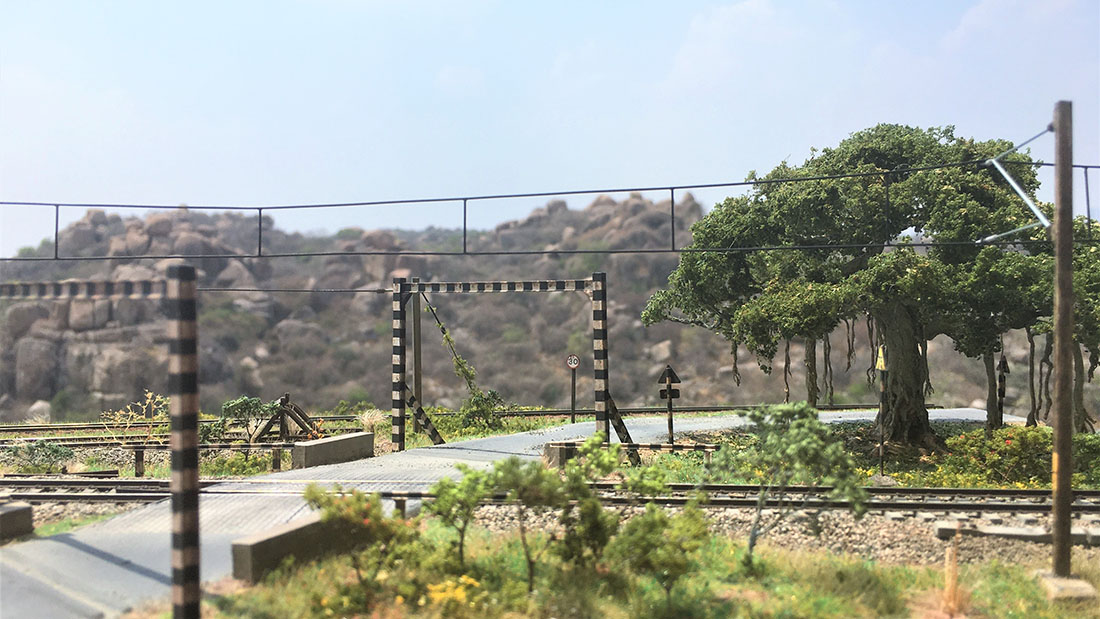
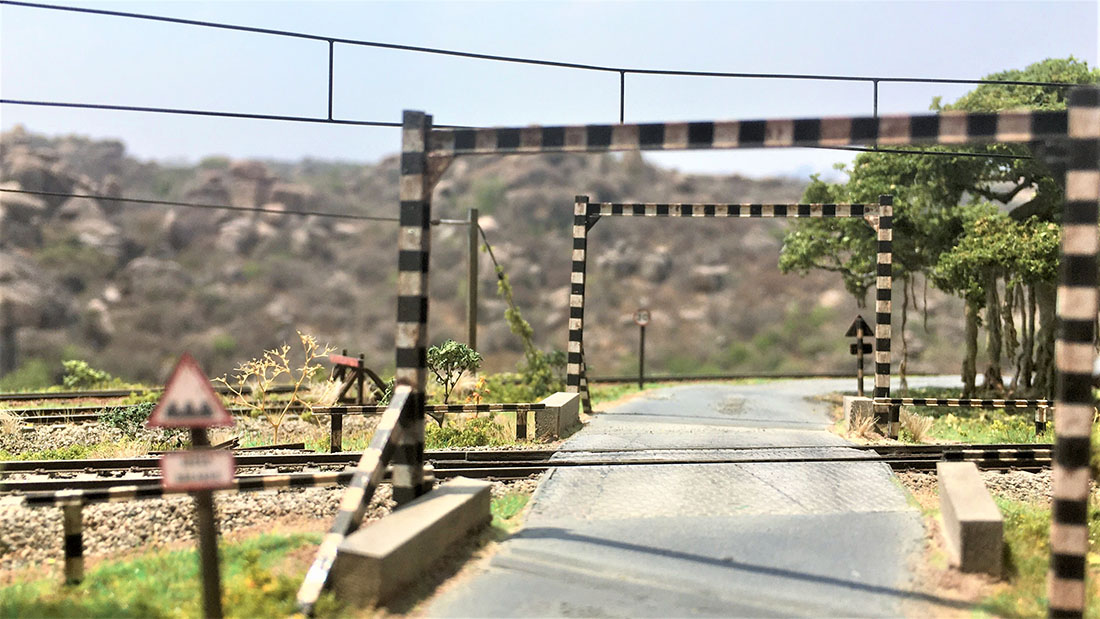
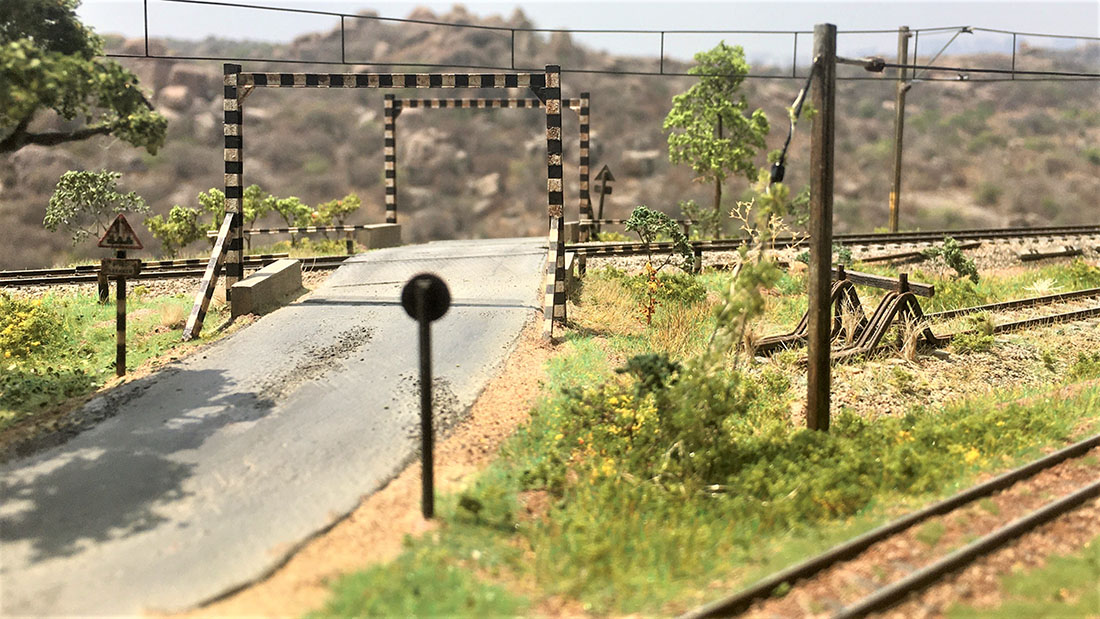
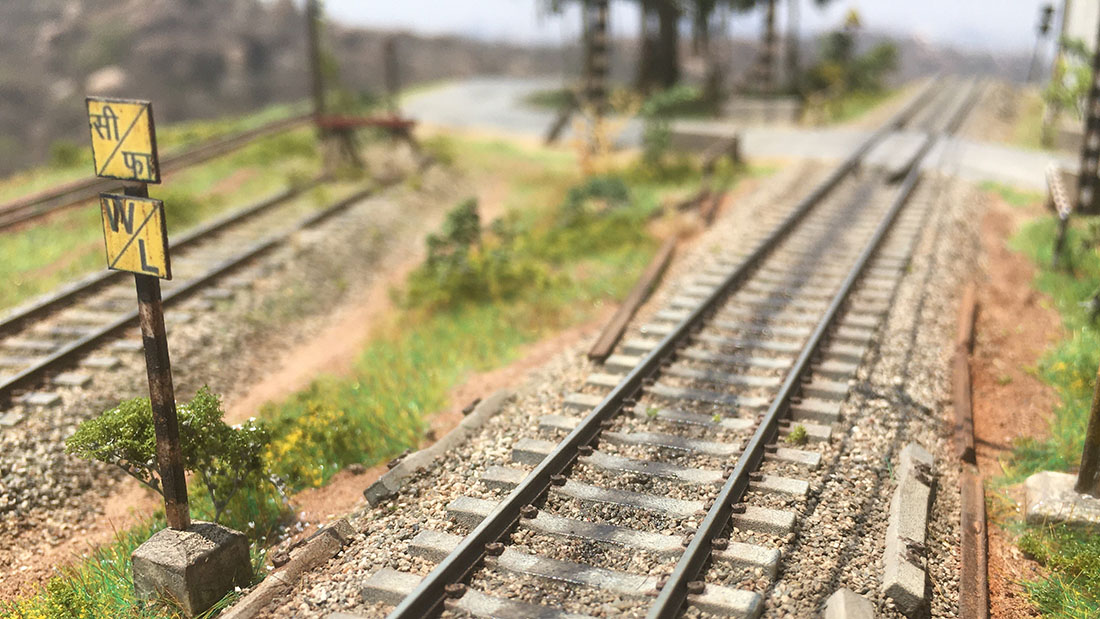
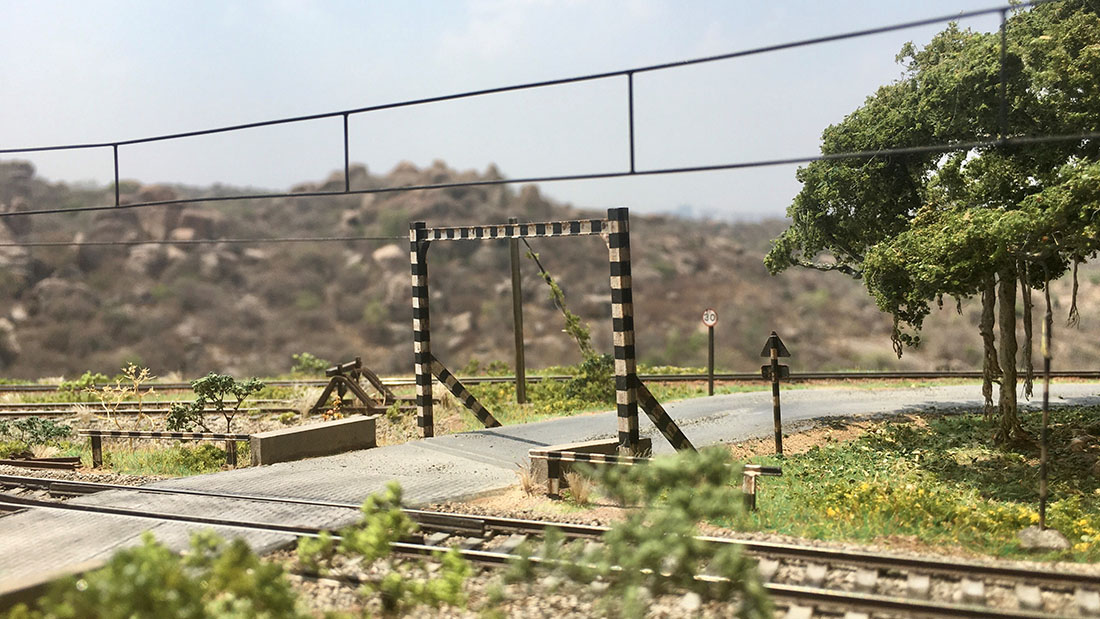
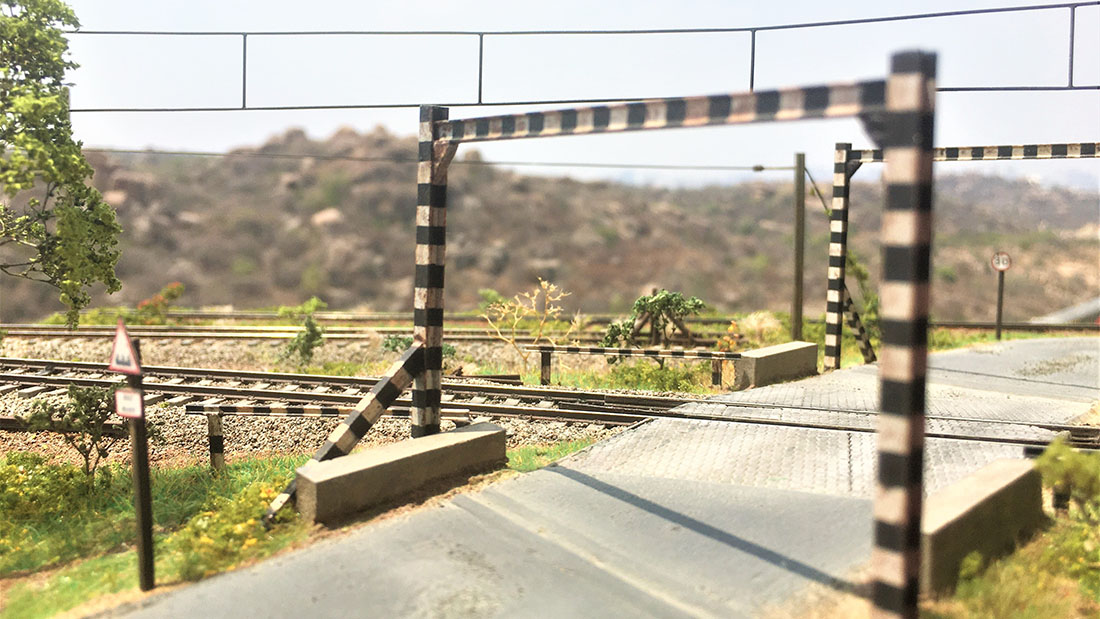
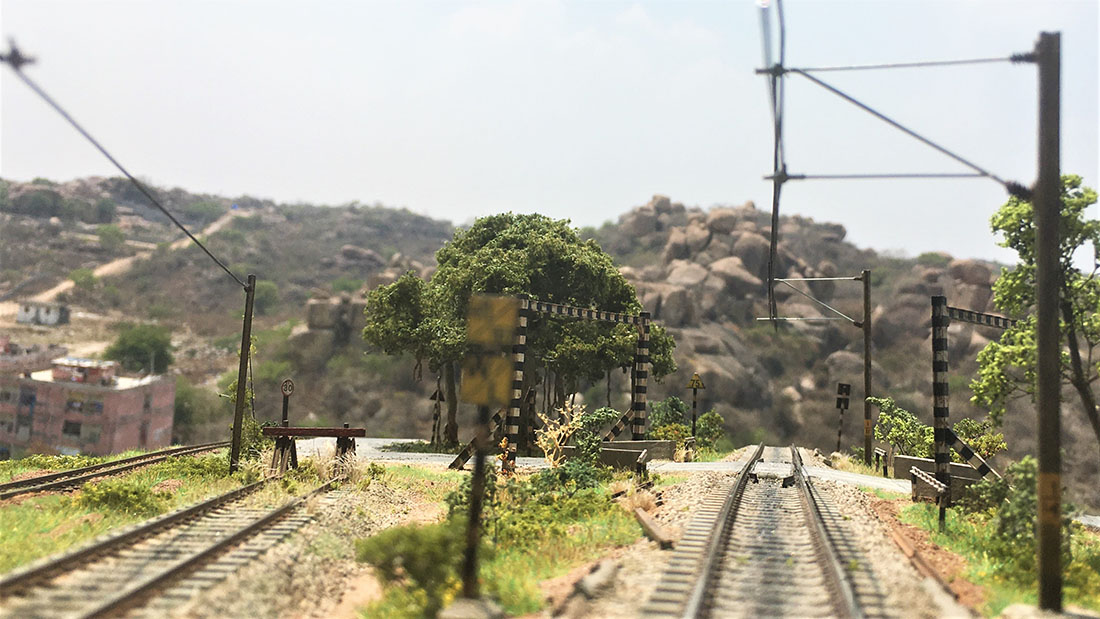
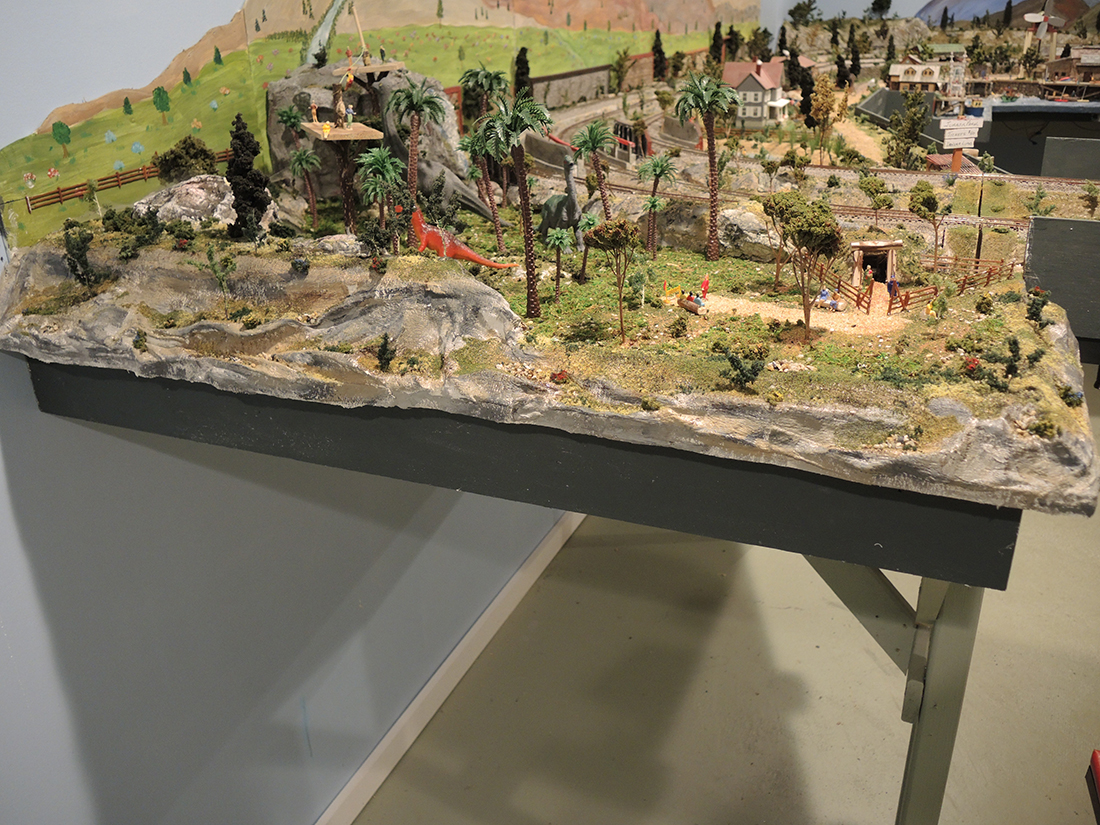
The finished result with ground cover applied and plants such as bushes and trees.
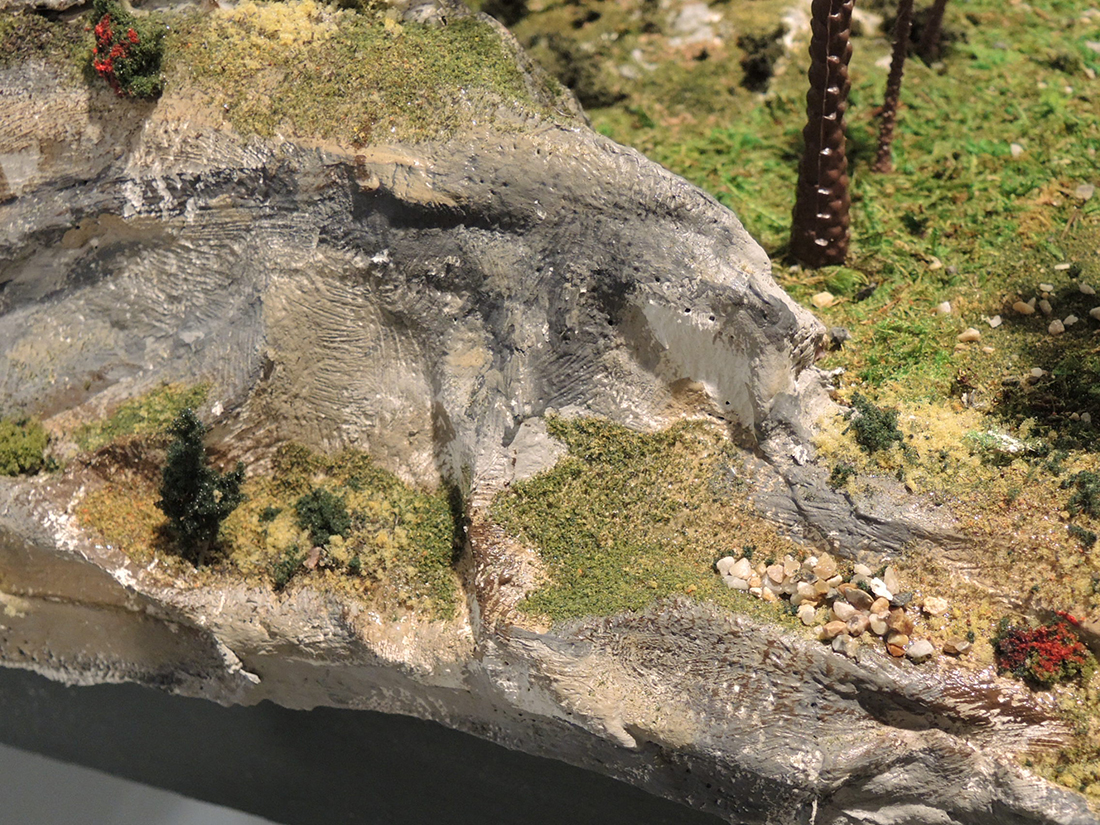
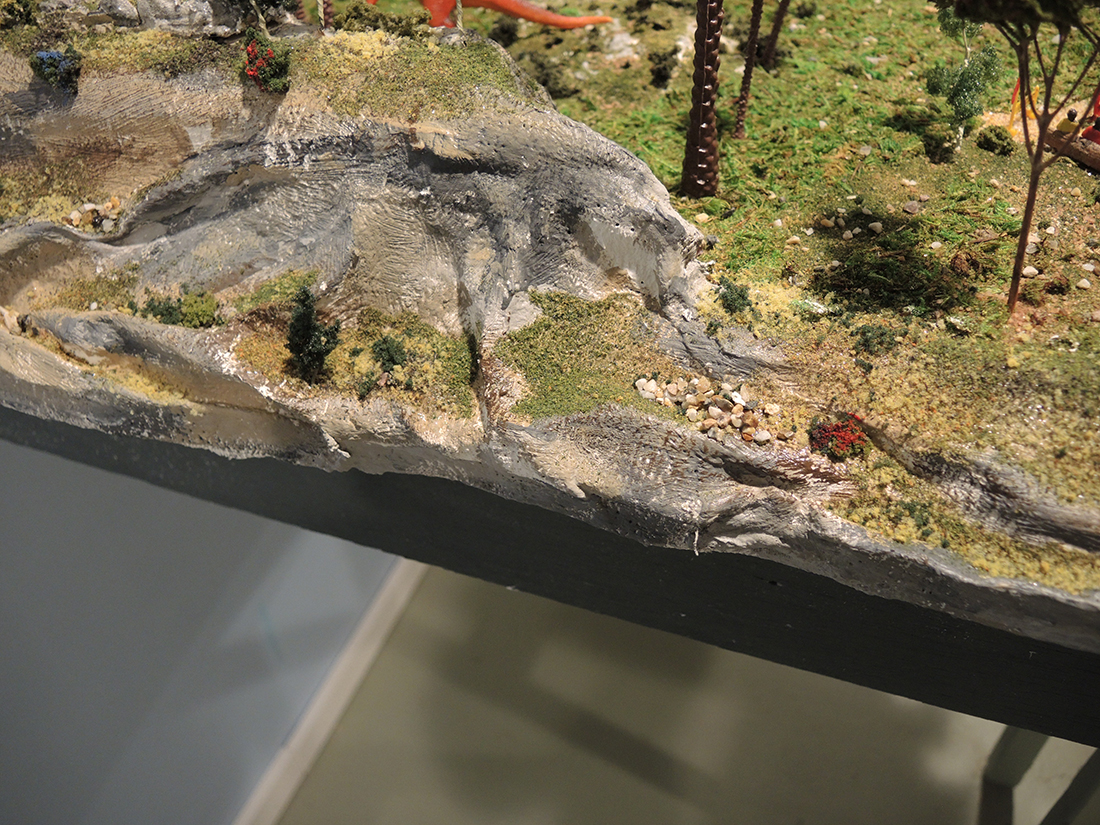
Close up of the area —decorate to your taste.
I hope you enjoy it as much as I enjoyed doing it.
Paul”
A huge thanks to Paul for sharing his HO scale project – I think it looks fab.
I thought it would be fun to make a video of it:
Now on to Ben:
“For me, in addition to the planning and building of the layout, I enjoy creating different scenes that the trains run through. And although I’ve been into the hobby for 15 years, I still feel like a beginner. There is so much to learn and so much to share. Which brings me to the “Thank You” part of this note.
I want to thank you, Al, for publishing everyone’s comments, ideas, suggestions and questions. I have learned SO MUCH from these postings! I also really enjoy the videos that people share, so I thought I would share one of my own.
Ben from Chicago.”
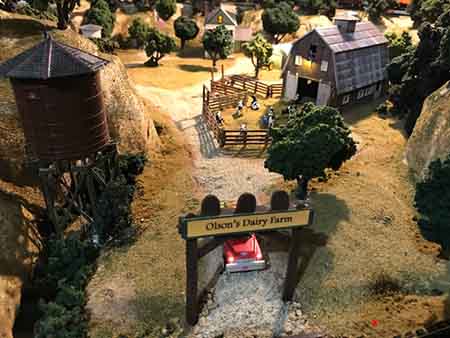
You can see all of Ben’s HO scale model railroad here.
That’s all for today folks.
Please do keep ’em coming – and don’t forget the The Beginner’s Guide is here if you want to stop dreaming and start doing.
Best
Al
PS More HO scale train layouts here if that’s your thing.