How to hide a seam on your model railroad

Bill’s been back in touch with another superb update – how to hide a seam on your layout.

If you want to get up today, his last post is here.

“Hi Al

As always good day to you and our fellow modelers!

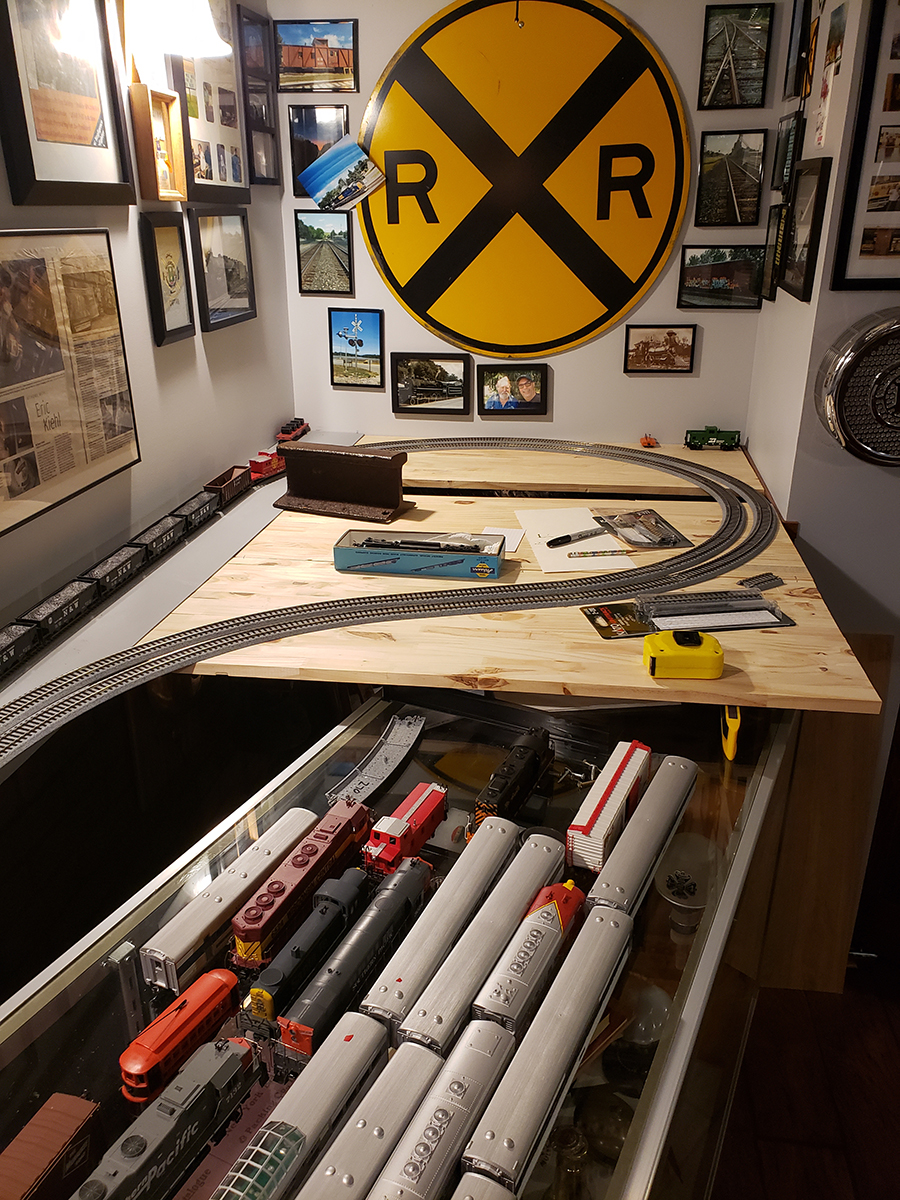
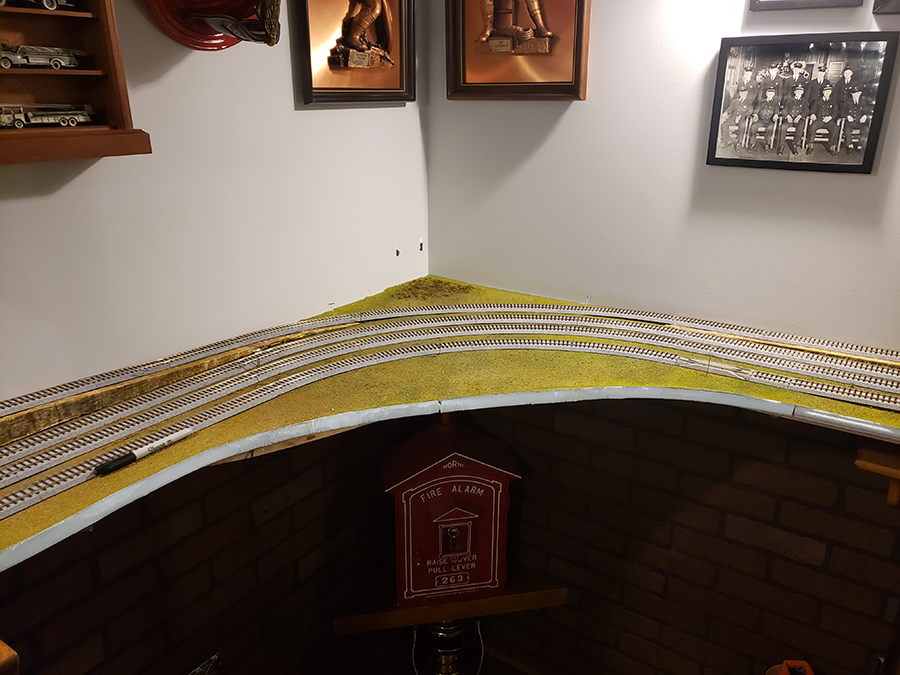
Today I have a little ‘how to’ that covers a few ways we can hide seams for those that have sectional layouts that we have to pull apart for storage.

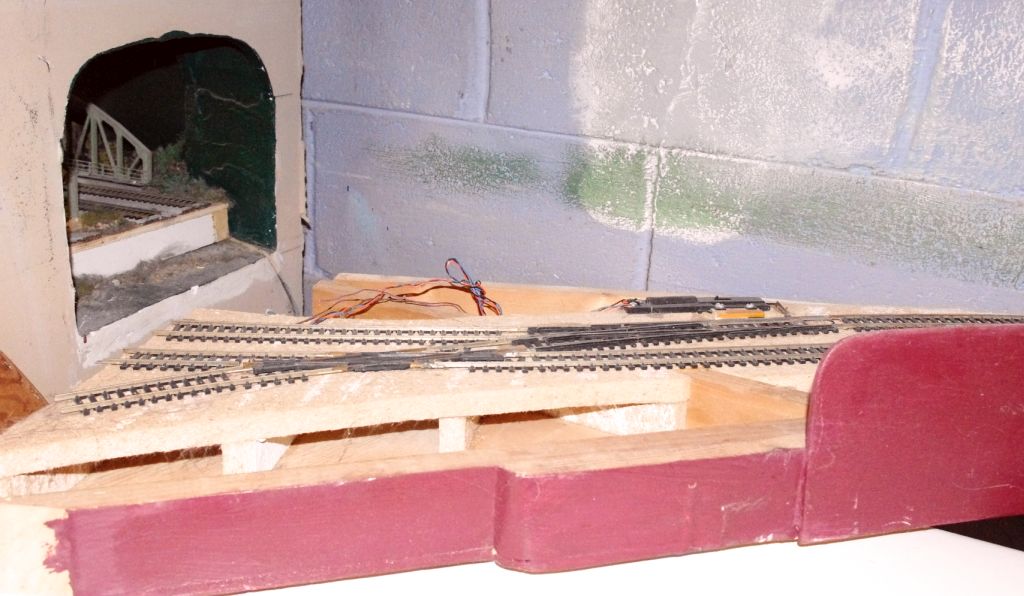
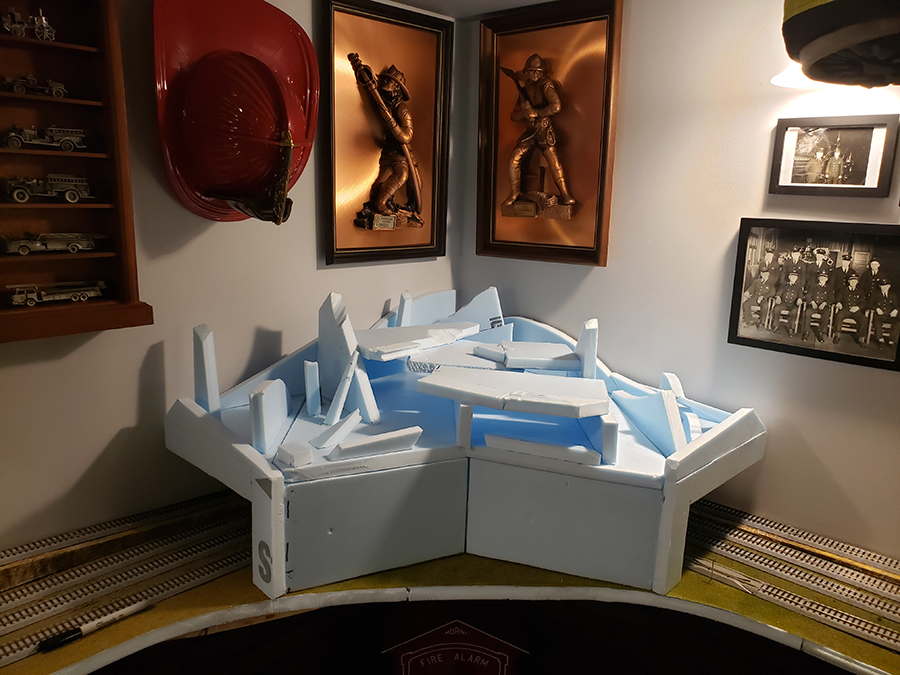
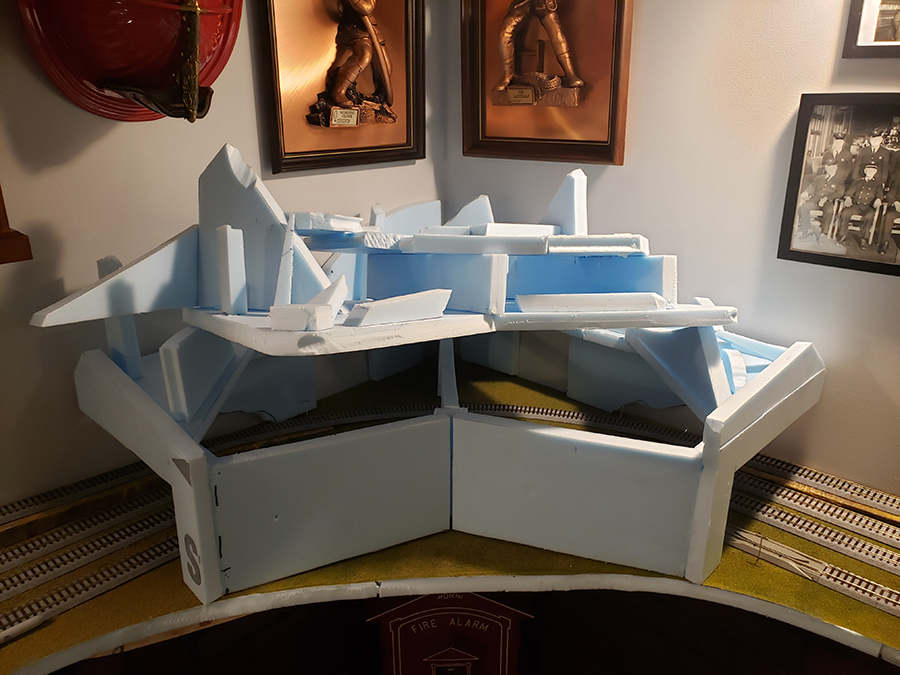
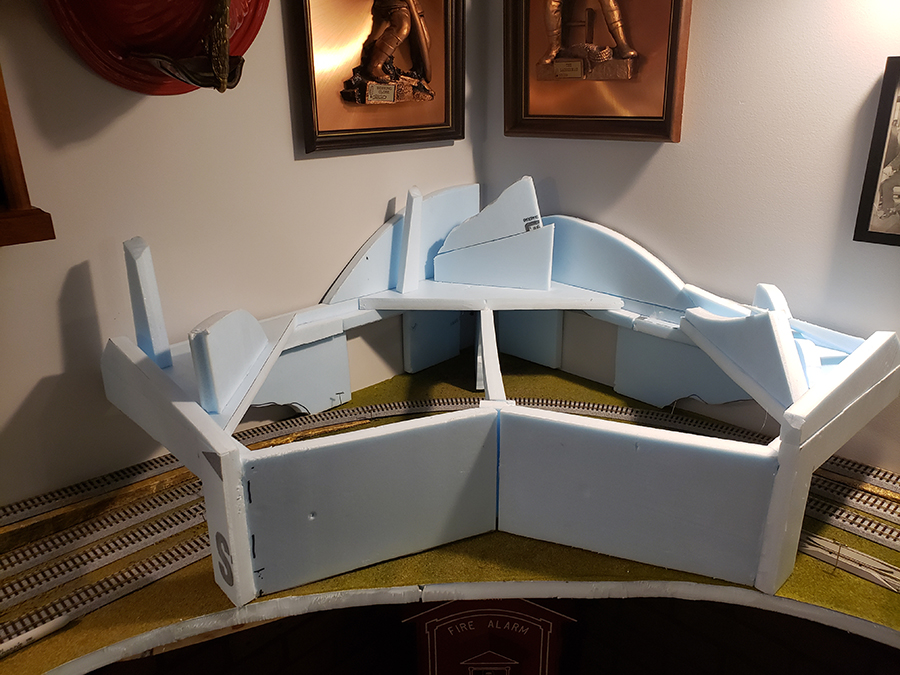
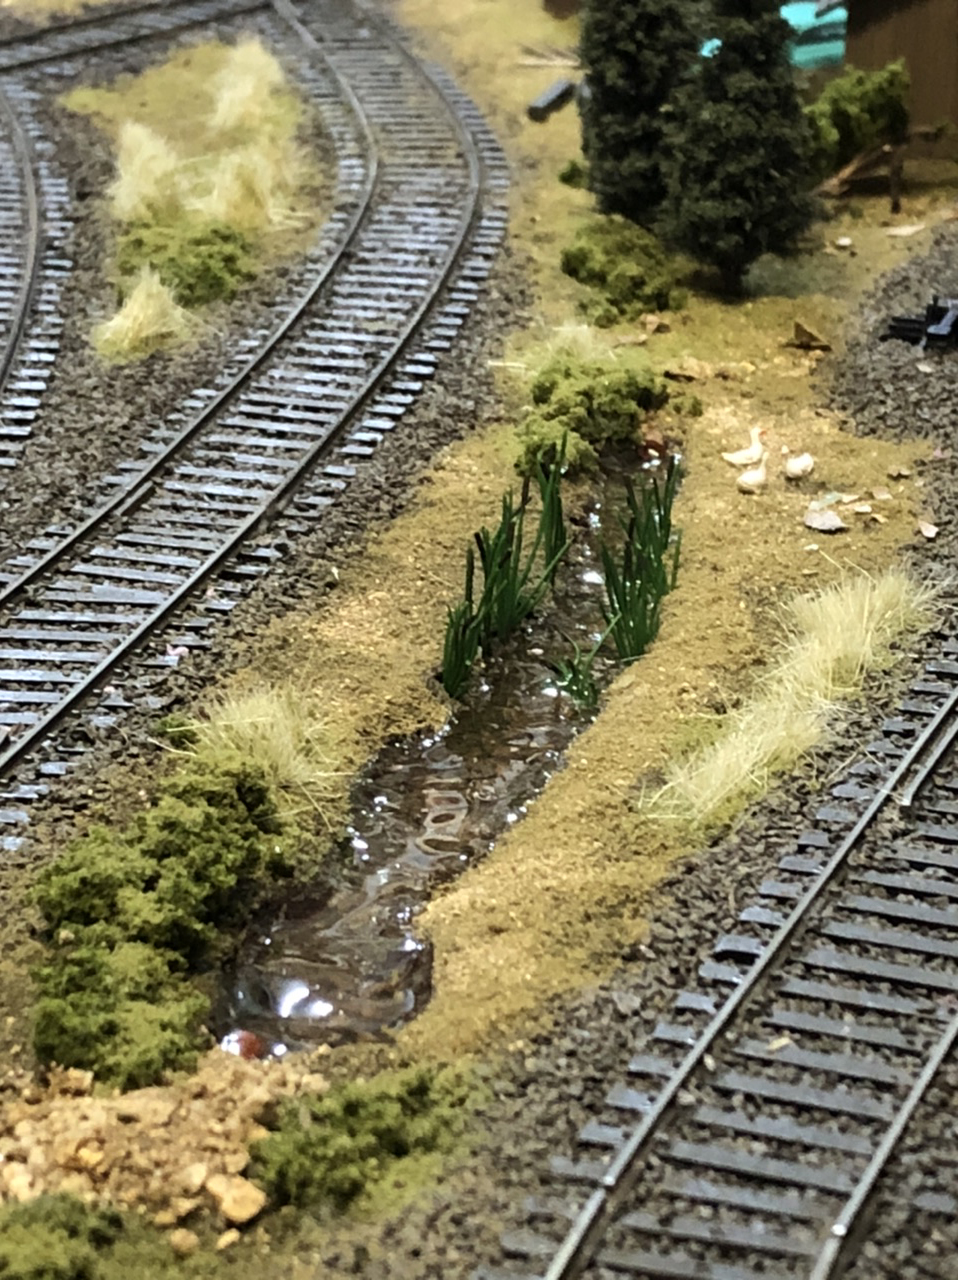
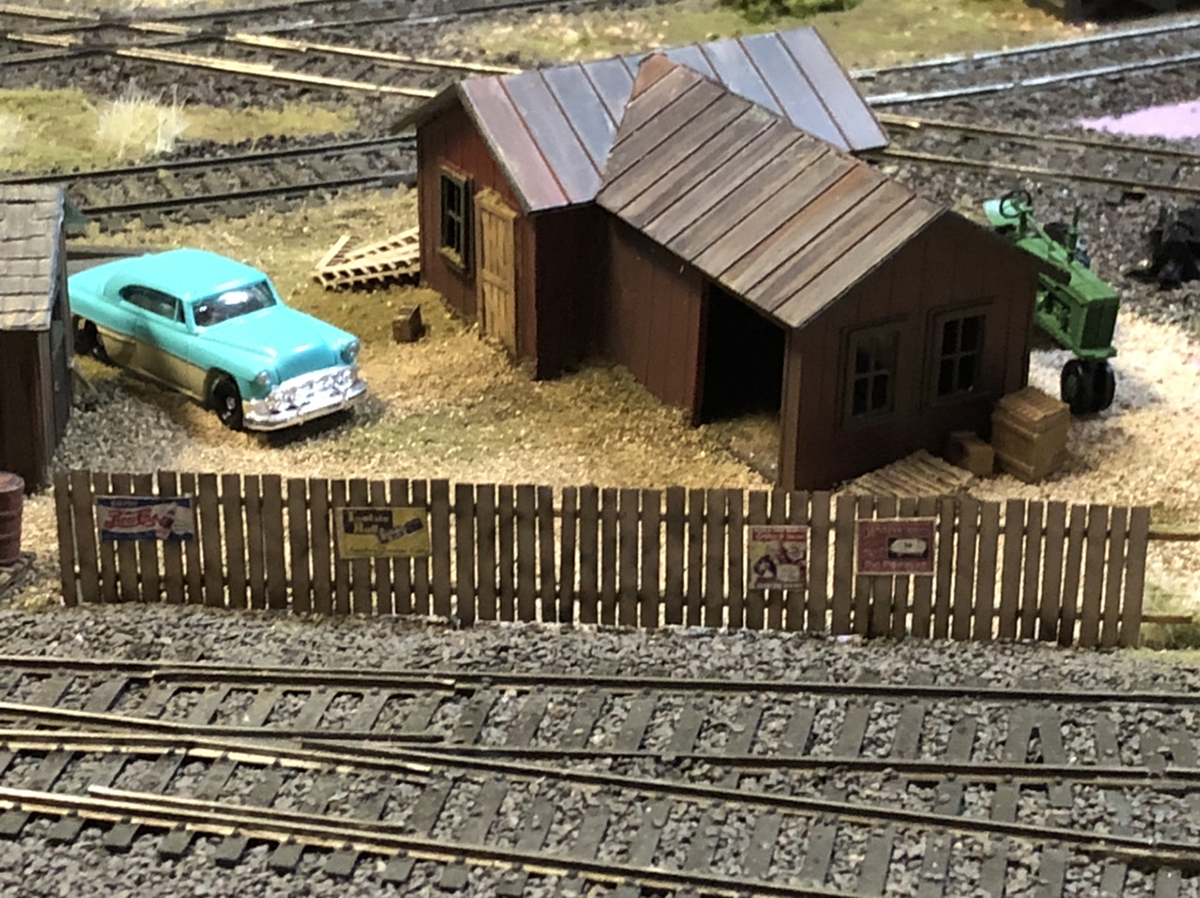
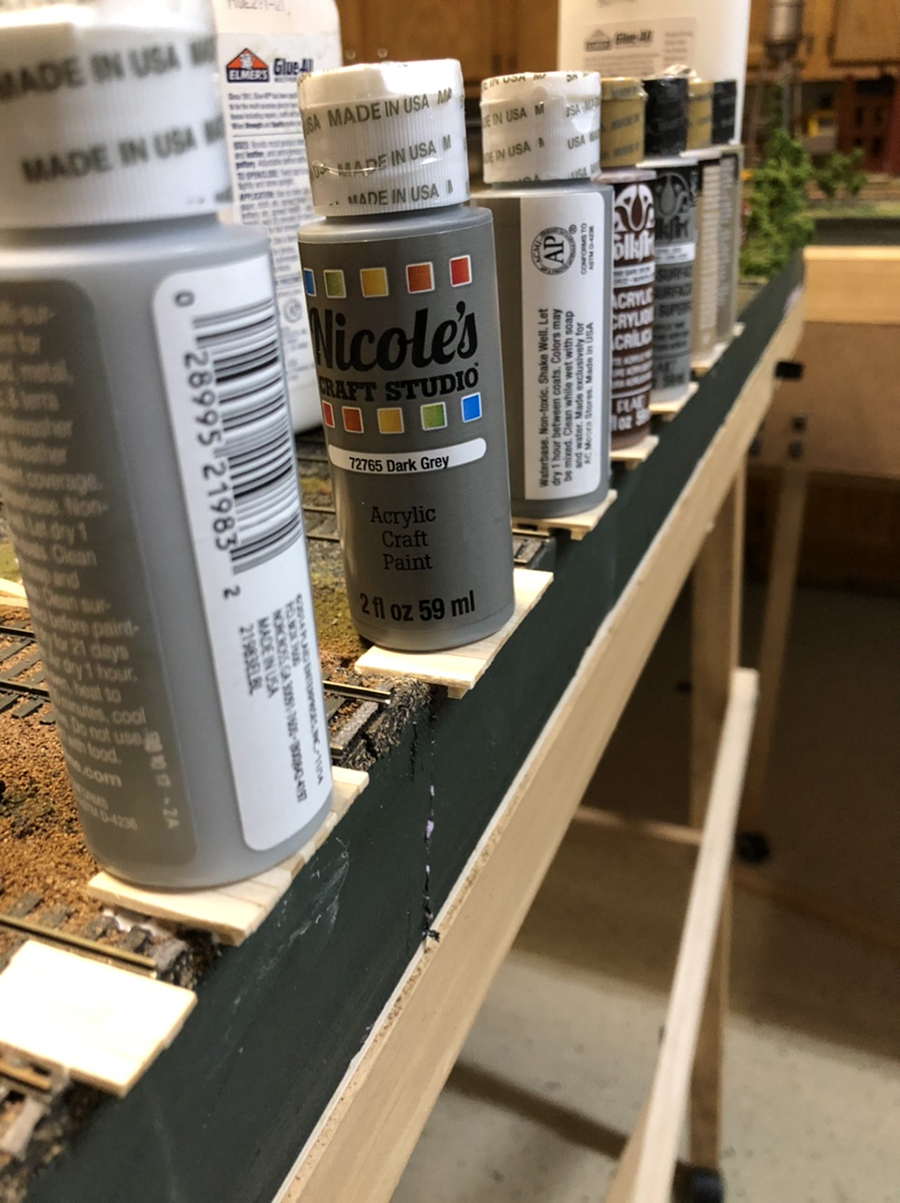
The first picture shows the layout pieces apart and the elements I’ve used to hide the seam.

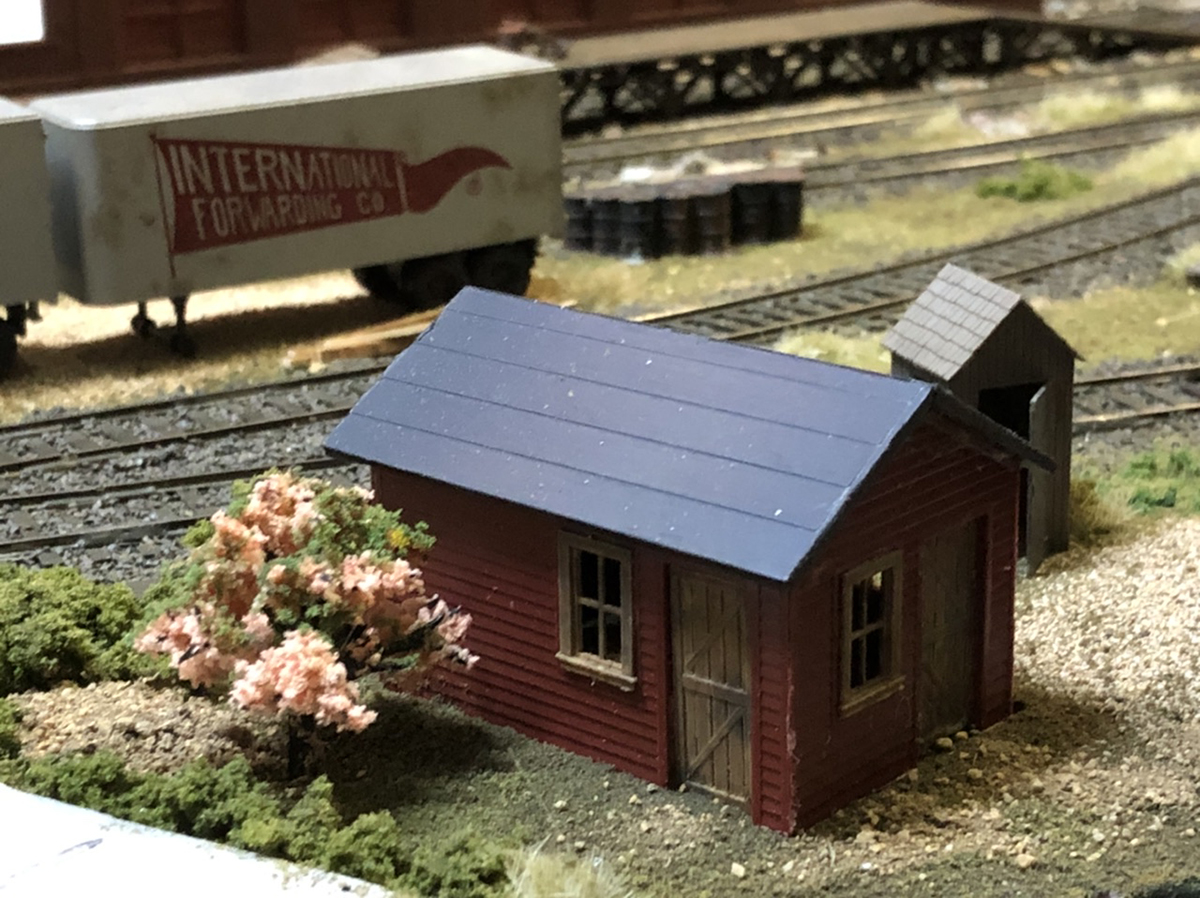
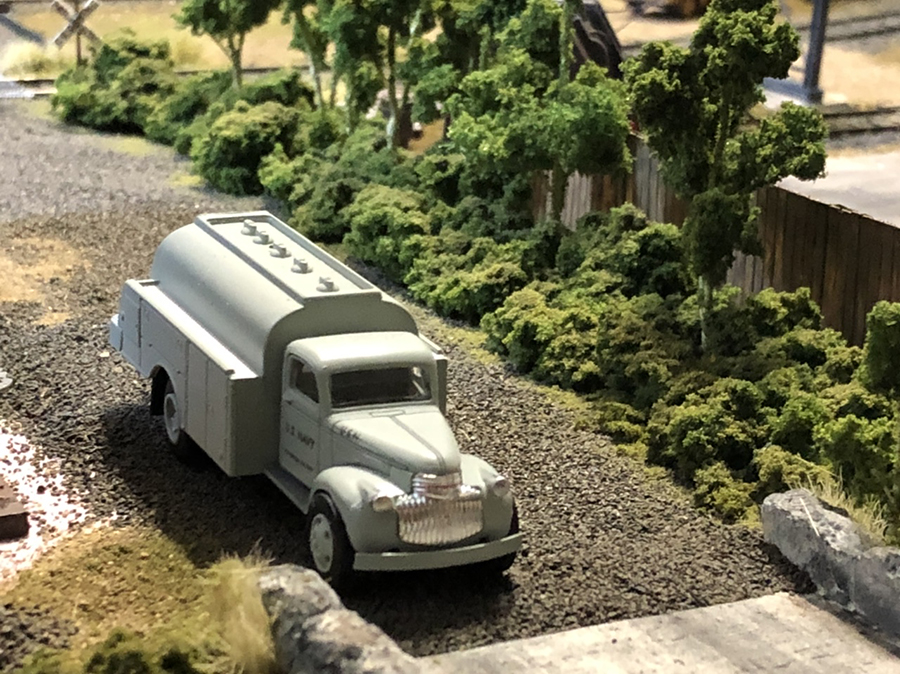
The second picture shows how I use clump foliage to over hang one section of the layout. When the two pieces are pulled together the foliage will blend in with similar foliage on the other section and hide the seam and make the area look like a thicket.

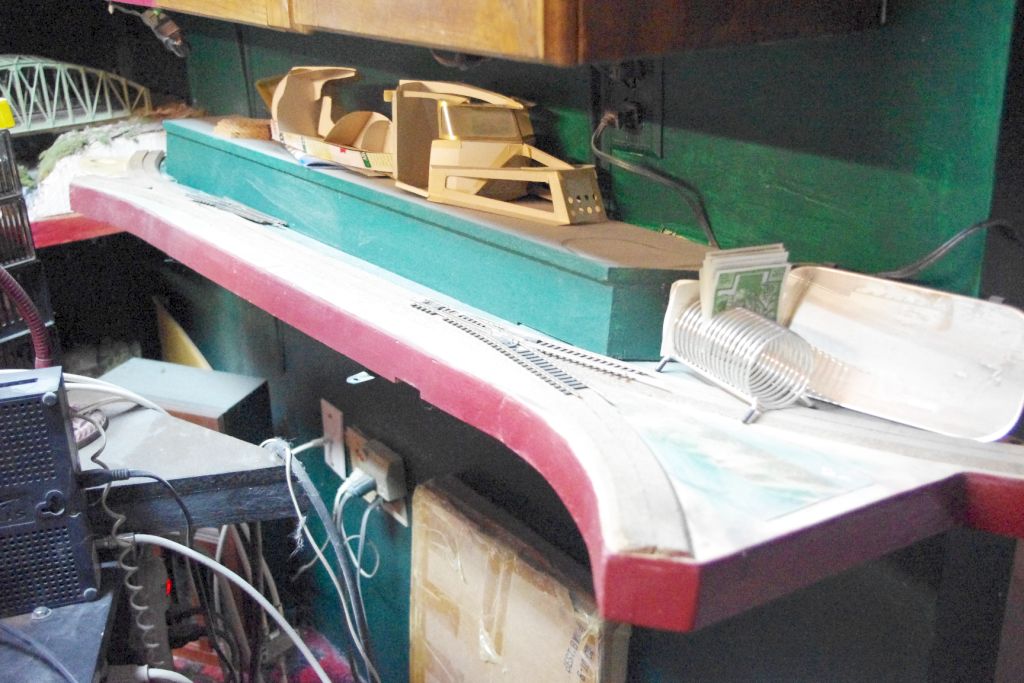
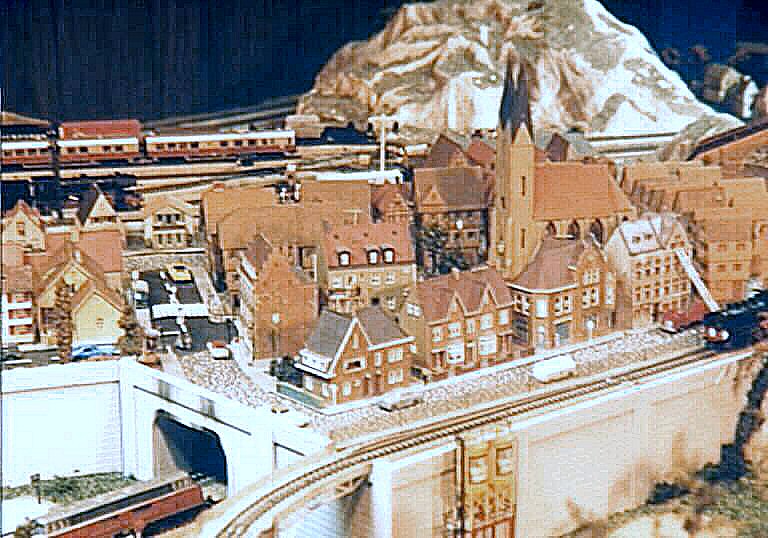
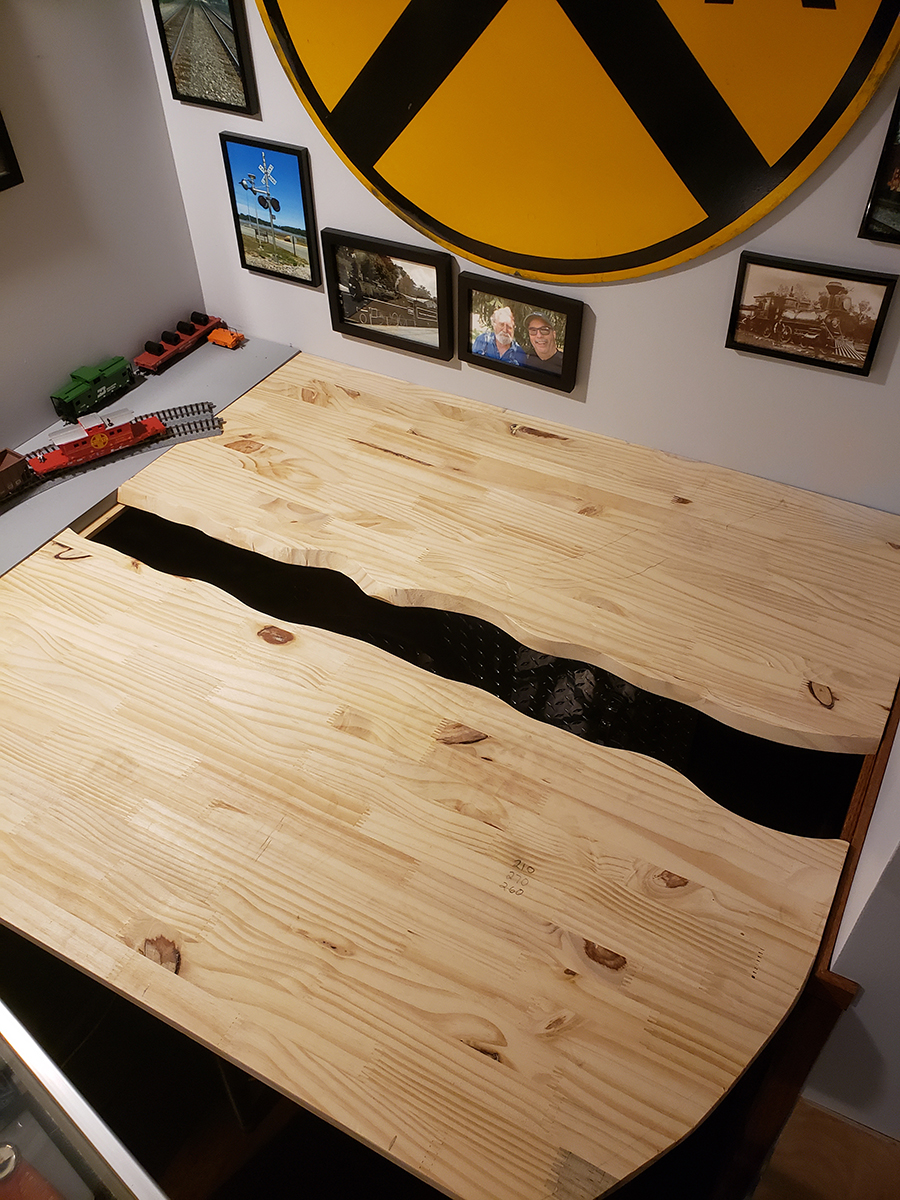
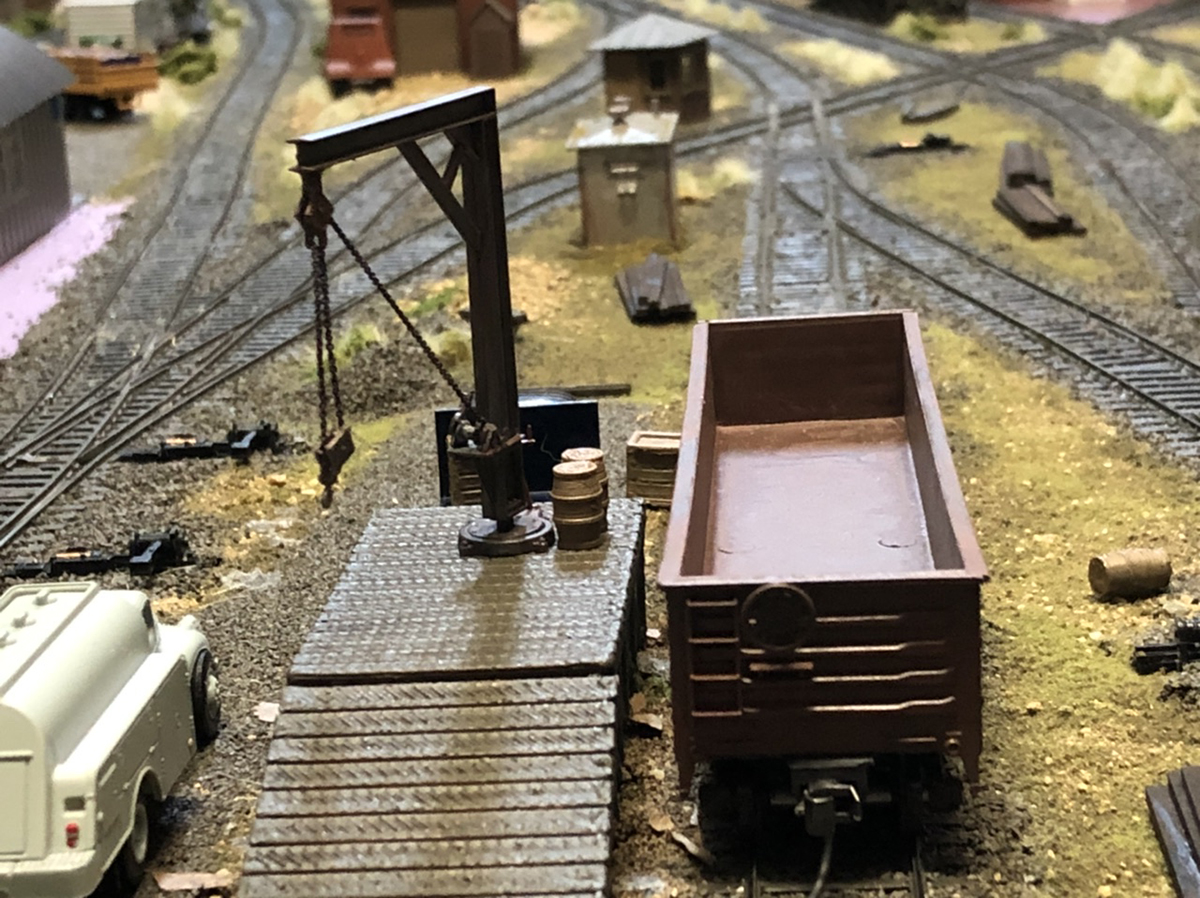
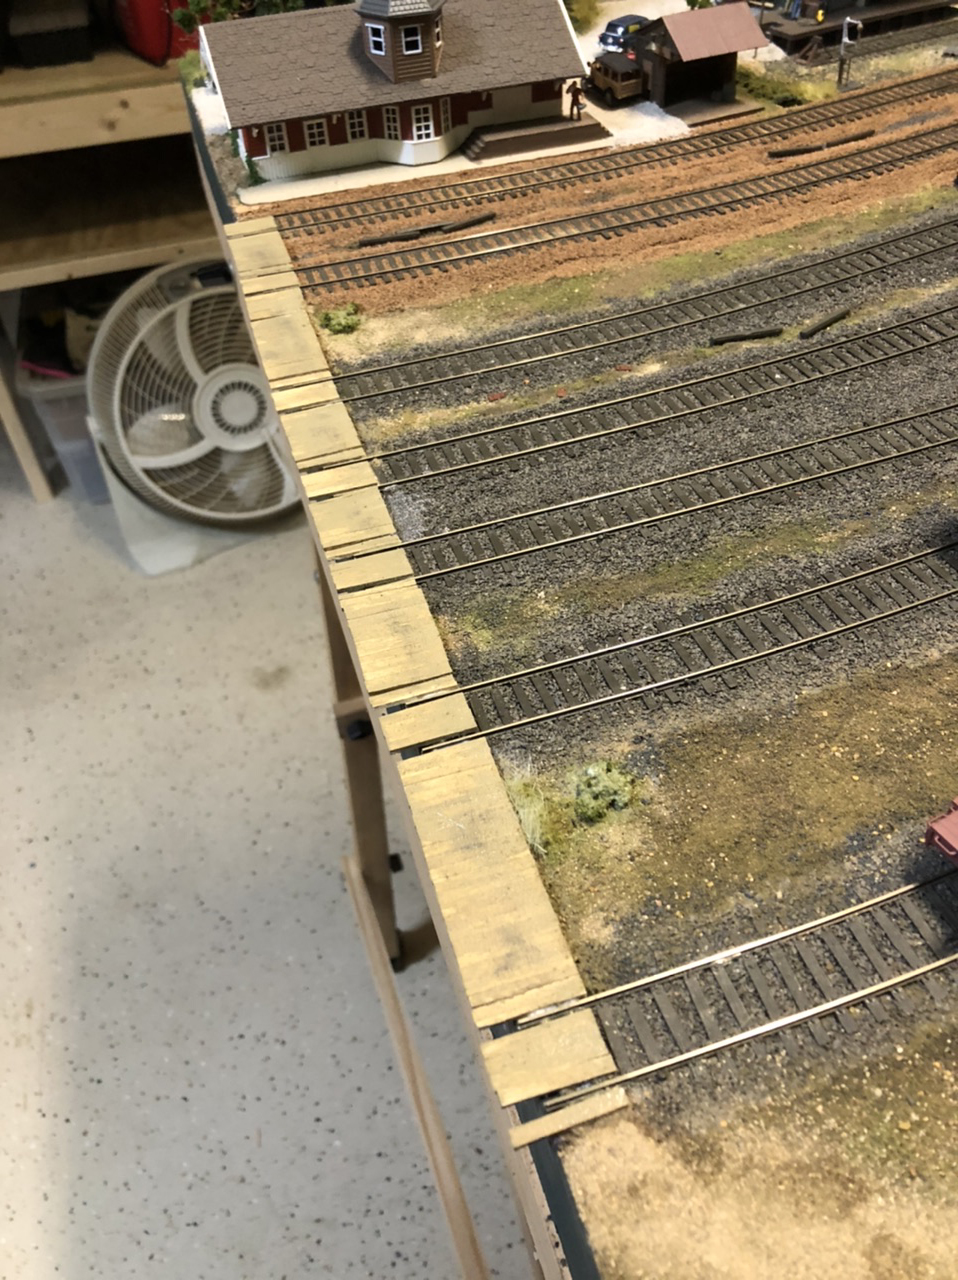
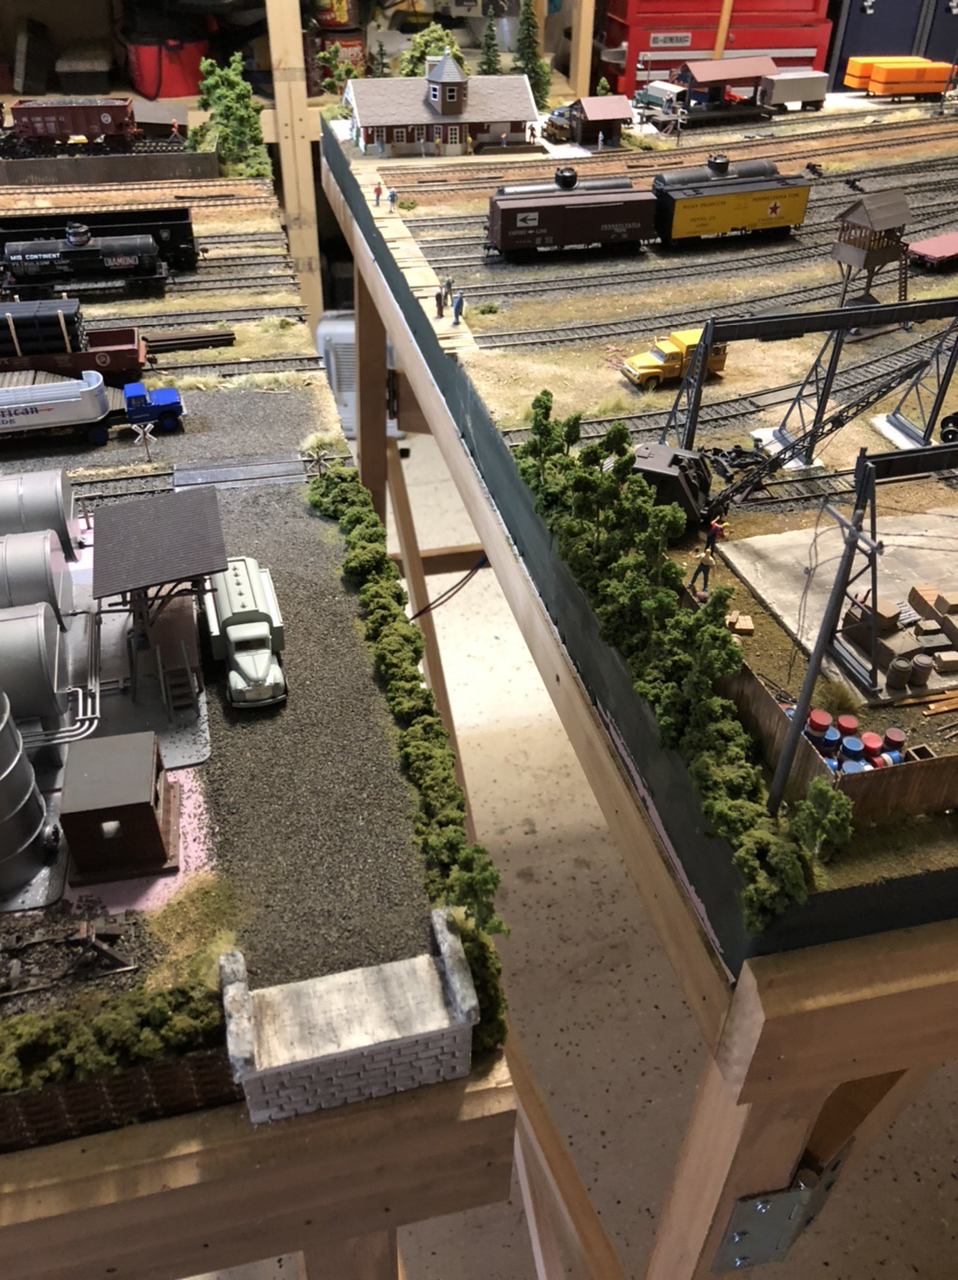
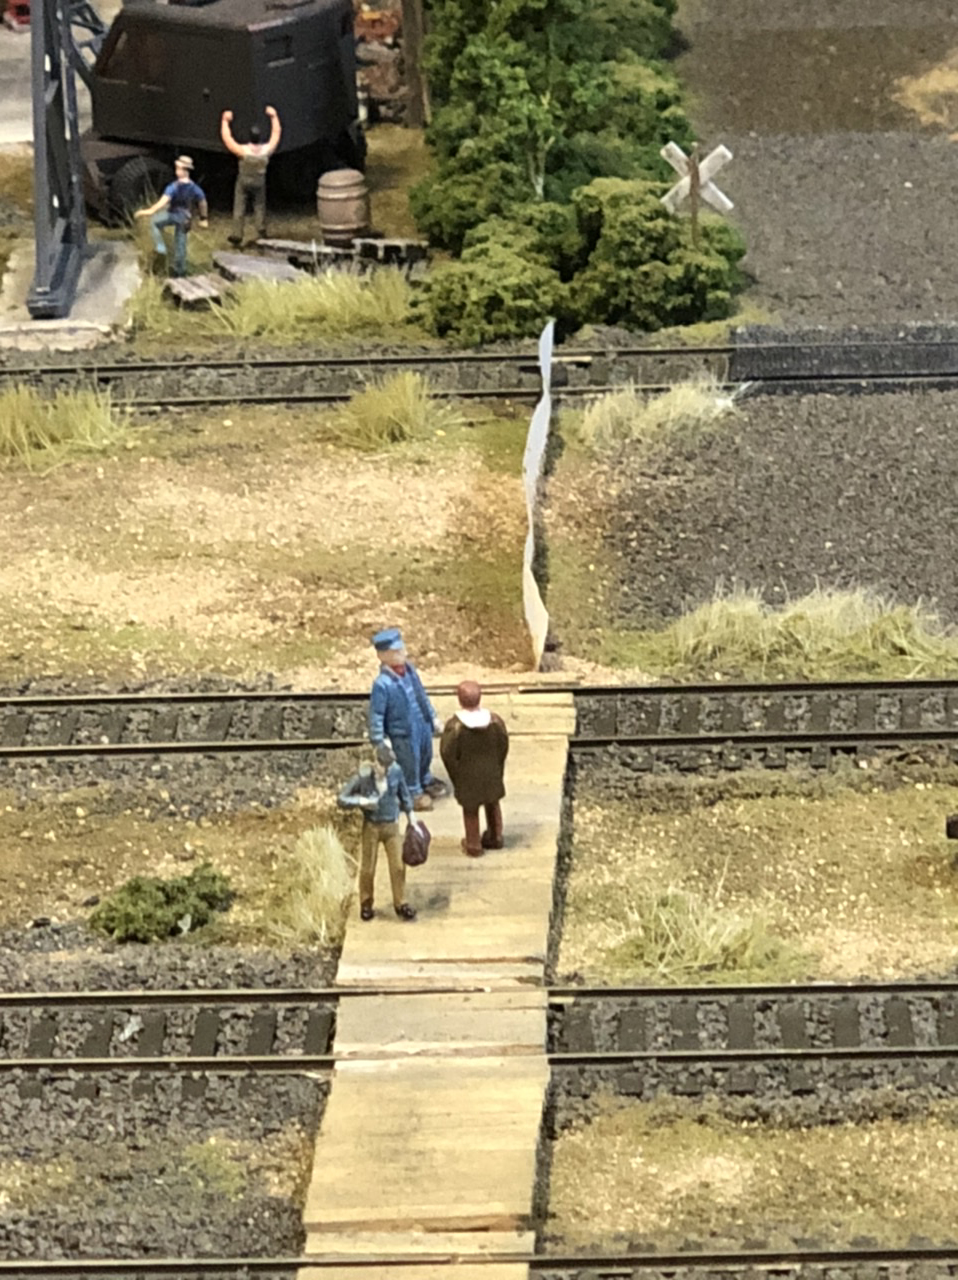
The next several pictures show how adding a boardwalk along the seam hides it very well.

I used strip wood from a local craft shop and made a walk about 8 scale feet wide from the station over to the shops so workers can come and go. I did find a video on YouTube of this exact thing on a real railroad from the 1930’s. I used white glue to put in place then painted it with an acrylic paint with some chalk weathering. Overall the effect is good.

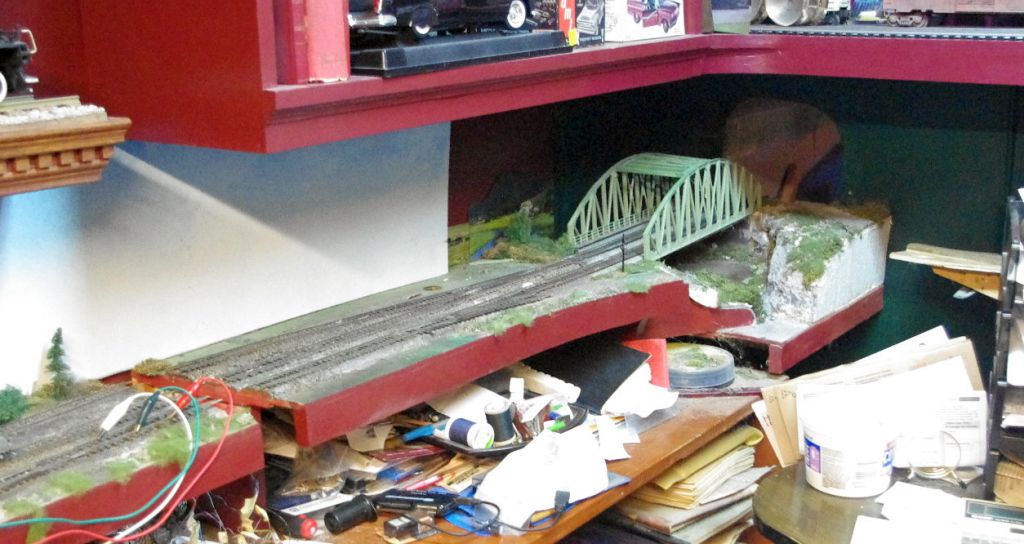
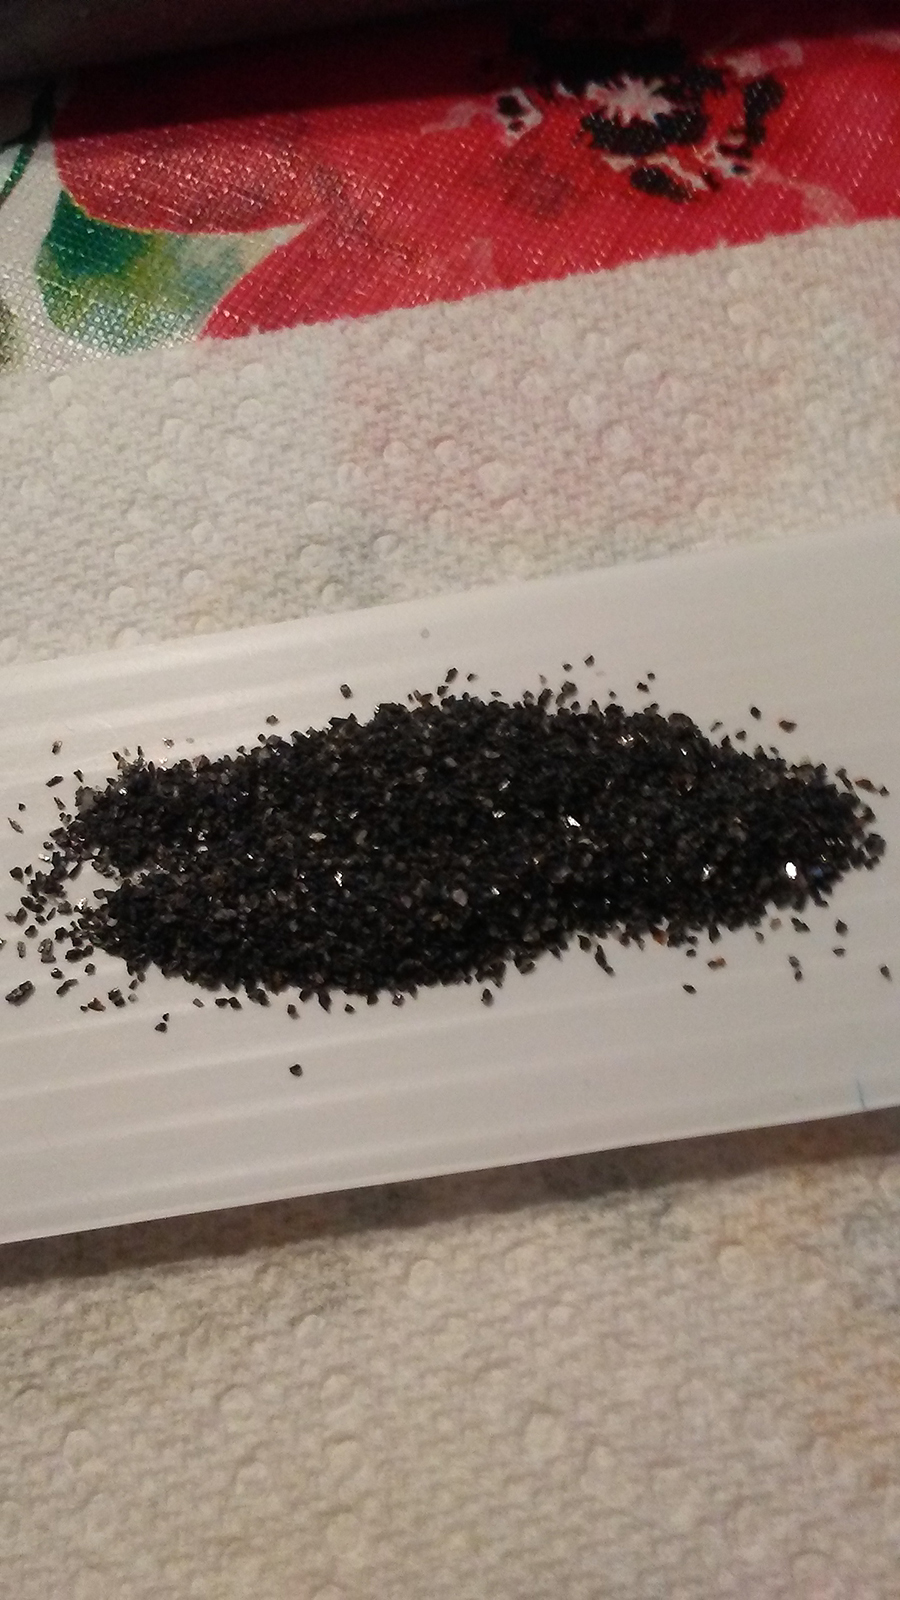
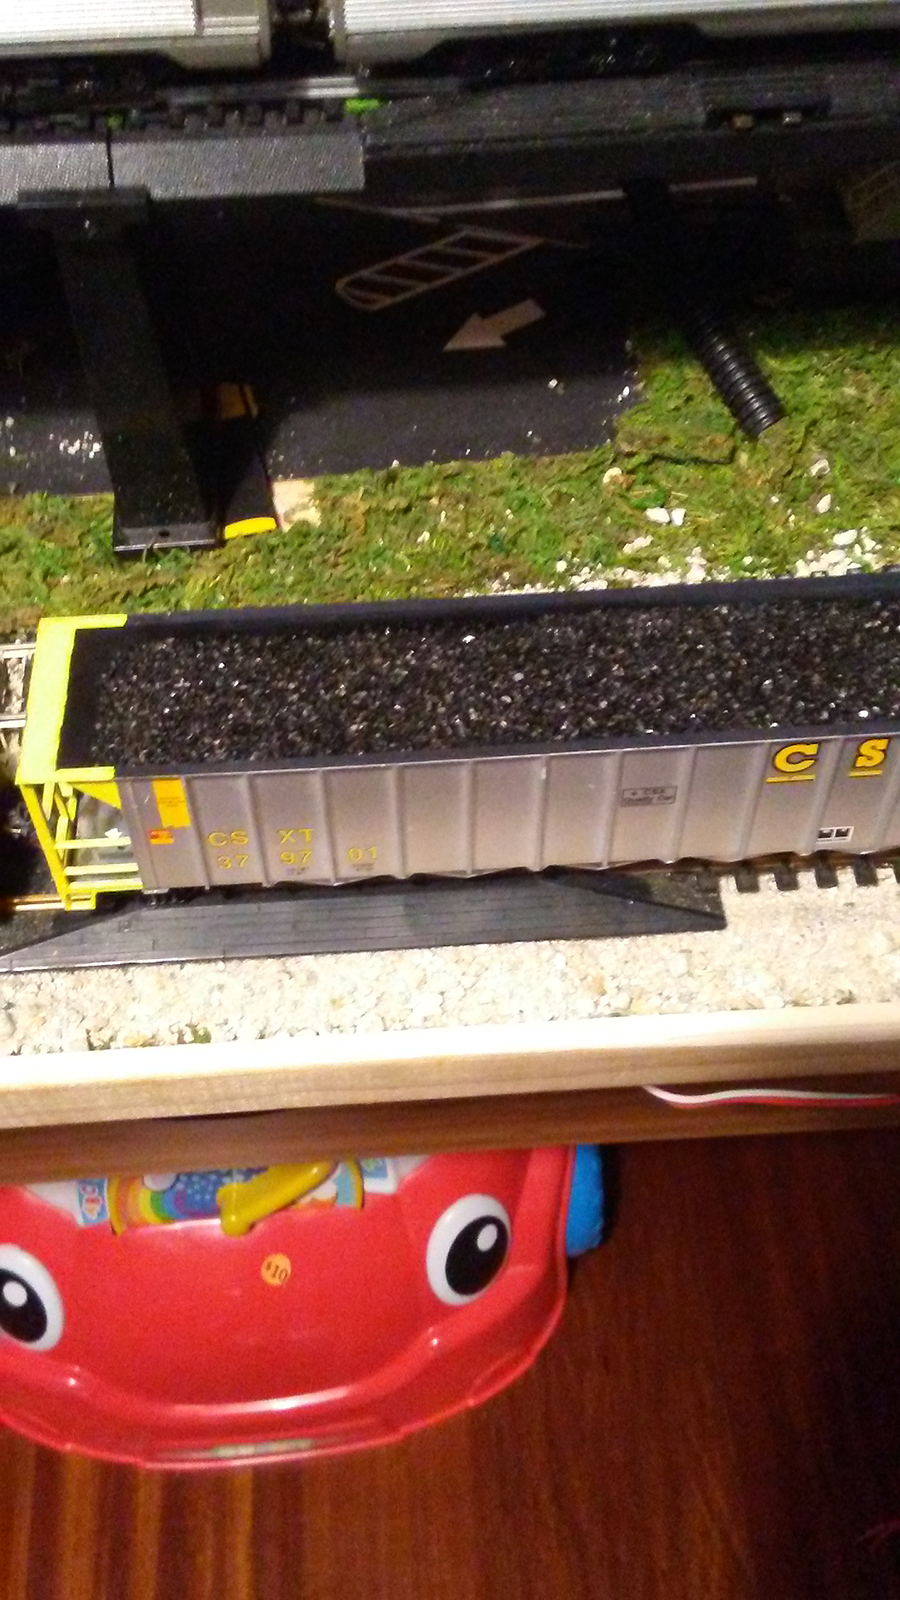
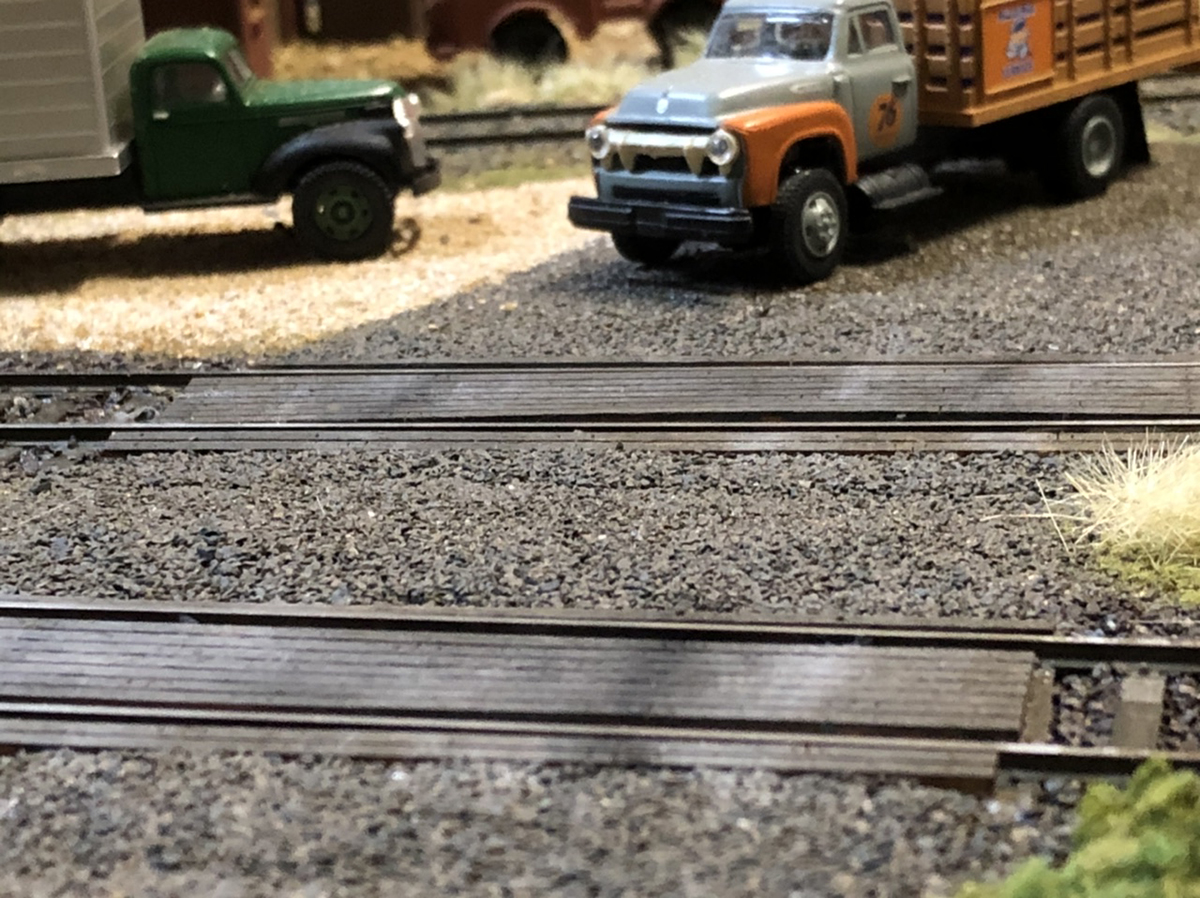
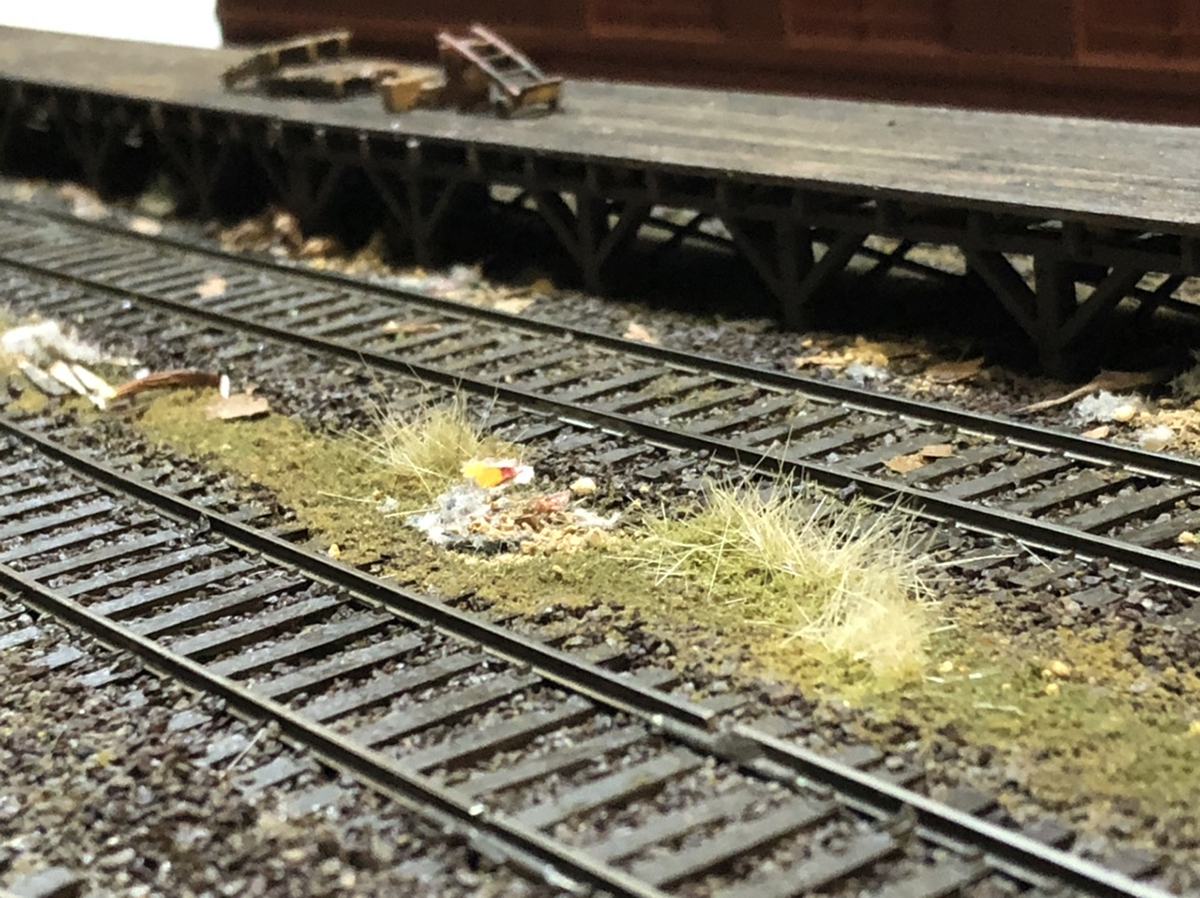
The last area was by an asphalt lot and dirt access road near the shops. What I did here was take a piece of wax paper and slide it between the sections then slowly built up the area between the sections with some full strength white glue that I mixed with scenery material and silt/sand to minimize the seam size.

Once the glue was dried I pulled the sections apart and was left with a very narrow seam. When the sections of the layout were put back together I place a small strip of sandpaper between the sections there. The grit held the piece in place and then I used a very little amount of silt/sand and filled in the seam and blended with a little ground cover when done. The sandpaper caught the material I added right at the top so I really only needed a very little amount to hide it.

Since my layout is in a garage when I pull it apart to store it out of the way that little added sand will fall to the floor but is an easy clean up.

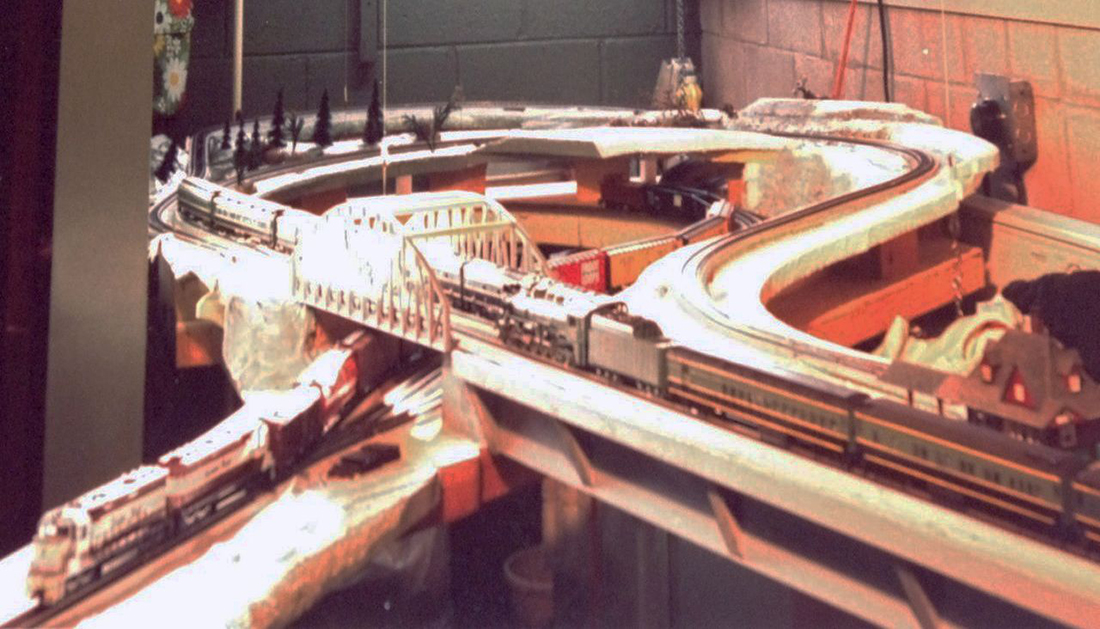
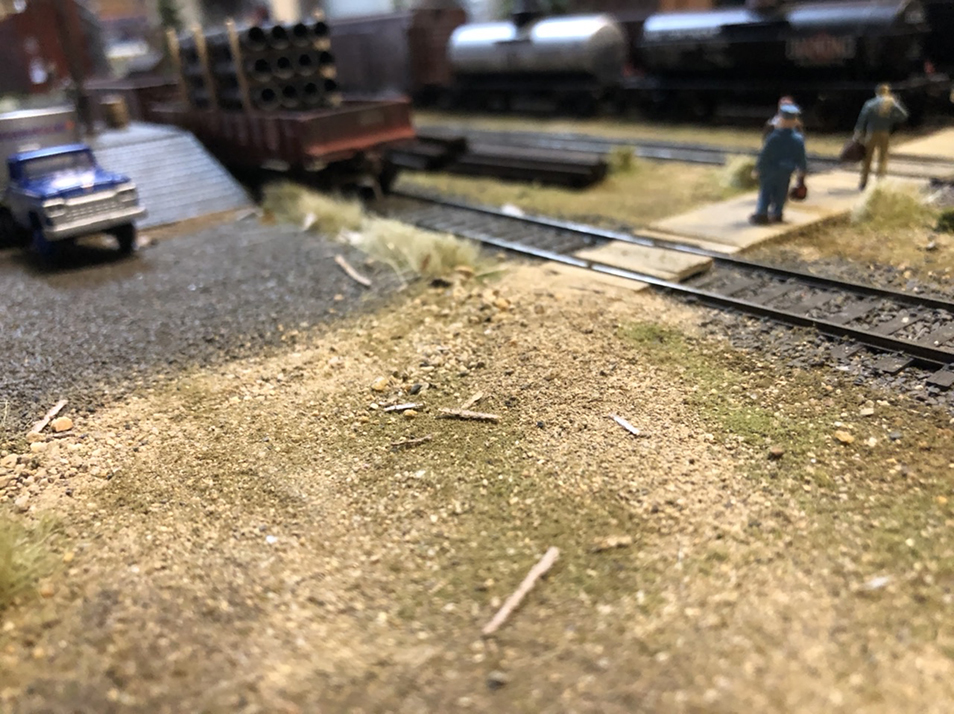
The last photo shows the area with the seam covered when I run the railroad.

Ive also attached a link to a very short video of a maintenance train running through the layout.

Thanks to all the modelers who post here and from whom I have learned new ways of doing things! Thanks one and all!

All the best!

Bill in Virginia”

HO layout

hiding seam HO layout

HO seam

switching layout HO


HO scale yard

HO scale tracks with foliage

model railroad shed

model railroad foliage

model railroad paints for foliage

model railroad truck embankment

HO scale model railroad sidings

model railroad seams joint

hide seams model train layout


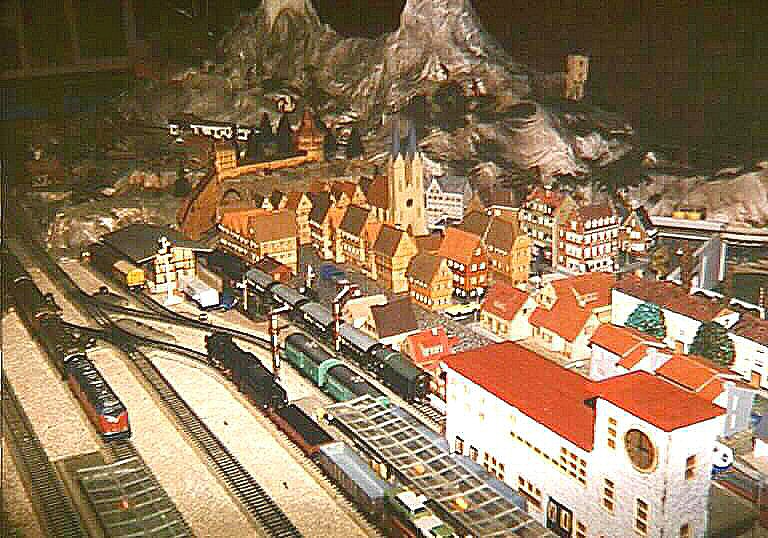
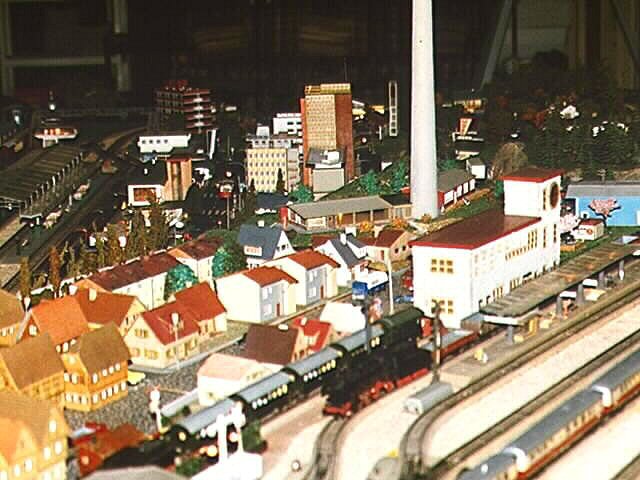
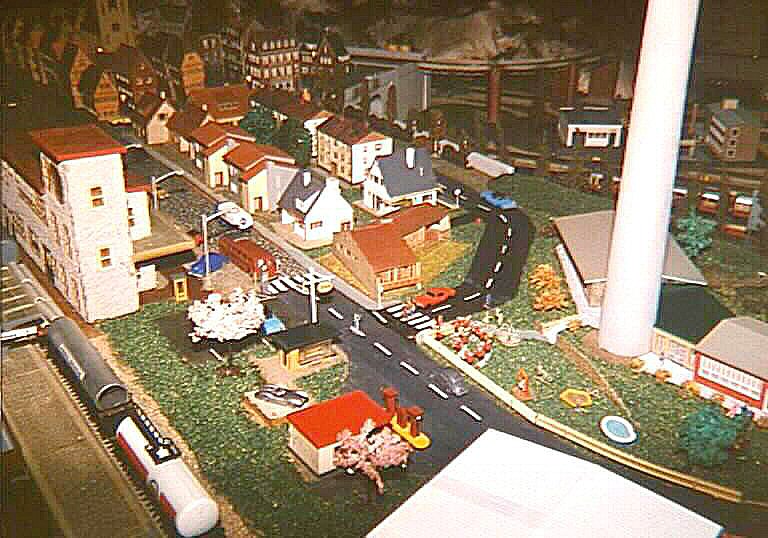
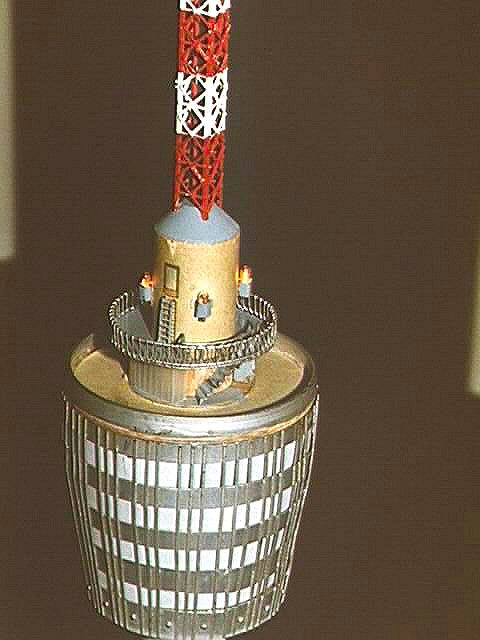
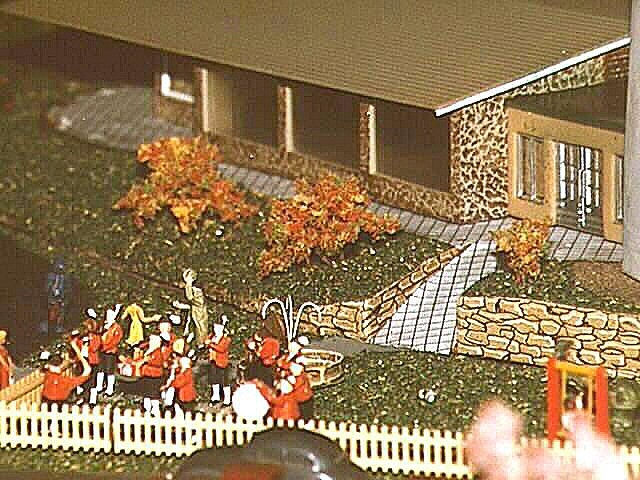
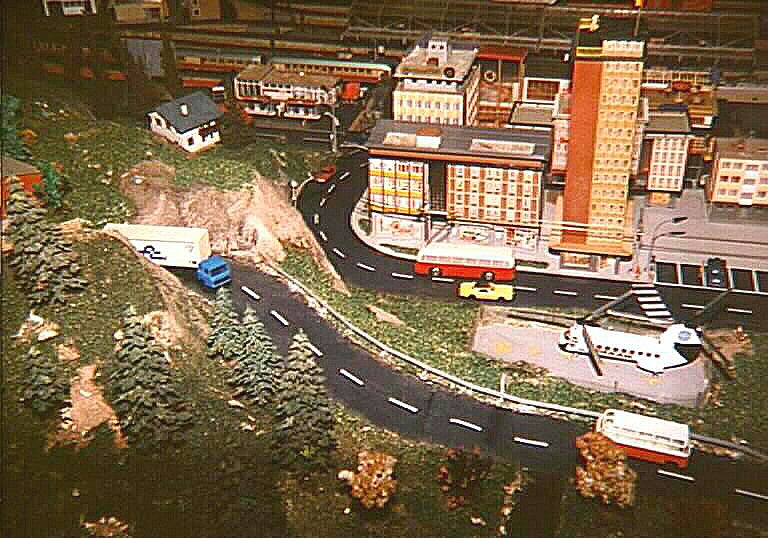
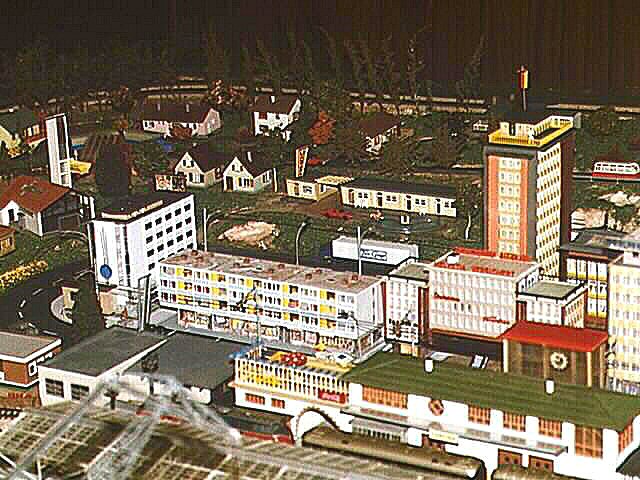
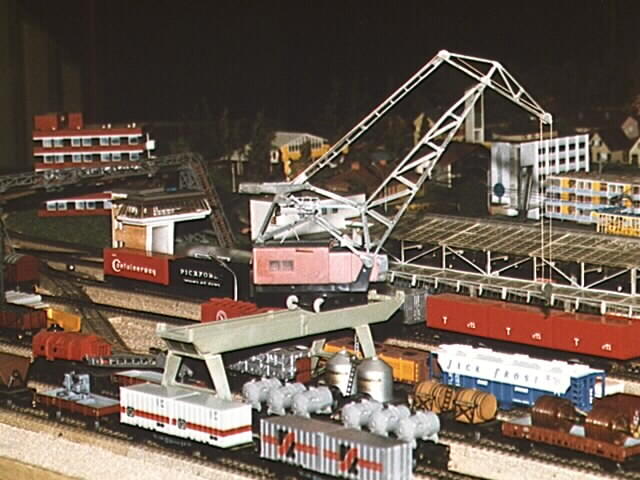
A huge thanks to Bill – what a layout!

Seeing it all come together step by step, is a real joy too.

That’s all for today folks.

Please do keep ’em coming.

And don’t forget the Beginner’s Guide is here it today is the day you take that first step on your very own layout.

Best

Al

PS Latest ebay cheat sheet is here

PPS More HO scale train layouts here if that’s your thing.


Bob’s suspended layout

“Hello Alastair,

I know your fans like ideas on how to start model railroading so here are some photos that might start some ideas.

The plan shows an area where you can walk through shown in purple.

The blue lines show what happened and the new area for a turntable.

The main section has two main line tracks with a double crossover and the back had a siding from the bridge along the wall.

There were also two sidings that had short number four switches to the front but these will not accommodate large locomotives so the plan is to remove the sections and be able to turn the main section over and install number six switches and a track to the new turntable. This will require moving the switch machines and changing the section.

There are two photos taken long ago looking at the wiring under the control panel and under the main section where you can see the levers for the switching of the double crossover using only one switch machine.

The main idea was to have the return track be hoisted to the ceiling so you can walk through the area when the layout was not being used. The other parts of the modules would not move.

You can see the modular section taken out ready for the changes. The figure eight layout was once my main track and it was totally raised to the ceiling when not in use. Once it was abandoned you can see the photo of the old table resting against the fence where it was cut up and fed to the fireplace.

To make this I used a boat winch any hardware store sells. The winch wraps around a small spool so I made a wooden spool and cut it in half to mount it on the steel shaft and glued it together again so it would give a larger diameter for the fifty pound steel fishing line I used to crank the layout up and down.

Building it was not hard as each line went around the spool through a set of home made pulleys and then attached to the layout section at the lowered height. I made sections about four feet long and did a section at a time. I used steel loops you can buy and the fish line was secured by pinching copper tube a quarter inch long using diagonal cutters.

I like the modular idea as often you can see it at train shows where the layouts are brought in pieces to the shows. I could never be able to flip up a section to change it if it was all attached to a ten foot train table. Possibly this might help some people fit a table where they could not see possibilities before.

I started this hobby in the fifties where Gordon Varney kept telling everyone that model railroading was fun. It is.

Take care,

Bob”


Latest ebay cheat sheet is here.

Some wise words from Bob.

He looks like he’s been having a lot of fun with his trains over the years too. Great stuff.

I’m all for publishing half finished layout – becuase it gets the point across that unless you start, nothing happens.

Bob’s pictures made me think he’s started and finished a hundred times. Loved seeing his set up on the video too.

Now on to Guenter.

The pics he’s sent in look quite old because I suspect they probably are.

But it’s still a fine layout:

“Hello Alistair,

It is always a pleasure to see pictures from other modeler’s layouts. So I thought that I could share some pictures from my own.

It is a freelance layout depicting features from Southwest Germany.

The size of the HO layout is 8.5 x 4.5 meters.

One feature is a model of the grandfather of all freestanding towers. It was built in 1954 on a mountain outside of Stuttgart. It is 211 Meters high. The top of the model is made entirely from brass. The transmitter tower is made from 1.6 mm brass angle, cut to length and painstakingly soldered to form the mast. Scale of the tower is 1:200, normal scale of 1:87 wouldn’t have fit in my basement.

Track and rolling stock are from Märklin.

I hope you and your viewers enjoy the pictures

Guenter, Hilton NY”

That’s all for today folks.

Please do keep ’em coming.

And if you want to make your start today, the Beginner’s Guide is here.

Best

Al


Model train foam mountain

Eric’s been back in touch, this time with his model train foam mountain:

If you missed his first post, where he starts, it’s here.

“Al, how’s it going?

Been spending time on lower expansion completing board expansion and getting ready to cover with insulation foam board.

Then I began laying track out again with a few changes.

I had to make a cut out in the one area due to reach and needing to get to upper ceiling layout but I have a plan for that. It will follow with pictures.

I decided to use Woodland Scenics grass mats to cover areas and then I will came back and filled in with a few more grasses out of shaker dispensers.

I have also cut in an over size creek and will use realistic water with the normal creek garb.

I hope to moved track off in sections to lay mat, then trim off access.

I have attached some photos of the model train foam mountain build.

It started with insulation foam cut and glue gunned together with a lift off top for easy access. Next is to cover with Woodland Scenics plaster cloth.

All of you have fun out there in trainn land.

Eric the firefighter from St. Louis.”

model railroad laying track

model train bench

corner for model train mountain

model train foam mountain

model train foam mountain

model train foam mountain


“Hi Al Robert here from Florida.

Coal load made easy.

Looked at prices of coal load couldn’t find size, so being frustrated I made my own with cut to size corex board.

It’s stryene board honey cone comes in white,black or blue. I get it locally from a sign shop.

Cut what you want to size. my case a 54′ coal hopper then i purchased a bag of black cinder from a fabric / art store (Joanne Fabrics).

Pour some on the coal car with corex in place (painted black) Spray 75% water 25% alcohol as a wetting agent like you do for ballast now elmers white glue same ratio.

I also seen the corex on ebay and if they have black ballast that would work. what i bought glistens in the light. looks like real coal.

Bob”

model railroad coal

model railroad coal

“Hello Al:

I am a big fan of the Gn15 scale.

My friend John Zareva converted this HO engine I bought for little money at a local show in New Jersey into a Gn15 locomotive.

He cut out a part of the roof of the F7 A-Unit and fitted a driver’s compartment complete with a driver in G-Scale.

The result is a loco such as exists in virtually every country in the world in amusement parks and many other venues.

The interesting thing is that the loco can be converted back to HO simply by taking the engineer out and putting the hatch back into place !

Next we will do some cars and put G-Scale passengers o them.

All of this can be had for little money and it fits perfectly with existing G-Scale structures..

Best Regards

Thomas”

HO conversion

HO conversion

I haven’t stopped smiling since I saw Thomas’s pics. Brilliant.

And it proves the rule: your layout is whatever you want it to be – there are no rules.

That’s all for today folks.

Please do keep ’em coming.

A big thanks to Eric for sharing his model train foam mountain, and to Bob and Thomas too.

And if you want to make a start, just like they did, the Beginner’s Guide is here.

Best

Al

PS Latest ebay cheat sheet is here.

PPS More HO scale train layouts here if that’s your thing.