Arnie has been in touch with his N scale Bachmann track plan – and a few variations too:
“Hi Al
Arnie here from across the pond.
After buying and looking at the layout plans I thought I’d submit a few of my own including the one I am running right now.
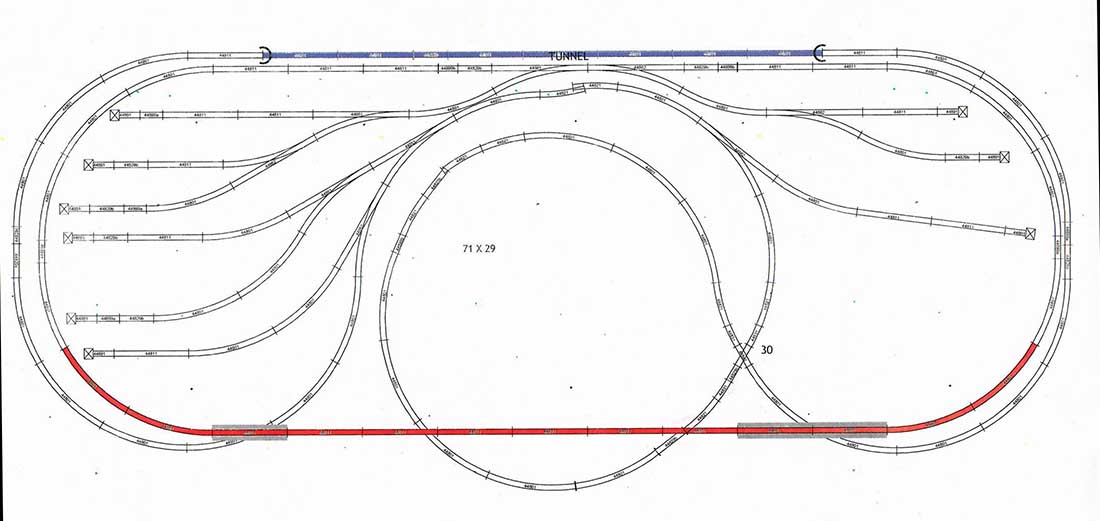
Attached are 6 plans that I designed in case I wanted to change my layout.
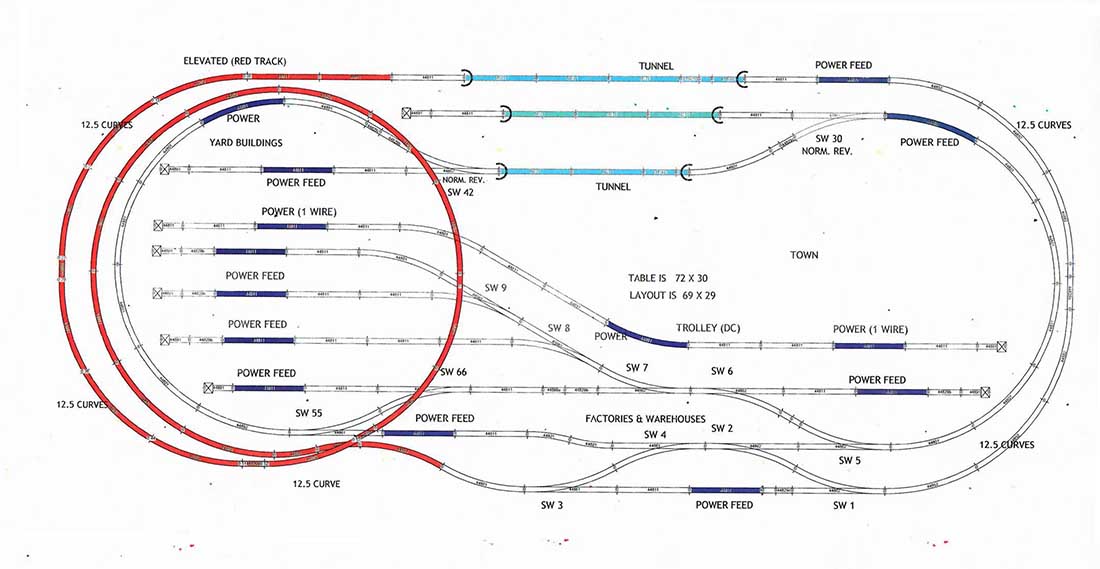
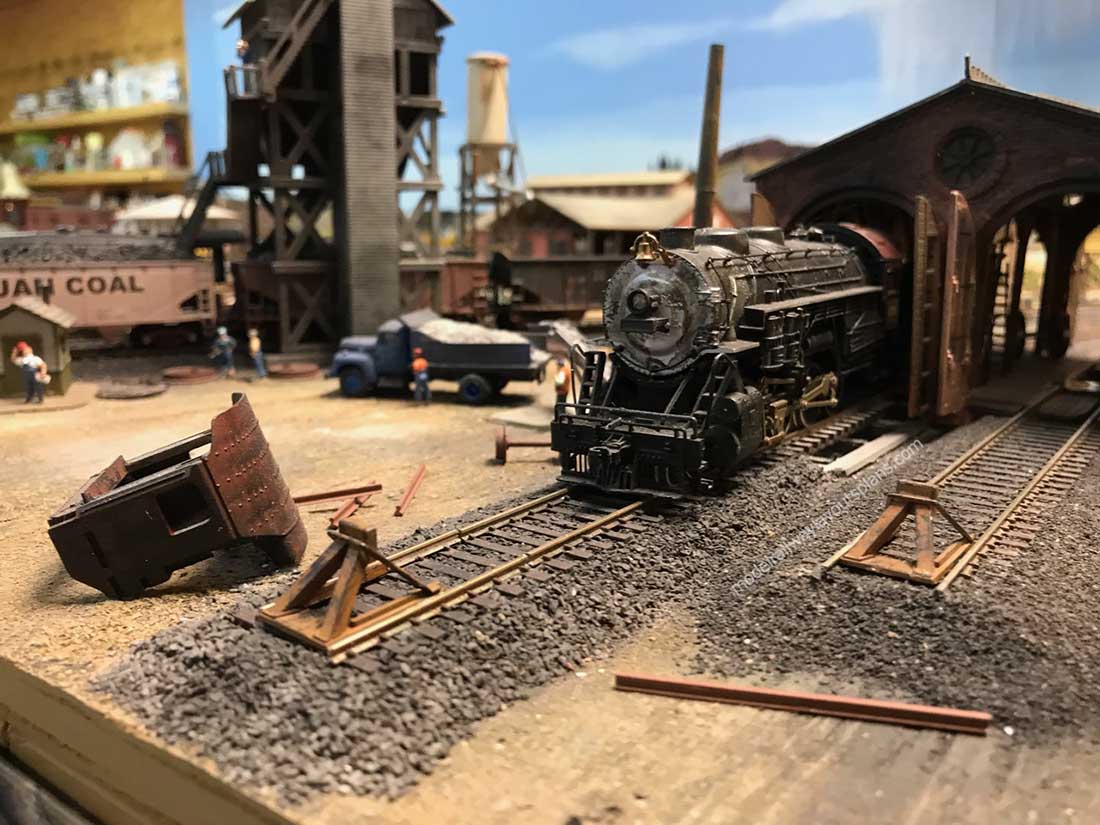
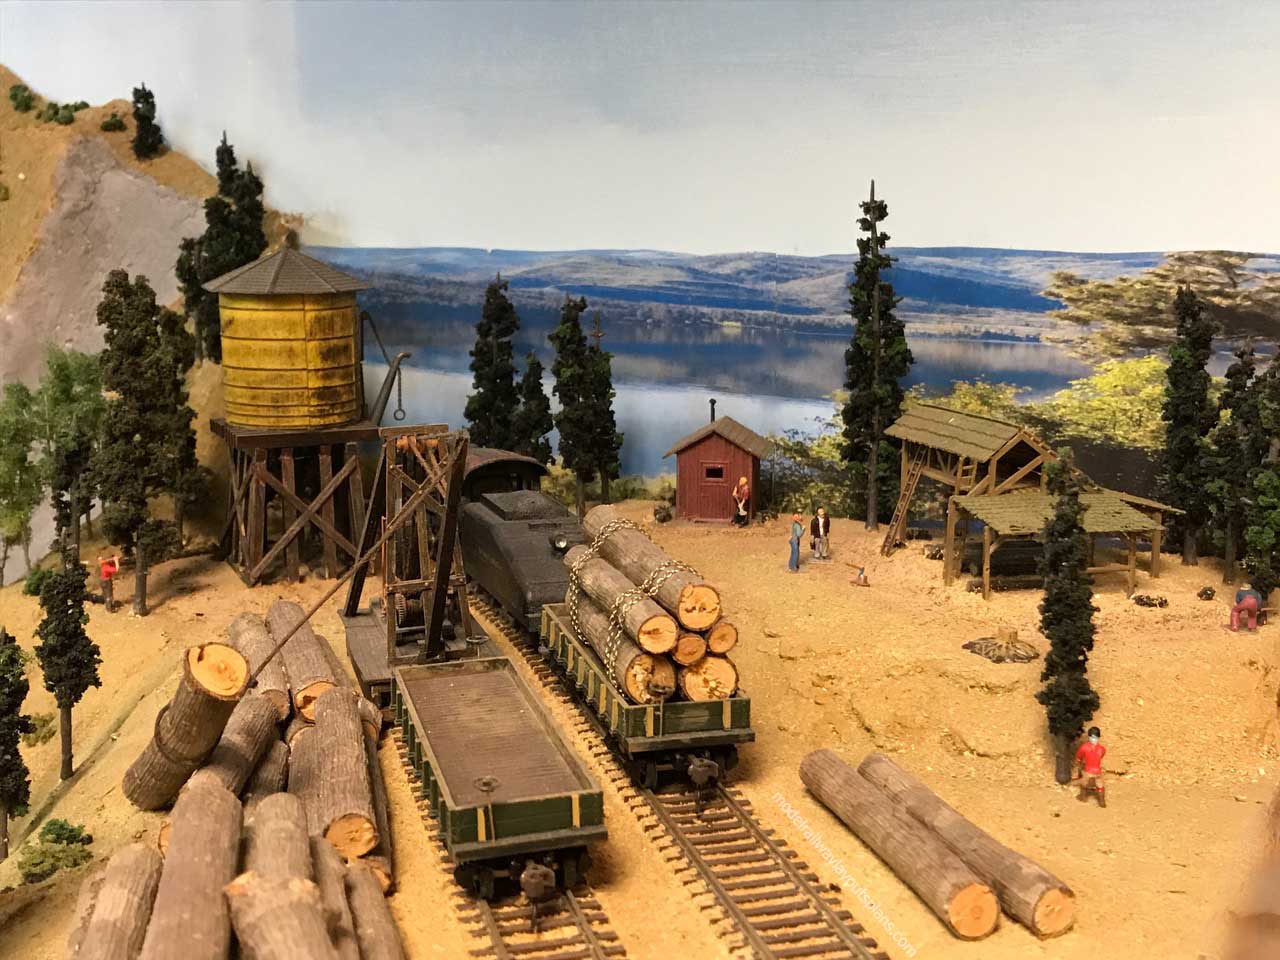
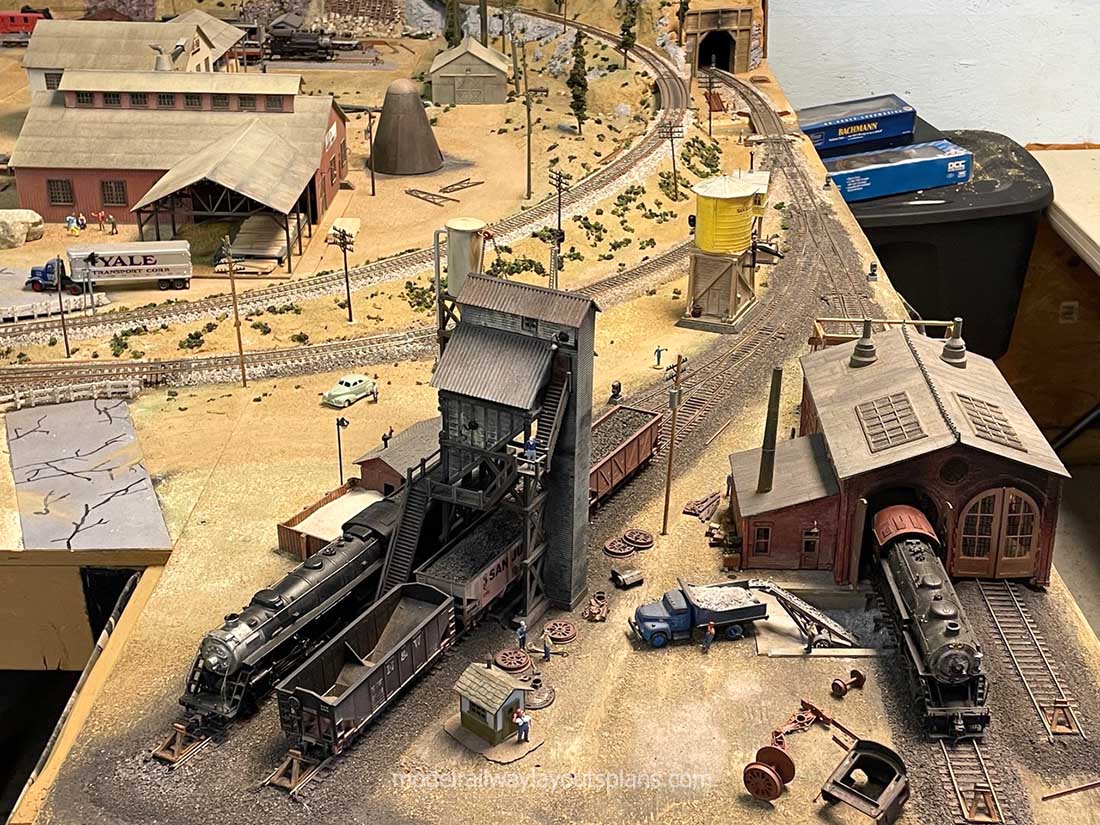
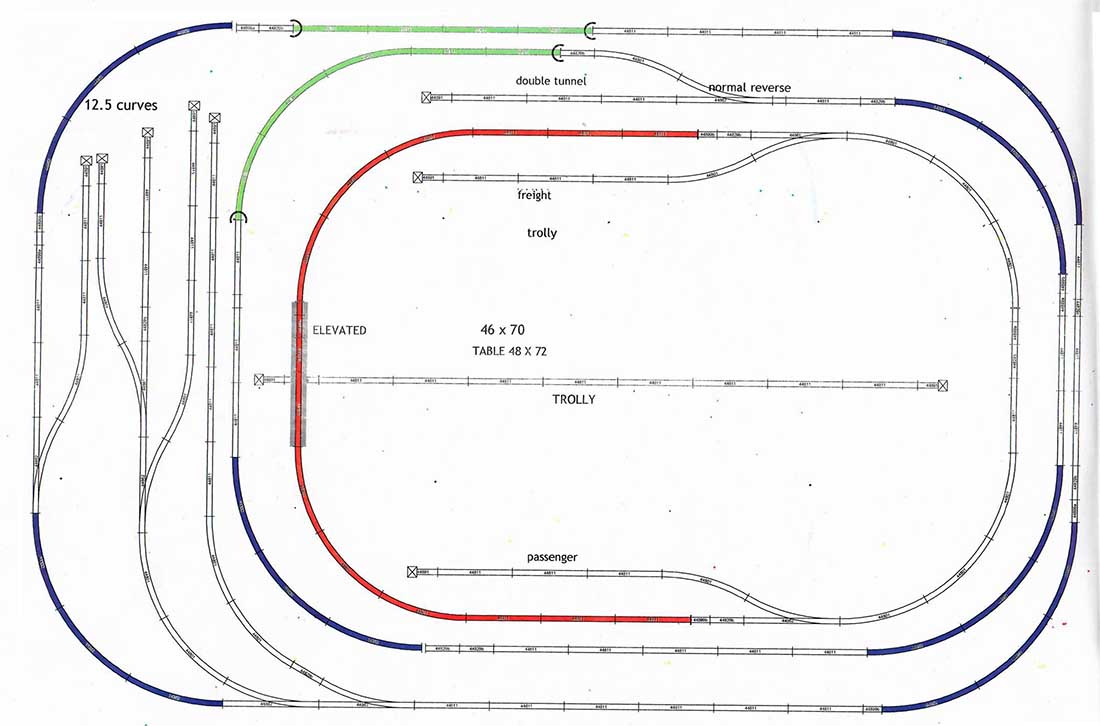
This is the layout I am currently running with a 2% grade and 12.5 radius curve n scale track from Bachmann.
All the lay outs are e-z Bachmann track in N scale.
I hope your readers enjoy them and maybe modify them for their needs.Please keep the blog going as it is the first e-mail I read each day that I receive one.
Something about each plan.
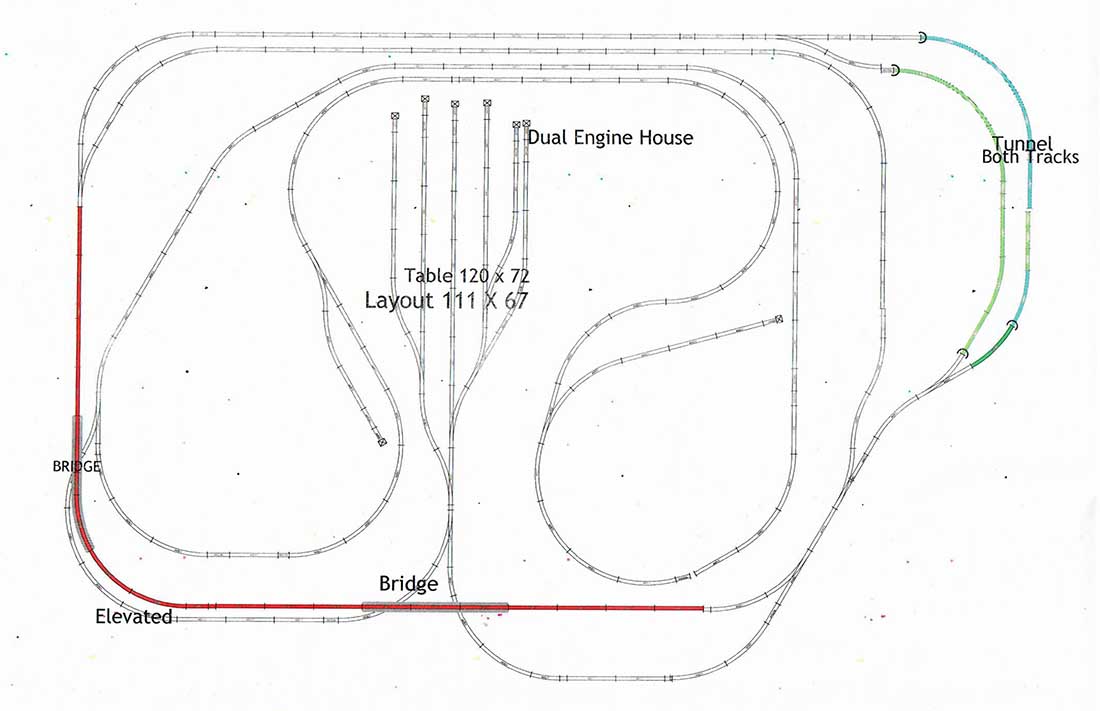
Copy 2 was a inside and outside could reach the yard.change from the original so that both the yard.
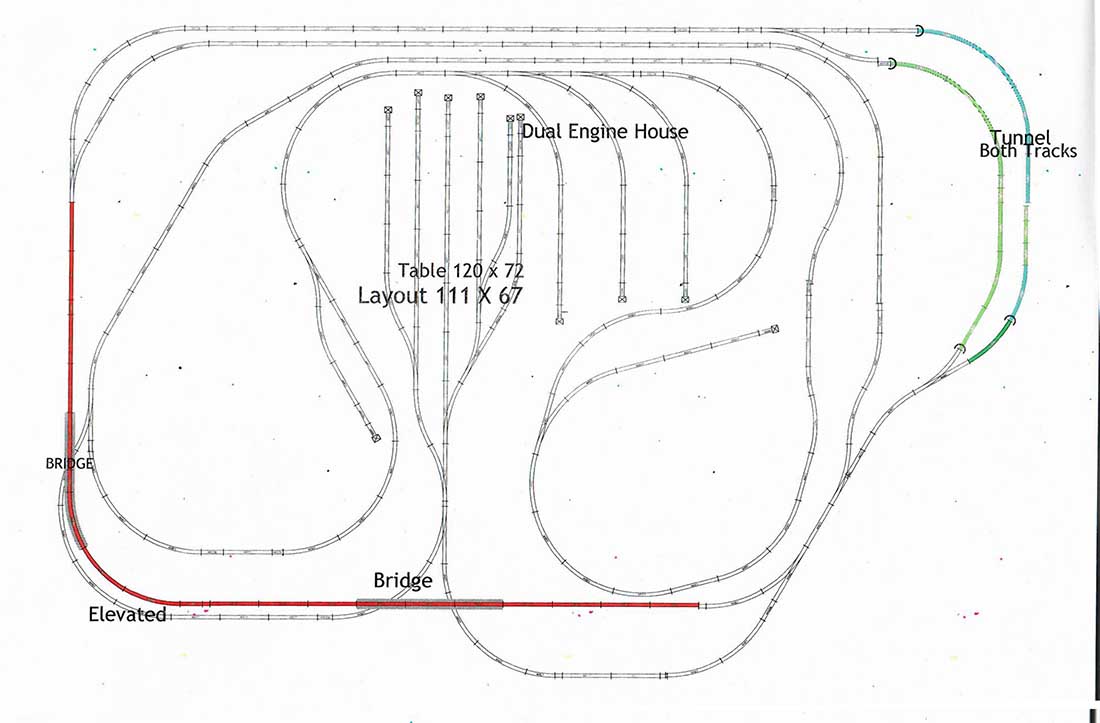
Copy 3 added more layup tracks to the yard. The dog bone is just made for one continuous long run.

Untitled 11 is just to see if I could run more than 2 trains at one time.
Loop de loop was just fooling around and I came up with that layout.
Foolin mod. 1 is the layout I am currently running and I am planning to build a mountain over the tunnels. The trolley runs back and forth thanks to a reversing power supply I got off E-Bay. Like I said earlier I am using 12.5 radius track for the circle.
Last but not least is untitled 12 which is a copy of 11 with the trolley running on a straight track.
Thanks for your hard work in keeping the blog going.
Arnie from Florida”
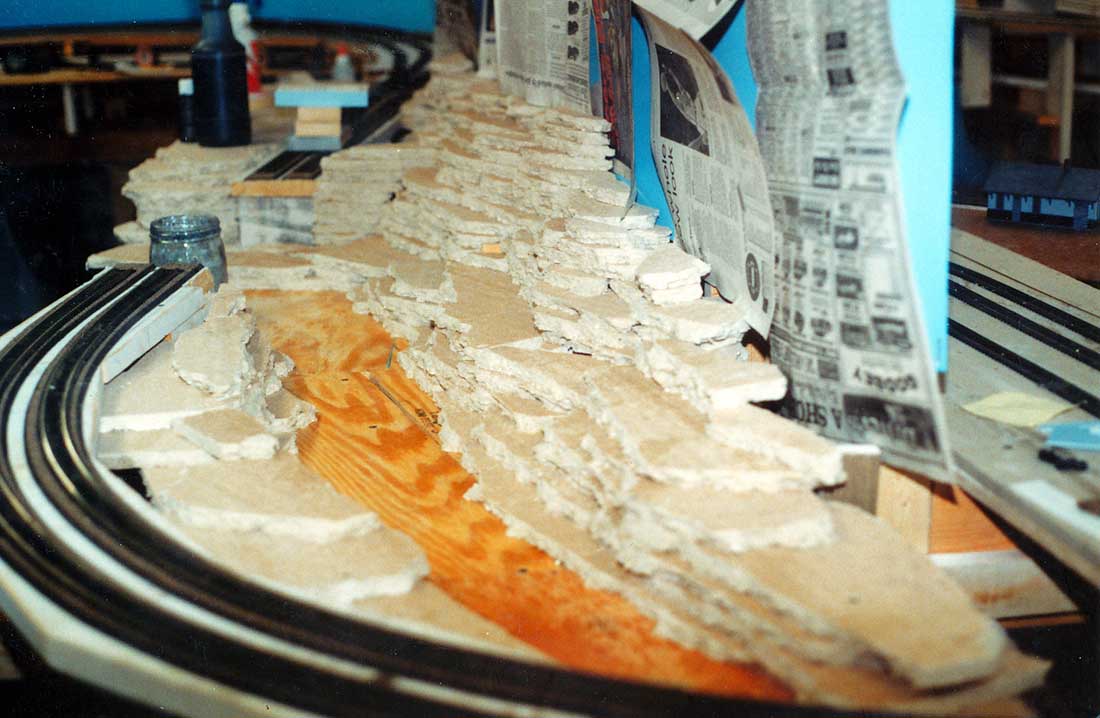
A huge big thanks to Arnie for sharing his N scale Bachmann track plan – I do love seeing how a layout starts, even before there’s track on the bench, because it’s all about making that start.
Next, on to Mike, who has also made that all important start:
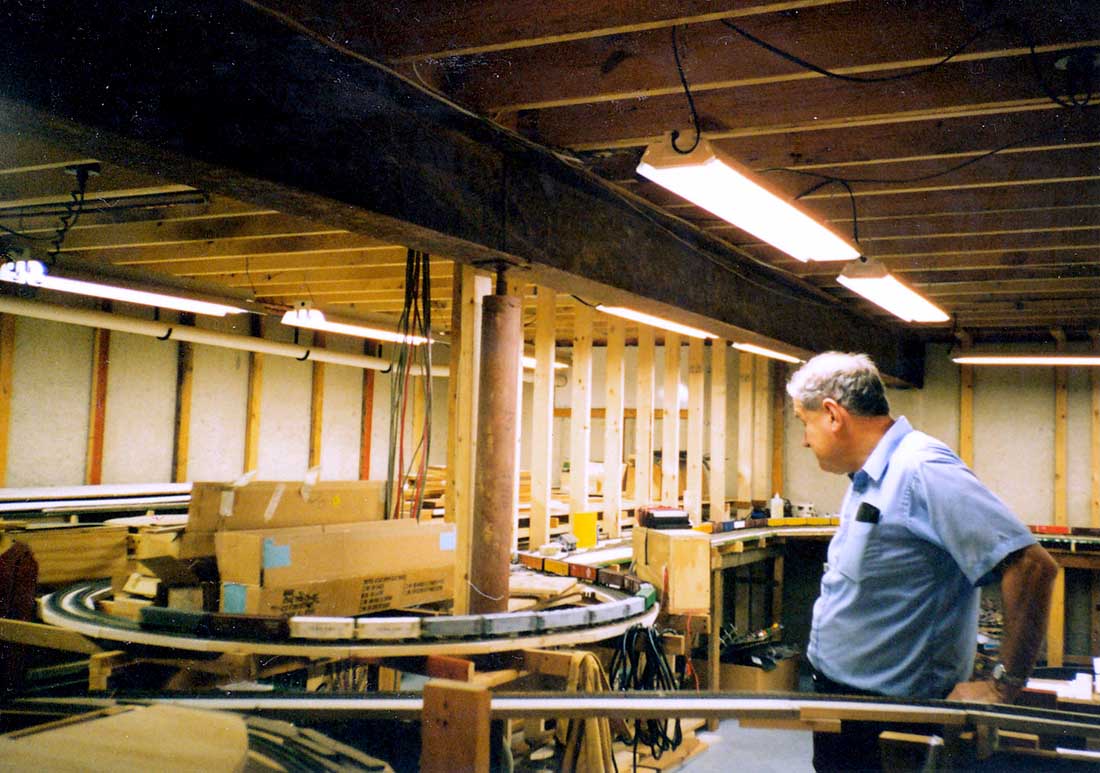
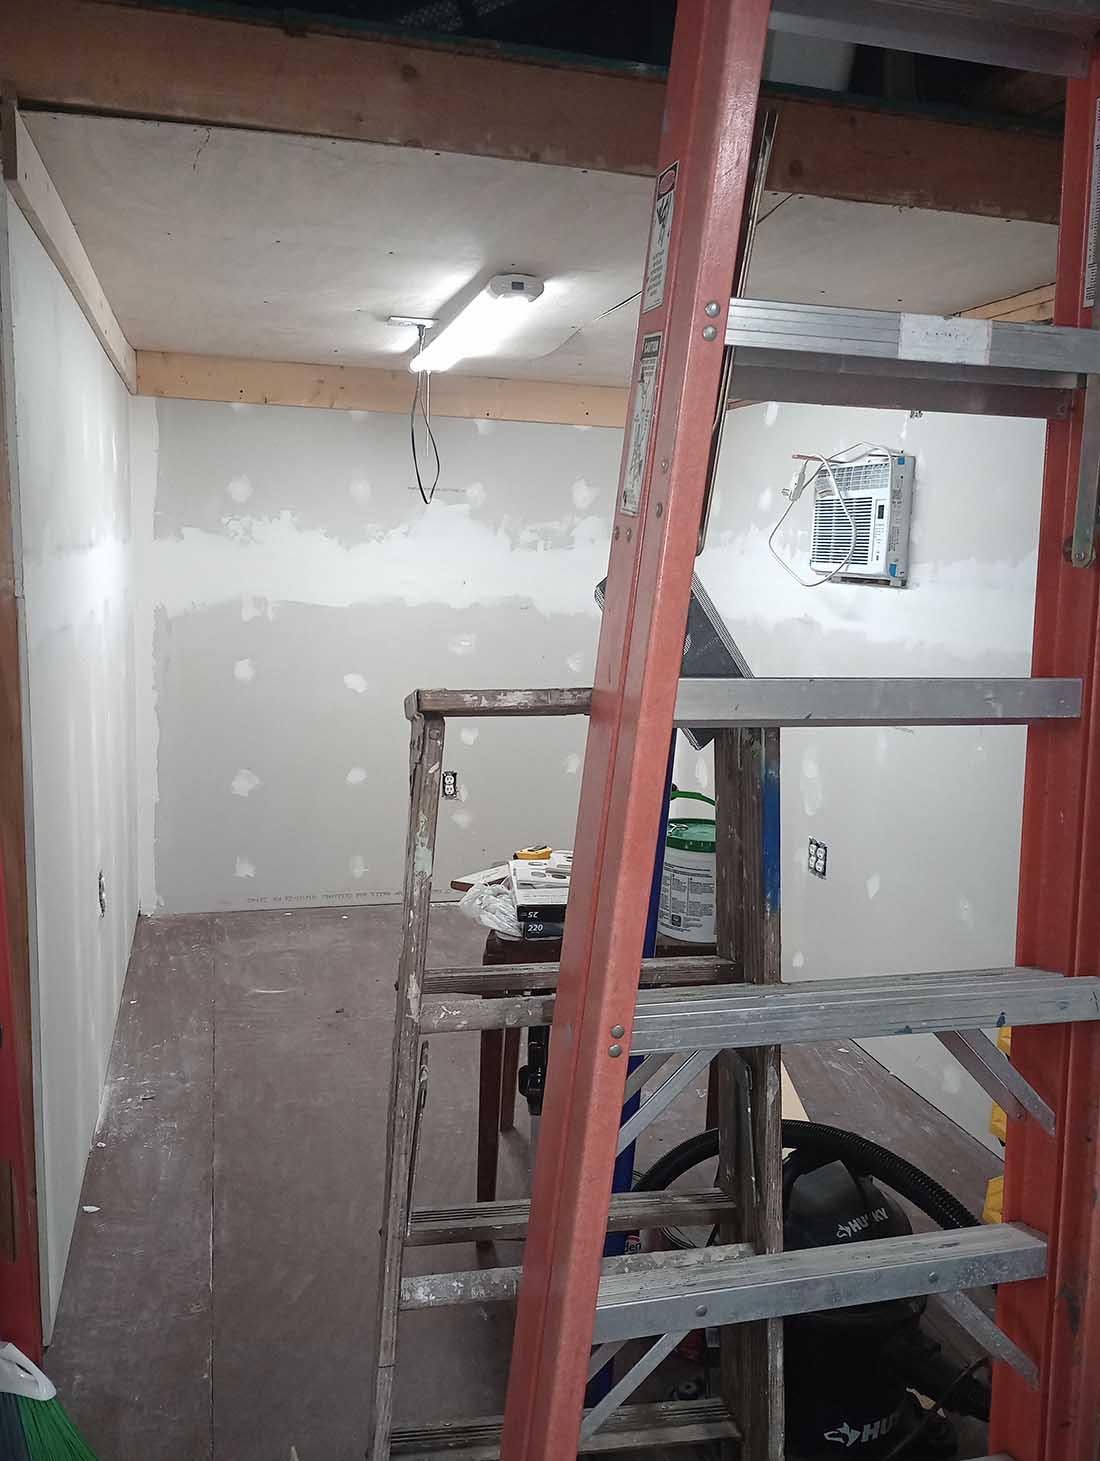
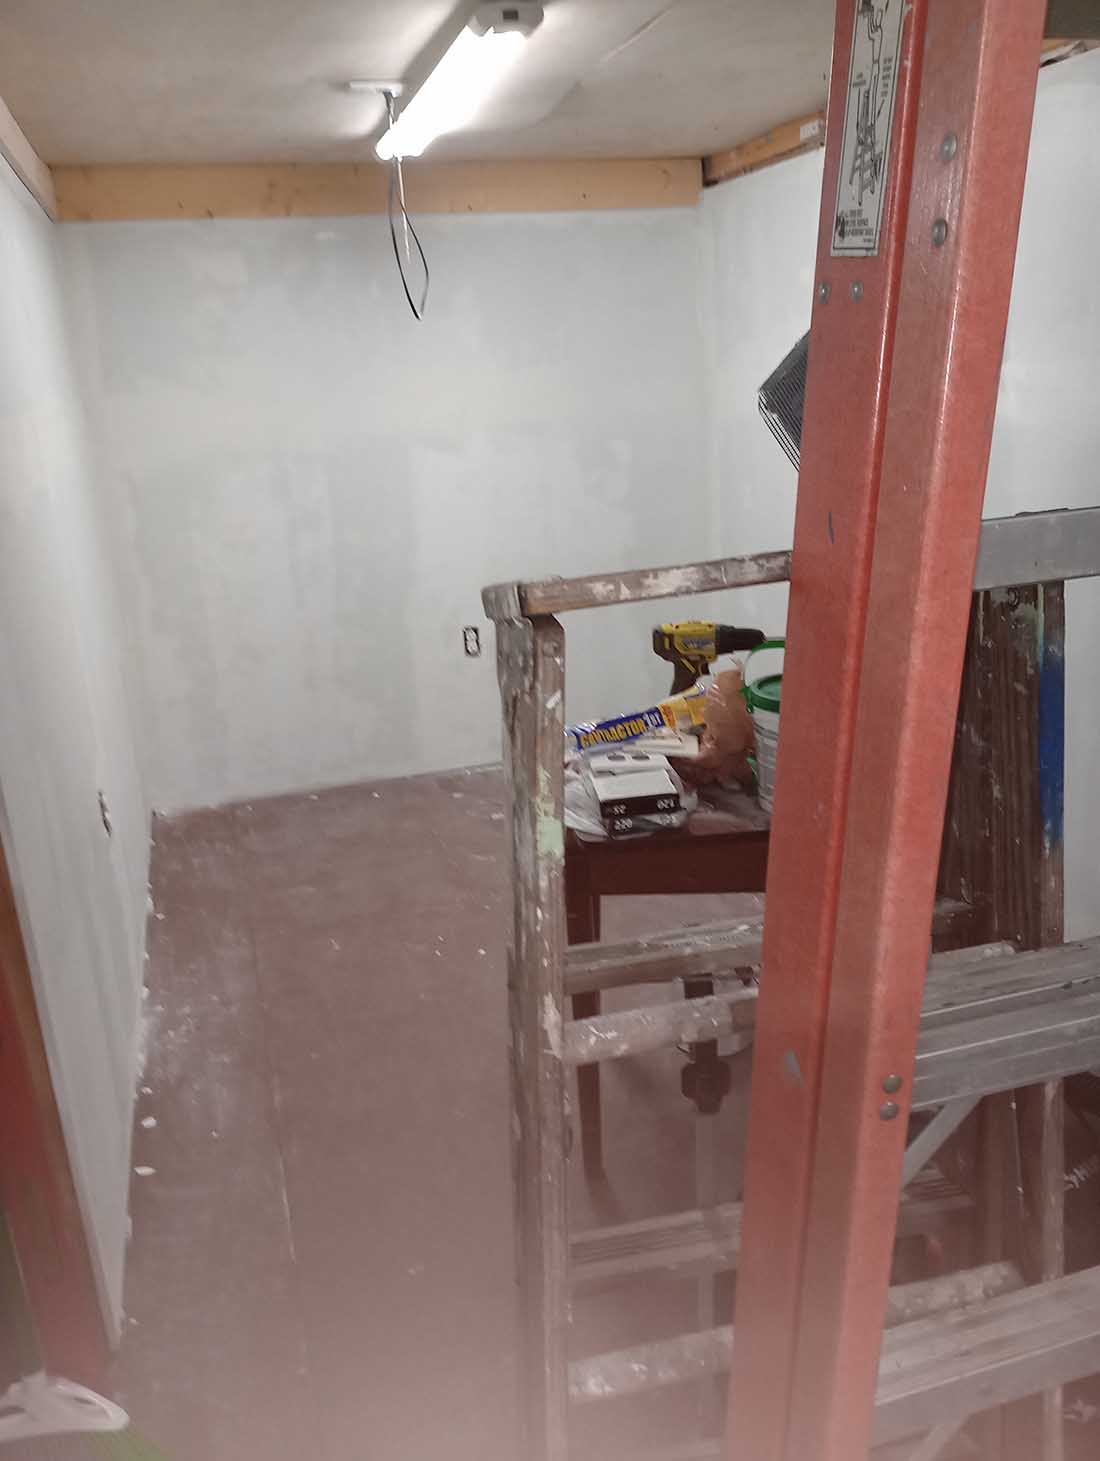
“Finally built my train room in my shed. Call it my scrap wood setup. I used scrap pieces of wood in my woodpile to build the table and room.
I have a 14×20 shed in my back yard. It has two 8×14 lofts, one in the front and one in the back with a 4×14 opening to the ceiling in the middle.
I was noticing sag in the back wall and decided to put up a cent wall in back creating two 7×8 rooms. After completing construction, I decided it would be a good train room.
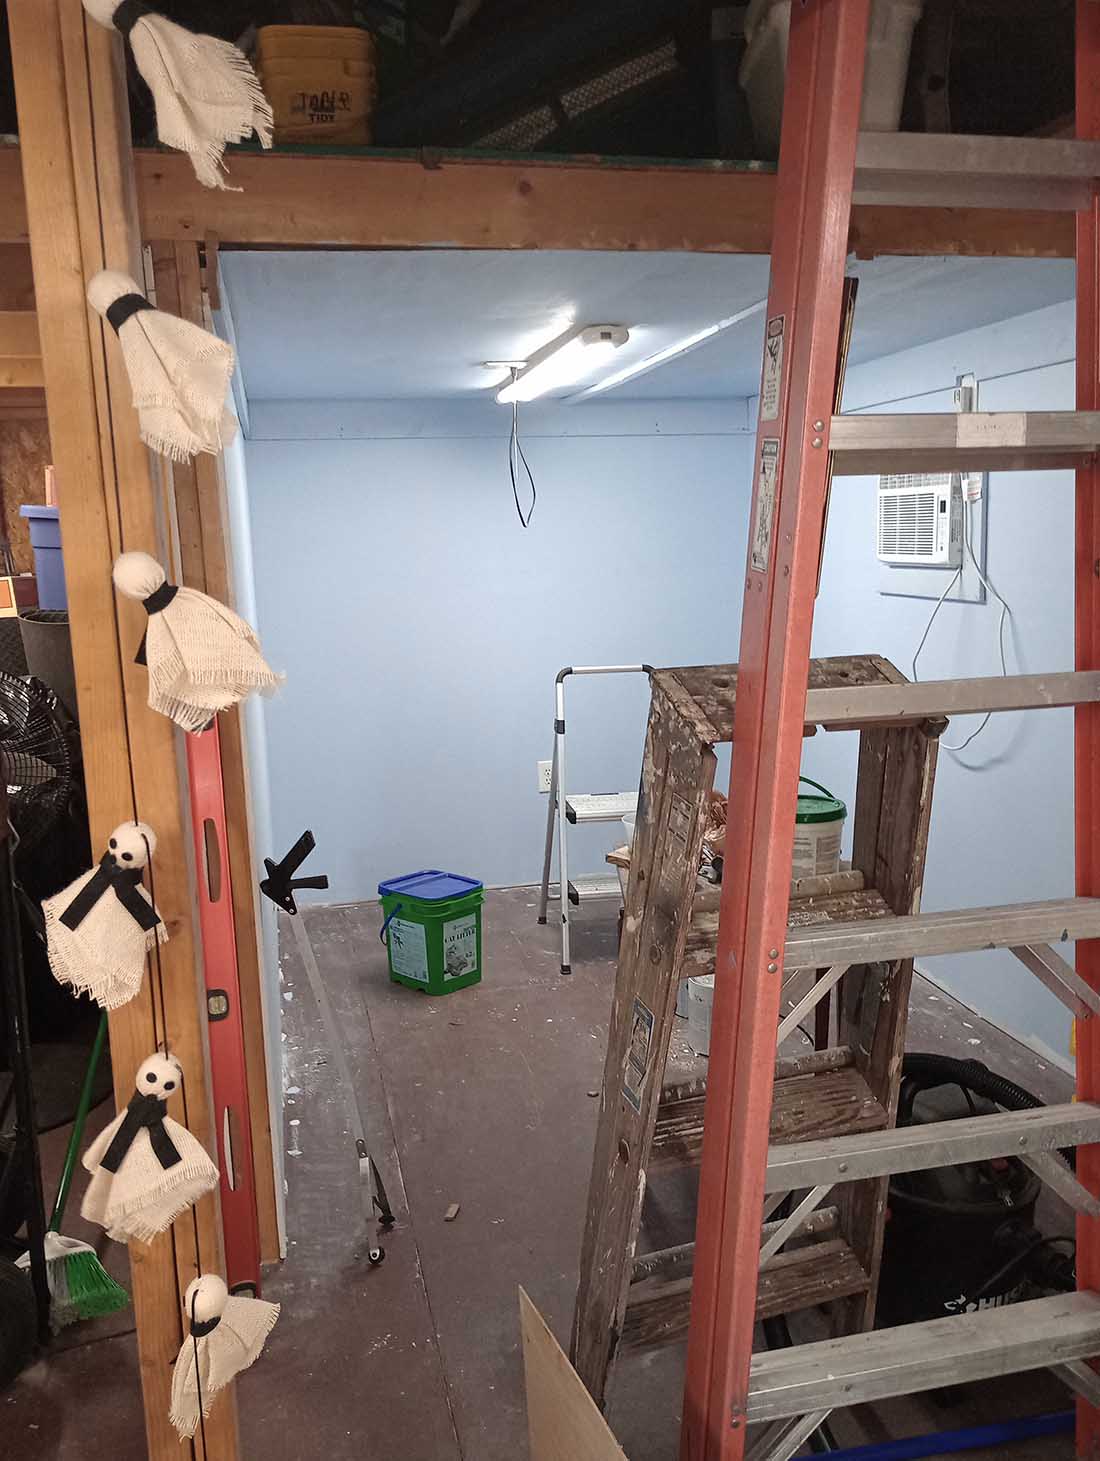
I ran electric throughout the whole shed, then insulated the back area, put in an air conditioner, and drywalled the area.
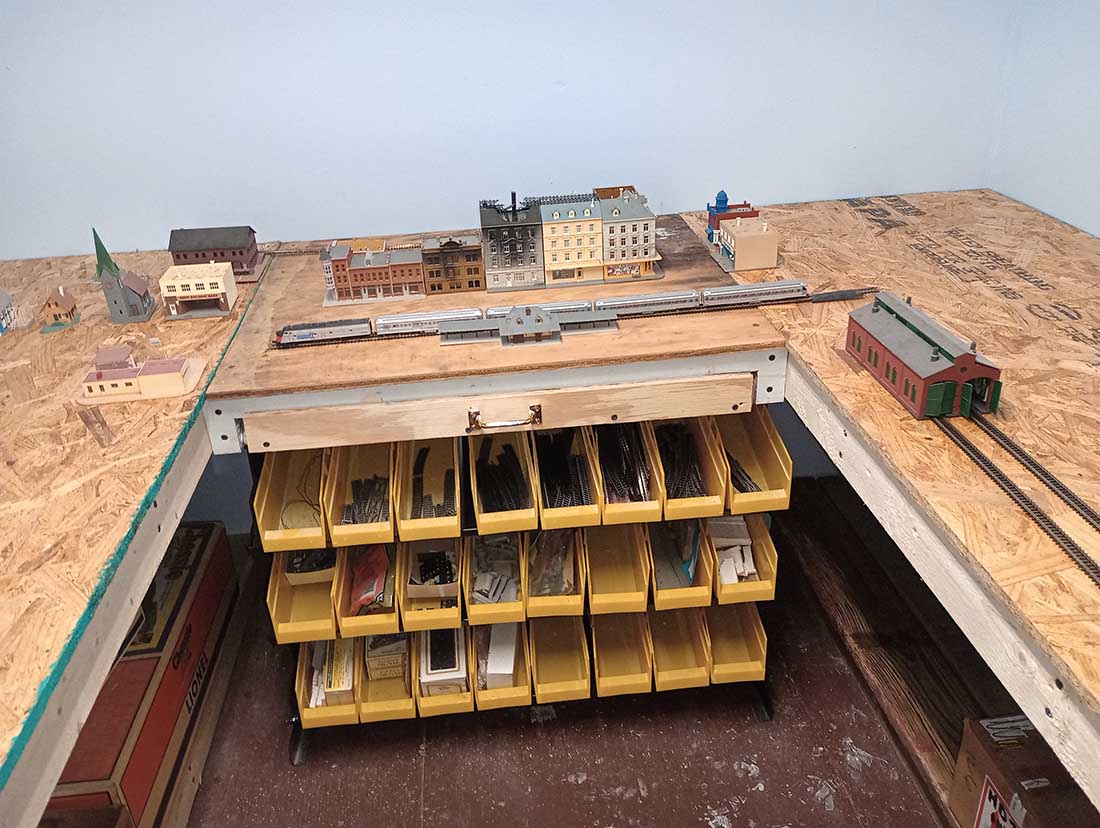
I then, with the help of a friend who helped me build the room, built the table. As we stood back, we started staring at the other room and have decided to make it a train room also (future photos when its done).
Going to do a 4×8 table in the middle of the room with a 2 foot section connecting it in the back by cutting tunnels through the wall and connecting the two rooms.
Thanks to Mike for sharing his start – because that’s what it’s all about, making that start.
That’s all for today, expcept for one thing – the future of the blog.
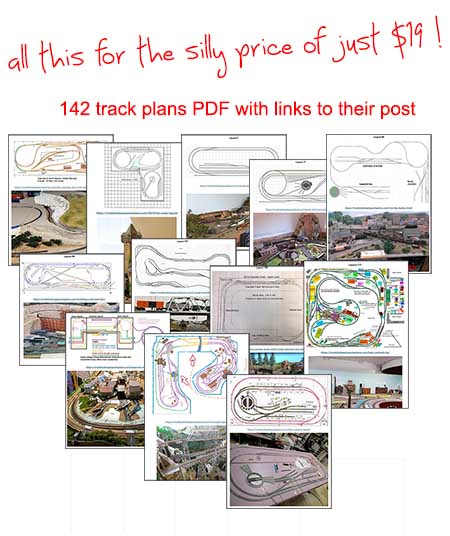
Thanks to everyone that has supported the blog by buying the track plans PDF, and especially to those who jumped straigt in with membership too.
Long story short, it has found me enough breathing space to carry on while I make some drastic changes.
Fortunately, the drastic changes won’t affect anything you’ll see because it’s all the behind the scenes stuff – mainly the software behind the site.
Basically, doing this will make considerably savings, so that’s what I’m doing.
And it’s possible I won’t be able to mail as much.
There might be a few hiccups along the way, but that’s the nature of the beast when you make big changes.
I did try my very best before running this ‘promotion’.
I thought another related blog would help, so I started a forum type thing, modeltrainanswers.com.
But you know what? There were so few questions posted I lost the will for it. Should I carry on? Please leave a comment below and let me know…
Then there was another, myotherhobby.com.
I really liked this one – especially when people sent me there old, beautiful, vintage cars.
In fact, if you have an old car, please do send me pics.
Somebody sent me some of the MG sports cars in their garage and it really made me smile. I’m going to post them when I find time.
Anyhow, what it comes down to is this: you lovely lot have saved the blog. Again.
I can’t thank you enough.
Looking through my mails every morning and seeing what I can post is the highlight of my day, and I’ll carry on doing it as long as I’m able to.
Thank you so much my friends, you know who you are.
That’s all this time folks.
Please do keep ’em coming.
Best
Al