HO scale foam board bench work

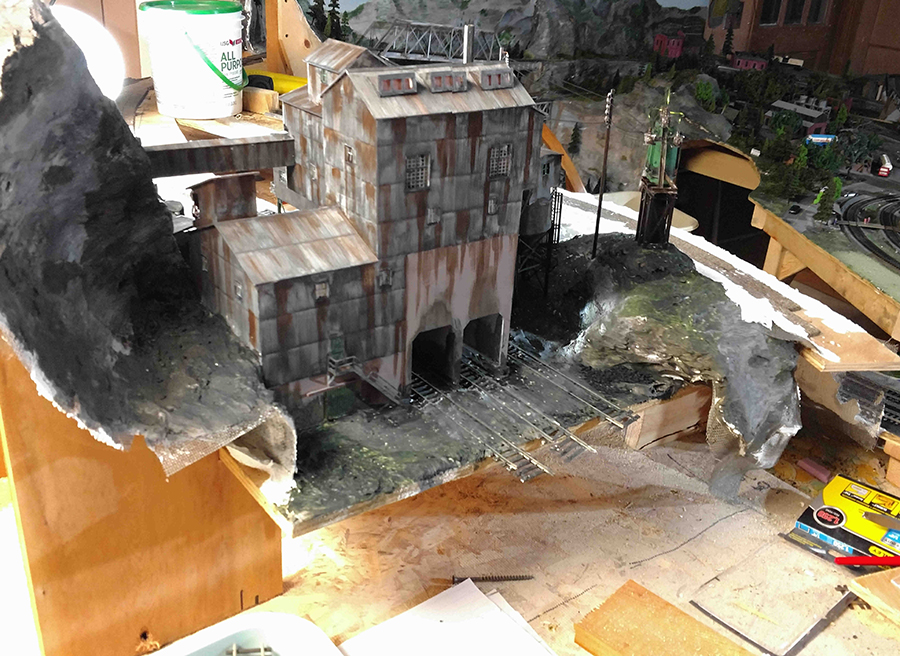
John’s been back in touch. This time he tells more about his HO scale foam board bench work.

His previous post is here if you want to catch up.

“Hi Al,

John from Baltimore here.

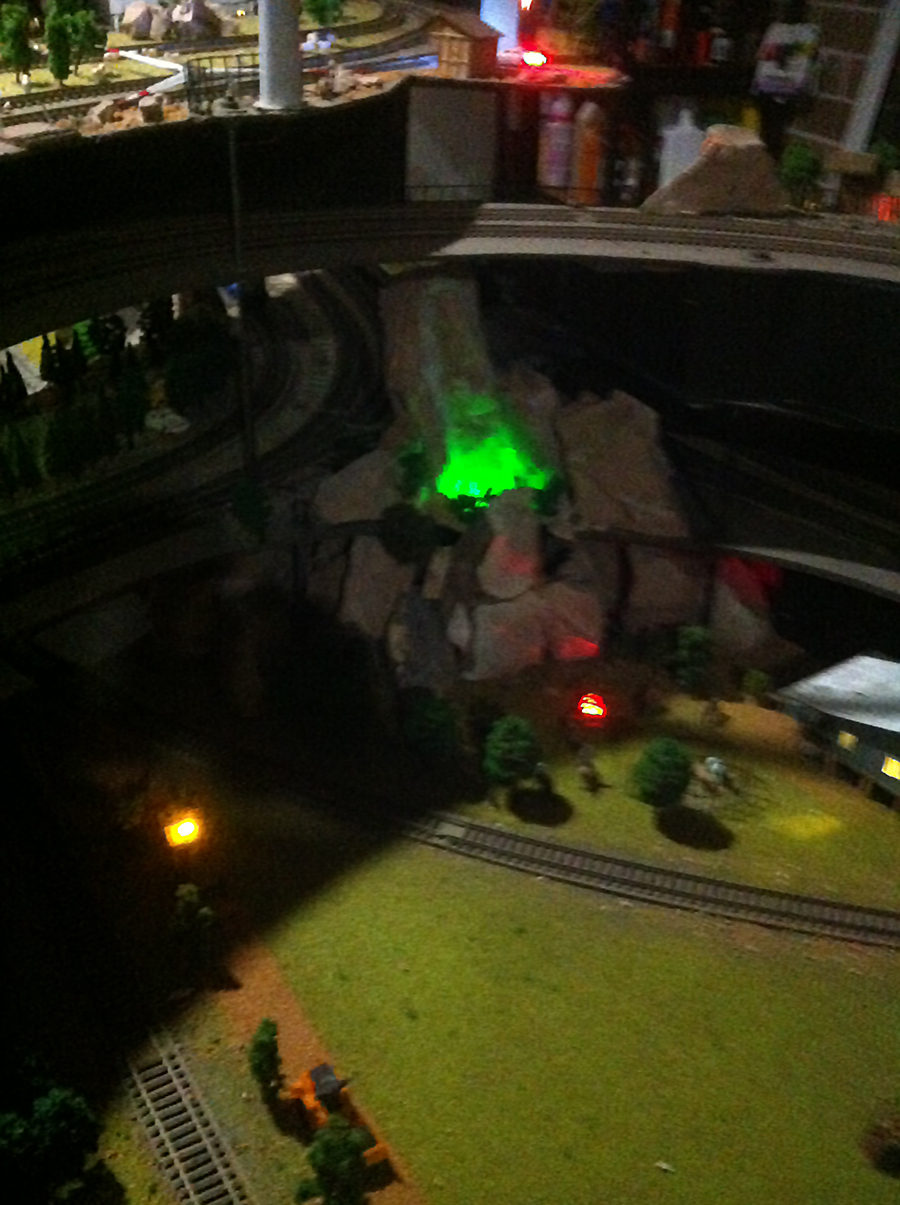
On the last post you so kindly put up of my coal mine and lighting improvements, several people commenting expressed an interest in how the layout started and grew, and what the final track plan is.

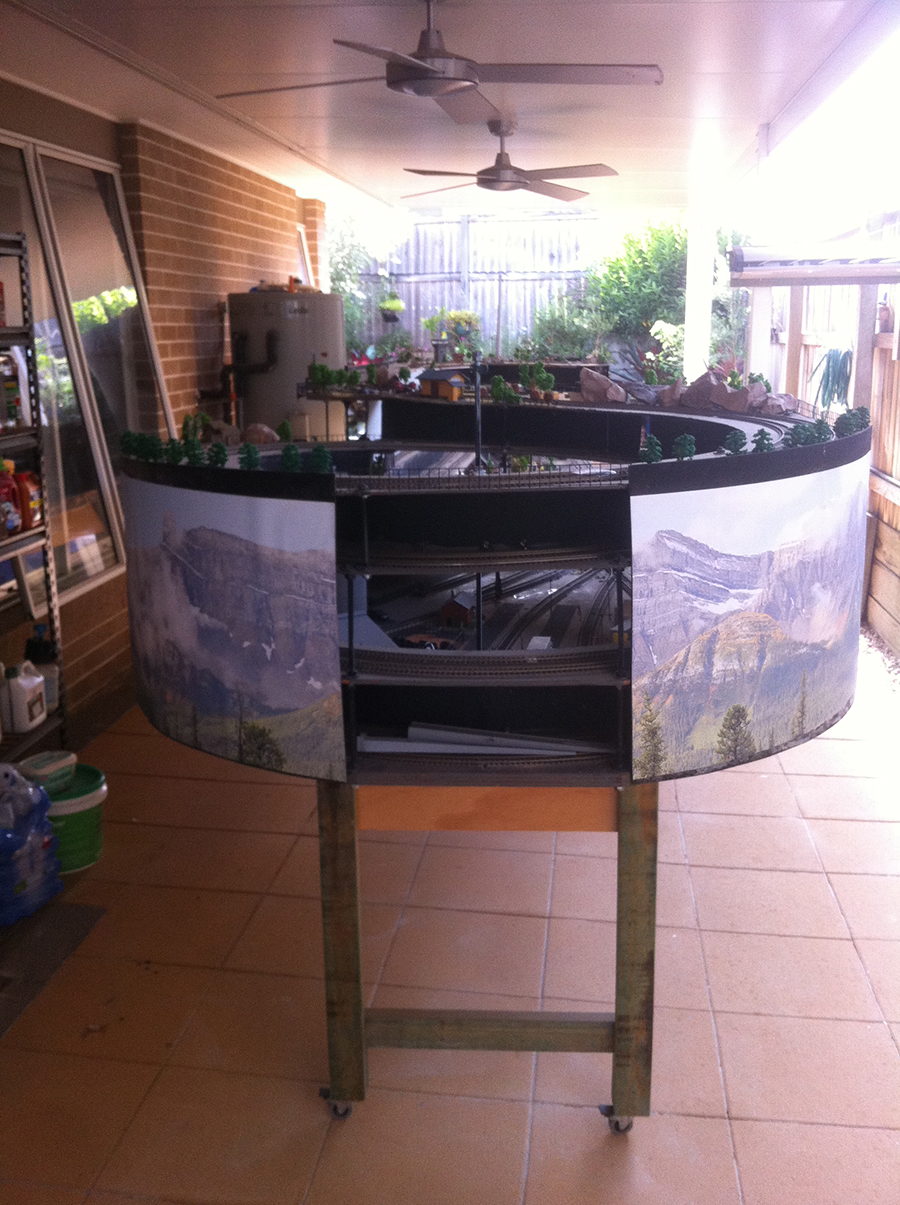
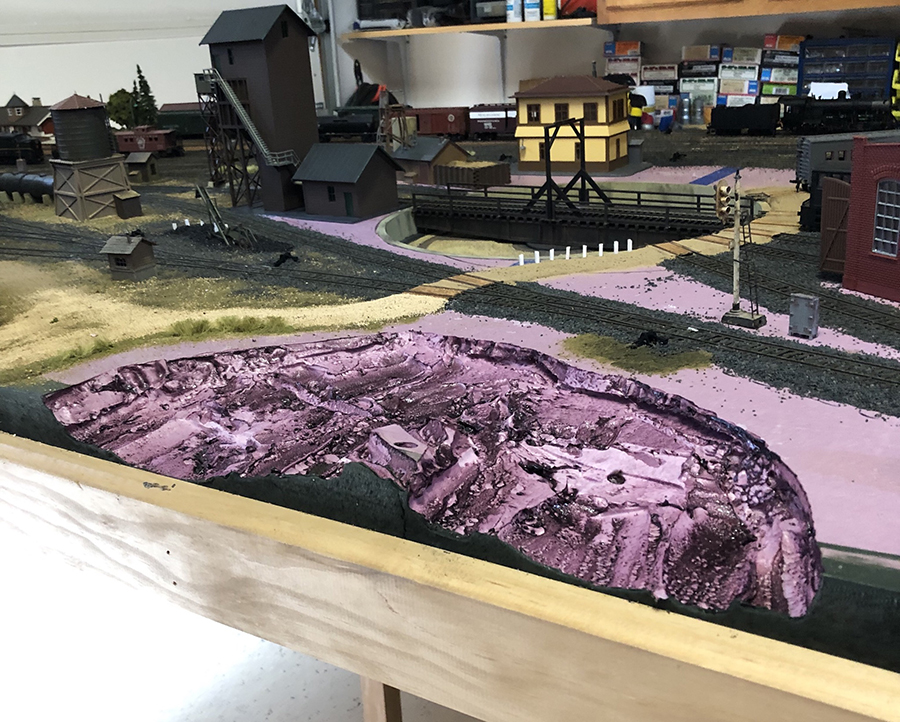
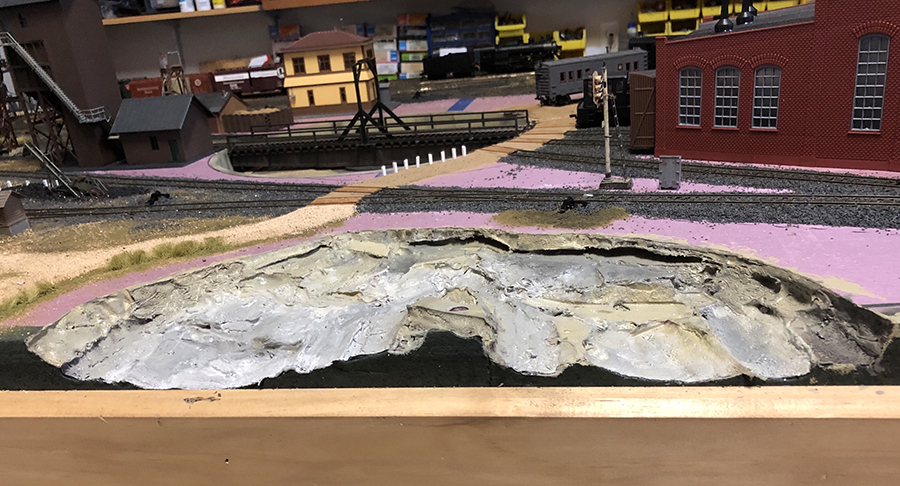
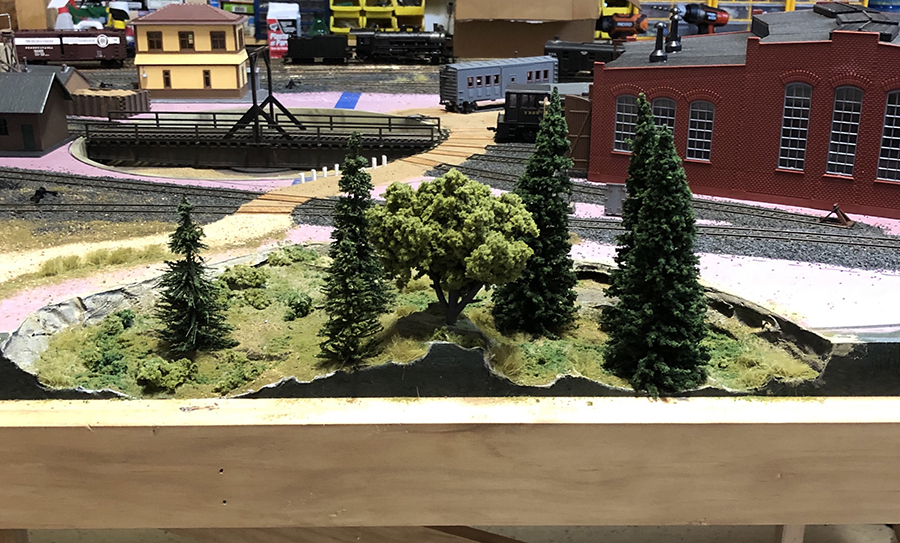
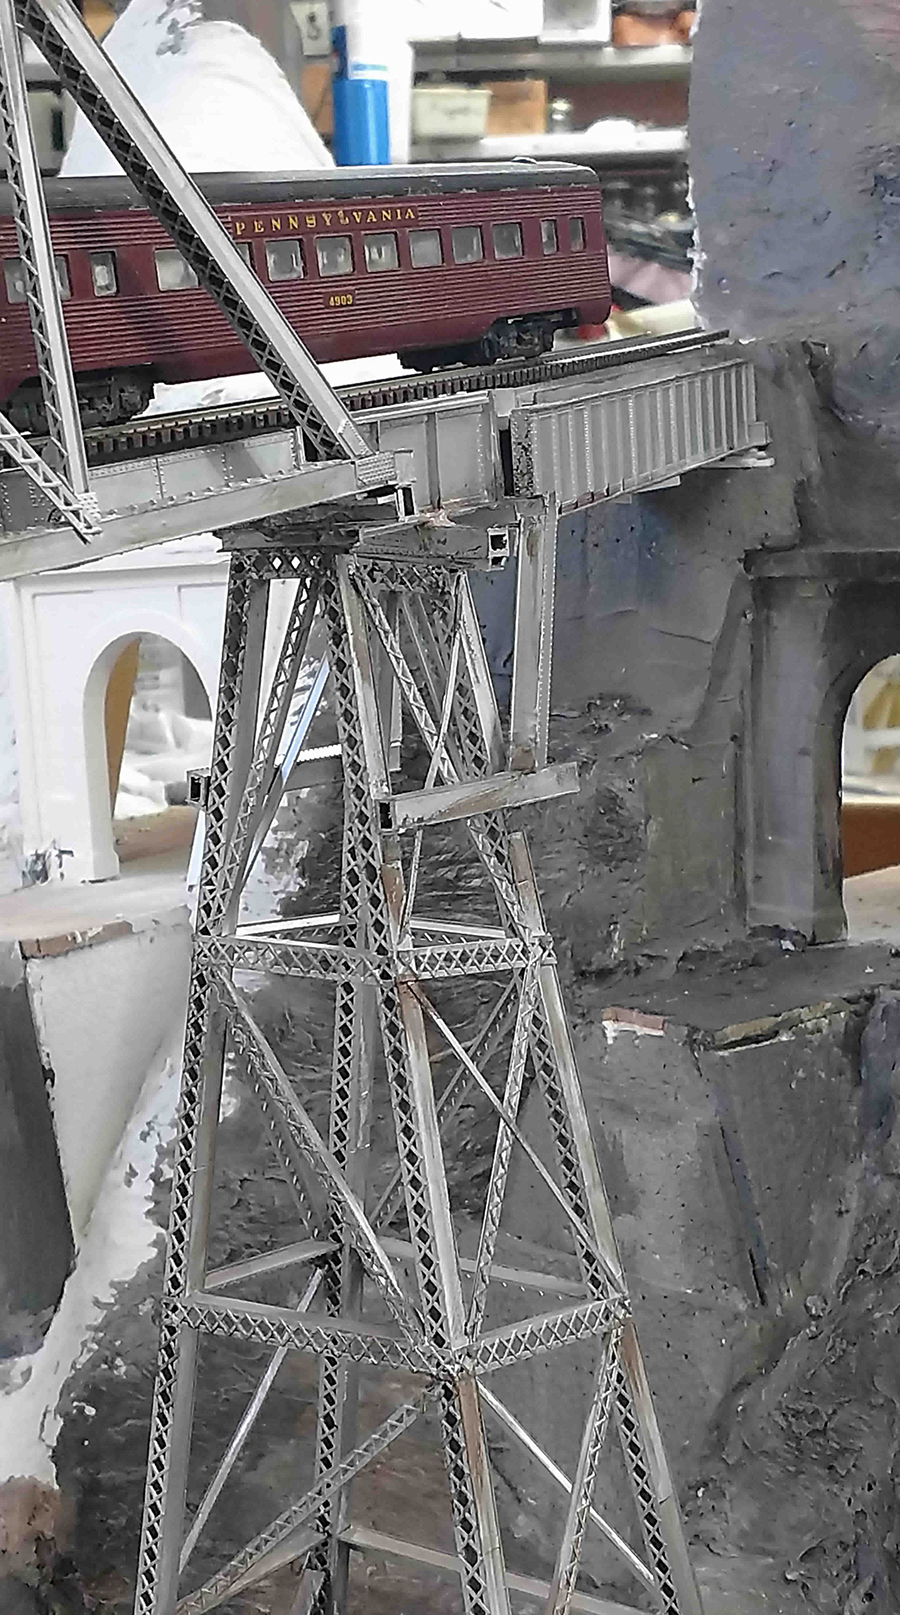
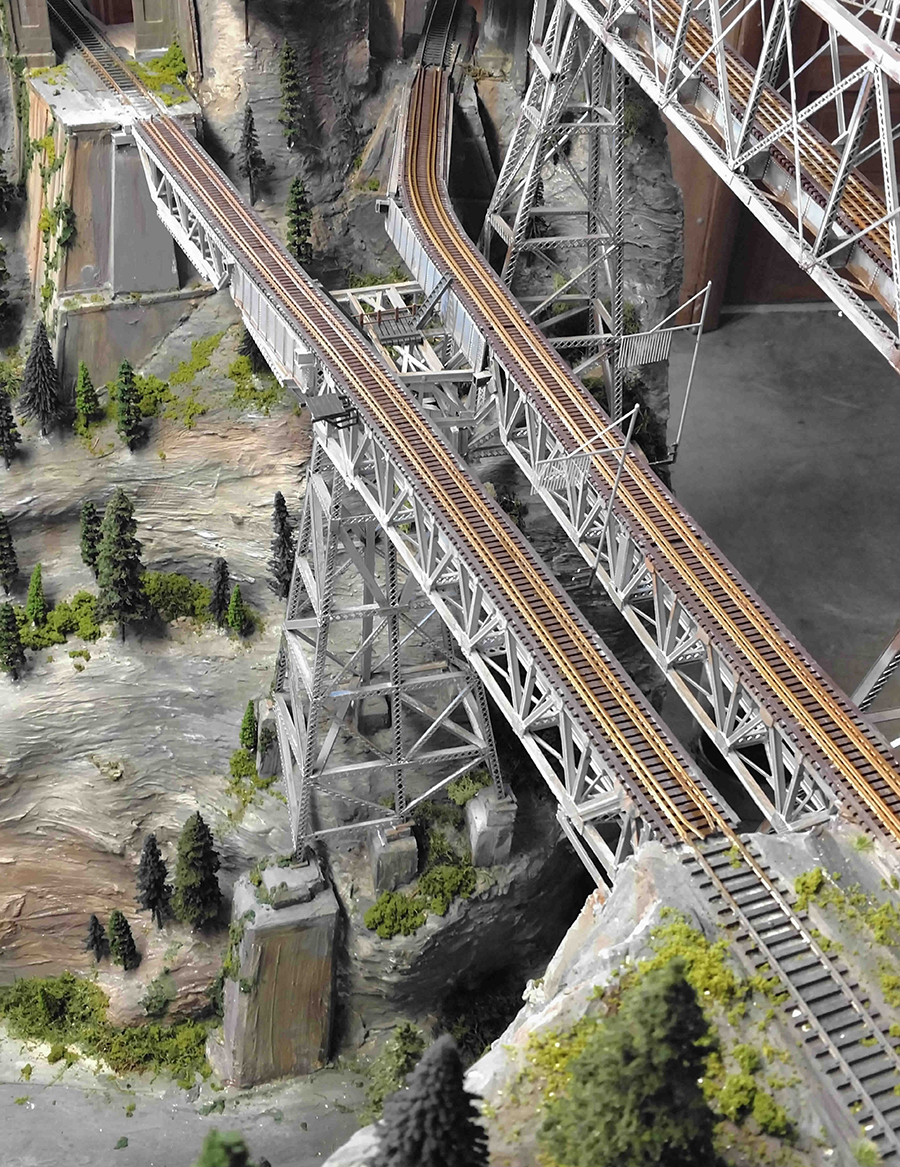
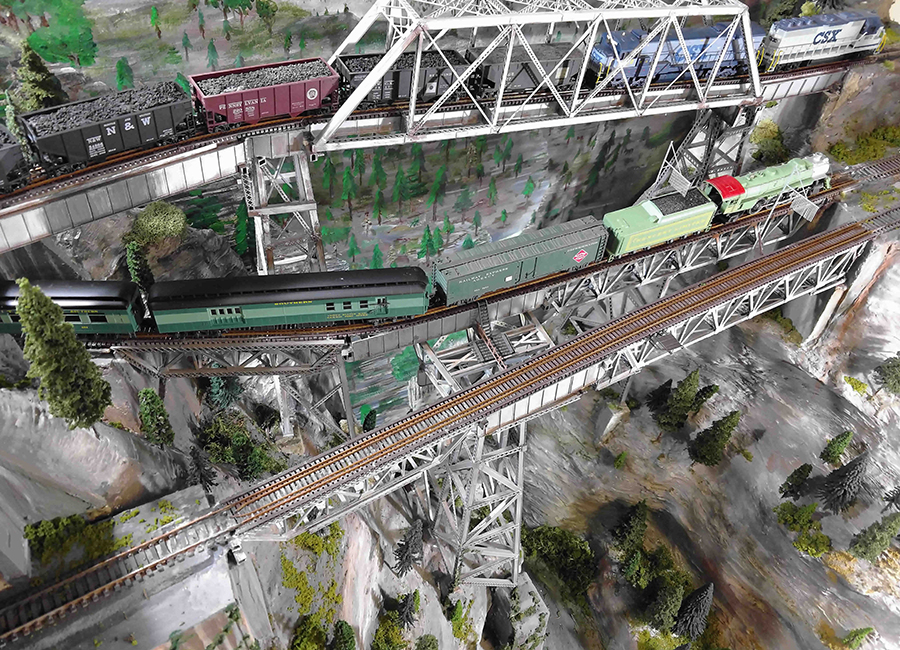
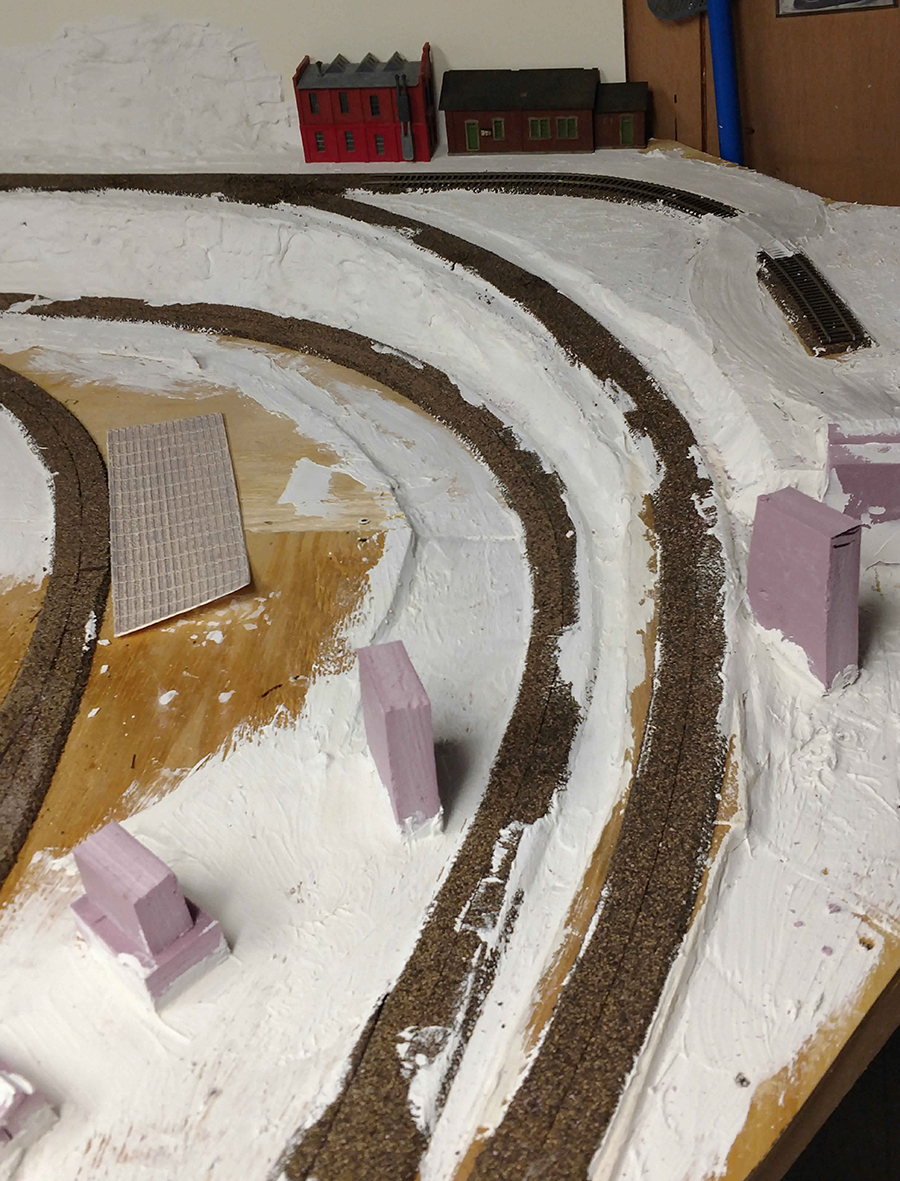
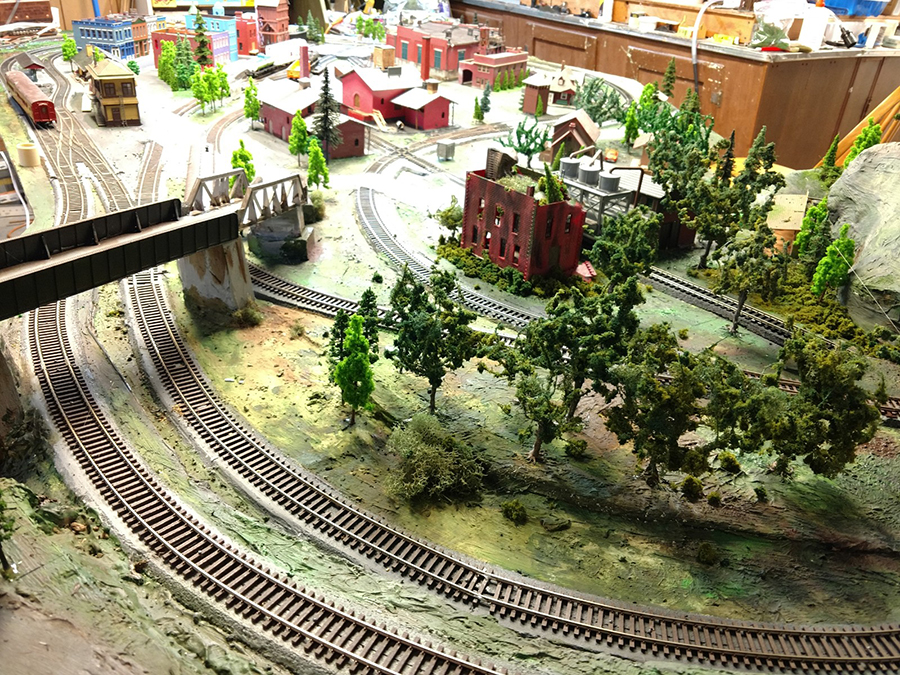
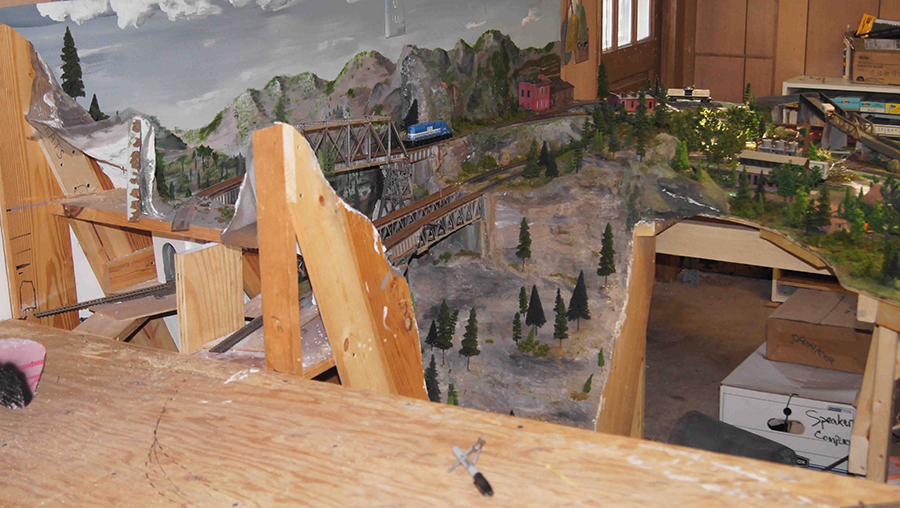
The layout is now 2/3 of the way done from a scenery point of view, some fill in mountains right and left of the mine, and backdrop painting. I went back through pictures and put together sort of a timeline photo montage.

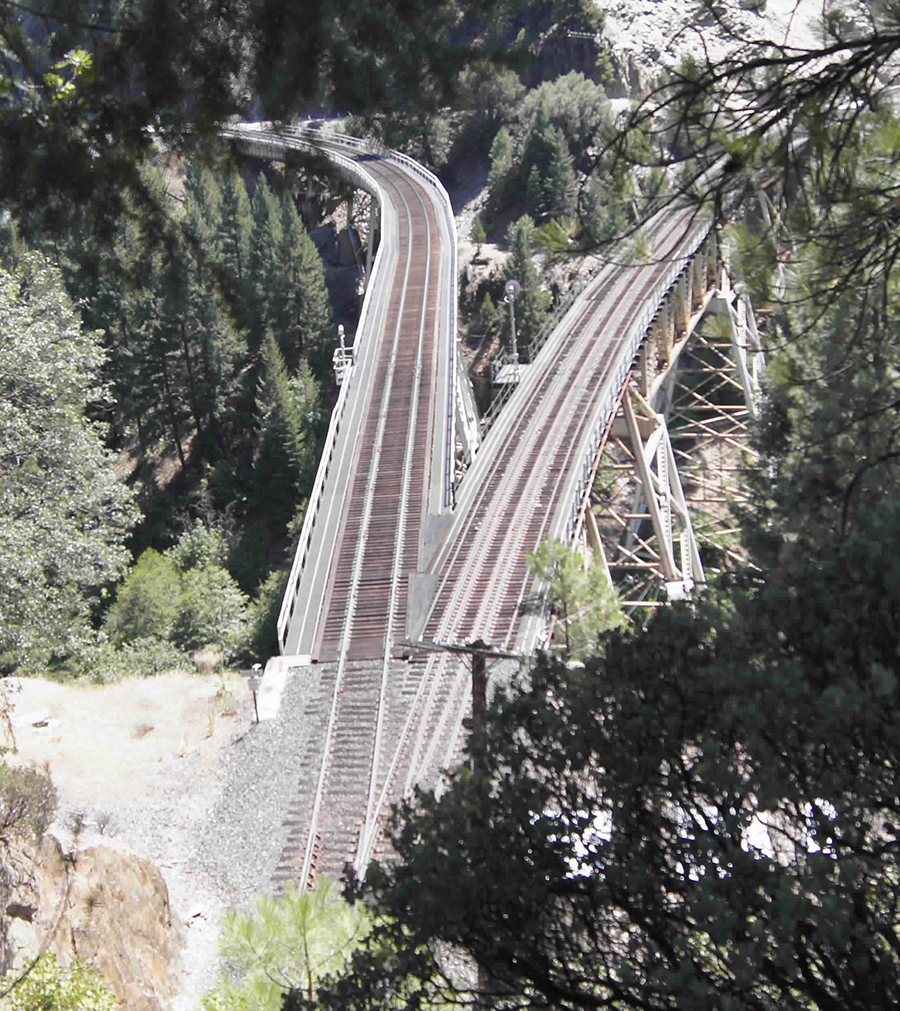
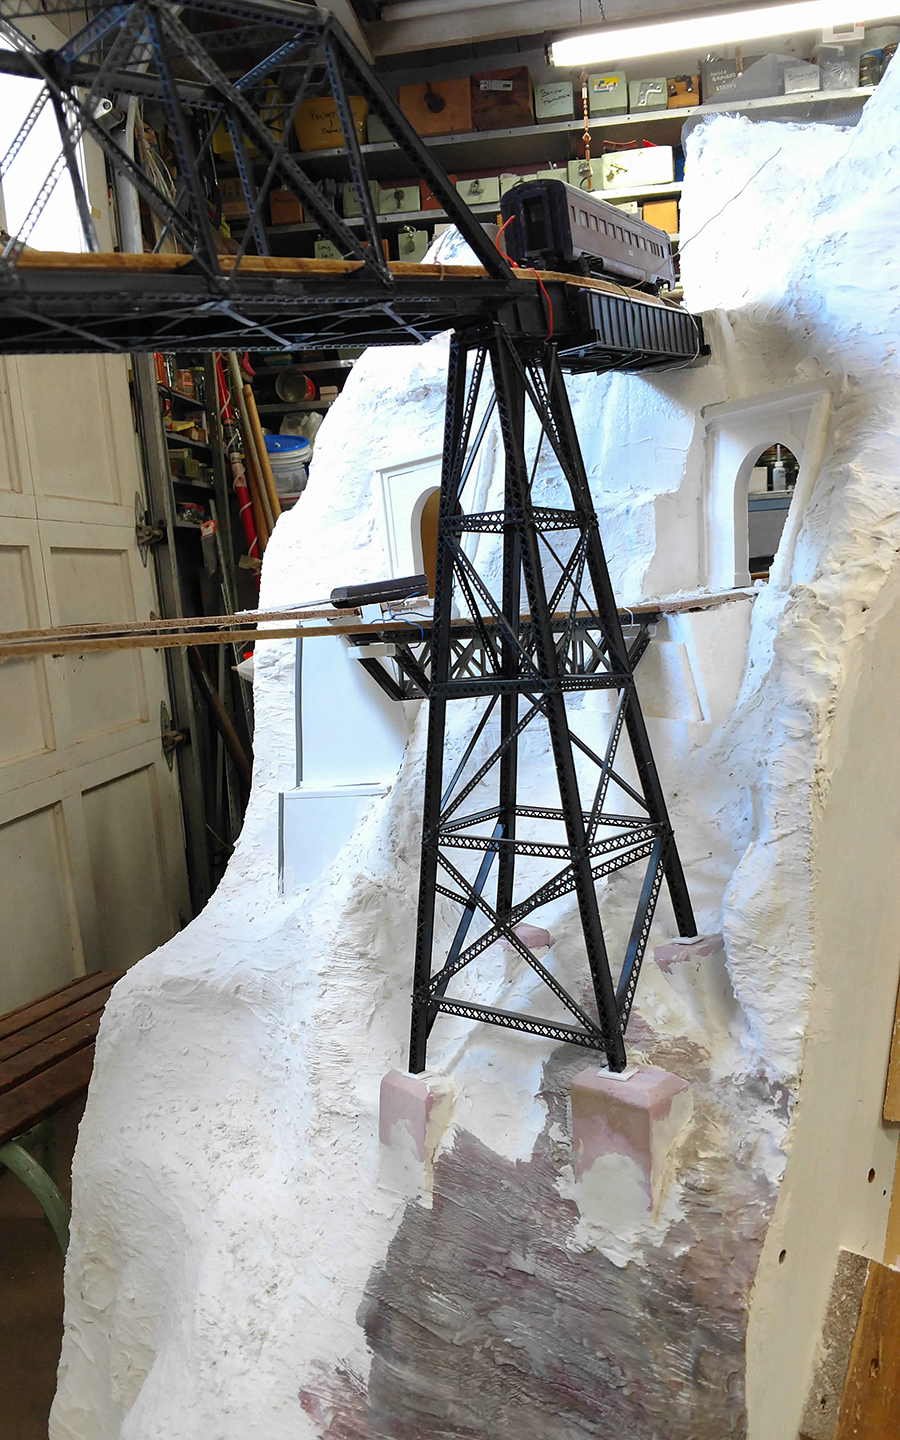
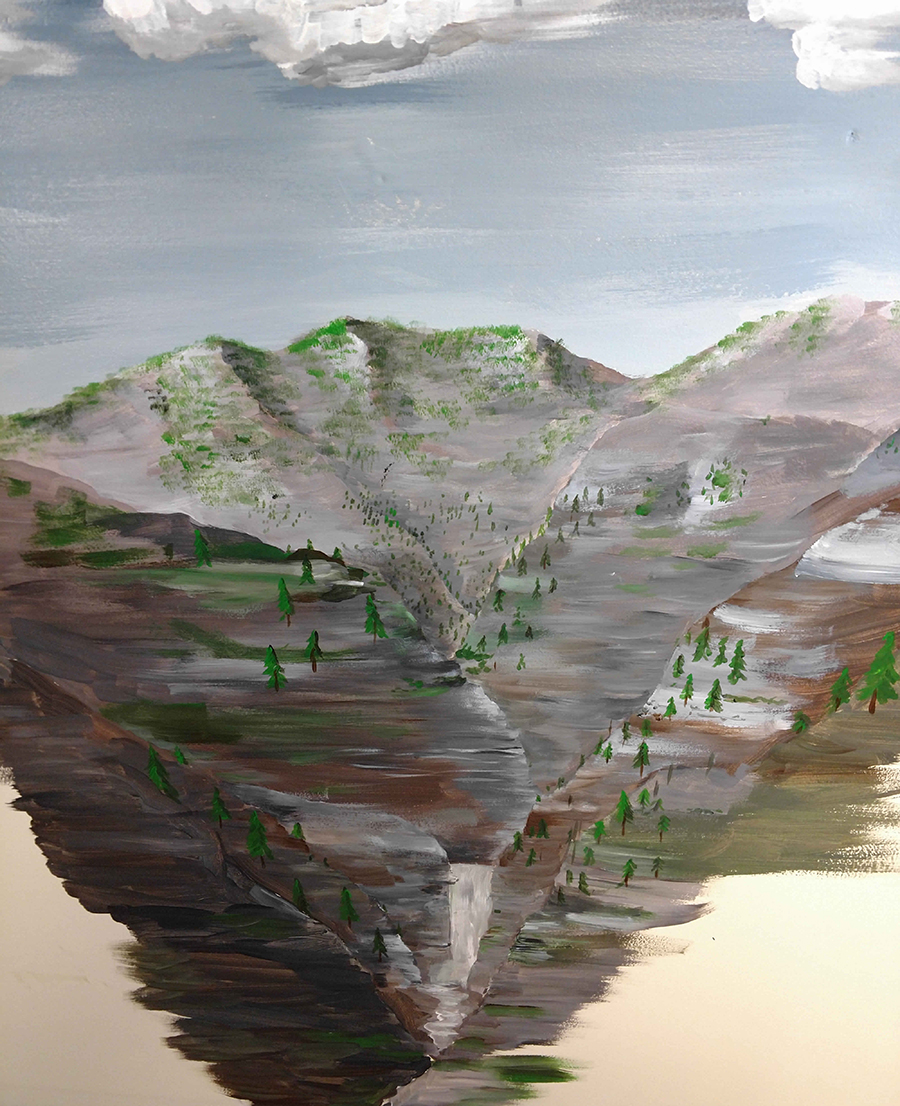
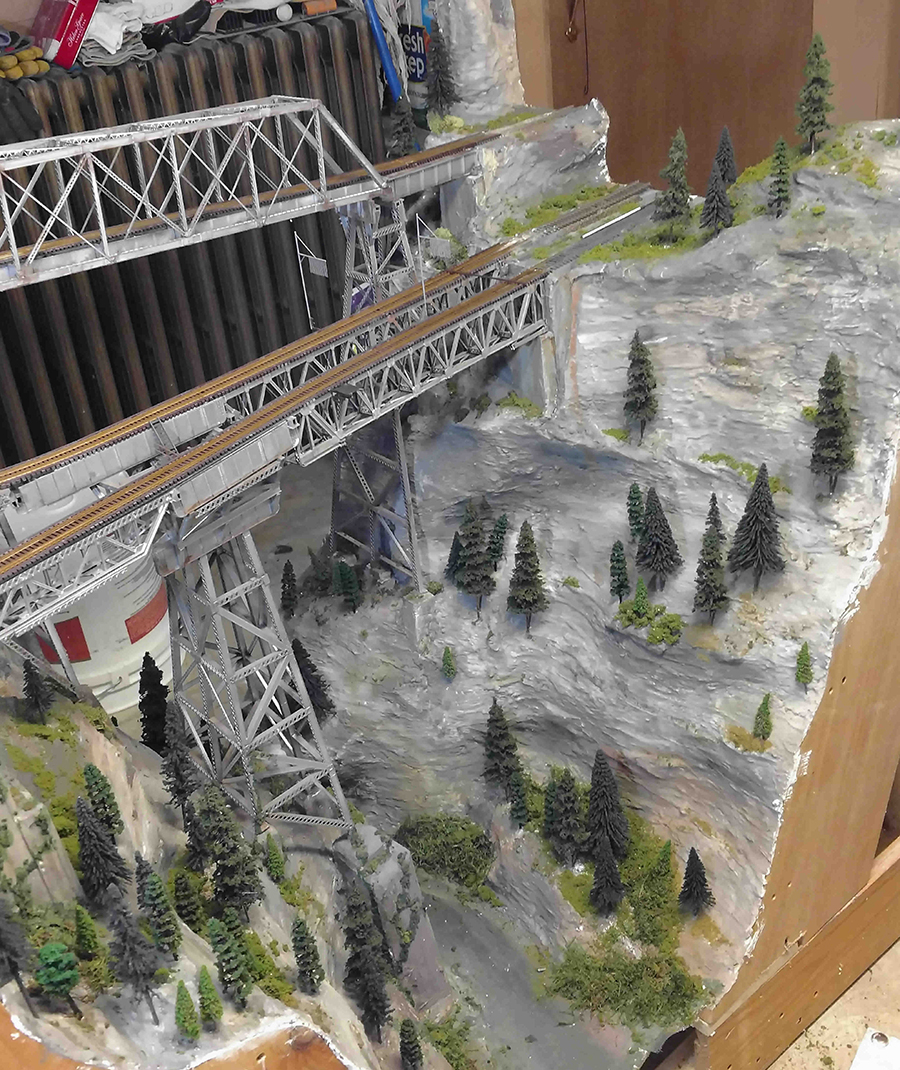
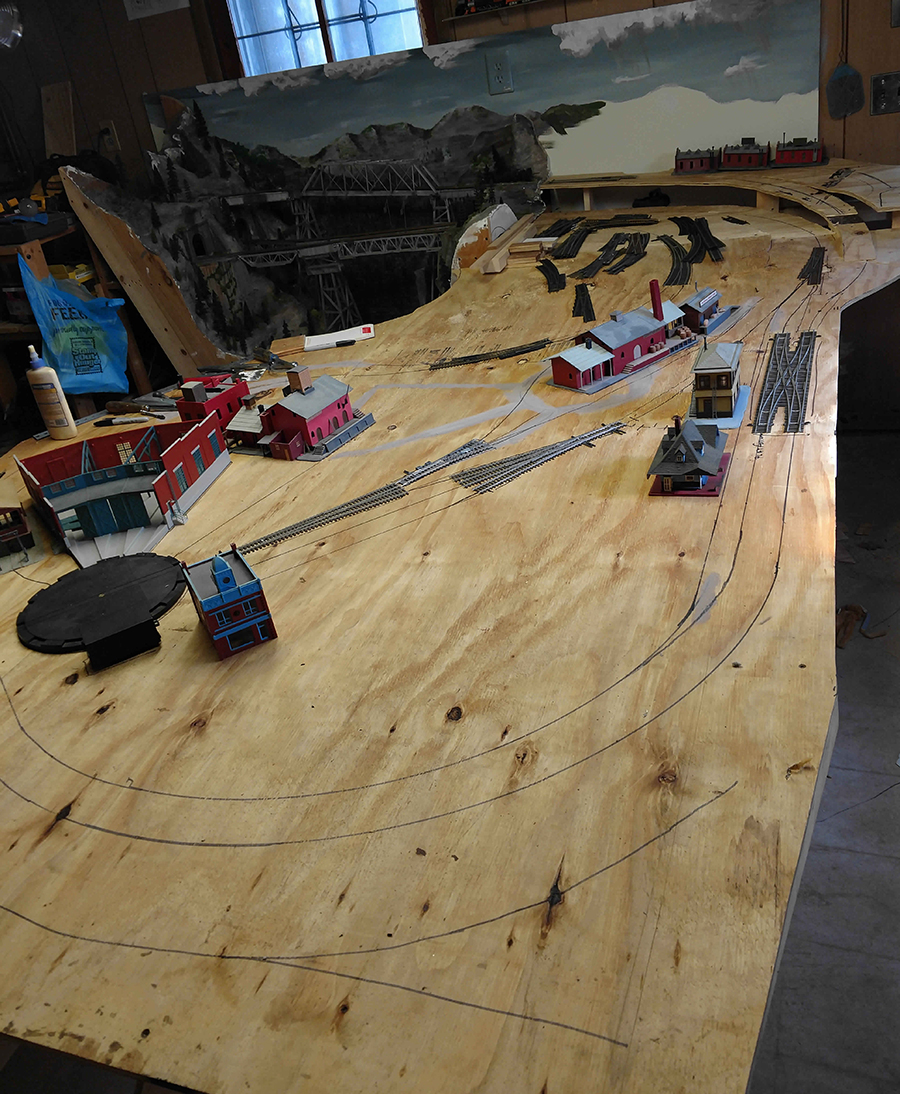
The first picture was the inspiration for my layout, the real Keddie Wye at the north end of the Feather River Canyon in the Sierra Mountains of California, my railroad transported the scenery to the East Coast of the U.S.A. in West Virginia. As mentioned at the beginning, I determined that most of the highly detailed work would be done in my wood shop, which is outside in a garage.

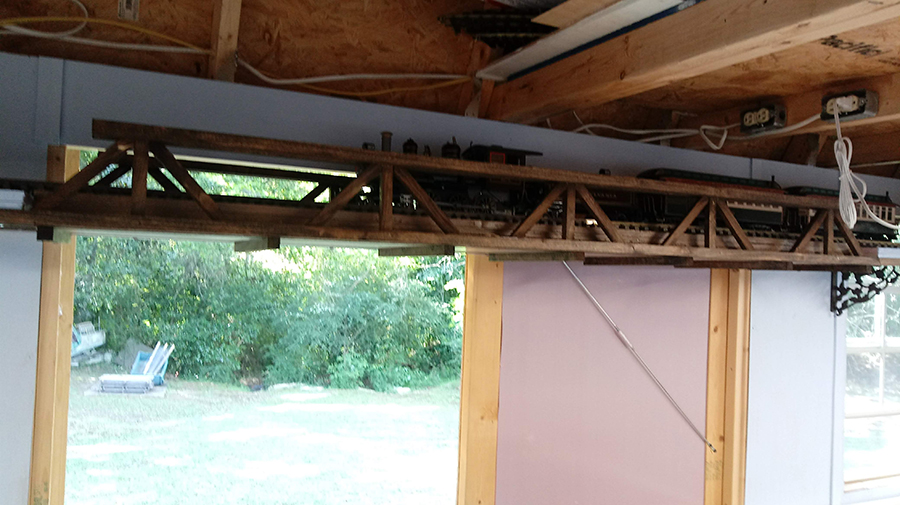
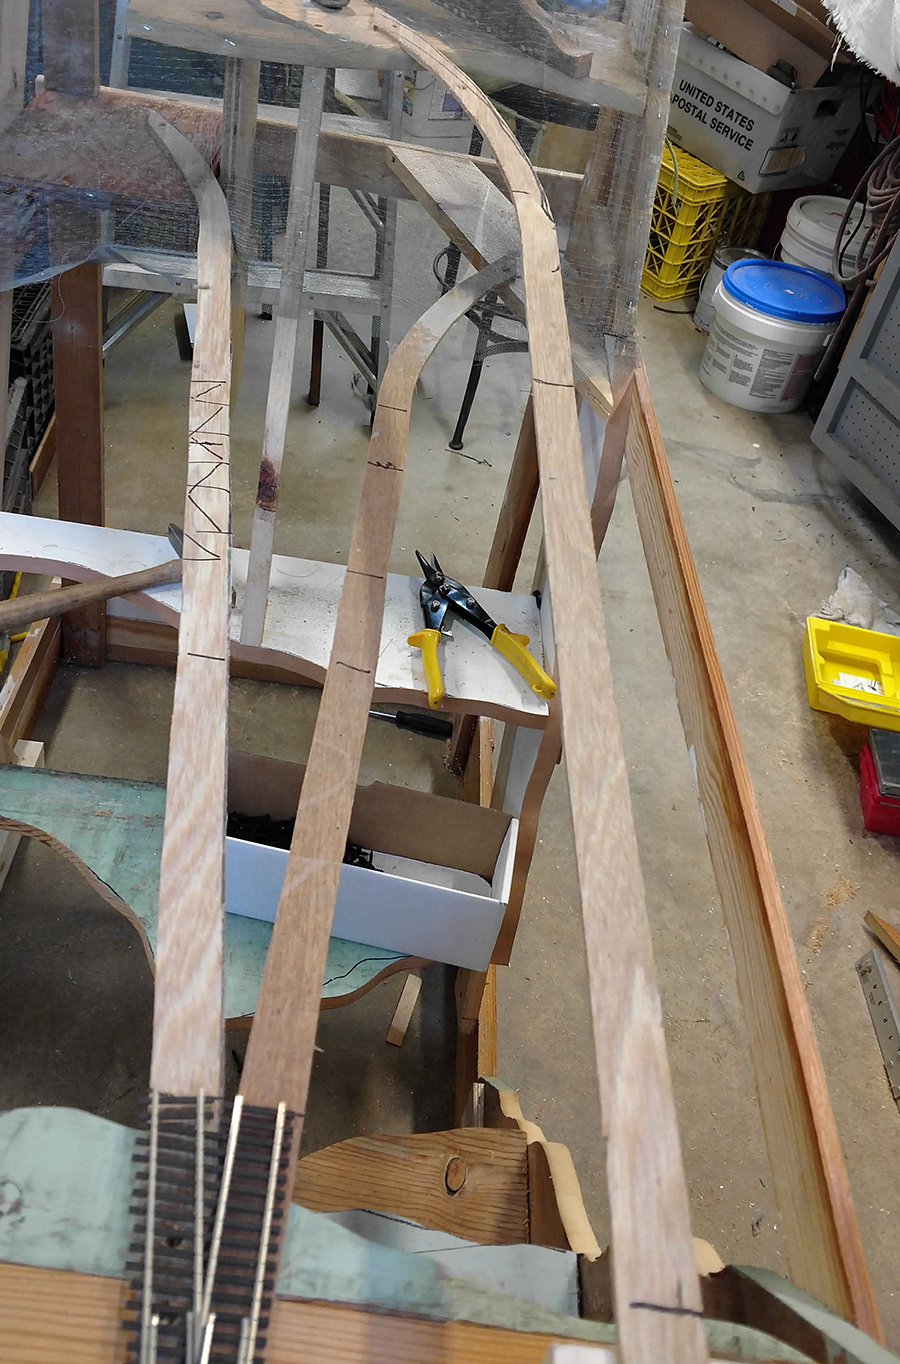
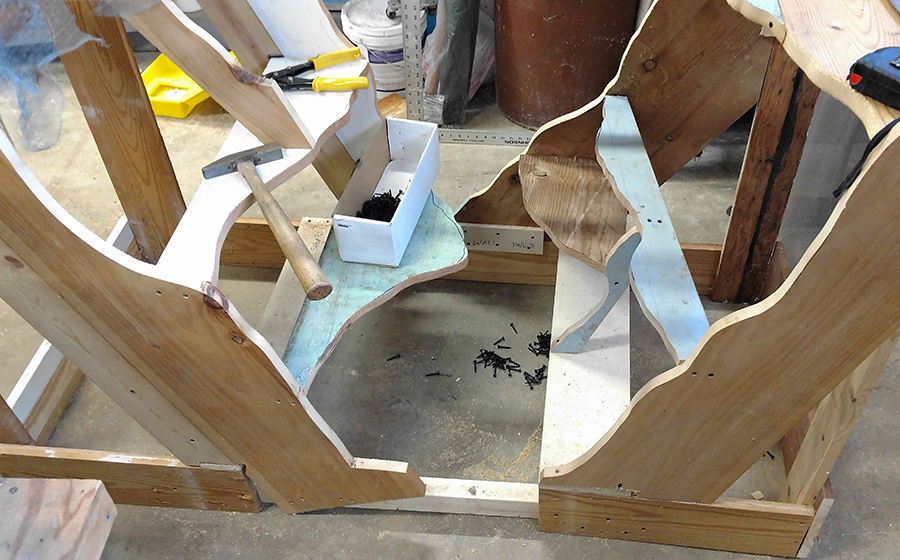
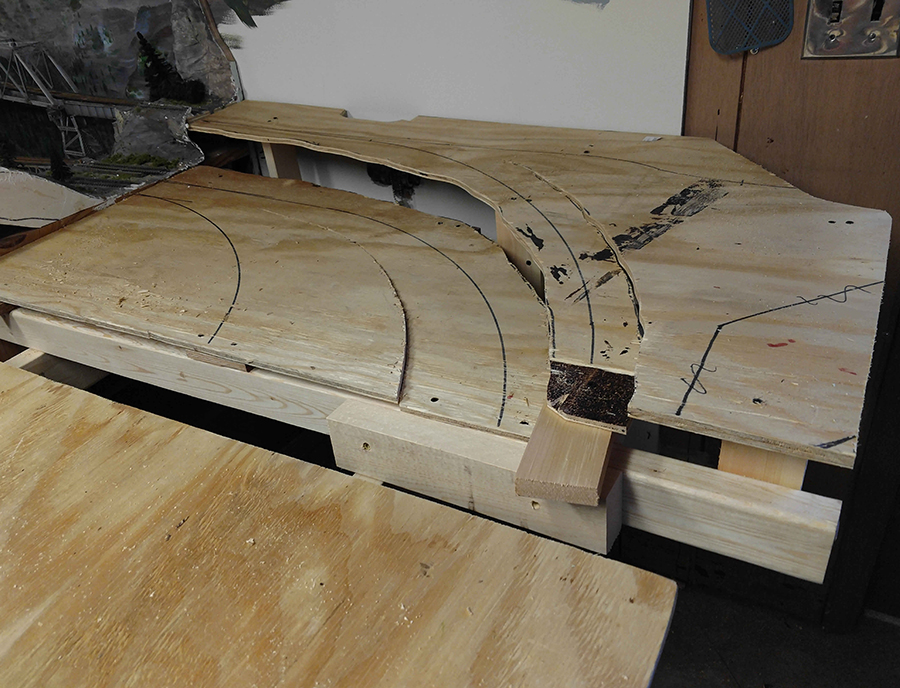
This meant that the modules could not be wider than the doorway to the basement of the house. Designing the modules and working out a track plan left me with a decision that 2 of the modules had to be built inside at the layout location, as they were too big a footprint and I had a storage island we wanted to keep which is under the mine mountain where I have storage tracks. So the storage tracks below the mine mountains, and the city module were built in place.

We never used the sink on the island (no idea why it was there) but wanted to keep the storage cabinets under the island provide. The mine and train storage tracks were built above the island, and the isle behind the layout is access to bulk food storage, also, the compromise with the wife for that access that gave me access to the storage tracks! A win-win.

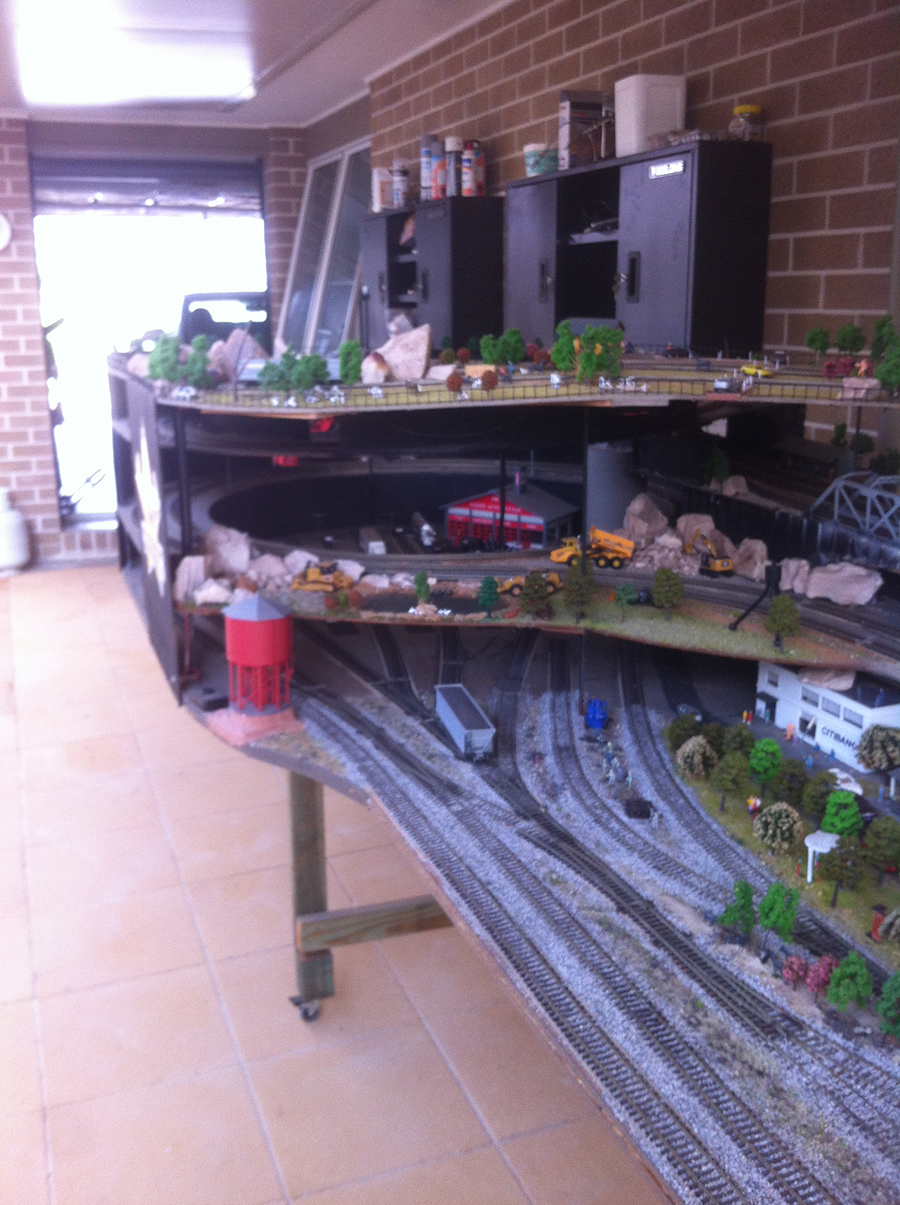
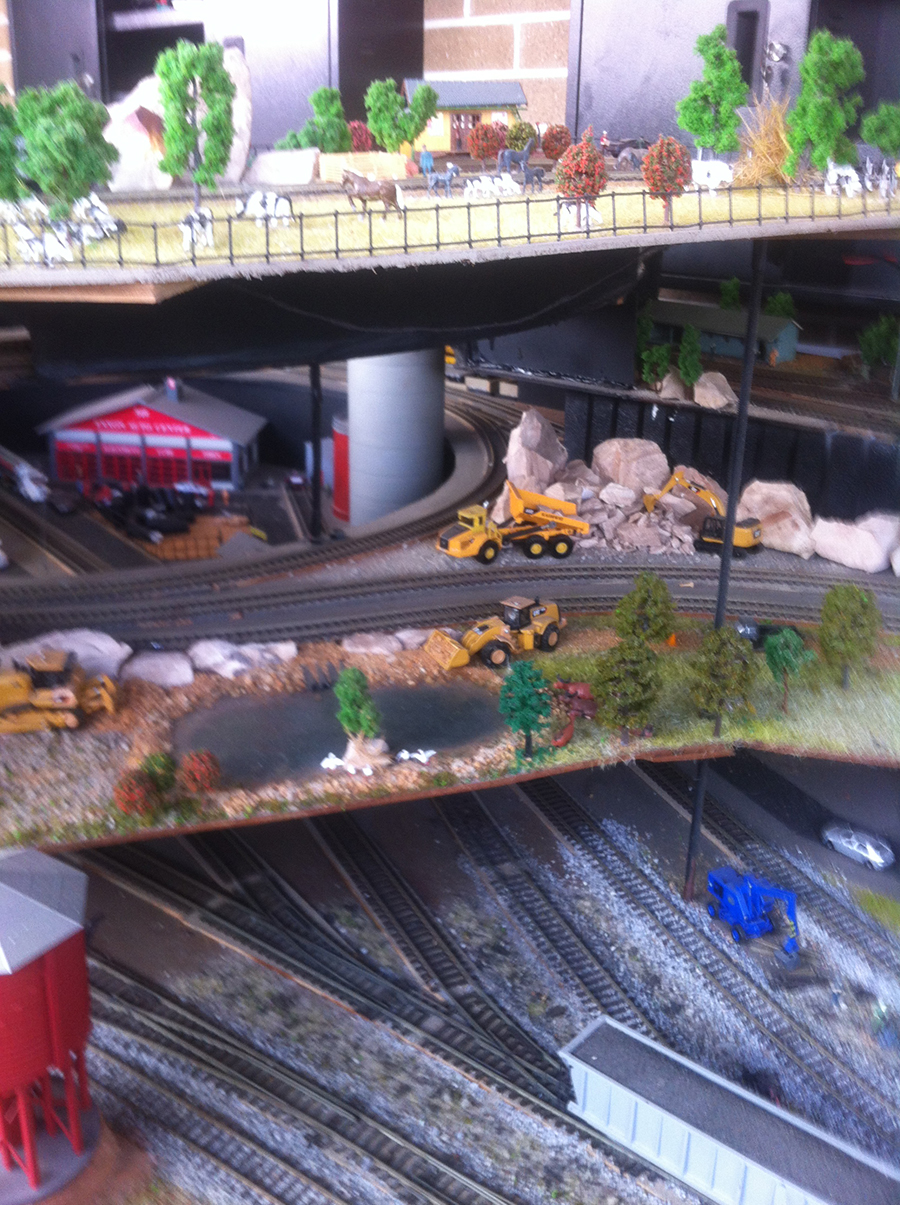
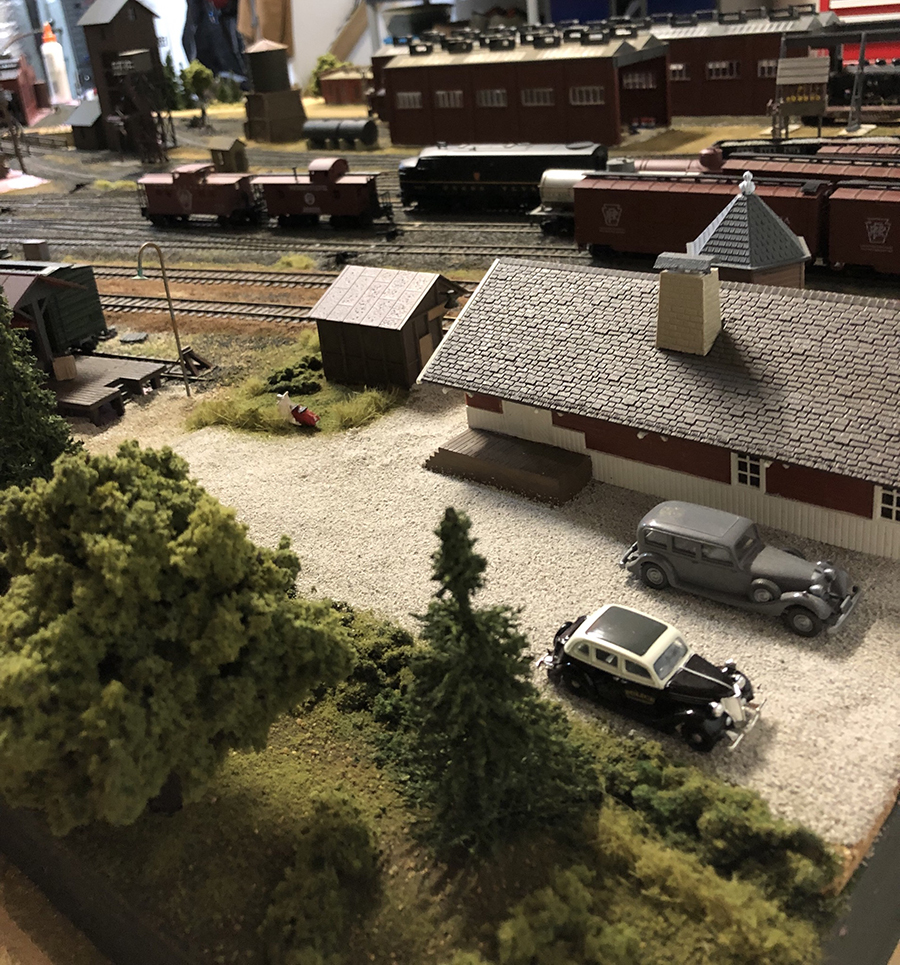
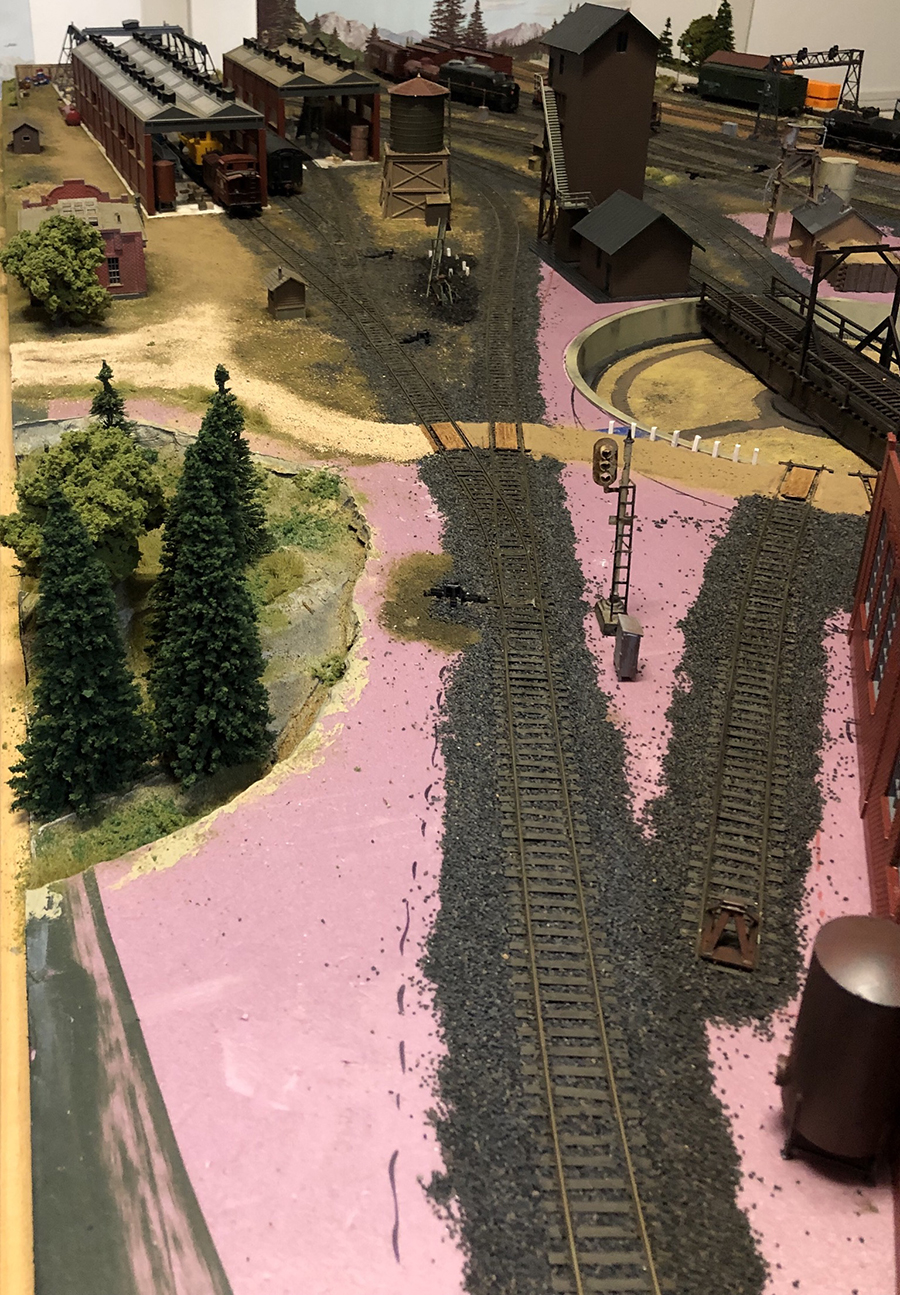
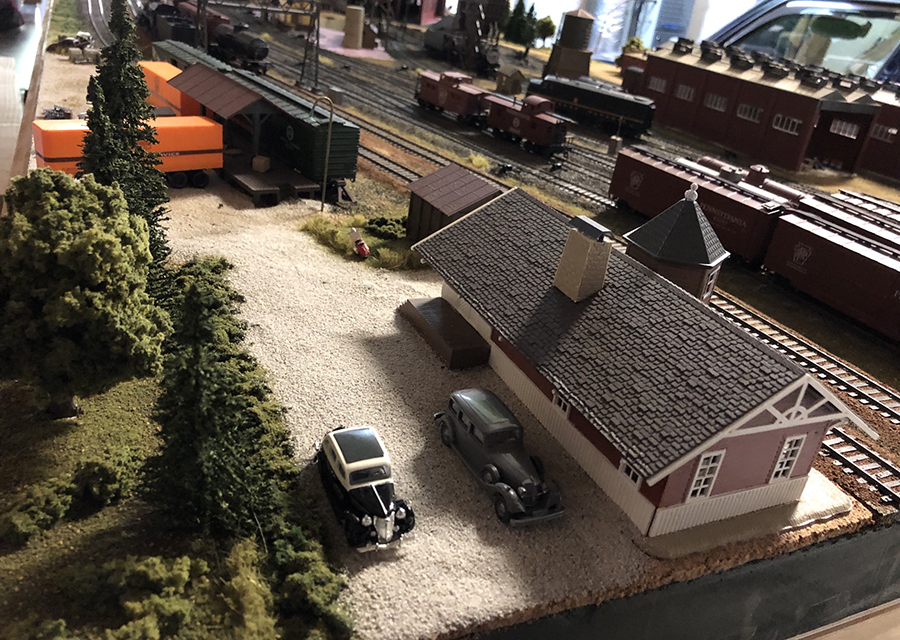
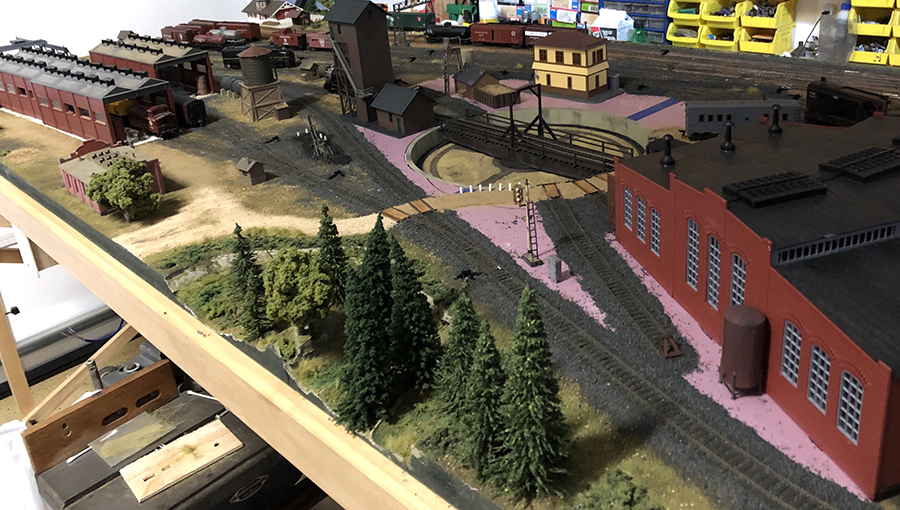
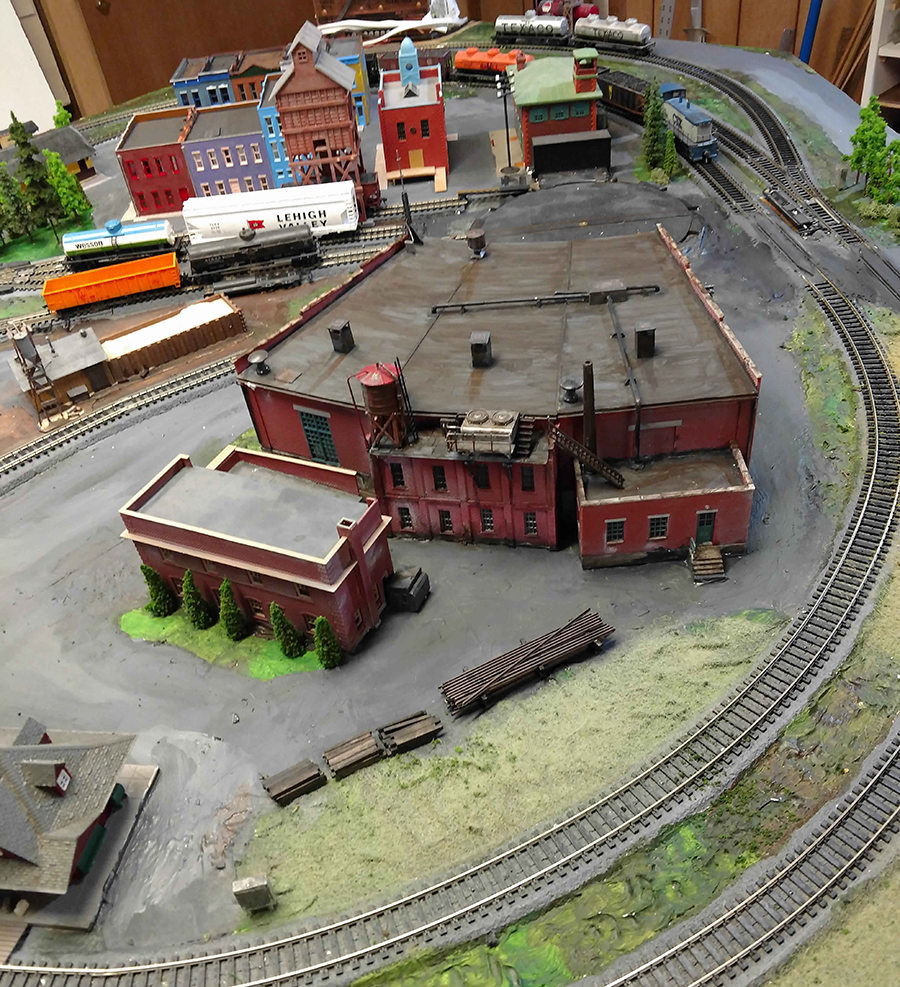
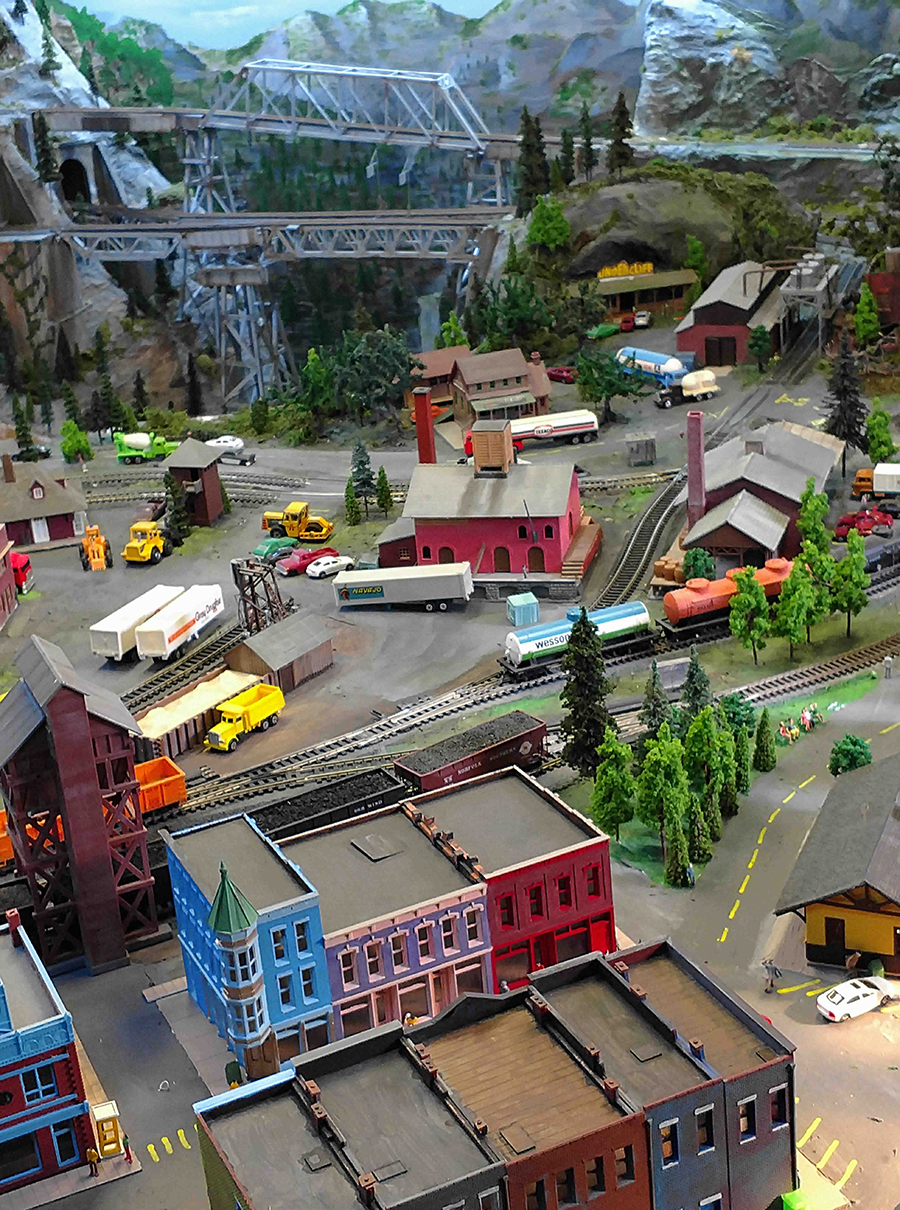
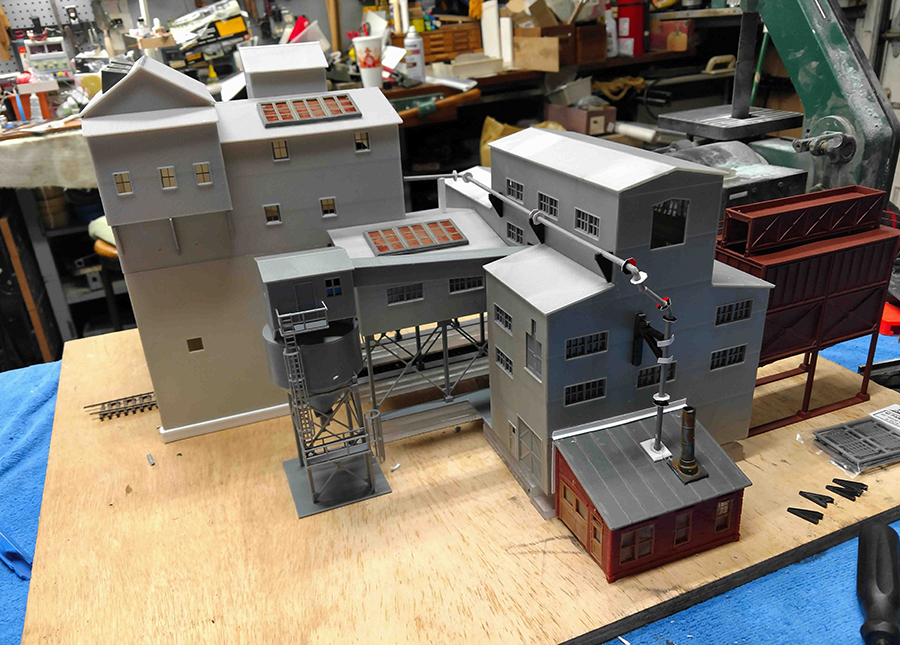
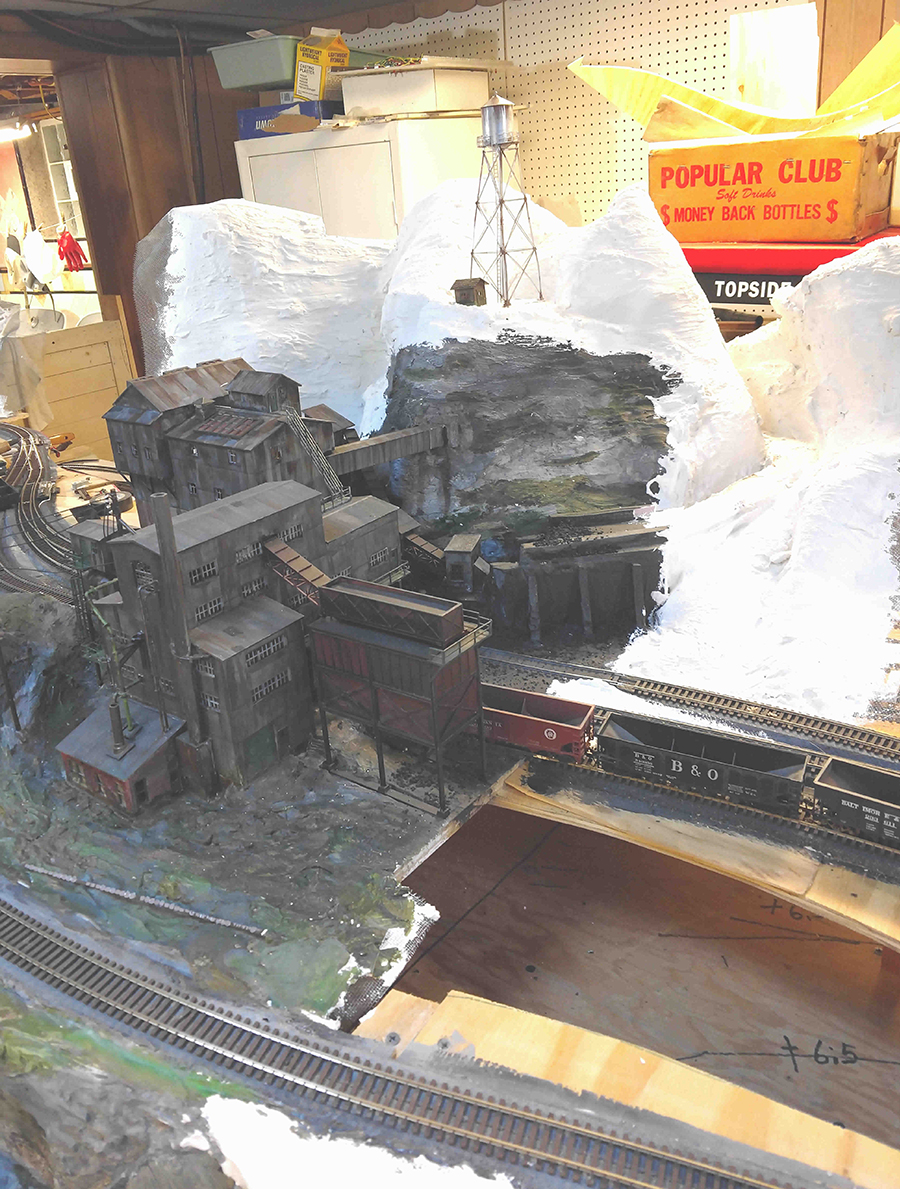
Since most of the detail work in the city was done on the buildings, it still could be done outside and the buildings placed on the module inside, as an example the 3-stall roundhouse has kit-bashed building additions, air conditioning, water tower, added piping and a radio antenna on the roof, and were built in the wood shop. There’s no scenery on the storage tracks.

On the schematic, pink is the first bridge module, blue is the next town module, purple the storage tracks and finally green for the mine module.

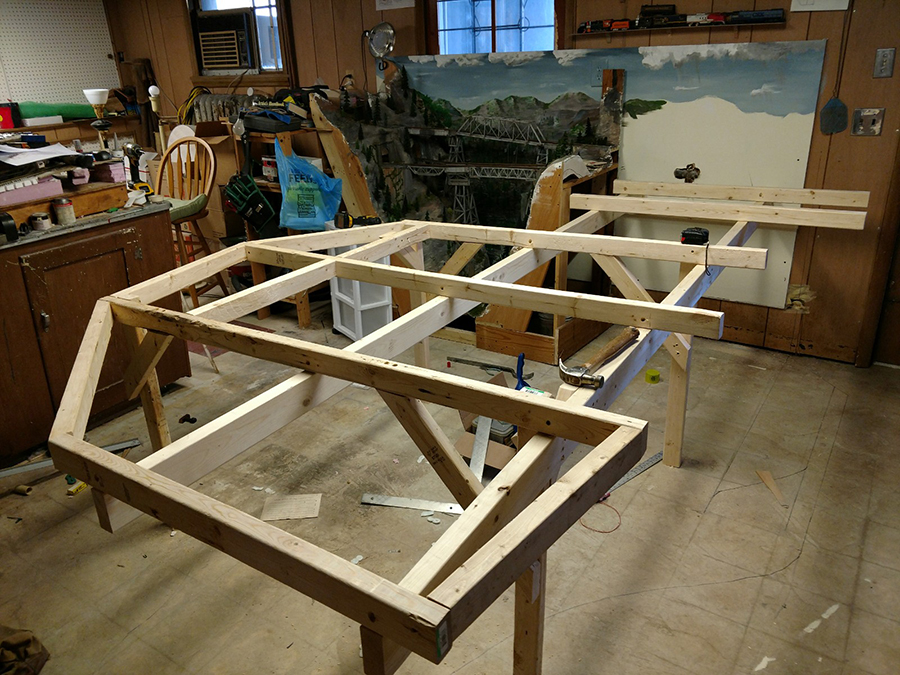
Building the bench-work for the city module in place also gave me plenty of space for my modeling junk underneath, I use boxes and plastic bins. So far the only trains I’ve run are for testing the tracks for continuity and clearance for 85’ passenger cars. Wiring of the switches, signals and blocks to come soon as I can get to them. I tried not to repeat photos I’ve sent in earlier, but maybe a few crept in here.

John From Baltimore”

Keddie wye bridge

HO scale foam board bench work


HO scale foam board bench work

HO scale foam board bench work

HO scale foam board bench work

bridge module

bridge module

sample model train

backdrop art model train

HO scale bridge

HO scale foam board bench work

HO scale foam board bench work

HO scale foam board bench work

HO scale foam board bench work

HO scale foam board bench work

model railroad

model railroad

model train mine

model railroad mine

model railroad mine

model rairoad mine

A huge thanks to John for sharing his HO scale foam board bench work.

It’s been wonderful to see all his updates, and this recap really does show just how much busy he’s been. Amazing stuff, and I can’t wait for the next update.

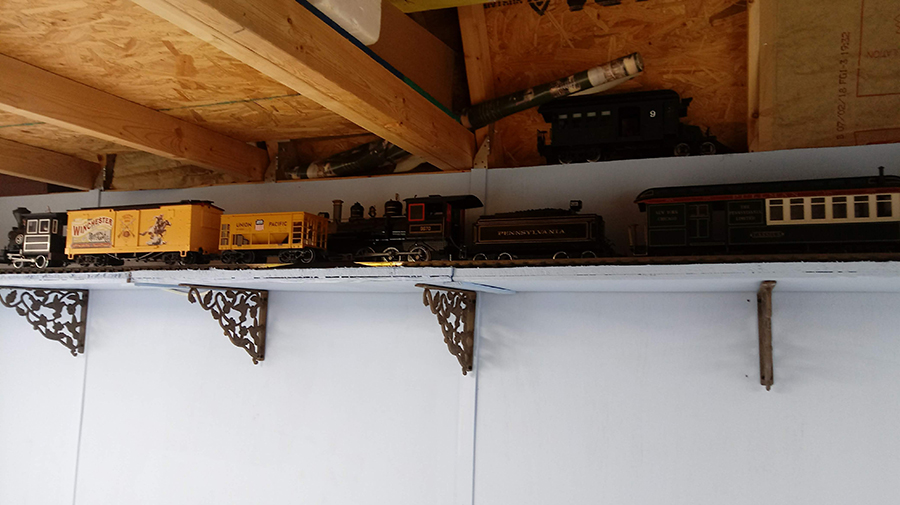
Now on to Dangerous Dave who has been back in touch.

He sent this in:

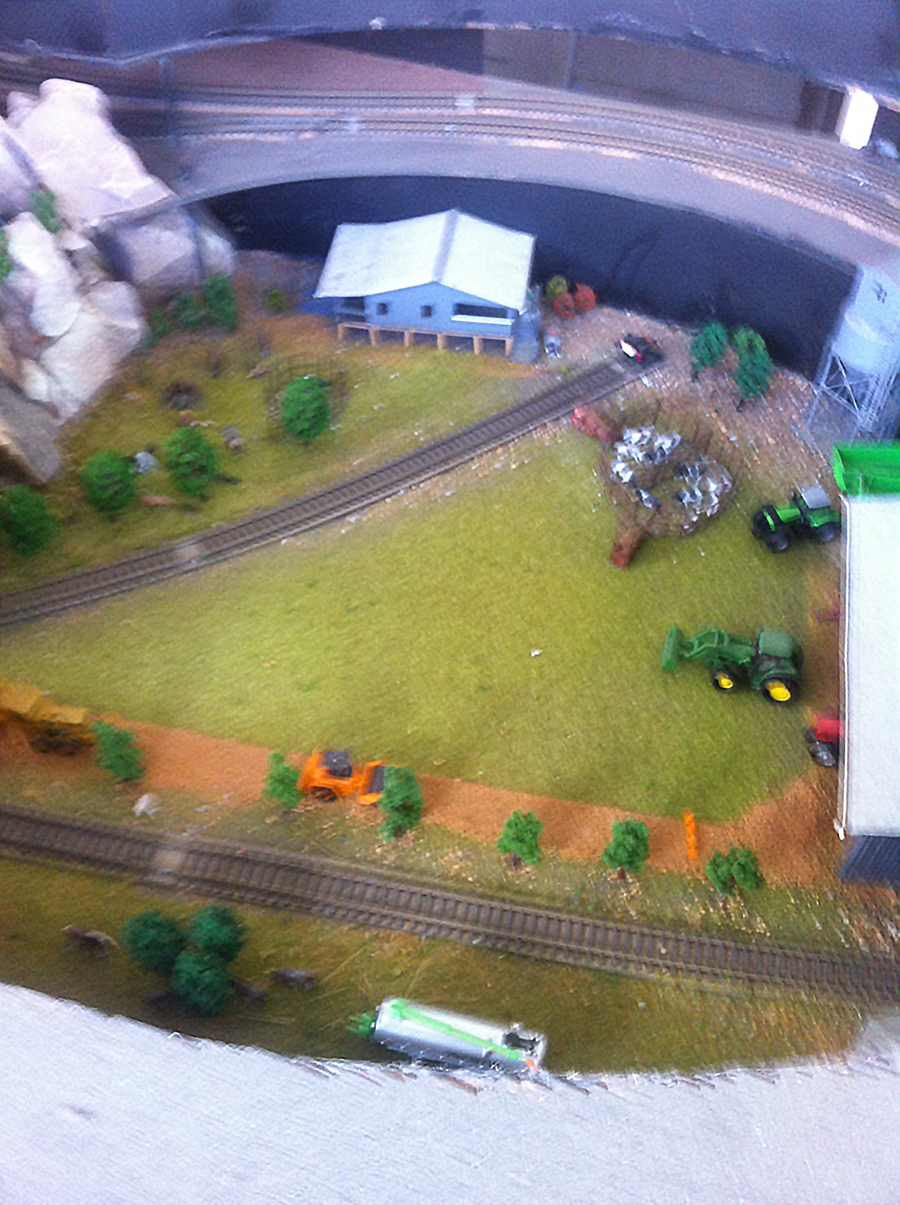
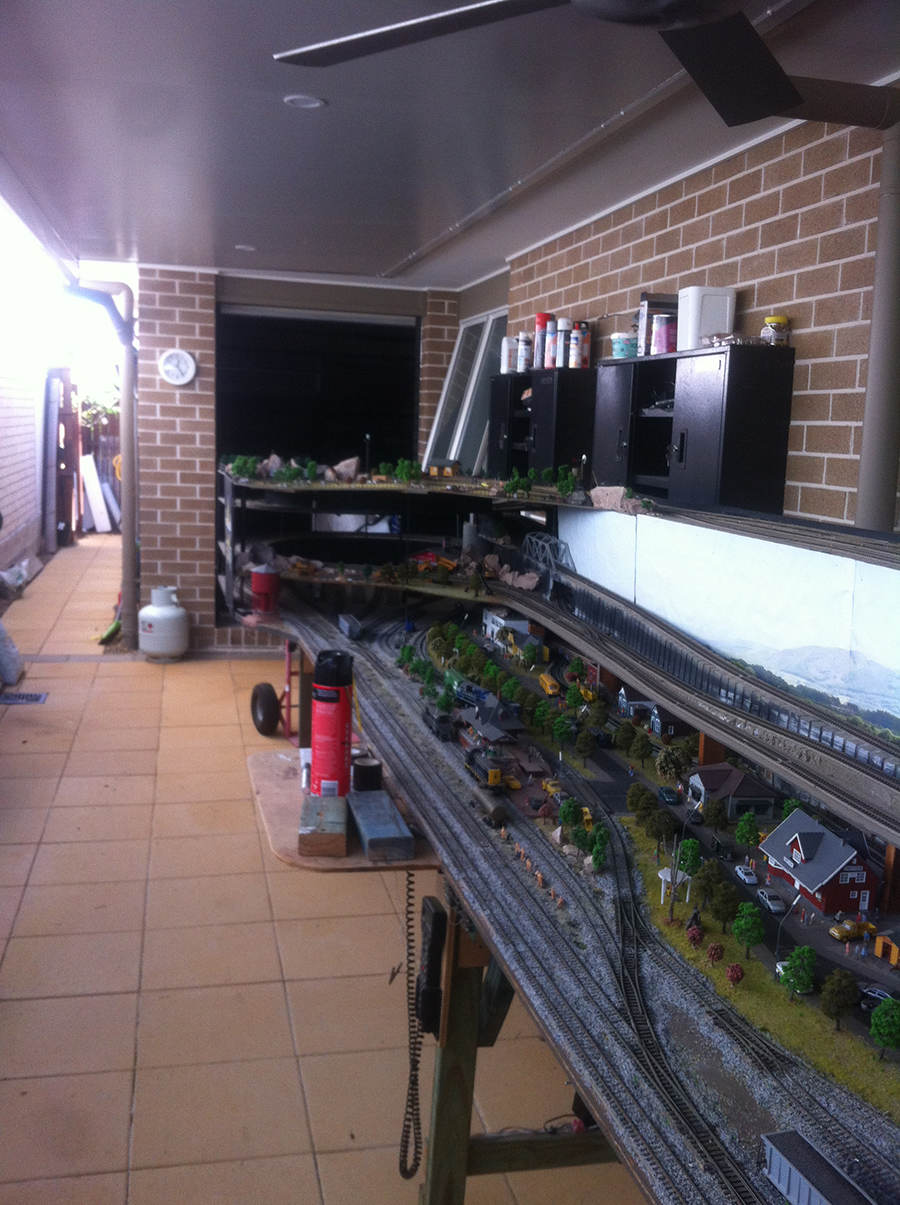
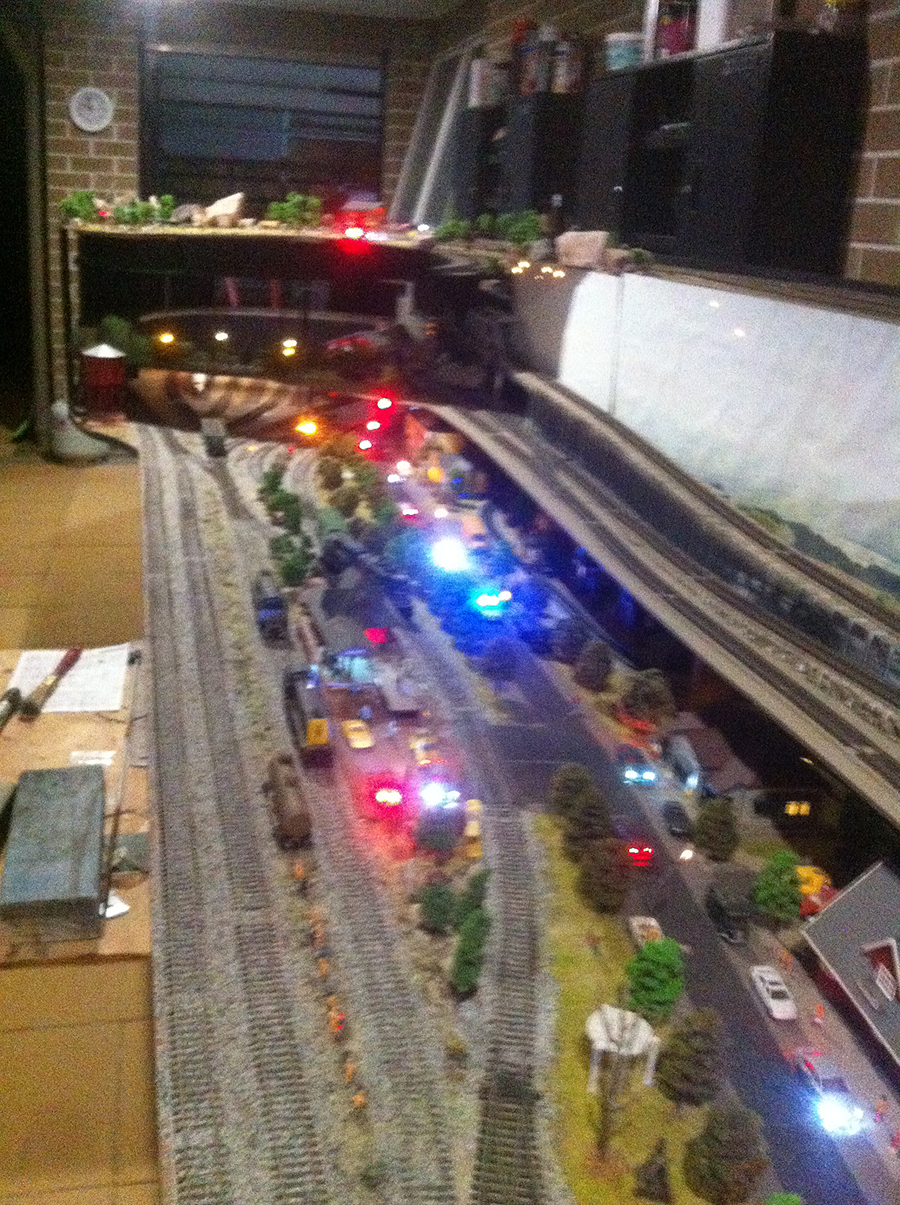
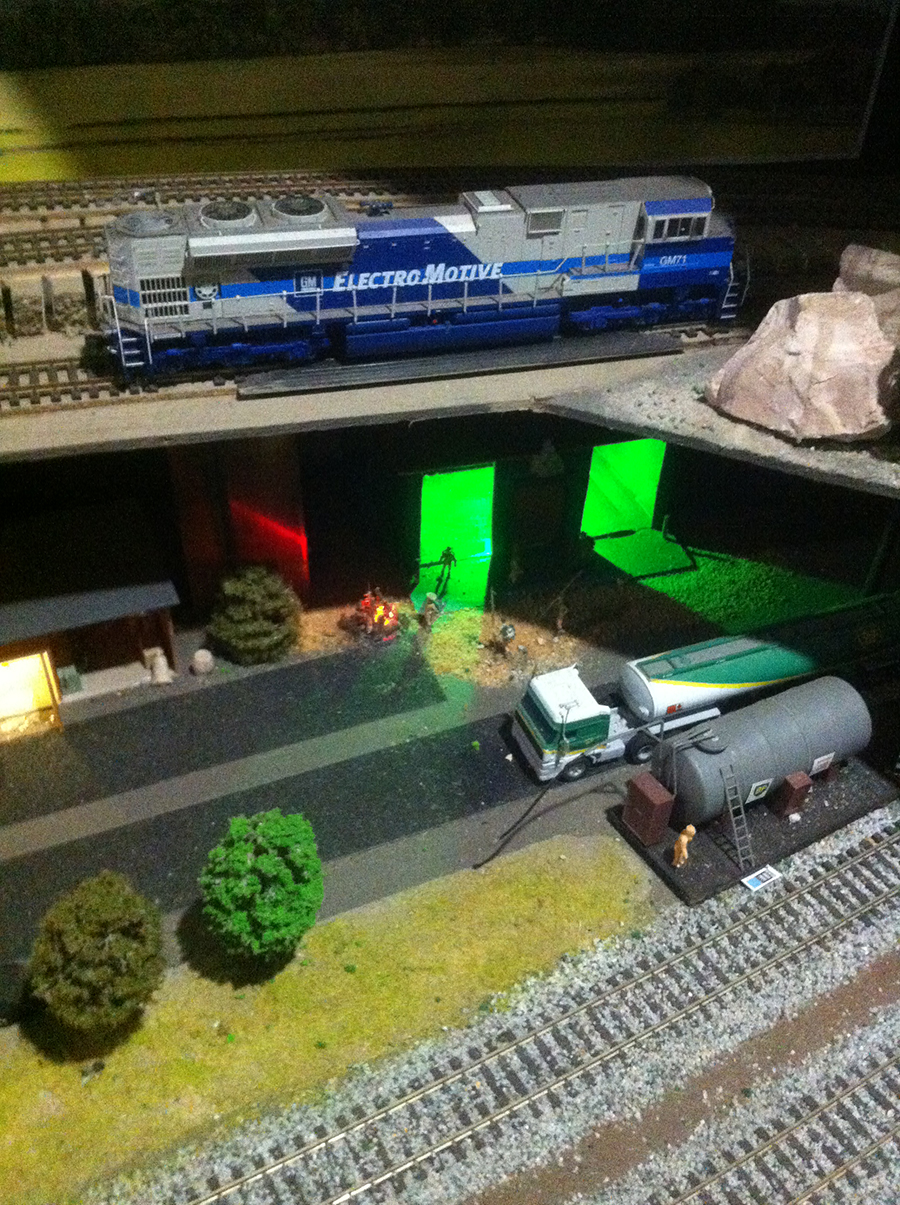
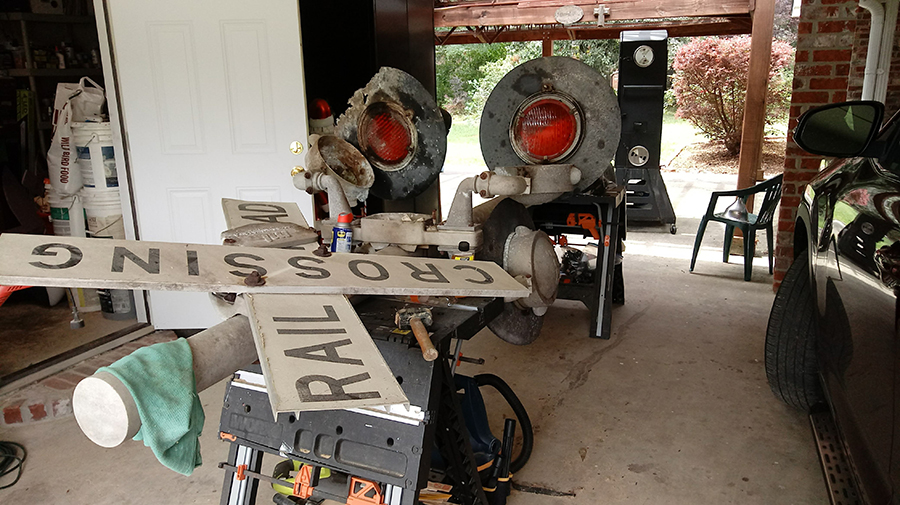
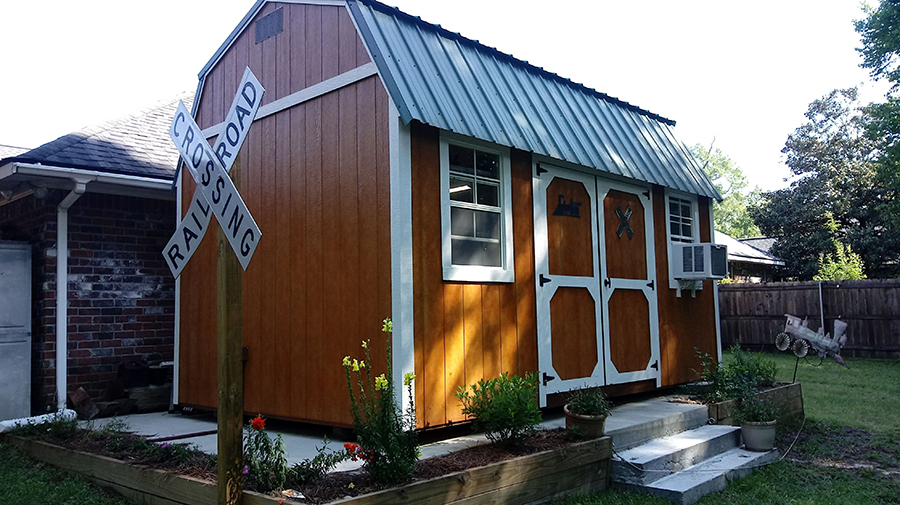
“Hi Al, bit of a poor day here today so decided it was time to run a few trains and give the garden a rest.

Regards

Dave”


That’s all for today folks. Please do keep ’em coming.

And if it’s time for you to start laying tracks again, don’t forget the Beginner’s Guide is here.

Best

Al

PPS More HO scale train layouts here if that’s your thing.


HO scale helix double track

Doug’s been in touch with his HO scale helix double track:

“Hi

I only had a small space at side of my house when I downsized. I previously had a 6mx3m set up in one bay of a 3 bay shed.

This time I had space only for 6m x 1.2 (into .9 in middle) – I put a cover over the verandah space and stopped water from coming into the area.

It is what I would call a dog bone with 2 tracks around the outside and an industrial area at one end, town with station in middle and farm/cattle at other end. Lots of sidings etc

At the back the internal line of the 2 running around the whole set up, spurs off to the right then goes up an incline to the inside of the second level, where it again goes into 2 lines running around the perimeter, with lines off at some locations and the ability to run from front to rear, changing direction of travel.

Again the internal line has points off to another elevation where it again comes into 2 lines running right around. It gets interesting here as on each end I have helixes rising 3 loops to the top and trains can run from one end to the other up one helix, down the other and continue. I have farm type sidings at each end on the top level, as well as various sidings/spur lines etc.

Total line length is over 200m and I am able to run 6 different trains in whatever direction continually on the 3 levels.

Like all set ups, still a work in progress (mostly slowed by time off for medical stuff you get as you age).

My grandsons love it and can work it all.

Looks fantastic at night

Doug”

HO scale helix double track

HO scale helix double track

HO scale helix double track


HO scale helix double track

HO scale shelf

HO model train layout

HO shelf layout

HO model railroad

HO model railroad

HO scale helix double track

“Al: Greetings from South Louisiana. I have been receiving your emails for over a year now and have learned much from all your contributors as I begin rebuilding my multiple layouts.

First a little history. I am 70 years old, recently retired and have been into model railroading all my life, the last 15 years with a club based in Jackson, LA.

Almost 3 years ago, in the Great Flood of South Louisiana we received about 33 inches of water in our house. While it did not top my layout, I lost considerable equipment stored below, much irreplaceable 1950’s American Flyer.

While rebuilding, my wife decided we needed a wooden storage shed as there was no available storage in the area. We purchased a 10X16 shed and the only mistake I made was not going up to 10X20.

As my wife was retiring shortly after, she took my prior train room as her craft room and upon emptying the shed, it would become my man cave. We poured a slab, moved the shed, fully electrified, insulated and covered the walls in 1/8 inch plywood (easier than wall board).

I then built the double track G Gauge around the ceiling including an 8 foot truss bridge over the double doors. That has been up and running for 2 weeks now. I have now completed all benchwork using wood and hardware salvaged from the flooded garden shed, saving several hundred dollars. That was finished yesterday.

Today I celebrated the initial running of the Amelia branch of the Cajun Yankee and Southern Railroad, named after my favorite granddaughter. While only a temporary loop, at least I will be able to run trains while I work on the full layout.

My plans include two mountains along the back wall with at least one tunnel and and a bridge. In addition I will have a large freight yards and an industrial yard of some sort.

As an added bonus I was able (with the wife’s blessing) the crossing signs and lights which will be erected next to the shed after I clean it up and rewire. Unfortunately no bells were included.

I will update you further as the construction progresses.

Again, thanks for all the hints and construction instructions.

Gerry”

g scale model train

model train crossing sign

model train man cave

g scale model train

I know I’ve said it before, but even after all these years of the blog, I still love the diversity of what lands in my inbox.

A big thanks to Gerry and to Doug for sharing his HO scale helix double track.

That’s all for today folks.

Please do keep ’em coming.

And if today is the day you get started on your layout, the Beginner’s Guide is here.

Best

Al

PS Latest ebay cheat sheet is here.

PPS More HO scale train layouts here if that’s your thing.


4×8 HO scale layout plans

Bill’s been in touch again, this time adding to the 4×8 HO scale layout plans on the blog.

He’s been a busy man. (His last post is here.)

“Hi Al

Continued kudos for your site and all the moderates who share their work. I’ve gotten many ideas from the work shown on your site!

I’m actually getting close to completing basic scenery on my 4X8 Layout. Won’t be long before I start the next section. Recently I’ve been completing ground cover and starting add in more of the details. I still have lots of work to do on buildings but I’m making progress.

The past few weekends I’ve gotten large areas completed with trees as well. I was thinking of putting in a small hill near the roundhouse but the more I thought about it the more I leaned to actually put in a depression to give some topographic relief. Everything else was flat on this section that a hill would look out of place but not a depression. As always I’m having fun 😀

The first step is always the hardest but once you start you’ll have a Layout going in no time.

Thanks Bill in Virginia”

HO scale house

HO scale track laying

HO scale house

4x8 ho scale layout plans


4x8 ho scale layout plans

4x8 ho scale layout plans

HO scale freight

4x8 ho scale layout plans

4x8 ho scale layout plans

Next on to Jacob, who has been in touch again:

“Hello again from Kentucky! Al, thanks again for posting my earlier email detailing my layout and story.

First of all, just wanted to say thank you to all the great comments from my first post of my layout work and background story posted a few weeks ago…everyone was so kind!

As promised, here are a few videos taken from my layout featuring some of my older DC locomotives including my childhood Chattanooga Choo Choo by TYCO and also my newest addition – a GP60M BNSF DCC locomotive with Tsunami Sound Decoder.

Enjoy the video!

And Al, if you don’t mind, could you please include a link from my first post as I answered some of the questions in the comments section but not sure everyone got a chance to see my responses!

Happy Model Railroading!

Jacob”


A huge thanks to Jacob and to Bill for adding to the 4×8 ho scale layout plans. Can’t wait to see Bill’s next installment!

That’s all for today folks.

Please do keep ’em coming.

And if today is the day you get started on your layout, the Beginner’s Guide is here.

Best

Al

PS Latest ebay cheat sheet is here.

PPS More HO scale train layouts here if that’s your thing.