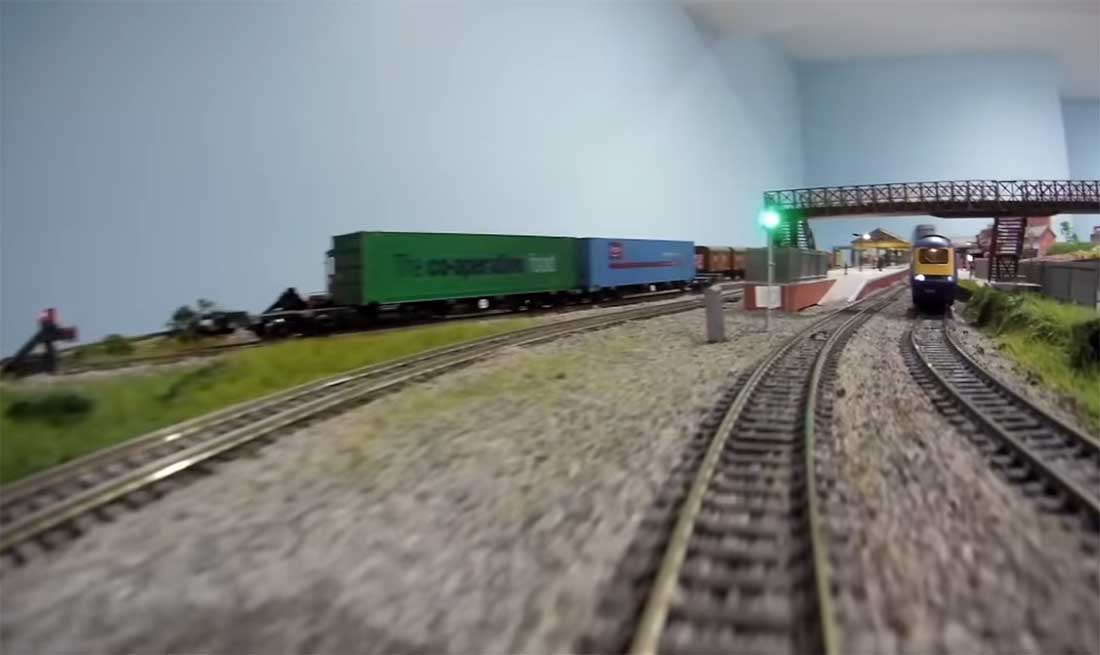
Hall of Fame member, Rob, has been in touch with his model train layout cab ride.
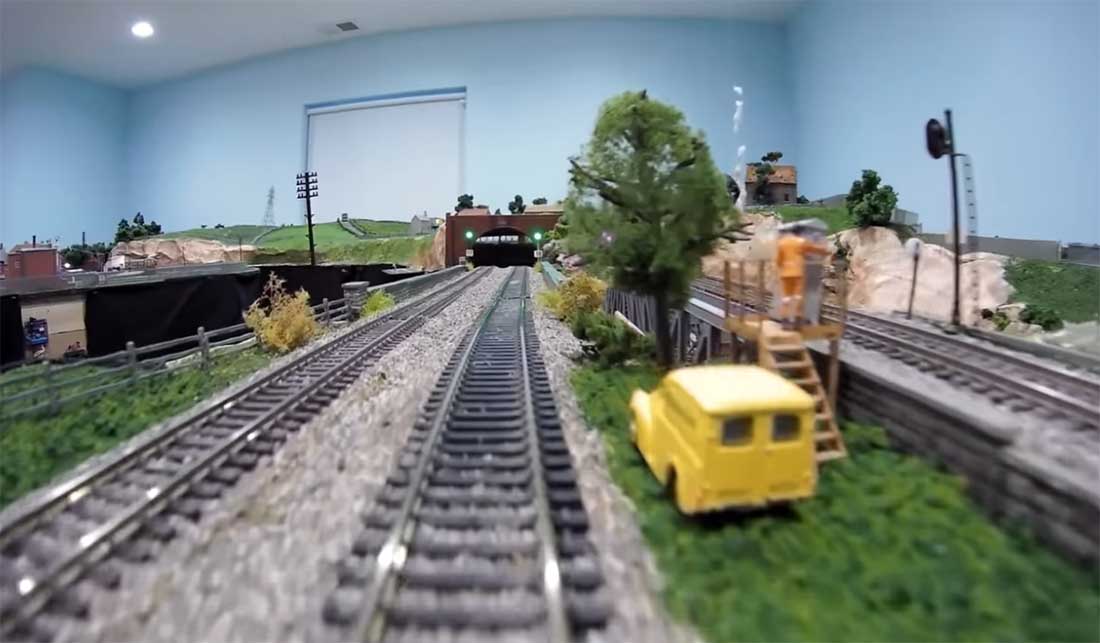
I do really enjoy the ‘cab rides’ – you see the layout in a totally different way. The change in perspective can almost make it look like a different layout – they are a lot of fun.
“Hi Al,
As I recall the time I made a cab ride video on my old layout, it was very popular.
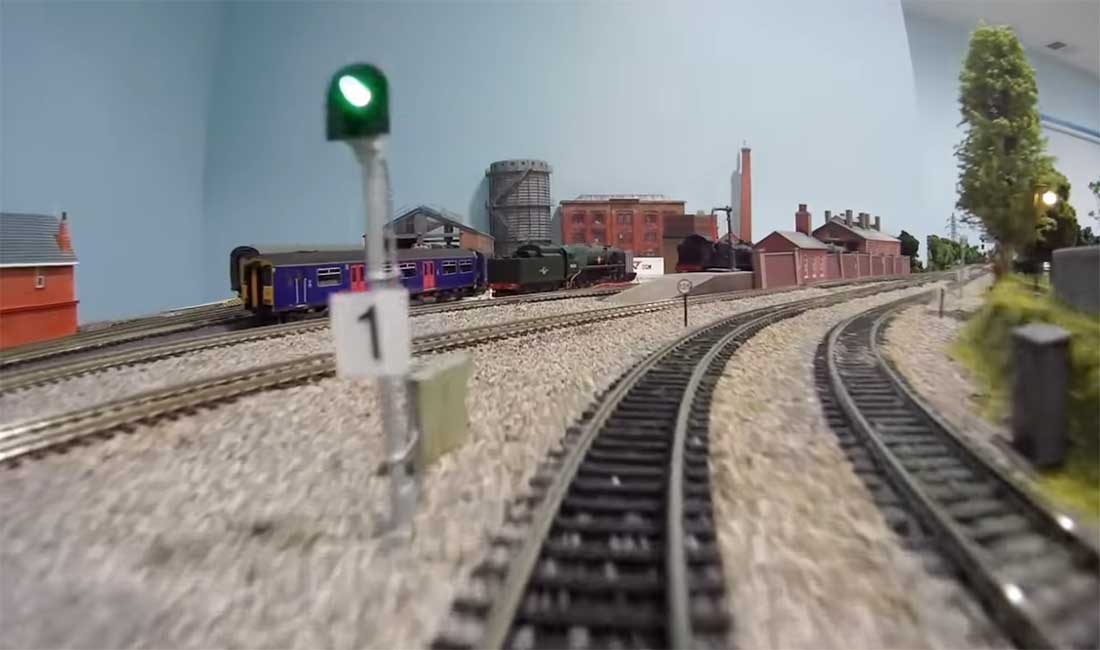
My new one on my new layout is certainly popular on my channel. It is a fun one with plenty of side views so the stations can be clearly seen.
As you know this is my second layout in. My first was disassembled to make room for my new dedicated train room. My wife wanted to finished space in our basement so visitors wouldn’t see our raw basement and I readily agreed.
There are three stations on the layout, Far Cliff which is at the beach, Far Moor located inside a 180-degree curve and my main station Howe Street.
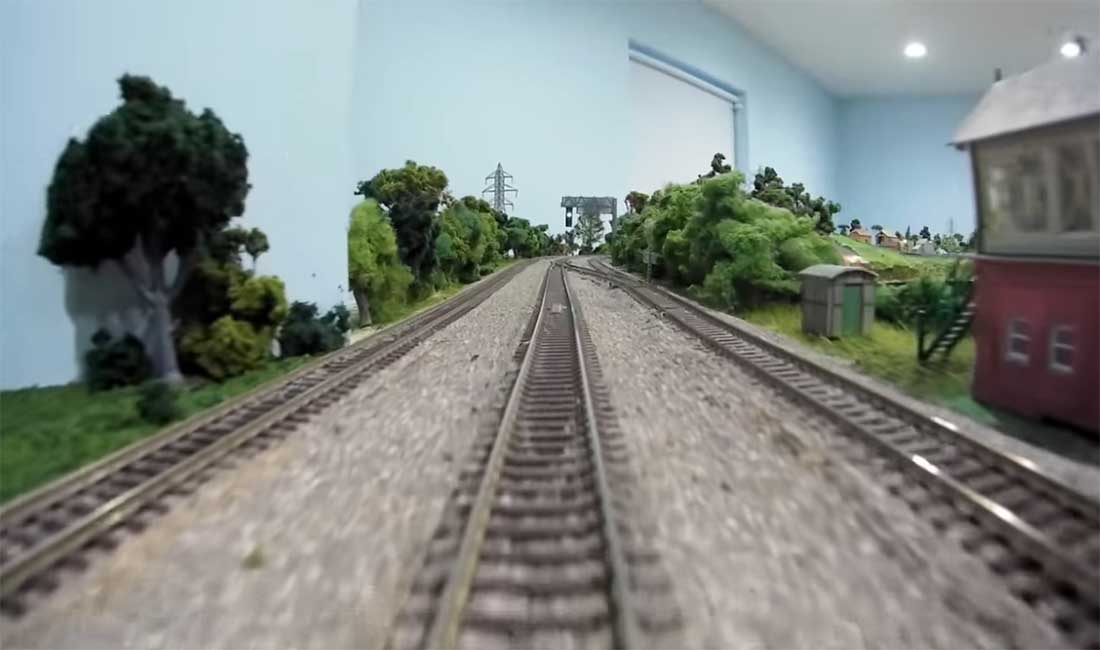
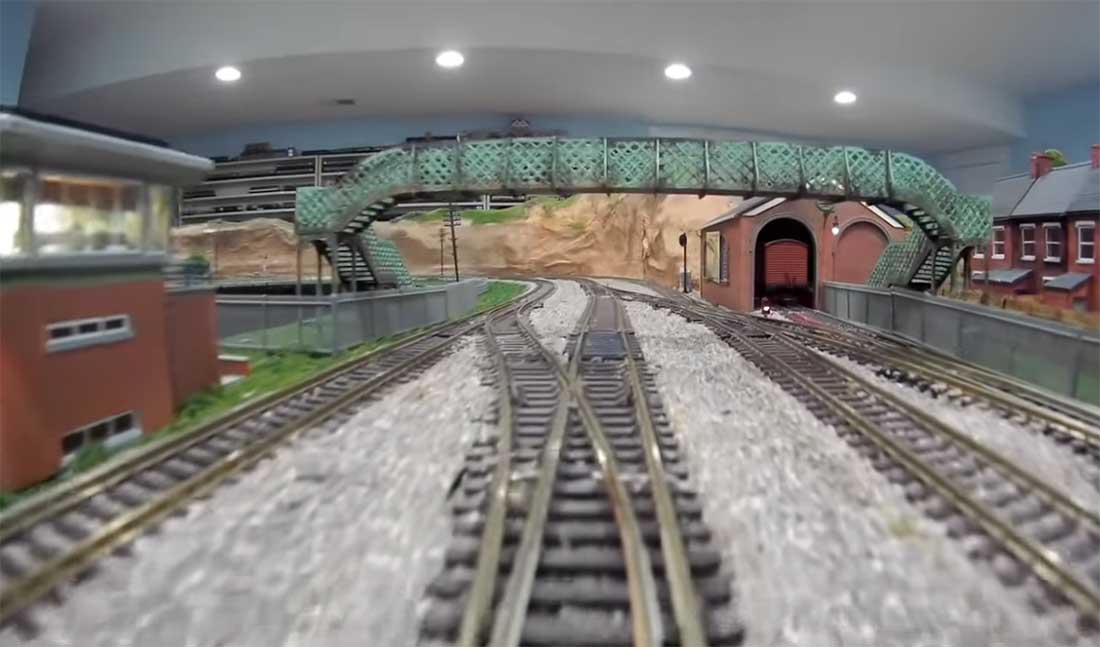
The layout is a curving swirl and with three loops each 120 feet around.
It has a long tunnel with storage tracks and two cameras so I can see what is going on in it. There is room to store three trains.
There is also an area along the back wall that is a non-scenic area. I simply will allow me to get across the back of the layout with trains.
Thank you so much for all you do for the modeling community across the globe.
I recently purchased your Big Kahuna Bundle – great value for money.
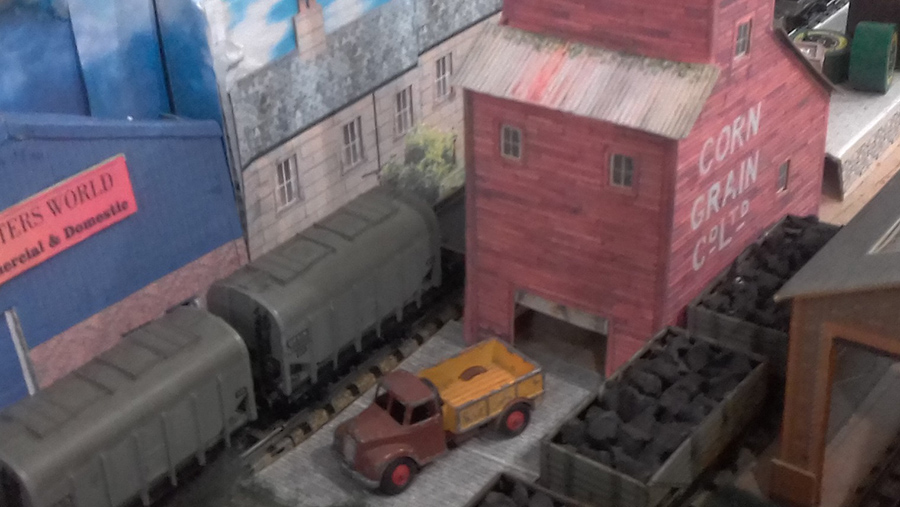
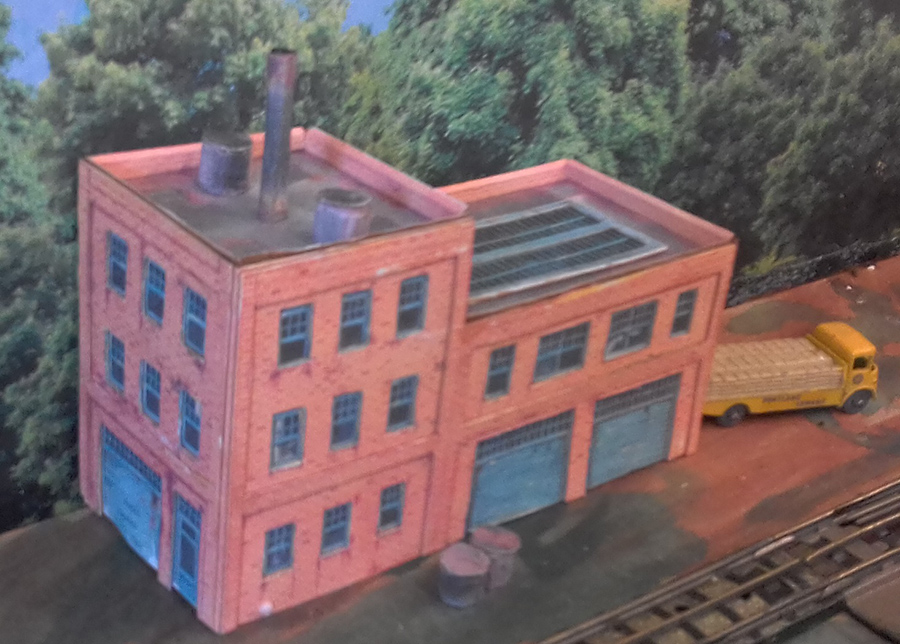
With the assistance of John and his entertaining ‘How to’ videos I have now constructed two buildings. I am very happy with them although they are not up to John’s standard
Thank you and best wishes
Andrew”
A huge thanks to Jim and to Rob for sharing his model train layout cab ride. It’s a wonderful way to enjoy a layout.
Lawrence has been in touch again with his model railroad helix – his last post is here.
“Al
I was asked about the helix I have. It is a double track double helix six rows tall.
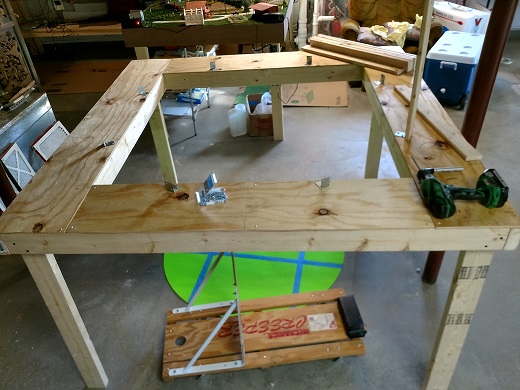
Initial design of a model railroad helix can be frustrating. Building is also costly as half inch plywood is best to use. And it takes a LOT of track.
Seeing I was using diesel and steam I decided the inner track on the inner ring would be 23-inch radius. That made the outer track on the inner ring to be 25-inch radius.
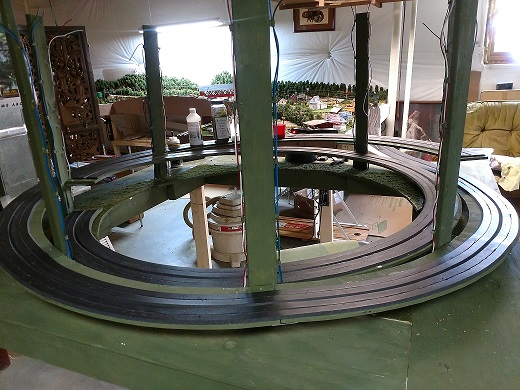
The center poles are one by three inches. I wanted an inch for scenery on the outer ring so the inner track on the outer ring became 29-inch radius. Making the outer ring outer track a 31-inch radius. Or the total width of the helix is 62 inches in diameter. Which is displayed by the second and third pictures.
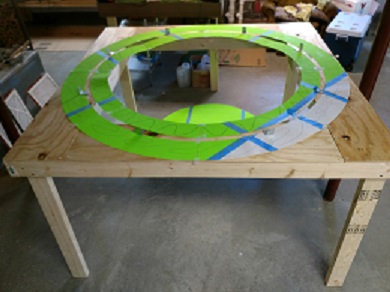
Using card stock, I drew out the base needed for the two rings configuring what the track was to be mounted on.
Cutting each card stock ring in eight equal pieces gave me the pattern to cut the plywood.
Using the pattern gave the angle at the ends and was used to get the maximum amount out of each sheet of plywood.
The uprights were installed between where the rings were to be mounted to keep the mounting as hidden as possible. The plywood ring pieces are held in place by aluminum bars cut and bent and placed on the upright at the appropriate place for the respective circular ring and height row.
The inner and outer rings do not match in height as the outer ring first level passes over the inner ring as the inner ring enters the helix. The inner ring plywood was four inches wide with the outer ring being 5 inches wide.
Decided the inner and outer ring was enter the helix at ground level. So built the first level outer ring first. That determined the right place for the inner ring to enter the helix under the outer ring.
Before going any further, I constructed the two bridges to connect the Model railroad helix to the rest of the layout. And as I built each vertical row, ballasting, power and scenery was added.
This had to be done row by row as when the next row was put in place it only gave 3-4 inches between vertical rows. I believe the helix is part of the train layout so should also have proper ballasting and scenery.
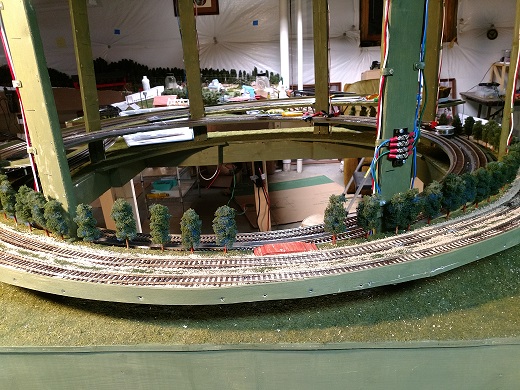
The terminal blocks were located at each level too distribute track power and lighting power at that level. Added two trees in front of each upright at each level to hide the upright. Strip LED lighting was placed on the underside of the next upper level.
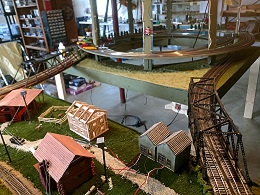
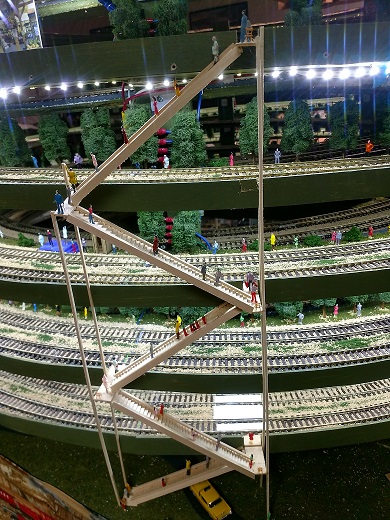
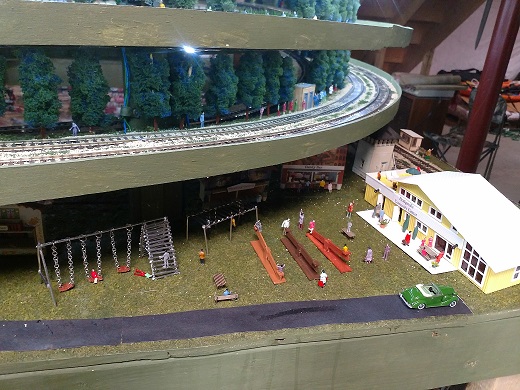
Then a picture showing the outside of the completed Model railroad helix with people enjoying the scenery and wandering in the park. A special stairway was constructed so five of the levels could be easily reached by walking.
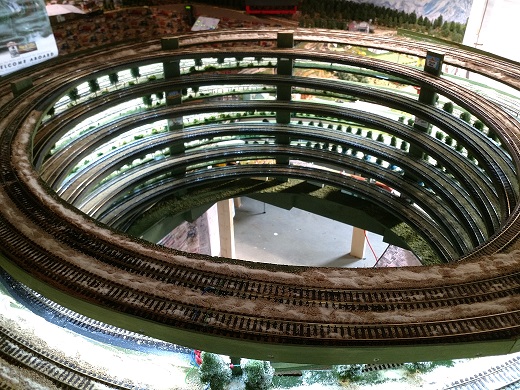
A picture is now shown of the inside of the helix, the inner track and the large enough area that is used to access the inner track. Yes, it is hands and knees to get into the middle.
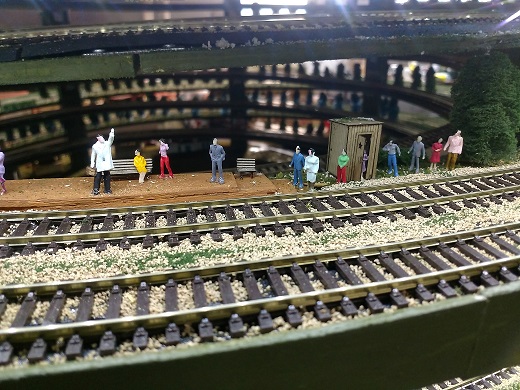
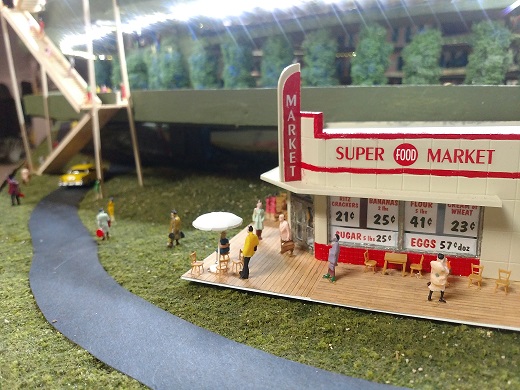
The last three pictures display people waiting at one of the train stops waiting for the train. One of the outside corners of the Model railroad helix base has a super market for any hungry passer buys. One of the other corners has a community center and playground to relax and for the kids. Notice the rest rooms available on the first vertical row.
Not displayed here, I had to take all the facing from all of the rows off as the balsa wood eventually curved in at the top coming in contact with the train. I am presently in the process of putting it all back on but lowered so the top of the facing is level with the top of the track. The added advantage is the facing now hides direct viewing of the LEDs.
Lawrence”
A huge thanks to Lawrence for sharing his model railroad helix – what an undertaking! And it looks great too.
Lastly, on to Dave:
“Hi Al, well after having a good holiday in the sun, I get back to my Model Railway with a bit of an update, and a running session… well got to give the Loco`s a run around after being sat there for a couple of weeks…
Eric has been in touch again, adding to the collection of N scale train track layouts on the blog.
I’ve posted quite a few of his layouts and updates over the years, so I was very pleased to see this in my inbox:
“This has taken a lot longer than expected as at first I intended a single level layout and got all the track laid and tested along with quite a lot of lighting.
Then I started on the scenery and it was after about a month and a half from starting I found that flat one level rails were very boring to run and not for me, so up it all came and I started another of my normal multi level layouts using inclines of 2%.
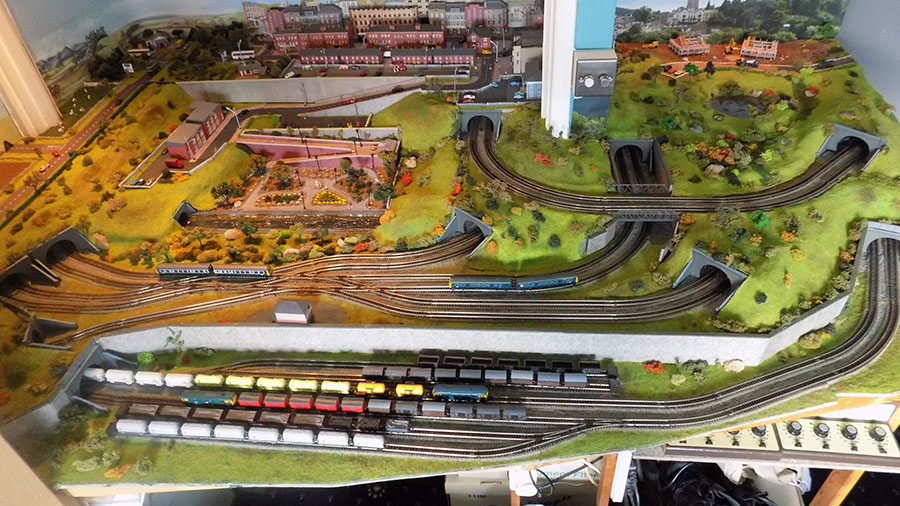
The lower twin tracks are my goods (freight) lines which are just a large circle with two sidings each. The next two levels are passenger lines, a twin track figure eight with three sidings and an inner loop on each track which actually act as extra sidings.
See attached track plan, it’s not very good but gives the idea used. I never plan out a layout first as with such awkward shapes to encompass I prefer to lay the track and see how I can fit it into the design in my head.
N scale train track layouts:
To the right, are two bungalows under construction above a small pond. (TIP) The pond is made out of a supermarket (Morrison’s) plastic pie container base cut down to around 3/8ths inch high and painted then filled with Realistic Water. Then when set plaster cloth is used around it to blend it into the ground. Note the new part tarmac road to the bungalows with the old steam roller levelling it off.
Centre back is my small town of Smeedle, the background flats are actually one of Al’s office buildings converted into a block of flats. Thanks Al. The roads that I use I hand built on the computer and printed onto thin card, not perfect but ok. A lot of fiddly work.
The police station is above the tunnel with police cars ready to roll. The Metcalfe low relief shops and Grace bros department store all extended back a little to enable lighting them up. The cinema is a Metcalfe kit with added balsa wood back with blue lighting above the entrance. The low relief office/ bank building is laser cut and two kits were used to build it.
To the left side we see a small country road leading up to a small roundabout with a garage set on the corner. Two small cottages sit down at the bottom of the hill. Quite proud of the large road signs near roundabout, taken off the internet and adjusted to suit the roads. Again a very fiddly job but worthwhile if you have the patience.
Front centre my town park and rather swollen river, after heavy rains upstream you can see a tree trunk floating down the seething river. The ramp down to the park holds a Metcalfe pavilion which here is a café, note tables also Metcalfe as is the fountain in the centre of the park all from their mini kit range. The river is done with EZ water and effects.
The street lights I got off Amazon are 6 v lights that I painted silver as the white wasn’t suitable. They have a good fat lower stem that fits into the board and if a good fit needs no gluing in place and they are reliable and reusable, a big plus as I try to re-use items wherever possible. The park lights were longer than I really wanted but they work fine.
Ok I missed adding signals for the simple reason of difficulty bending my old bones under the boards to go with my twisted fingers. I don’t do weathering, too messy and I prefer to see locos and track clean,,,ish. J
A (TIP) for cleaning track. I use the pads that fit on carriage axles with Methylated spirits (Available from good chemists (drug stores)) added to pads on each circuit of the track, this cleans and doesn’t corrode or wear the track, I have used this method for years and it works, around three trips round per track then a clean pad to wipe off any residue. Cheap and cheerful.
The various sections over the track lift away for access and the shaped plaster panels also lift off. Another (TIP), if you make lift away plaster panels that are over the rails I paste cling film under them to stop plaster flakes dropping onto the rails, it keeps the underneath area free of dust and plaster residue.
N scale train track layouts:
My system is run by two Gaugemaster 4 track controllers, everything is DC. One controller for the four tracks and the second is for lighting using the controls as dimmers. Wiring for the lights is all manually done on each panel with lights connected with quick release jointers for when access required so the whole panel can be removed.
The overall maximum size is almost 5.5 ft by 7.5 ft but interrupted by a wall to the right that the track has to curve round and in the middle centre area there is an access hatch, that is why my layouts are rather awkward to design.
I hope you like the new layout and welcome all your comments.
Eric”
A huge thanks to Eric, especially for his narrative – it really does highlight the perils of laying your scenery before you are happy with your track.
It’s a nice addition to the N scale train track layouts on the site.