Lastly, seeing as quite a few of you mailed me on Dave’s post yesterday, here’s another from Dangerous Dave and the archives:
“Hi Alastair, Well I got there, just completed and uploaded the video showing the completion of the layout.
After doing various alterations to my layout I can now say it has been completed, I have included a few tips again, and tried over this series to show more or less how to build a layout, with a good many tips to make it easie, along with saving money… and yes Tonys is open again, got a special licence, the Judge was a member of the club.
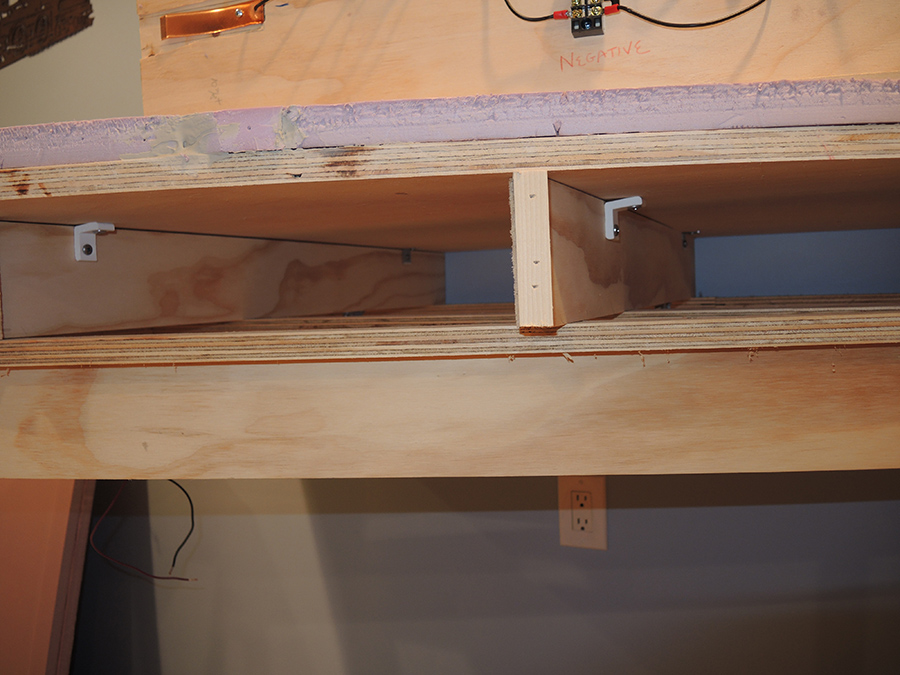
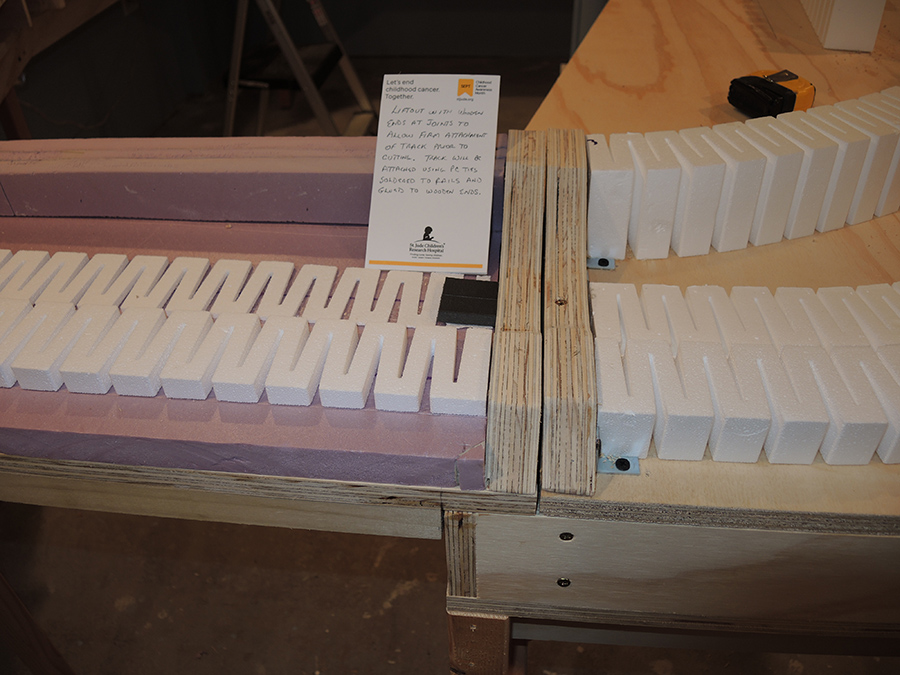
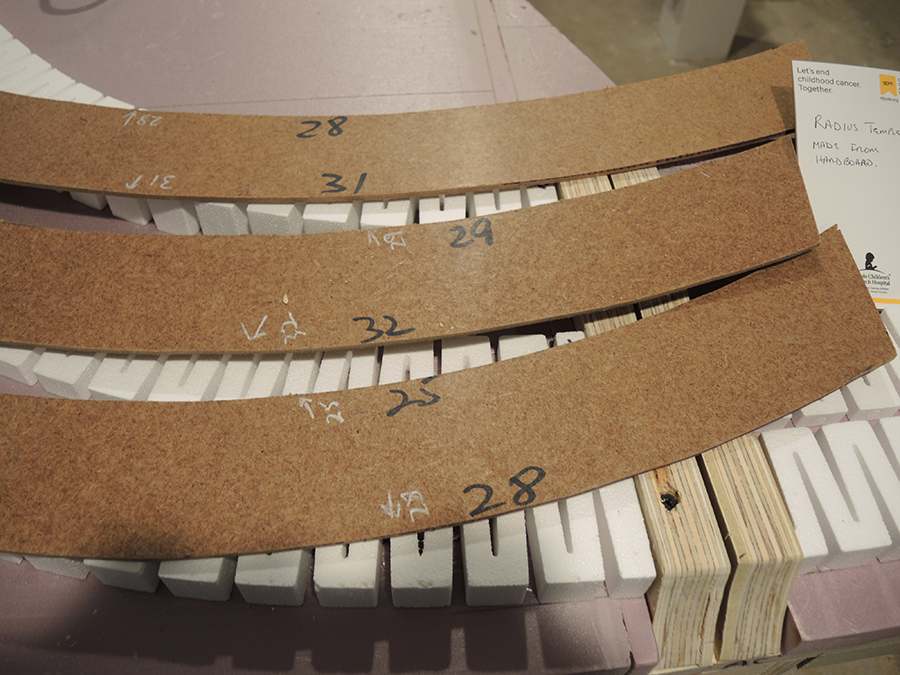
Paul’s been in touch with his HO scale track risers:
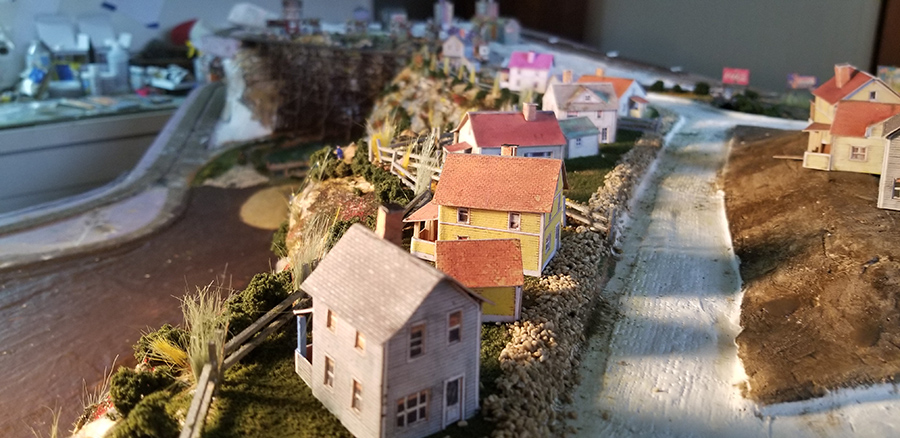
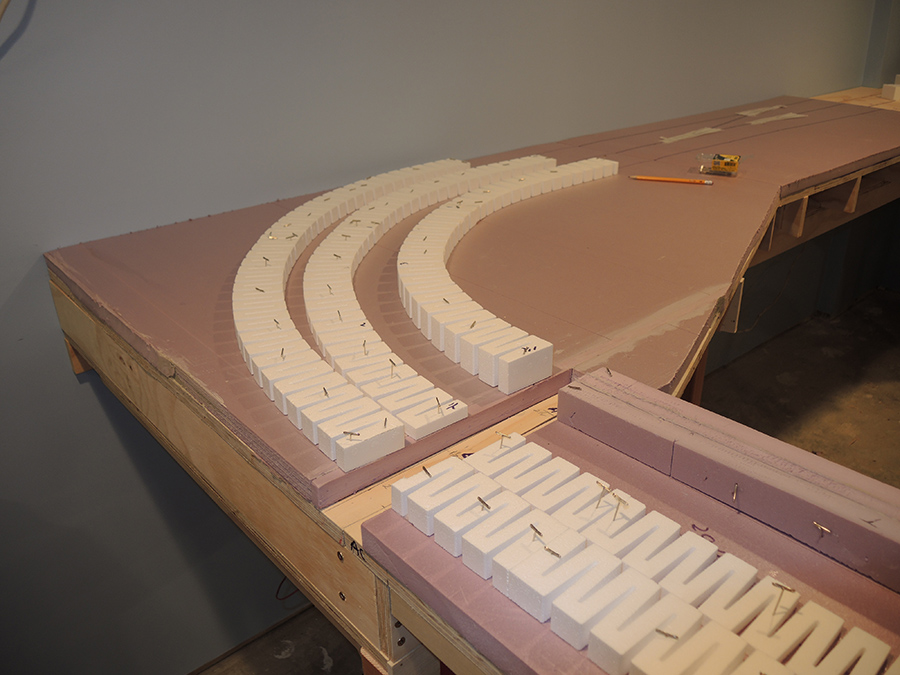
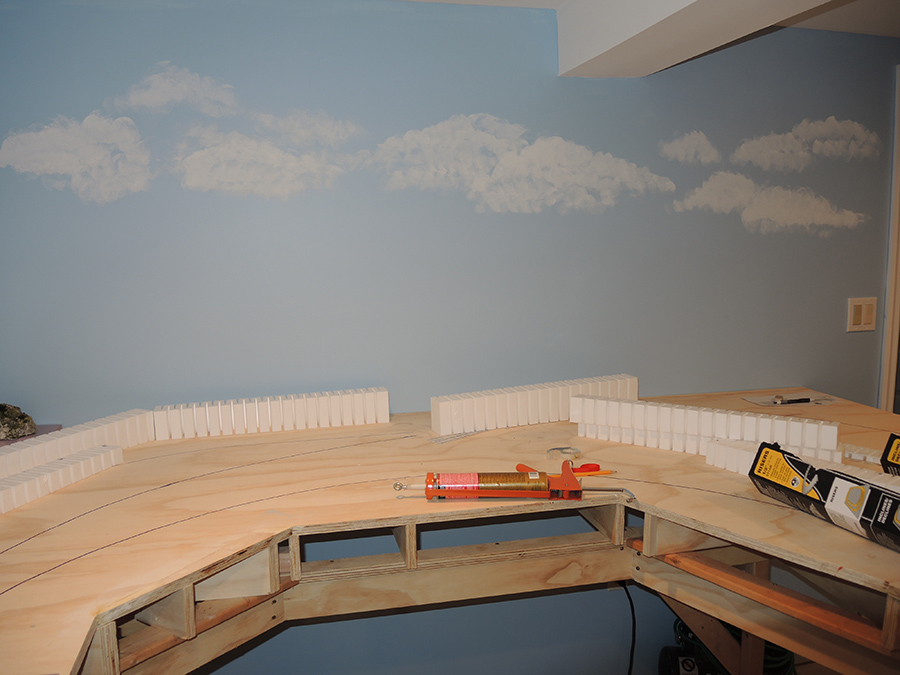
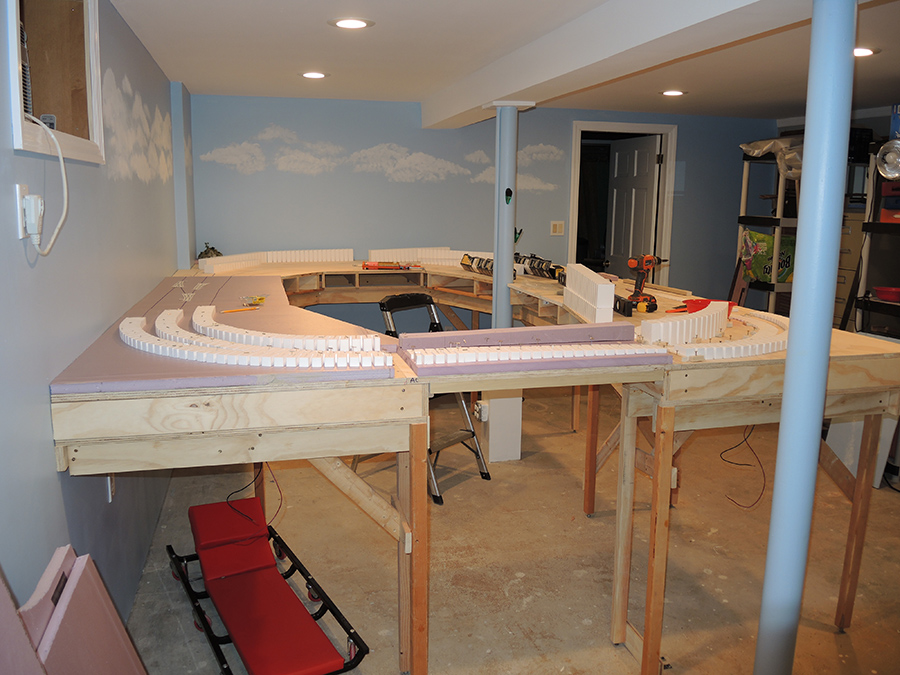
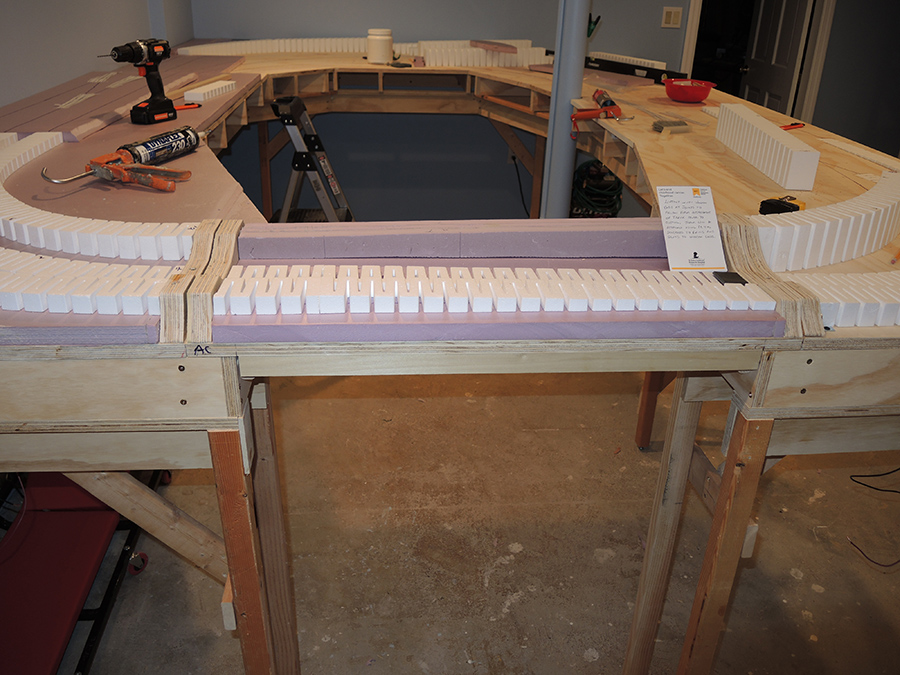
“Hi Alastair I thought I would send you some progress photos of my new 8 X 12 around the wall layout.
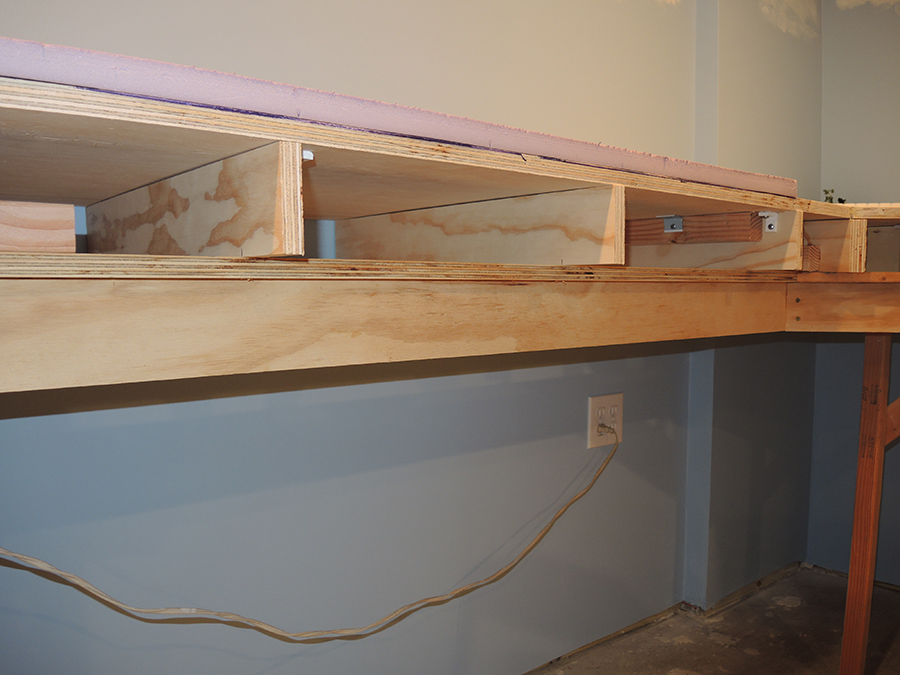
It is constructed using 3/4″ plywood to form L Girders and the baseboard.
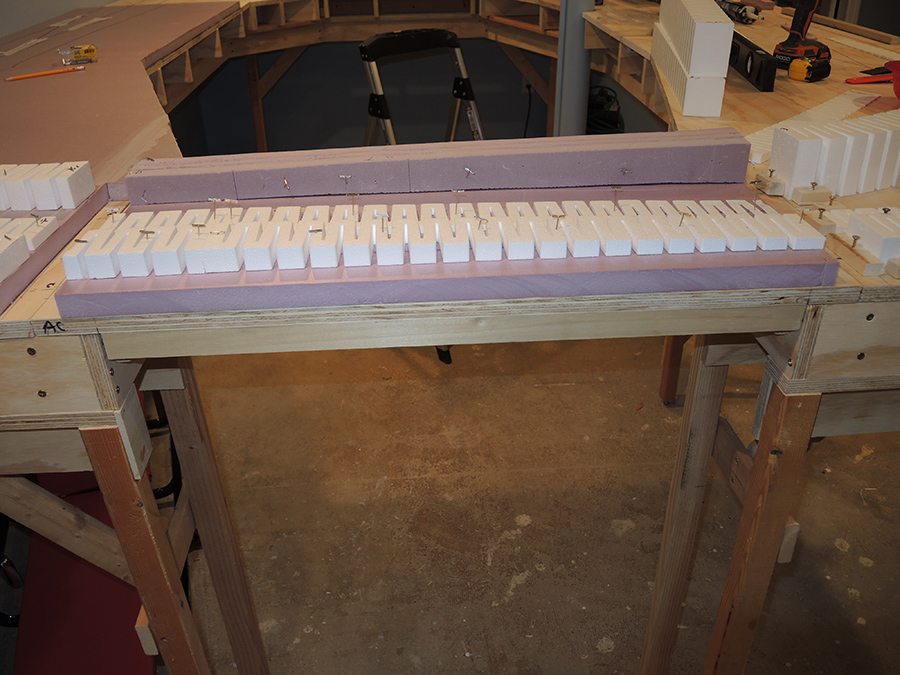
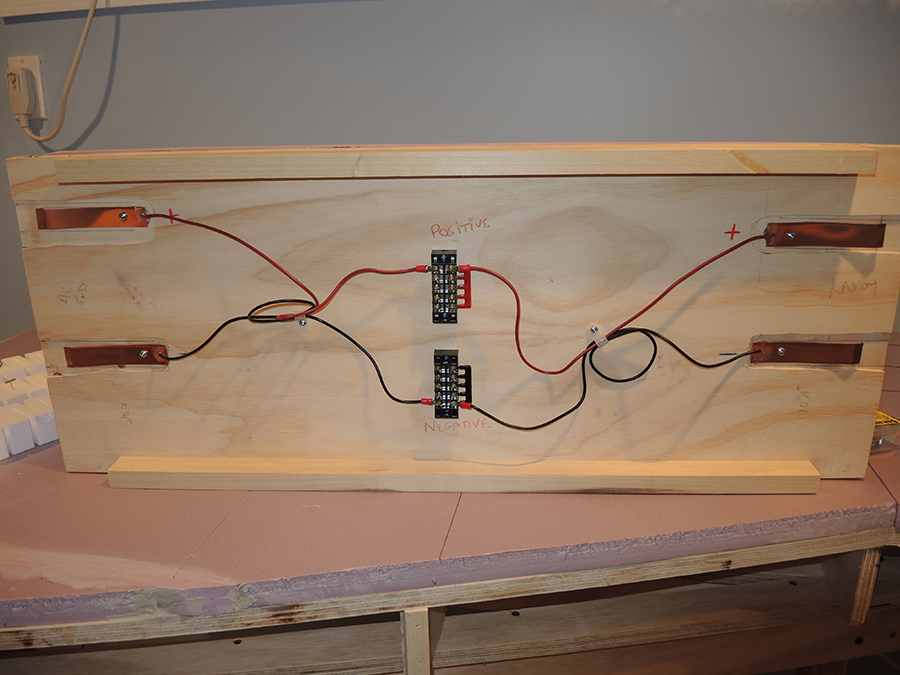
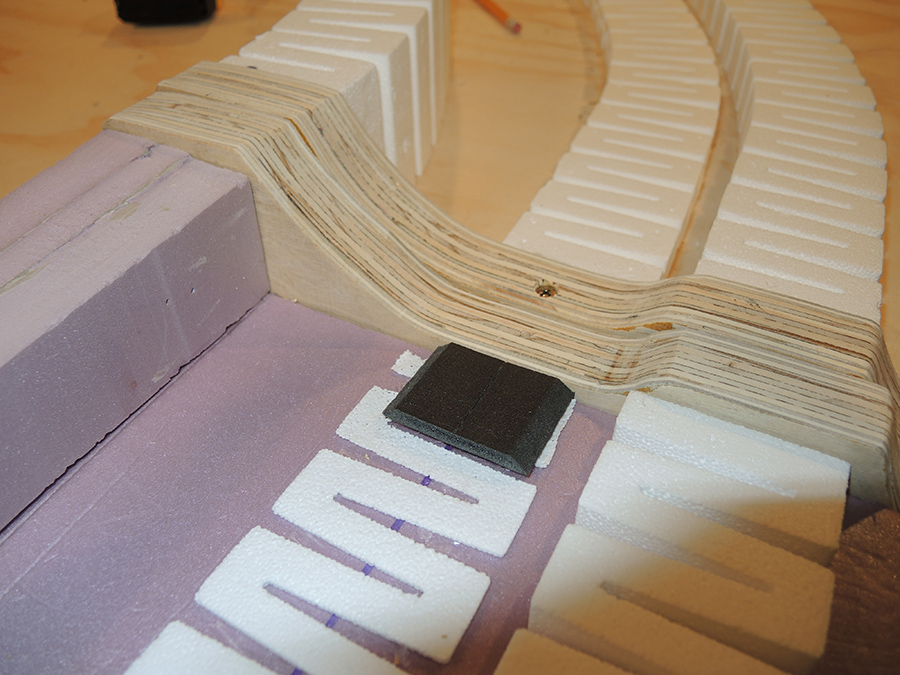
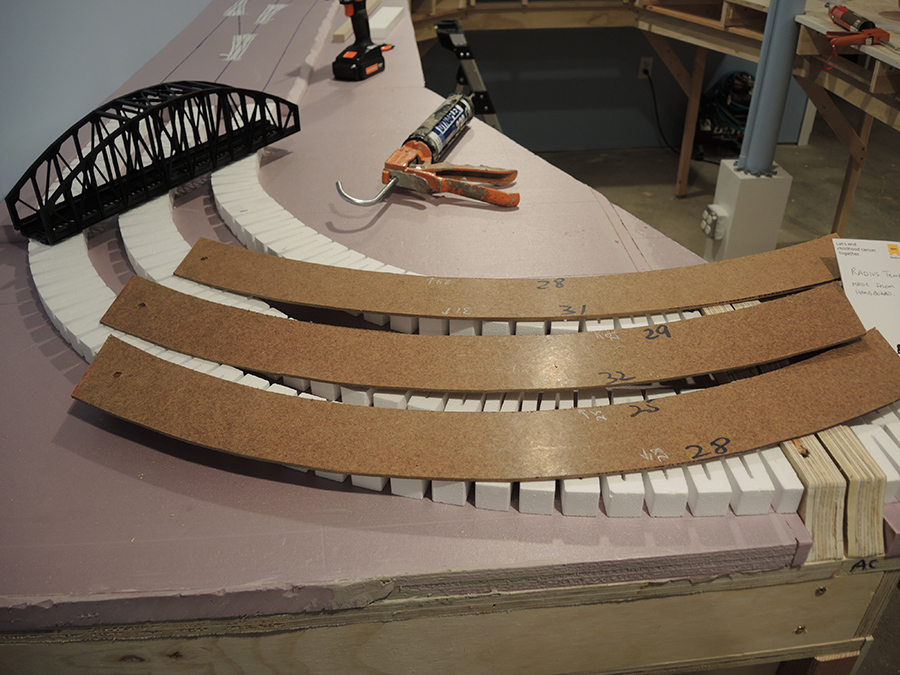
The mainline layout is a three times around over-under track. There is a liftout which has 3 tracks crossing it.
The liftout uses copper pads and contacts which I made to continue the electrical circuit when in place.
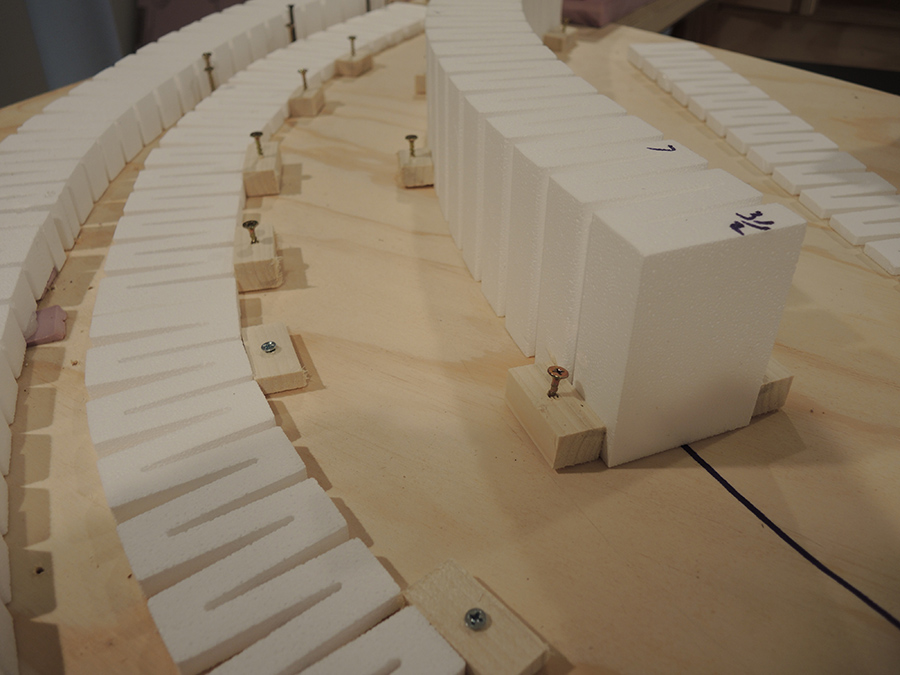
The layout also uses Woodland Scenics HO scale track risers to create a 2 degree incline and decline throughout the layout.
There will be a steam flowing to a lake which runs under the three small bridges.
I cut out the foam using the Dremel tool seen in the photo. It works great by allowing you to slice off the foam in small layers until you reach the desired effect.
Essentially the layout is blowup or dissected version of an old 4X8 layout I found in an old Model Railroader magazine. What you do is cut a copy of the layout into 4 pieces, or quadrants. You separate the pieces and then draw lines connecting the tracks to form an around the wall layout.
I finished the basement room this past summer and started construction of the L girder baseboard in September. The trick I am learning is that you have to plan all your moves so as not to make any parts inexpressible. That’s the fun with an 8×12 HO layout.
So right now I am building a small hill to fit in a corner of the layout that will be hard to reach in the future. It is removable so I will landscape it on the workbench and then put it in place.
I have also built a temporary bridge over some of the layout so I can sit on top and not crush my work.
I will send more photos as work progresses.
Thanks for all the great tips you forward to us via your blog.
Paul”
HO scale track risers:
A huge thank you to Paul for sharing his HO scale track risers.
It just goes to show how a little planning can go a long way. Can’t wait to see an update from Paul!
Ken’s approach to risers is totally different, but still works: HO scale risers
Its Jim again from across the big pond with a great idea to save money when building a layout.
For those of us who have bridges, bridge piers are a must. So to cut expenses I purchased a bridge pier from Walters, paid $13.00 US. Now I needed 10 of those piers, six for the 6 foot span on my layout with a couple left over for other area’s. Now purchasing 10 of these would have been $130.00 US, so I got creative, and made my own. How you ask? Very simple, make copies of them.
Now there is a very cheap and easy way to do this. Purchase a rubber mold kit from a craft store. The kit I use is called “ALUMILITE AMAZING MOLD RUBBER” It is a two part kit, the rubber substance and a small bottle of hardener. What I do is mix the entire kit, you will need all of it. I use a plastic container that I get soup in its about 16 oz. liquid tall, any tall container will do as long as it is equal size. Place the original part in the container with the wide side facing up. Once the rubber substance is mixed, pour it all in the container with the original. It will take up to 2 to 4 hours for the rubber to solidify. Then you can demold the part from it.
Now to make your copies. Mix up a batch of HYDROCAl, according to directions, pour the HYDROCAL into the rubber mold, and wait for plaster to set up and become hard. Remove the casted part and it is ready for paint. And there you have it. Save the mold, you never know when you may need it again.
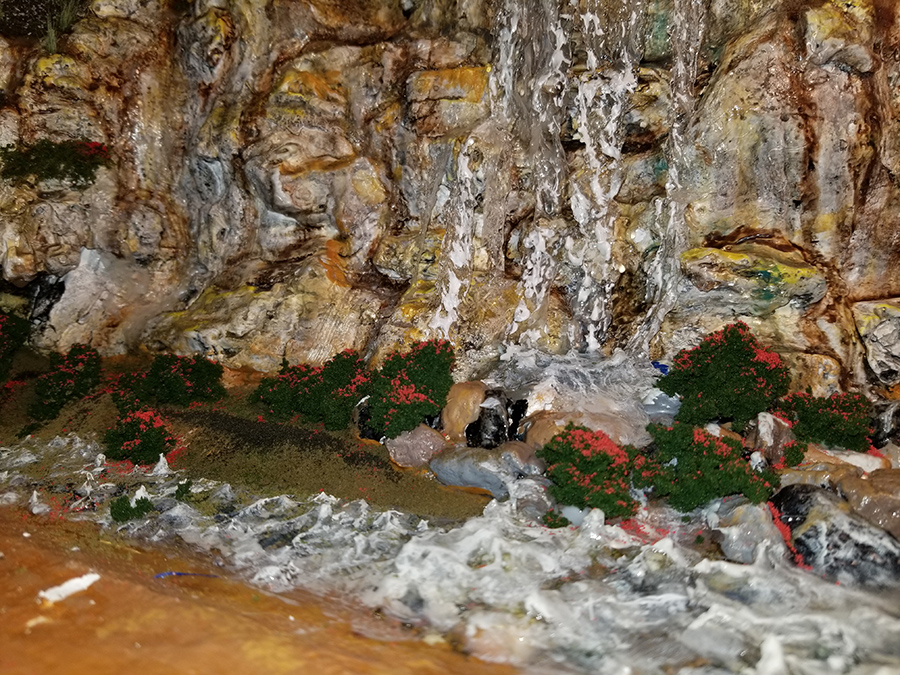
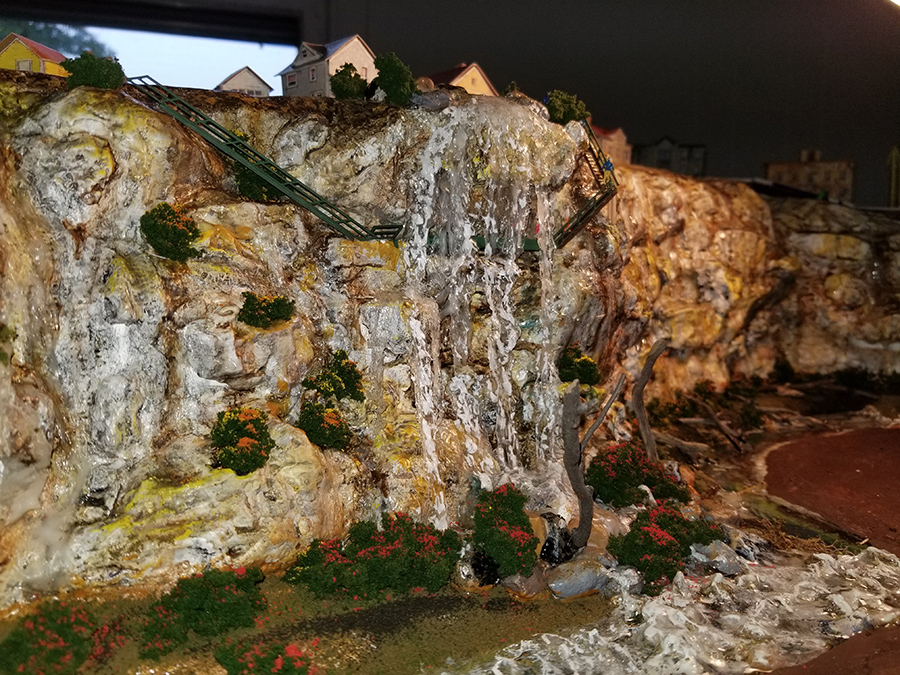
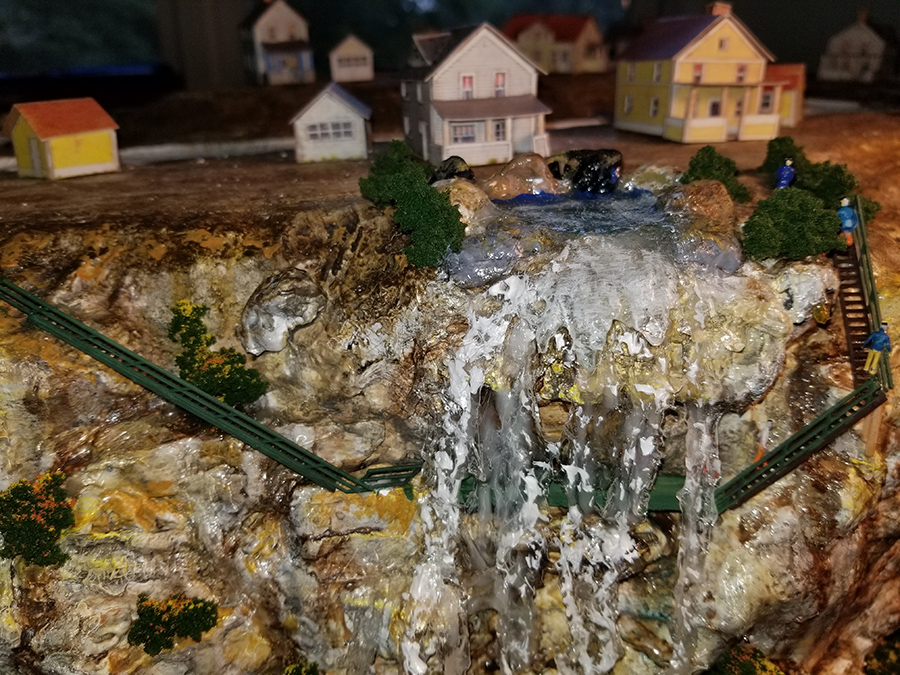
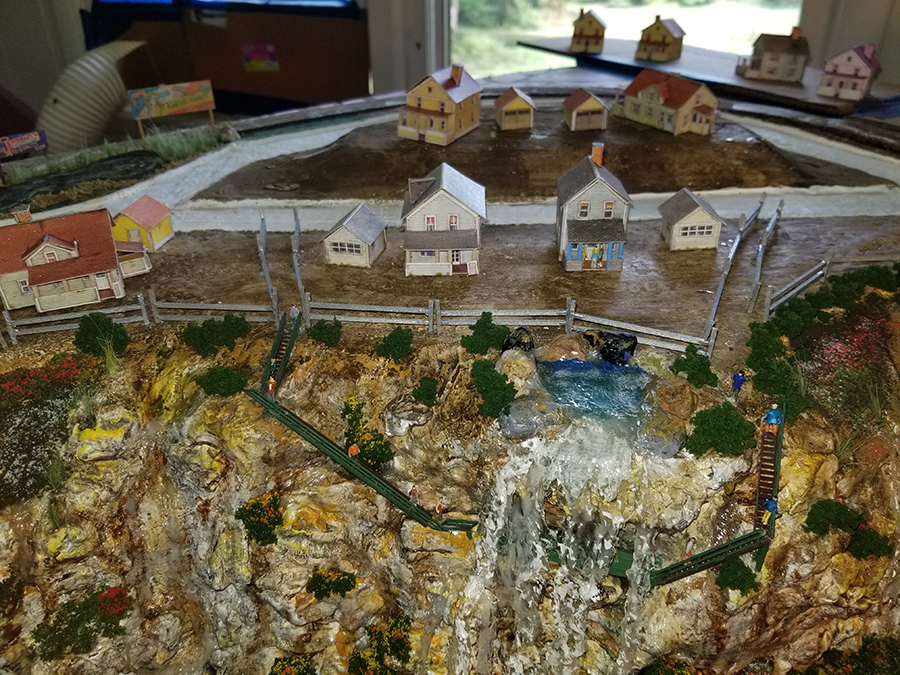
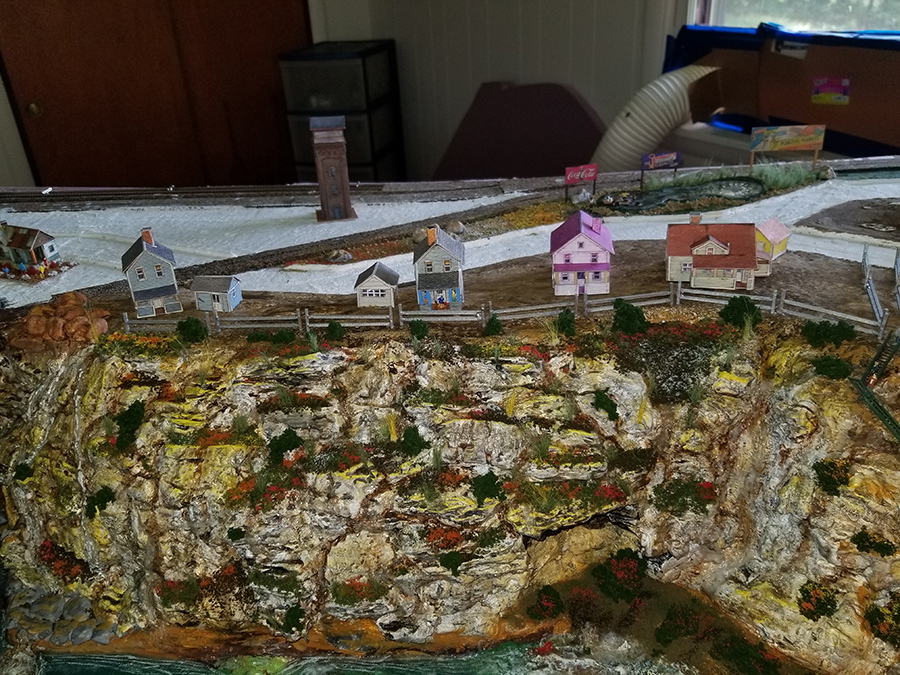
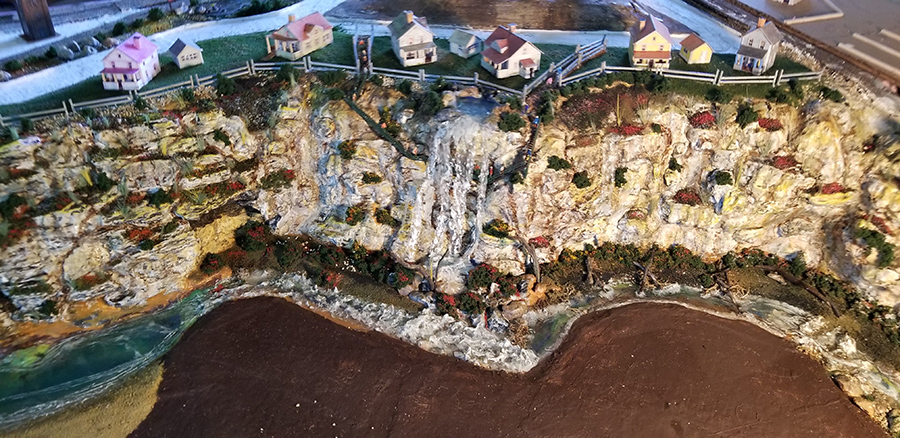
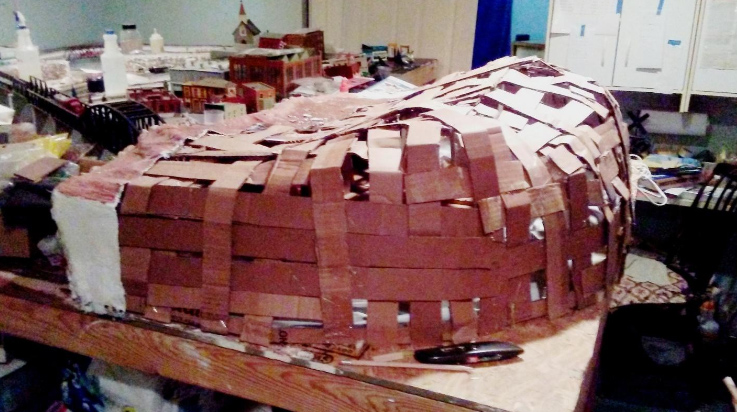
Here’s today’s update on the mountain for the Starrpoint Railroad part two.
Now just a recap! Everyone remembers how the mountain looked before the plaster cloth was applied. Just for a reminder is a picture of it.
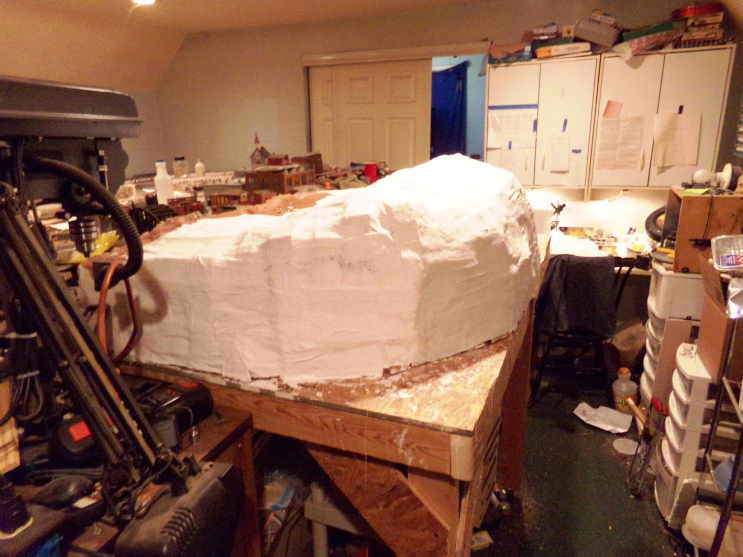
With three layers of plaster cloth applied the mountain now looks like this.
The lighting in the room hinders the look of the mountain. I will try and correct it.
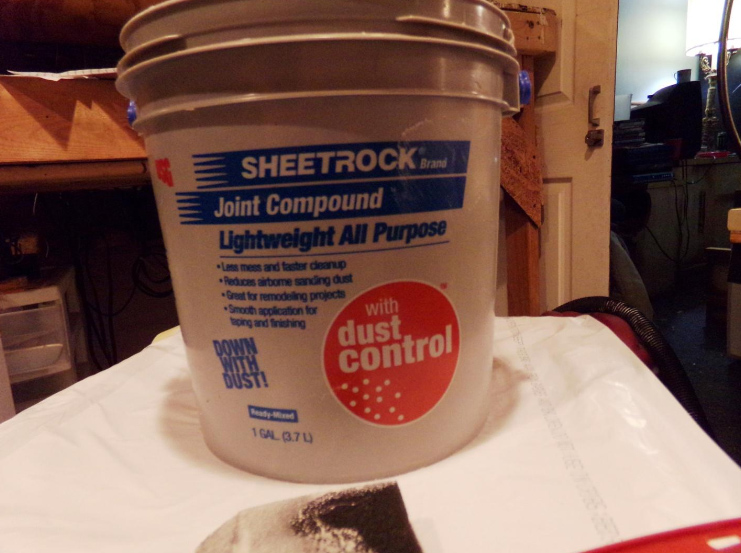
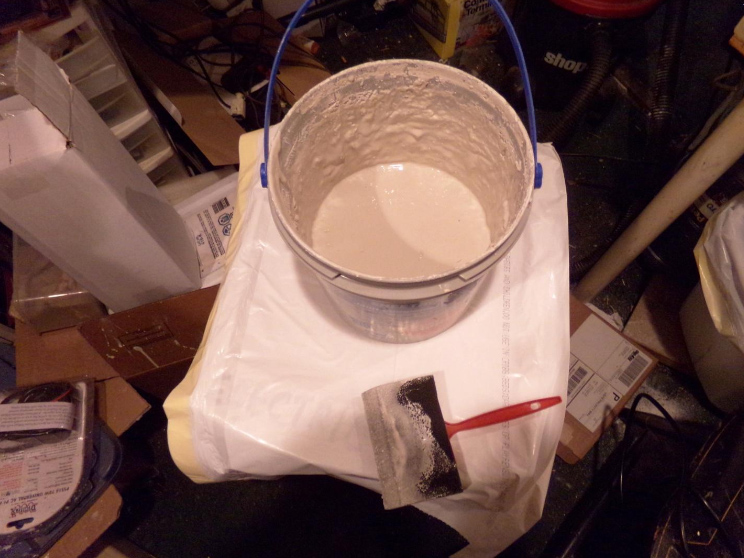
Now for the plaster painting! What I use is joint compound, diluted with water, to make a semi-thick paint. Now some modelers use plaster of paris, which is ok, but I find for me a least the diluted joint compound works best. You can work the mixture into all of the nooks and crannies.
This is what it looks like diluted in the pail.
I use a cheap sponge brush that you can purchase at any home improvement centre in you area. I had a friend of mine use a spatula and it did not work out too well for him. So he decided to try my method and it worked, took some time to complete but it is well work it.
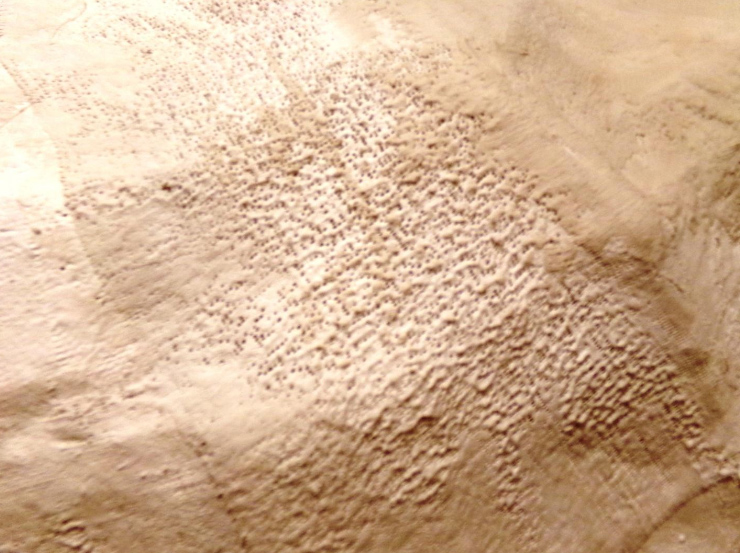
Now the reason for using this mixture, it will fill in all of the pin holes on the mountain. No matter how hard you try, you will get pin holes showing, and those tine pin holes can be a nuisance when you work on you scene.
Here is are some pin holes on the mountain.
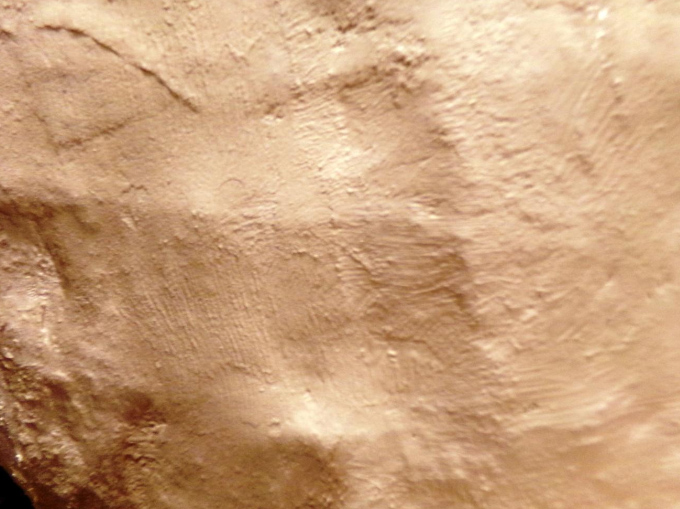
And no pin holes once the plaster paint is applied.
I am letting the first half of my DIY model train mountains sit for 24 hours, before I finish the rest.
I plan on painting the whole mountain with a base coat of white paint, and then will decide what colour I will use after. I plan on trees, a working radar station (more on that latter), deer, bears and whatever else I think of.
Stay tuned for part 3 of my DIY model train mountains coming in a week or so.
Jim
“Hi Al-
I just started subscribing and haven’t had much chance yet to read your posts but it looks interesting.
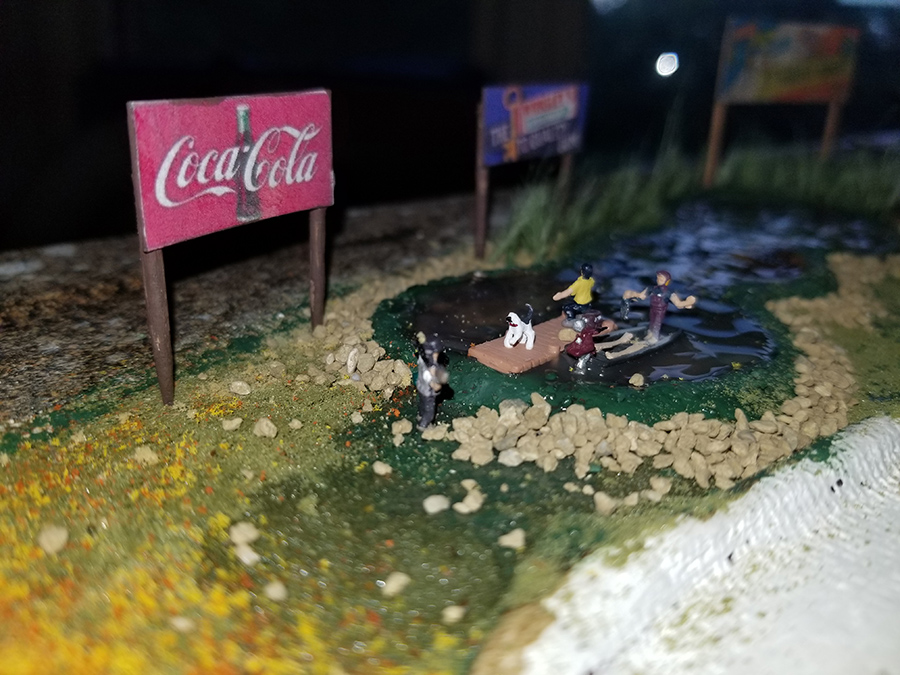
My favorite part of modeling is scenery and my tip for scenery is to pay a lot of attention to modeling people.
Nothing bothers me more than to see a photo of a wonderful scene- beautiful loco, amazing scratch built structure etc- and few, if any people! And many times, if there are figures, they are randomly placed, with no thought about do they fit? The same applies to vehicles, we are lucky to have a huge selection- so keep the era correct!
Think of it this way- we pay a lot of attention to prototype- getting the era, the numbering, the correct paint all accurate. People and vehicles have prototypes too!
The good thing is- fixing this is easy. Look at photos of your layout and just look at vehicles and people. Are there enough? (Usually not). And do they look right? Small changes and additions can add a lot to any scene.
Best regards,
Tony”
“My tip would be not to wait till you have it perfect in your mind just keep doing it and the improvements will keep coming. Its more fun that way.
Noel”
A big thanks to Jim for sharing his DIY model train mountains, and to Noel and Tony.
Regular readers will know how much I love an update, so I’m really looking forward to seeing how Jim’s layout comes along.