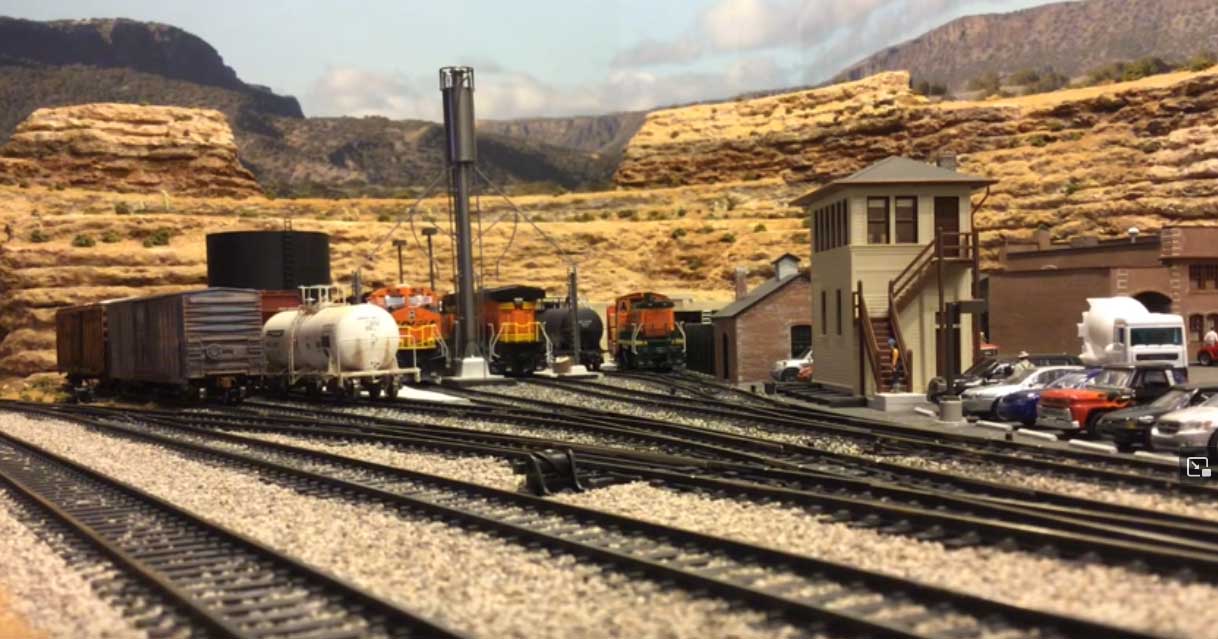
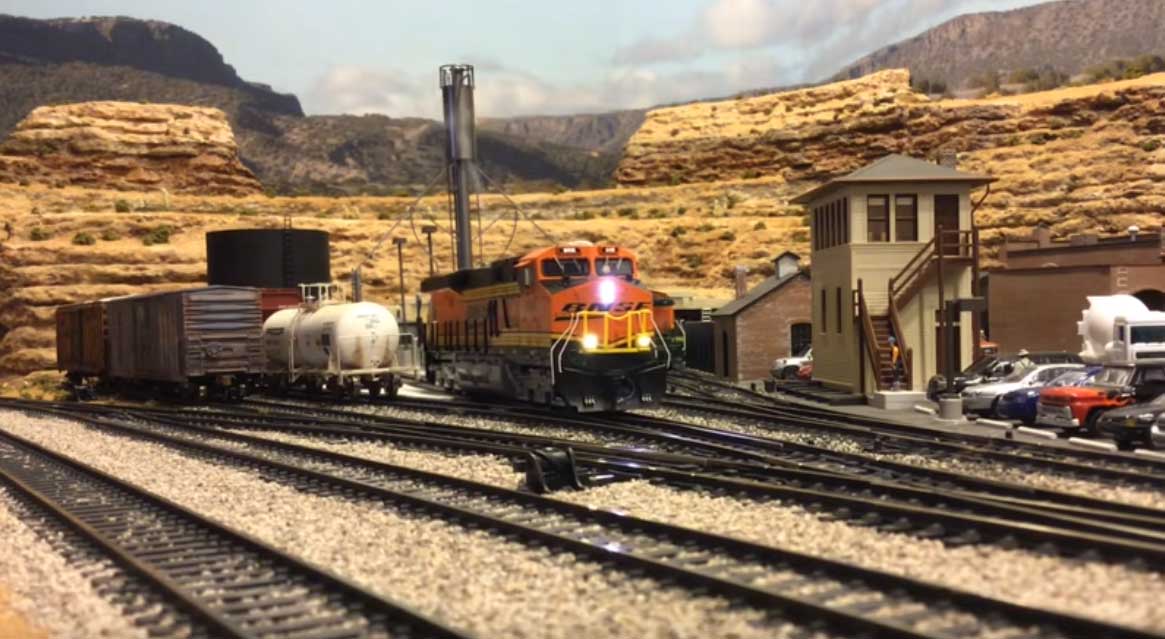
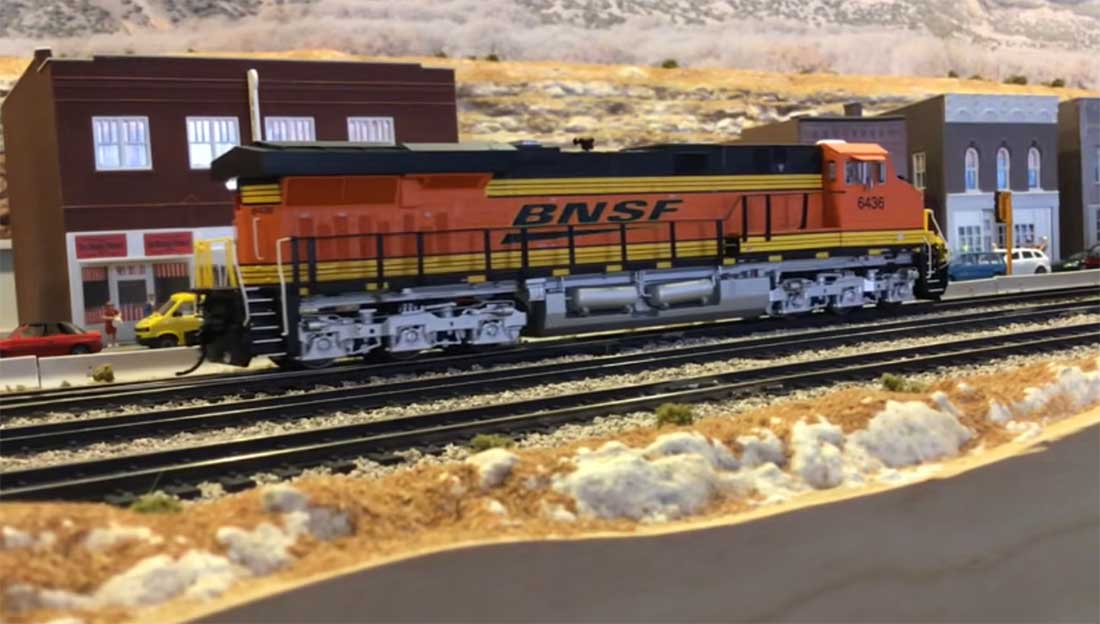
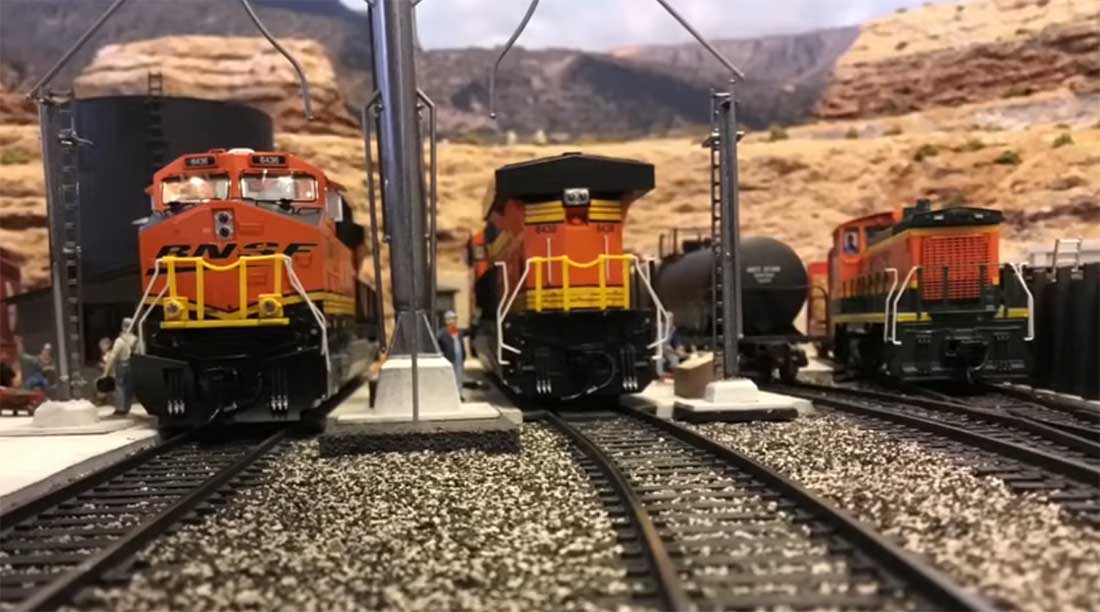
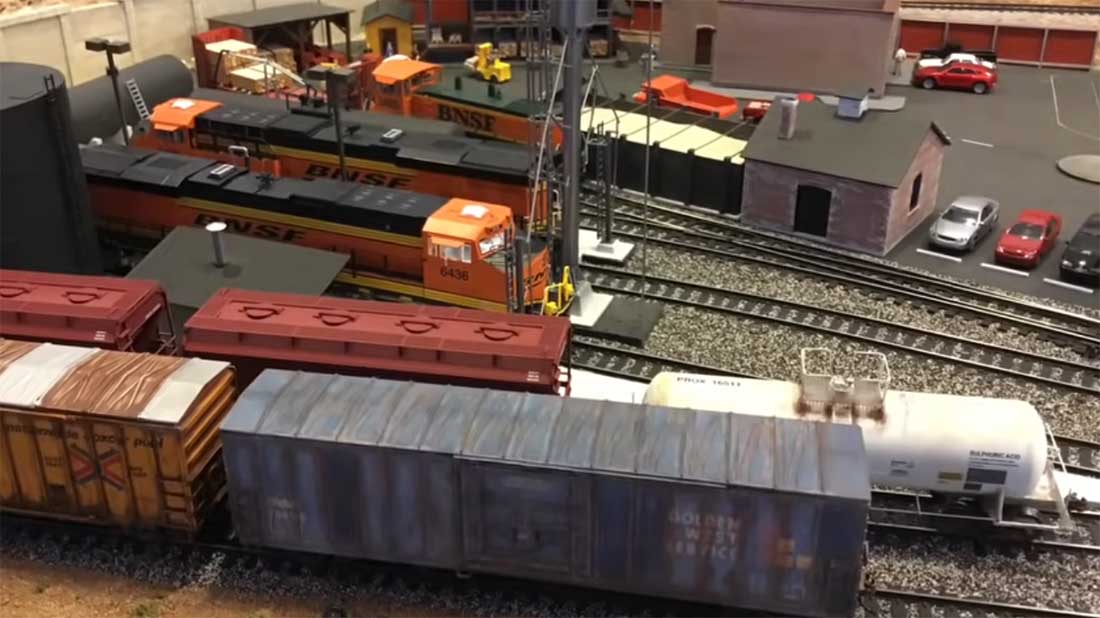
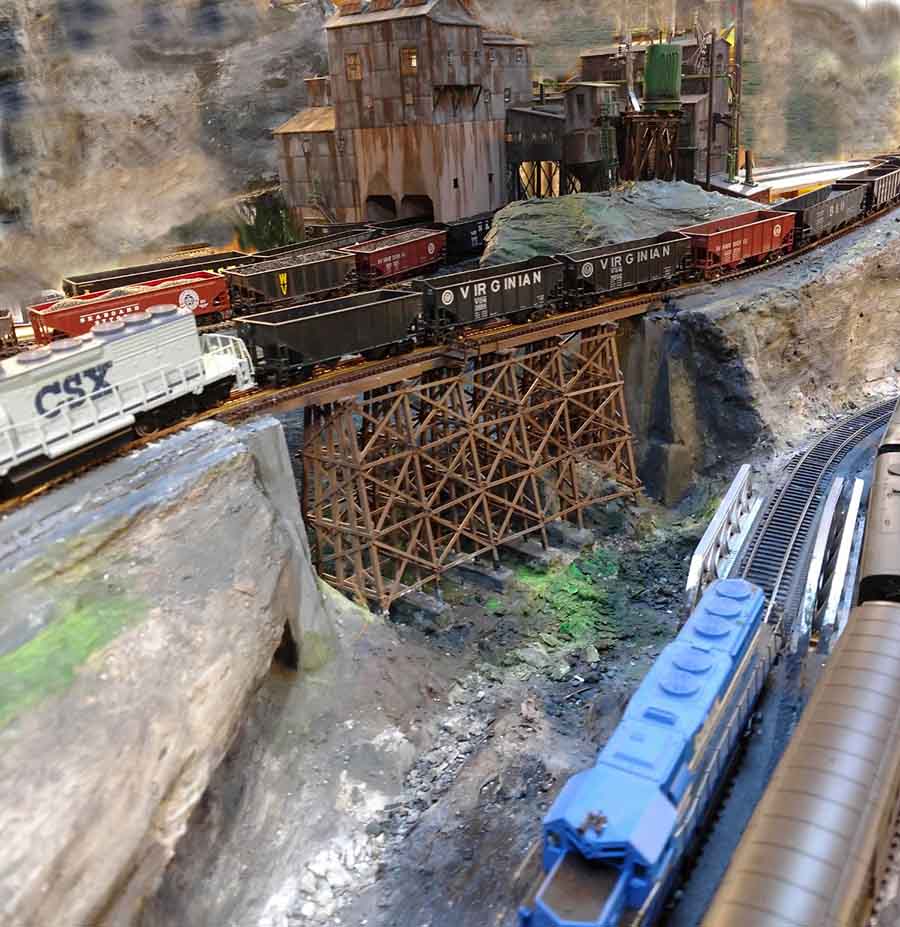
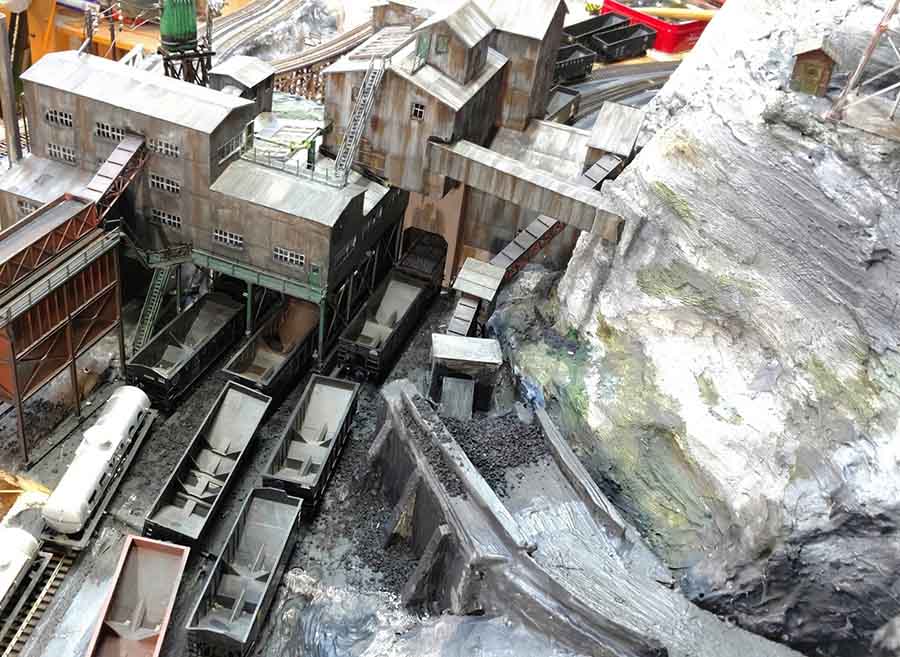
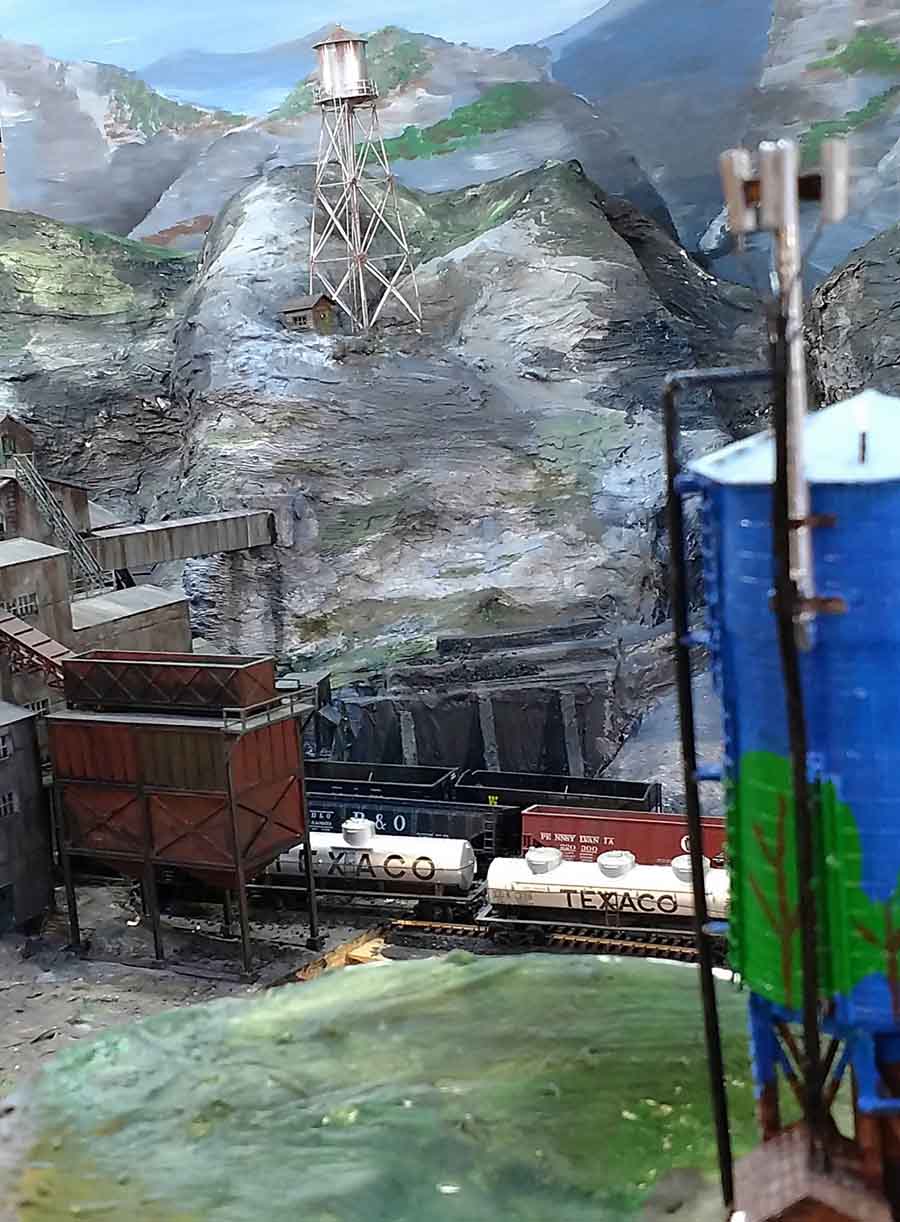
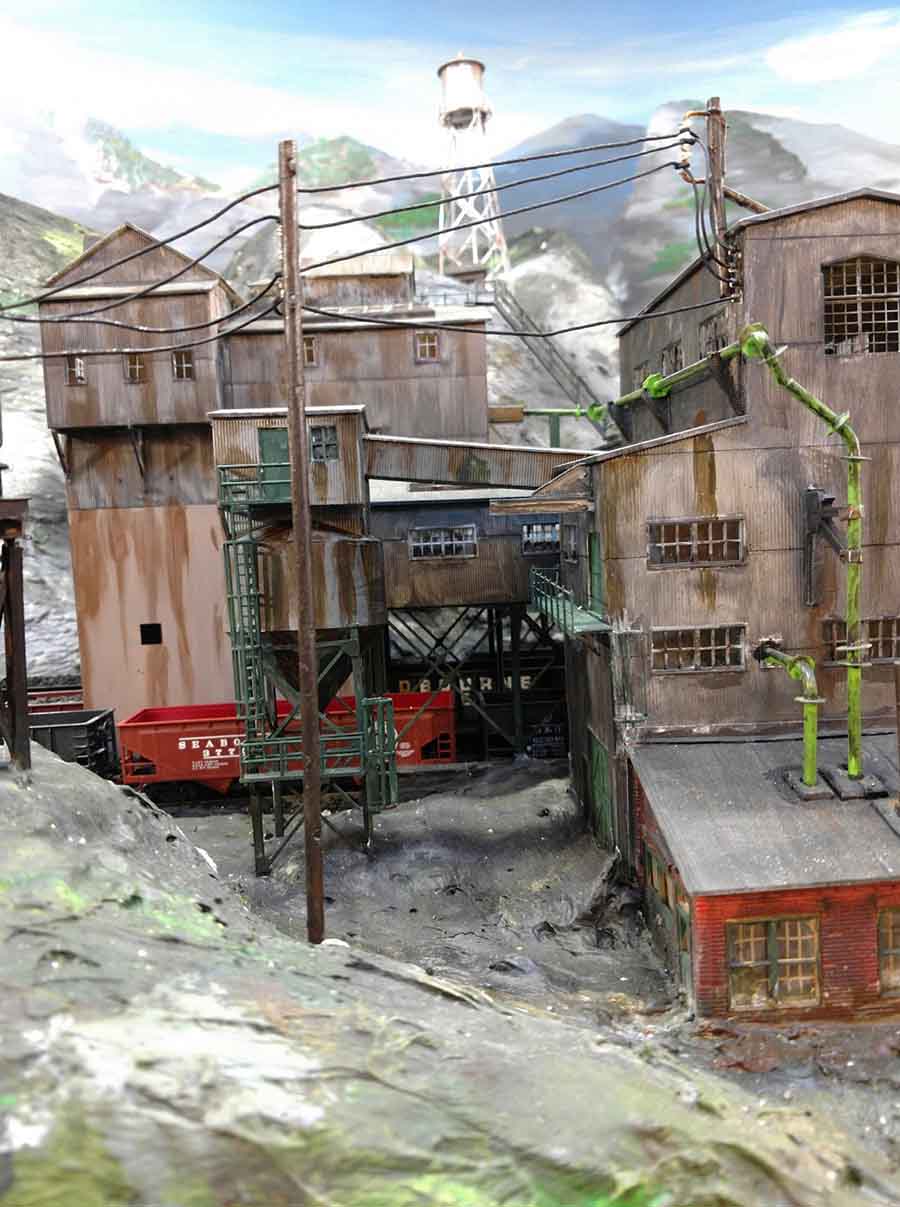
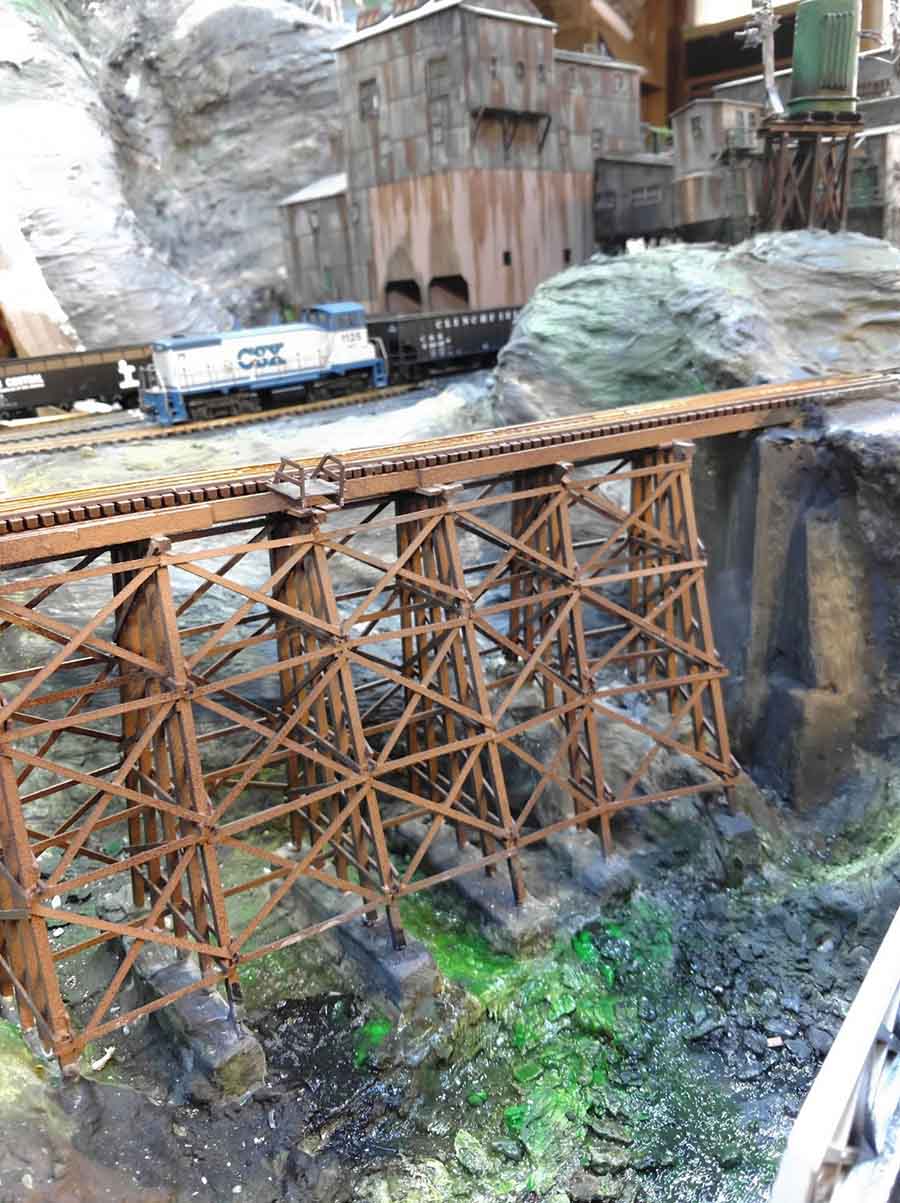
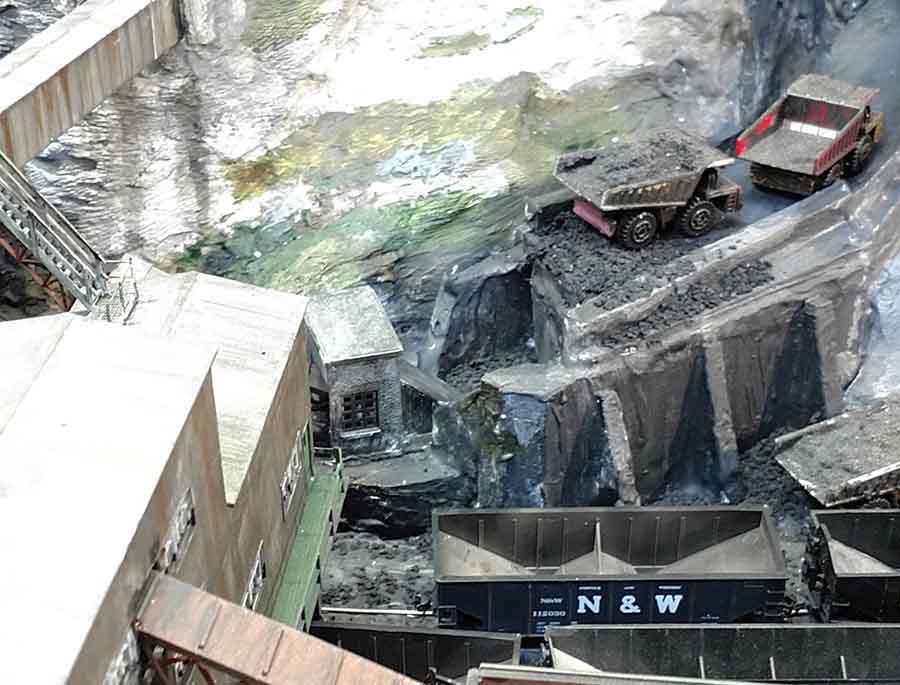
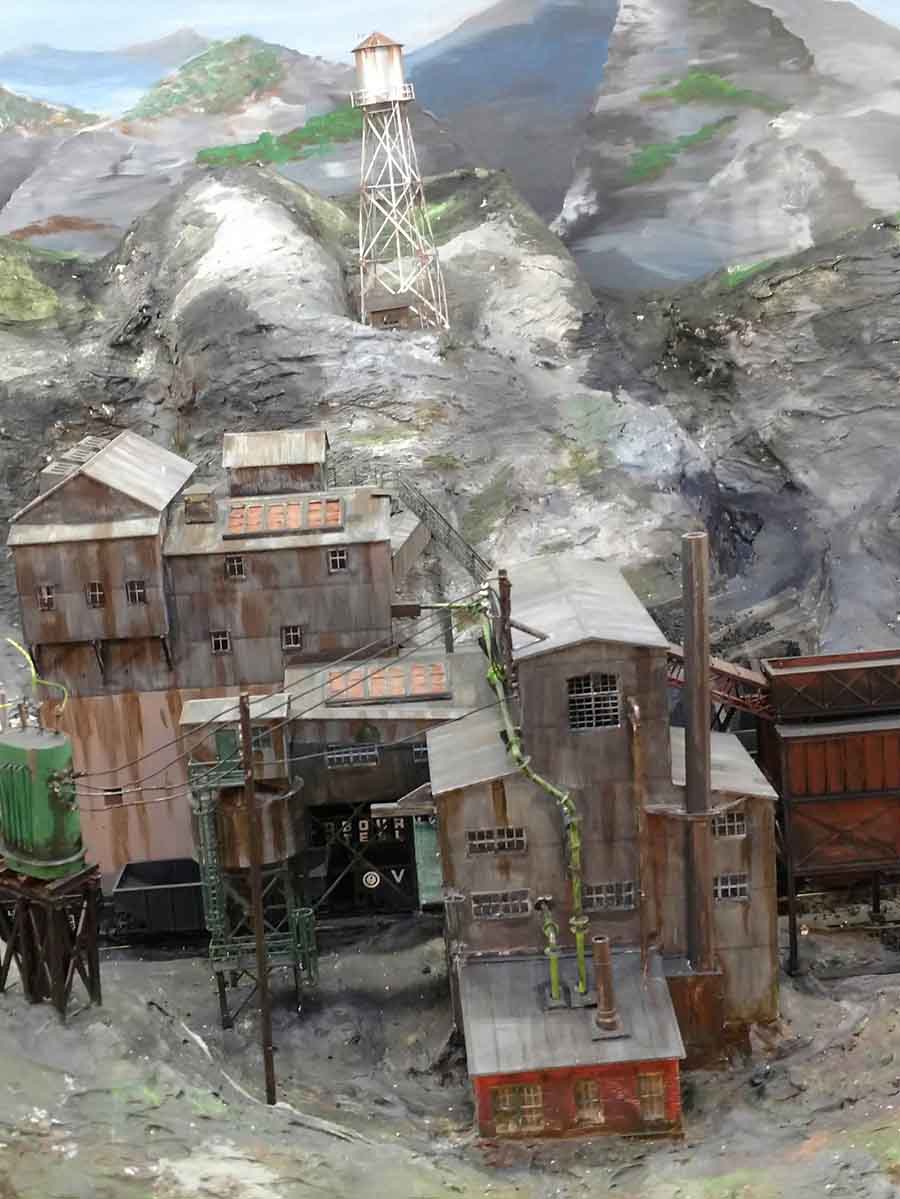
Lawrence has been in touch again. This time he’s shared his modular model railroad.
(His last post is here – hope I haven’t got me Lawrence’s mixed up.)
“Al
With a module-based train club in my area I plan on joining them. So a module was in the making to the requirements of standard modules. After getting the framework (front to rear (24 inches) and side to side (48 inches)) correct started with the layout. The idea was a hunt scene.
The main (required) two tracks go through a tunnel, the top will lift off for any problems in the tunnel. There is a siding into a mountain and a track for delivery of the hunters (top also is recoverable.


Getting more and more modular model railroad posts at the mo – they are good to see. Scott’s springs to mind:
Modular model train layout.
Now on to Mike:
“Hi Alistair
Just a few shots of my up-and-coming N gauge layout. The track is finally laid. I plan to have two platforms at the front right, with a shunting yard behind. The top left is a branch line to what will be a quarry.
A long way to go, but at least now the track is laid.
Mike”


Now, I know there isn’t a lot to Mike’s layout yet, and I do get mails asking why I publish such sparse layouts – and the answer is simple. This hobby is all about making a start.
And with that in mind, here’s a question from Jim that I thought was interesting:
“Al,
As I consider getting back into model railroading – did it many years ago (lets say about 3.5 to 4 decades ago, in my teenage years). I have found your website and blog postings to be very inspirational and insightful.
While I am crafty type, good mechanically (engineer – electrical by degree but lots of mechanical background as well) and have a wood shop in my garage – so I am confident I can do a at least a fairly passable modelling job of all this.
However in many regards I am going to be a novice at some of the more detailed and/or advanced modelling techniques (though in watching the videos you post I have discovered water features are not nearly as hard as they appear in the models to pull-off).
I am really leaning towards modelling the Durango & Silverton narrow gauge railroad towards end of steam era and early diesel era – possibly mixing a few time periods on the model. I would like to do HO or HOn3 but space considerations may drive me into N or Nn3 scale.
I would like to model it faithfully as narrow gauge, but my research is beginning to indicate that may limit my selection of narrow gauge loco’s and rolling stock. Here are some of my questions as I consider this choice – certainly some of the answers would be subjective, but I am interested in hearing others opinions and their justification in their choice to each of these questions:
Given that as an older adult this is really my first foray back into model railroading should I just stick with a standard gauge layout (either HO or N)?
I have discovered good quality locomotives (especially fully DCC equipped) can get rather pricey – I have a strong suspicion price goes up even more in narrow gauge. How much am I limiting myself on track, locomotive and rolling stock selection if I do decide to work in narrow gauge?
What vendors/sources as well as websites, books,or magazines do you and/or your members recommend for narrow gauge loco’s, track, rolling stock, supplies, and reference material?
Are there conversion kits to convert the wheels and axles (both drive and free spinning wheels) on standard gauge (HO or N) to narrow gauge (HOn3 or Nn3)? If they do exist, where would one source these from?
Thanks in advance Al,
Jim”
Can anyone help Jim? And a big thanks to Mike and to Lawrence for sharing his modular model railroad too.
That’s all for today folks.
If the folks over the years have inspired you, grab the Beginner’s Guide and get to work on yours today. There’s just no point sitting on the side lines – especially at this time of year.
Best
Al
PS More HO scale train layouts here if that’s your thing.
Need buildings for your layout? Have a look at the store.
They are great fun to make and great value too.