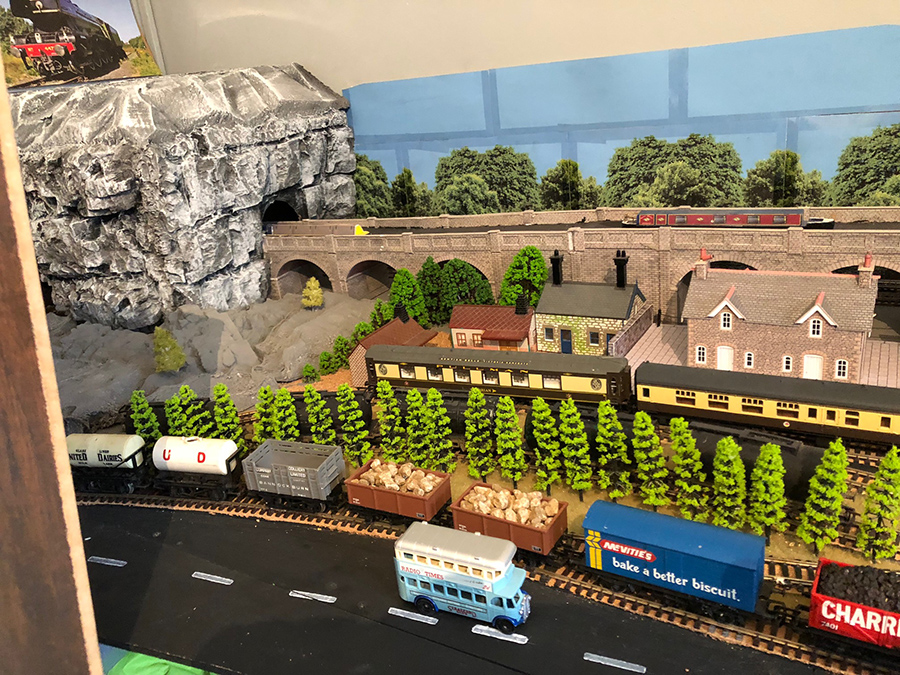
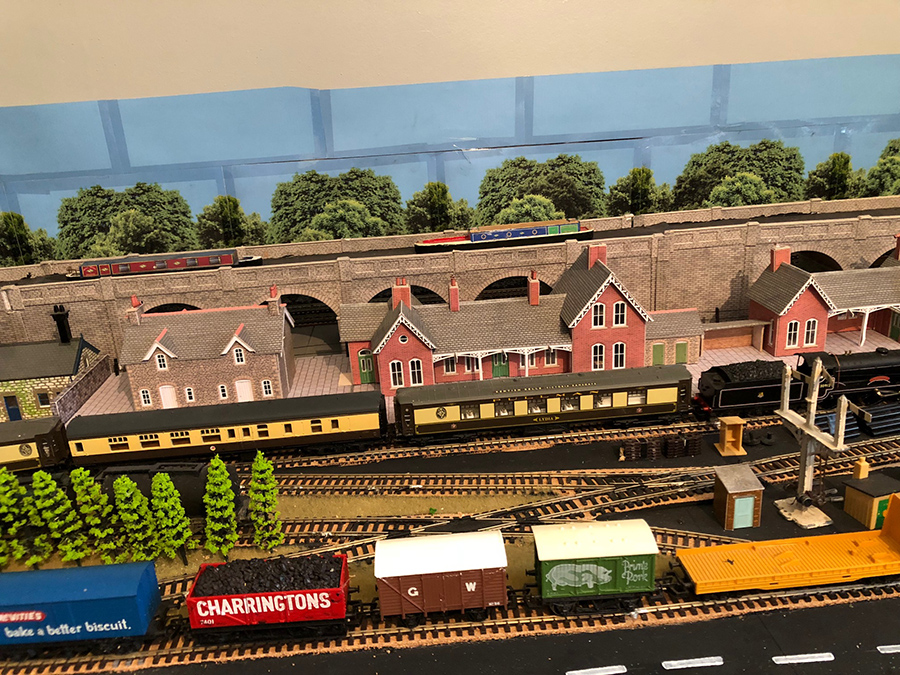
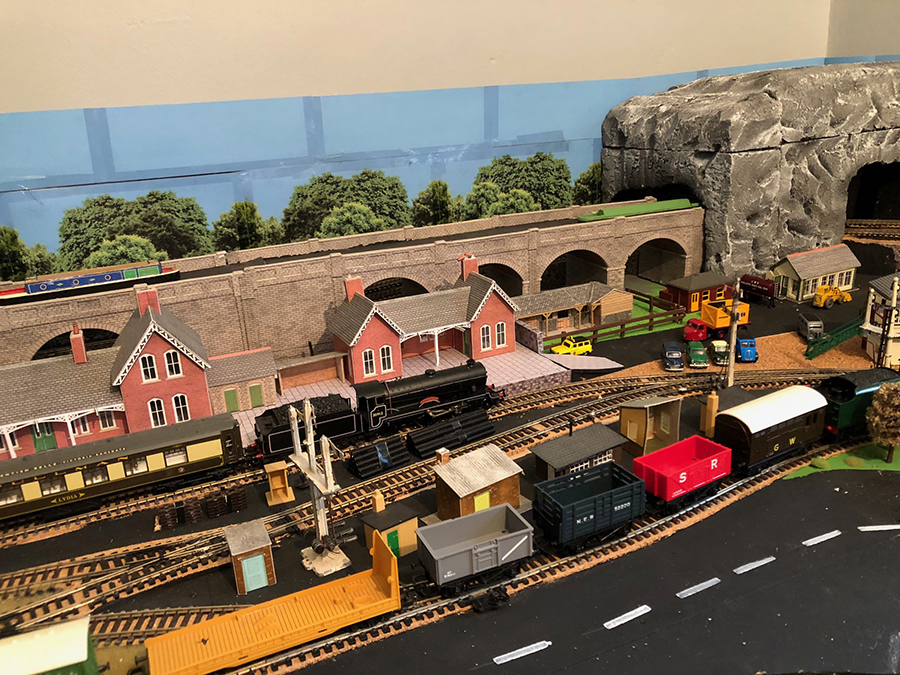
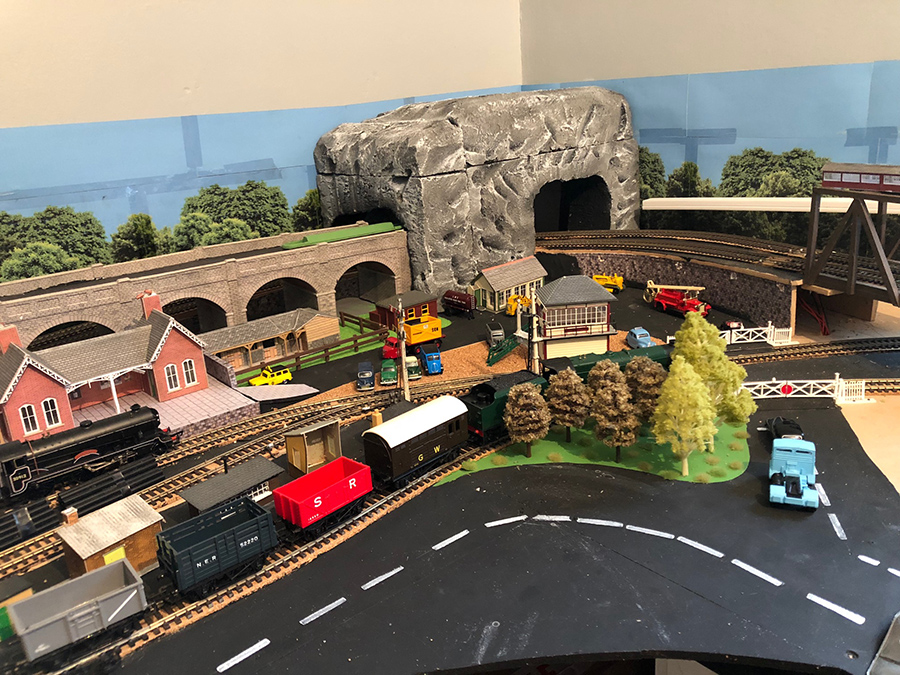
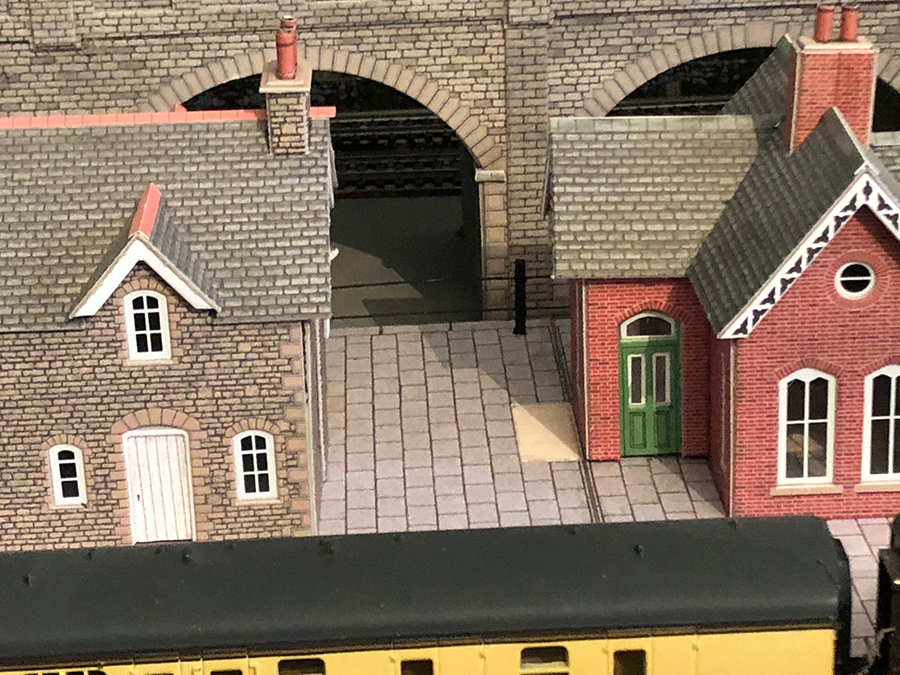
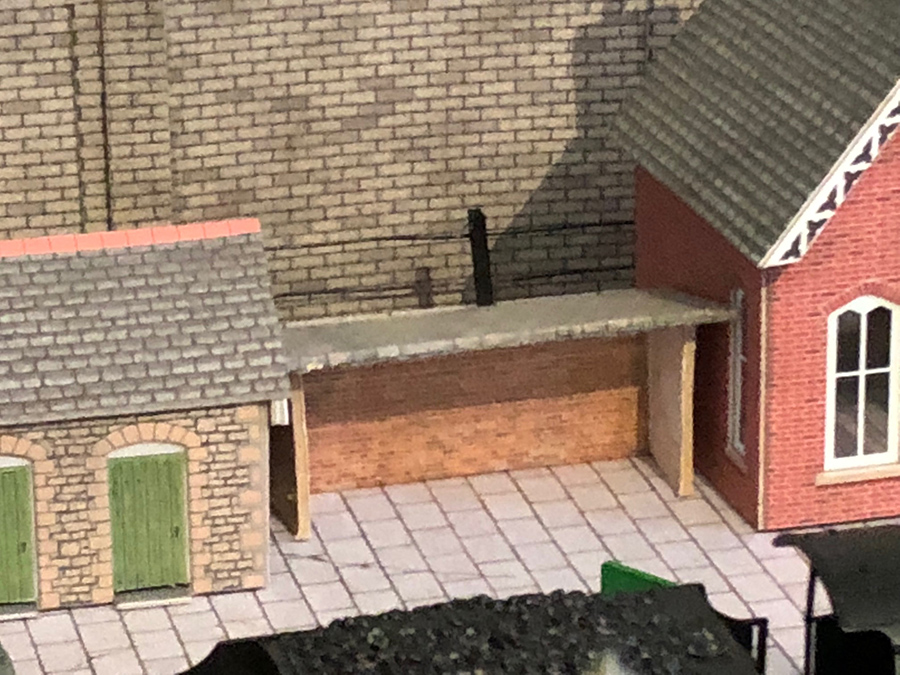
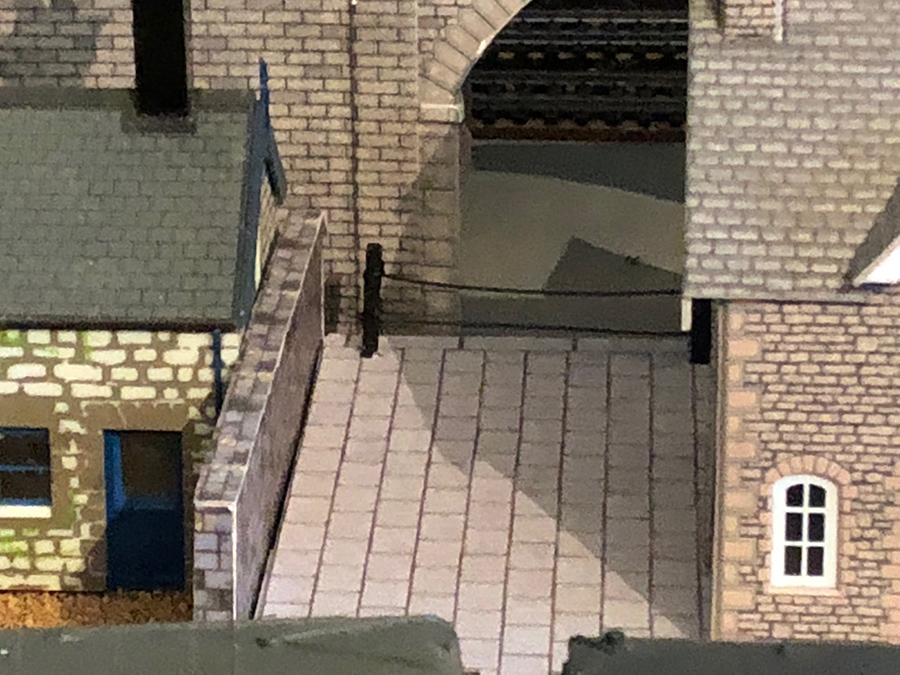
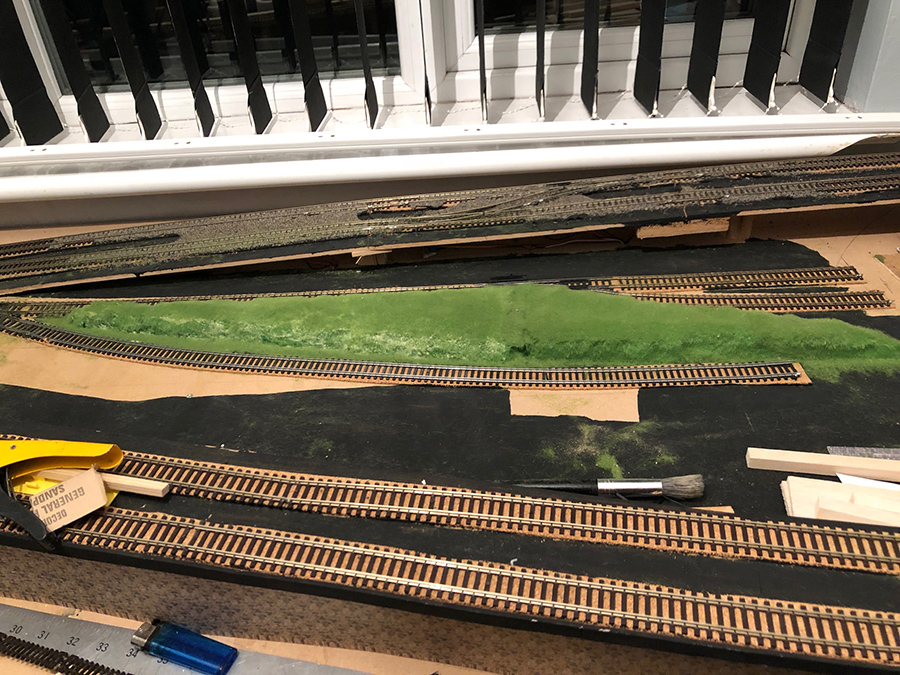
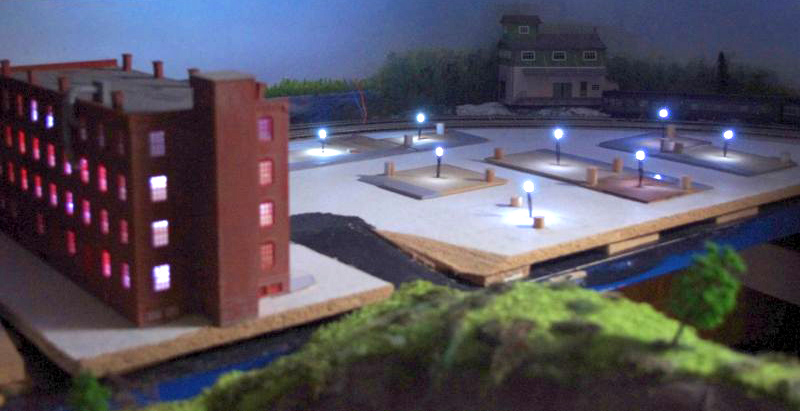
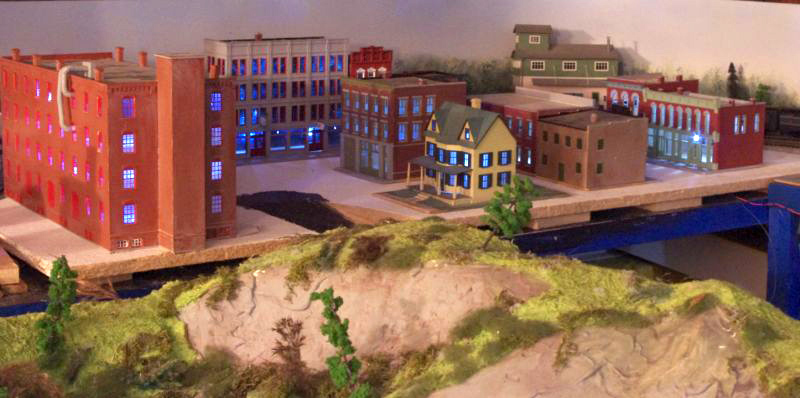
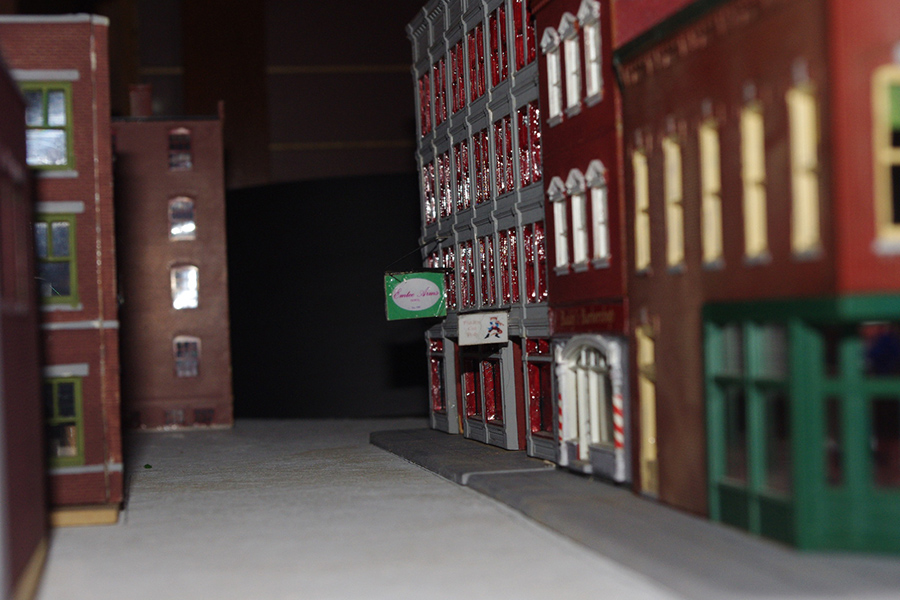
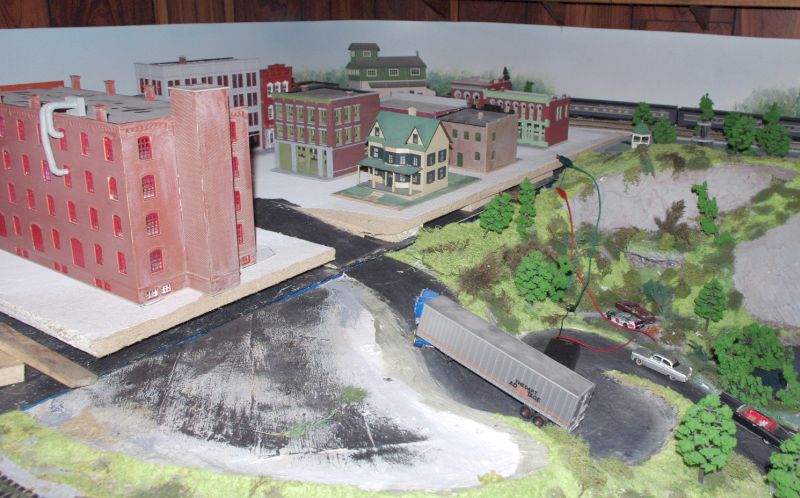
Peter’s been in touch with his O scale roundhouse:
“Hi Al, wondering if you could post these progress and finished pics of a roundhouse I built from ‘Kitwood models’ located in the UK.
Thanks,
Peter”
A huge thanks to Peter for sharing his O scale roundhouse. I absoulutely love his layout – it has so much character and charm. I can’t wait to see the roundhouse on the layout.
Now on to something completely different – another backdrop. It’s the third in the series, hope you like it. Here’s a pic of it:
(Click to enlarge)
Just like all the other backdrops, it’s 18″ x 144″. To print it, just download on to a CD or memory stick, take it to any office stationers (Kinko / Office Max) and print it out on a smooth, self adhesive, vinyl with UV inks and a matte finish. Job done.
If you’d like to grab this back drop before it goes in the store at full price, you can grab it here for just $7.
Please do leave a comment below and let me know your thoughts on the back drop. Always trying to improve – same goes for the ebay cheat sheet too.
That’s all for today folks.
Please do keep ’em coming because it’s getting a bit thin on the ground this end.
Hello fellow model railroaders, here is an update on the mountain plus a little extra.
As you can see, the mountain is taking shape nicely. I have started to place the rock formations on the mountain to give it some texture. I looked at a number of mountain pictures, in order to get a close representation of how it should look and this is what I came up with.
The colour of the rocks will closely match the ones in the middle of the mountain. These were salvaged from the original mountain.
Placing the rocks is like doing a jig saw puzzle without any sort of representation. There are approximately120 rocks on now. It took some time to place them all here, since I did not want the fresh ones to become dislodged as the new ones were being placed.
I estimate there will be a total of 300 pieces placed to complete the mountain. It is going to take some time for this, since I can only make 40 castings at a time. I try to make a total of 80 in a day and then install them.
On the lower part of the mountain, I placed a piece of Styrofoam, coated it with the same material used on the mountain, and will plant, trees, some shrubs, and some people relaxing.
Now for the extra! I have six bridge supports holding up the bridge. I purchased one of them from Walthers for $13.00. Now the cost of 6 of them would have cost me a total of $78.00. NO WAY! So I took the original one, made a duplicate rubber mold copy of it and proceeded to make all of the piers for the incredible price of TAH DAH $28.50 and the mold is re-useable again and again. I even made some for the Train Club I belong to.
Can you tell which one below is the original one and which one is the copy? I think NOT! Not all rock molds for model railroads are the same.
To make the rubber mold, I went to the local craft store, picked up the mold kit for $25.00. The mold kit is from ALUMINITE RUBBER MOLD KIT. Comes with everything you need to make any kind of mold you wish. After the mold was made, I then mixed up a batch of Hydrocal, poured it into the mold, let it set and the rest is history. The only problem, you can only make one at a time but since the Hydrocal sets up fairly quickly, I completed all the castings in two days. I then painted the castings with grey paint, to match the original.
Well that’s all for now. It will be some time before I send the next part on the mountain. Want to place the rest of the rock castings, stain them, plant the trees, decorate, set up the radar station etc.
And yes I will have a new project for you to see.
Happy Modeling
Jim”
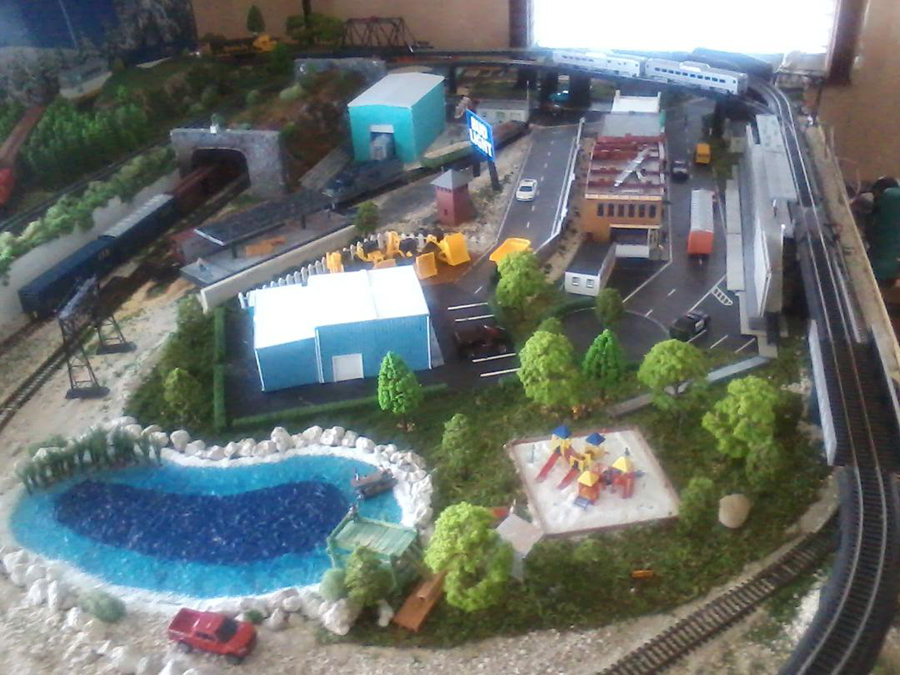
“Hi Al, just uploaded part 5 of the new layout, a few tips on here, also shows using the new Peco Static Grass Aplicator, its smaller but it works very well and handy to reach some parts as its smaller, starting to take shape now, but a long way to go yet…
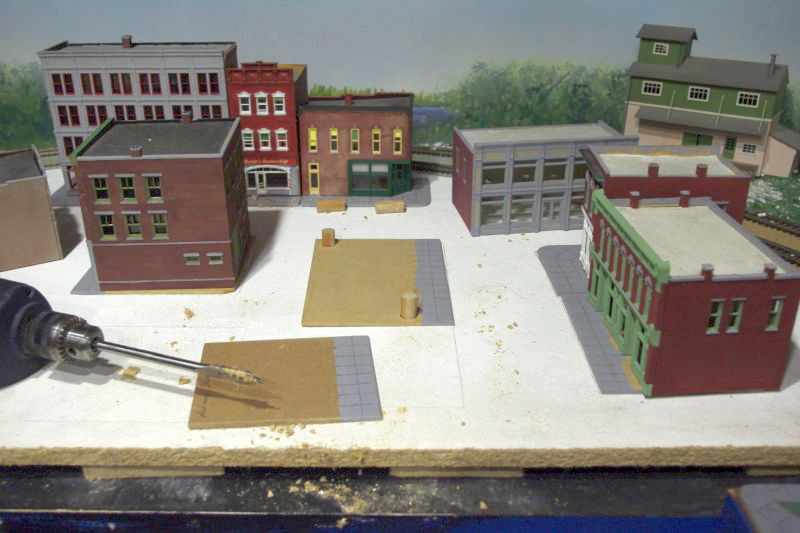
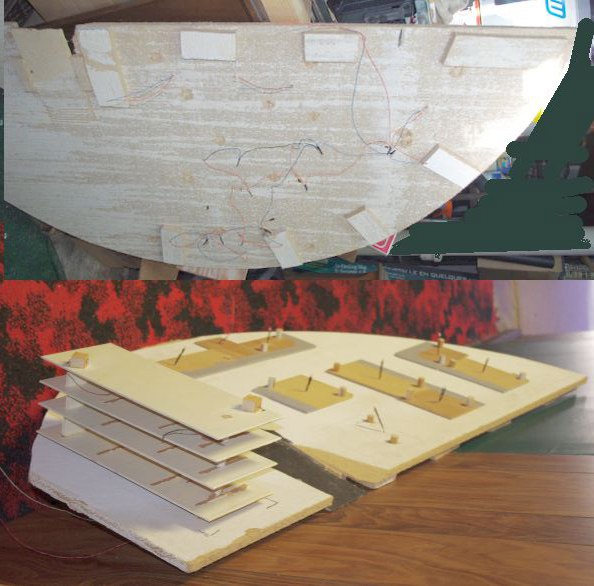
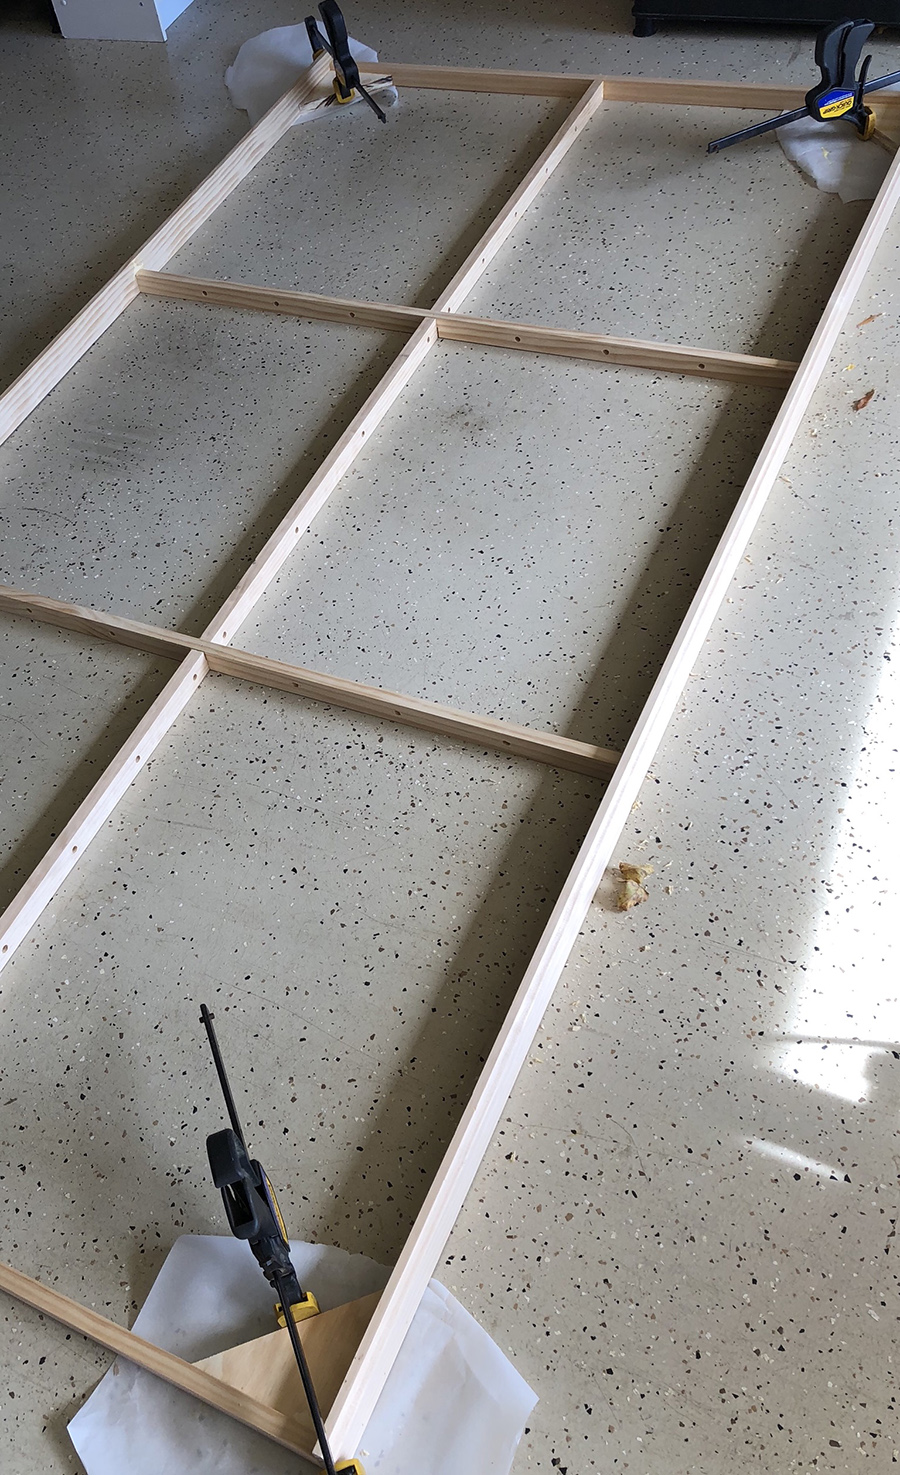
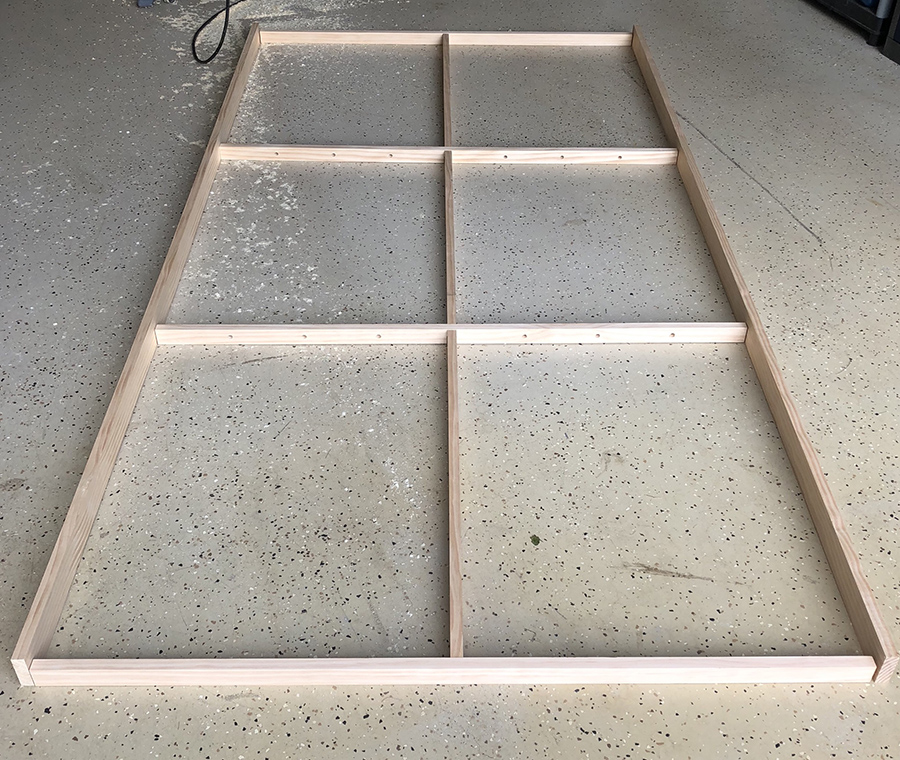
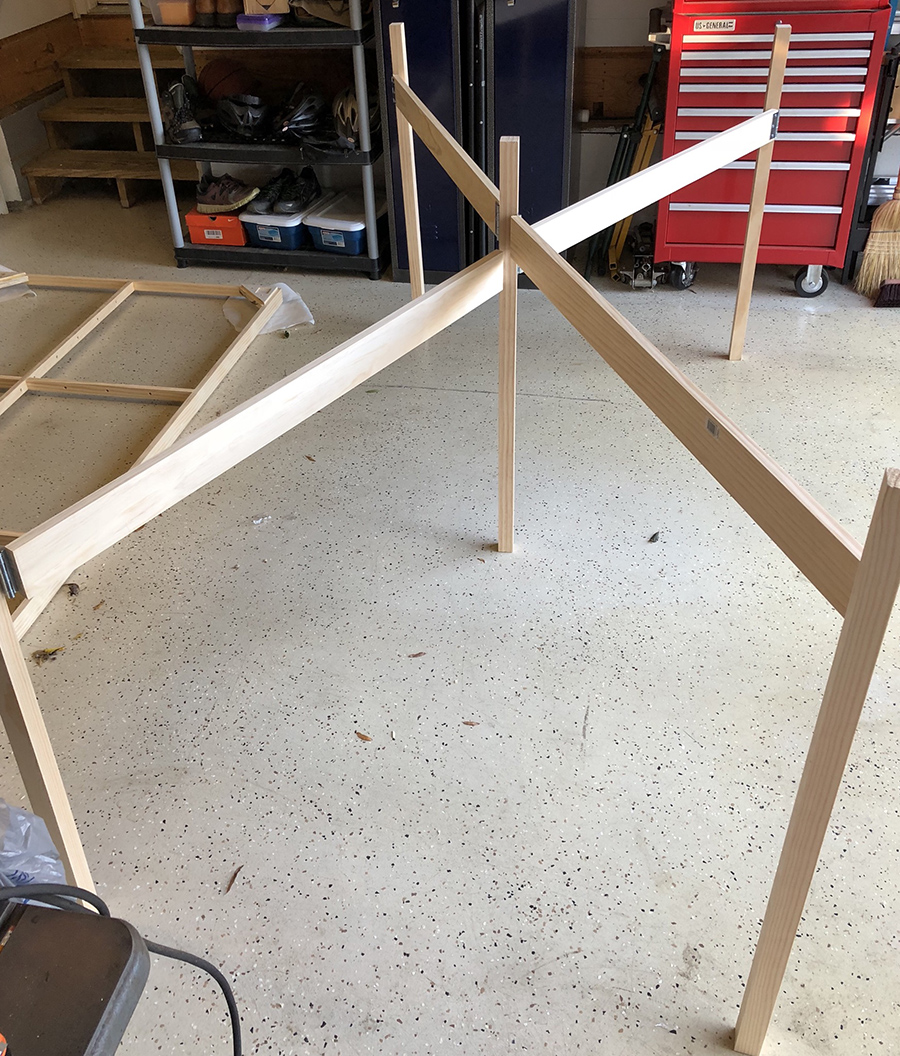
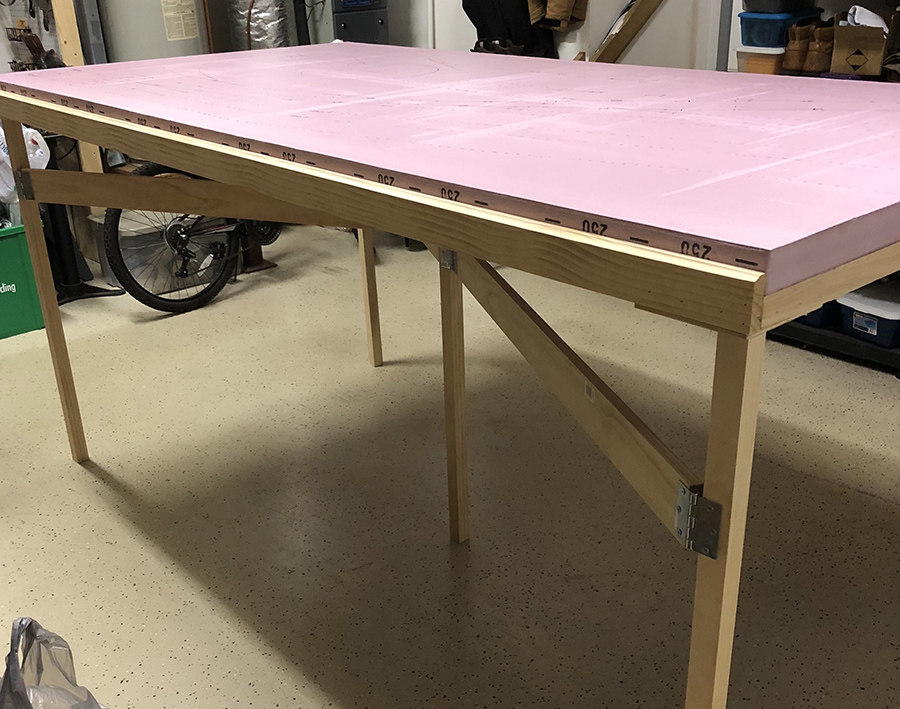
People often post comments about model railroad benchwork foam on the blog – so I was very pleased to get this in from Bill:
“Al,
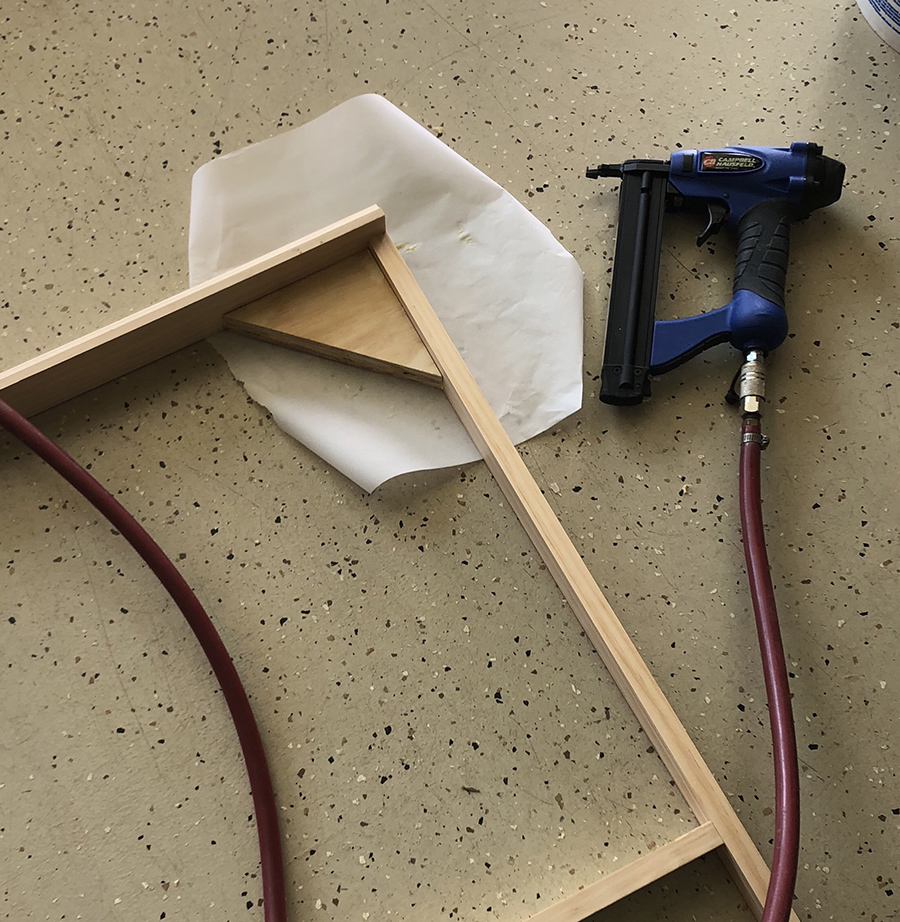
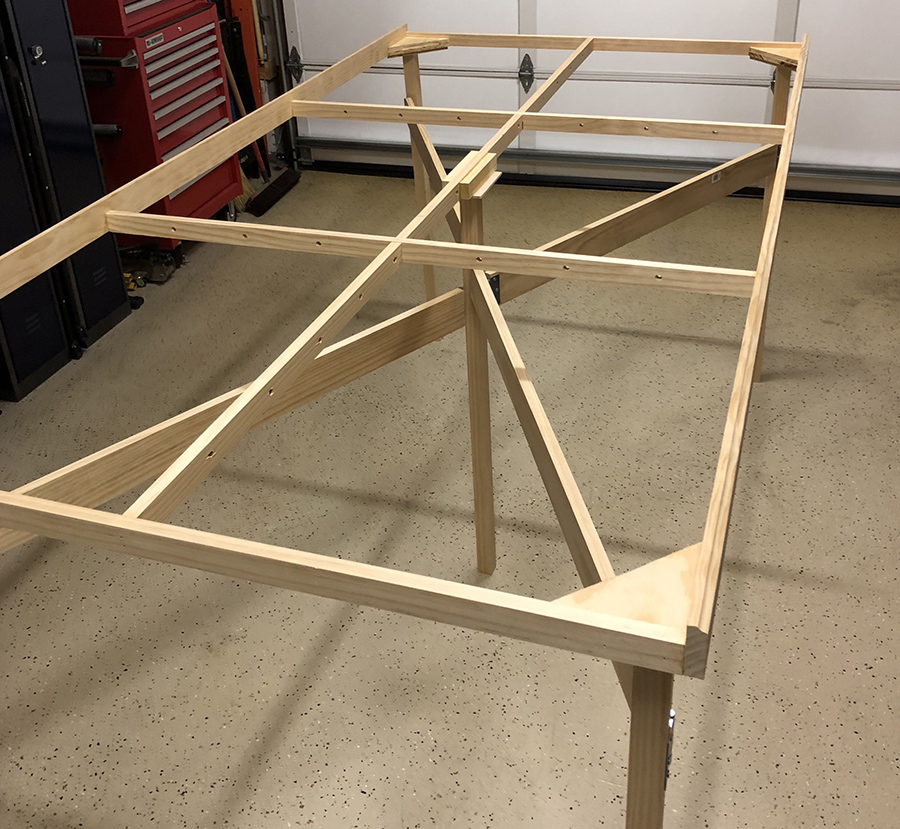
I so enjoy seeing everyone’s work on your site that on a nice Virginia US afternoon I booted my wife’s Jeep from our garage so I could start to put to foam board a layout plan I had in my mind for a long time. The wife’s Jeep came back in after a couple of hours as I agreed to give half the garage to her and have the other half for man land toys.
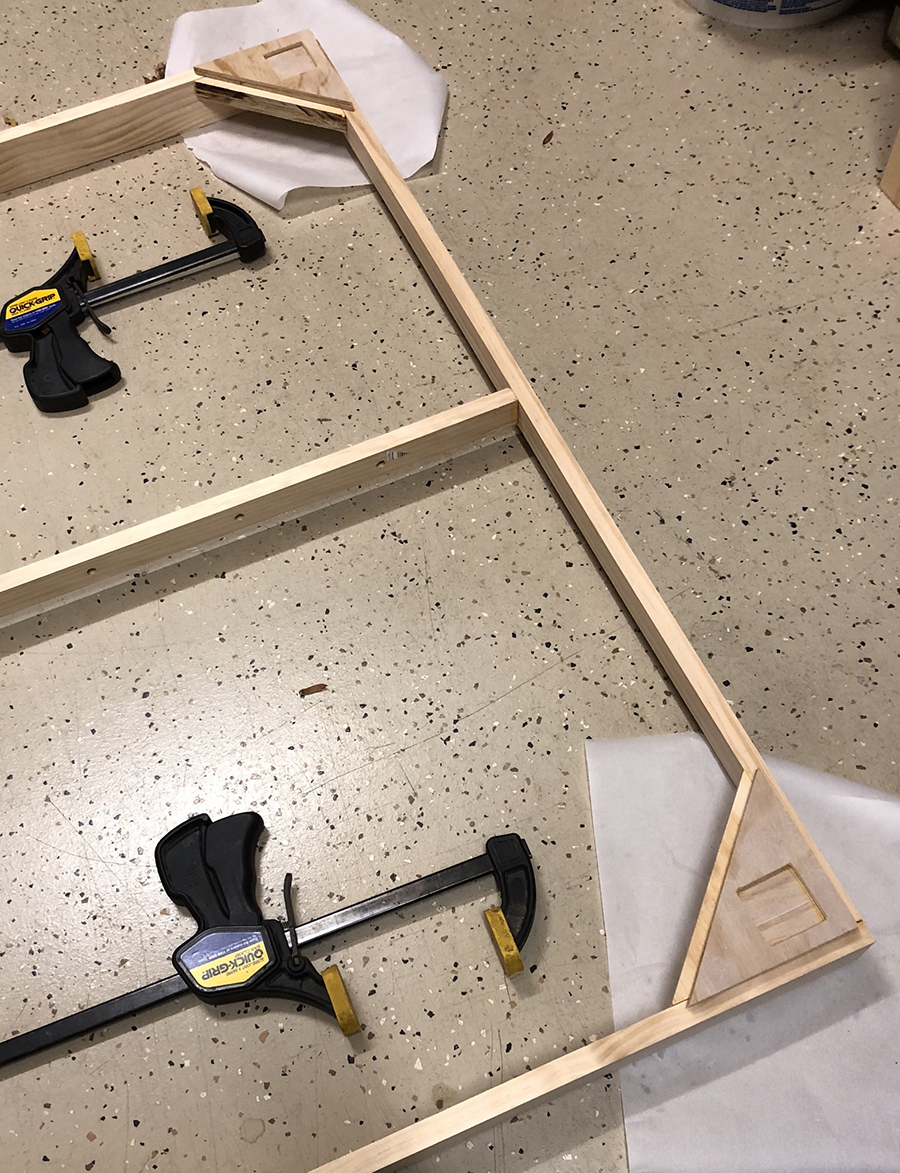
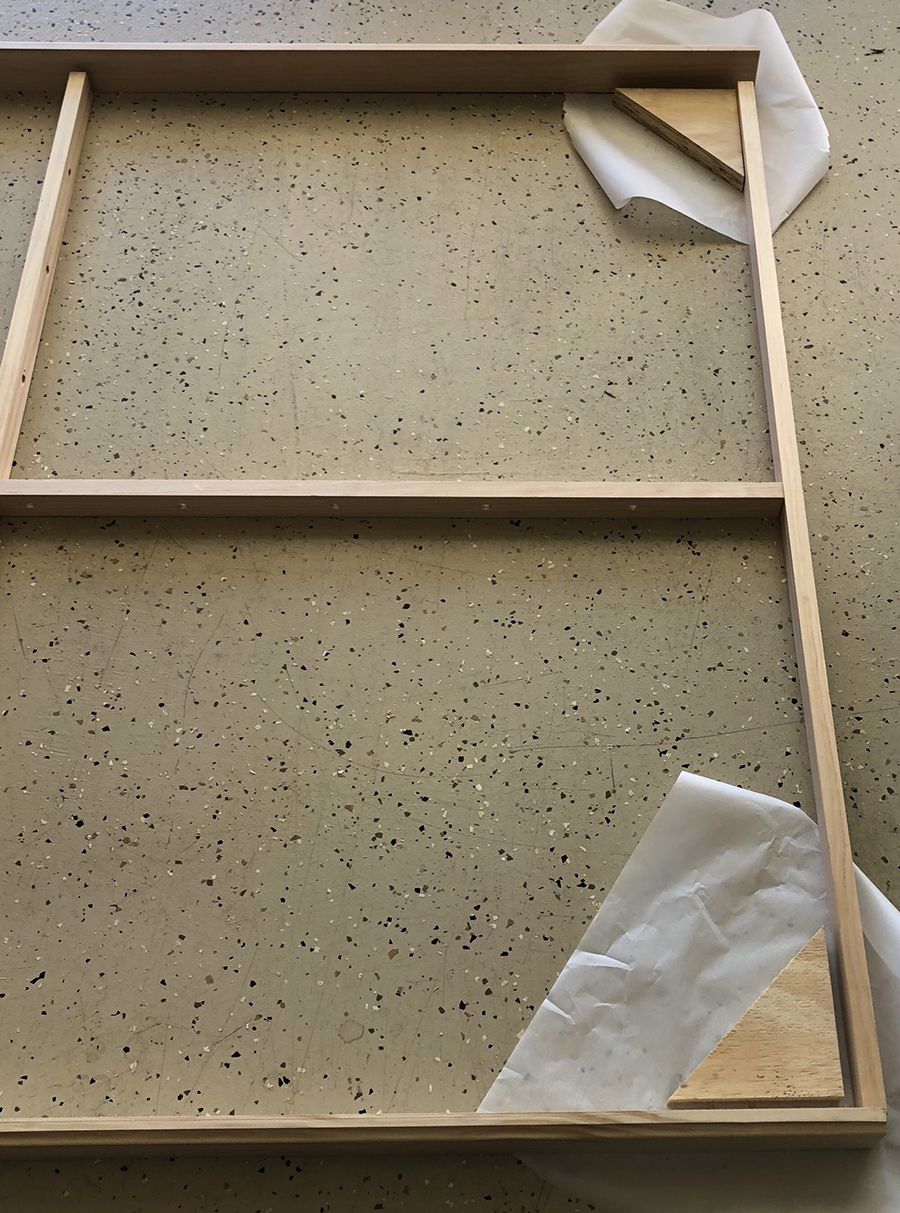
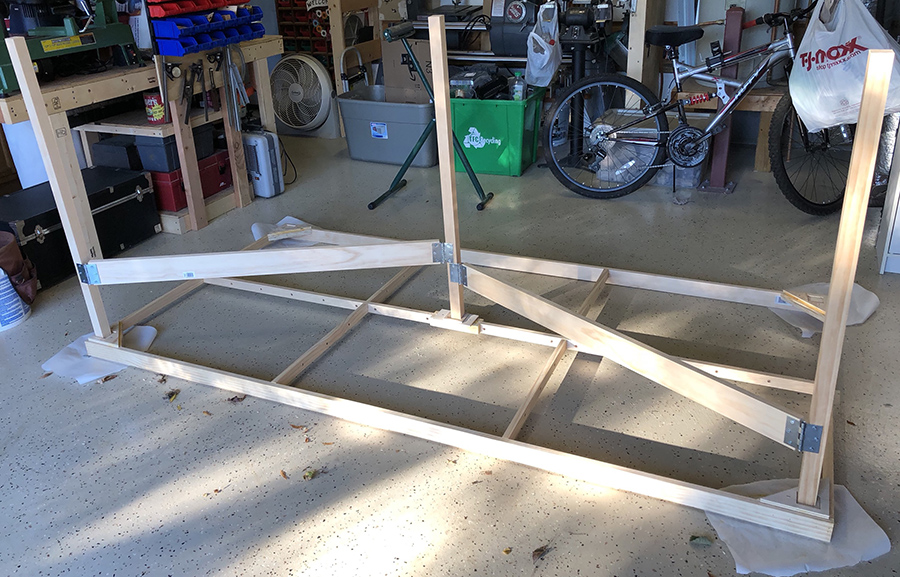
Like many I have totes full of modeling materials- far more than I can ever use on what will become a modular 4×16 switching layout that has to be lite and portable. In my pictures you can see why that is the case- the garage is pretty full already. In my minds eye I have the supporting frame work created as well as a structure so I can stack multiple sections for storage and transport. Should be fun to build as I have time this winter.
The layout is an engine terminal, repair and MOW area and a yard with industrial sidings going off on the next 4×8 sheet which will come together in the next year if all goes to plan. Even though I will be running small engines and 40ft cars I wanted to have the ability to have big engines on the main so I’m going to use #8 and #6 switch’s in most applications.
When time permits I’ll set it up again and tweak track arraignments as I already see my yard lead goes into a main with little room to switch more than a car or two without blocking the main. The double slip switch while looking nice may not be practical on the main at its location. This is the fun of the hobby and very much like how real railroads do it. If it doesn’t fit the need redo it.
As I build the foam bed frame and support structure I’ll send in more pictures to show how things come together.
Thx
Bill from Richmond Virginia”
A big thanks to Bill.
And Michael has been in touch again – if you missed his stunning 11 x 27 ft layout last time, it’s here.
Michael sent in 3 videos (which I have stitched together) which show his layout before and after the scenery. It’s a must see:
A huge thanks to Michael (again!) and Bill to for his model railroad benchwork foam explanation.
I do like to publish the layouts in their earlier stages, because it’s all about making a start.