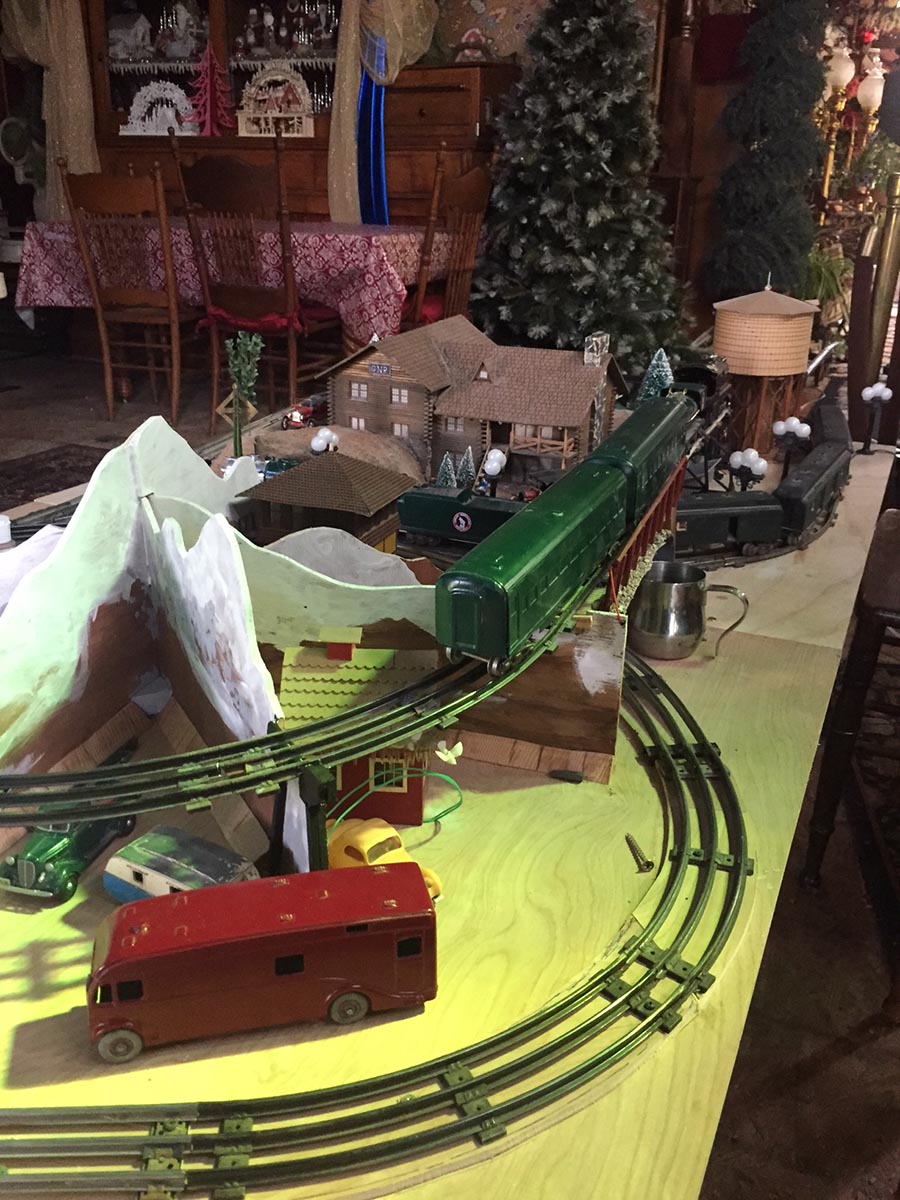
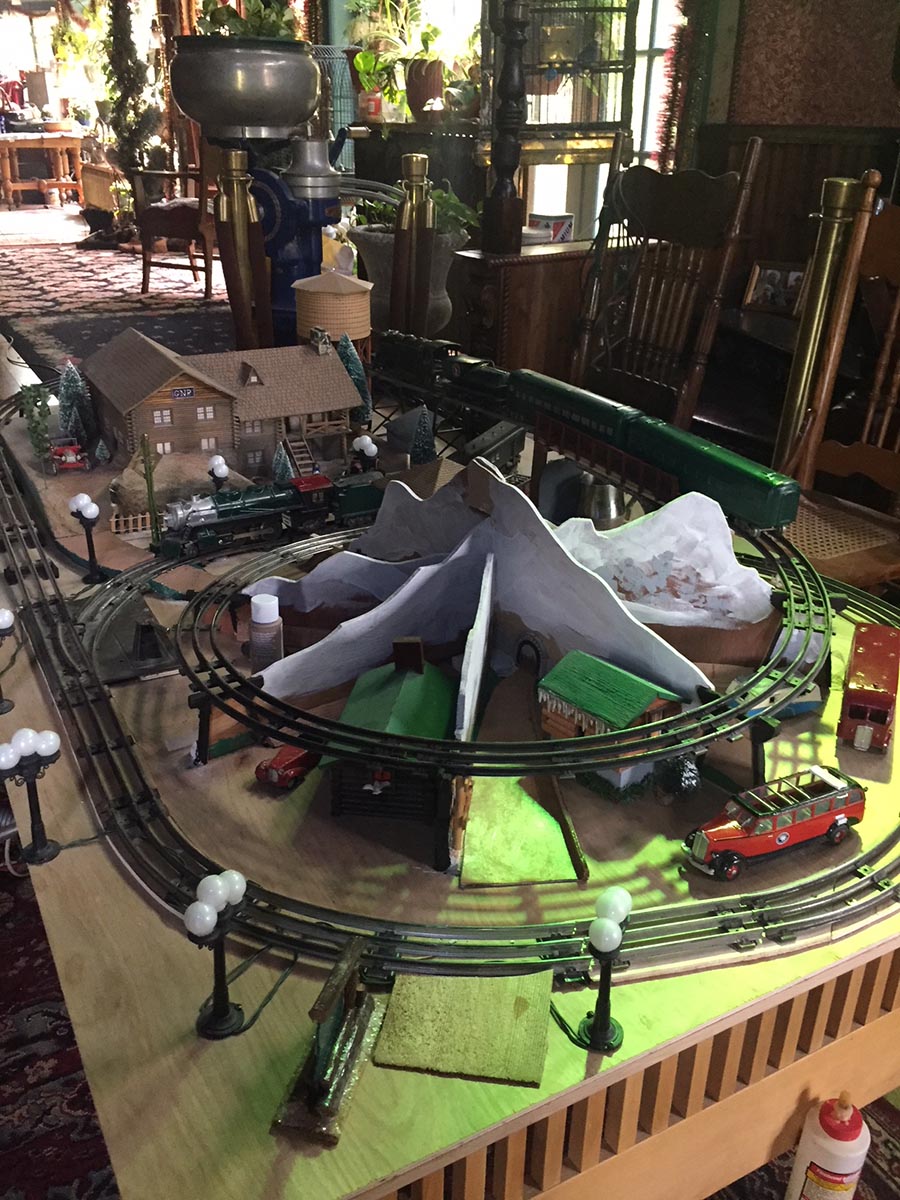
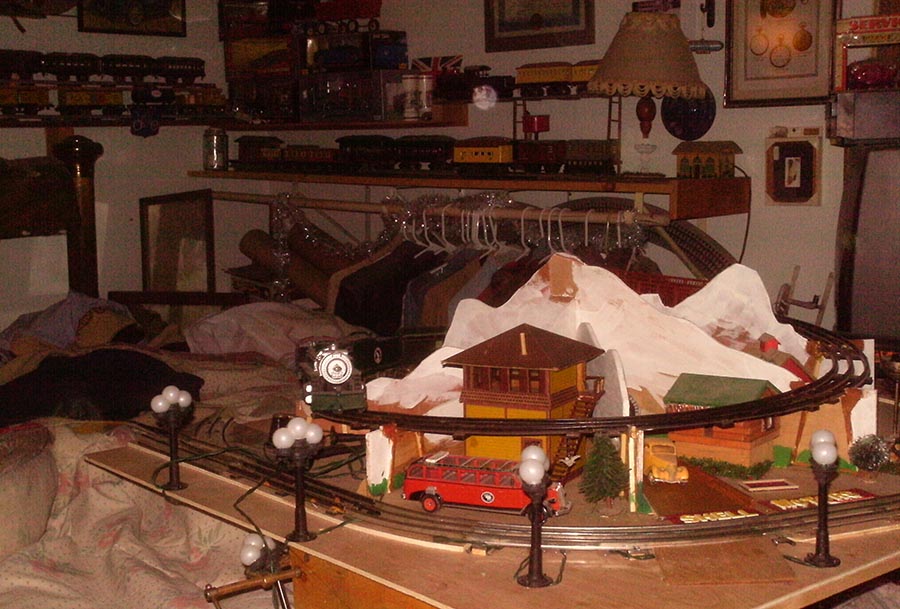
N scale DCC arduino layout

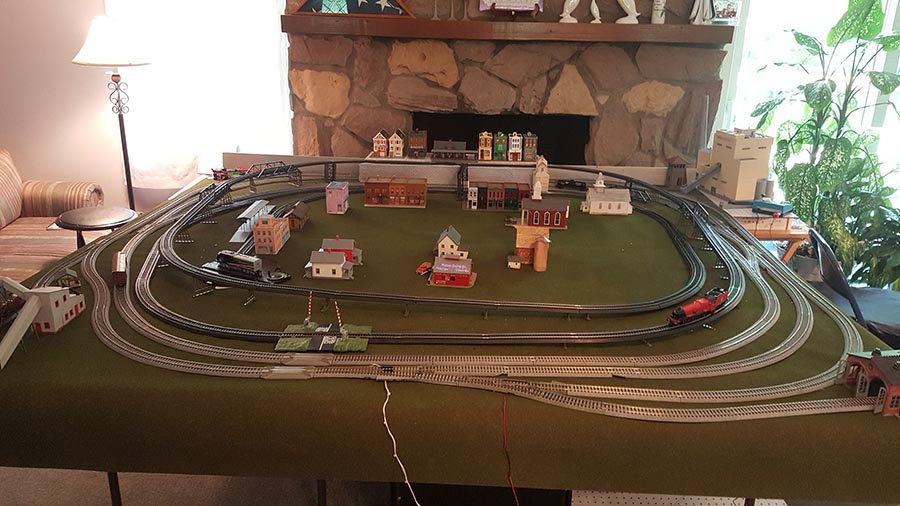
Harry’s been in touch with his N scale DCC arduino layout:

“Al,

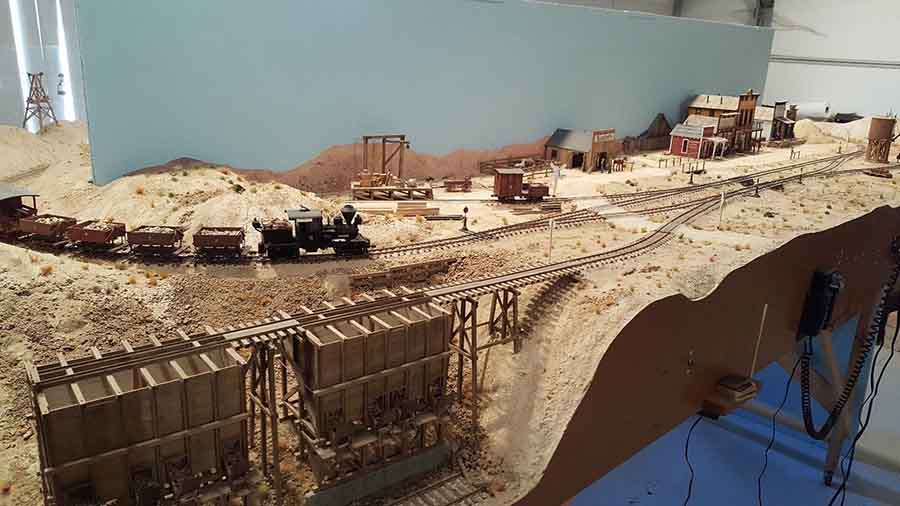
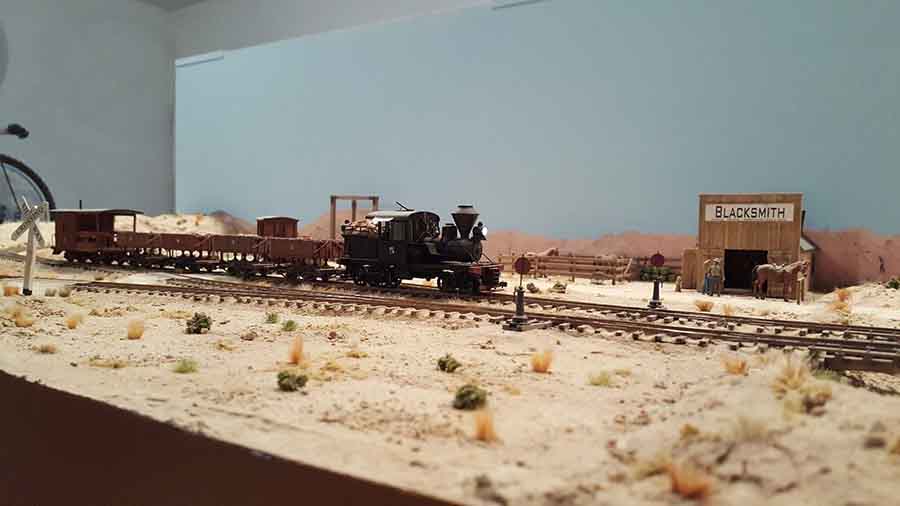
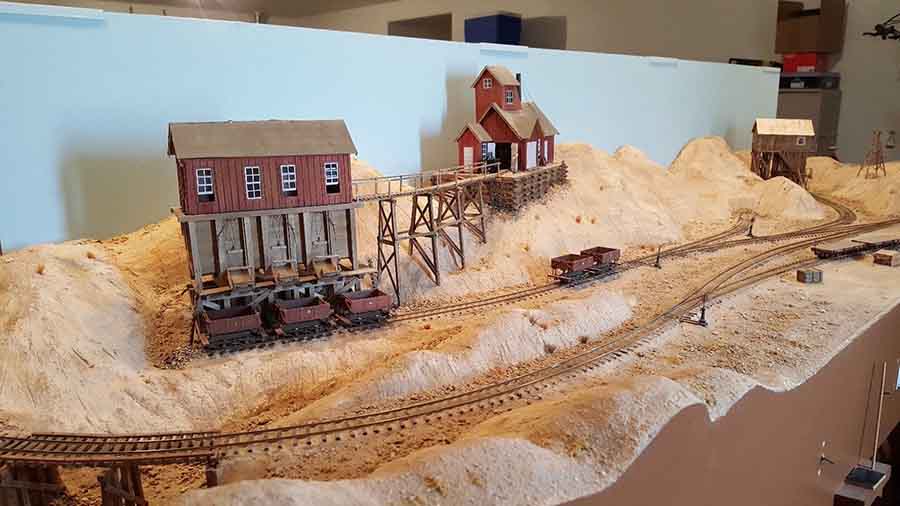
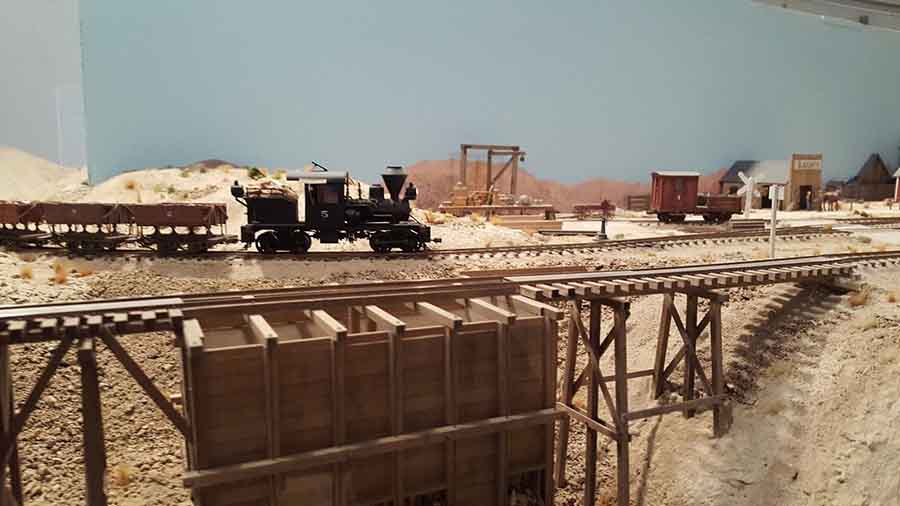
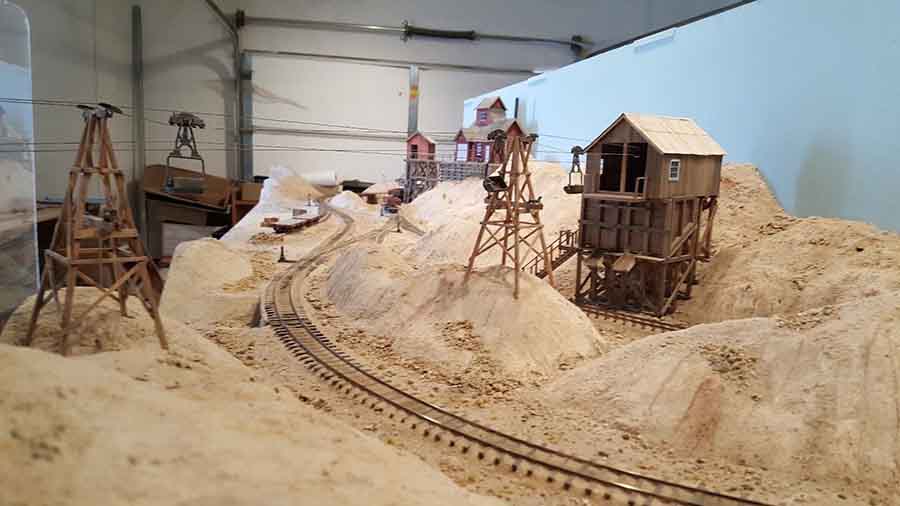
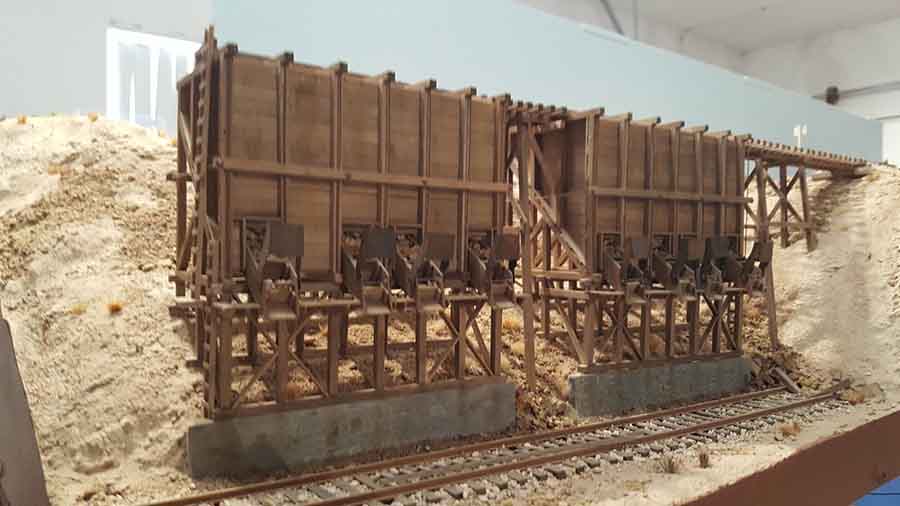
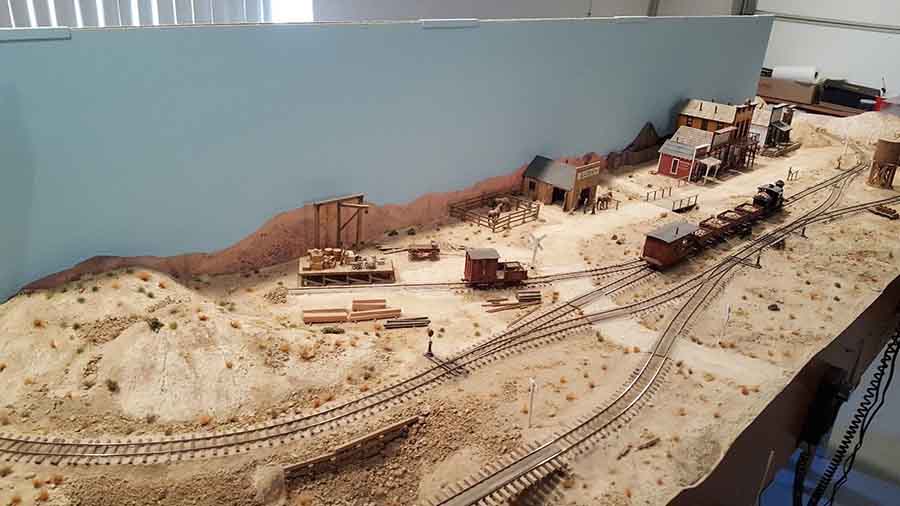
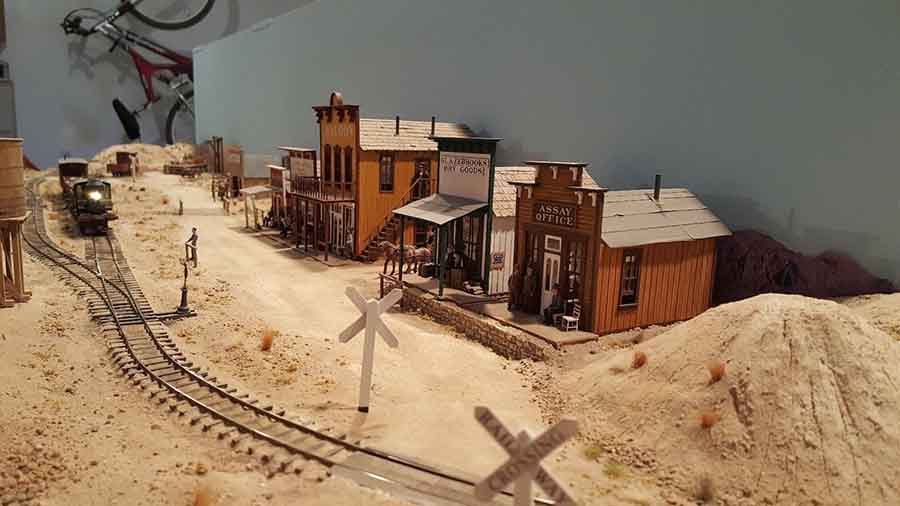
Here’s some shots of a test layout I built in the past year.

My interest in model railroading was rekindled after a nearly 40 year hiatus, by N Scale videos done by Mike Fifer in New Mexico.

I then ordered your beginners tips because I wanted to get the latest input on modeling.

Being a retired aerospace engineer with nearly 50 years of working in electronics and computer programming, I was also interested in playing with Arduino and Raspberry pi micro controllers and computers.

I therefore decided to build a small N scale DCC arduino layout to test out ideas for scenery and train & animation control.

The layout is only 32 inches x 64 inches and has two complete loops that can operate two trains simultaneously or be switched to a twice around configuration to extend the run.

It also has a six track stub yard, a passing siding and 5 freight spurs, admittedly quite a lot of track for 32″ x 64”, but surprisingly it works well. I have all 17 turnouts controlled by small servo motors driven by Tam Valley octopus drivers and the entire layout is a single NCE DCC power district.

The mountain scenery is primarily florist foam, that stiff crumbly stuff used to hold flowers in a vase. It’s a bit messy to carve, but it’s surprisingly not as static-clingy as one would expect and it shapes incredibly fast with a rasp or sureform tool.

I then coated the foam with Sculptamold and carved the rock faces in it while still moist. I like the foam/sculptamold result as it’s extremely light and the sculptamold is easy to work for a half hour or more, unlike heavy quick curing plaster. I think the entire mountain weighs less than a pound and a half.

The upside of the foam is planting trees consists of just sticking them in the foam. I built my trees out of dried twigs of a plant called Heavenly Bamboo and the tree armatures are actually the berry clusters without the berries. They make pretty good looking deciduous trees with some poly fiber and foliage glued on and are rather quick and easy to build.

I have a rare earth magnetic uncoupler under the yard throat and can successfully build and break up trains remotely.

This required some care in coupler adjusting and properly weighting the cars, but now it works fine and is fun to not have to reach in with a skewer to uncouple cars. This “hand of God” approach never appealed to me.

I plan on installing more magnets for the spurs and siding, but I must make some of them retractable so trains don’t uncouple unintentionally due to “slinky” effect. I plan on using small servos for this as well as I’ve got the Tam valley servo control channels available and am now working on the retract mechanics.

I’ve installed several Arduino micro controllers to create the arc welding effect in the factory, the rotating beacon on the top of the smokestack, the intersection traffic signals and several other effects I plan to add such as a campfire scene on the mountain and random lighting in the hotel and business buildings.

As I said, this was originally a test of the various newer products and materials available to build a N scale DCC arduino layout, but now that it’s this far, I’ve decided to finish detailing it out and continue testing new ideas.

Despite it’s small size, I spend hours making up trains, shuffling cars around and simply running the railroad. I still have so many ideas of stuff to add, such as a hobo jungle under the overpass with a barrel fire using the same flickering Arduino / LED lighting routine as the mountain campfire.

So bottom line I have so much to play with I may or may not expand the layout to fill my 8’x14′ shed. If I do, I will likely cut into one end and extend the track around the room. Time will tell, but this little layout has achieved it’s primary purpose, it’s FUN!

Thanks for all the fine articles, and keep em coming.

Harry”

(All images are clickable)

N scale DCC arduino layout rock face waterfall

N scale DCC arduino layout road crossing

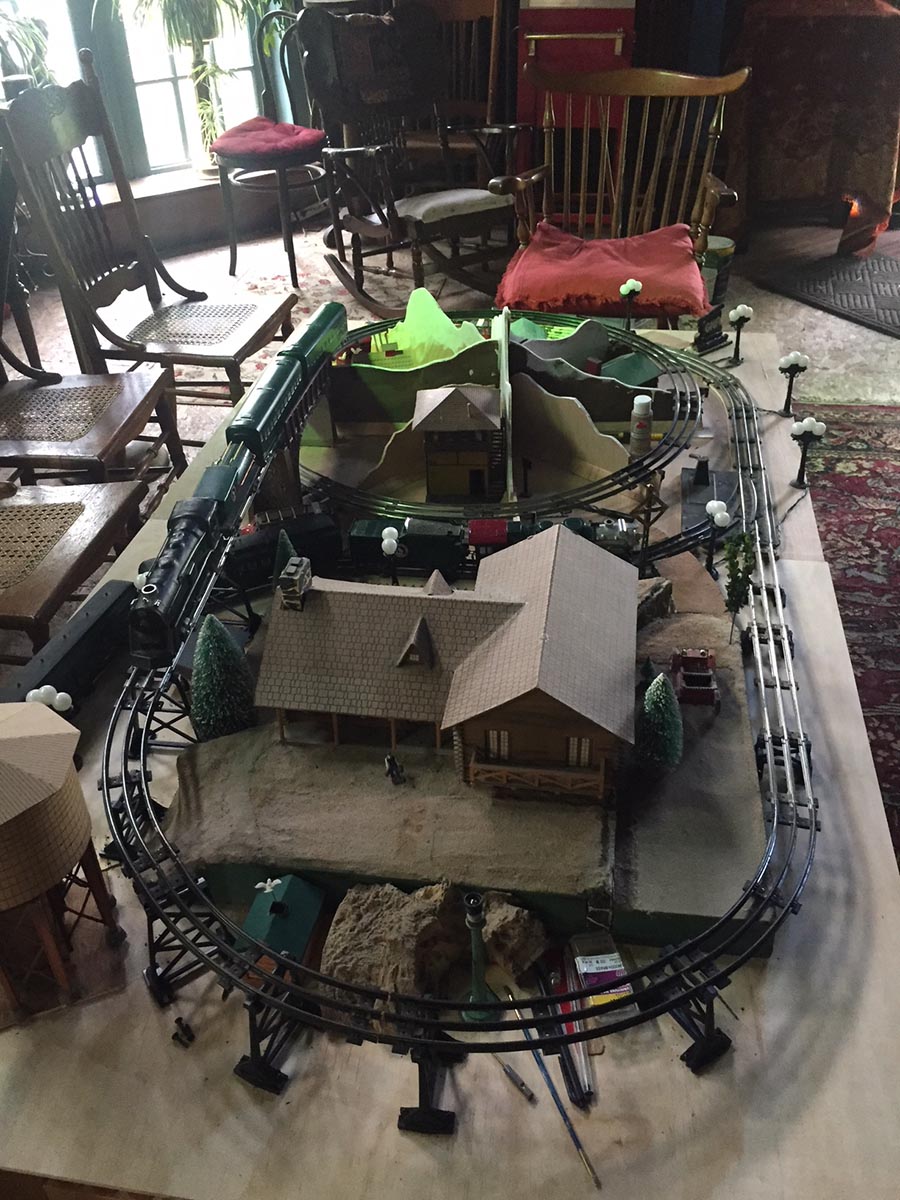
N scale DCC arduino layout

N scale DCC arduino layout shunting yard


model train freight yard

model railroad control panel

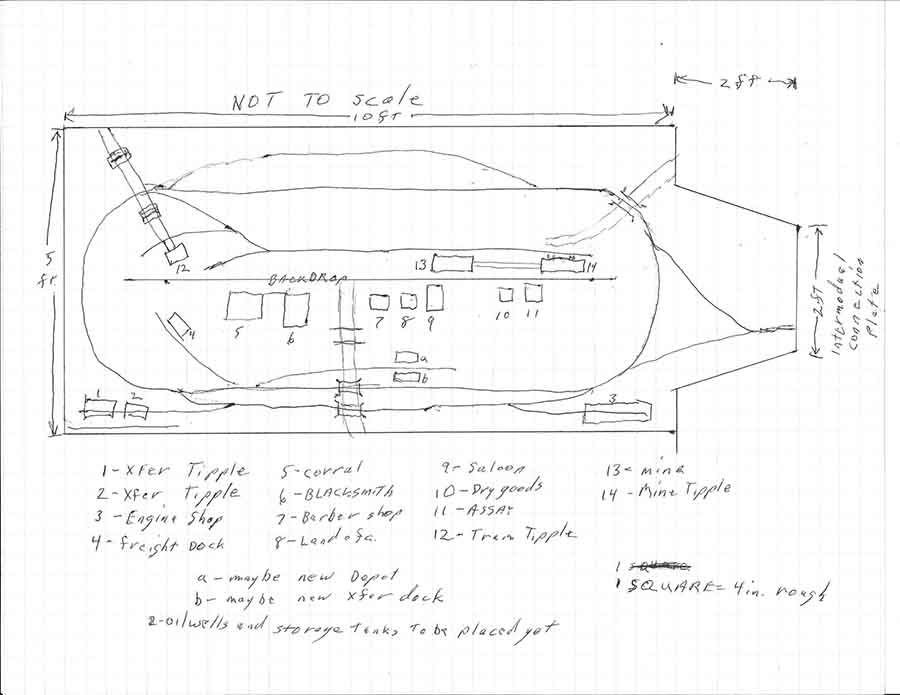
model train track plan

My word – a huge thanks to Harry for sharing his N scale DCC arduino layout with us.

Wonderful pics and a wonderful narrative too.

I asked Harry if he found the ‘Beginner’s Guide’ useful, and he replied with this:

“Yes I did Al. Like I mentioned, having been out of the hobby for 40 odd years, I saw many changes and your guide pointed out many things that I hadn’t considered and some things I once knew but forgot. Like you mentioned I thought I’d try a bit more planning this time and it has paid off.

Thanks for the help

Harry”

That’s all for today folks.

Please do keep ’em coming.

A big thanks to everyone who took the time to do my little survey last week – I have a long list of things to do to make the site even more helpful for you all.

Best

Al

PS More N scale layouts here if that’s your thing.


Model train engine house scratch build

John’s been in touch with a great step by step: How to build a model train engine house

“For a while now I have wanted to build a wood engine shed for my On30 Porter locomotives.

I was beginning to despair and thinking of drawing my own when you came out with a wonderful shed kit cleverly disguised as a wooden covered bridge!

For my “Porter House” I want to first thank you for your wonderful, inspirational site. The ideas I find here I have not seen anywhere else. I also want to thank your son for his fantastic artwork. Each model he draws is a clever design and offers many “hidden” opportunities for some creative model work.

Lastly (and certainly not least) there is “Mad John” and his bonkers videos about your amazing “print-out” kits. When I am feeling lost in the modeling doldrums, one of John’s enthusiastic videos brings me back to life and encourages me to take one of your kits and make something unique out of it. “Mad John” also connected me with my father and his modeling even though I lost my “Pop” in 1993. (Were he alive today my “Pop” would be 114 years old.)

How to build a model train engine house – The “Porter House”:

model train engine house scratch build

This shed is for one of my small On30 layouts and was built from Alastair’s “printable buildings” models. The base of the model is/was the new “covered bridge” kit but parts were purloined from both one of his house kits and one of the shed kits also.

The windows come from the two story blue house that is included with many of the bundles. The door in the back of the finished model comes from the yellow shed that comes from his corrugated metal water tank kit.

When one builds a basic kit, the result is pretty “flat” — What makes the model “come alive” is the extra detail one can add. In HO or OO the extra dimension is a big help — but in 1/4 inch scale it is essential!

I named this wooden engine shed “The Porter House” for the small locomotives that will call it home. Porter was an American builder of small industrial and mining type locomotives; first steam and then much later, diesel and gas.

Because of the many modifications I would be making to the covered bridge, I first built a quick model to “:test” my ideas. Test builds are a good idea when making major modifications to any model kit. My test model was a basic print that I “blew up” from the HO scale model size to the size I needed for my 1/4 inch scale shed. Because it was a basic print, the test model shows what a basic model looks like without the additional texture or dimension.

model train engine house test build

When building the walls for the Porter House, texture makes a big difference. Boards were scribed with a straight-edge and a sewing awl. Several prints were made so that I had inside and outside wall detail.

Also the extra prints went into adding “dimension” for the windows. “Glass” was added so one could see through the windows. The “glass” is a bit of acetate that came from the packaging for a letter set I got at a local craft store.

Because this is an engine shed and has a big door exposing the interior of the building, interior detail is important. The “boards” that frame the interior of the building were all scribed or cut from the same type of cardboard box material that I use to back the base prints. This cardboard come from food packaging in the form of cereal boxes, cracker boxes, and similar food packaging.

model train engine house side

model train engine house end wall

model train engine house door

model train engine house door

model train engine house door


Here I offer a lagnappe and present how make some of the detail pieces from box card.

Where I can, I make my own details. “Stripwood” can be made from box card as can scribed wood. Here is how I do it using a cutting mat, straight edge, awl or single edge razor blade, and a little paint.

beams for engine shed

beams for engine shed

beams for engine house

Now that we have walls, the time has come to begin assembling the engine shed. From our “scribed wood” we have a floor to glue the walls to. At this point I used a bit of balsa to give strength to the corners. This is the only real wood that I used in building this model.

I also built a little workbench from box card to go against the interior wall on one side of the shed. This bench was built for some of my scribed and cut “Stripwood”.

engine house construction

engine house construction

engine shed construction

engine house construction

Now that the shed has walls and a floor, it needs a roof. Given the Big Door opening in the front of the shed, the roof needs extra interior detail also. I made a simple pattern from the end prints for the shed. That pattern was copied and a little more “stripwood” was added for all the roof trusses that would support the finished roof.

engine house construction

model train engine house construction

engine house construction

engine shed construction

Now that the roof trusses are done, our shed needs a roof. A bit of scribed “wood”, some extra paper, and the roof print from the covered bridge gives us the roof, some cuttings from and extra portion of the print gives some dimension with the roof seams and peak.

engine shed roof

engine house roof

engine house roof

engine house roof

This is the last one until I decide to add doors to the track side of the building.

As the model is essentially complete, the doors will just “guild the lily” if and when they get added.

As it is, the model is similar to many wood engine sheds from the early 1900’s before people had to worry about theft or vandalism.

With the roof, our engine shed is essentially complete. A soda straw and a little paint gave us a chimney for the finished model. A bit of track and a little more scribed “wood” filled in the hole in the floor. This wooden shed is similar to many such sheds from the early 1900’s when people did not have to worry about theft of vandalism. Doors may come later but for now the model is done.

model train engine house scratch build

model train engine house scratch build

model train engine house scratch build

model train engine house scratch build

scratch build engine shed

scratch build engine shed

scratch build engine shed

Sincerely,

“John from Cali” USA


My word – I really can’t thank John enough for his ‘How to build a model train engine house’ step by step.

Enjoyed every word of it and the same goes for the pics too. I thought making a ‘test’ model before getting stuck in was very smart too.

John used a number of the print-out-building kits, here they are:

The wooden bridge is here (and I’ve re-opened the $5 offer).

And here’s the house bundle.

That’s all for today folks.

Please do keep ’em coming.

And if today is the day you join in the fun, the Beginner’s Guide is here.

Best

Al

PS Latest ebay cheat sheet is here.

PPS More HO scale train layouts here if that’s your thing.


Large HO layouts

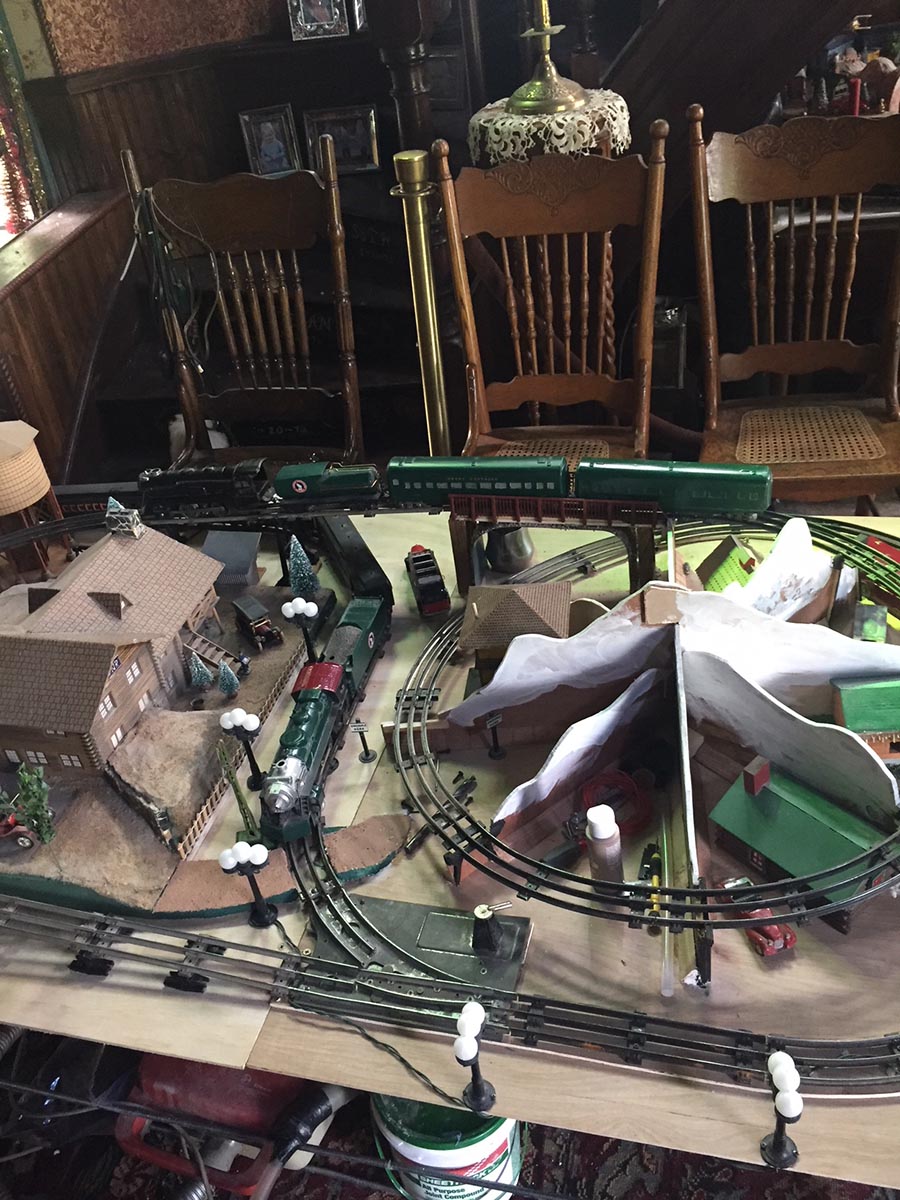
Bill’s been in touch. He’s added to the collection of large HO layouts on the blog:

“Hi Al,

I am a long time follower of your work and have used many of your tricks & tips in the book to help build my never-ending train project.

I love seeing all the different layouts you post from around the world.

My little space is in Rhode Island, USA.

Here is a sample for you to see. Happy Modeling!

Bill”

large ho layouts

large ho layouts

large ho layouts

My word, Bill. All I can say is I think I speak for everyone when I say, “More pics please!”

There are some large HO layouts the blog, but my word, Bill’s looks quite a size.

(Lots of HO scale train layouts here.)

Next on to Carl who has sent this tip in.

“What do dandelions, apples and oranges have in common?

A toothbrush!

Sounds crazy, doesn’t it?

To make dandelions on your lawn, place a little yellow paint on a shallow dish. Dip a few bristles of your toothbrush into the paint. Now, run your finger gently along the bristles, and you will spray yellow paint in a random pattern of dandelions. Repeat this with white paint, and you have dandelions gone to seed.

I suggest you practice with water first to get the feel of the technique. Next, practice with paint on a hard surface to get your droplets the right size – thin the paint to get smaller droplets. You will probably find you need only a few bristles dipped gently in the paint.

If the paint is thin, it will give you smaller droplets. Thicker red paint splattered on a tree will give you apple size droplets. Now you can have an apple tree or an apple orchard.

Now add some wildflowers to your hillsides. Splatter a bit of mud on that truck on your dirt road. Where else can you use this technique? Hmm.

Keep on Training,

Carl in Kansas”


“Sending 5 pics of the cliffs always growing and evolving.

Enjoy.

Bill G”

(Bill’s last post is here.)

model train rock cliff

model railroad cliff face

model railroad cliffs

model train cliffs

And finally, Dave has sent in the latest on his rebuild:

“Hi Al, just uploaded part 5 of my re build on the layout, a few tips and some trees I bought, made of plastic, but so real looking and very reasonably priced.

Still got to install more lights, and the bottom end of the layout to complete, Tonys still waiting for the all clear to open, also just added a short clip on the end of the Koi and garden.

Regards

Dave”


A huge thanks to Will, Carl, Dave and to Bill for adding to the large HO layouts – quite a few on the site now. Really enjoyed today’s post.

That’s all for this time, folks. Please do keep ’em coming.

That’s all for today folks.

Please do keep ’em coming.

And if today is the day you get started on your layout, the Beginner’s Guide is here.

Best

Al

PS Latest ebay cheat sheet is here.

PPS More HO scale train layouts here if that’s your thing.