Dan’s been back in touch with some pics of some American Flyer trains 1950 is the date line – how things have changed:
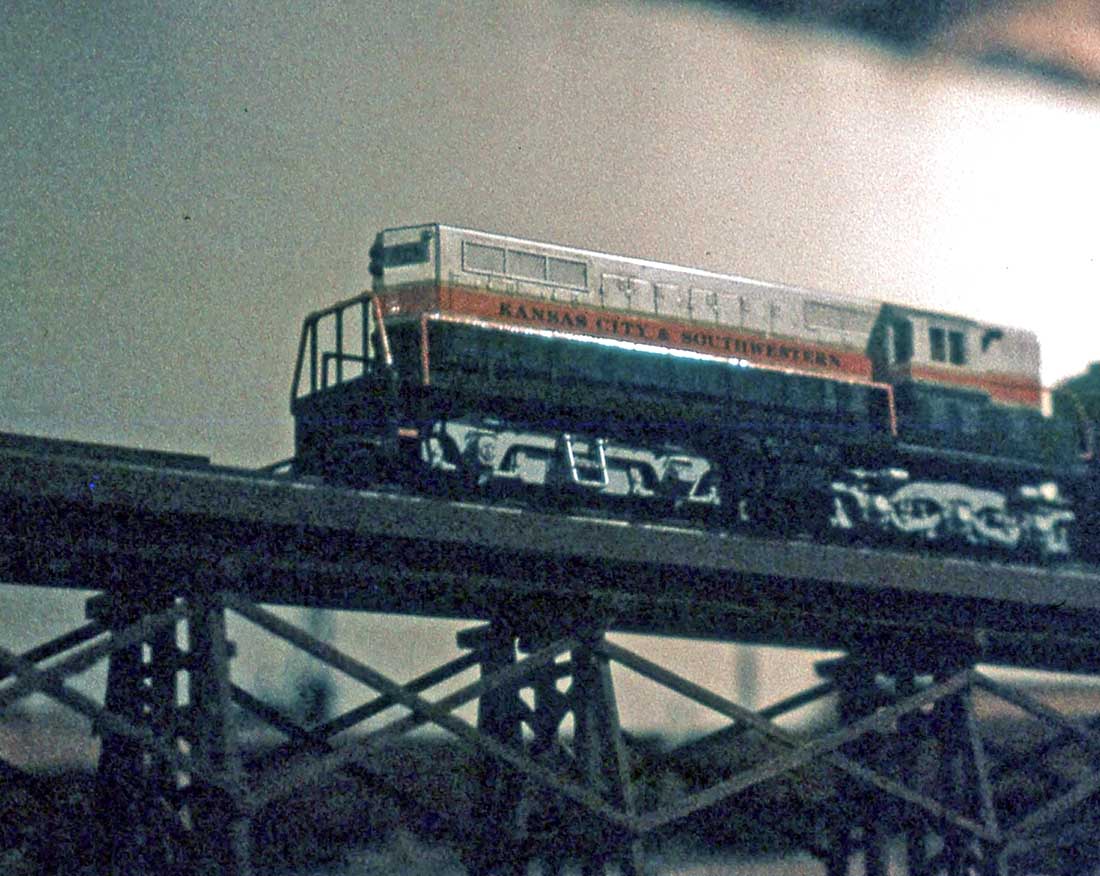
“Al, this set of photos was taken in 1971. Unfortunately they were taken pre-digital, low light and no flash.
Many years ago when I was about 13, a church member told me he had a train layout. He knew I liked trains. I did not take photos then. Many years later after he passed, his son wanted me to see the layout before it was taken down. So, when home from college one weekend I took these photos.
The layout was American Flyer. In the 50’s you had to just about scratch build every thing. There were some kits. If you will indulge me, I will show you some very interesting photos.
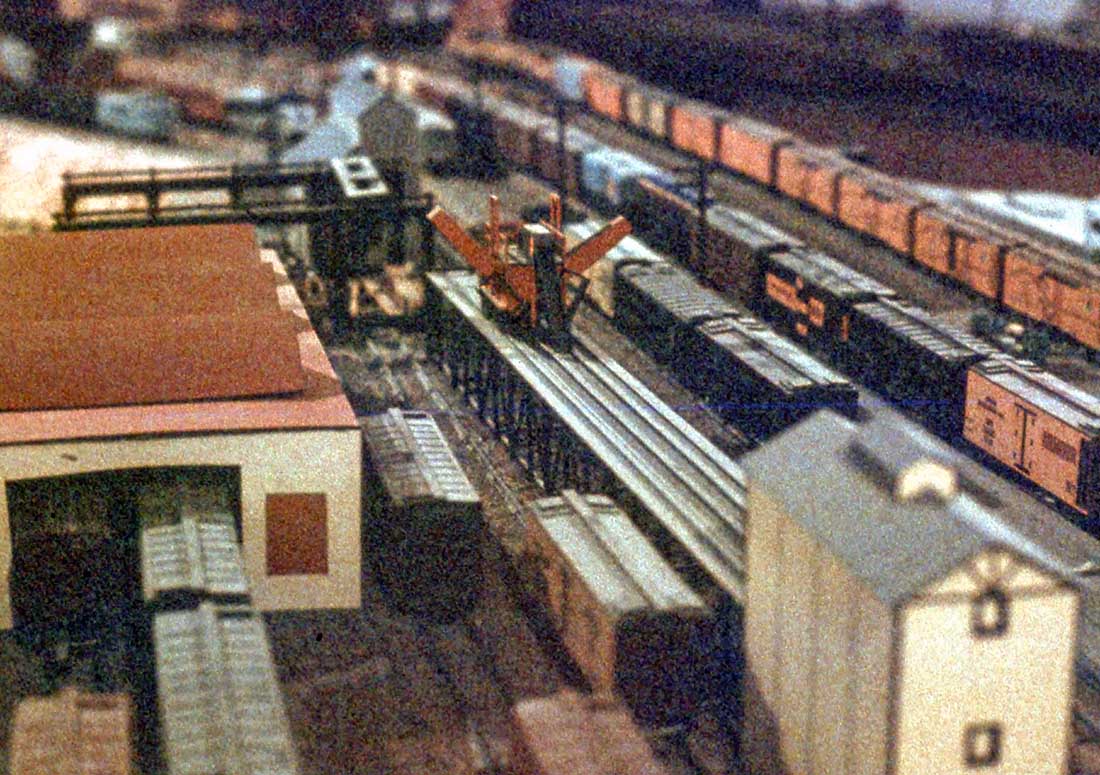
The icing platform was based on the one at the Santa Fe yard in Kansas City. It is all scratch built. I believe the string of Santa Fe reefers were car sides, roofs and details from kits to put on an AF car frame.
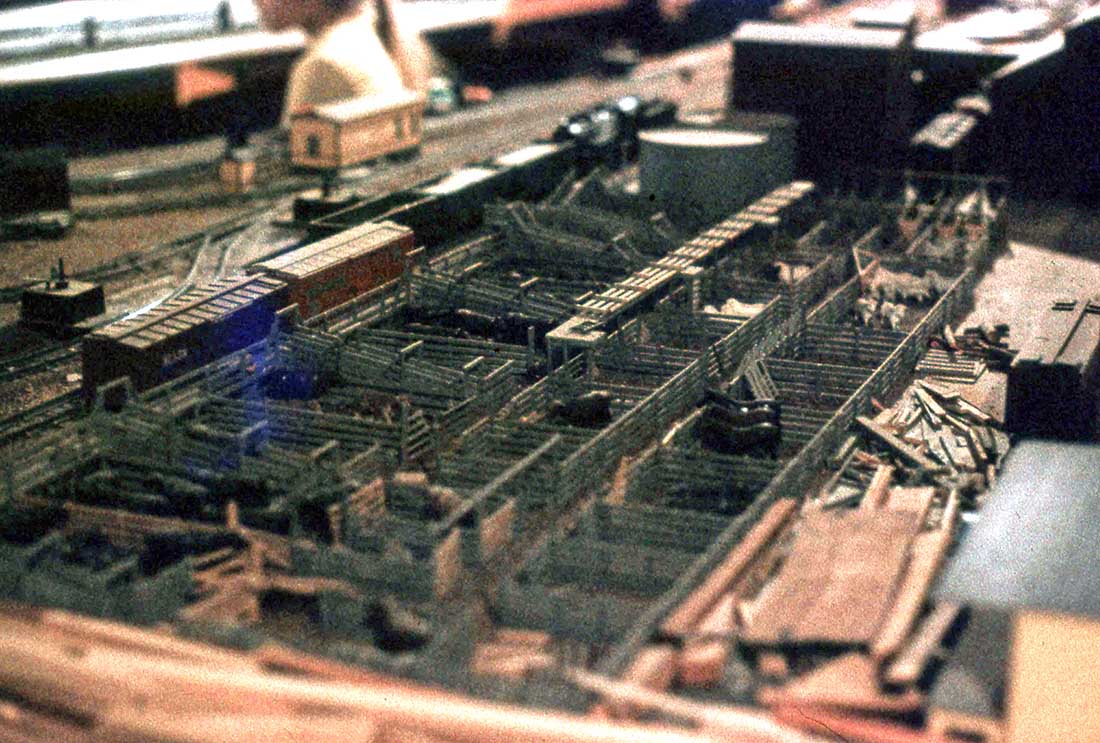
Stock pens
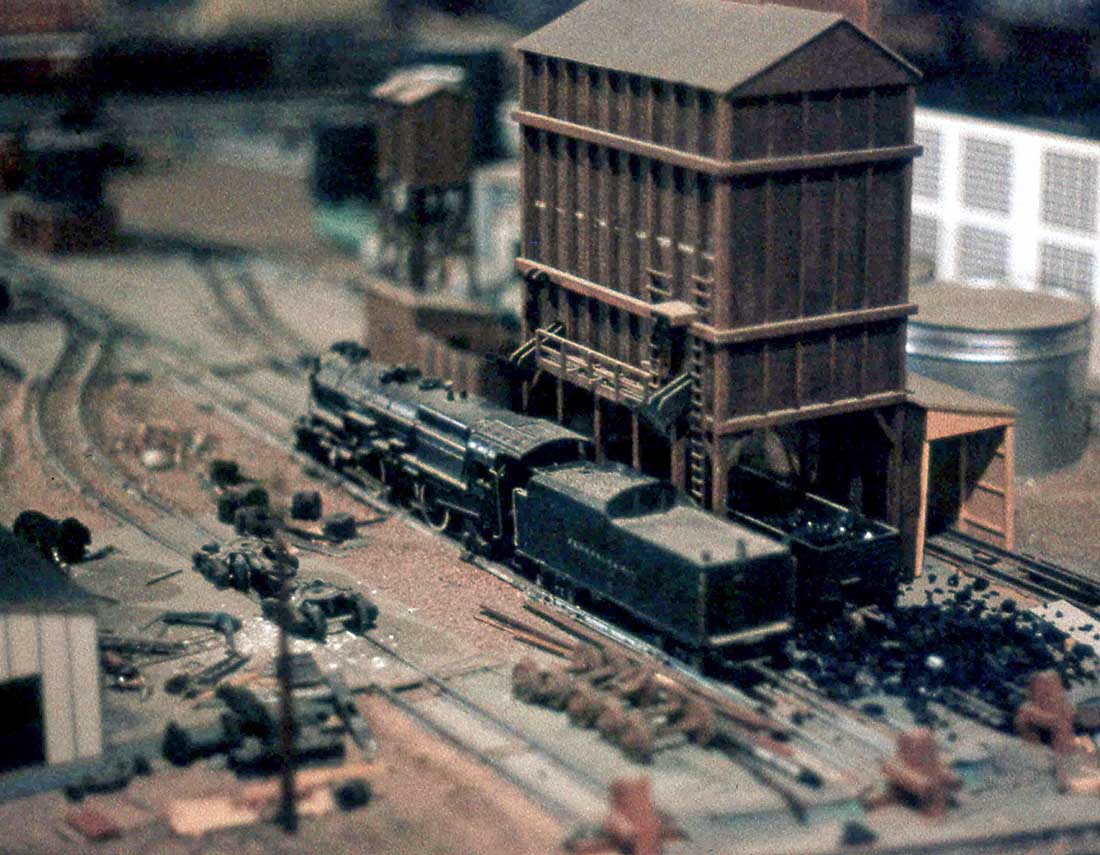
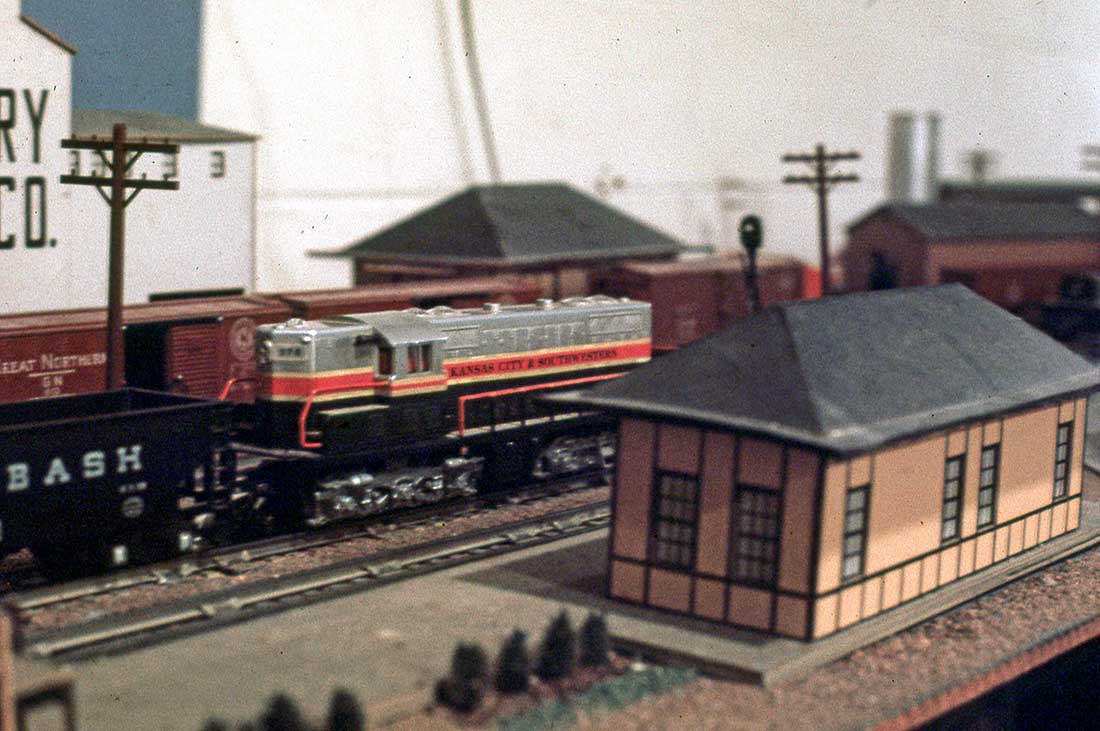
Note the storage tank in the photo. This was a coffee can. In those days coffee came in cans.

Modeled after the engine house in Argentine Yard Kansas City.
American Flyer trains 1950:
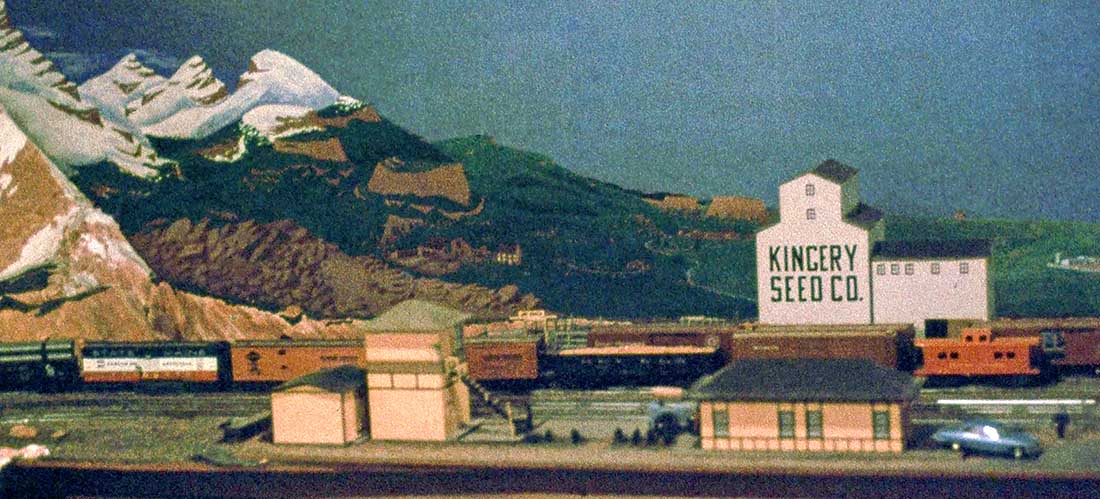
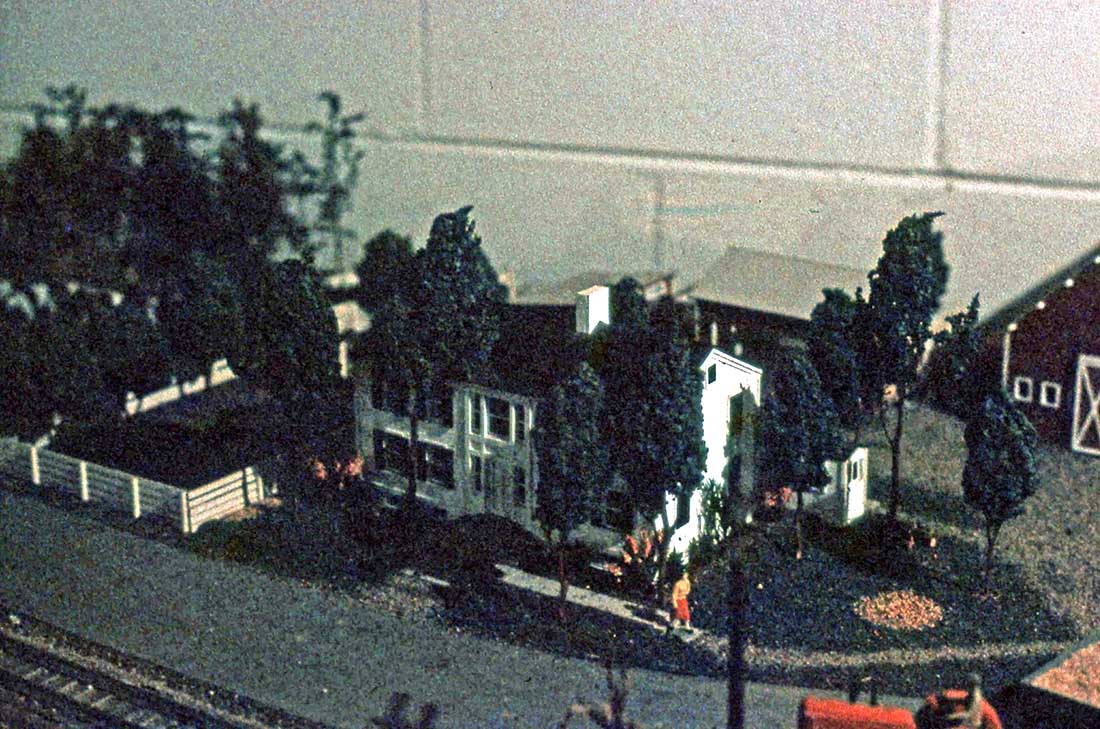
All scratch built structures.
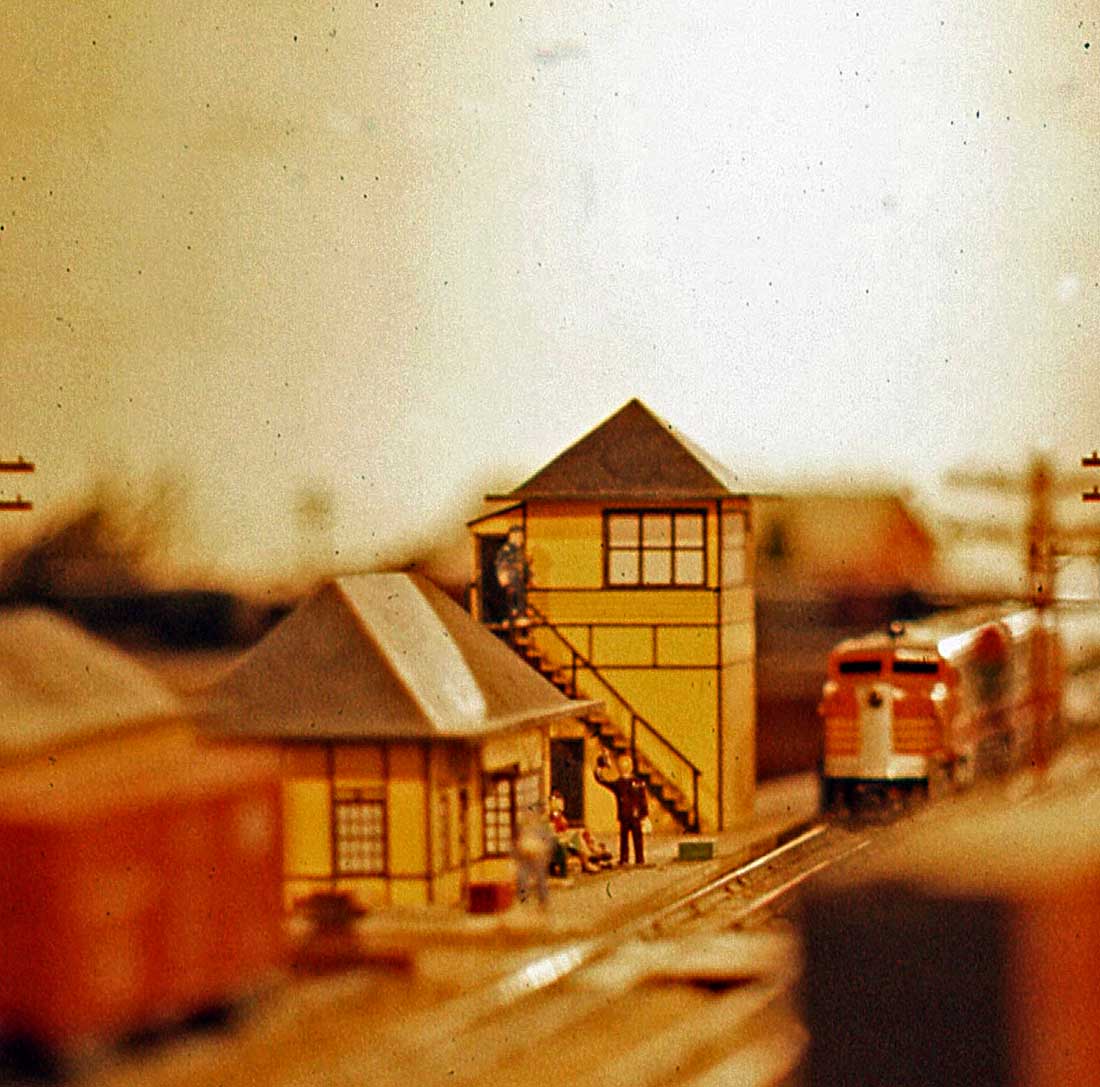
Station and tower scratch built
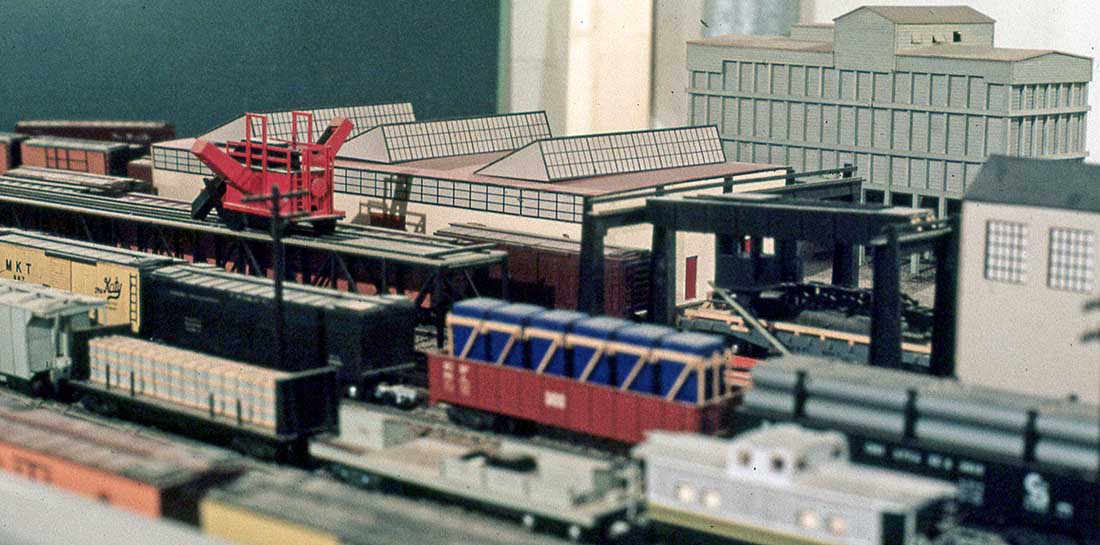
Another view of the icing platform

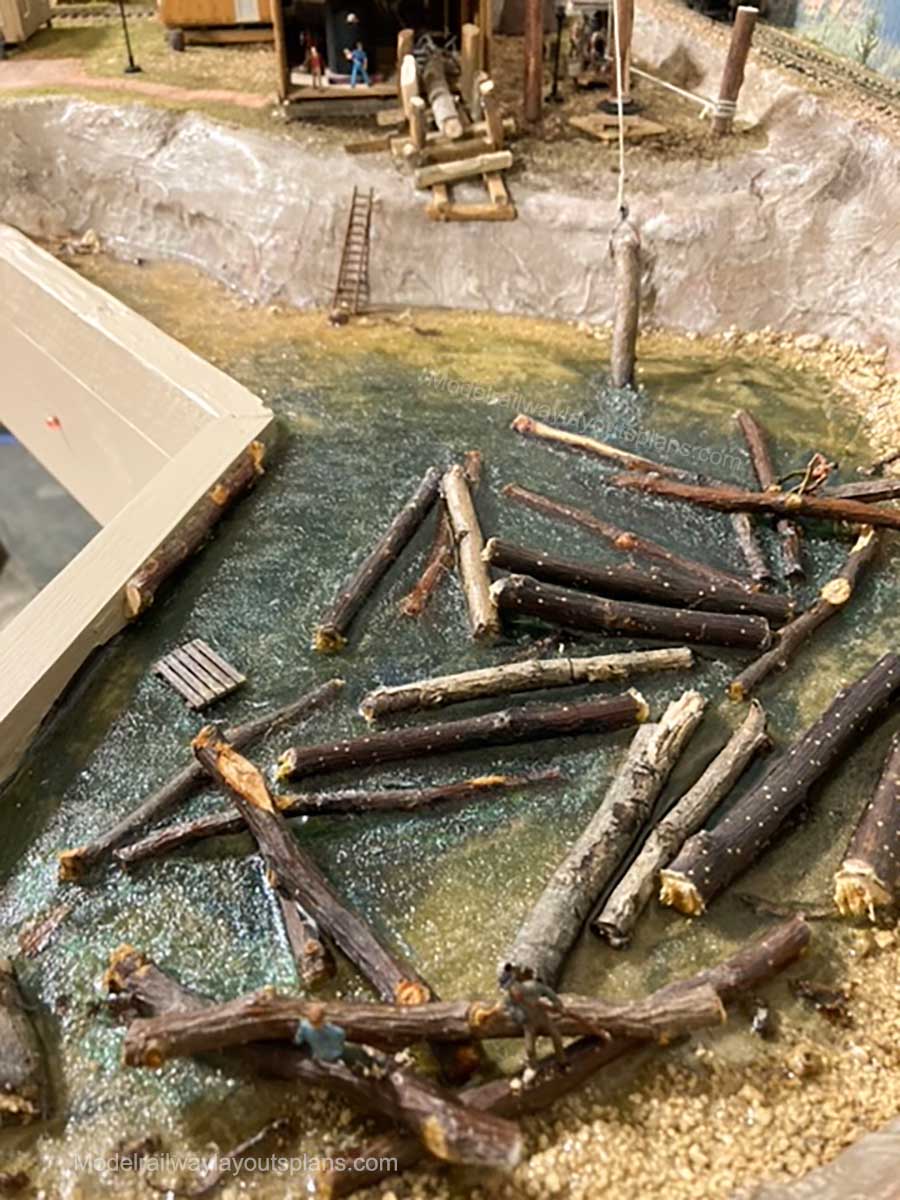
Lumber yard

More coffee cans. The silos were made from mailing tubes.
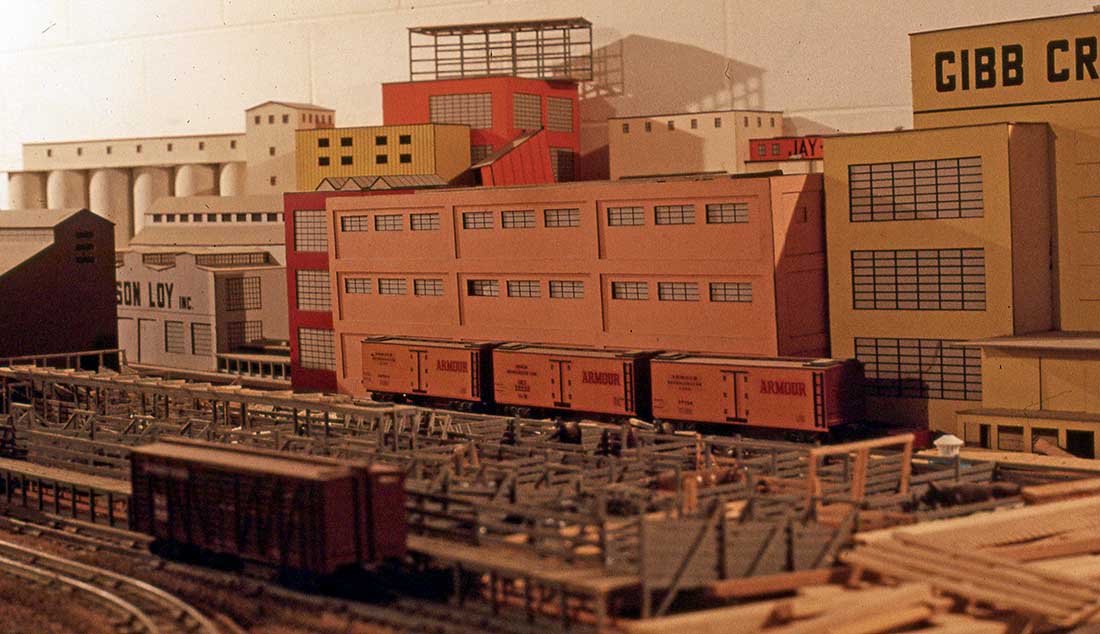
Area near the stock yards.
I do not remember the size of the layout. It took up a large part of the basement.
I hope the AFers like these,
Dan*”
A big thanks to Hall of Fame Dan for sharing these American Flyer trains 1950 seems so long ago – probably because it is…
Here’s a page of American Flyer layout if that’s your thing:
American FLyer Model railroad.
That’s all for today folks.
Please do keep ’em coming.
And if today is the day you get started on your layout, the Beginner’s Guide is here.
Best
Al
PS Latest ebay cheat sheet is here.
PPS More HO scale train layouts here if that’s your thing.