Hank’s been in touch with his MTH O scale layout:
“About 6 years ago, when I was dating my girlfriend, now my wife, I was inspired to take down my trains that were just sitting in the attic for over 15 years.
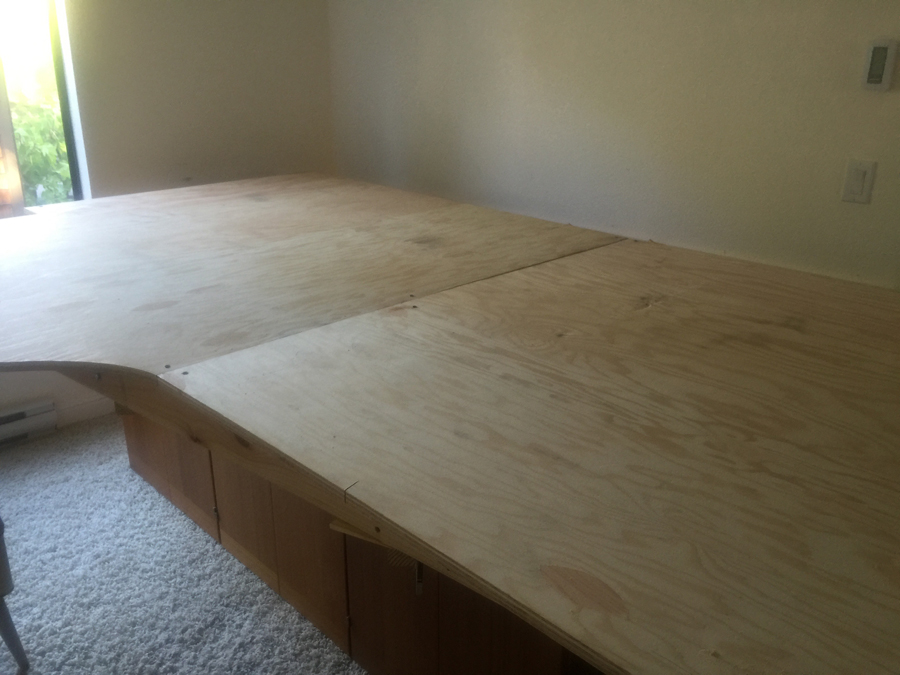
I utilized used plywood as the platform. We laid it out on floor level with four trains. She liked doing the tedious task of connecting the wires. It was crude but what a joy working as a team.
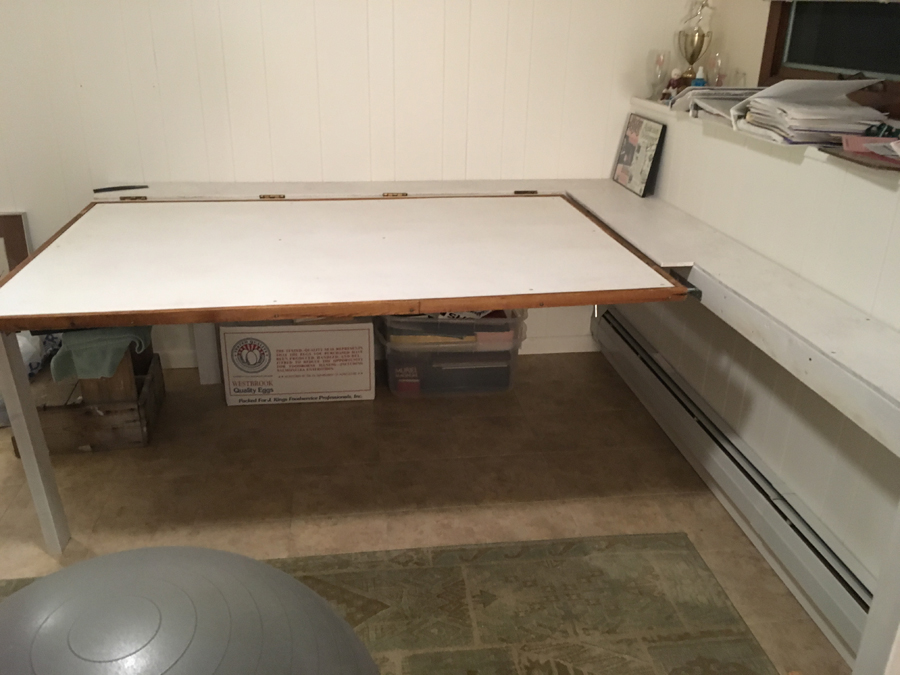
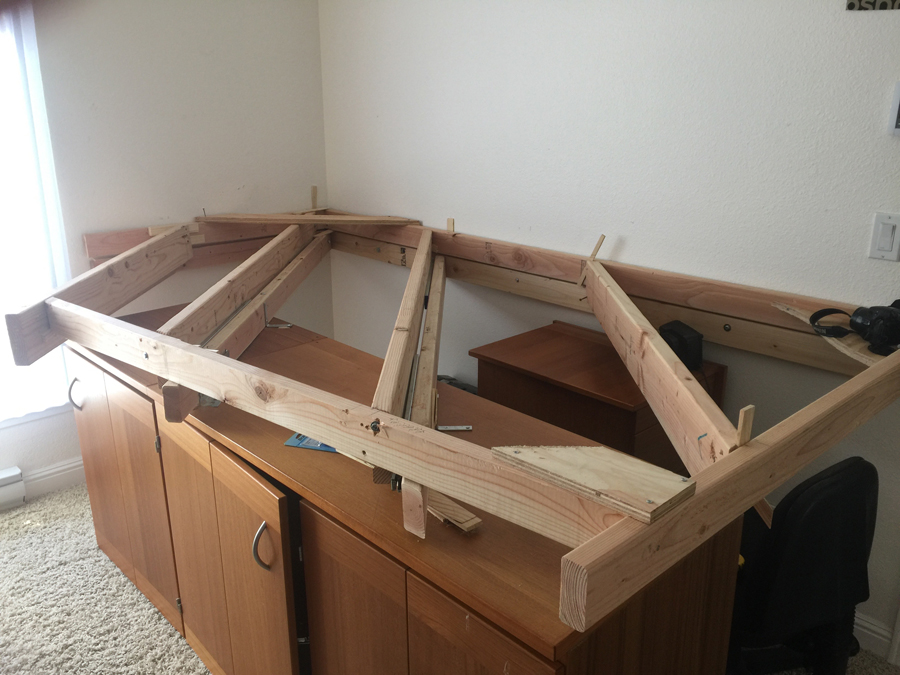
When we got married, we added an extension to our house with “my” intention of using it for my current train layout.
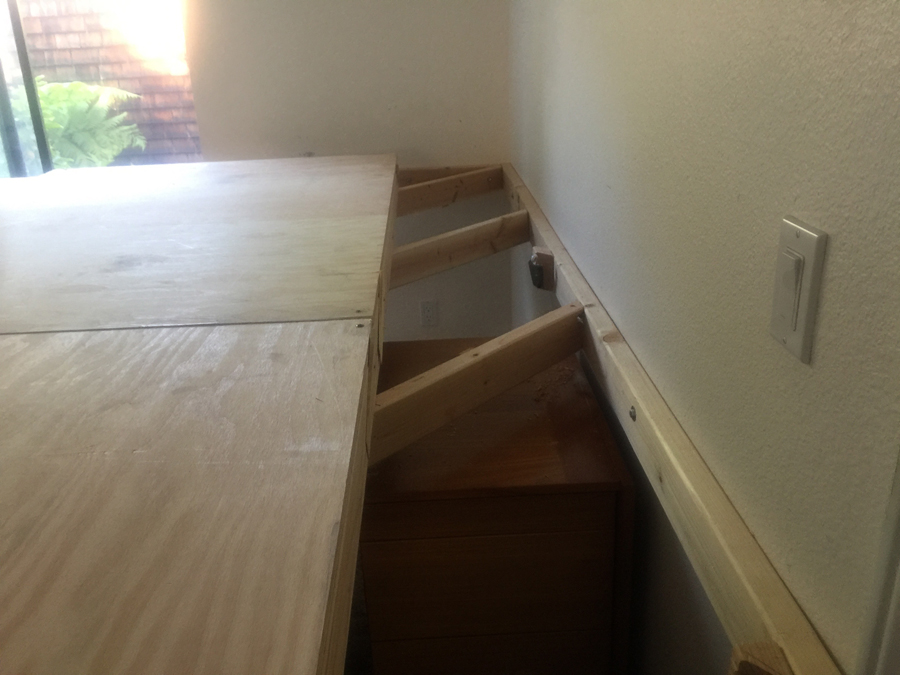
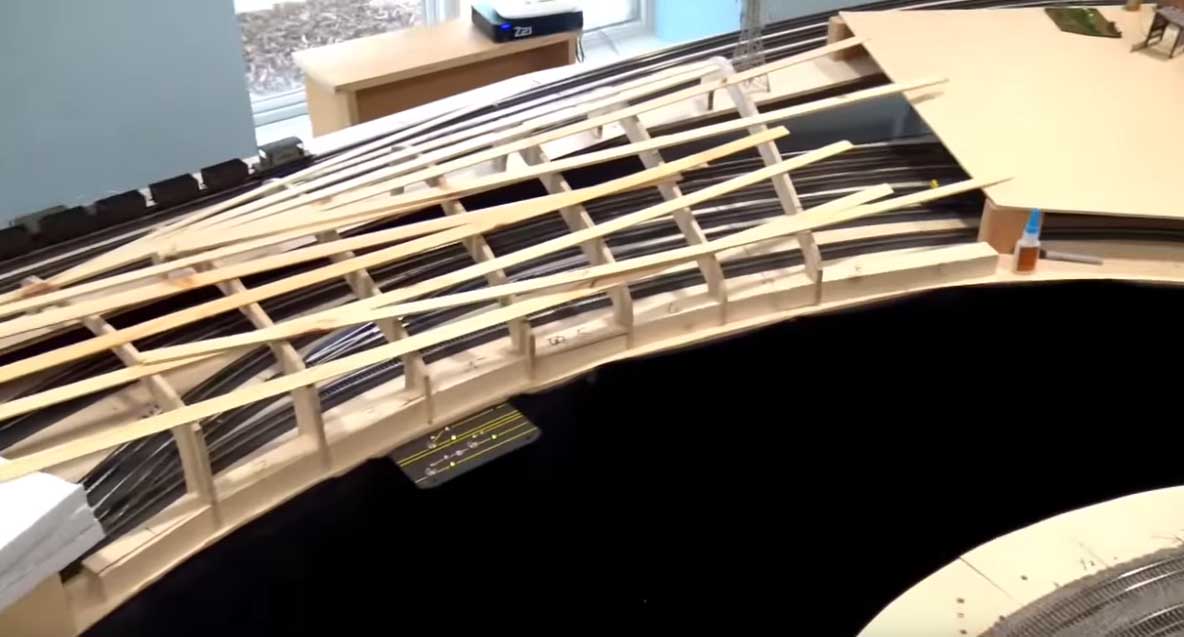
Innocently, I asked her to design this room which at the end she contended that it was “too nice” to make it as a Train room. Ultimately, I used an 18 by 12 area in another part of the house for the layout. I made individual modules for the layout.
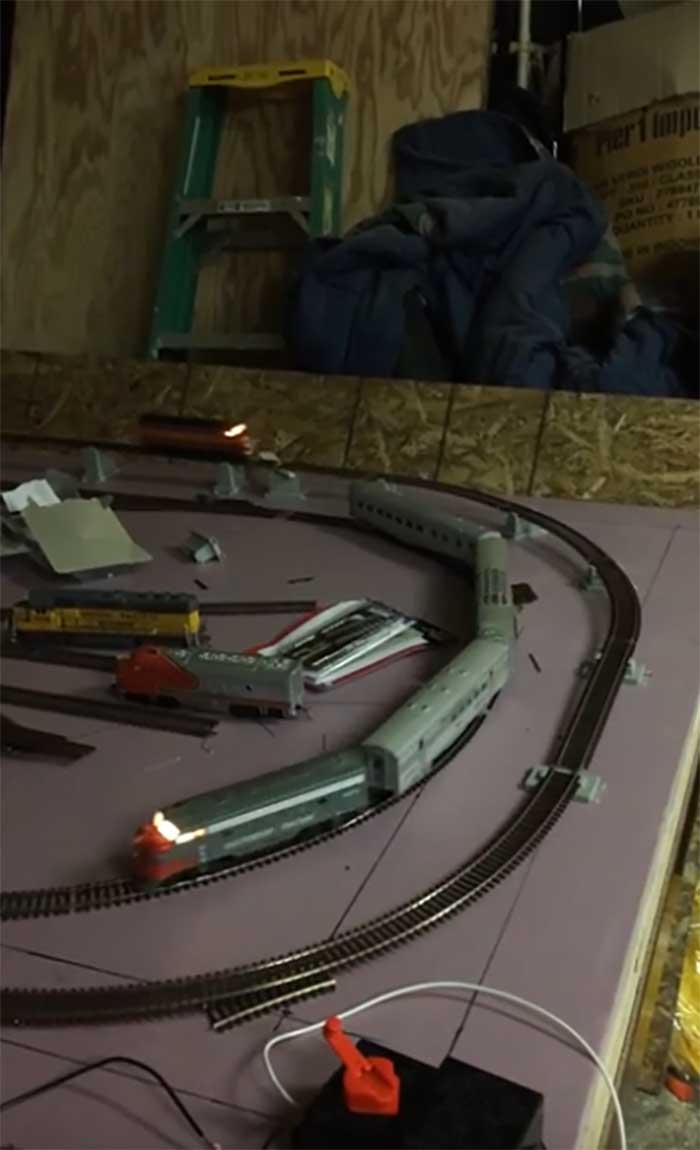
The articles in the train magazines inspired me to replace my Lionel trains with MTH engines. I am now running eight trains simultaneously and two trolleys.
A lot of the materials we use are derived from common household products and organic items that we collect from our occasional walk in the park, like for example: dried stalks of grapes, branches, seeds, leaves, etc.… We use hairspray as preservatives for these organic materials. These are notable in the parks and farm that I created.
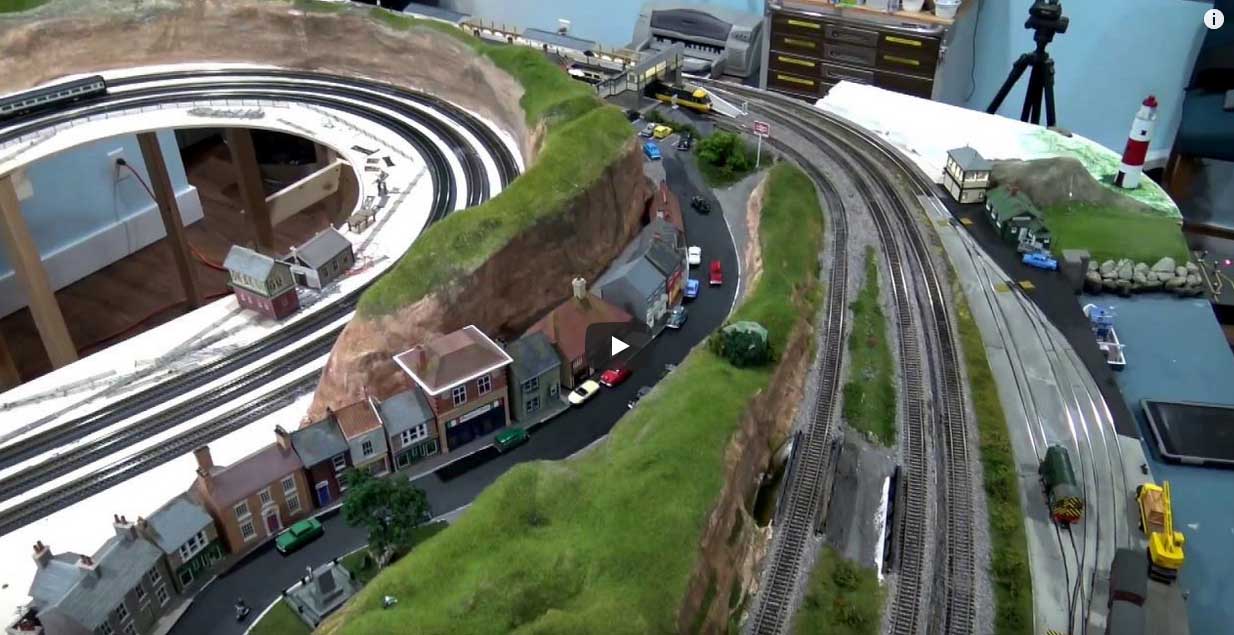
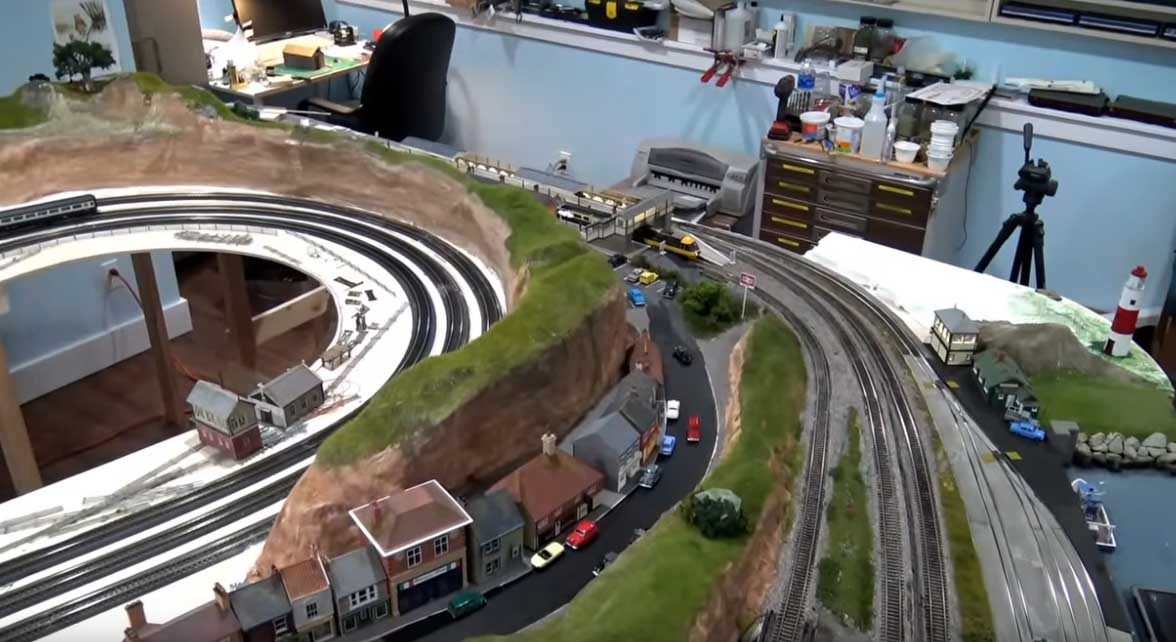
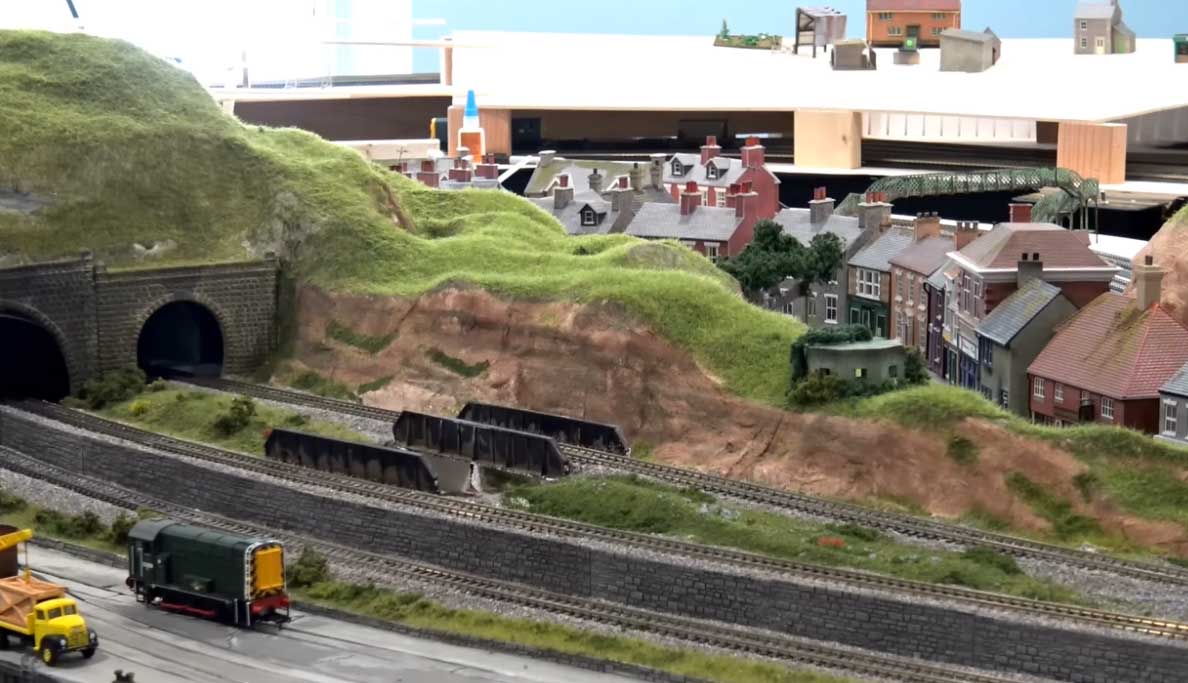
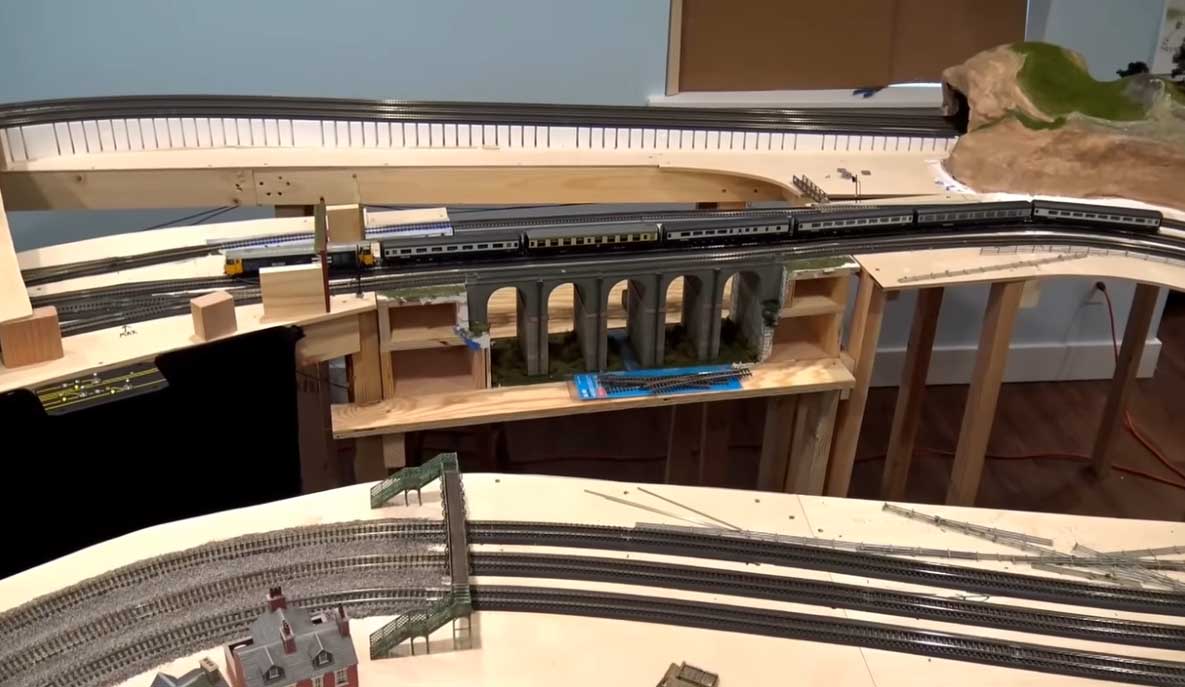
I designed this layout with the concept of having an urban and suburban community accented with seasonal amusement parks.
On the far right is a ski resort. The ledge and the face of the mountain are covered by imitation snow which was created by my wife melting a bar of ivory snow by agitating it manually in a pail of warm water. The end product is easy to sculpt to any desired shape
and lasting.
On the elevated far left is a “Disney-inspired” carnival. And at the center mountain top is a summer resort hotel. Here, you will notice a trolley that runs continuously from the ski resort to the carnival (as if transporting passengers).
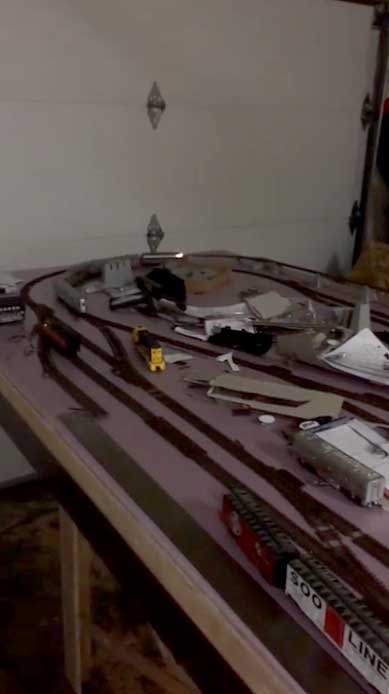
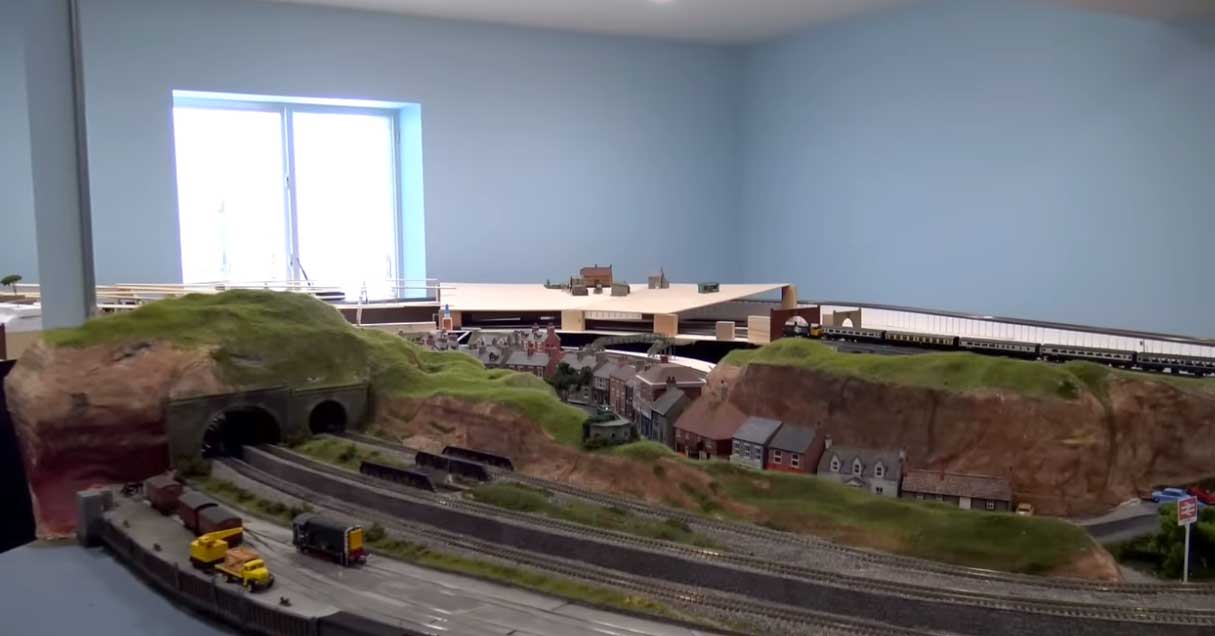
In the city center, I created a multilevel structure. Starting with the 1 st level is a subway system in the like of New York Penn station. We have three trains running on this lower level. The main tier has three trains running throughout the scenic views.
As in any busy city, delivery trucks keep the streets occupied, accidents always happen and ongoing construction occur. My wife installed all the LED lighting in these emergency vehicles. The upper level has two trains running.
When I started this layout, I had no idea how it would turn out. There were no plans. Things just naturally evolved. I was fortunate to get everything to fit together and run the trains without colliding. I use four Z4000, one z1000 transformers. I use one Lionel ZW for the lights. I am also running DCS with two TIU’s.
The layout is still a work in progress. I used an IPhone to make this video. I am glad that I made the decision to take down the trains from the attic. It is an immeasurable joy to share it with my family, especially my grandchildren and the children of our friends who come to visit. Their faces that are in awe when they see all the trains running is Priceless!
Sometimes, using your imagination provides the most satisfaction for a layout.
I thank Al, for the guidance, motivation, and inspiration that he provided me through his e-mails and all of the people that provide information each week in making this layout a reality!
Hank”
Latest ebay cheat sheet is here.
A huge thanks to Hank for sharing his MTH O scale layout.
I did enjoy his narrative. It made me wonder how many folk have trains in the attic gathering dust. So if that’s you, why not have some fun with them instead?
That’s all for today folks.
Please do keep ’em coming.
And if today is the day you get started on your layout, the Beginner’s Guide is here.
Best
Al
PS Latest ebay cheat sheet is here.
PPS More HO scale train layouts here if that’s your thing.