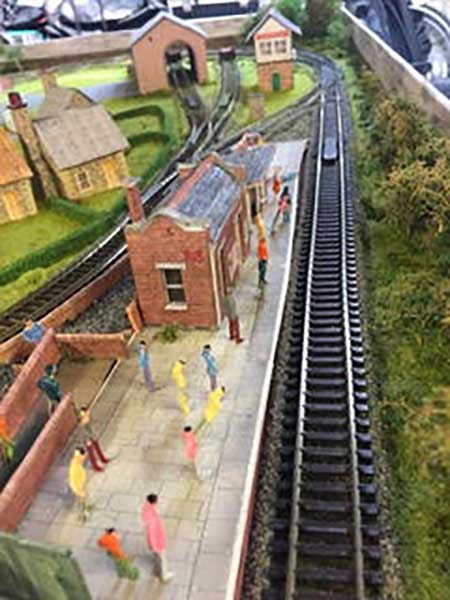
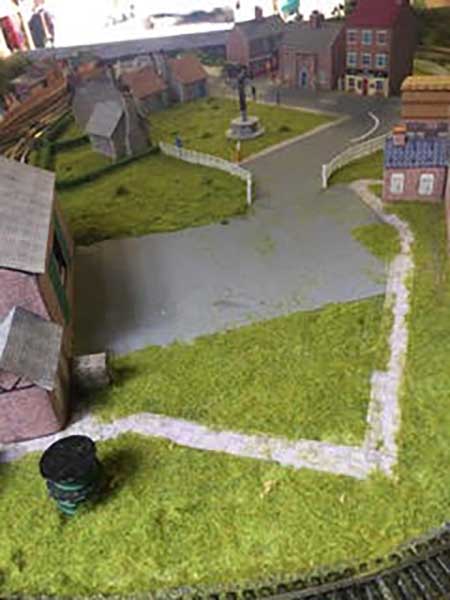
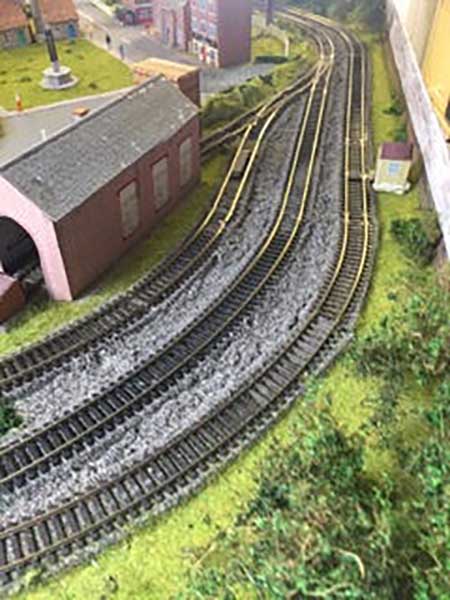
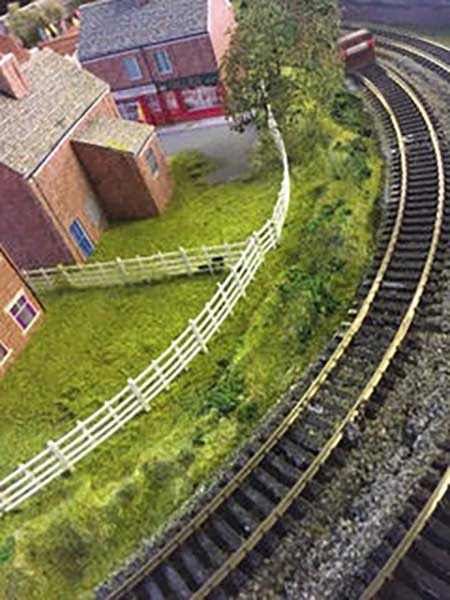
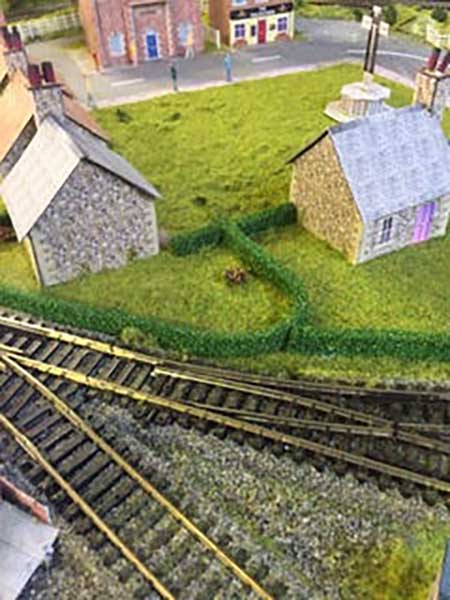
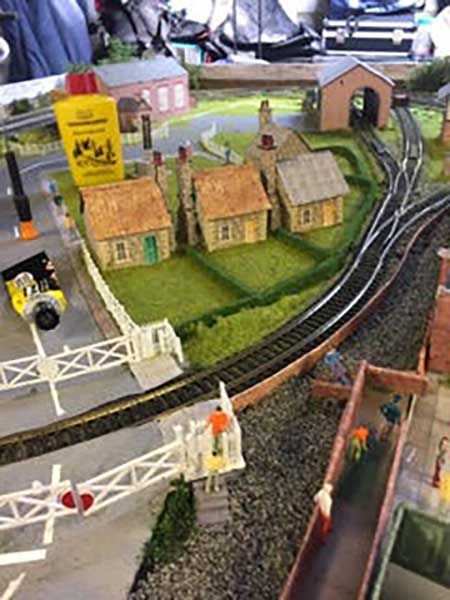
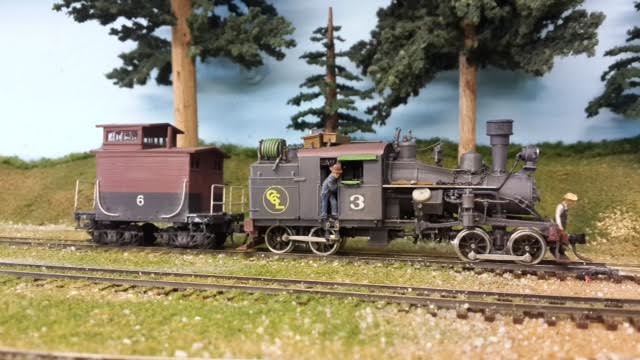
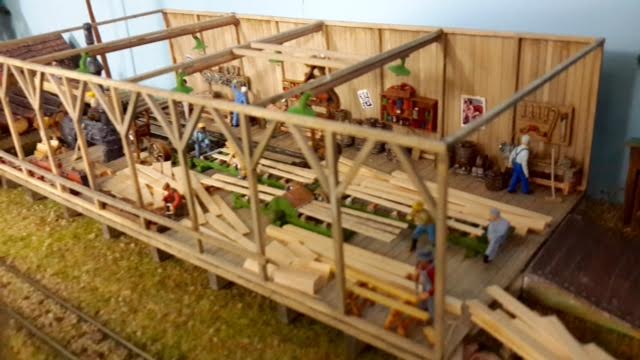
Call’s been in touch again with is HO 4×8 layout:
If you missed his last installment, it’s here.
He’s a man of few words this time, but you can read all about his layout in the link above.
“Alastair:
Here is a quick video of my layout update
Thanks
Cal”
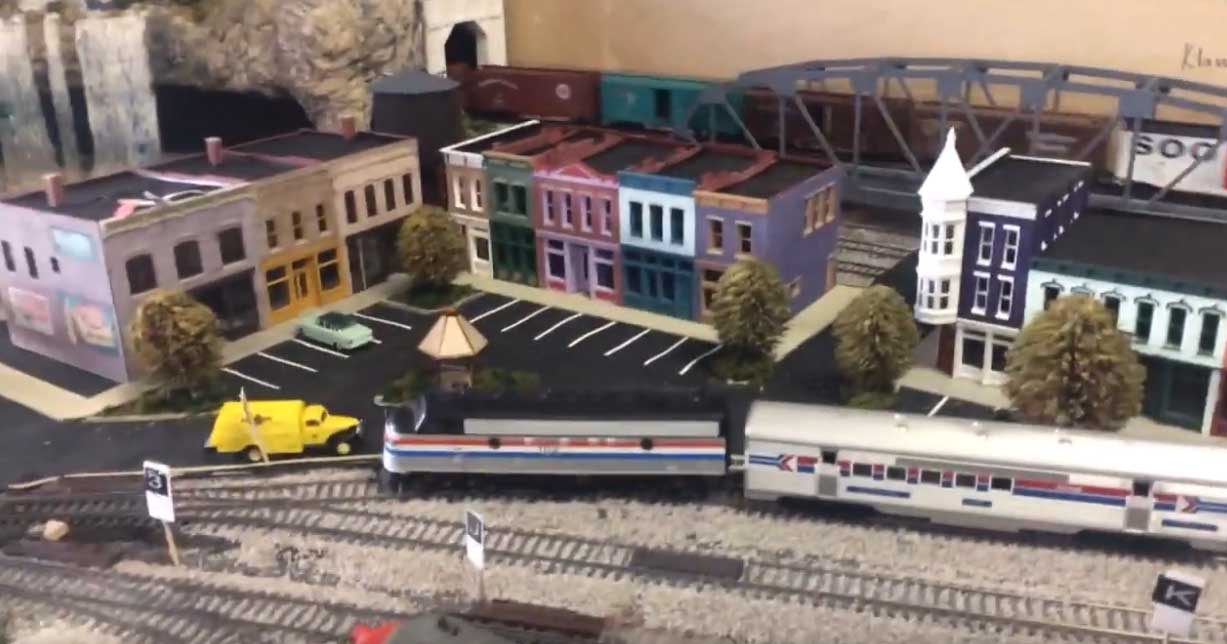
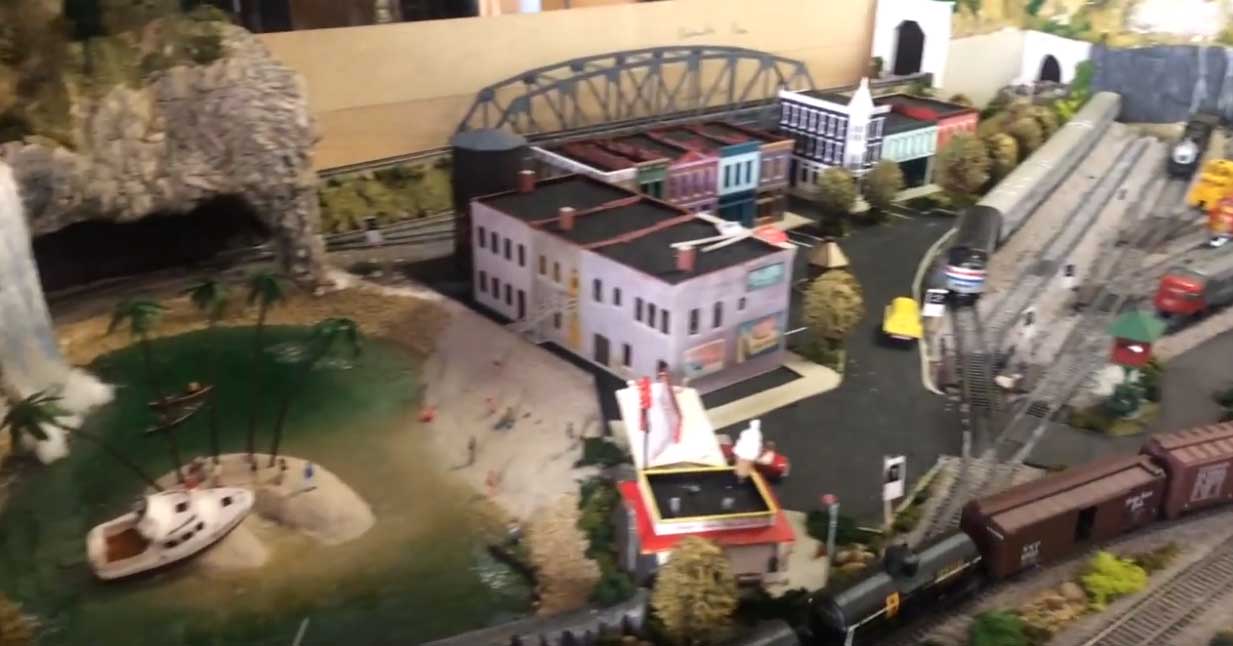
Cal’s HO 4×8 layout has featured a few times on the blog now and I always enjoy it.
Now on to Jack:
“Hi Al,
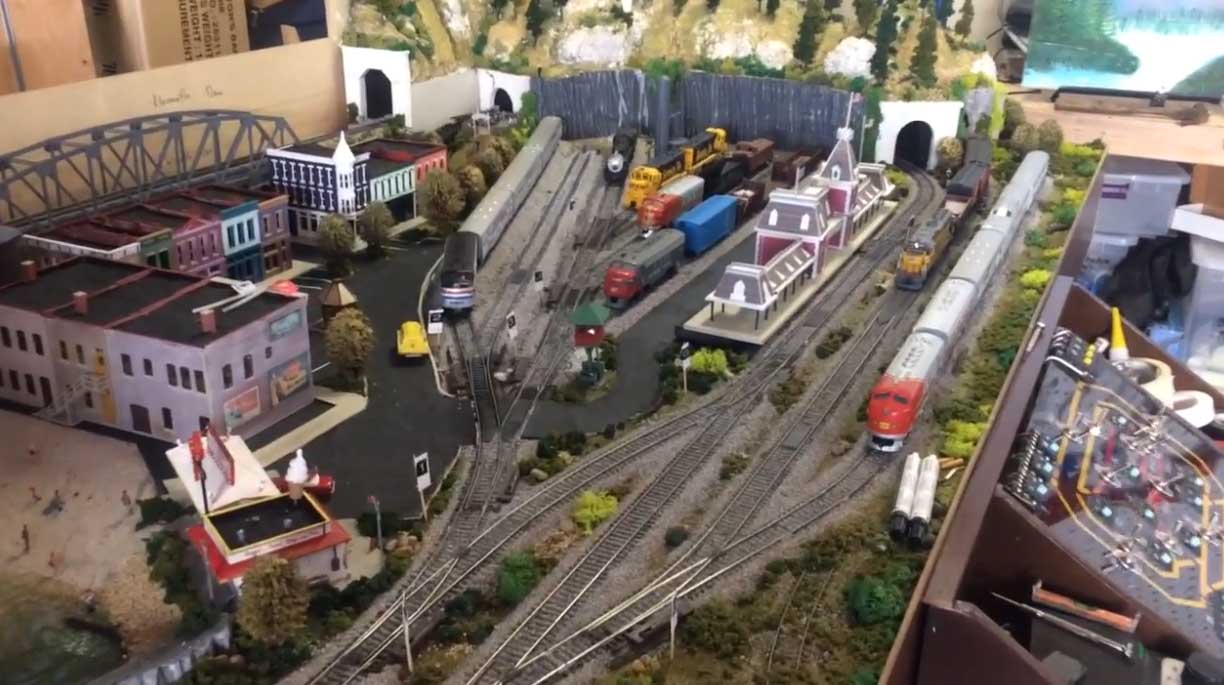
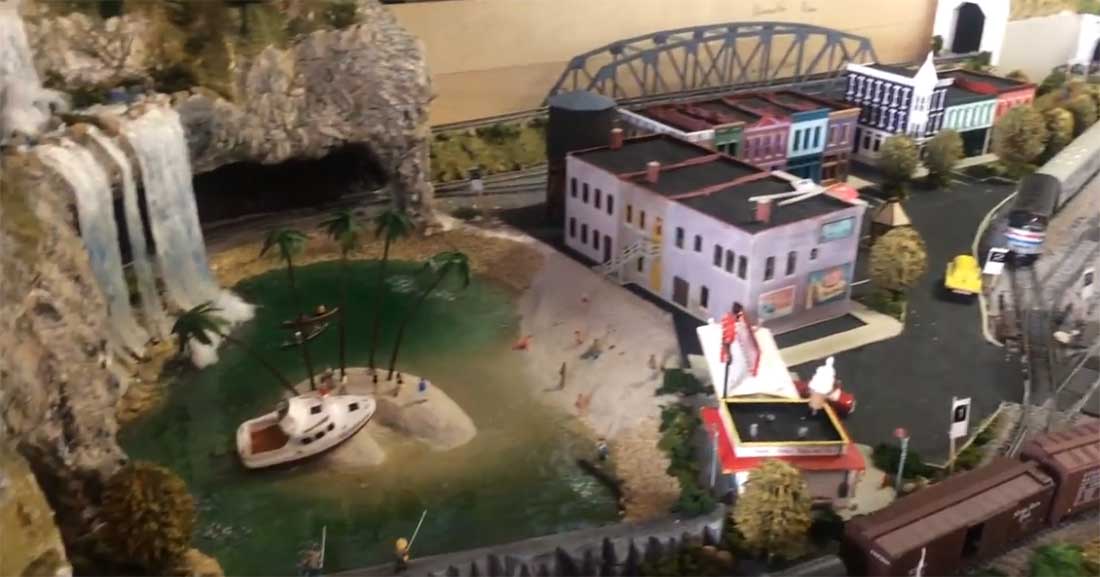
I was in Hobby Lobby buying some Woodland Scenics blended turf when I saw they had Realistic Water.
There is always a 40 % off coupon available on line, so I found it on my phone and saved quite a bit.
As you know, I had trouble with Scenic Water before, but since I followed all WS’s recommendations, and the price was right, I succumbed. So far so good.
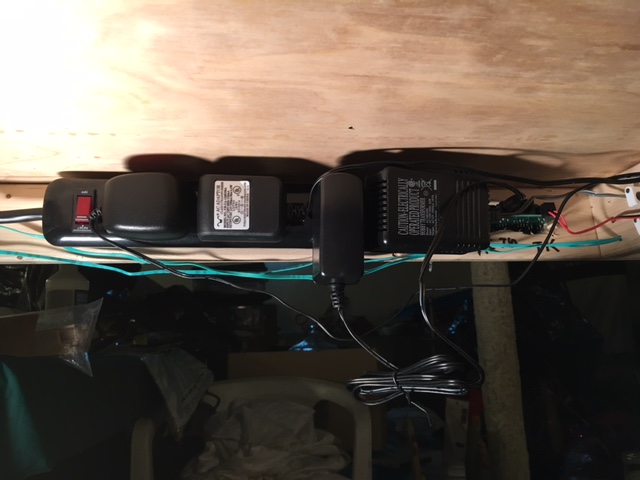
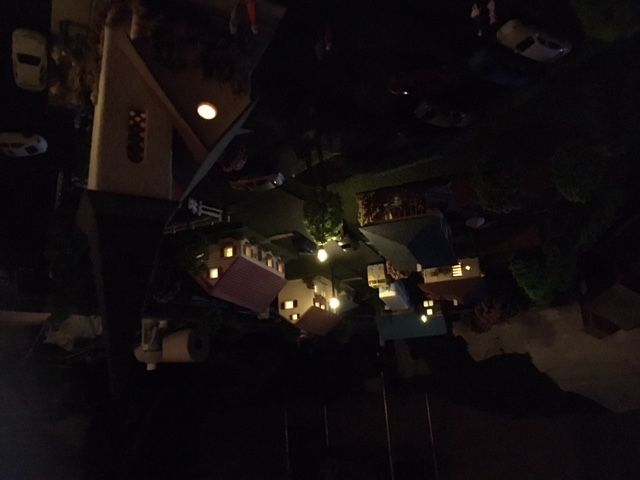
I have been under the layout wiring the lighting.
To begin the electrical work, I mounted a power strip along the inside edge of the layout.
The switch controls 6 outlets. Into that I plugged various wall warts.
I needed one for the NCE system, one for 16 volts for the switches and amusement rides, one for 12 volts for the incandescent bulbs in the amusement park buildings, and one that came with the Ferris wheel.
For the LED lights in the houses and the street lights I thought about the Woodland Scenics light hub that outputs 3 volts.
It has places to plug in 4 lights or sets of lights, with a dimmer on each of the 4 plugs.
I found an eBay site called wehonest (really) that has a lot of electrical/electronic stuff, as well as scenic stuff, for model railroading. You order direct from China and the stuff is pretty inexpensive.
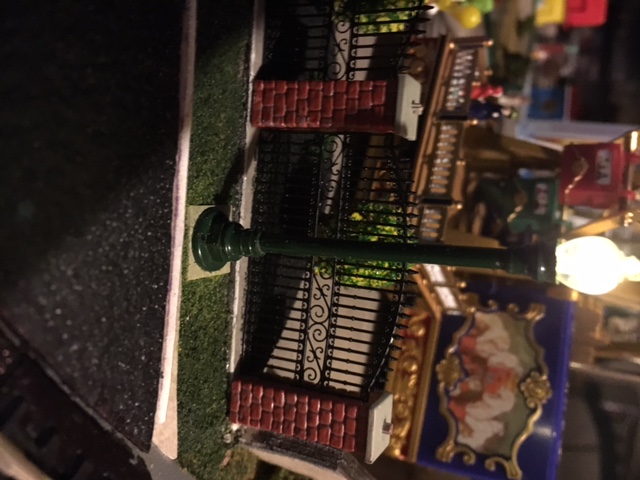
I bought the house lights, interconnecting wires and street lights from them.
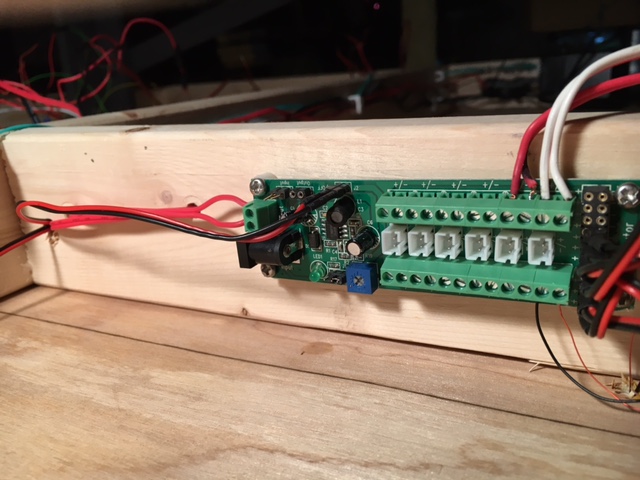
They have a power distribution board similar to the WS hub but it has 29 plugs of various types. There is only one dimmer to control all attached lights. I can plug my 8 building lights and 10 street lights and still have plenty of plugs for expansion. Input to the board can be either ac or dc 4 to 24 volts. I used my 16 volt ac source.
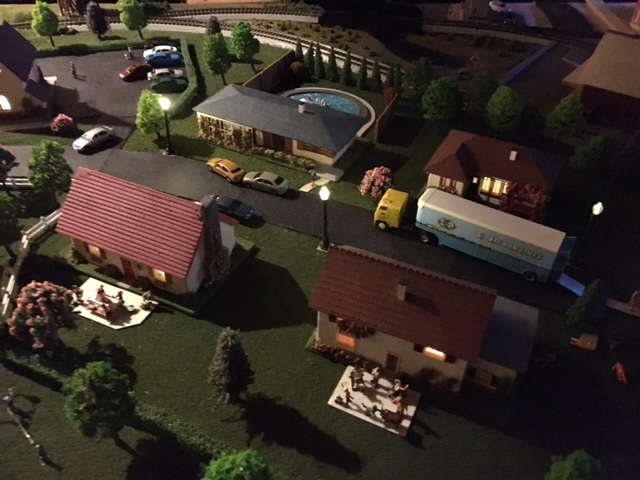
I mounted my street lights on ‘concrete’ pads cut from left overs from vinyl flooring samples.
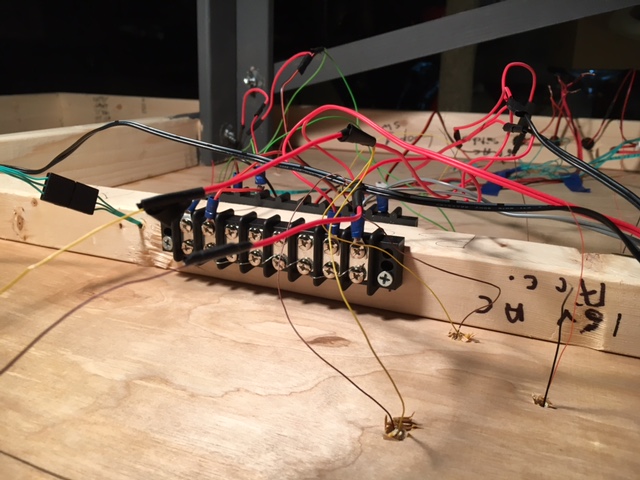
For my 16 volts for various items I mounted a terminal strip on either side of one of the supports under the layout. I tied all the terminals together on each strip and fed the 16 volts to the strips. Then I could just connect everything to the strips. Since stuff runs on various voltages, I have separate switches on the fascia for the amusement rides, amusement lighting and house lighting.
That’s all the progress for now.
Jack”
Now on to Rob who asks a question that comes up a lot. Cal’s 4×8 HO layout packs a lot in to a small space – but what about an even smaller space?
“Hi Al –
I live in an apartment, and i have a living room, bedroom, kitchen, eating area, and office. Do you have any solutions for people like me who need to have their hands in a train layout, don’t have any kind of model train club close to them, and are very limited on space and noise?
I am open to any scale; I have worked with S-Gauge (American Flyer), HO, and N. I’m just out of the loop as far as what is available out there these days.
Thanks!
Rob”
A huge thank you to Cal for sharing his HO 4×8 layout.
And I’m sure you all have some good advice for Rob, carved from hours of frustration!
That’s all for today folks.
Please do keep ’em coming because it’s getting very thin on the ground this end.
And if today is the day stop dreaming and start doing, the Beginner’s Guide is here.
Best
Al
PS Latest ebay cheat sheet is here.
PPS More HO scale train layouts here if that’s your thing.