12×16 HO layout – Kieth’s

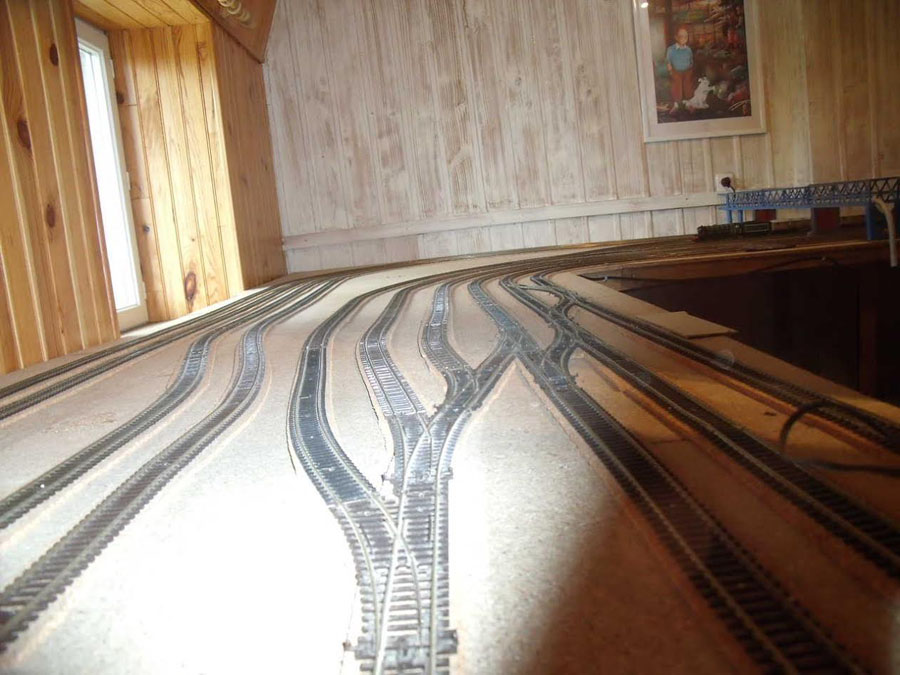
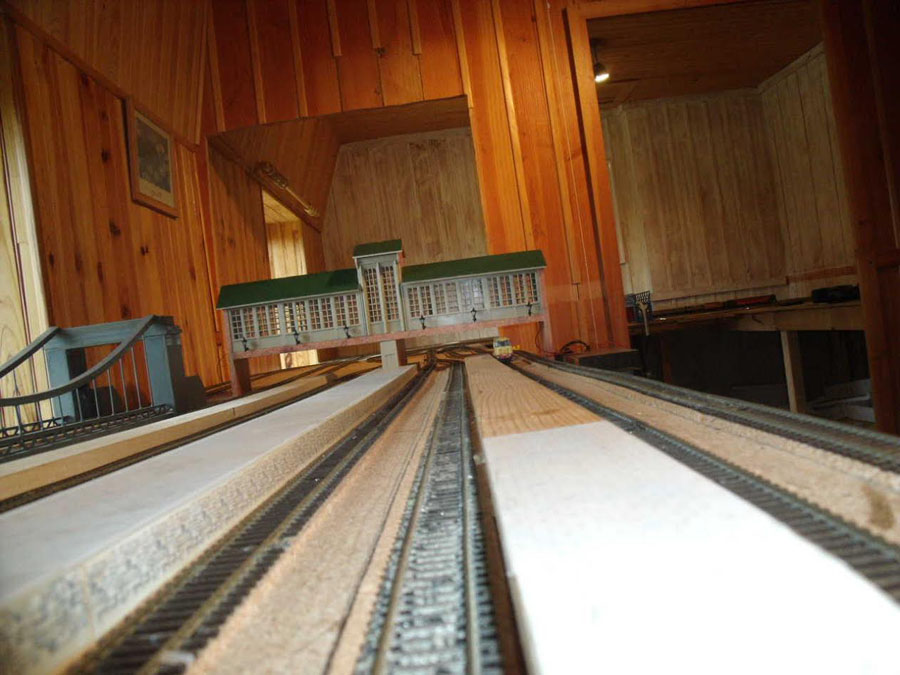
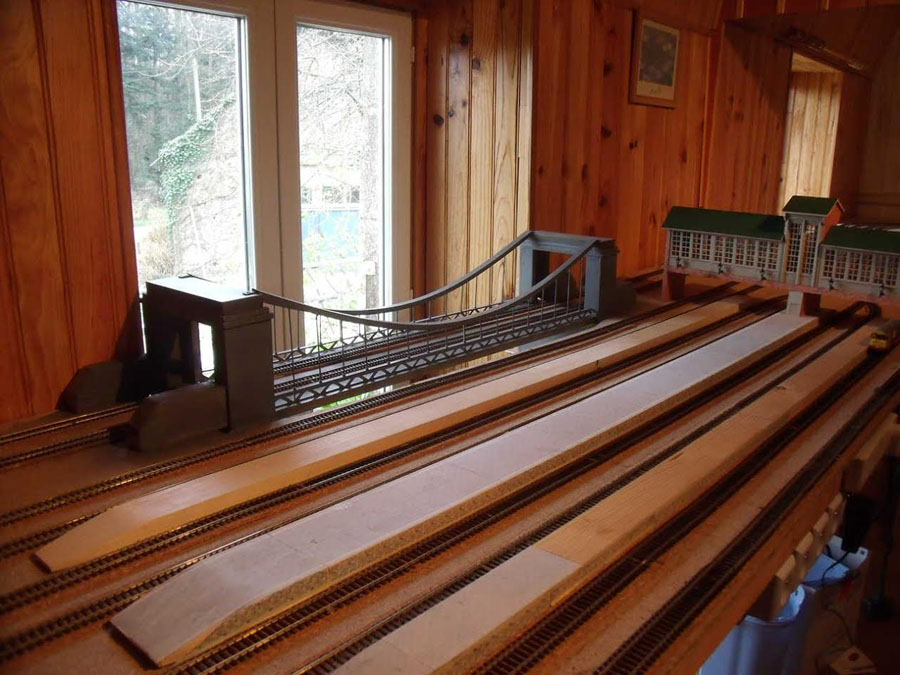
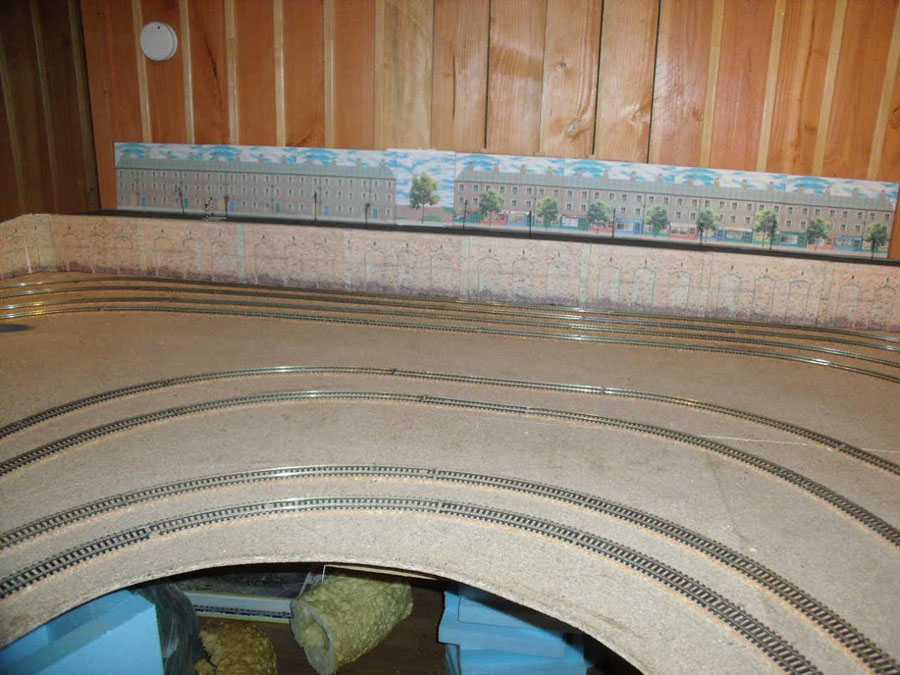
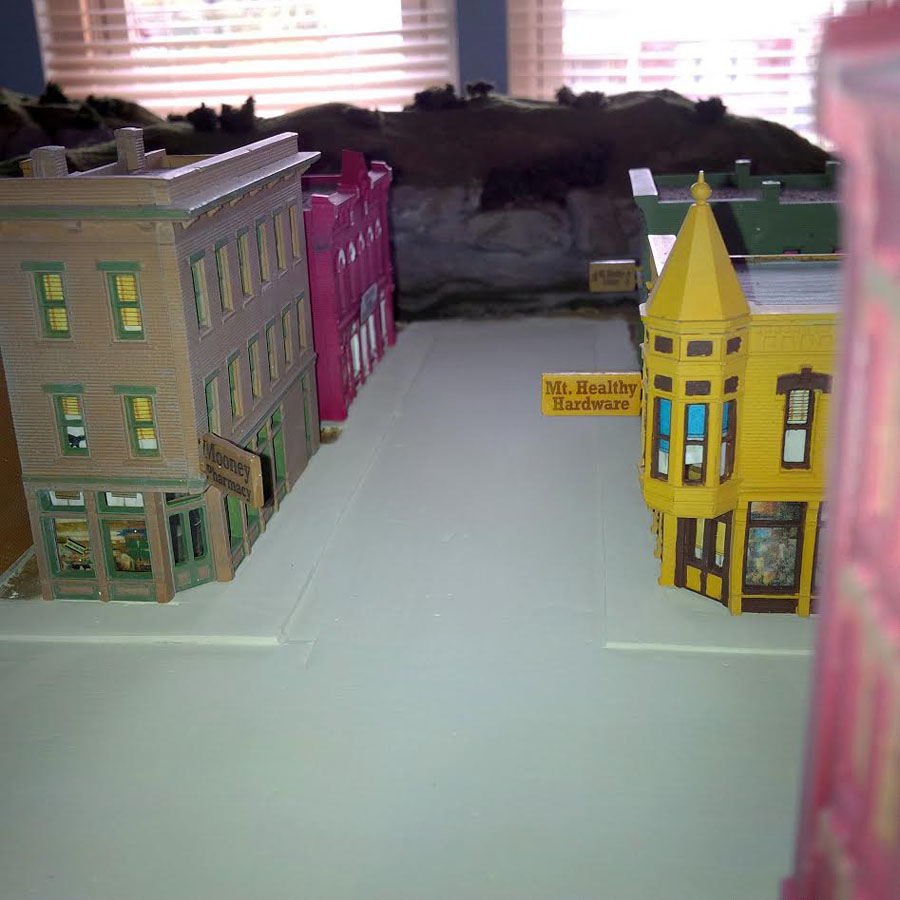
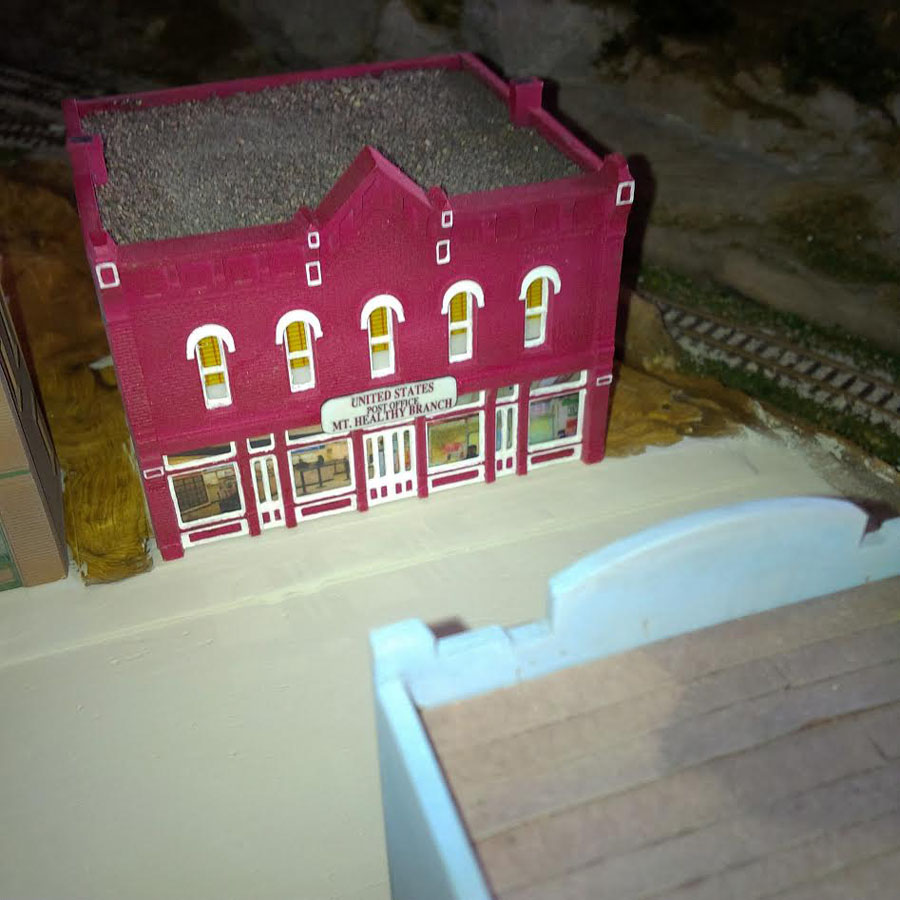
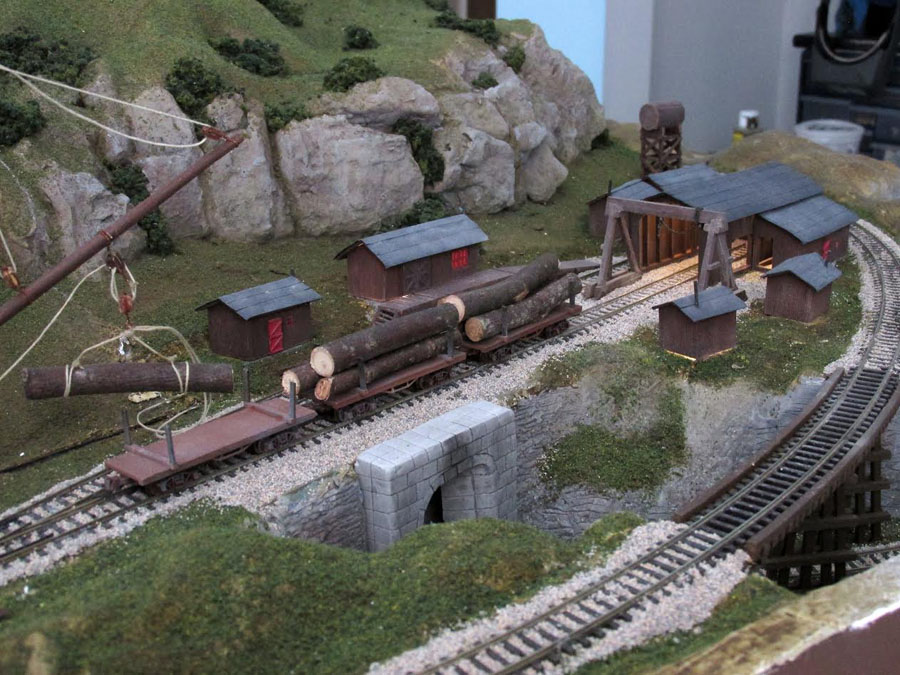
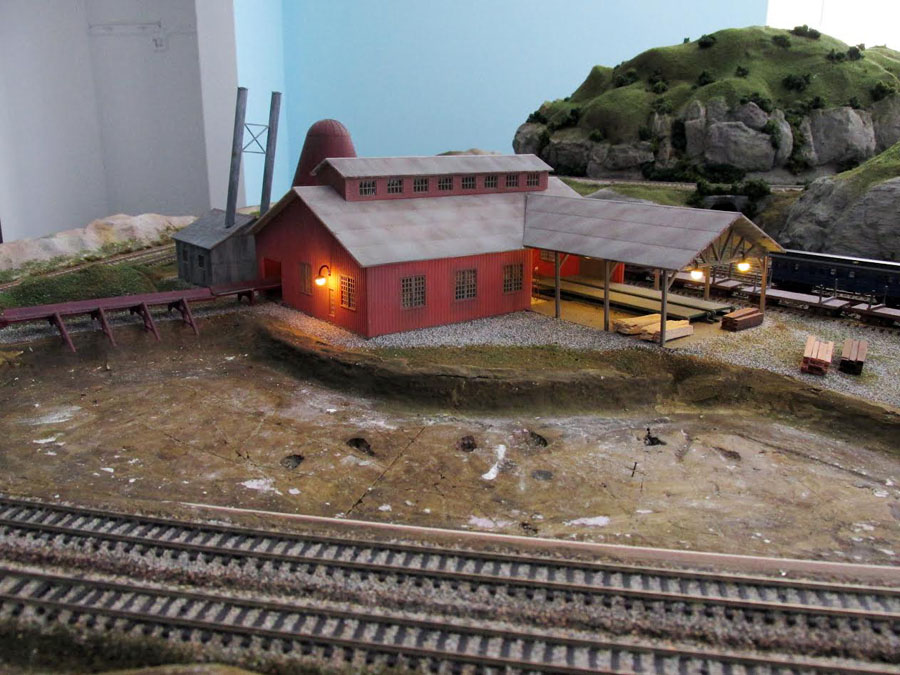
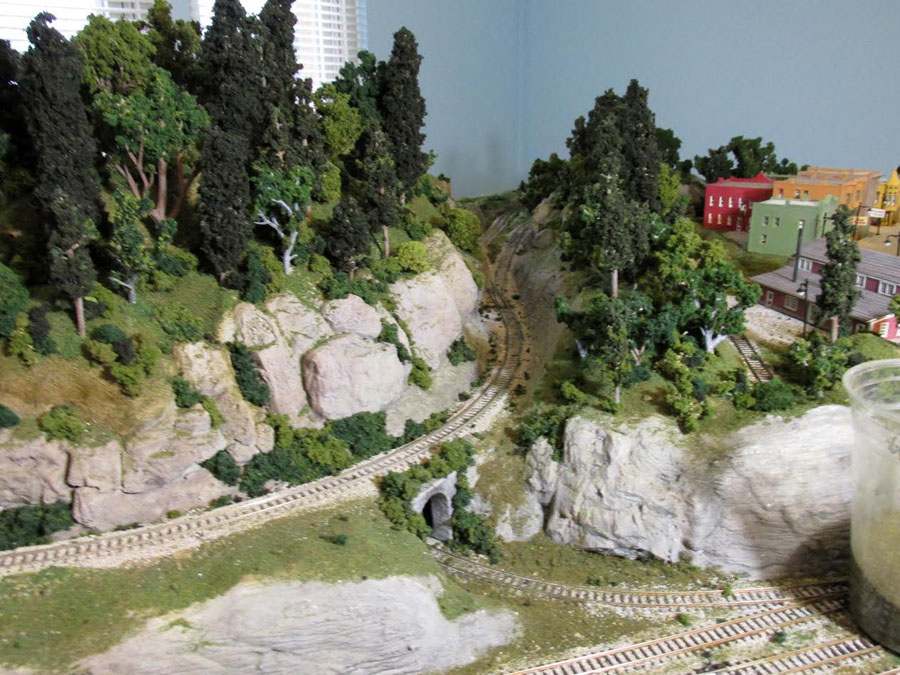
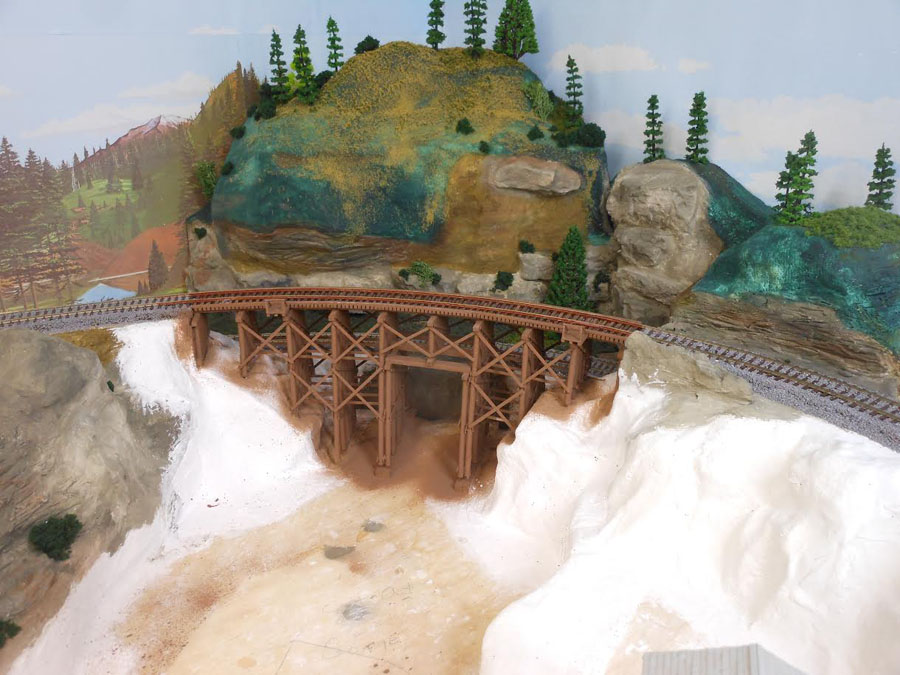
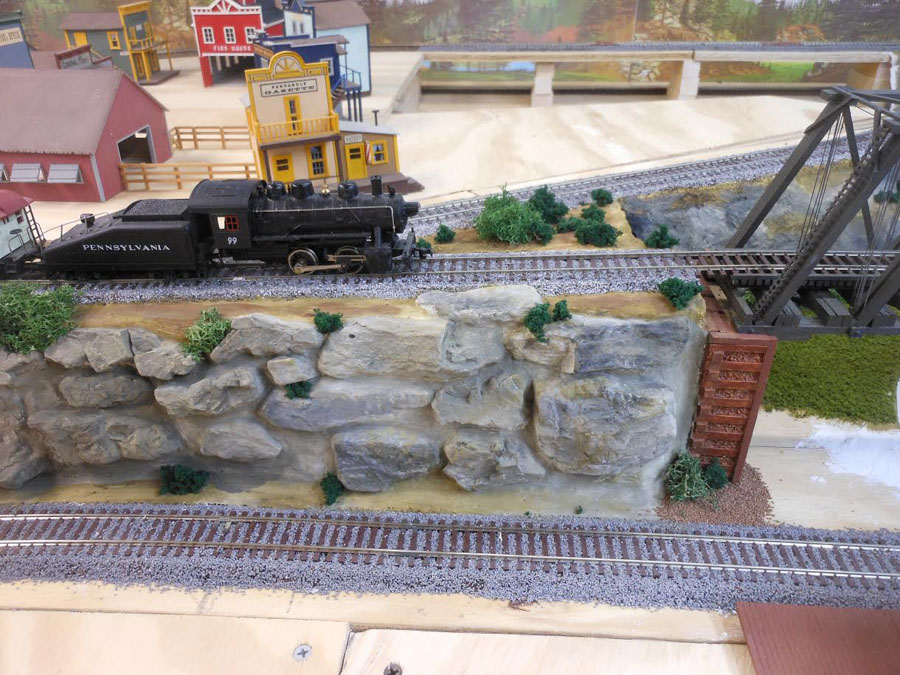
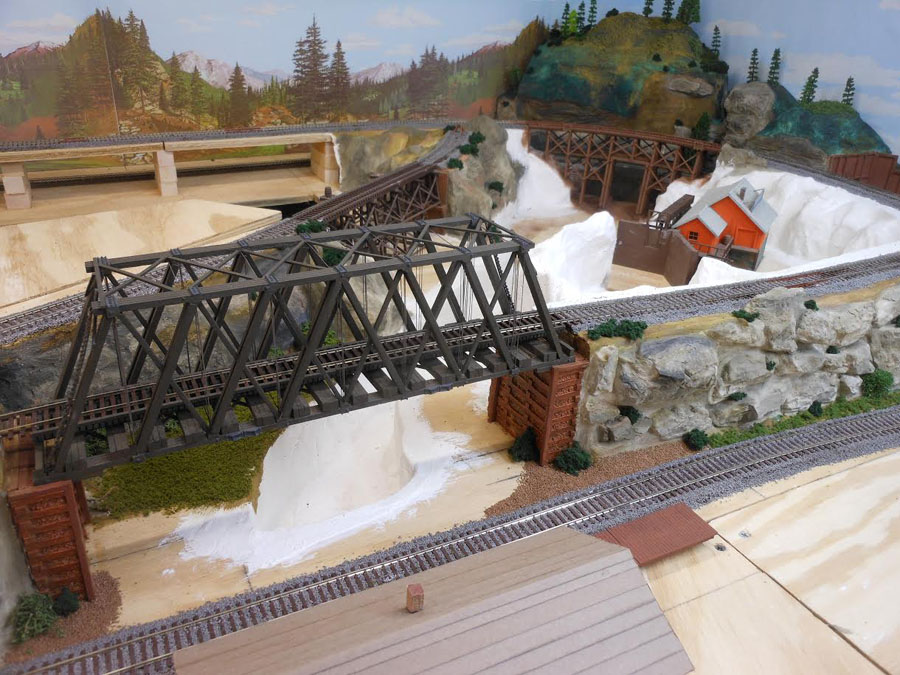
Keith’s been in touch with his 12×16 HO layout:

“Greeting Al, from the northern part of Wisconsin, USA.

This is my first contact with your blog, but I have read it for a couple of years now, and sure do appreciate your efforts as well as the contributions of all who enjoy this indoor sport. I have lifted many tips from your many readers – so thanks to all.

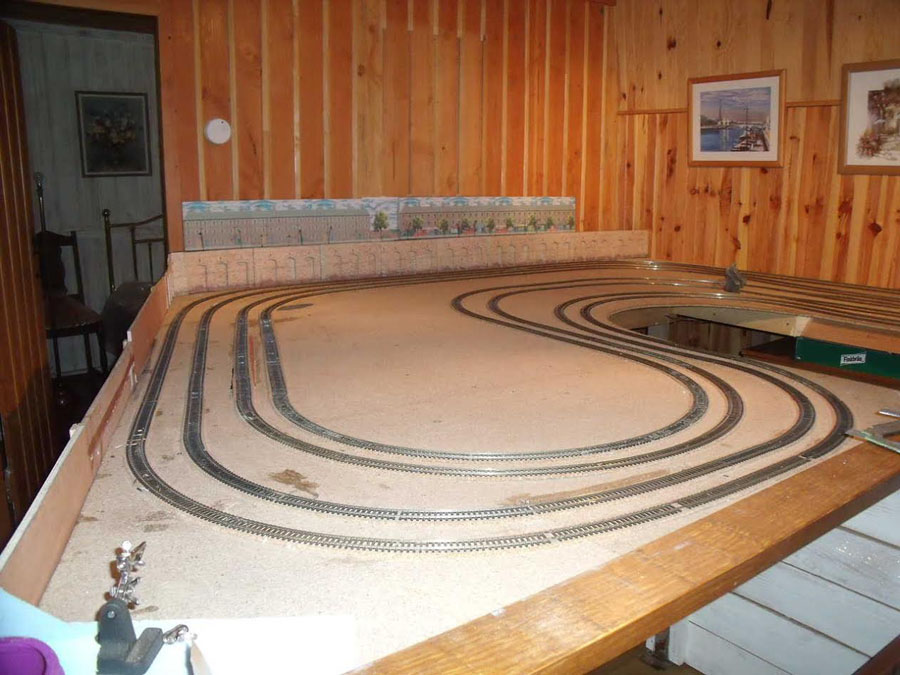
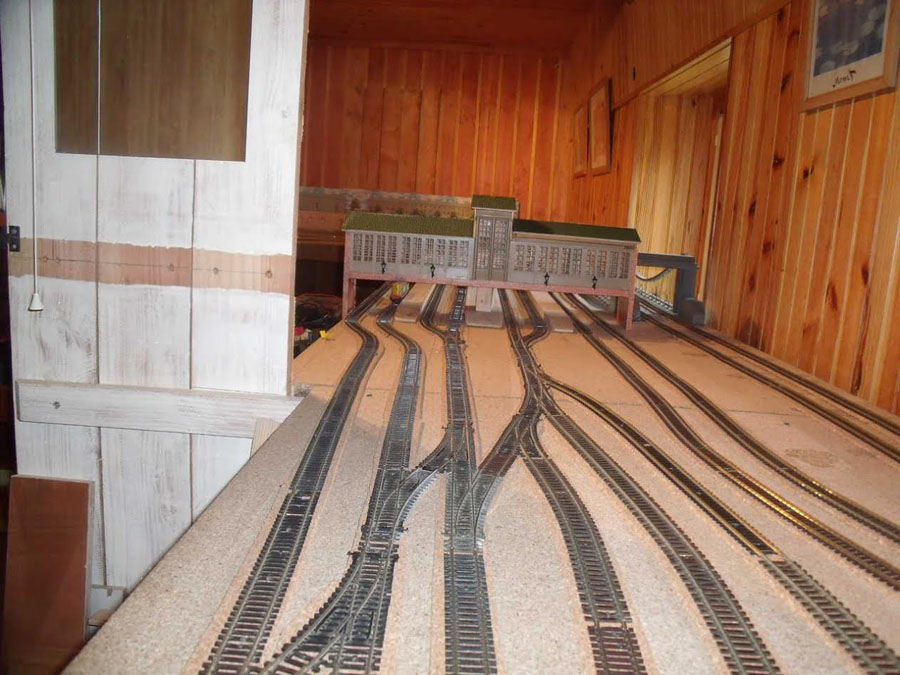
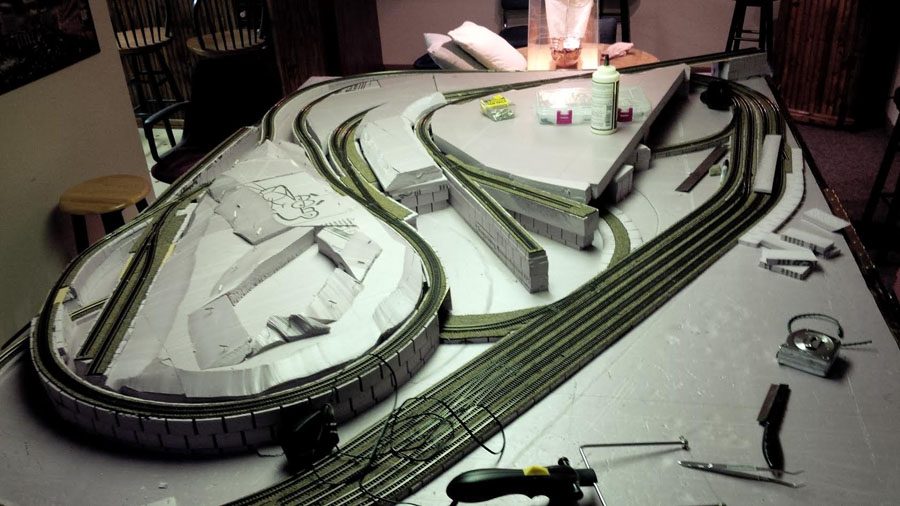
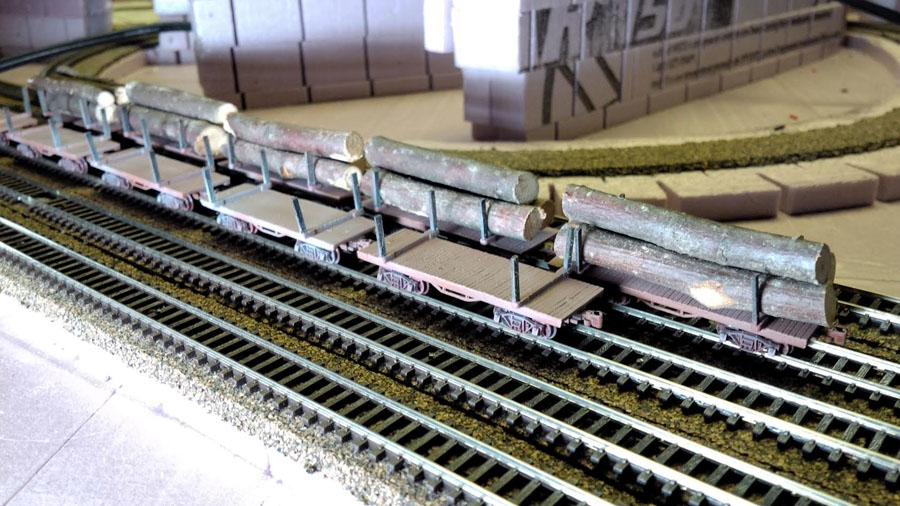
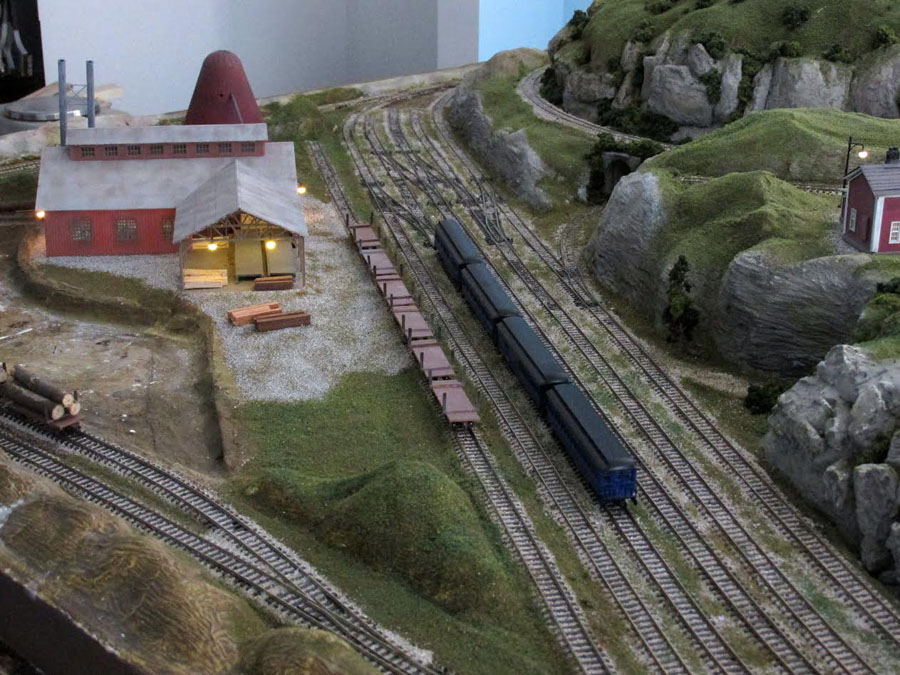
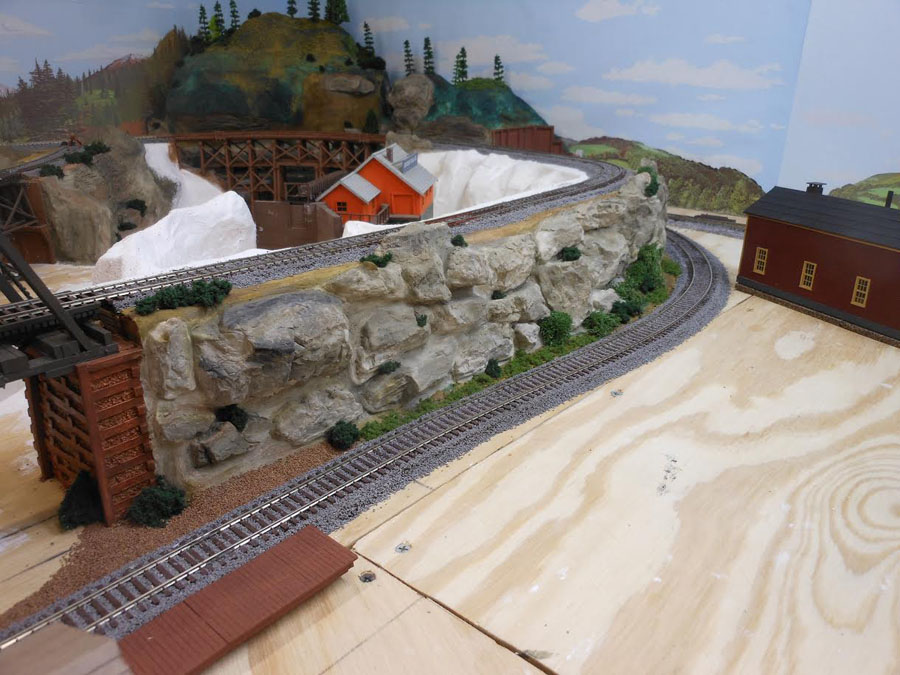
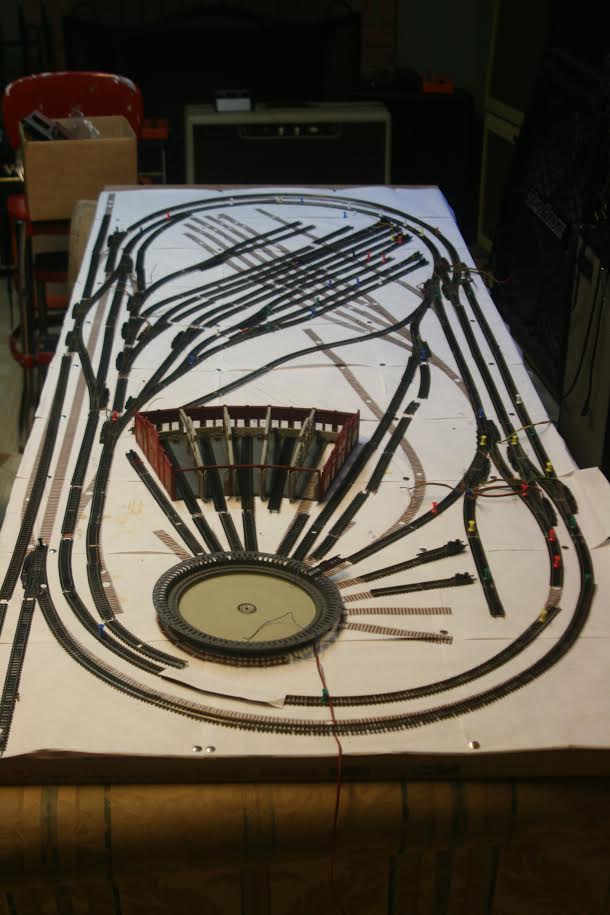
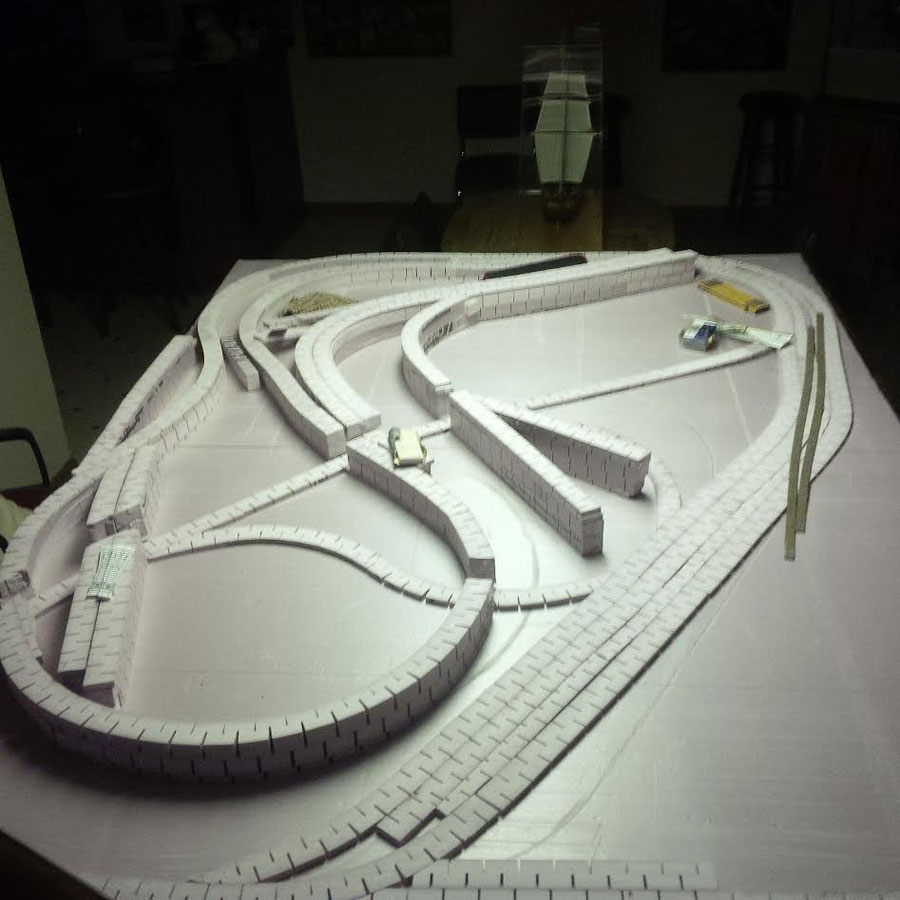
I, like most others, am retired and decided to re-set up the layout I had packed away for many years. The layout is pretty big – roughly 12’ x 16’ in HO scale. The table is constructed with 2 x 8’s for framing, 2 x 6’s for legs, covered with 3/4” plywood and that covered with 1’ thick Styrofoam for sound deadening.

There is an internal walkway for repair and correcting errant rolling stock. Everything is standard DC, but I sure wish we had the finances to have gone DCC. We have three steam locomotives and 10 diesels of various size and configurations, plus more rolling stock than we really need.

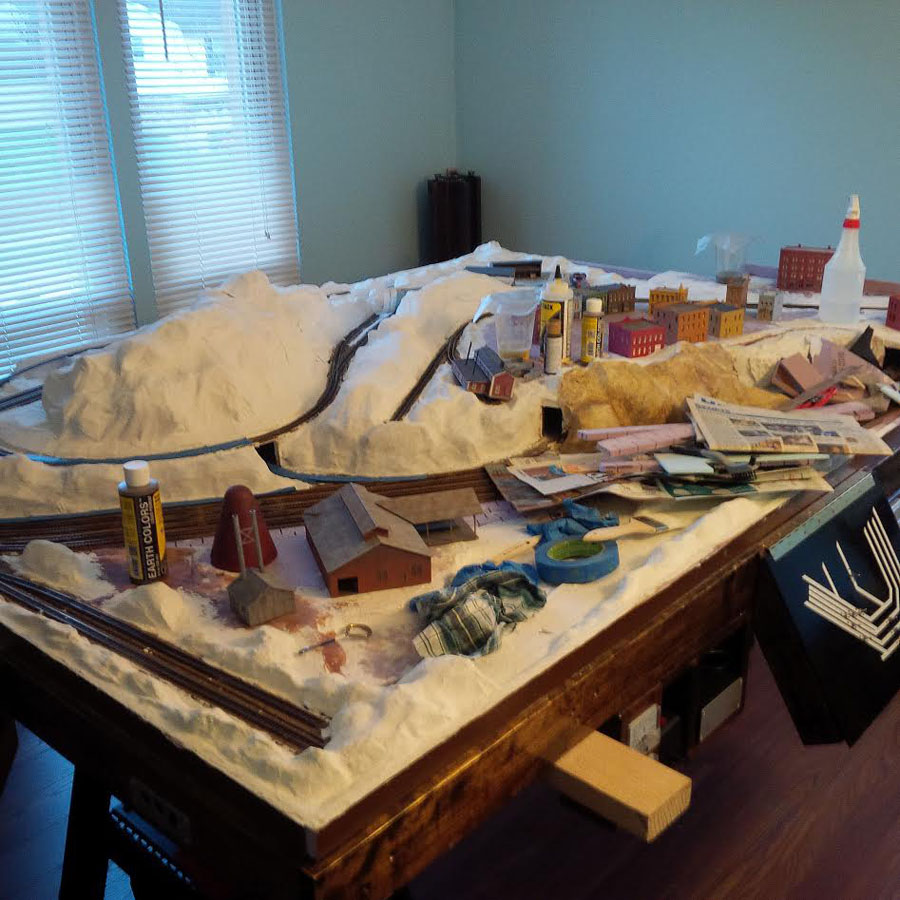
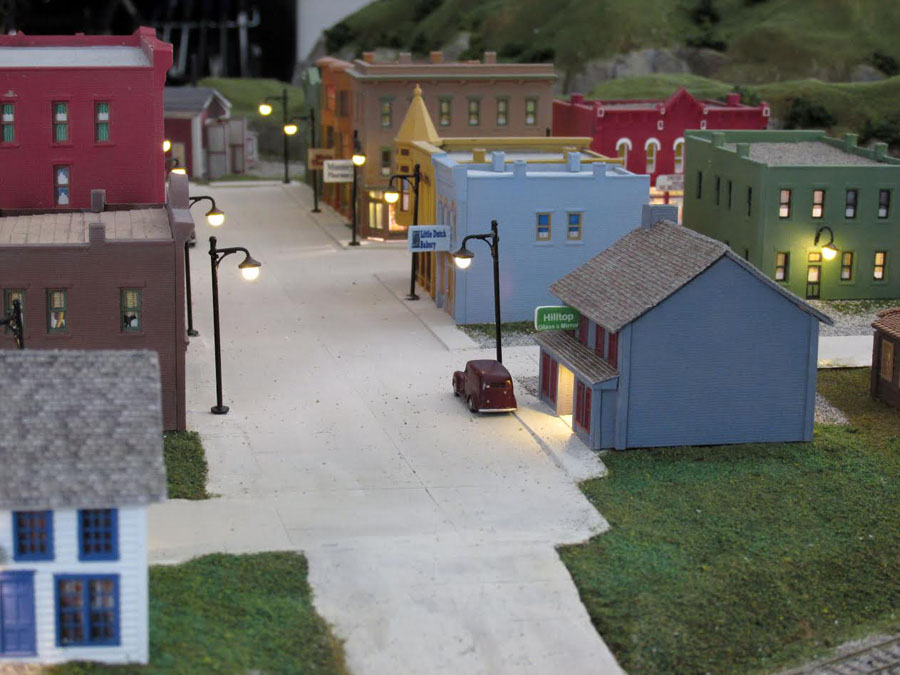
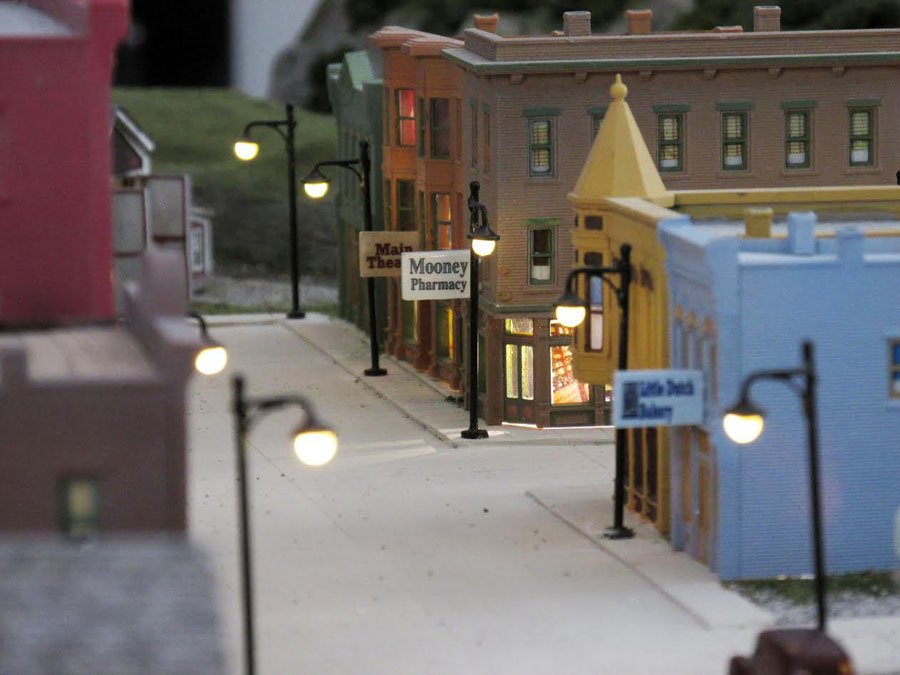
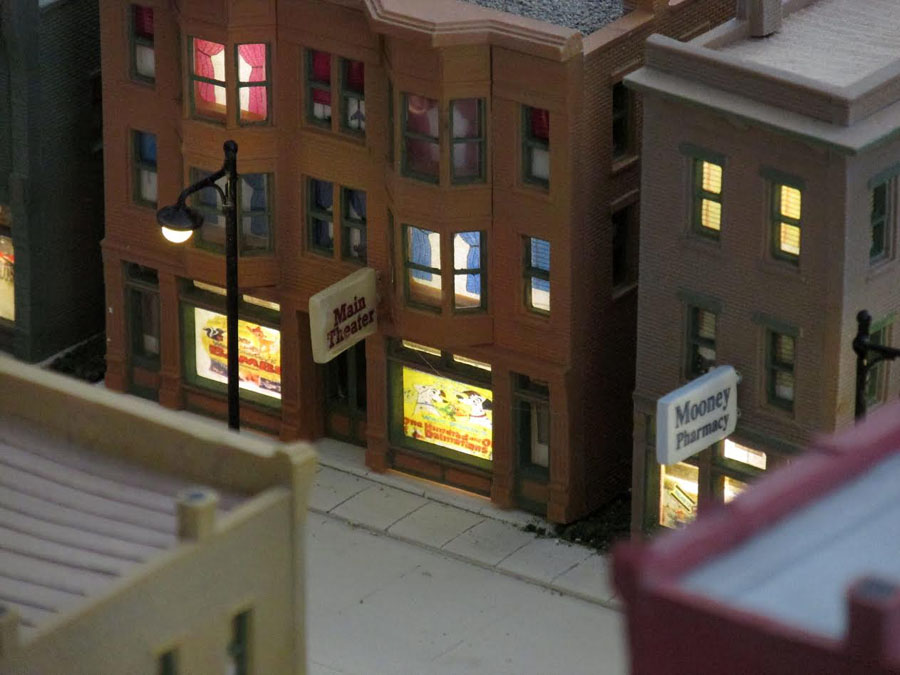
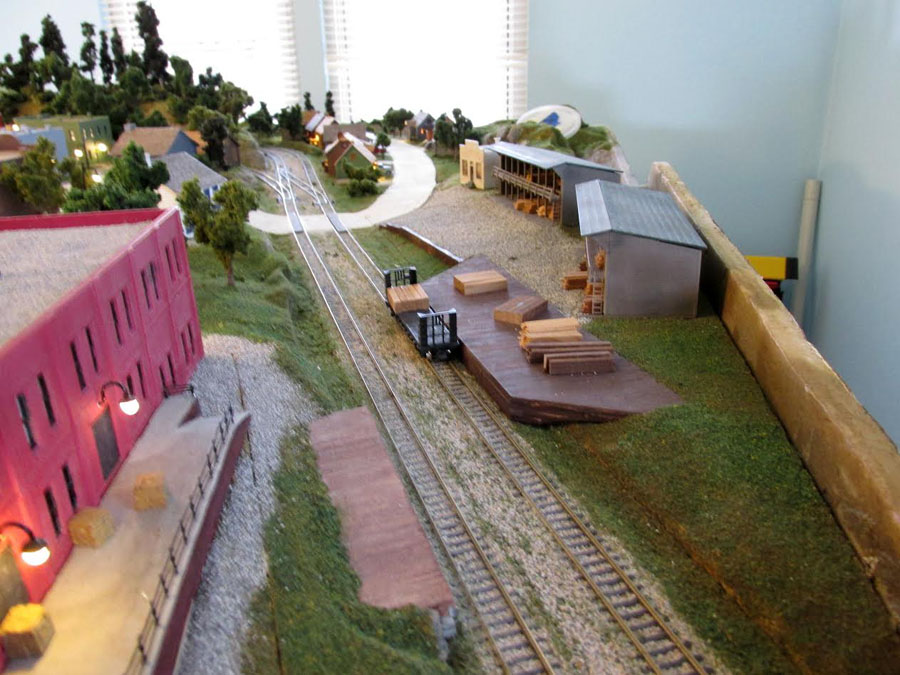
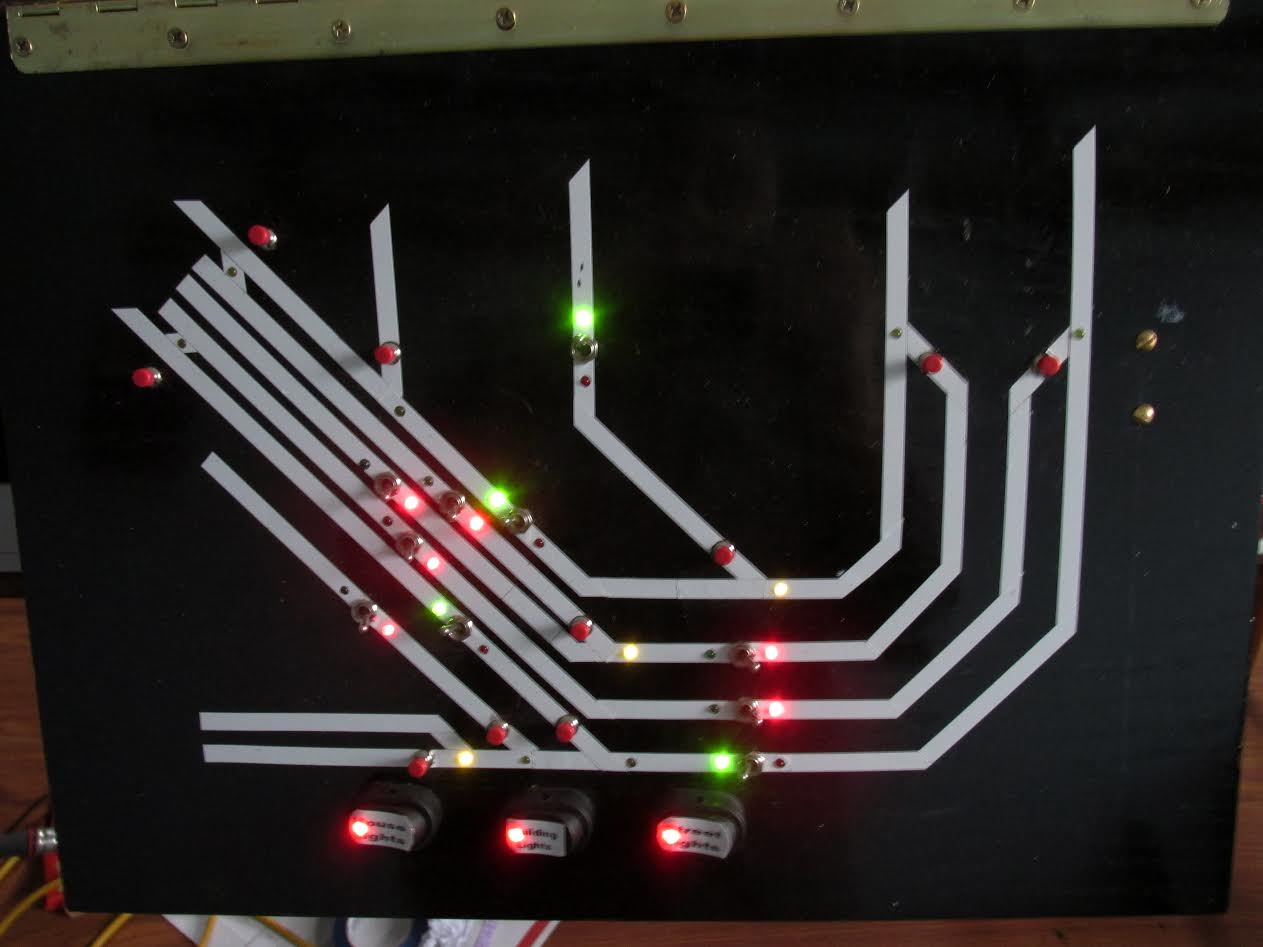
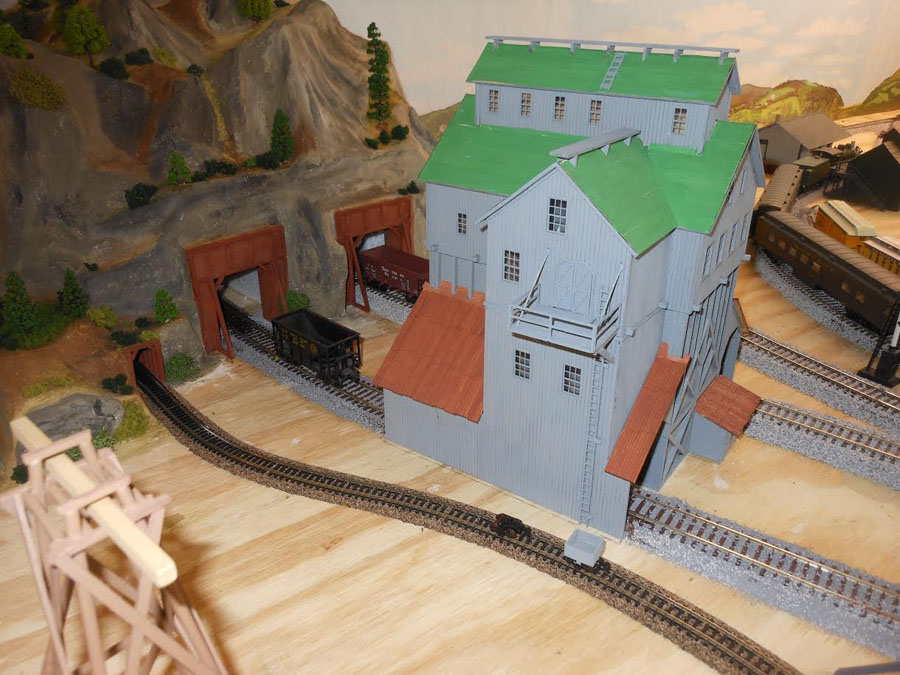
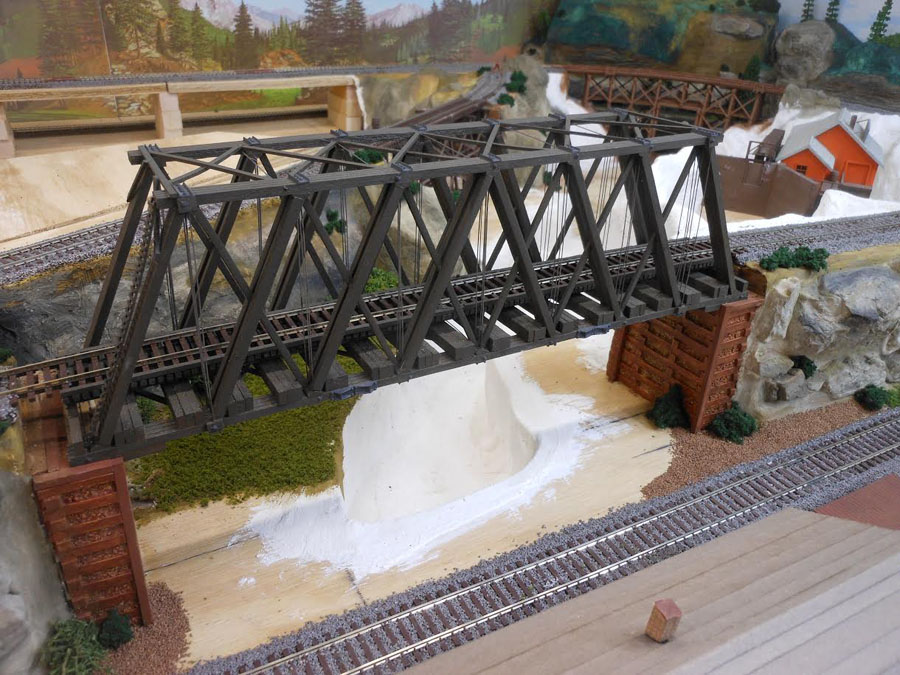
There are four separate loops individually controlled, including a street car run, an industrial switching yard, a commercial and town run, and a mountain run. We have fixed our point in time to be around the early to mid-fifties, and have not modeled this after anything other than our imagination.

We have a three stall operating round house plus additional service buildings. In the mountains there is an operating mine with an oar crushing operation, serviced with a separate spur. We have a major factory area plus a refinery. We have a small stock yard with it’s siding, including some meat packing operations.

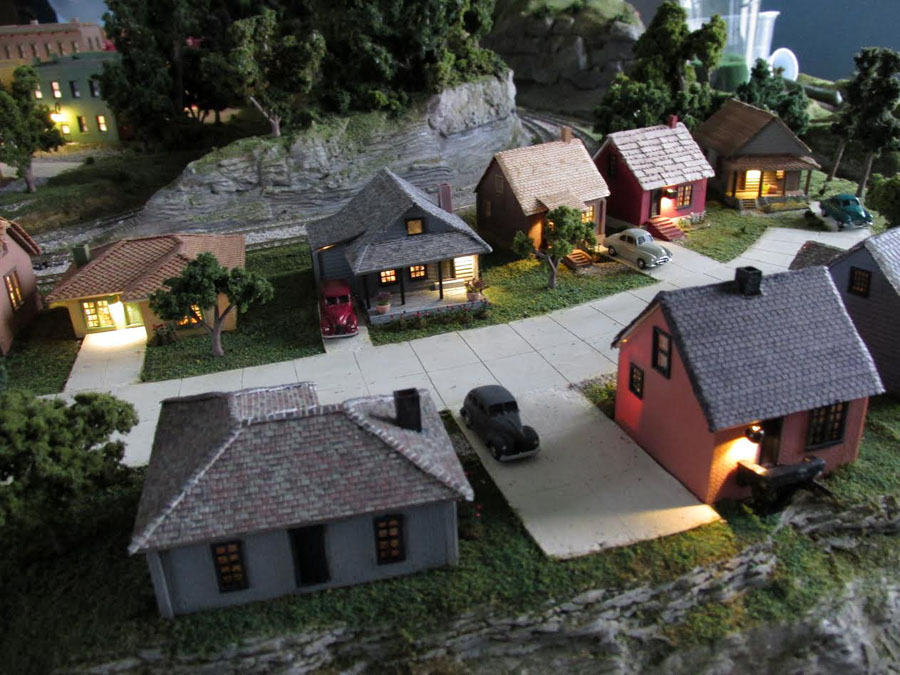
The residential area is small but it connects to our downtown business district. The mountain area has many small “interesting” scenarios for the viewers to discover. We have on order, a 3’ x 12’ printed banner of a mountain scene from a photo, and this is to be most of our backdrop. I am looking forward to getting that into place.

We have done no landscaping as yet (that will come later) and very little of the electrical wiring is finished. The track loops are now functional and a few of the building and yard lights are hooked up. No swithouts are functional at this point so when we “play” we need to manually change the switches.

Some ides that we have incorporated as we progresses thru the layout so far are; using tar paper for blacktop roads. It works great and can be cut to any size, length, and configuration. Very thin pin stripping tape (from an auto parts store) can be used for center lines where needed. I do not have a steady enough hand to paint the lines myself.

I purchased a bag of fish tank gravel and some fake greens from a pet supply store – a lot cheaper than from a hobby supply center.

I also have picked up several fake flowers and interesting branches from Hobby Lobby for future landscaping use. I used a stiff wire brush on some old roof shingles and I collected the gravel in a glass jar. Good for almost everything including ballast.

Keith – My construction partner is named JJ, so thus the name of our project – the JJ & K RR”

12x16 ho layout

12x16 ho layout

12x16 ho layout

12x16 ho layout


model railroad

model train layout

12x16 ho layout

HO scale layout

model railroad

HO track plan diagram

And now back on to Fred – after his stunning last post, quite a few of you had questions.

Fred’s put together another post which I’ll publish in the next day or so. In the meantime, he also kindly sent in this:

“Hi Al –

For the ridge detail on my depot, I used a strip of the roof shingles inverted! The weathering was pretty easy: weathering powder in the usual places – dark grey for runoff from the roof, green for the “verdigris” that you saw everywhere back when copper was used pretty exclusively for flashing.

Although I suppose you could say that I’m really “painting” with it.I find that you can brush it onto all surfaces including polyethylene as long as you put something sticky on the surface first.

Some use fixative after they weather, I use it before. And while the surface is still a little tacky I brush on the green – the more the better. Just make sure you don’t inadvertently touch an area you don’t want to receive it, and if you drip any powder on anything else, blow it off before something touches it and it spoils things. I’ve done this with whole roofs, and by wetting the surface with a spray mister you can “powder” it on the damp surface really thick. It gets that lovely copper sulphate look.

In this case I made my flashings on the roof first, (of folded paper, cut very fine) then sprayed on (lightly) a very dark green/brown as a base color. While the paint was still wet, I bathed the paper with green weathering powder on the exposed side. Having already unfolded the flashing, I flipped it over and sprayed (fairly heavily) a 3M spray adhesive on the underside.

After 5 minutes of drying, I stuck the flashing to the roof, with tweezers, being careful to only press the edges so it wouldn’t curl, and then trimmed it in place with a very sharp blade. After all that I touched up with a little more weathering powder and a very pointed brush.

Having modeled years ago for architectural projects, what I find so satisfying today is the breadth of special glues that are available, especially the Cyanoacrylates. Having built furniture with it for years (you can leach the really thin stuff into a dovetail joint after assembly and then sand or plane the surface, I have a lot of the stuff around, in a variety of consistencies.

For modeling I have been mainly using the thick stuff. And because the only drawback to the stuff is its shininess, I’ve learned a technique I’ll call “spotwelding” with crazy glue, and “finish welding” with PVA. Allow me to explain:

On my station I used 3/8″ high ABS railings, which I bought in bulk. They’re too black as they come, so I usually paint them per my description above, only give them a light dusting with green powder, which takes the edge off the color, and gives it some color “scale” which I like. They’re light and fragile, though, and tough to hold in place. Plastic cement is likely to melt them, leave shiny glop on the receiving surface, and PVA is fine, but holding my hand on a model for the half hour that it takes to harden is not my idea of fun.

I should have mentioned my love affair with the other component of successful cyanoacrylate gluing – the “accelerator.” I get mine from Rockler, which is a fine carpentry outlet here. It comes in pressurized aerosol cans and has the advantage that you can give a very light overspray on the receiving surface without staining or damaging anything. because it’s pretty volatile it seems to evaporate quickly and leaves no trace of stickiness or residue.

Then I take the part to be glued (in this case my railing), and with a piece of wire like a paper clip I dab the smallest possible drop on the underside in about three or four places. As long as the accelerator hasn’t come near the piece to be glued, the droplet will remain liquid on it for several minutes. Very carefully I place the rail exactly where I want it. And the instant that railing hits the receiving surface (in this case the station platform) it is firmly stuck, or at least enough to hold it in place.

We’re not through yet! Because PVA offers the modeler some serious advantages, not the least of which is appearance, (the second one being the ability to wet it and undo your work if need be) I want to do the major bonding with it. It also allows you to fill little gaps which if dusted with weathering powder at finish, make joints invisible or more realistic.

So then I take a small bottle lid with some PVA “white glue” (I use Elmers Glue-All because it’s cheap and readily available) and with a small chisel shaped artist brush and a drop of glue at the very tip, start the tedious job of filling in the joint between the railing and the platform. After an overnight dry it looks perfect, with no visible glue.

Fred”

Church Roof has the “Verdigris” treatment:

A huge thank to Fred!

And finally, here’s a question I see time and time again, so I thought it worth posting as I think it’ll help quite a few:

“Hi Al,

I’m just getting back into model railroading (HO Scale) after about 50 years. I have all the board work down and am now getting ready to lay track. I have one main question before proceeding. When I was originally into Model Railroading there wasn’t any DCC wiring only DC and I have no one nearby to ask questions. Do you recommend that I stay with DC or try to figure out on my own the newer DCC method?

Any help would be appreciated.

Thanks,

Curt”

Please do post your answers below – and thanks to everyone who’s contributed.

That’s all this time folks – don’t forget the Beginner’s Guide – it’s the very first step to getting your head this hobby, whether DC or DCC is your thing.

Keep ’em coming.

Best

Al

PS Latest ebay cheat sheet is here

PPS More HO scale train layouts here if that’s your thing.



N scale scenery – Fred’s

Fred’s been in touch with this stunning N scale scenery:

“Hi Al –

This is an update on my project. You first heard from me about a year ago, with my soliloquy about the importance of scale. So about a year later, here I am again with my progress report.

My layout (N Scale) is about 24 feet by three feet, with a “dogbone” right angle section at one end for track return under a mountain.

At the other end there is about eight to ten feet jutting inward (away from the viewing front, which forms a harbor, that accomodates a chemical tanker piered for loading at a refinery.

The other side of the harbor will have a city, with 1920 era apartment buildings sweeping up to modern 30-40 story high rise construction. Downtown section of city measures about four feet wide, and two feet deep. Tracks underneath eventually terminate into staging yard (in next room of my basement, which up ’til now has housed all my good wine and scotch.) Years ago I was an architect, so I’m looking forward to building the high rise section.

The layout has a curvilinear front face, with masonite facia, so that the layout varies in width from eighteen inches to forty two, which makes it look more natural, I think.

I have two rows of fluorescent tubes behind the top facia, together with high intensity incandescent mini-spots. It is very well lit, which helps these old cataracts see what the owner is doing!

The entire length of the layout resides underneath a diorama backdrop that curves all the way up and over the layout (layout is 4 feet off floor, “sky” of diorama is at 7 feet, which I built of “Masonite,” and taped and plastered with drywall mud for mural painting.

I used to landscape paint in my youth, and felt I had a better chance of designing the backdrop to my layout rather than a photo backdrop, which might have dragged the cart before the horse. I have been working pretty exclusively on the north (dogbone) end of the layout since I laid all the track a year ago, on a fictional rural town that looks a lot like my native New England.

“Maxwell Falls” (Grandson #1 is named Max) is the name of this town. It’s commercial, with brick shops from DPM kits, where the big effort seems to be in the painting and weathering, lighting, detailing, etc. I found a Volmer church kit, and kitbashed it considerably to use the right hand wall of the nave to extend the visible side on the left and give it correct proportions and scale.

Landscape is plaster cloth on foam insulation. I used many latex molds to model rocks from hydrocal and plaster of paris. Water in the river and the ravine that holds the hydro plant is by “Magic Water,” and though I leaked about half into buckets during the pour, looks very real once done. painting the rapids was a real challenge. I have audio chips all over the place, and a speaker inside the power plant rushes with water through the turbines as I continue with this fabulous hobby.

Under Spandrel bridge, looking at power plant:

stunning N scale railroad bridge

Dam and river:

stunning n scale dam

Aerial view of Powerplant:

stunning n scale factory

The bend at Maxwell Falls: (Note the “interface” between the plaster model road, and the painted road in the backdrop. I put the bridge expansion joint right at the break, and continued with the same color acrylic paint throughout. The painted road begins right at the red van on the bridge.

stunning n scale model railroad cove


A Magic Water pond with sheep

stunning n scale pond with sheep

Scratch built late Victorian – early 20th Century station

model railroad power station

On the way from Maxwell Falls to “Port Charles” (The city)

railroad tunnel

More Backdrop painting approaching harbor

model railroad backdrop

I’ll send you more in time, but here are some pics: (If I run out of digital room with these pics, I’ll just send them with labels in a separate email)

Fred”

A huge thank you to Fred for sharing his stunning N scale scenery.

Believe it or not, the other half of his layout is even more stunning: Model railroad LED lights.

Just goes to show how much fun you can have with a theme to bring your layout to life.

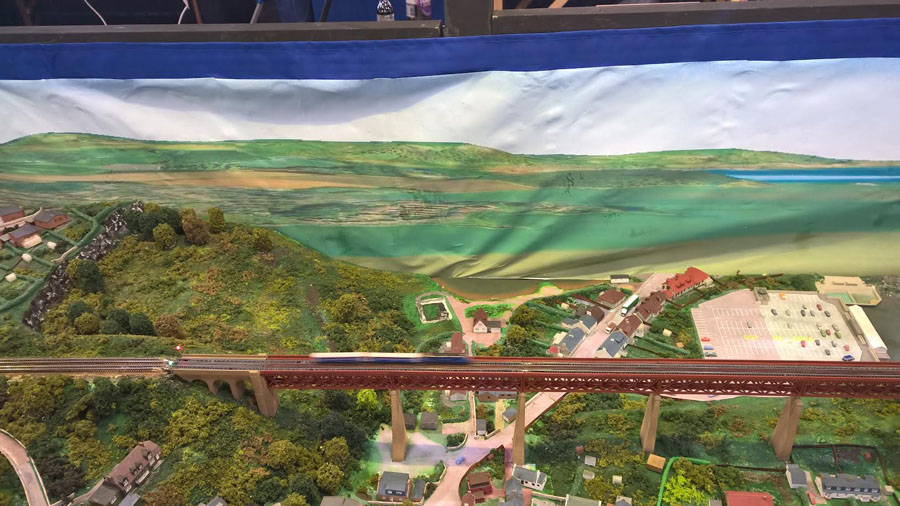
Fred’s layout reminded me of John’s viaduct. It’s not hard to see how:

I know John moves them about quite a bit, so here are some stills (pics are clickable):

model train viaduct

model railroad viaduct

model train tunnel

It’s hard to believe they are made from print outs, and they’ve just been stuck together – but that’s exactly what they are:

But best of all, all the new scenery is launched at a silly price.

The viaduct and the wooden tunnel are already on the store for $9.97 each – but guess what?

Right now, you can grab both – that’s the viaduct and the wooden tunnel, for just $9.98. So that’s that’s less than $5 bucks each.

Just so we’re all clear, this is only for a day or so though, then they’ll just be available in the store.

They are made at HO scale – just reduce the print by 50% for a stunning N scale size. If you want to print for O scale they enlarge really well – but you need a printer that can handle the larger sizes.

To grab your viaduct and wooden tunnel, click here, or justclick on the link below.

Please do send me pics of your models – and please leave a comment below, I’d love to know your thoughts on them.

That’s all this time folks – don’t forget the Beginner’s Guide if you’re getting borded of sitting in your armchair (and it doesn’t matter how many decades you’ve been sat in it, it’ll really help you to get going).

That’s all this time folks. Stunning N scale scenery and viaducts.

Please do keep ’em coming.

Best

Al

PS Latest ebay cheat sheet is here.

PPS More N scale layouts here if that’s your thing.


O gauge 4×8 layout – Bob’s layout

Bob’s been in touch with his O gauge 4×8 layout:

“Hi Al, Bob from New York here.

I have not posted anything in a while but I have been busy working on my layout so I thought a update was appropriate. Winter in the Northeast does allow for a lot of indoor activities.

I have been enjoying all of the posts and have incorporated some of our fellow modelers’ tips and tricks.

I model O gauge 4×8 layouts on a small board, which is a challenge but I am making it work.

I have done some printed scenery as well as some scratch built work. The cliff was carved from 2″ blue foam boards, glued together and cut to shape. Here are a few photos of my latest progress.

Thanks,

Bob”

o gauge 4x8 layout cliff

o gauge 4x8 layout cliff

model train stone

o gauge 4x8 layout

o gauge 4x8 layout

o gauge 4x8 layout

model railroad

model train


Now on to Stephen:

“I worked on my layout for a year and was almost done with this project, but had to move and lost my room for the train. My layout and trains are now in storage.

Stephen”

model train layout

I know what Stephen means – I think more than half the battle is getting a space of your own, so you can get going.

That’s all this time folks.

A big thanks to Bob for sharing his o gauge 4×8 layout, and to Stephen too.

Please do keep ’em coming.

And if today is the day you prise yourself off your armchair and start laying track, the Beginner’s Guide is here.

Best

Al

PS More HO scale train layouts here if that’s your thing.


Need buildings for your layout? Have a look at the Silly Discount bundle.