Dick’s been in touch with a HO scale flatbed build:
“Hi AL,
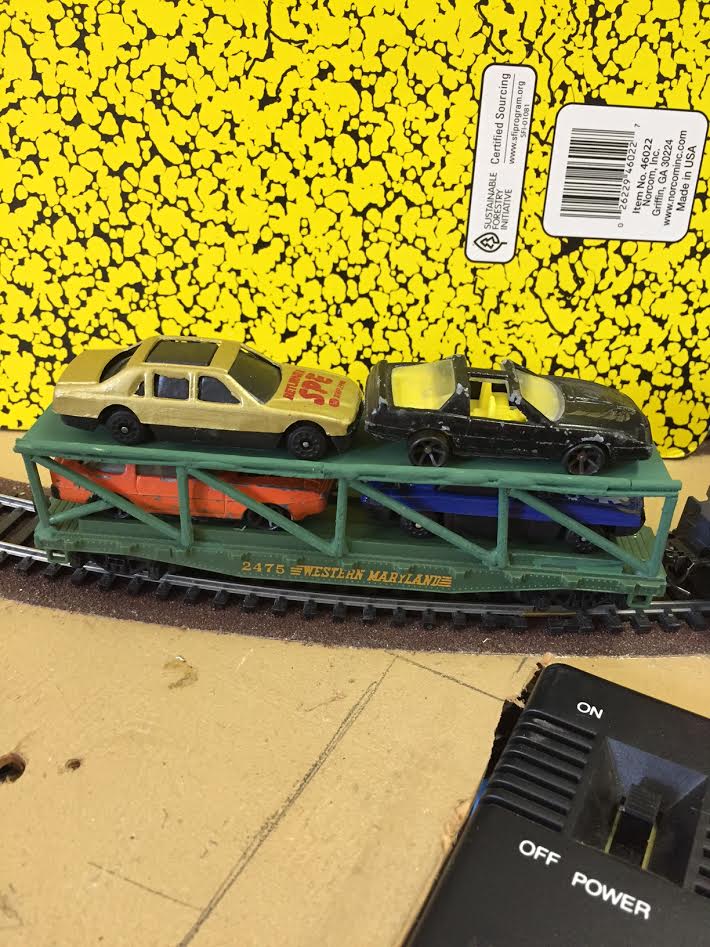
I love Roger’s HO scale flatbed ideas. It got me thinking about making a car hauler out of one of my HO flatbeds. We have a few “Matchbox” type cars from when our Grandson was young. I built a second level from toothpicks, glued it all together using JB weld, and painted the whole thing to match the flatbed. Here’s how it came out. What do you think?
Tricky Dick in California
ps. JB weld is an epoxy.. MIx equal parts and it dries hard over night”
If you’re wondering which post Tricky is referrin too, it’s here.
“My favorite scenery tip.
I use older ceiling tiles to make rock walls. I tear off small pieces and glue them together to make a wall that looks very realistic. I will glue them together to make overhangs, cliffs, indentations and then use water colors accent coloring. A small piece of lichen hear or there simulates small shrubbery growing from the natural cracks. The pieces will be less than an inch deep to maximize space on the layout.
Terry”
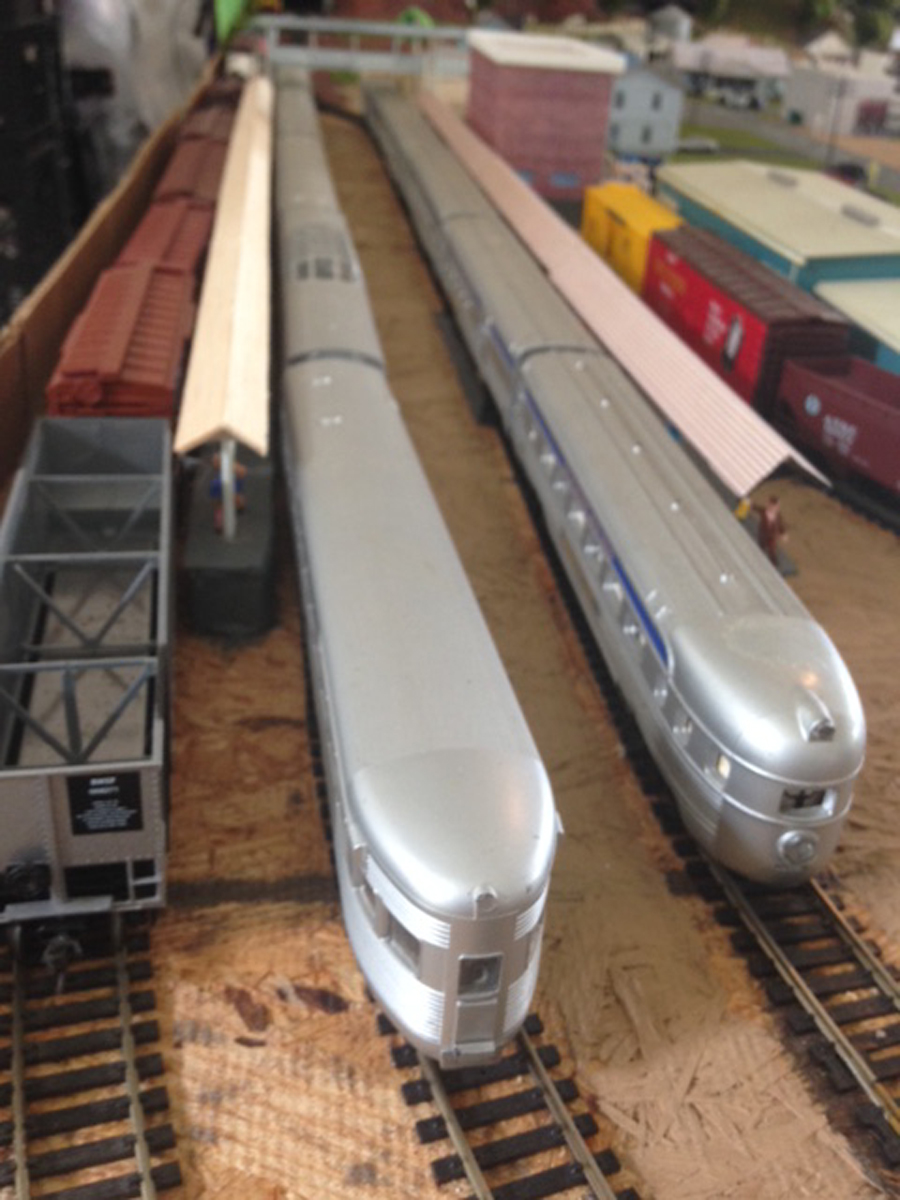
Thanks for all the comments and emails on the post featuring the abandoned trains – there was one common theme with them all: sad, but beatiful.
That’s all I got today. It’s getting a bit thin on the ground this end, so if there’s anything you’d like to share please do get in touch. Emailing me is easy – just hit reply to any of my mails.
That’s all this time folks – apart from if you’re heading over to ebay, have a look at the latest ebay cheat sheet. Some really nice stuff on there at the mo.
Dick’s been in touch with his indoor G scale layout:
“Al:
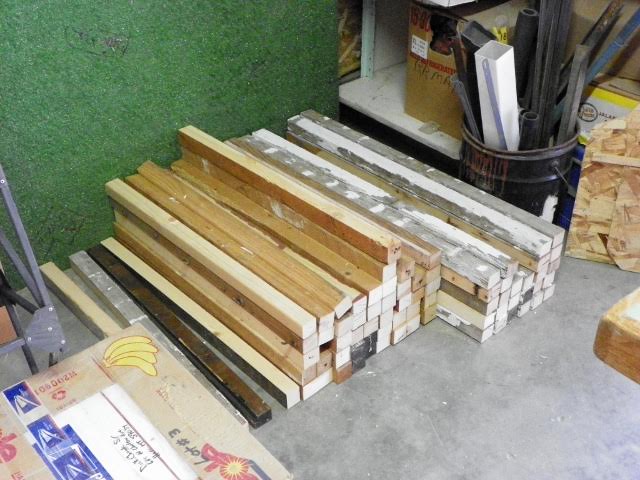
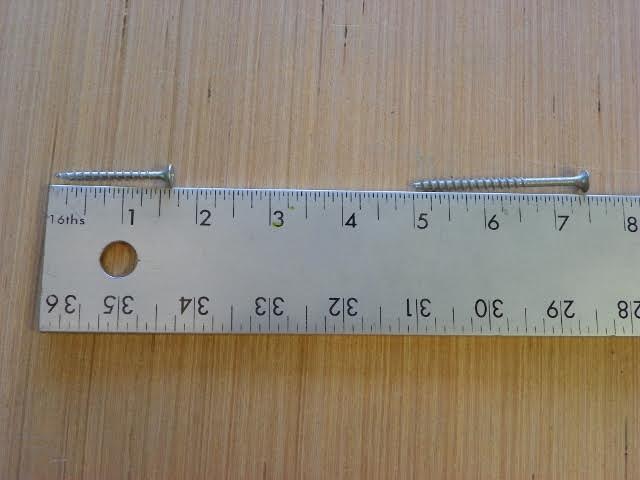
As mentioned before, I decided upon using 3′ by 6′ tables as standard.
24 tables were made. I precut all required 2 by 2’s for perimeter frames, cross braces, legs, and leg wings.
All holes for screws that attach leg assemblies to the tables are pre-drilled in the exact same spots so the leg assemblies are interchangeable. Only 2 crew sizes are needed.
I hate to waste lumber, so I figured in all of my cuts to use up every last bit of wood I had.
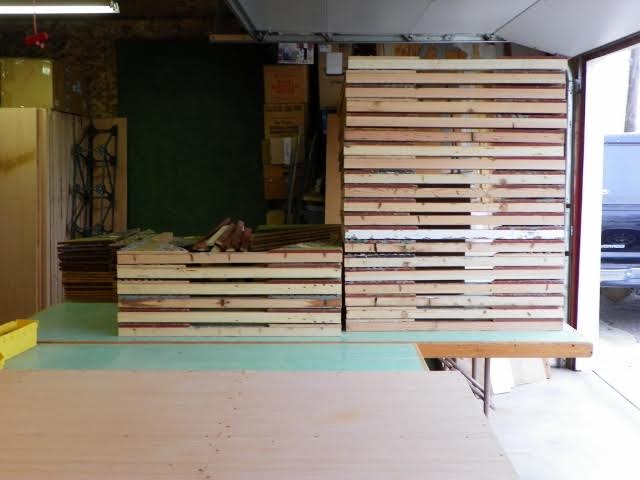
All framing is glued as well as screwed together. The result is lightweight tables that are strong enough to support my weight along the edges and centers of each table.
Should the need arise to actually climb up on top of the tables I lay a thicker mat of plywood or 2 by 8’s or whatever on the tables to rest my hands and knees on.
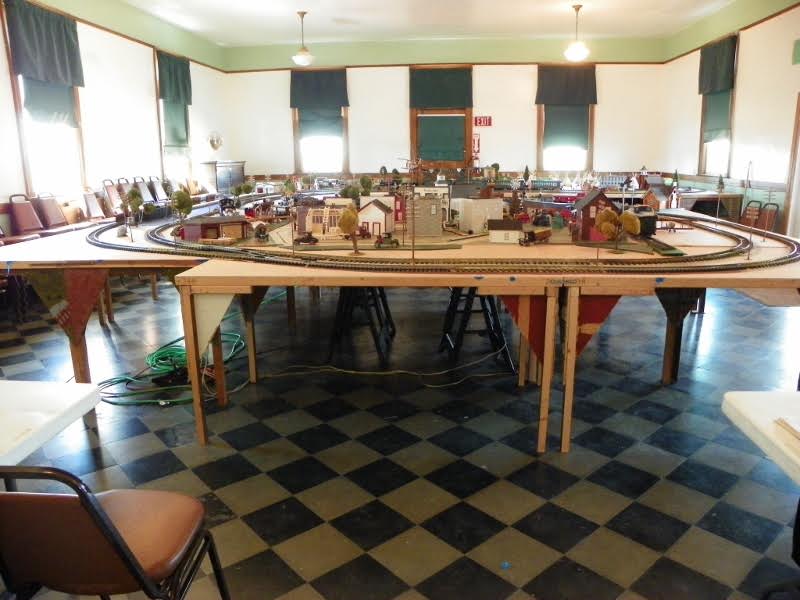
Just like using dominoes, I can make most any configuration with these tables.
When the tables are in place, then short metal bars are used to tie the tables together as can be seen in the photos.
The tables are kept sandwiched together by using simple metal strips connecting adjoining tables.
Each table is identified as table 1 through table 24. Each table has a North end and a South end labeled.
Each leg assembly is also labeled with table number and North or South.
Even though the leg assemblies will interchange with the tables I found slight variations so decided to number the legs as well.
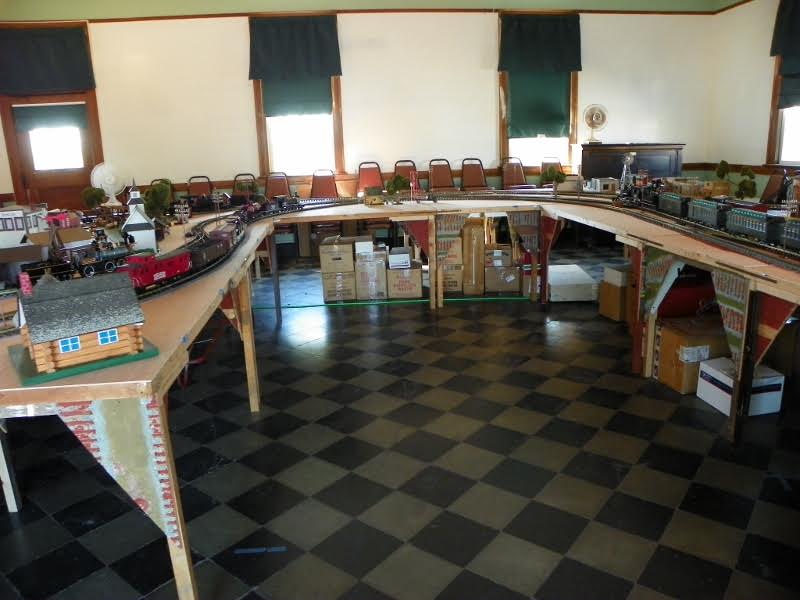
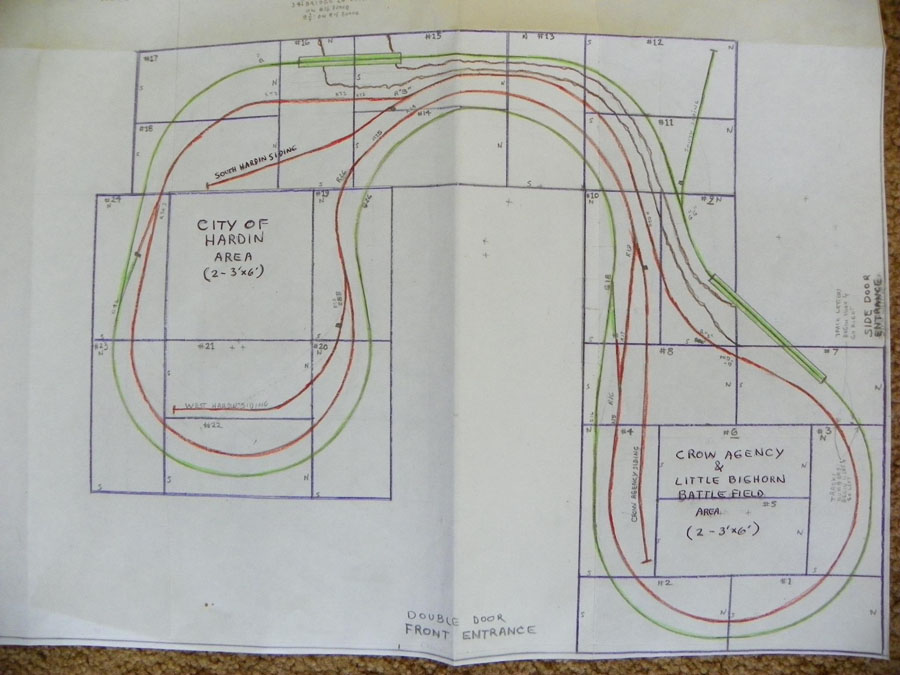
Next came the scaled detail diagram showing table layout, and table orientation, I plotted a track diagram that would fit nicely, then using my diagram as a guide, I then drew the layout in pencil on the tables.
Next came the track sections to match the layout center lines drawn on the tables.
After all track was in place, I labeled each track section and marked it out on the table also so I would know where each section went each time the track was assembled and taken apart.
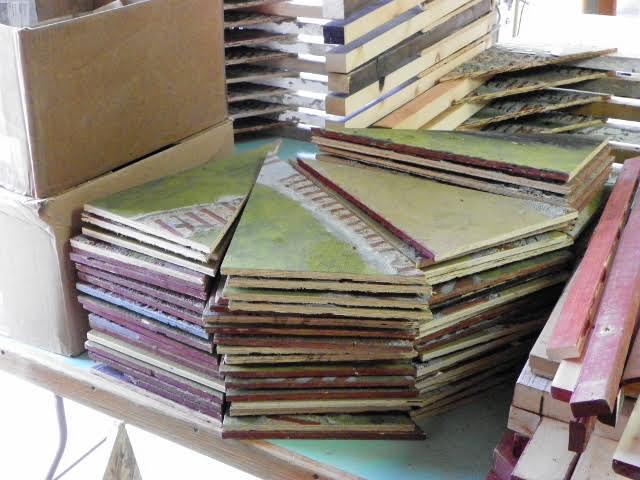
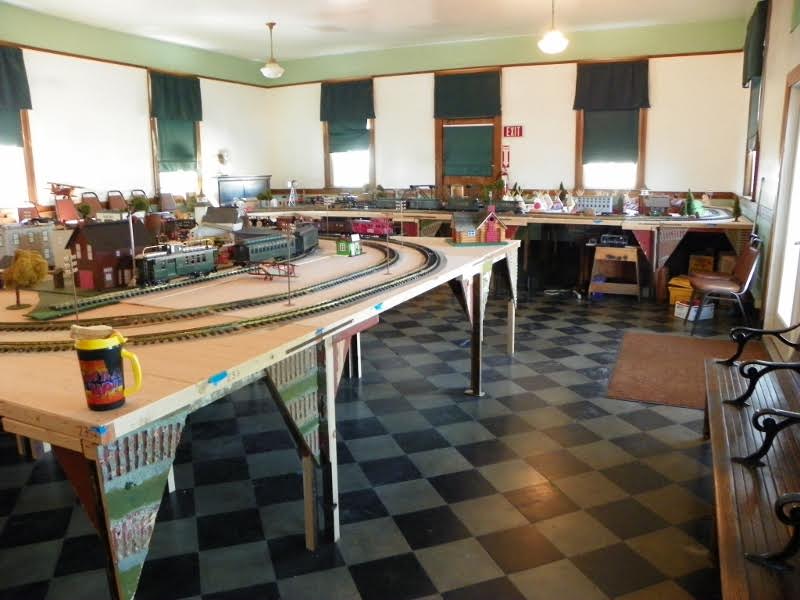
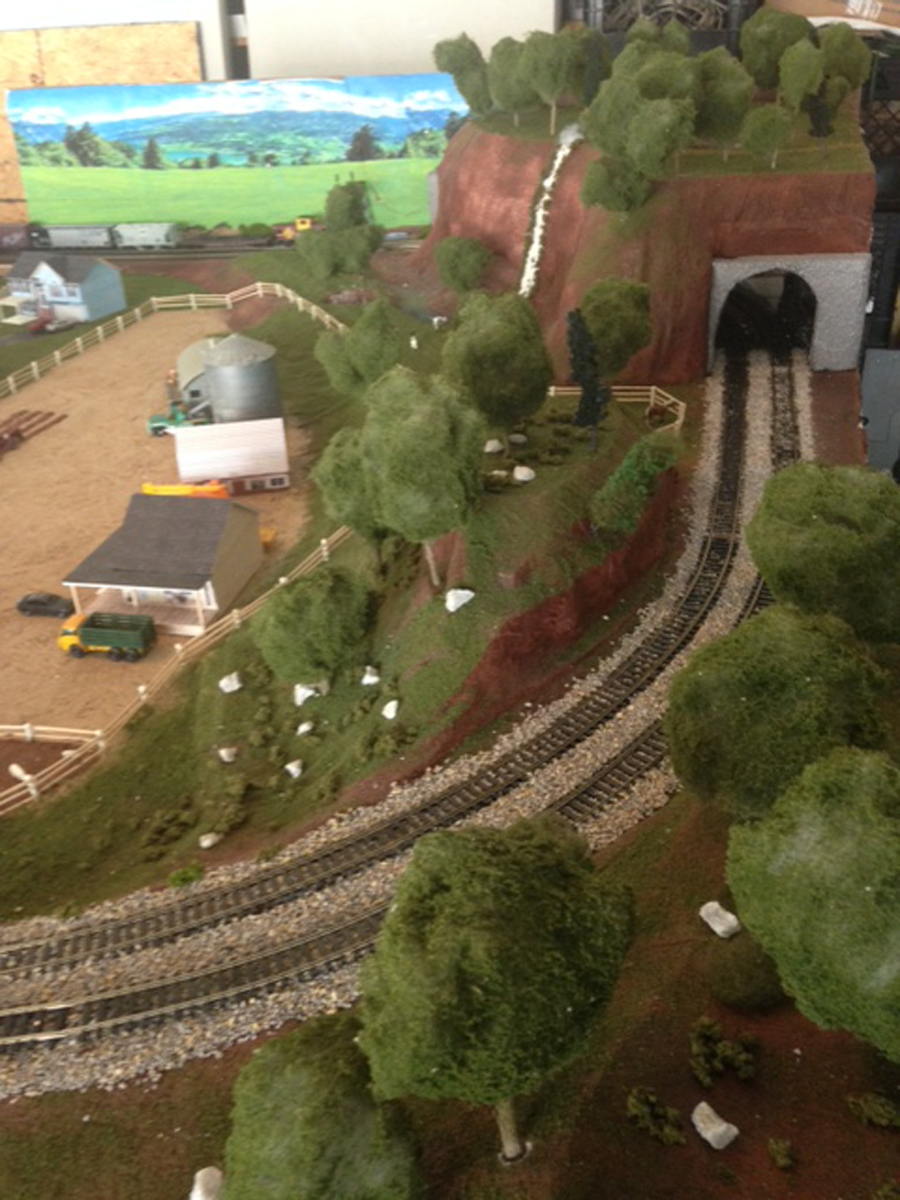
The roadbed was then painted on which looks very good really, using a mixture of paints and stippling them on for a 3-d effect.
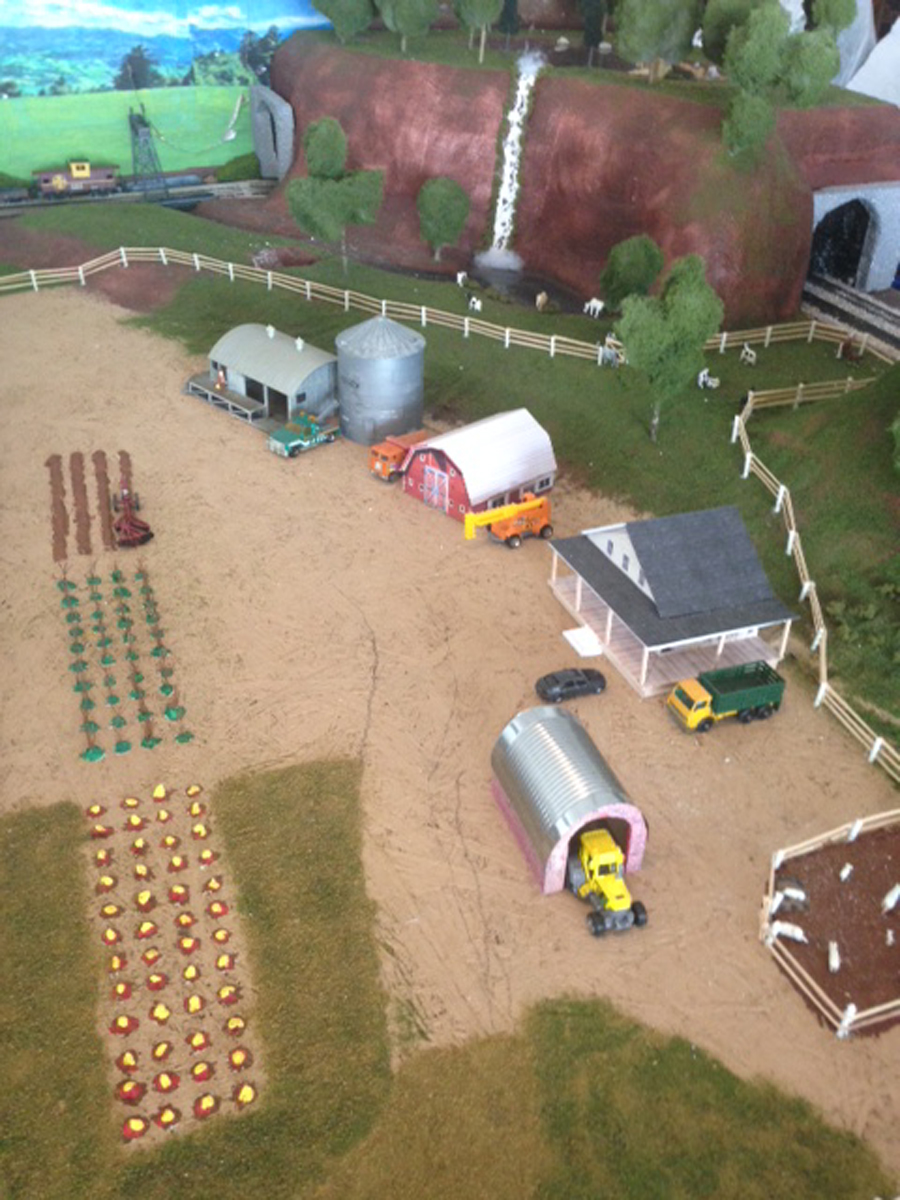
More pictures to follow will show the simple painted on rivers, some greens and browns. The majority of the tabletops were left bare as they already have a fairly nice earth color to them.
Wiring is kept very simple, all wiring laid on top of the tables, no permanent under table wiring to snag. Wiring on top is easy to disguise when necessary.
For this layout all curves are 8′ diameter and 10′ diameter with many 20′ diameter curves tossed in also. turnouts are all #6 Aristocraft switches.
Next up will be some discussion on era chosen, some scenes of Crow Agency Mt which is on the Crow Indian Reservation.
Thanks again Al.
I will work up part 4 next, after a couple days here when I have more time.
Dick Chapple Sr”
Indoor G scale:
A huge thanks to Dick for sharing his indoor G scale. It’s funny how what you choose to make your layout on is so important – it affects so many things.
Make your layout table too low and you’ll end up with a lot of back ache, and of course, getting underneath the table is also a problem. But at least the little people can enjoy the trains too.
Making your table higher means it’s easier to get under it for the wiring – but then reaching the middle of it gets to be a pain the backside. And the little peeps won’t be able to see so much of it. And of course, derailments can whizz of the side of the table which sometimes becomes expensive.