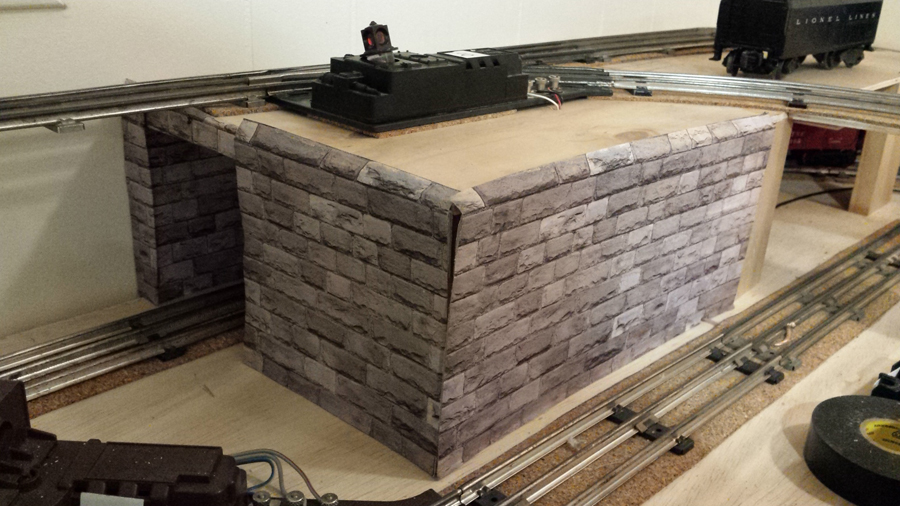
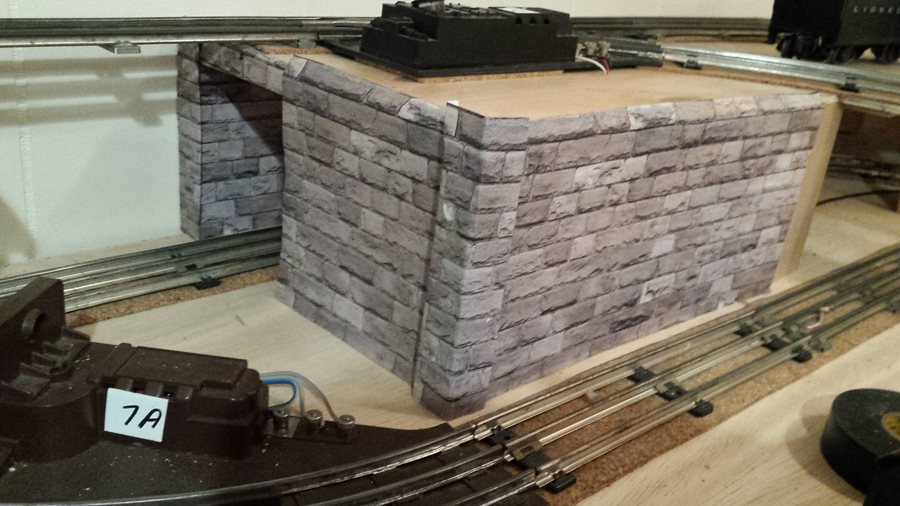
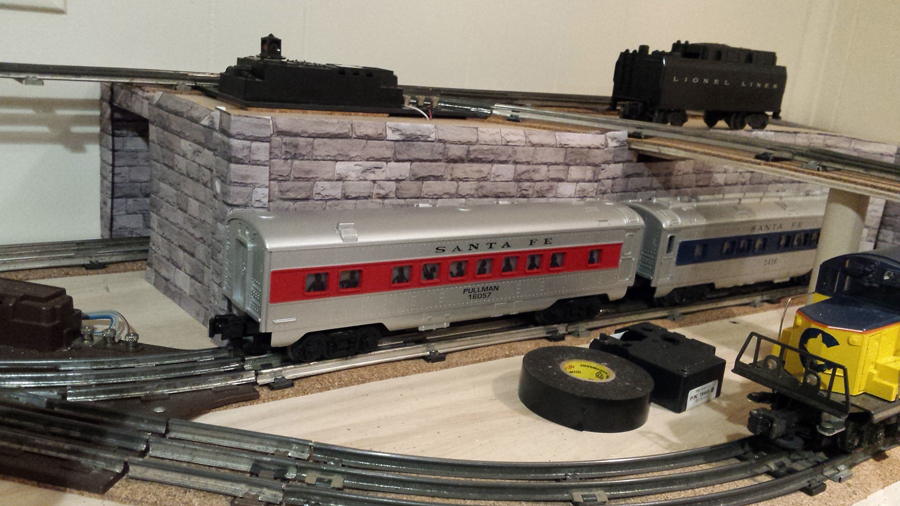
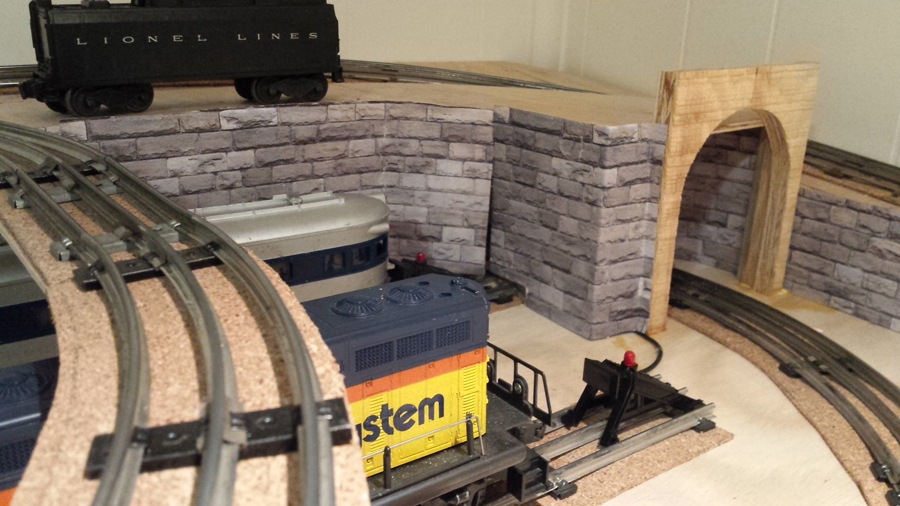
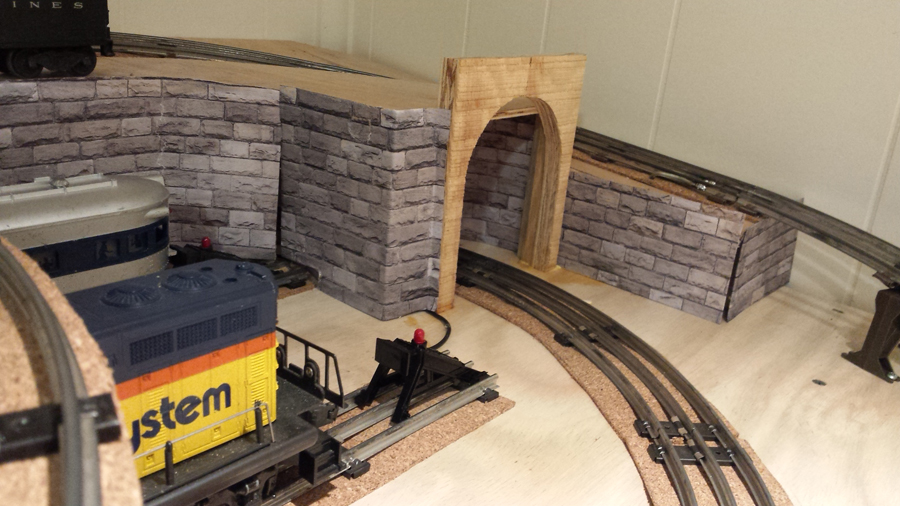
I fired up the inkjet printer and got started on the tunnel walls using his techniques.
So far so good I think.
I made the first panel on the face removable with some velcro so I can access the wiring behind.
Wanted to share some pictures of the progress to date. I will send you some more updates when I get the top done.
Thanks,
Bob”
A huge thank you to Bob – of course, I’m biased, but I think his tunnel looks great. So quick and easy too.
That’s all this time folks. Please do keep ’em coming.
And don’t forget if you’re still sitting on the side lines, there’s only way to get involved, and that’ by making a start. That’s why the Beginner’s Guide is here.
Wayne’s been busy making loads for HO gondolas and building his sub-station too:
“Hi Al,
I continue to be inspired and educated by your generous postings of model railroaders.
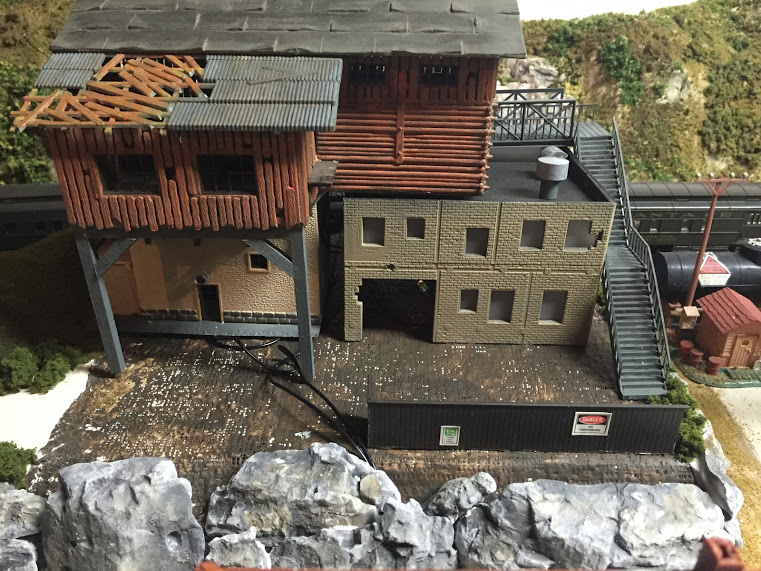
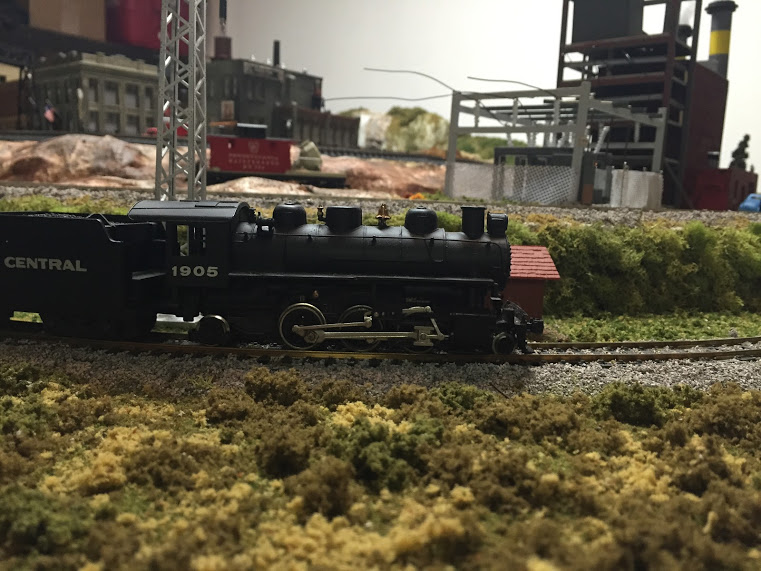
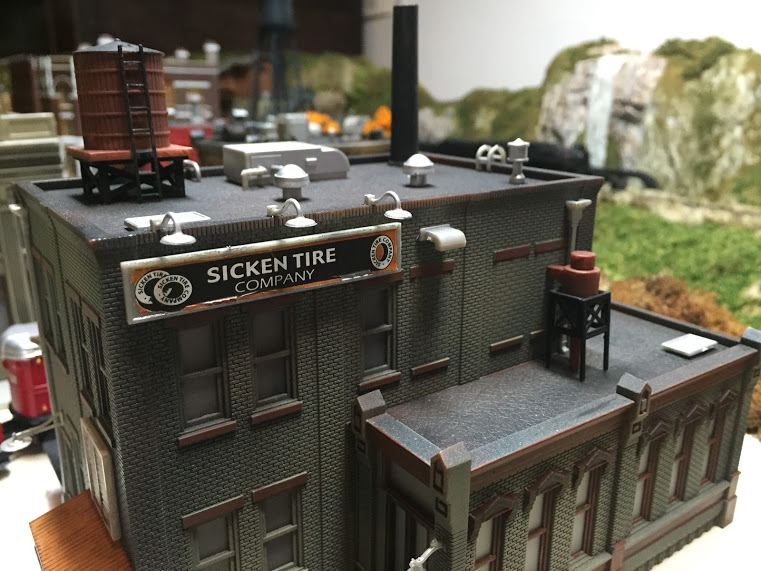
Thought I’d send some new pictures of buildings I have completed and some misc shots.
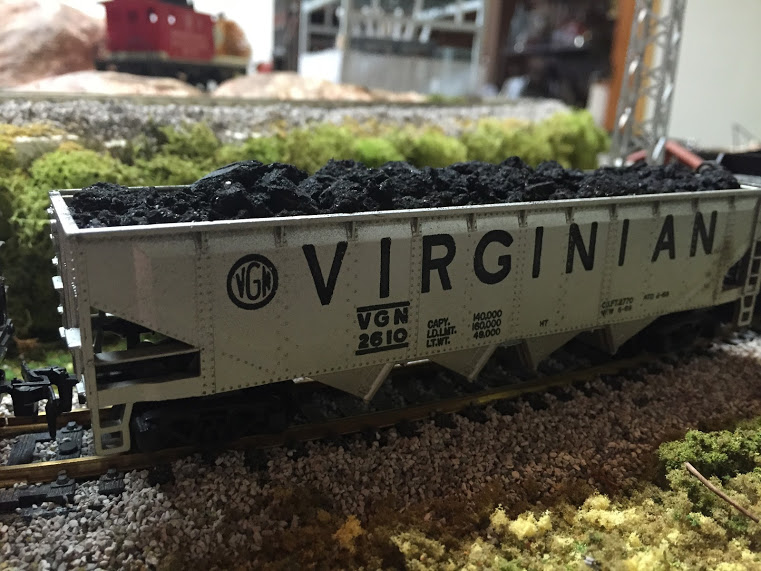
A tip I remembered from one of your followers showed his way of making loads for HO gondolas. Just break up charcoal briquettes and use the debris as coal loads. One picture has a gondola with the charcoal load. I used old poster board to make a false bottom in the car, painted it black, then sprinkled the charcoal over the board, adding droplets of 50/50 water and white glue to hold everything in place.
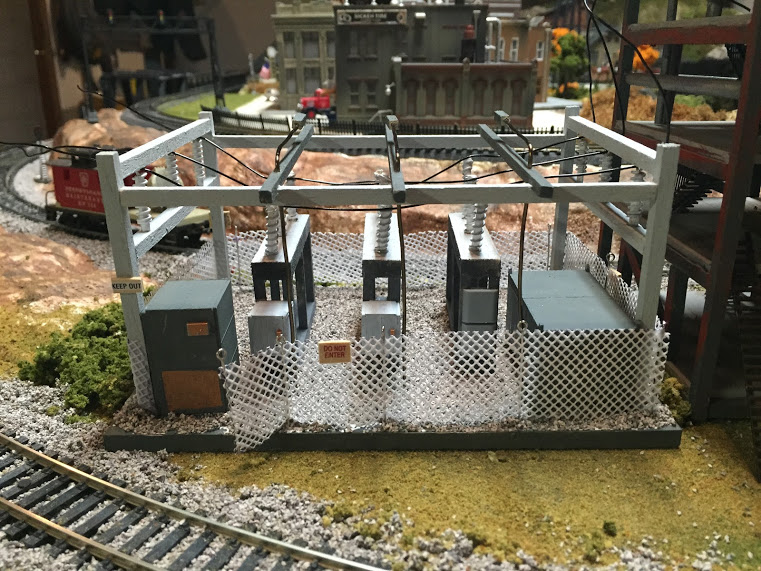
The electric sub-station pictured is hand made from balsa wood. The insulators are made from tiny springs I found in a local craft store, pulled apart a little with pliers, then inserted with a small dowel rod and painted white. The cyclone fence is made with Needle point cloth and posts are eye-pins also found in local craft store. The needle point cloth can be bent and folded which is how I created the gate entrance.
None of this is perfect but achieves the look I was going for. Again, I have incorporated a number of techniques I found from reading your posts. A little hint here and there and you simply let your imagination and experimentation take over.
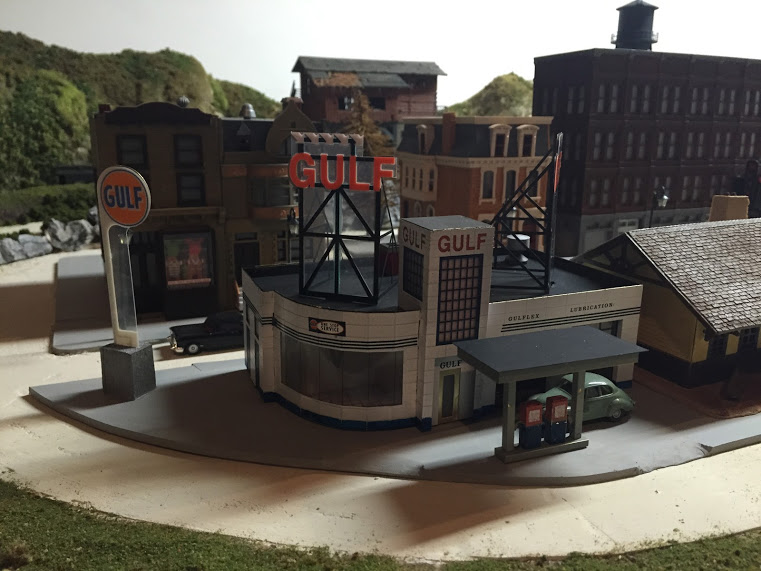
The Gulf Gas Station was my first attempt at an etched brass kit. After gaining some courage over the past year and a half, I dove in to the construction. A real challenge after building plastic kits and kit-bashing. These brass kits require the use of special glue. (super glue products); styrene glue won’t work. I made some mistakes during the process, not to mention getting super glue on my fingers but I am okay with the finished product and my fingers have healed nicely. I also purchased a light-up kit that goes with this station and it is quite striking when lit up. My only advice with brass kits is to very carefully follow the directions. These kits are not as forgiving as plastic. If anyone is interested, the brass kit and lighting are from Miller Engineering.
My layout is HO scale and I used actual photos of electric sub-stations and spec info I found on line to try to get to actual scale as I could.
Thanks for all you do. Hope you enjoy the pics.
Wayne”
A huge thank you to Wayne – it’s very satisfying to read about the blog helping folk with their layout. I thought his sub station is amazing – it just goes to show what you can create with a little imagination. Can’t wait to see the updates!
And now on to Dangerous Dave.
I get a steady trickle of emails asking why he’s called ‘Dangerous Dave’ – it’s because he’s rather accident prone.
(If you’re new to the blog and you’re wondering who he is, have a look in the Hall of Fame.)
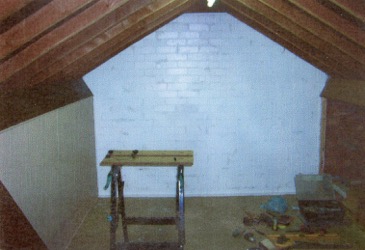
Here he is, living up to his name, while building his stunning loft layout:
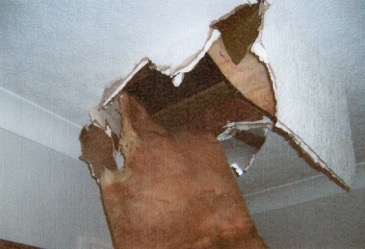
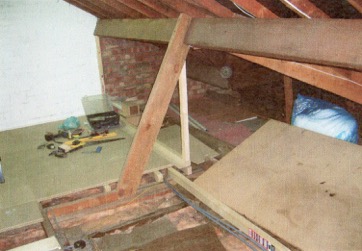
“Hi Al , just come across these pictures (clearing a few things out )… it’s when i decided to have a quick route from the loft ..LOL ..broke 3 ribs on the way down… now you know how the nickname got started
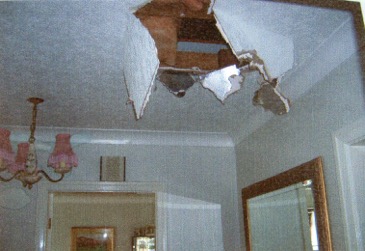
…4 months later as my ribs had healed and went back up there to continue, I accidentally drilled through a water pipe… unfortunately being a Sunday could not get a plumber, but repaired it myself, dried it all out new connections fitted, seemed to be OK, turned water back on, went outside to clean up , after half hour walked indoors to find a waterfall coming down from the loft in to the lounge, and this was 4 weeks before Xmas …
and of course a week later the plaster board started to drop had to shore the lot up with jacks and planks ,and then have a complete new ceiling fitted.. new plasterboard the lot… the nick name stuck… and 2 months later hit an electrical cable running under my new flooring… sort of blew all my lights… so now my wife insists on any work carried out is done by professionals LOL …
Regards
Dave (not as Dangerous now)
Well, I’m glad Dave persevered, but he’s made some fantastic videos and also been really helpful with the Beginner’s Guide too.
So here’s one of his videos with Dave at his best:
Ed’s been in touch. He’s added to the N gauge track plans on the blog:
“Hi Al,
I regularly find myself glued to yours and others posts, I find the entire world of steam railways fascinating.
A year or so ago I decided to start an N gauge project as I used to have one as a young boy.
I still feel guilty to this day about trying to make that track work better by trying to take it apart as an 11 year old. Boy was I wrong!
Anyway, I wanted to share some progress of the build to see what people might suggest as I’m going to tackle a OO gauge 1st (easier to model).
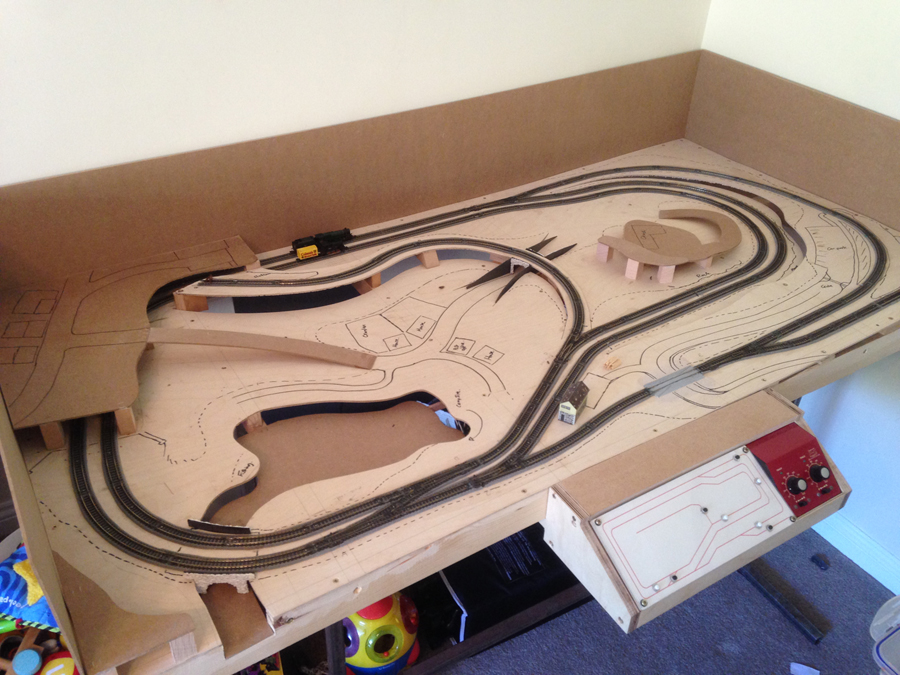
Here’s the N gauge.
I bought a job lot of trains, Track and the odd building from eBay at a bargain price and as soon as I got it through the post at work I opened it up.
I started to play around with the idea of a single rail double loop that half of which would hide under a hillside.
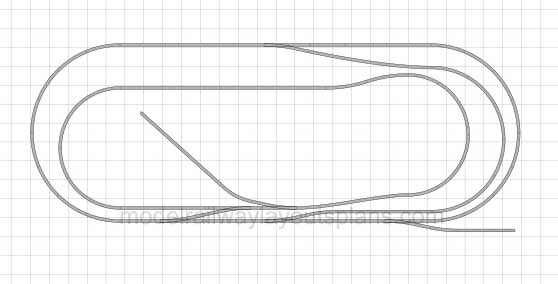
Instead I decided to go for a side by side in the style of my old train set, *see previous email* I preferred this with the prospect of the trains passing each other, luckily in the box of track it allowed me to create exactly what you see.. Well plus a couple of the original points from my youth set!!
As for the layout, it’s going to be based on the Pennines as is such a beautiful old world place. I’m from Lincolnshire and it’s far too flat for my likings.
My wife is from waterfoot in rossenddale Lancashire, where they still run a Steam railway. It’s beautiful!
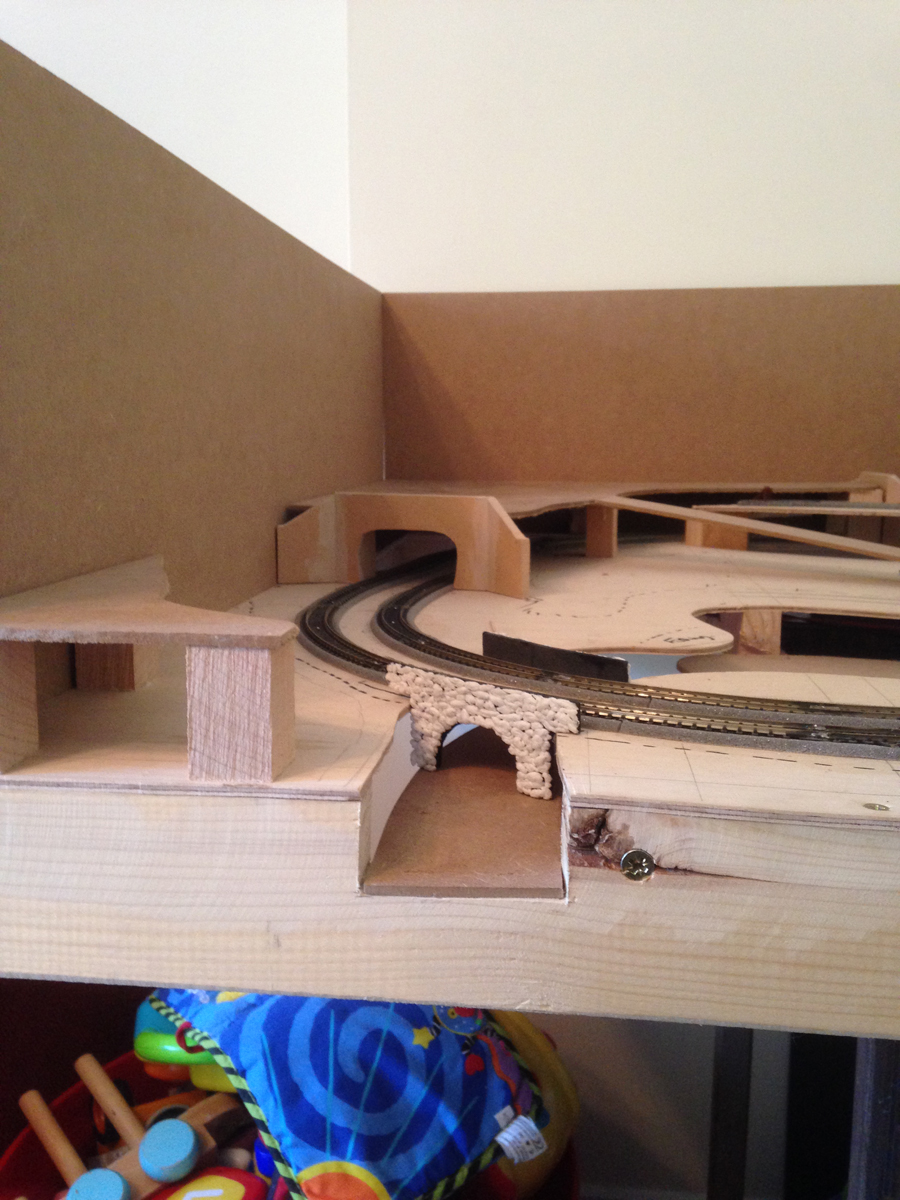
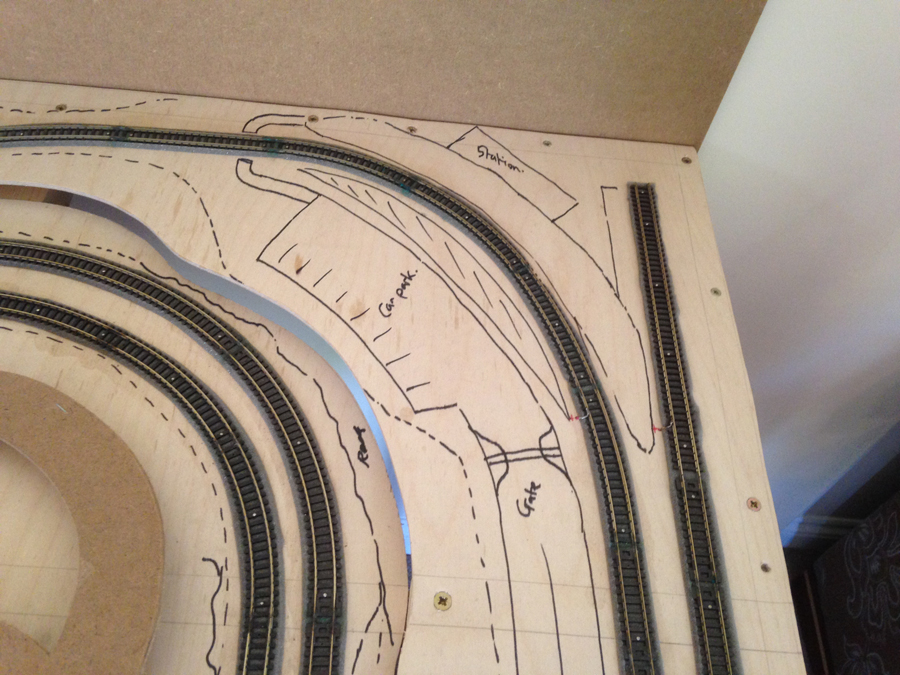
So from left to right on the picture, small village on top of the tunnel, road leading down into a hamlet, in front of that is a fishing/ boating lake with a campsite beside it.
I wanted the river leading from it to flow to the front where you could see an “under bridge scene”.
The hamlet then leads under the track to a church on a hill (Christian element) the track we just went underneath leads to the 1st station on the track on the inside circuit.. The second station on the far right with a car park on the inside of the track is on the second circuit.
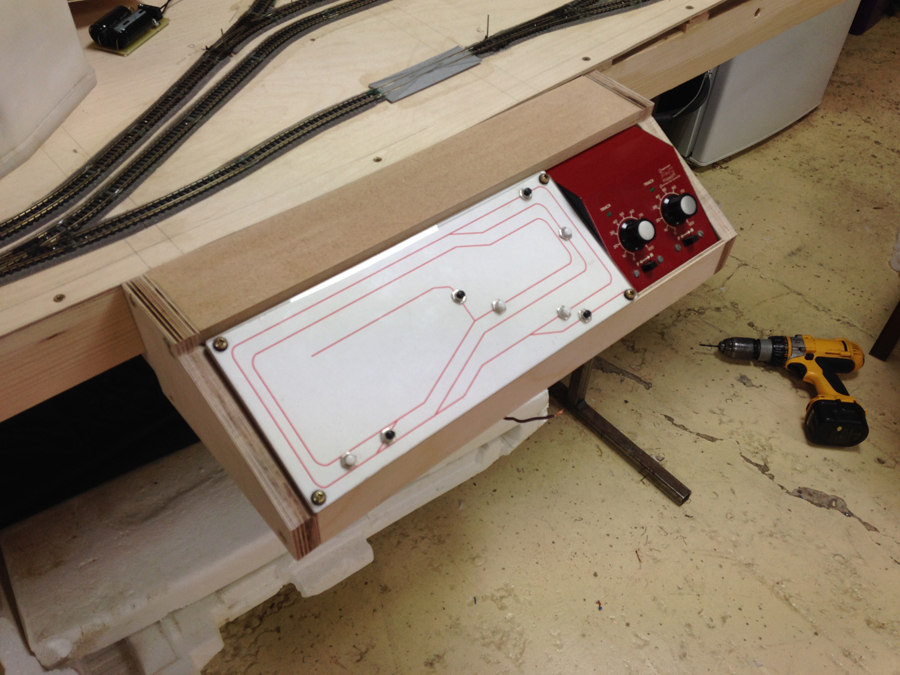
The control board is wired to control a simultaneous change where needed to save the head game.. I first made the mistake of not having a discharge unit in the switch circuit. It was a nightmare! Wiring is not for me!
Well I hope this is enough info for people to see my vision, I hope that I one day get time to finish it but 5 young kids keep me busy and tired!
Ed”
N gauge track plans:
“Hi Al,
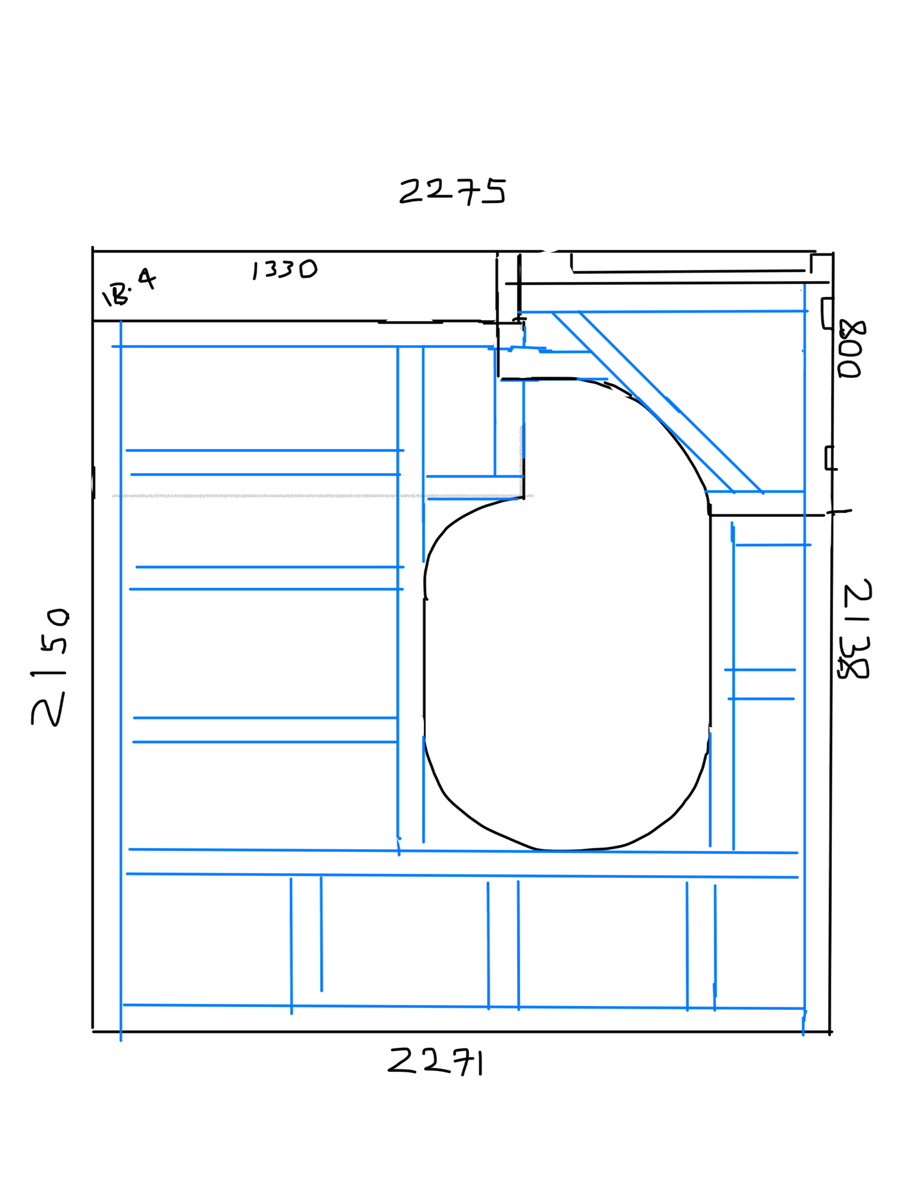
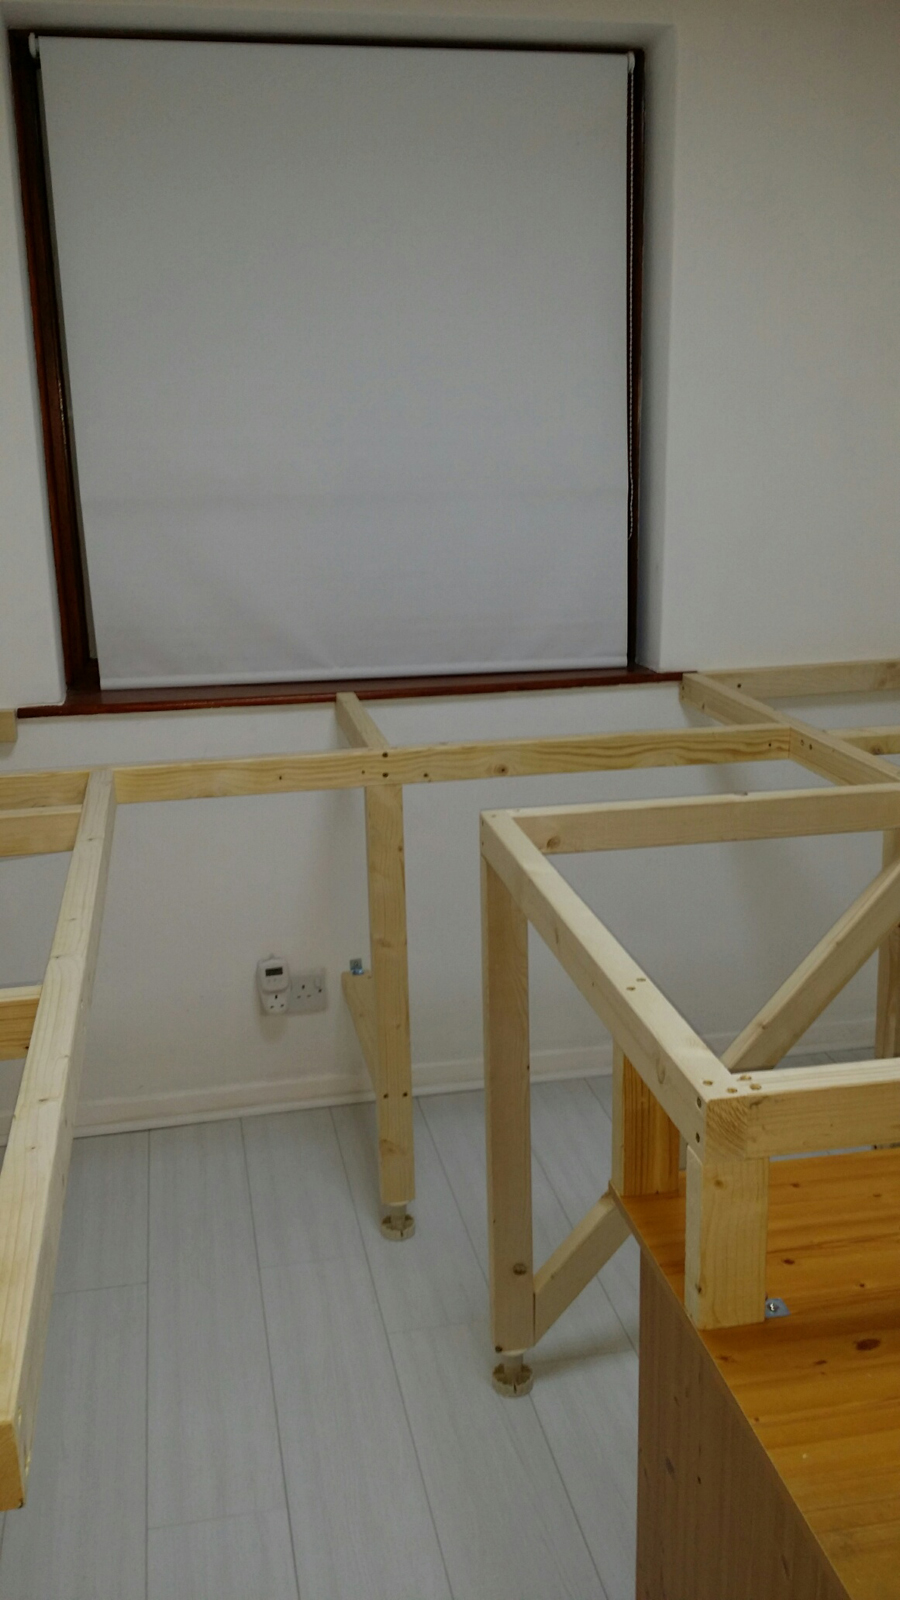
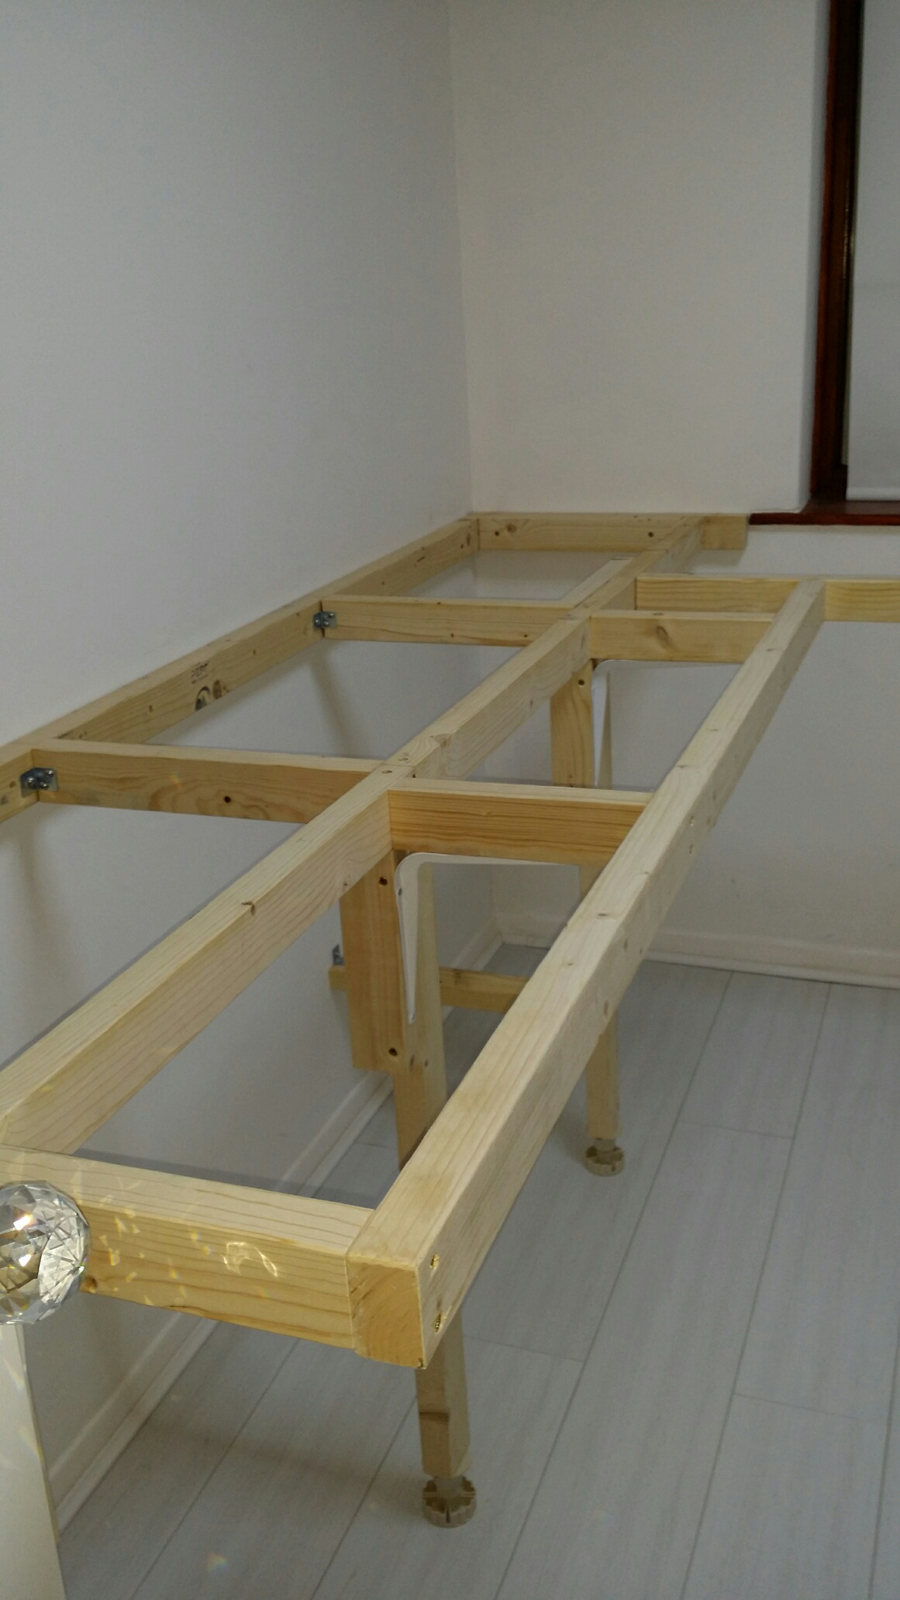
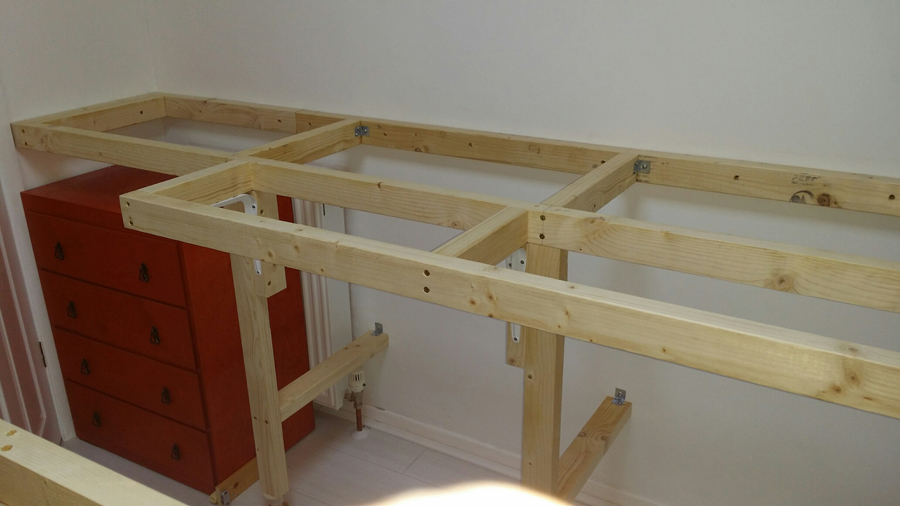
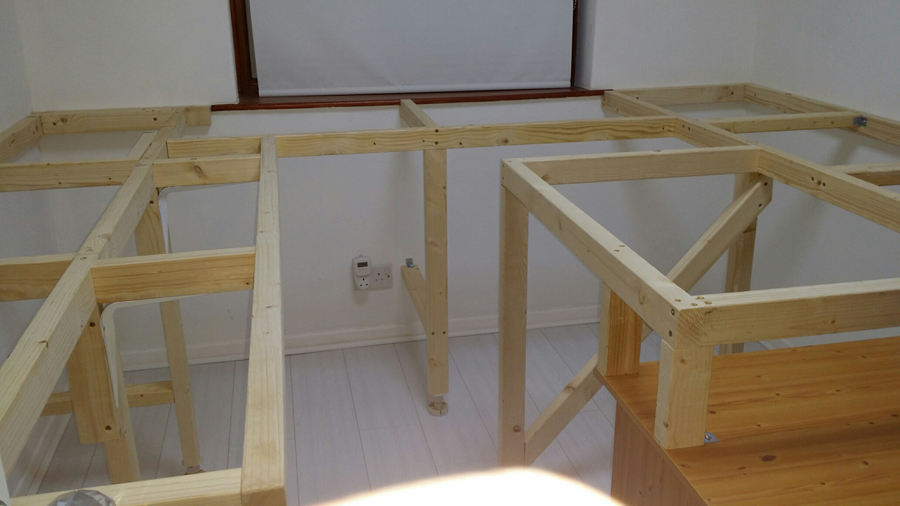
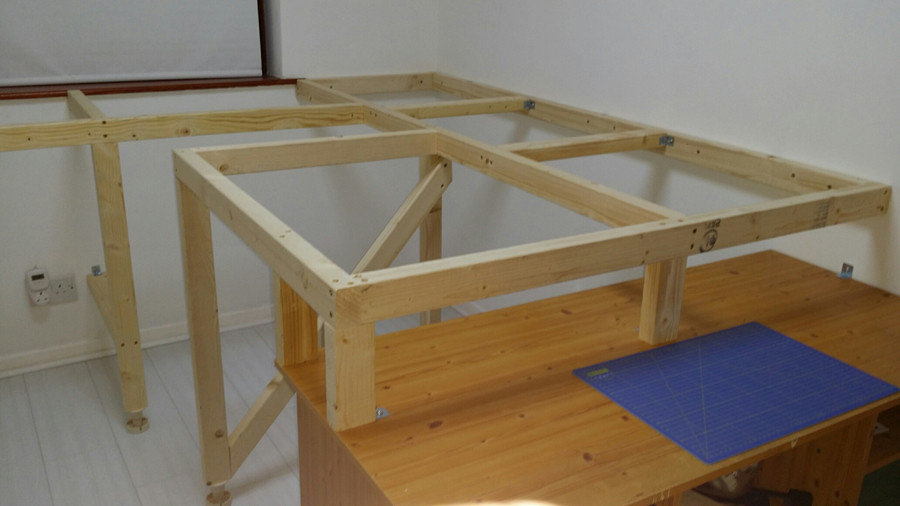
Just thought I’d drop you a line with a few pic’s, I retired last Christmas (aged 61) and was given permission from my wife to commondeer the small bedroom in the house for my layout, I’m 12 month’s in now and have just finished the baseboard framework, there’s plans for a small higher level later on.
It covers just short of 50 square feet so it should be quite a nice layout as I’m modeling in “Z” gauge…… hope my eye’s hold up!
Thanks to you and all the modelers for sending in their pic’s & videos…… keep em coming guys.
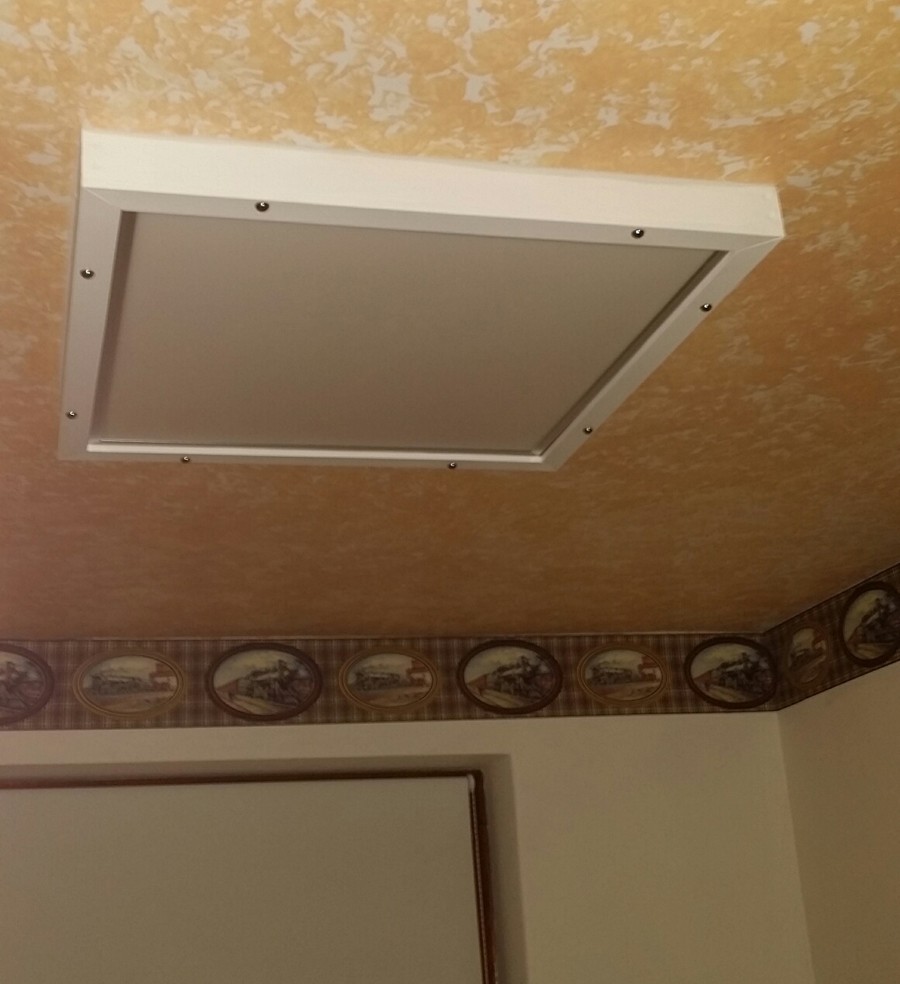
The roof light is one single LED by the way, very bright.
Keith”
A big thanks to Keith and Ed. It just goes to show how a little planning can go a long way. Having a bench to work on properly and get the most from your space, may not be the most exciting part of your layout – but it’s a sound investment in the long run.