Hall of Fame Dan has been back in touch with some railroad ceiling tile scenery:
“Al, here is a post about my first try at ceiling tile rocks. You have to start some place.
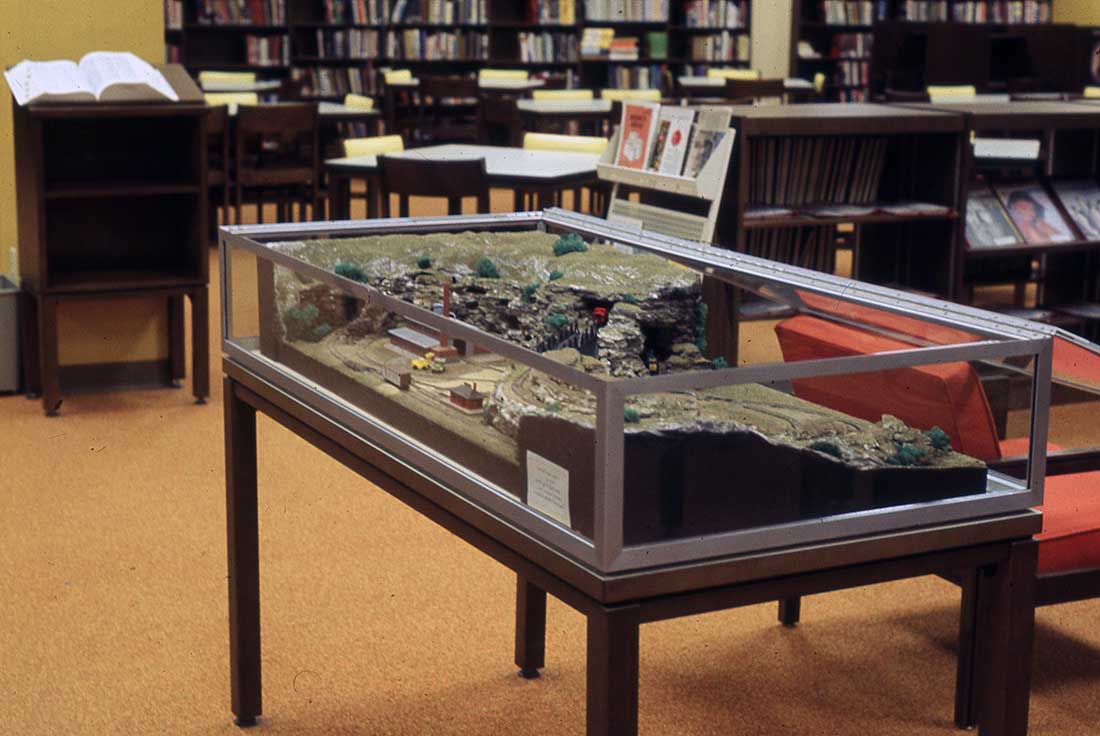
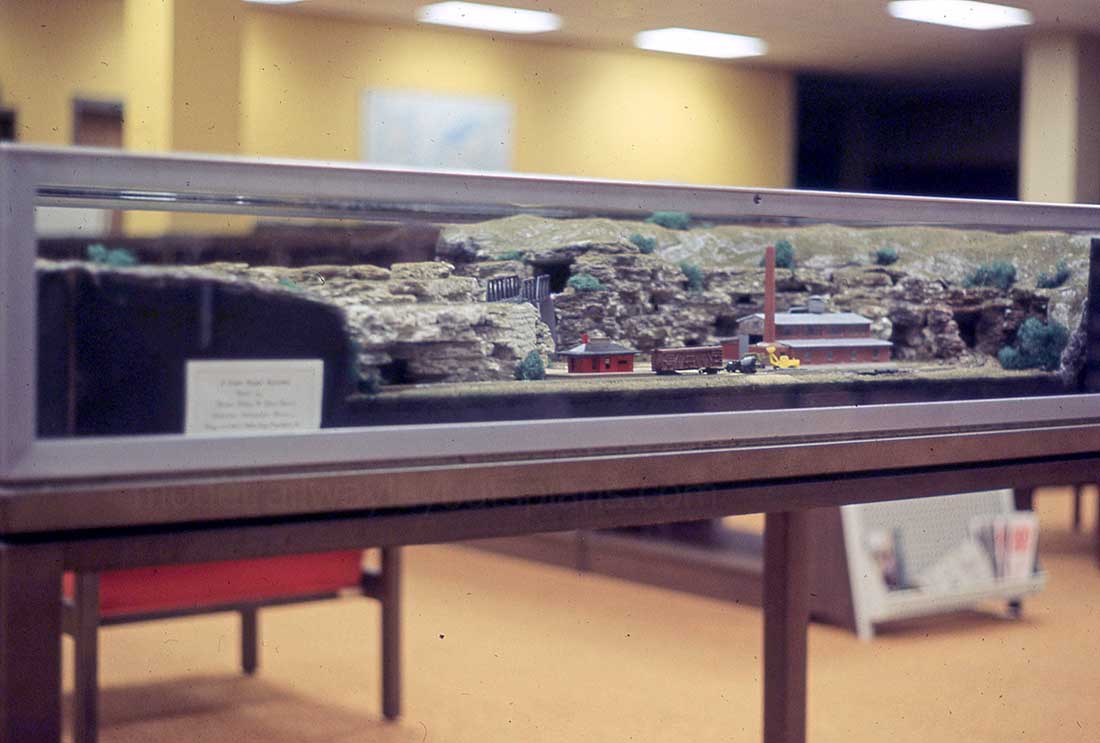
I don’t think many of us like to show our very first attempts at something new. This is my very first ceiling tile rock try in 1982. I learned a lot form this first try. This was a small diorama that fit in a display case at the high school where I taught.
I learned never to use paper towels and plaster as a cover. The towels and plaster want to stick together and is very sloppy. Later I used plaster cloth. The plaster cloth is placed and then I spray it with wet water. It looks 100% better. NEVER dip the cloth in water first.
I used a product called Perma Scene as the ground cover. This was made of vermiculite I believe. Today I use Sculpta mold.
I also used rattle can spray for the coloring of the rocks. Now it is the craft paints.
The diorama.
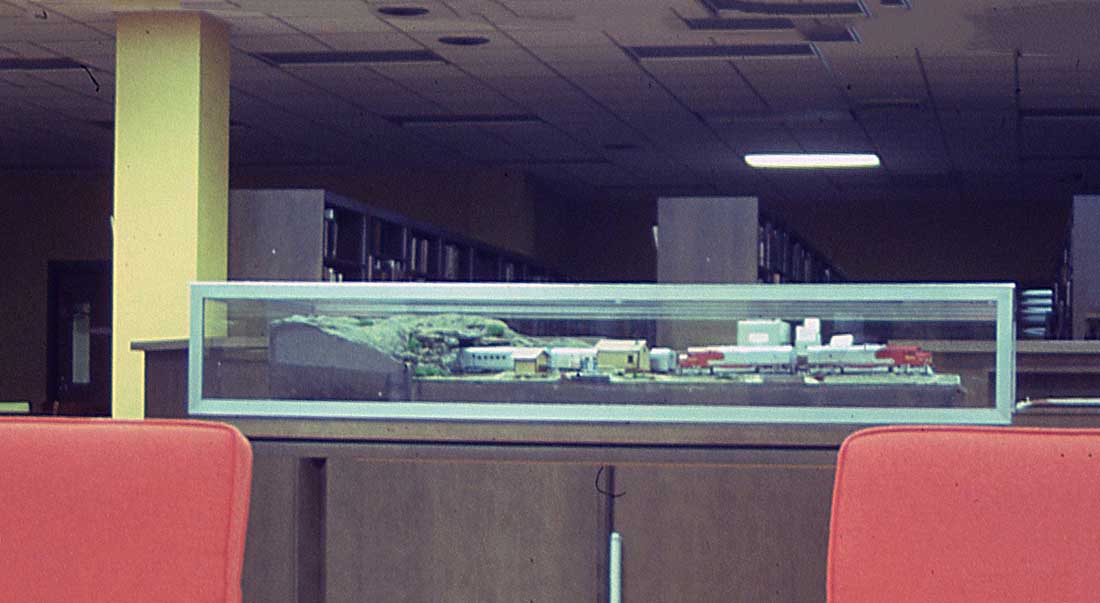
The display in the library. (I do not recall the exact dimensions. I do remember that the top was 9 inches high. I did this for the time between Thanksgiving and Christmas. Trains were once traditional at that time. I got my first Lionel in 1947.
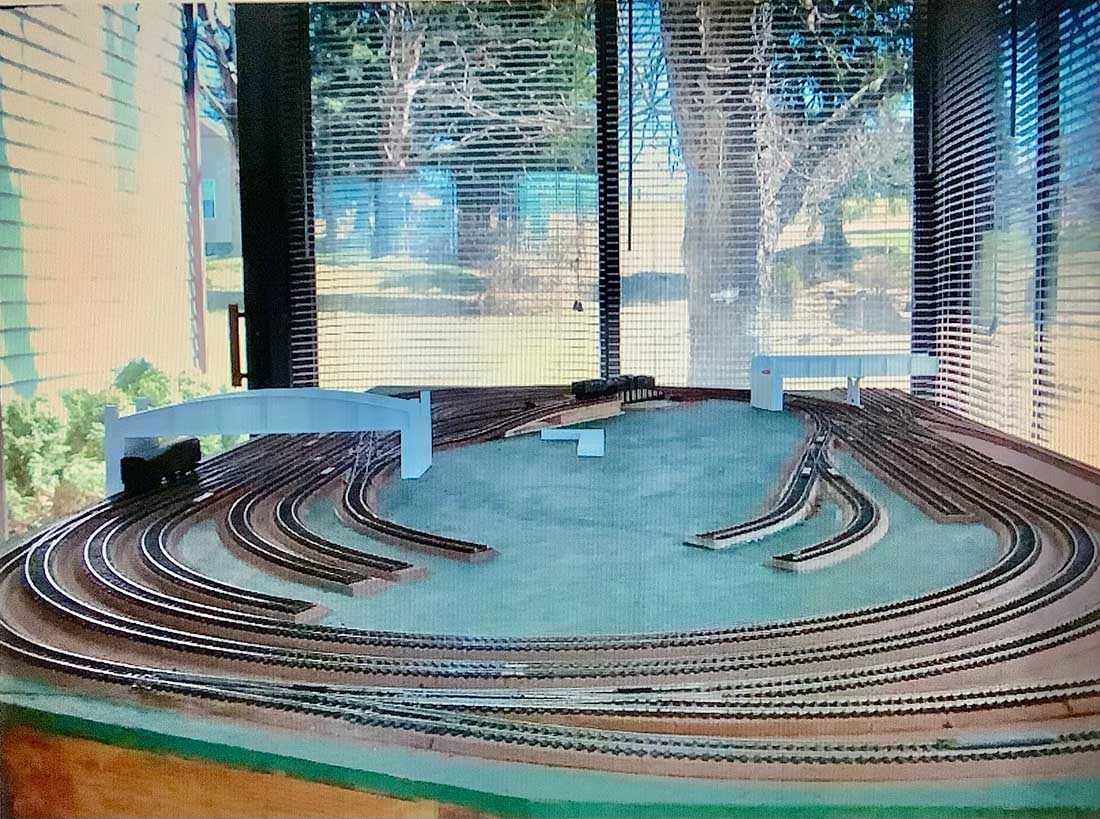
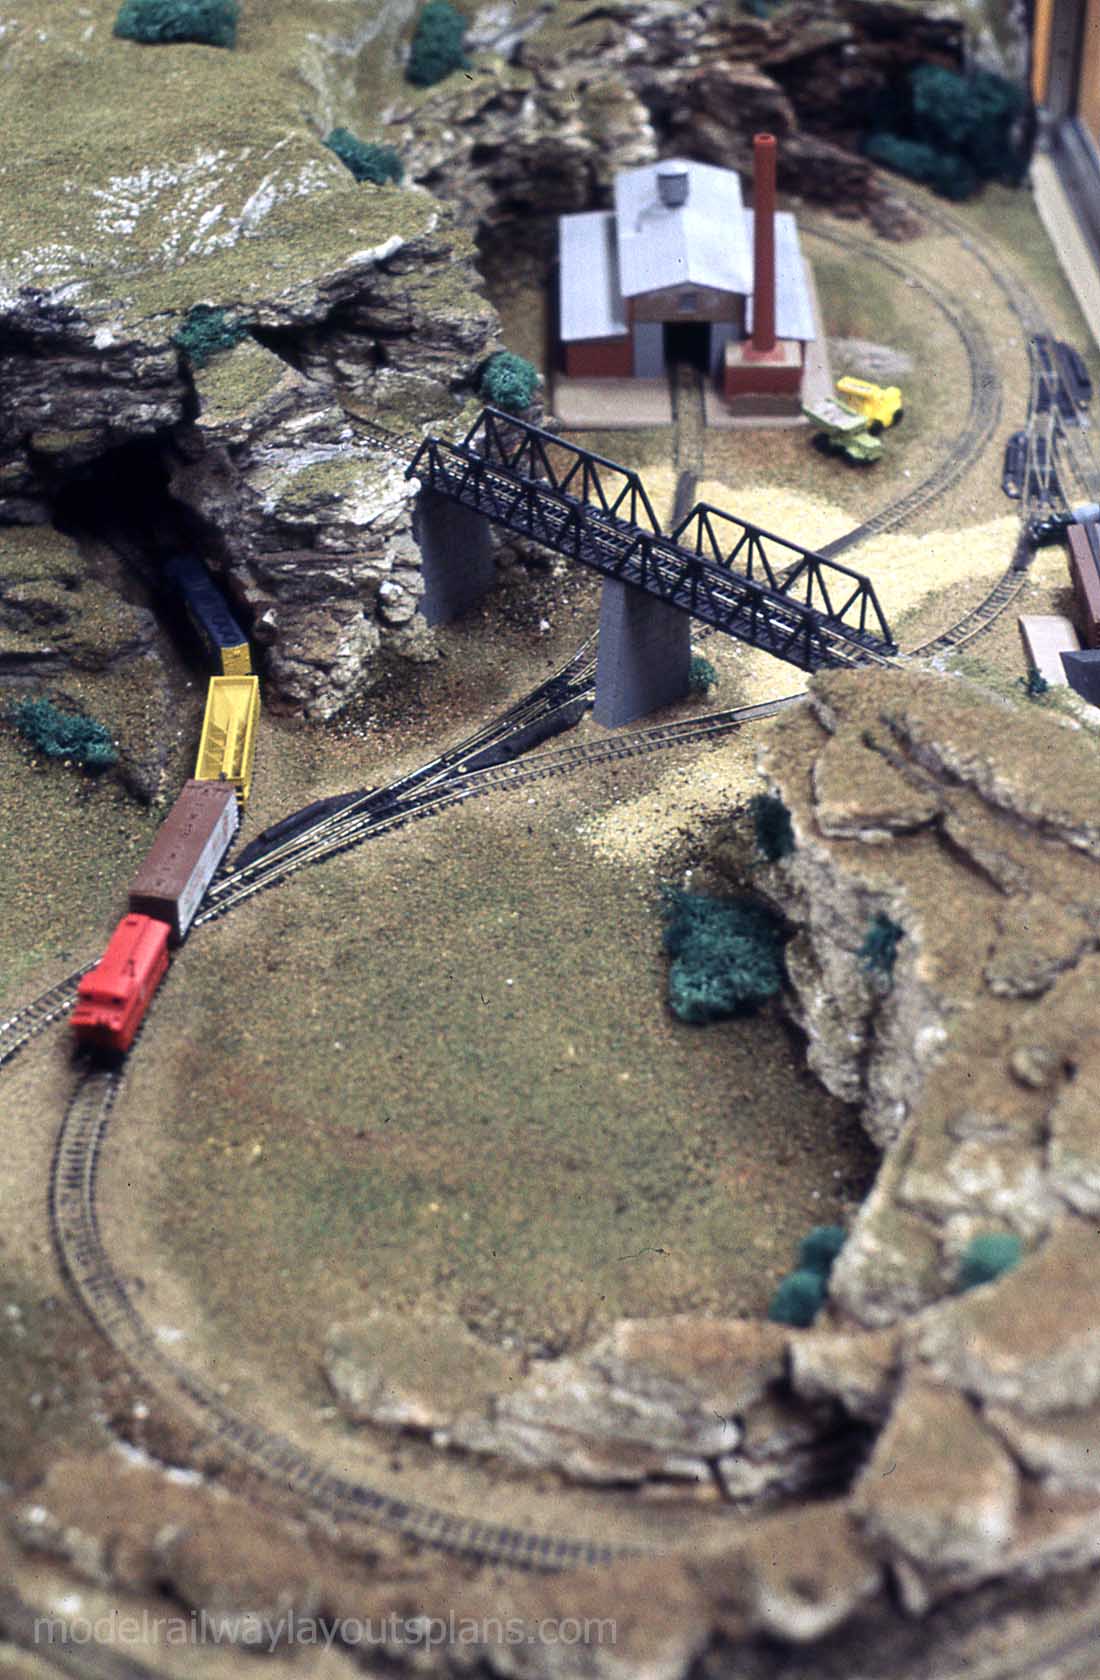
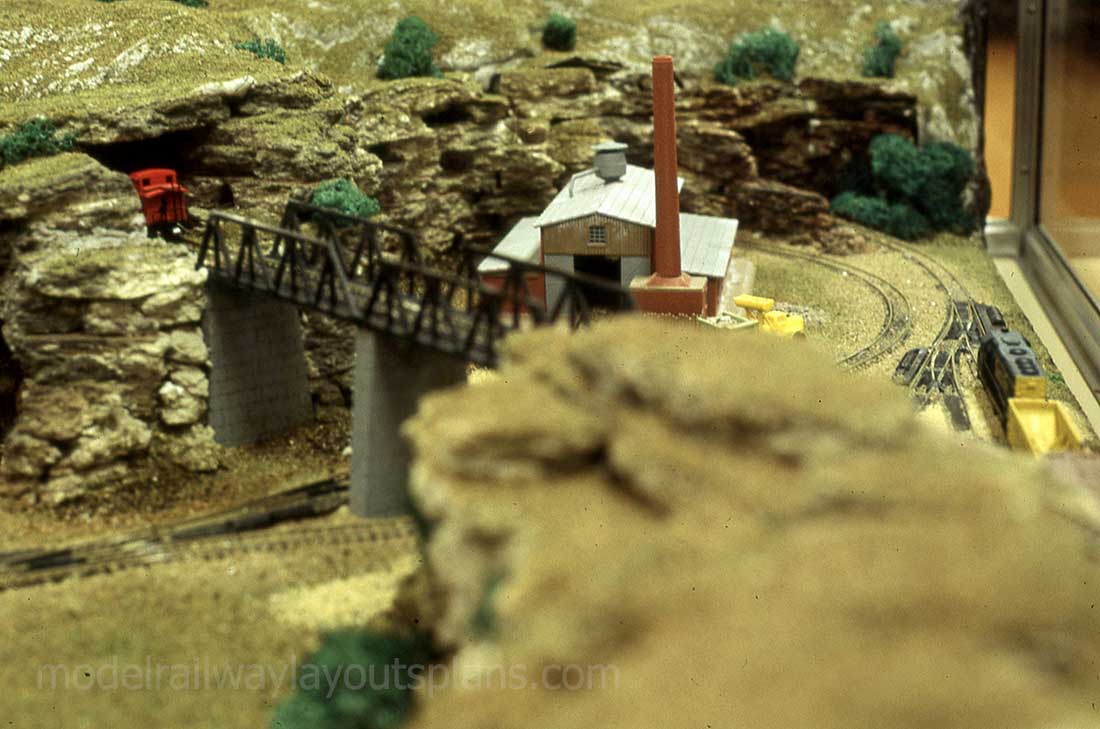
By 1984 it was time for something different. My next ceiling tile adventure was a complete N scale layout in the display case! It was not going to be a diorama this time. It was meant to run. I didn’t change the construction techniques by this time. The layout was a basic figure 8 up and over with the scenery hiding the grade.
There was a button to push for the train to run. Teenagers are a clever bunch. They found that when the train came down the grade a small bump caused it to derail. I placed a small rock at that spot and the trains never derailed again. I used this display for abut 4 years. I now resides at my model railroad club and runs from time to time.
Railroad ceiling tile scenery:
There always have to be a beginning. As I help new and even more experienced modelers, I hear “I saw such and such on You Tube.” I have noticed you don’t see the failures and not so successful tries. It is just the finished product.
I once watch a man show an EnviroTex river that ran along the very edge of the layout. He never once showed how he dammed up the side to prevent the “water” from leaking out. A very big shortcoming I think. I have seen the water “diaper” to places where you don’t want it.
Till next time,
SantaFeDan”
A huge big thank to Dan for sharing his railroad ceiling tile scenery technique.
I really enjoyed seeing his ‘first attempt’ with the ceiling tiles – it’s amazing what a journey this hobby can throw each of us on.
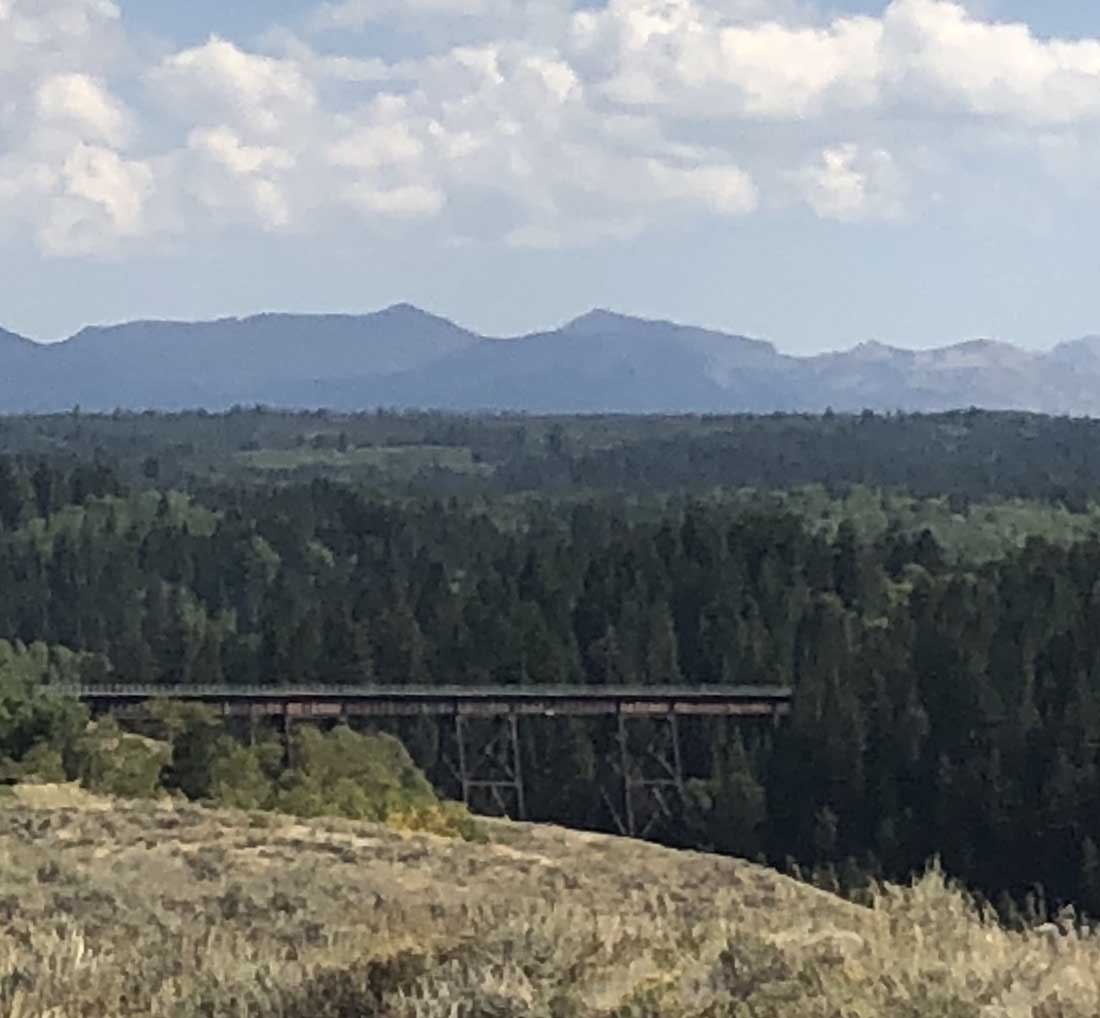
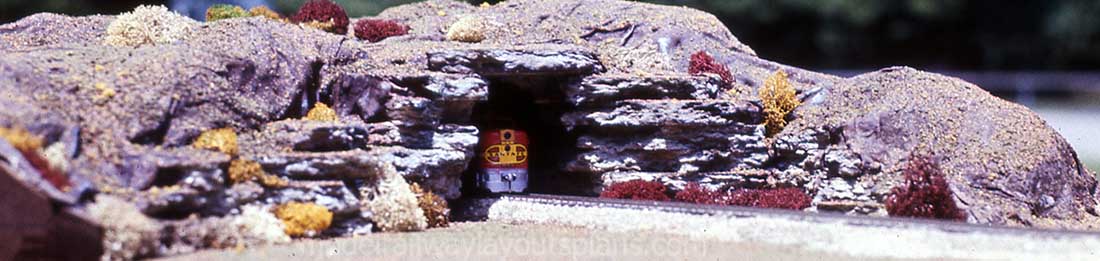
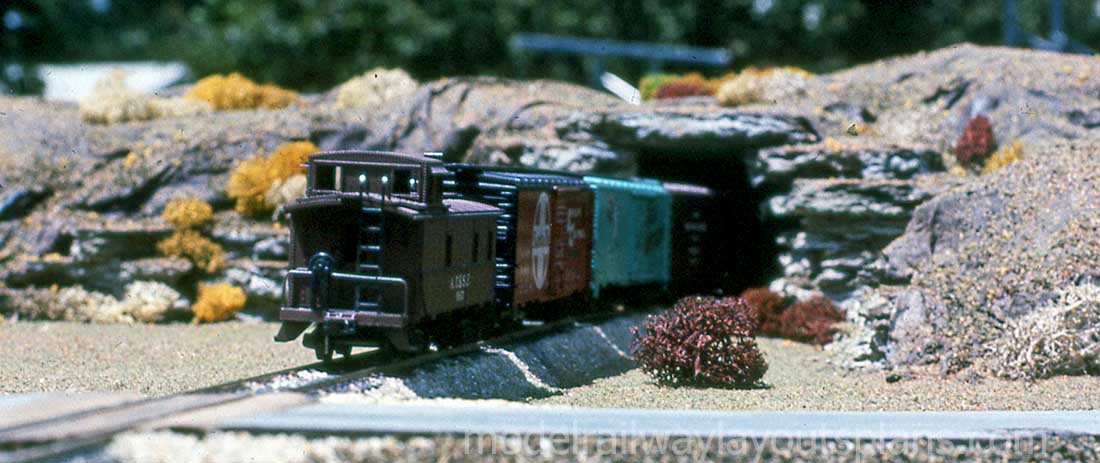
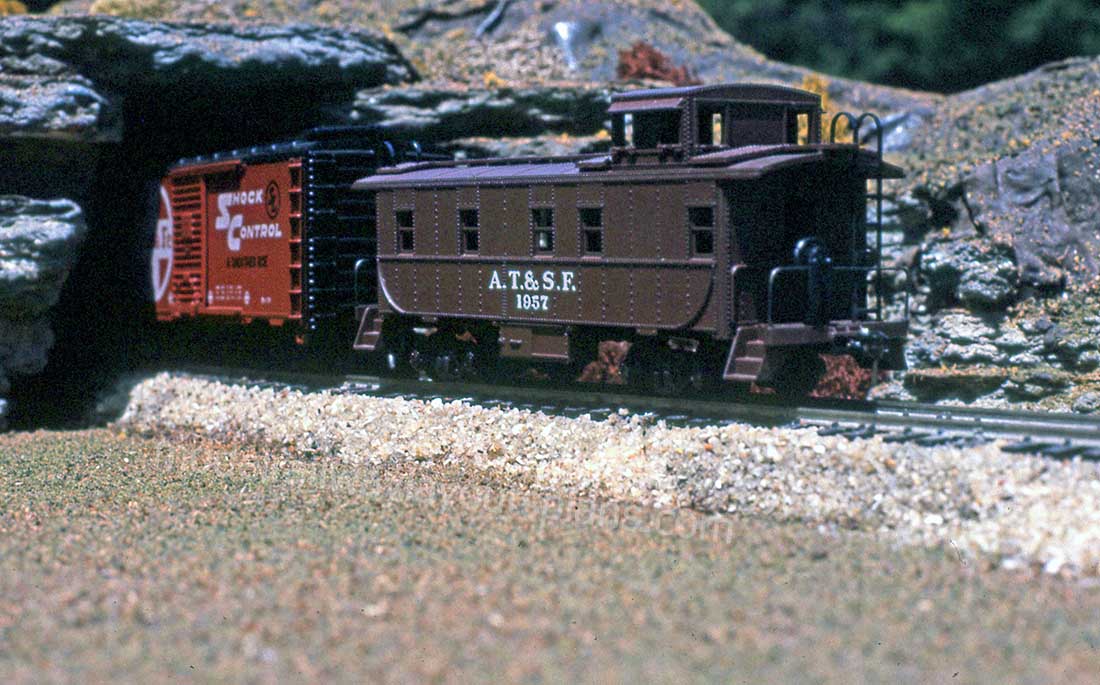
Here’s a more recent layout of Dan’s that really does show case his ceiling tiles technique:
You can see more of Dan in the Hall of Fame.
When it comes to the railroad ceiling tiles technique, I’m always reminded of Jim’s excellent post too:
That’s all for today folks.
Please do keep ’em coming.
And if today is the day you get started on your layout, the Beginner’s Guide is here.
Best
Al
PS Latest ebay cheat sheet is here.
PPS More HO scale train layouts here if that’s your thing.