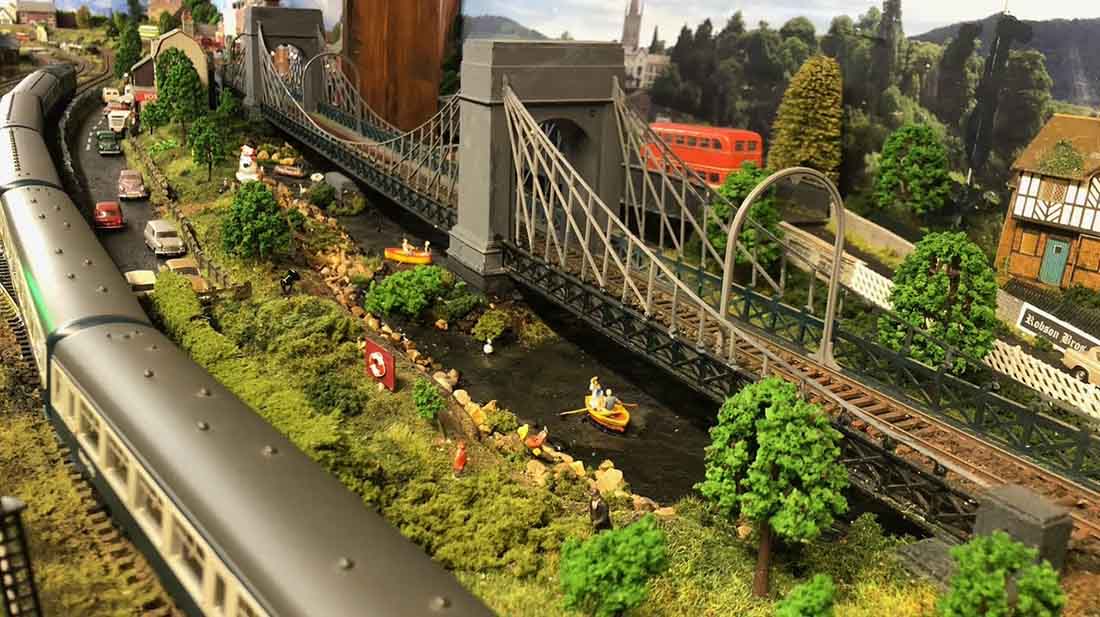
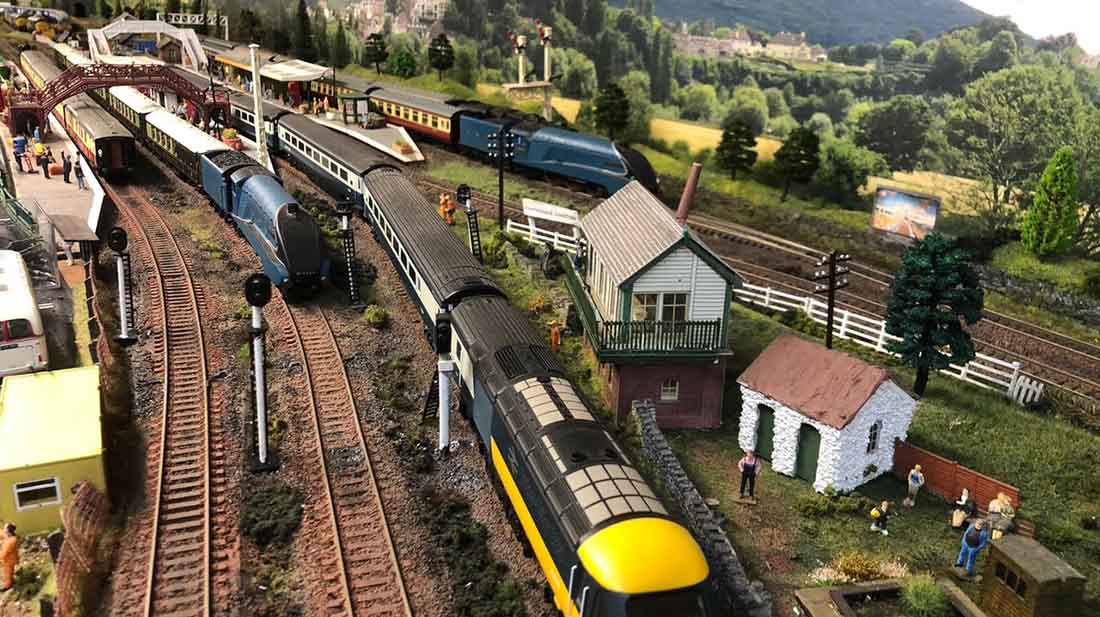
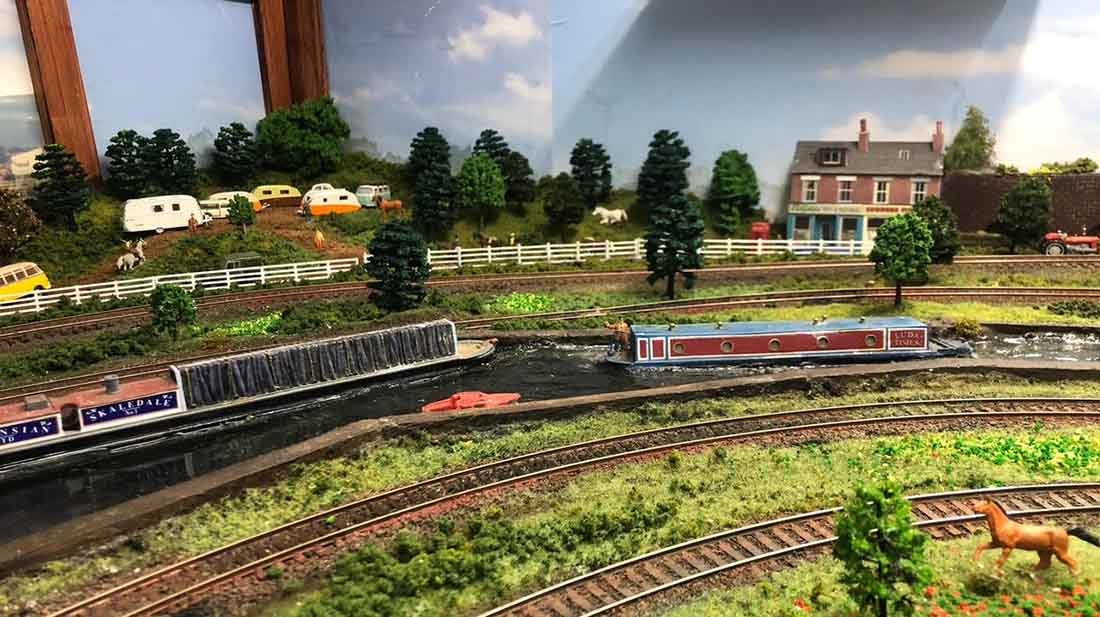
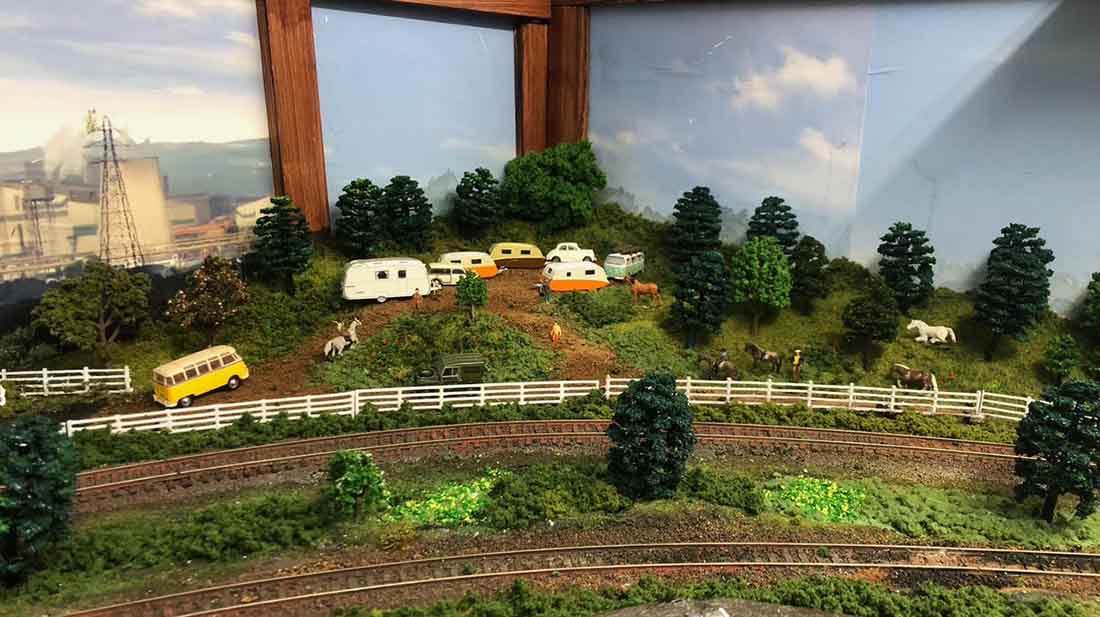
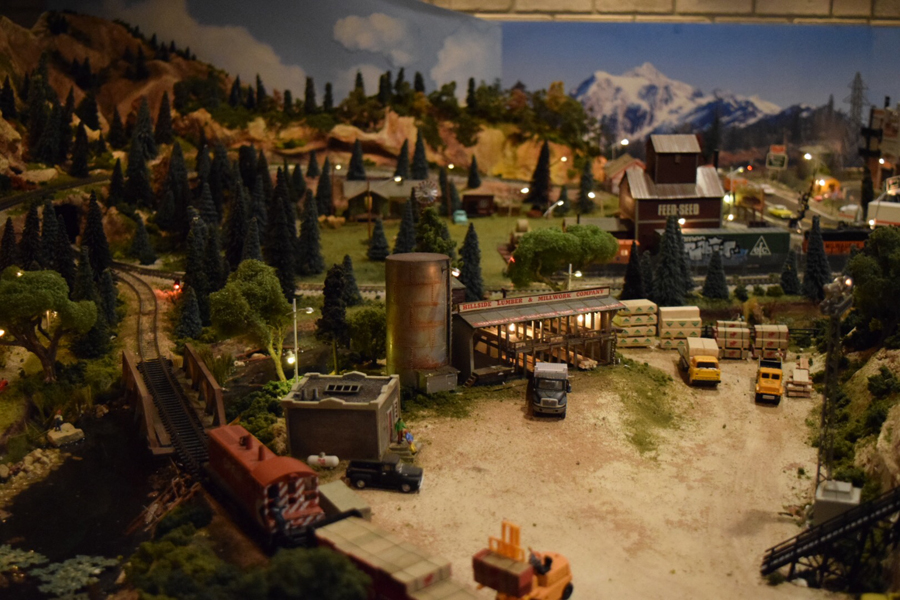
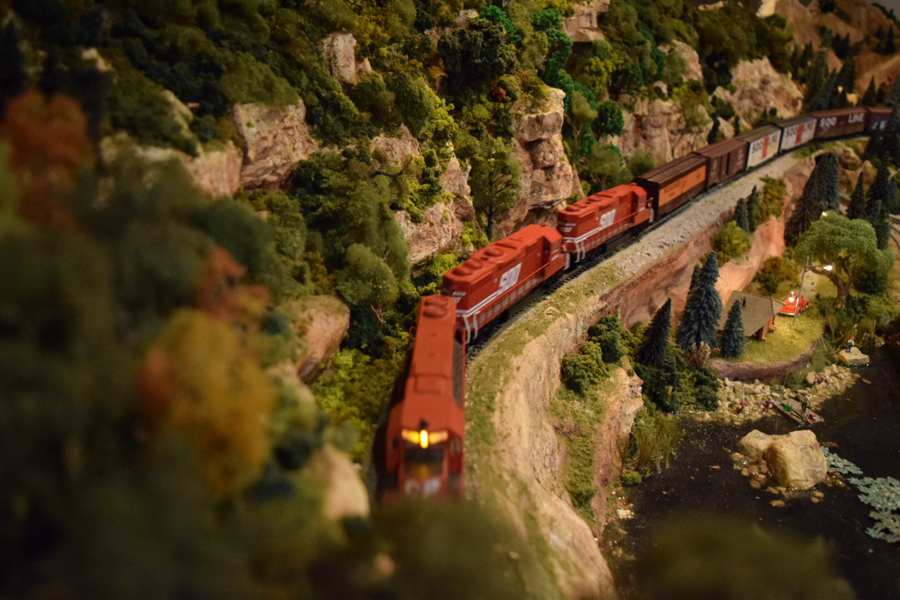
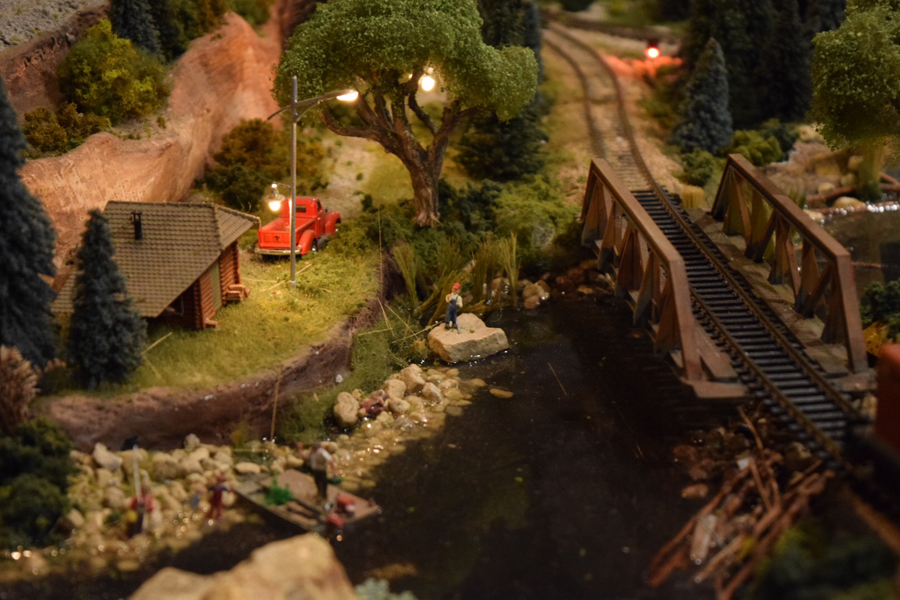
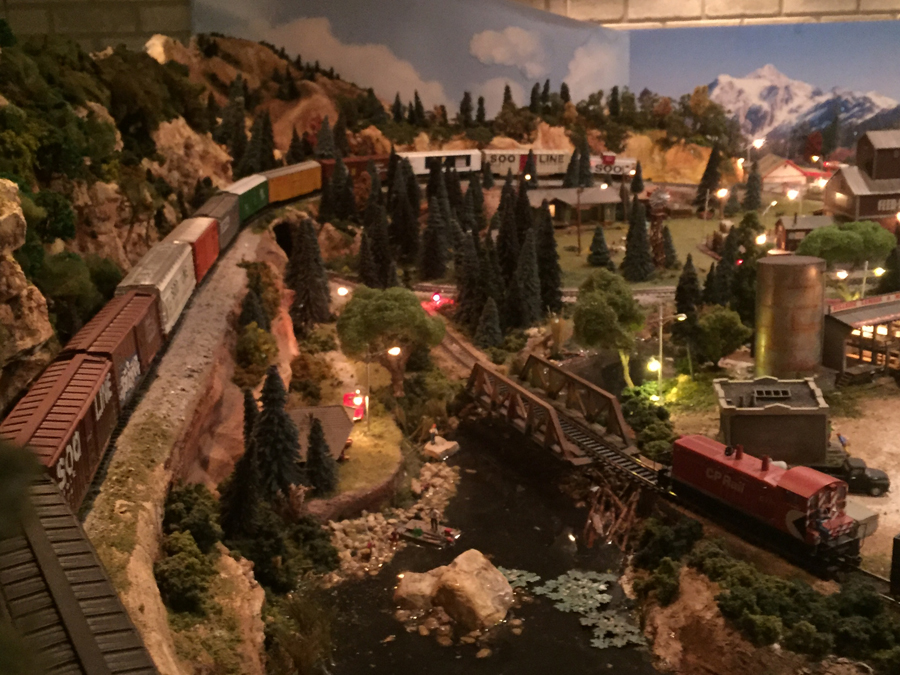
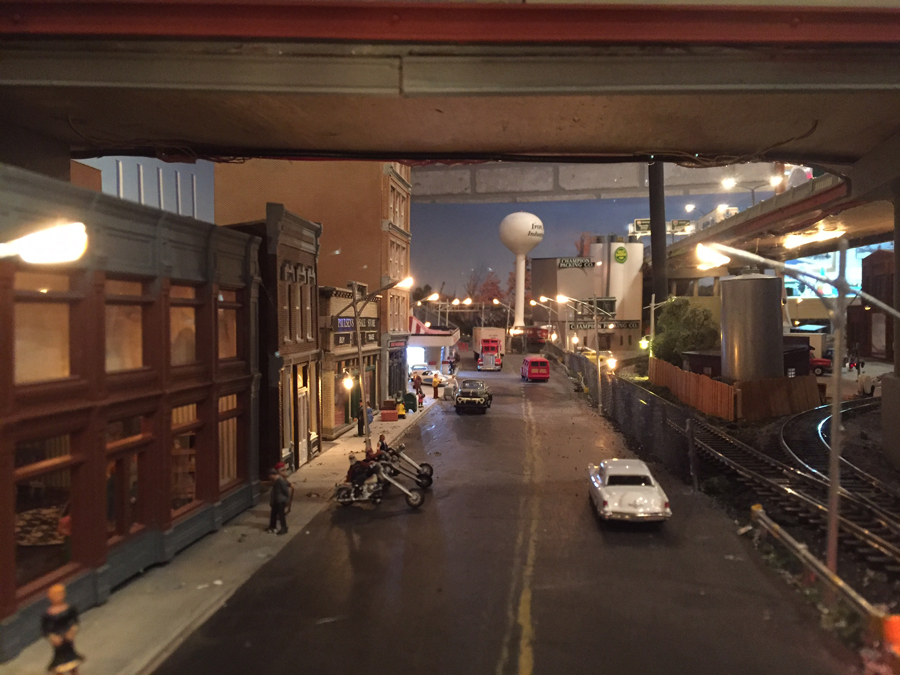
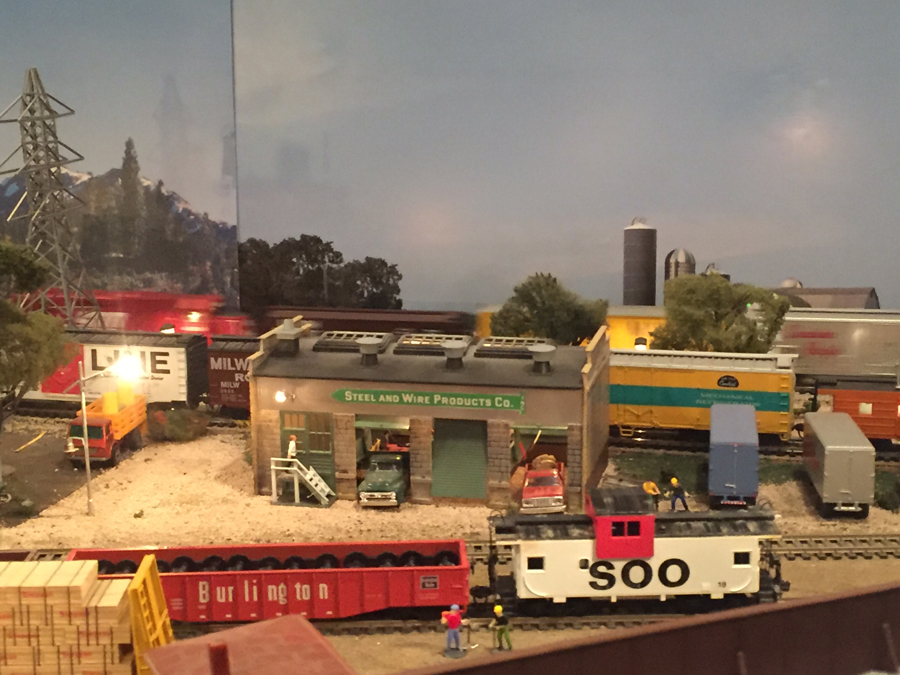
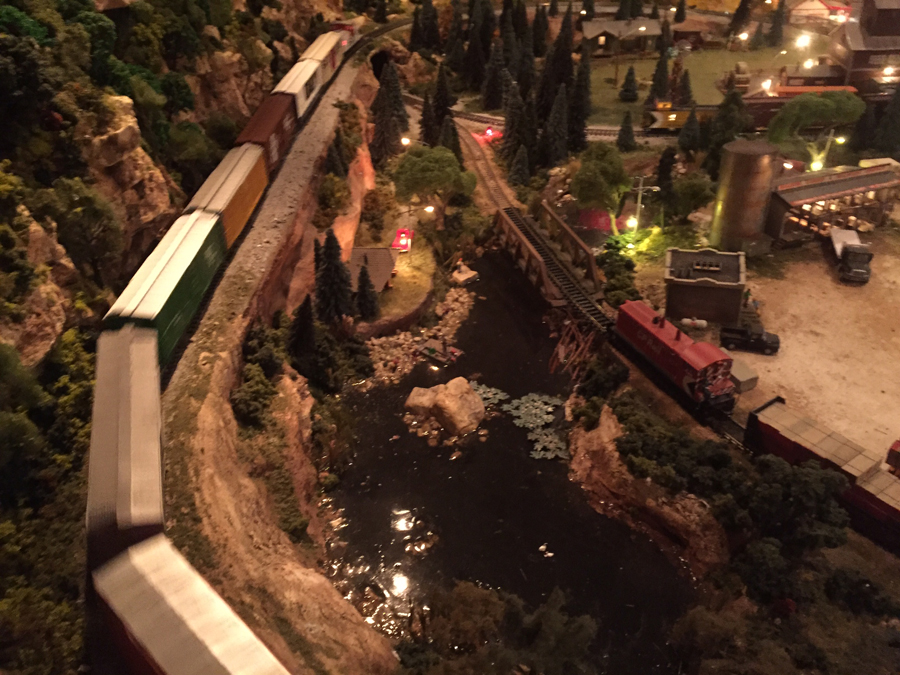
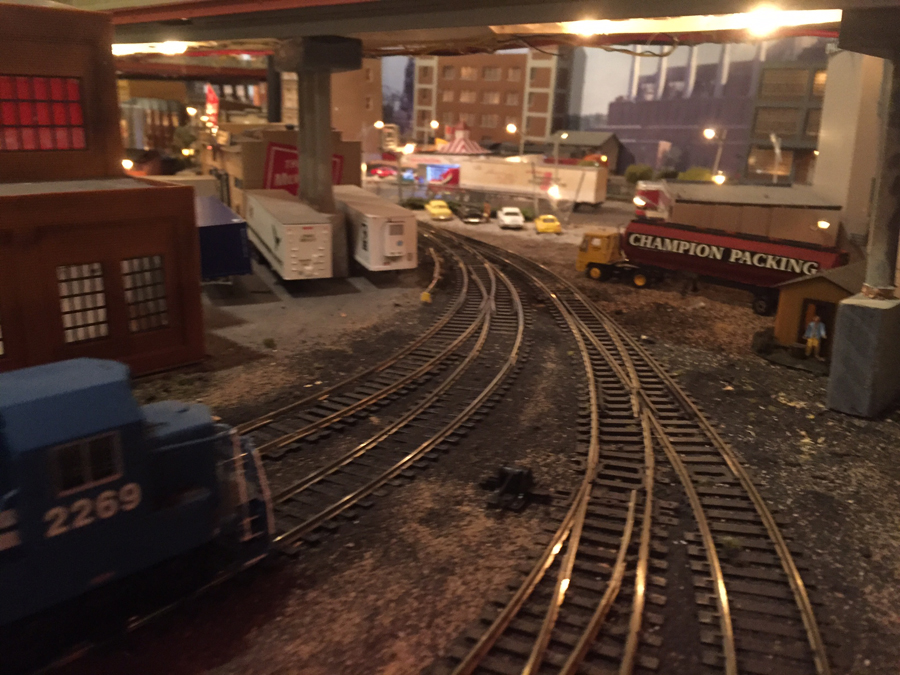
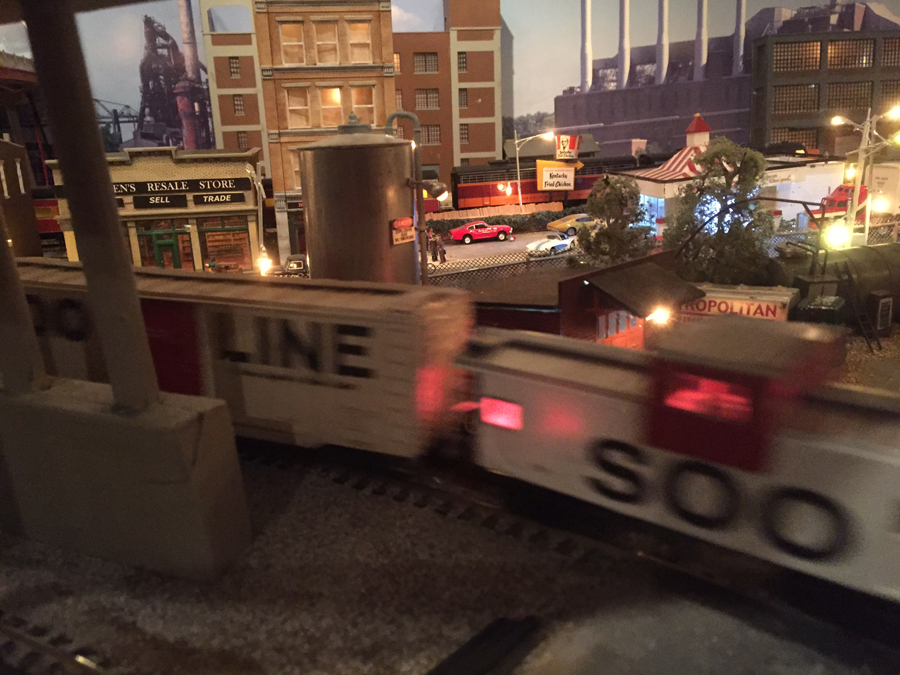
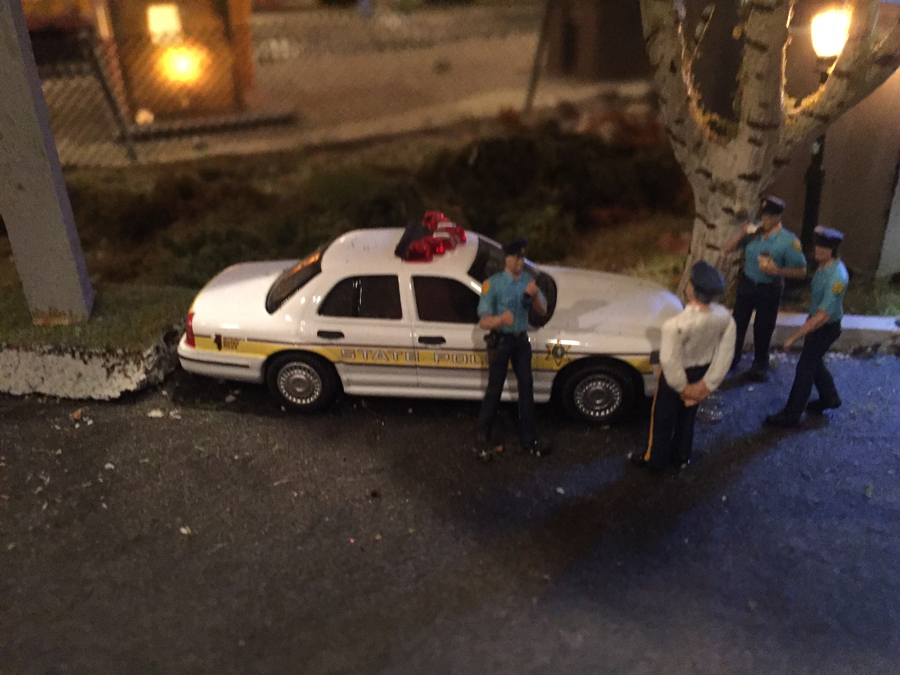
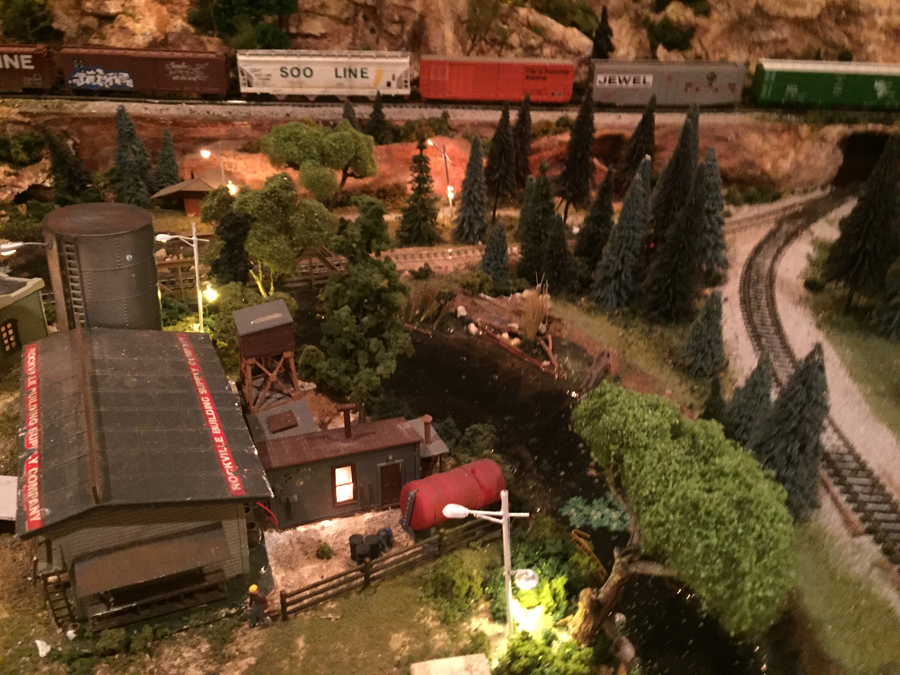
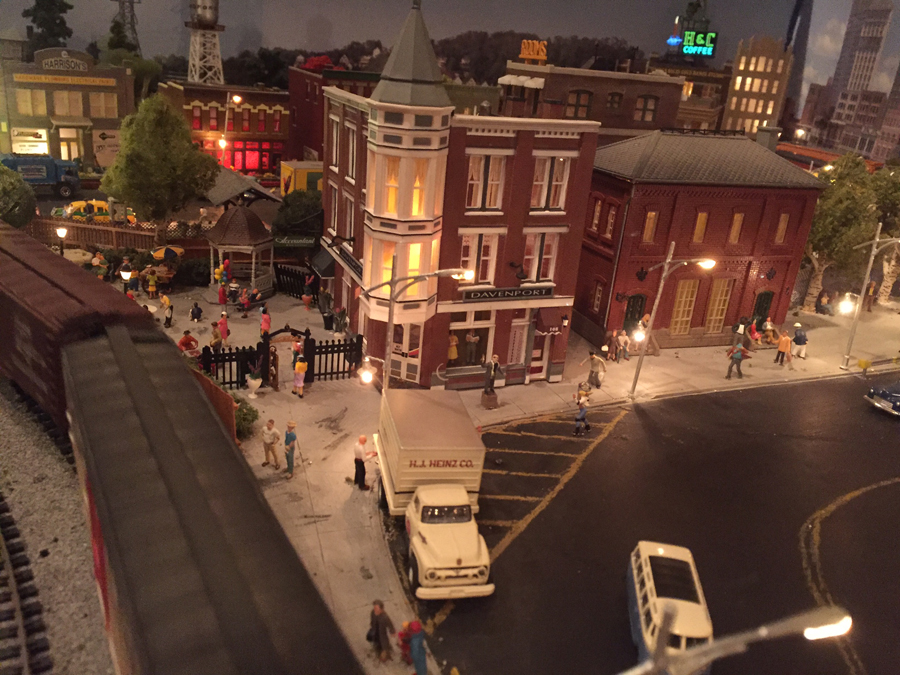
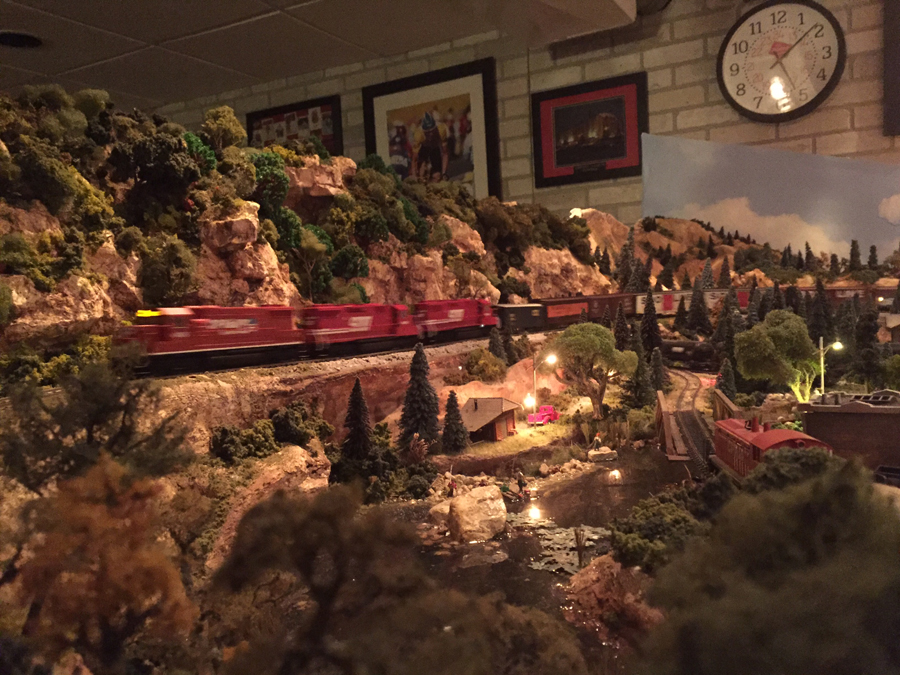
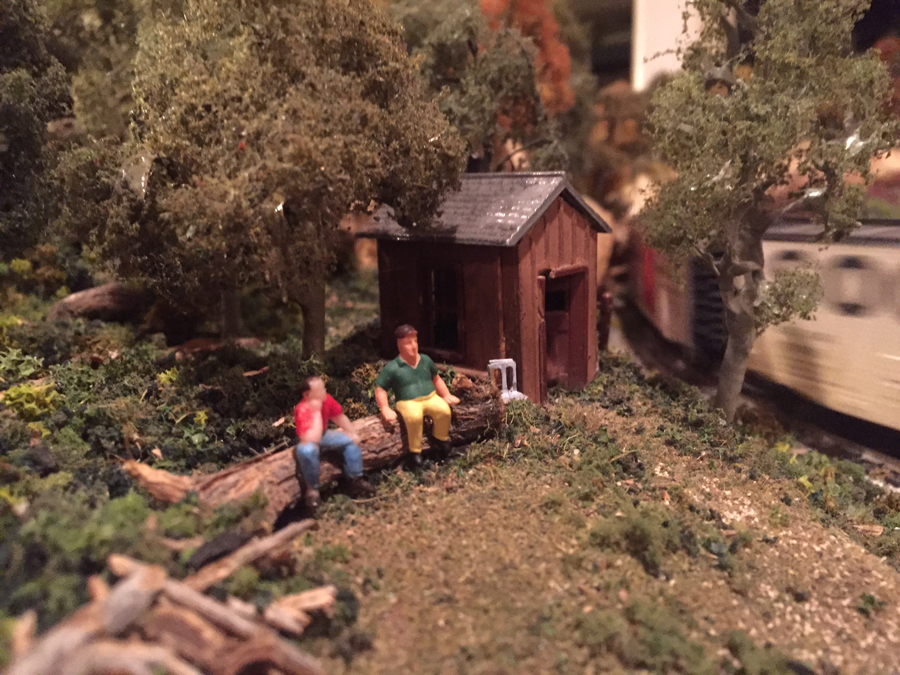
Ken’s been in touch – and he shows what a difference some model train building kits can make to a layout.
The pictures speak for themselves – best of all, the whole family rolled their sleeves up and got involved:
“I worked for the Milwaukee Road and CP Rail for 42 years as a locomotive engineer.
The layout is 16 feet at its longest point and 12 feet wide in places.
I worked in the Chicago area and modeled this layout according to some of the yards I switched out, such as Bensenville yard where I would start out to Chicago’s Goose Island. My sons have been a big part of this layout also. My older son , Joe constructed the foundation and my younger son Mark, the scenery.
A lot of the buildings were kits that I put together and painted. My family and I have truly enjoyed watching this layout grow and come to life making it what it is today. We enjoy having other families visit and enjoy it as much as we do.
I appreciate all you do for model railroading. Thanks!
Ken”
Model train building kits:
A huge thank you to Ken for sharing his model train building kits layout.
Now can I ask you for a little help – I made Ken’s video from his pics.
Would you prefer background music to background sounds? And with or without animations?
Please leave a comment below and let me know, it would really help me.
But back to Ken, it’s easy to look at a layout like his and think, “Wow! Probably best if I just stay on the sideline and watch.”
But where’s the fun in that?
Starting is the key. Take Keith for example – he’s made that all important start:
“Hi Alastair,
Here are a couple pictures of a bridge I am building for the track to make it to an actual folding bridge – access entrance.
I am using this craft-type balsa you can find at a big-box hardware.
This balsa represents 8×8’s about 16 feet high. Then there will be side rails that will be the foundation for beams about the same width. These will support the track.
This will be an area as a dry river bed. And, formed with a drywall patch compound that sets up quickly.
The white foam area will be an oil platform and scenery. It will have a track and a siding for service.
So, here is the beginning construction. Perhaps you could consider sharing this.
Keith”
Never forget, every layout you see, however good, was once a rat’s nest of wires, wood, glue and paint.
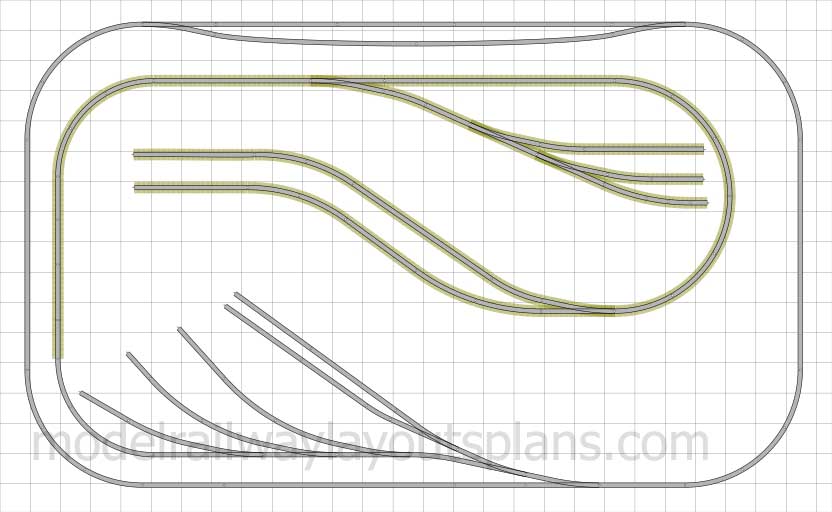
Rich has been in touch with his model train oval layout 4×8:
“Good Day Alastair,
I had a few moments so I dug out the newest pictures for you.
I am retired, 74, living in New Mexico since I retired and have built model railroads and stick and tissue airplanes since early childhood.
The layout itself is a 4 X 8 and a composite of two 4 X 8 layouts featured in Model Railroader.
It is now virtually complete except for all vehicles, horses and wagons which are downloaded from the internet, resized and rendered in 3D on sheets of paper for now. I will replace them as time allows.
Eventually I will extend the layout to include another town, yard and industries.
I hope you enjoy the pictures as much as I have enjoyed your column.
Regards,
Richard”
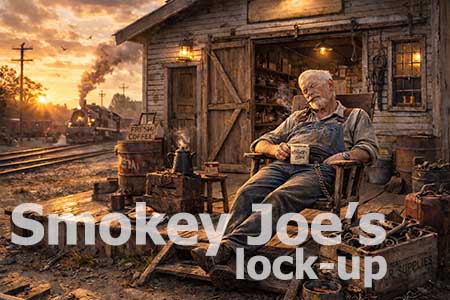
“Hi Al, found this photo and commentary from 2 years back. Thought that you and the others may enjoy it.
Dawn is breaking and locomotives are being readied for the days work ahead. Everything is running smoothly at present and the crew have all had their coffee and ready to go.
Have to pick up empty log cars in the yard and head off up to the forrest to have them loaded and then taken to the sawmill.
Brian”
A big thanks to Richard for sharing his model train oval layout 4×8. And of course, the same for Brian. (I love his stuff, and you can see more of it in the Hall of Fame).