Wayne’s been in touch with some great tips on model train building lights:
“Hi Al,
Some time ago I sent some pictures of my “in-progress” HO layout.
It has been a year since I started the project and being away from the hobby for many, many years, it has been very exciting to see all the new products available. I am now 67 so I have tried to keep things simple and manageable.
Your site has been a tremendous help and your other contributors have inspired me to keep going. My trains are running well and now I am working on more scenery and structures.
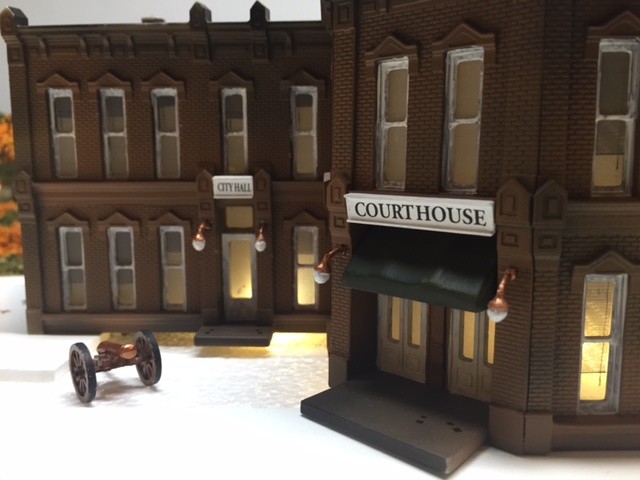
In the attached pics, my proudest accomplishment is the kit-bashed, scratch built Power Plant. The structure is not lit in the photo but it is lighted with LED strip lights. That allowed me to place lights on each level of the side super structure as well as the interior. I also added a dimmer switch.
One tip for your readers although this may not be new. Using the LED lights for all my structures created too much of the light to be seen through the windows. I solved that by spraying Testors Dull-Coat on both sides of the acetate window sheets provided in the structure kits before applying to the inside of the buildings.
The result is a very nice warm glow from the windows as well as blocking any view through the building to rear windows. I will do all my model train building lights like this.
One of the suggestions from Woodland Scenics is to insert a sheet of black construction paper to make the interior view more realistic. My method allows the light to glow in all windows. Note the blinds in the windows of the Court House in various positions. These windows were pre-printed with blinds and the Dull-Coat still allows them to be seen.
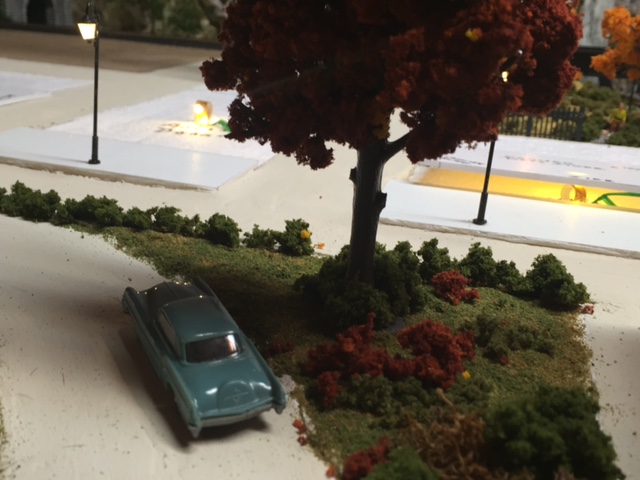
My next step will be to add more bushes, trees, weathering etc. to the layout. The town name by the way is Spring Falls; an amalgamation of the town where I grew up, (Springdale), and the town where I attended college, (Beaver Falls).
Another tip I want to pass on is the building weathering. I have tried using washes, weathering powder and so on. Although pretty good, I have found that priming my building with matte black paint and then applying a color from my air-brush in small amounts at a time, allows some of the black to show through creating an “old” weathered look. To each his own of course, but I was startled at the results after experimenting. Worth a try. You can always paint over.
Hope your readers enjoy. I look forward to getting your posts from around the world.
I want to retire if all goes well and I plan to spend a lot more time with the layout and maybe get my son to take more pictures.
Thanks for all you do for the hobby.
Wayne, Pittsburgh PA”
Model train building lights:


A big thanks to Wayne! Now on to another layout that’s been featured before:
“Hi Al,
Among the responses I had from my last post was at least one wanting a video of the shunting process.
As I use an I pad to film, it’s a bit awkward trying to operate both controller and I pad.
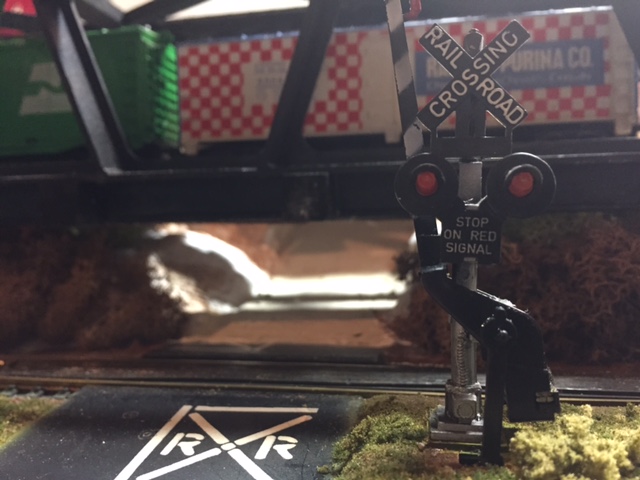
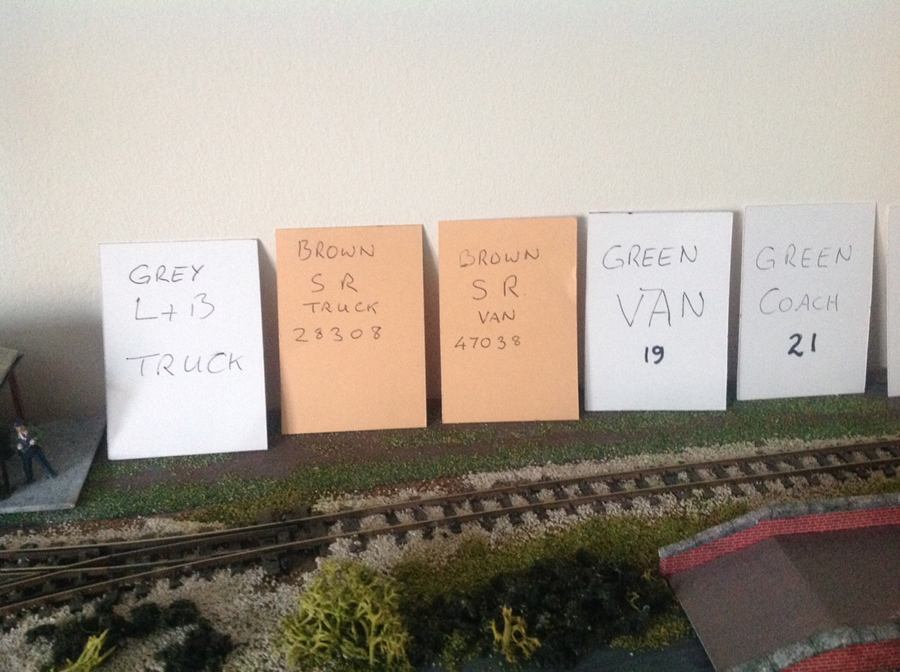
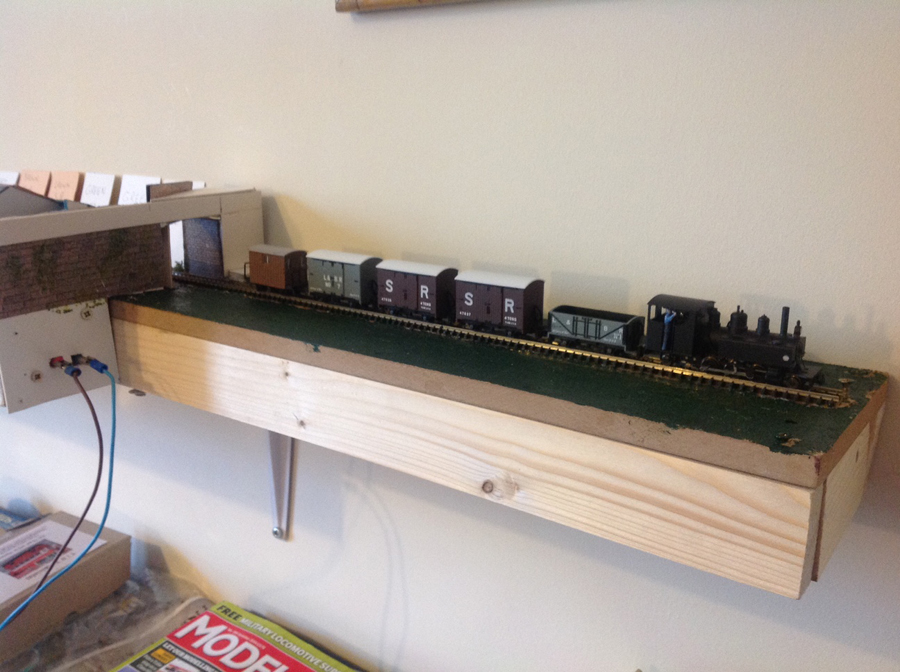
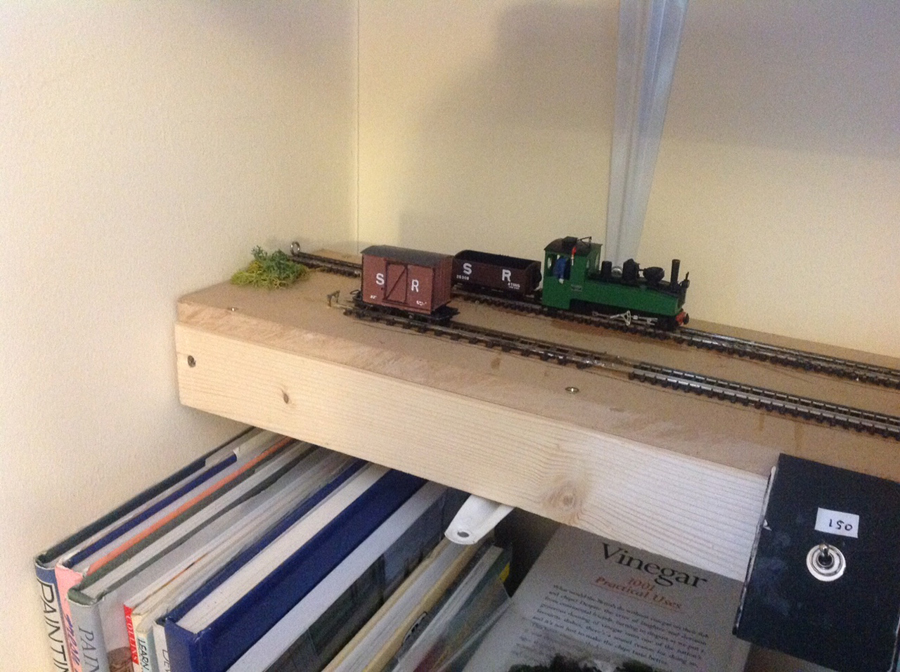
Every wagon has a card relating to it, which I use when making up a train. After shuffling the cards I decide how many wagons I want ( 2- 8 ) then make up the train in the order the cards are dealt. I have 7 S.R. Wagons plus a guards van kit, 8 Minitrains trucks, 2 green coaches, 1 green van which came with the Brigadelok loco as a set. Also a bogie flat car.
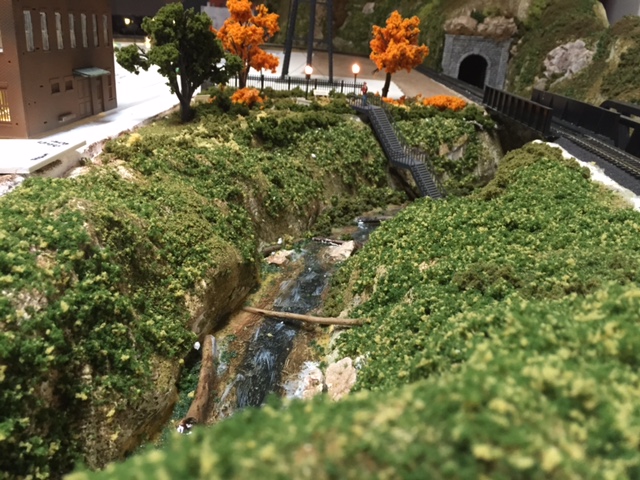
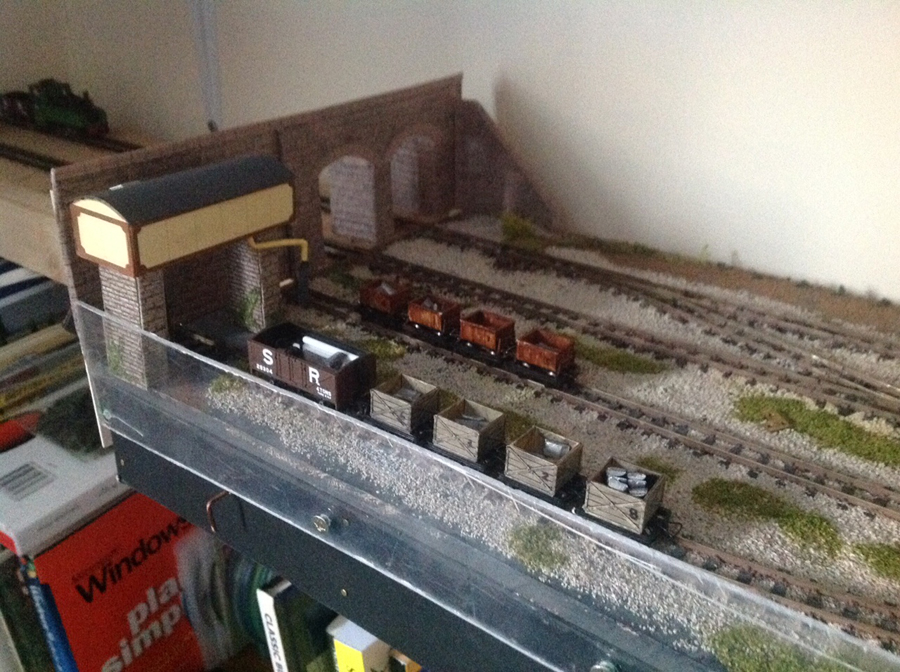
The scenic part is four feet long, has 3 sidings, a loop at the ‘station’ and two tracks going ‘off scene’ at one end and one track at the other. The pictures will make things clearer.
The pictures will come in batches as the I pad only allows 4 at a time and one video.
Keep them coming Al, it’s a great site.
Kind regards
Alan”
And the video:
That’s all for today folks. A big thanks to Wayne for sharing his model train building lights tips.
Thanks to Alan too.
Please do keep ’em coming.
And if today is the day you get started on your layout, the Beginner’s Guide is here.
Best
Al
PS Latest ebay cheat sheet is here.
PPS More HO scale train layouts here if that’s your thing.


very nice.
Nice tip on weathering with an air brush will have to try it with some of what I’m building , nice work detailing your scenes
Steve , up the river from you in Sarver Pa
Could you have a future demonstration on the rod operated switch points? Thank you.
Wayne your layout does look good , very scenic , well done …Dave
And Alan a good idea with the cards for the running numbers …Dave
Great job, Wayne. Looking forward to more.
Don in Montana
I enjoy your emails, and I enjoy seeing the neat layouts. However, I wish that when the guys send their photos, there would be more that shows the overall layout or at least that shows as much of it as possible. It’s nice to be able to get an overall perspective of it as much as possible. Thank you. John
PS: I’m in Minnesota
I have an “o” gauge train. I am looking for kits to build,: buildings, acessories rolling stock, people, etc
interesting use of shelf space
nice way to layout a project trainset
keep em runnin fellas
stjohn in long beach calif
In terms of excitement and interest, this shunting session does beat one thing though:
Watching the grass grow!
RE ” Looking for Kits ‘ use the ebay cheat sheet , I’ve found most of the kits that I’ve goptten for my lay out on ebay
Steve . Sarver Pa
Beautiful pike thanks Vic
Wish everyone would identify there scale when sending pictures. I know, what scale doesn’t really matter but it gives a better perspective when viewing layouts. Love all the pictures and tips.
Larry Berlin, PA.
Very articulating job on your scenery…took me back a few years. Especially enjoyed the building details.
Very nice work. Alan, I like the card shuffle idea. Love the shelf presentation, it inspired me to attempt a similar shelf scene in my hobby/ammo room. Wayne, very nice progress. I agree, LED’s are excellent upgrades even to the extent they purportedly use significantly less electricity. Can I share an idea based on my years as a general contractor, I have noticed that commercia & government buildings generally are fitted with ceiling lights on each floor, whereas residential homes generally use a floor or table lamp for lighting. I was just wondering if there could be a ceiling installed for each floor and the lighting attached to radiate from the ceilings for the nonresidential bldgs and nearer the lower wall/floor level for the residences? Just a thought and not intended to be critical of your very fine layout, just an idea on my design idea list.. BTW, I just retired last year and finally getting serious about collecting all my design ideas onto a master plan. I hope to be cutting lumber framing by Spring. Doug in Idaho, USA.
love the scenery photos. The detail in your shunting line is amazing. Enough there to keep one entertained for hours on end.
Excellent job Wayne, I’m the same age as you and started mine just over 2 years ago. Steady progress but due to other interests is slow going, and a bit of a mistake starting in ‘N’ at my age. Good tips on weathering, and I don’t know about you I get a lot of pleasure out of constructing card buildings. Great work – Cheers
Steve R UK
Thanks for tip on the testers window tinting. I will try it.
Wayne that is most excellent work. Thanks for sharing.
Mike D. Kendallville,In.
Hi Al, I really enjoy these e-mails. I am taking note of a few of Wayne’s tricks and will apply them to my own work. Once I feel that I have reached a level of satisfaction with my work that is at par with some of the work offered by Wayne and others, I might share my own efforts. Christian in Ontario Canada
great work, like the rod work.
Wayne your idea of blacking out a room to stop the light spread is a good one. I hope to start my construction this fall (2019) and have a major question, LED lighting do you wire it in series or parallel What about street light what power do you use 12v? In all the model layouts that are displayed, we never get to see the LED wiring underneath the board.
I wish contributors would include overall photos of their layouts, not just closeups.
nice looking layout wayne
Looks pretty kool.!!!! I hope mine comes out that good.
Beautiful Detail
Nice job!!
Wayne, I was skeptical at first, but after seeing the photos,I really like the”scale”amount of light from the windows. A note to all: Mr. Lee’s printouts can be sized to most scales. A table of enlargements and reductions is included with the orders. I have most all of them. I am ready to start construction, but my space is not yet available.
Wayne, nice job, I like the weathering and landscape. Would like to see an o er view phot if your layout.
My home town is Beaver, PA. And I am an Alumni of Geneva College class of ’74.
Very nice! Beautiful details.
Love the Mark II in the second pic.
great detail, very nice.