Glyn’s been back in touch with an update on his HO scale castle:
“Hi Al
Thanks again for the opportunity to share some ideas with everyone and for being able to learn from their helpful comments and suggestions.
I want to upload some of my videos in the near future to show trains running on the layout but I have to perfect my video editing skills first!
I thought I’d share a few thoughts on how I solved a problem at my main terminal station.
The station is built on a flat plywood base above a series of staging tracks. To say the least it looked boring even with a few buildings scattered around.
I decided to spruce it up by creating a medieval style castle town adjacent. So I stuck a castle I’d built 10 years ago (I know – sad it’s taken this long to get my brain in gear to construct this thing) on the right hand side where a large open area lay. Well, sounded like a smart idea until I looked at the castle and saw its drawbridge to nowhere looking into the void!
Bummer I thought, can’t have that, so the old cranial cogs started grinding away for a solution. Now surgeons are considered a slow breed, so it took me a while but I finally conceived a plan: build a platform level with the drawbridge and create a stone paved courtyard to house the town’s stone church and surround it with a stone wall while building the surrounding landscape to simulate a low hill side.
The idea came to me as I thought back to a holiday my wife and I took 2 years ago to Provence. We visited the beautiful medieval town of Eze with its hillside castle and cathedral. In building the fantasy layout I have tried to incorporate little vignettes that have been meaningful to me and my wife and this sounded like a perfect solution.
Grubbing around in my plywood off-cuts, I found a suitable piece and mounted it on some pink insulation construction foam buttresses cut with a foam hotknife and glued it all in place with PVA glue. Unfortunately I didnt photograph this stage but as the sequence shows, I then mounted a white plastic cobblestone sheet on top and glued it down to create the courtyard.
I sprayed the courtyard with beige acrylic primer then rubbed weathering powder in to create an aged look (ground artist’s pastels work well or you can buy sets of weathering powder). Once the courtyard was set I mounted the church. It looked pretty decent but really needed a stone wall for realism.
So I found some black foam, cut it into narrow strips and saturated it with Elmers PVA glue before pressing fine talus (Woodland Scenics) into it as shown in the photos. Then I simply laid the stone wall onto the edge of the courtyard and let it dry for 48 hours – it set rock hard (pardon the pun) and looked quite realistic even at fairly close quarters.
The mountain side is pretty detailed but was very easy to build. I used the Woodland Scenics shaper sheet to would the steep sides and plastered some rock moulds I’d made onto its side. I used the leopard spotting techniques described in the WS Youtube videos, then sprinkled on a mix of blended turf, light green and medium green turf.
Then I added medium and light green clump foliage followed by gluing on pieces of lichen to simulate bushes. I sprinkled some fine talus at the bottom of the rocky side to emulate minor rockfalls and hanging vines adorn the steeper sides. These are made from finely pulled black polyester fiber soaked in PVA mix and sprinkled with fine and coarse turf of different colours. I sprayed the while construct with 50:50 PVA glue:water mix to seal it. The whole thing jutted out over a mainline track heading down to the storage yards and passing tracks so I had to glue a rock tunnel portal in before I laid the shaper sheet and plastered it all.
The net result was the conversion of a boring flat station area to an interesting little feature suggesting the station nestles in the shadow of a medieval HO scale castle town and it is now a real focal point of the layout which I had not anticipated at all.It has had many comments and has given me hours of pleasure in the construction. Hope this helps.
Glyn”
HO scale castle:
A huge thank you to Glyn for sharing his HO scale castle update.
John’s been in touch with his N scale steam layout:
“Al, here is some stuff on my permanent, ancient N gauge layout.
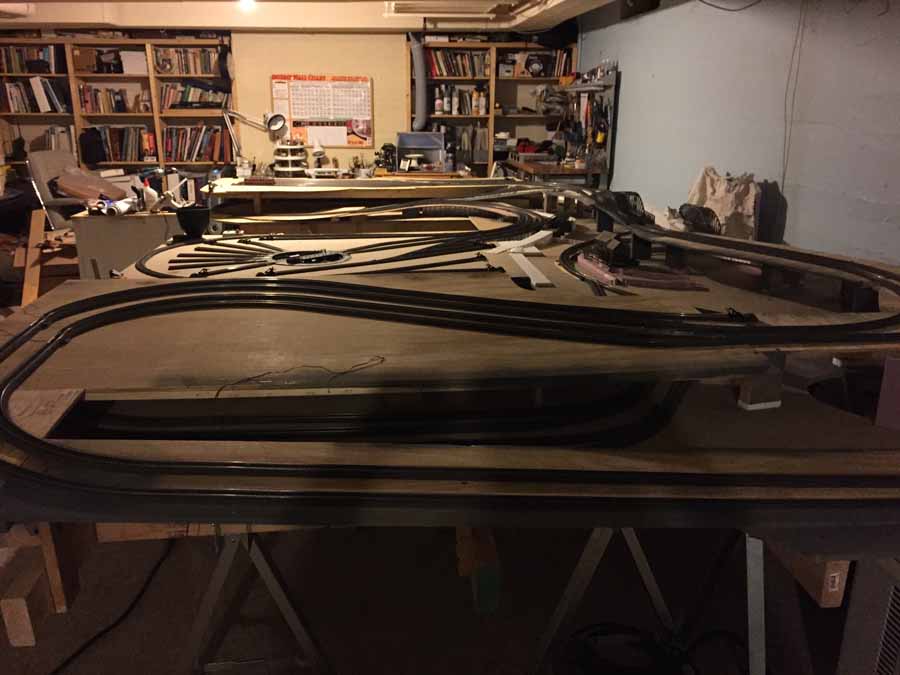
It is in a basement space it’s N scale 25×12. That space also include my shop, the boiler, water heater, electrical and water services.
Five power packs run the railroad, spread over the two rooms.
Running a train takes some time and a bit of walking between rooms. There is room for only two or three guests at any time. But five operators can work the line, and it can mimic operation of a 1950’s class 1 system.
It has local and through freight services, commuter services and through passenger services.
It is point to loop, thus trains go somewhere and come back. When they get to the eastern terminal they must be switched to go the other way.
As many of your readers have already established, N gauge gives you the opportunity to do a lot in a relatively small space.
My house is not large thus, the basement is somewhat confined and “she who must be obeyed” allocated only one half of the space to my toys. Thus the lay out had to share the allocated half with in the furnace, water heater, electrical service and my shop.
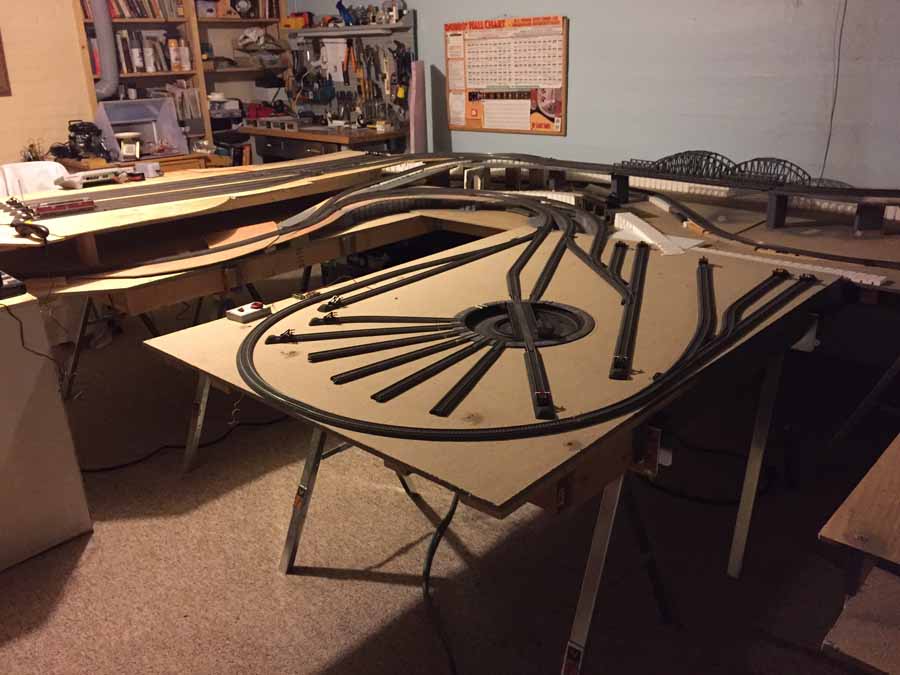
When we moved to this home, the material which arrived with us included the remains of a 4×8 layout first built 1968 in Washington, DC. Port Jervis Yard and part of Hornel Yard of the current lay out are made from that original effort.
The New York, Erie and Western, was installed in the basement in 1977-78. Its general track lay out has not changed much in all that time. Most of the scenery is that old. I am not a good photographer, an issue less important with standard gauge, so Al you may not wish to use this material as the photography is poor. It is very hard to photograph small things and get the background in focus. I have generally not succeeded.
That said, here it is, my n scale steam layout.
The E&W is a point to loop railroad based very loosely on the Erie, the line I worked on during the summers from 1959 to 1965.
The layout has a main line which is about 7.5 scale miles from the terminal to the mid point of the loops.
It is two tracks in commuter territory, about 1/4 of the line, and single track with passing sidings beyond. Thus, it is more like the New York Susquehanna and Western than the Erie, but no one is left to know the difference.
There are five holding loops at the west end and three yards. A branch from the eastern yard reaches the port where, as with the Erie, lighters and car floats complete the trip to New York City, one of the few major cities in the World to remain isolated from direct full access to a continental rail system.
Running west, the line crosses over two major rises causing both east and westbound trains to tackle significant long grades.
Starting from the west.
Eastbound freight exiting the western loops. Most through trains need two locomotives. Trains are limited to about 17 cars due to tracking issues on curves on grades. The glory of N gauge is the ability to produce scenes like this, with trains looking small.
This is the Lake City Limited eastbound west of Hornel, site of the western yard. The dark line in the scenery is a window which, in theory, opens. There has been no need for over 35 years.
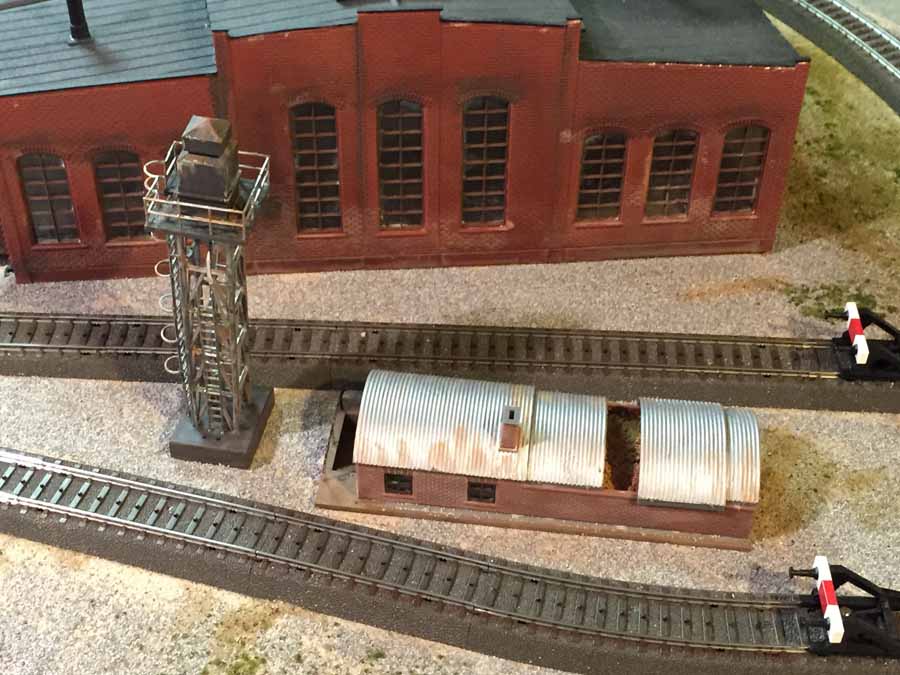
Hornel Yard has an engine terminal and two major industries, this grain elevator and a glass factory.
A local freight from here services lineside industry to the east. Unlike the displays I build for shows, modified circles, this is a model railroad and it is built to reproduce the operations of a class one as of the mid 1950’s when first generation diesels still mixed with steam.
N scale steam:
Much of the activity is related to some degree to my own experience on the Erie, though I missed steam by a few years.
In the yards west of the Hudson River we broke up arriving trains for delivery in the City of New York, via car float, and for delivery on numerous branch lines radiating form the terminal yard at Croxton. The operation of the E&W is similar but abbreviated. Even in N gauge a 50 track classification yard does not fit in a small basement so East End Yard has a five track hump yard.
Eastbound freight leaving Hornel. The mountain is made of Styrofoam covered with a layer of plaster mixed with latex paint. Plaster does not adhere to Styrofoam, thus the paint.
A light second layer of pure plaster simply allows consistent coloring with surrounding scenery.
This mountain can be removed to access the five loop tracks below.
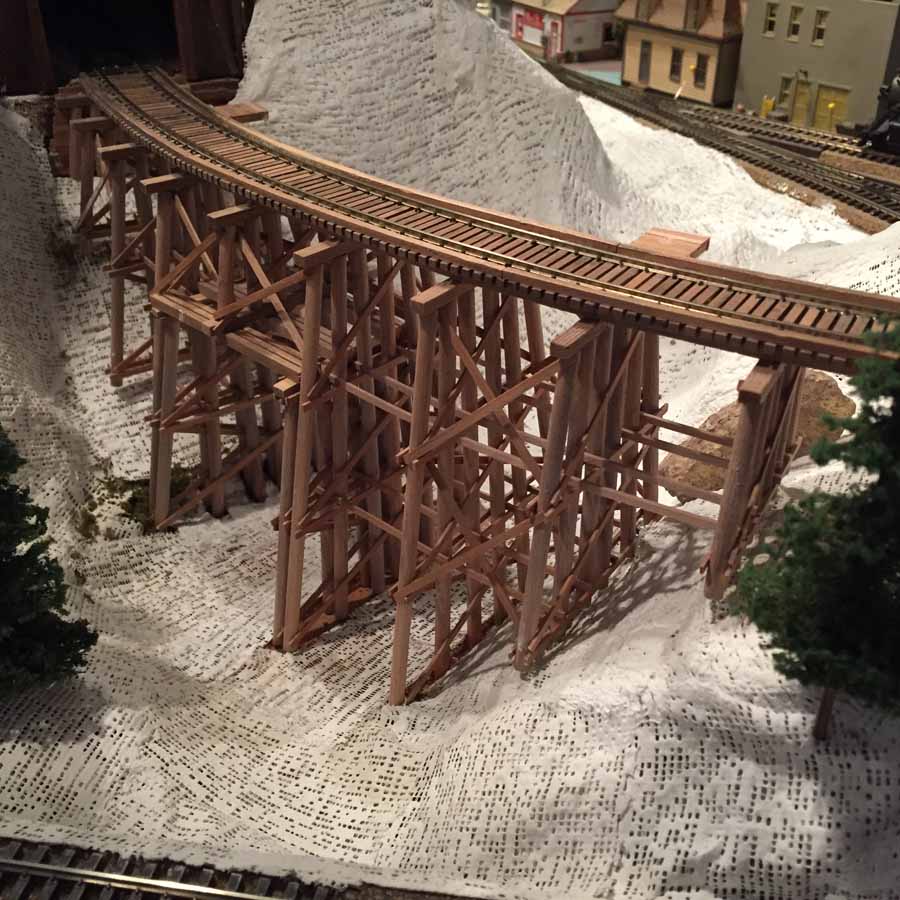
There are three lift out sections on the railroad to access hidden track, the rest of the scenery is plaster, but rather than screening over a wood frame, used on larger scales, this is generally corrugated cardboard framing with 3 x 3 “ bits of newspaper dipped in patching plaster and laid over a grid made of masking tape.
Additional layers of plaster were painted on for strength and a final layer was added and carved where rock facing was needed. The base earth color is achieved with boiler sludge from my steam heating system applied with a plant sprayer. Plaster sucks up water, and thus the rust in the sludge. It is an indelible stain.
This is a westbound freight at Lawrenceville. The local freight from Hornel services several industries here as well as an interchange with a short line.
Along the Delaware the Erie had two tracks the NYE&W has one to allow space for scenery.
A local arriving in Port Jervis, the mid point of the railroad. Through trains need to change crews here as the eastern half of the railroad runs from a different control panel than the western. Trains pass between the boiler room and the shop three times between East End and Hornel. This train, an eastern division local terminates here. East End and Port Jervis are in the shop. Port Jervis is between two heavy grades, the real division point is at the bottom of one steep hill and at the eastern end of the line along the Delaware.
Westport, the west end of commuter service. This is the westbound Lake City Limited’s first stop. A commuter local is waiting on one of two holding tracks west of the station to head east. The Y used to turn commuter locomotives, mostly Pacifics, can be seen converging by the water tank. When push pull trains took over the services of the former Erie, the Y at Waldwick fell out of use. But the early diesels were RS 2s and 3s and they generally ran long hood first, so they also turned on the Y,
A westbound local approaching Garfield, the second commuter station west of the eastern terminal. A local freight based in East End yard services the lineside industries as far as Westport.
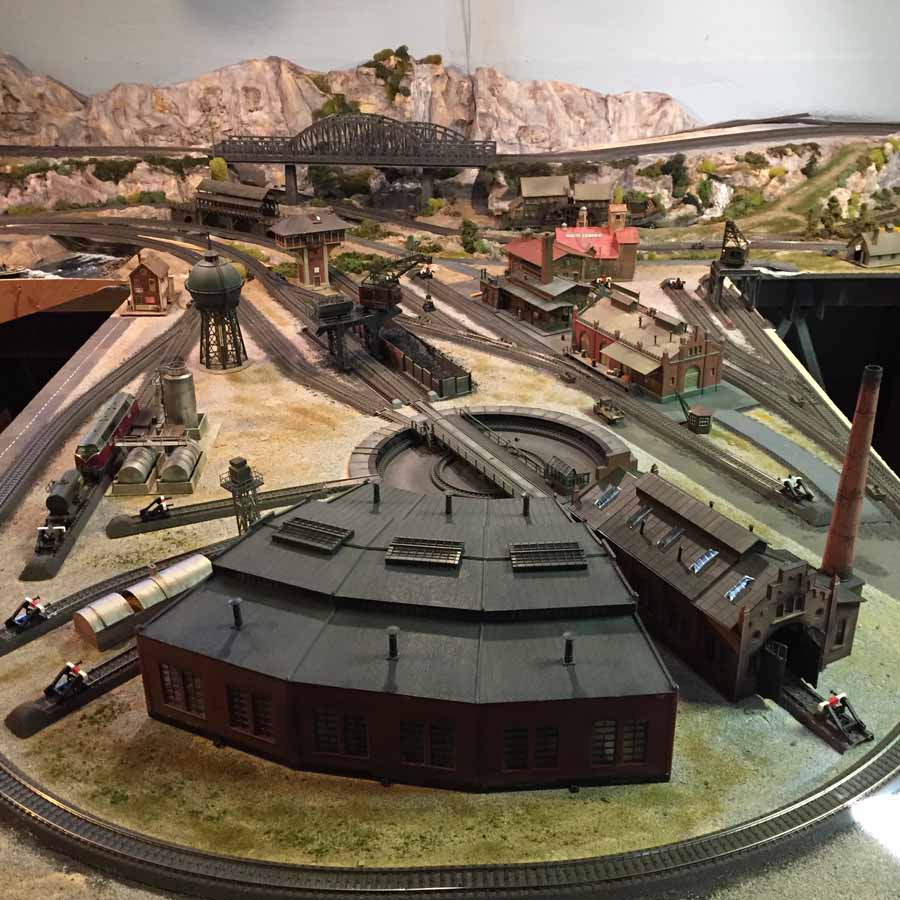
This is the N scale steam East End. The passenger terminal is to the left, harbor facilities, almost empty car float are in the center and the eastern end of the freight yards are also seen as is the long distance passenger yard. The commuter yard is out of sight to the right. Both are accessed by double slip switches on a single ladder track. The beginning of it is just ahead of the departing commuter train. It passes through two of those switches to reach the westbound main. Due to the complexity of double slop switches that ladder is not ballasted.
The backdrop here was my first attempt at a painted scene. It took all summer many years ago. I used water paint and colored pencil on a spare piece of plaster board. The water in the harbor is plywood covered with a thin layer of plaster covered with boiler sludge covered with several coats of spare maritime varnish, critical to both the appearance of water and to holding the base together. a thin layer of plaster, needed only to get the color right, will not survive otherwise. This method is similar to the Delaware but without the sand bars and rocks of a shallow river. This is the Hudson at New York Harbor of the late 1950s deep and far from clean. Boiler sludge is about right.
John”
Wow! A big thanks to John – a wonderful narrative, and his n scale steam layout is a real stunner.
But there’s a but! It’s all getting very professional at the mo, with today’s post, and Glyn’s from the last few days. Please, please don’t forget this site is for everyone.
So if you’re sitting on a layout that you’re proud of, please do share it. It doesn’t have to be a N scale 25×12. It most definitely doesn’t have to be magazine standard. In fact, it doesn’t have to be any standard at all: if you enjoyed creating it, and you’re proud of it, we’d love to see it.
You’ve only got to flick back through the older posts to see it’s all about sharing tips and ideas. That’s what makes the site.
And if any of the posts have motivated you to get started, then that’s even better. That’s what the site and the Beginner’s Guide is all about.
Keep ’em coming.
And here’s a load more N scale layouts if you’re after them.
Glyn’s been back in touch with a fantastic post on how to make water for model railroad.
“Hello Al
I thought I would finish up the river construction section today as my first post brought us to the painted river bed with some rock debris added but no further.
Once the river bed was plastered, I painted it as shown with darker blue for deep water in the center of the water flow, becoming more greenish blue toward the river banks.
I feathered the edges with light fine sand and inserted small pebbles I picked up in the driveway and garden.
For sand I bought a bag of fine children’s playground sand, available at any hardware store – cheap and easy and Ive used it over and over again to create river banks, sandy surface and roadsides.
I sprinkled the sand on river banks and over the approaches to the river. Once everything was in position I sprayed it with undiluted medicinal alcohol available from any pharmacy or grocery store.
This allows scenic cement to flow easily into every nook and cranny and prevents spray on scenic cement from disturbing the surface and blowing the sand away ( I learned this tip from one of the posts on this site).
Once sprayed with alcohol I sprayed the entire river bed and river bank construct with scenic cement – simple Elmers Woodglue or Modgepodge glue diluted 50:50 with tap water. – It sets rock hard in a few hours.
Then I laid a few broken dried twigs from the garden to simulate fallen trees and branches lying in or near the water. Remember these tend to wash up in the corners of river bends.
Once all my sand, rocks and timber debris were in place, I poured the river. Herein lies a lesson I learned to my cost! Acrylic water (e.g Woodland Scenic Realistic Water) is self leveling, dries slowly, and can find its way into every tiny orifice imaginable to leak away!
SO first, make sure your river is leveled or, if creating a descending stream, separate each level portion from the next descent by a waterproof dam disguised as a rapid.
If you don’t the liquid water will gently trickle its way down to the lowest part of your river leaving you with a desert landscape up top!
Next, plug any tiny holes in the river bed so as to prevent leakage of your water – its expensive stuff and its very disheartening to see you river leaking onto the floor beneath your layout. I created a plywood bulwark at the end of my river but I didnt have a perfect seal and lost quite a bit from first pour. Lesson learned.
You can do multiple pours to build up depth. I ended up using 5 bottles of the stuff as it contract as it dries (up to 50%) and my river system is nearly 2 meters long. Noch and Faller make similar ready to use liquid water as well. Noch’s 2k Wasser is apparently better for deep water.
Once the water was set, it looks great and you can see through it to your landscaped river bed etc. Problem is you dont see movement. To add rapids and ripples etc, use Woodland Scenics Water Effects.
It comes as a thick white paste in a plastic bottle with nozzle and you just squeeze it onto the smooth water surface and spread it with a toothpick or serrated card.
It dries clear and looks like ripples. If you add a little white acrylic artists paint, it creates white foam-like ripples which dry whitish. They look pretty realistic.
The river banks are painted with the leopard spotting technique shown in the many Woodland Scenics Youtube videos on landscaping and building water features. The videos are excellent. Once painted I developed the river banks with blended and light green turf sprayed with my scenic cement mix, and then stuck on clumps of medium coarse foliage and lichen to simulate bushes.
The pics illustrate the final results. It’s an incredibly gratifying experience and great fun to build.
Happy modeling!
Glyn.”
How to make water for model railroad:
A big thanks to Glyn for sharing his take on ‘How to make water for model railroad’.
I know the water feature ‘how-tos’ always go down well. Get them right and they look fantastic, get them wrong, and, well…