Mike and Arnie’s stunning updates

Mike is up first today:

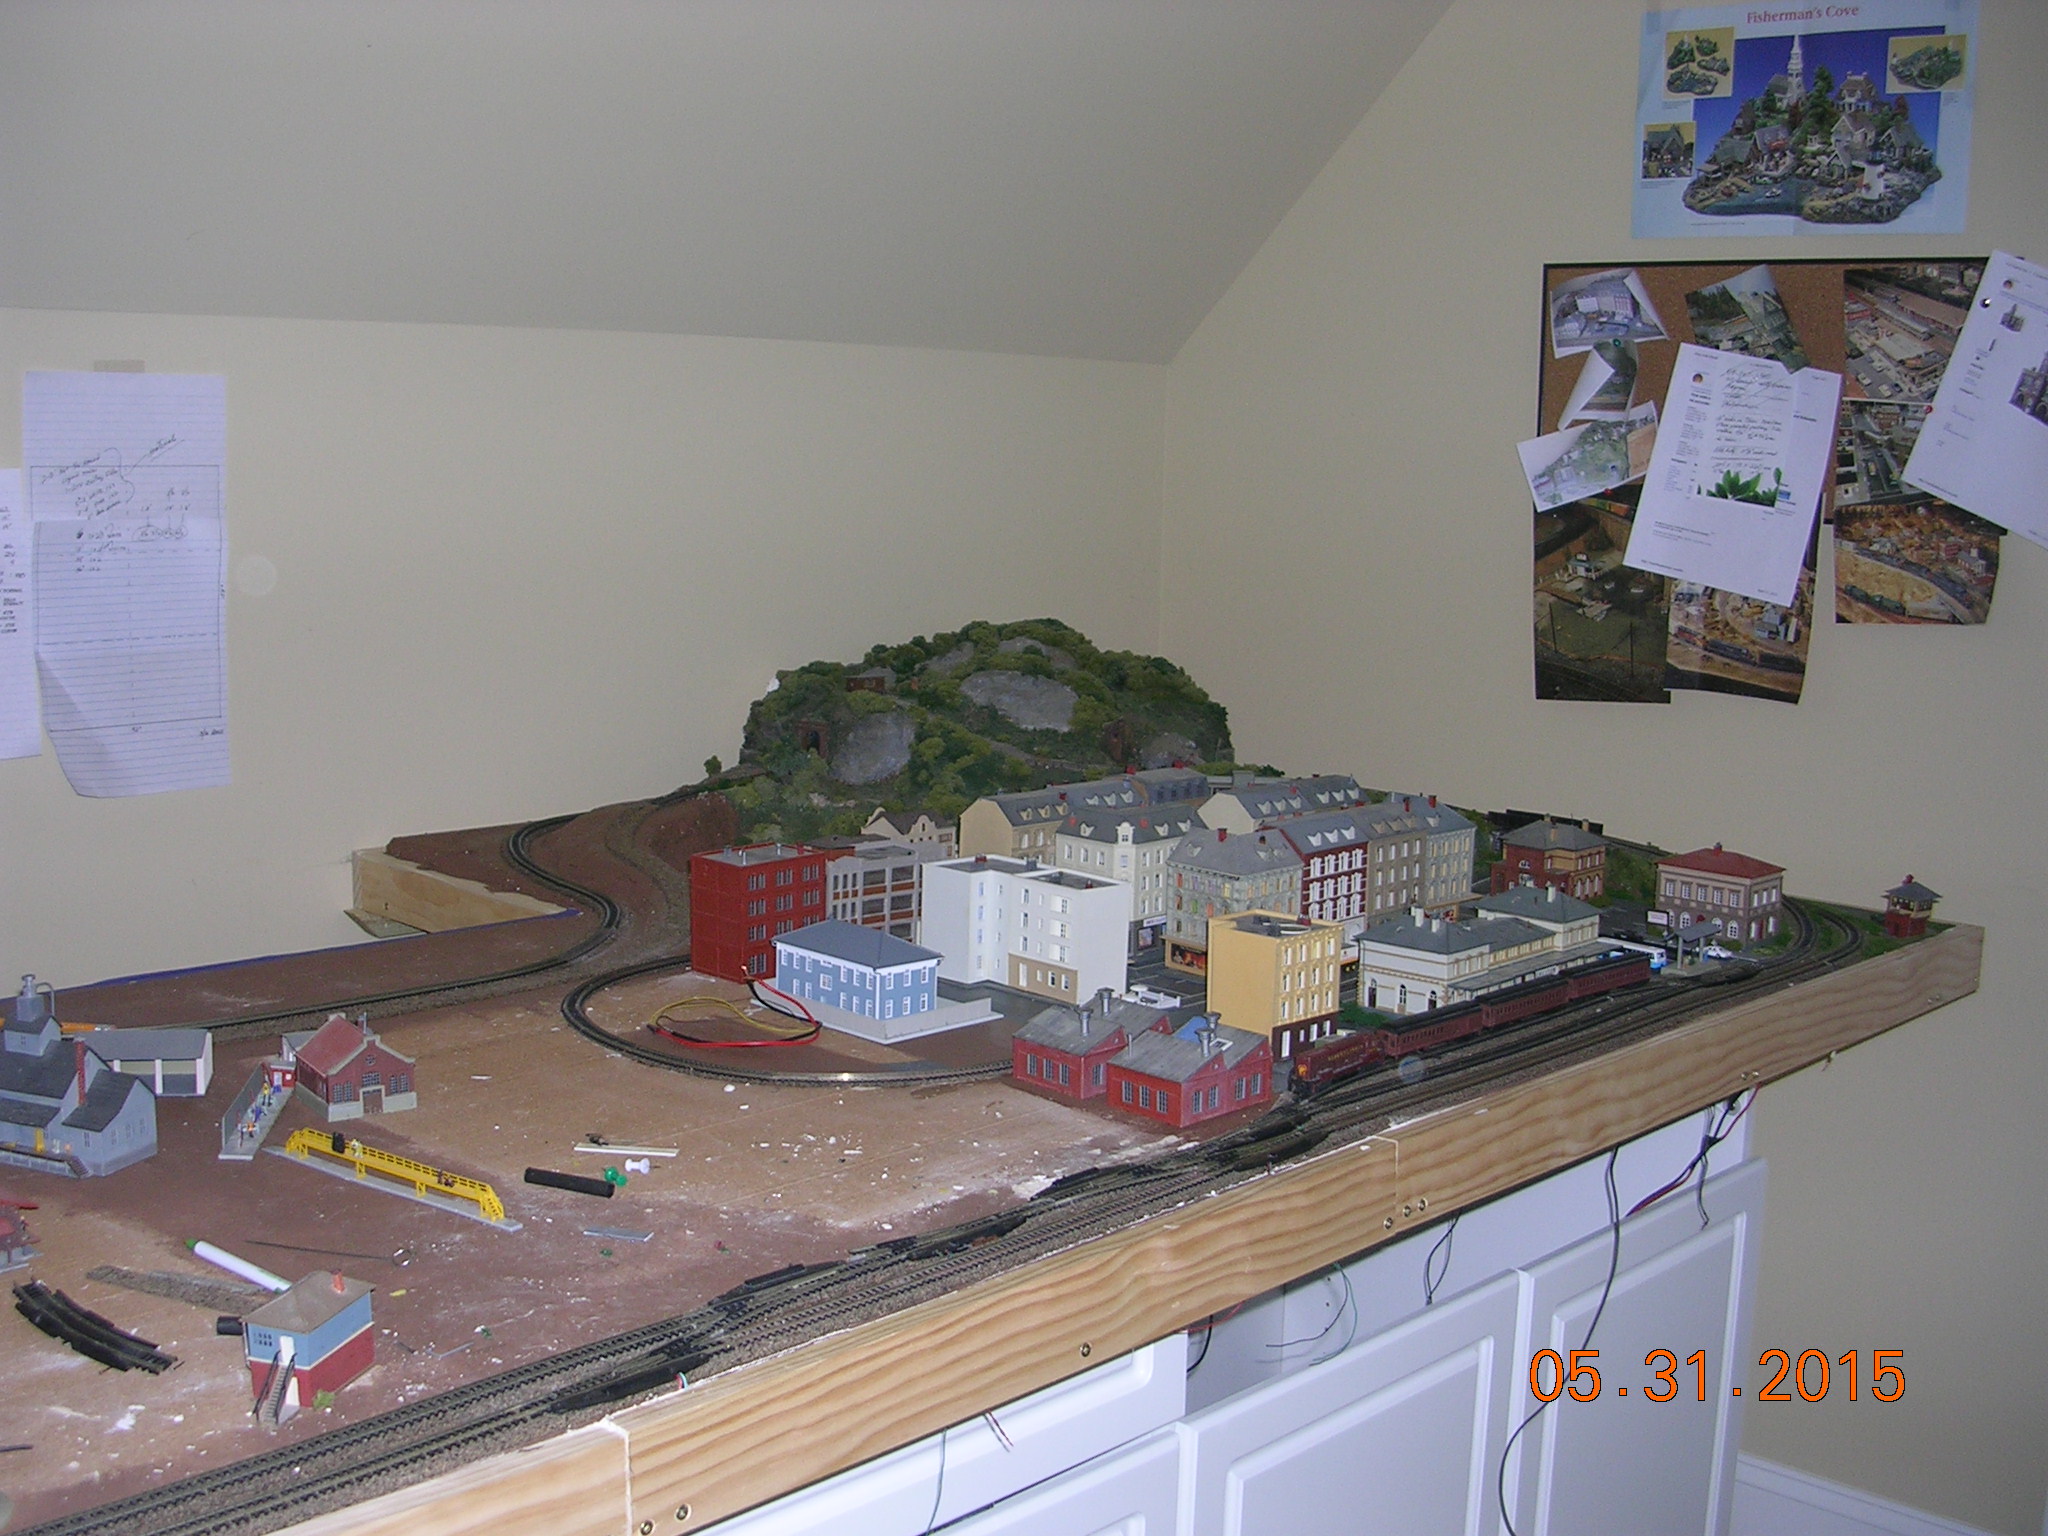
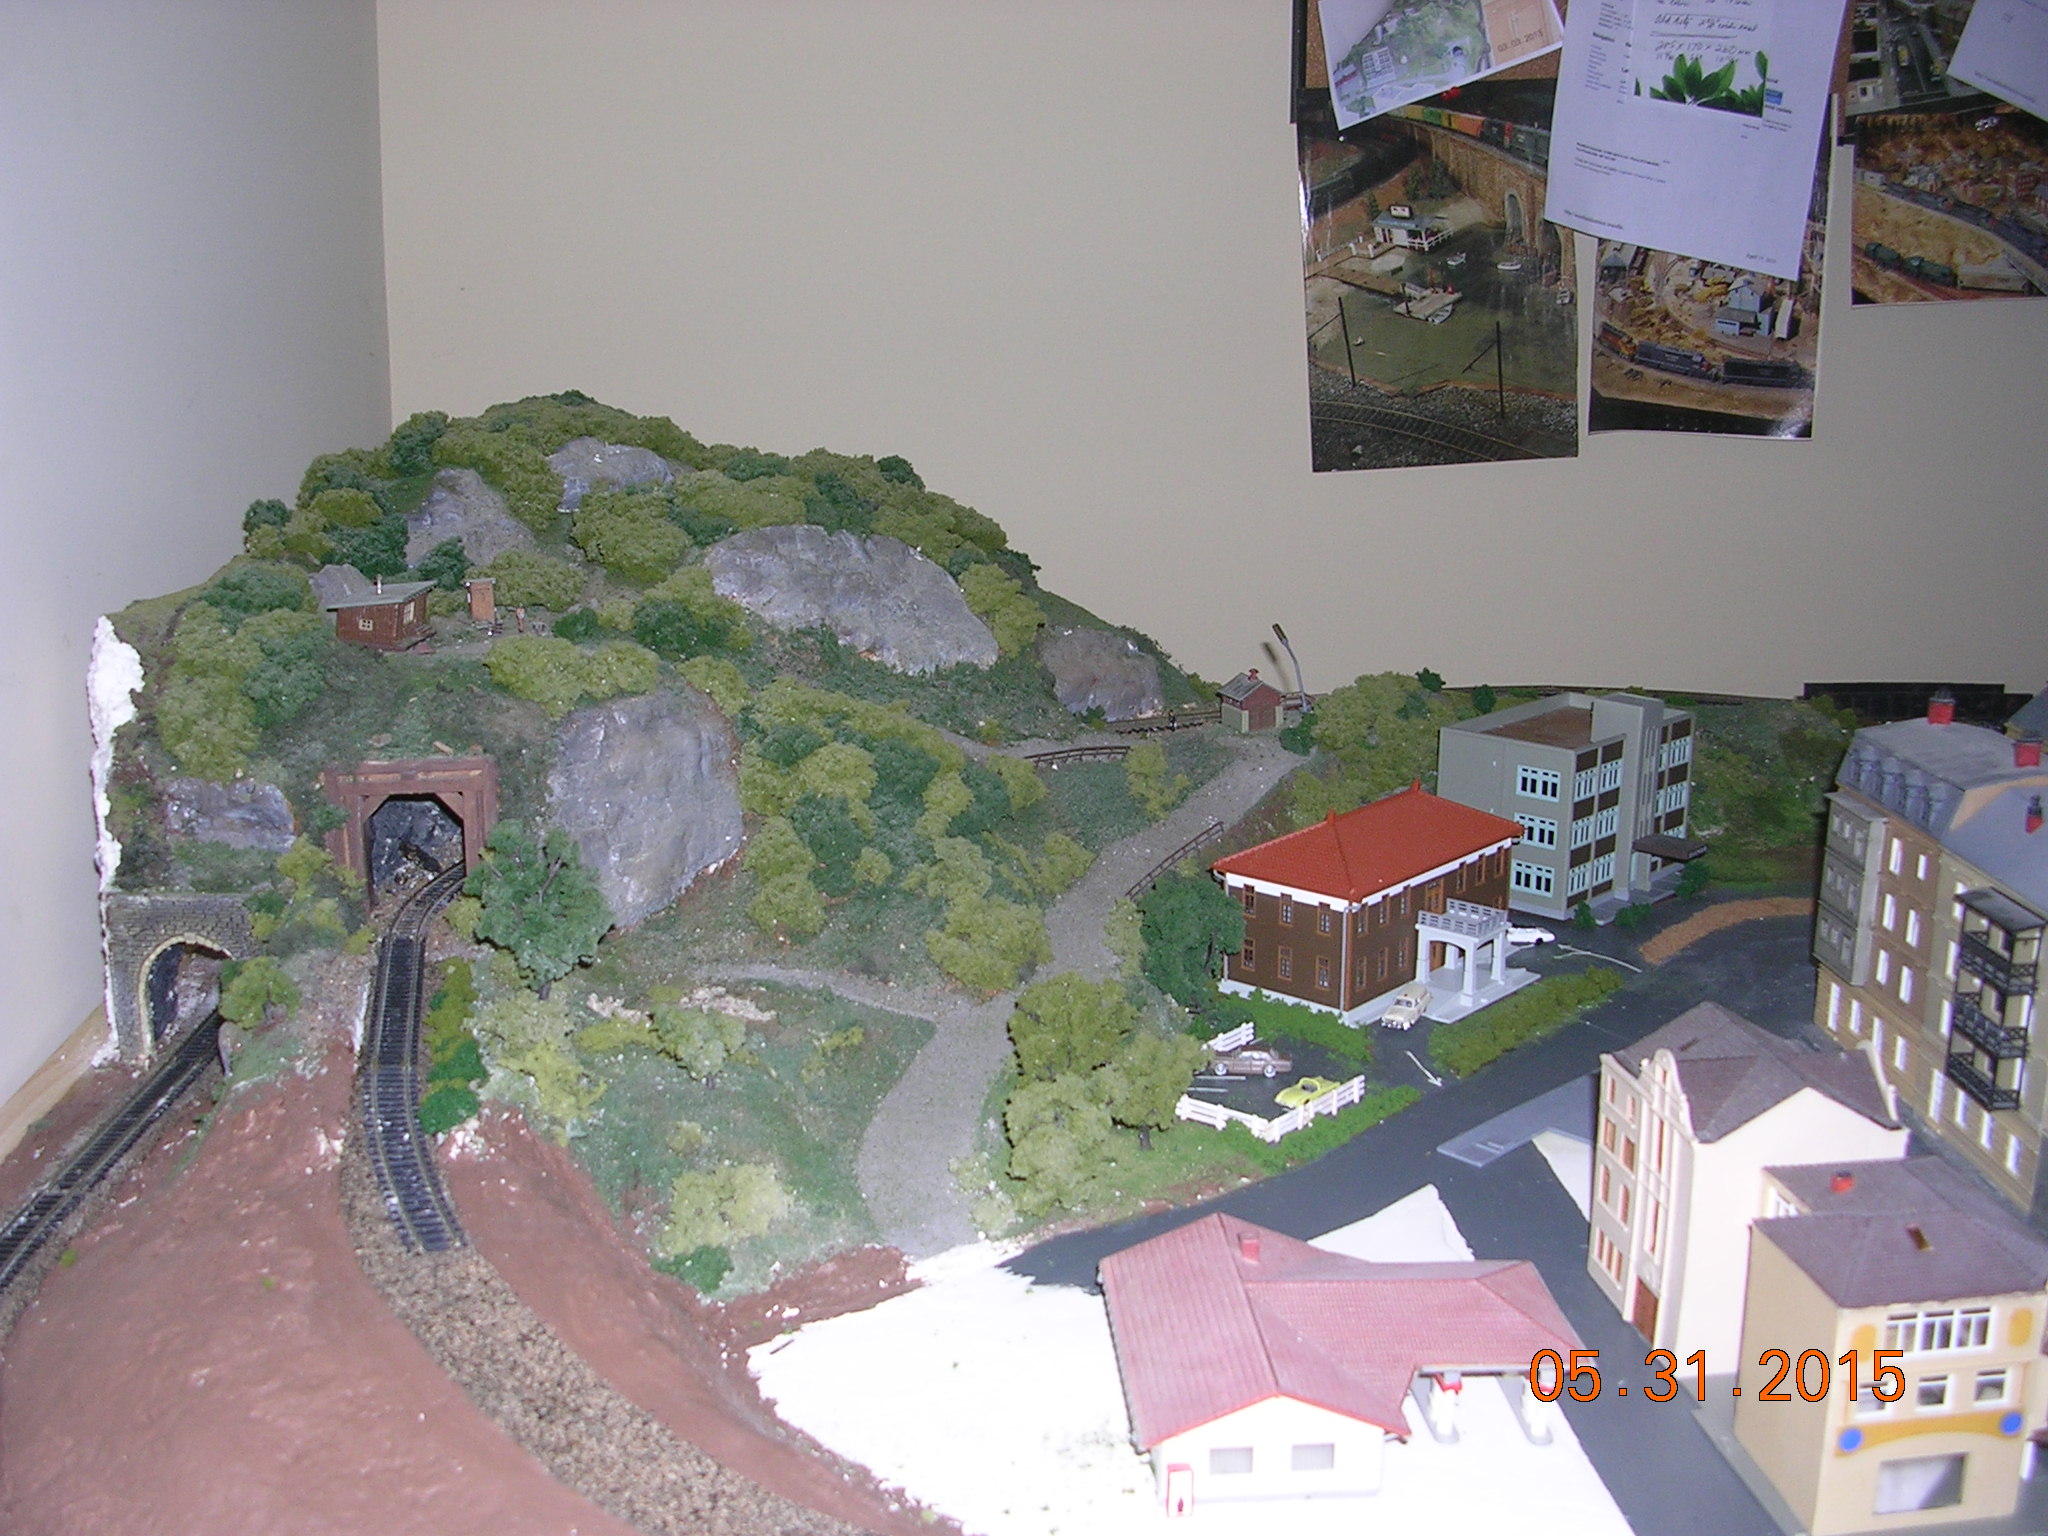
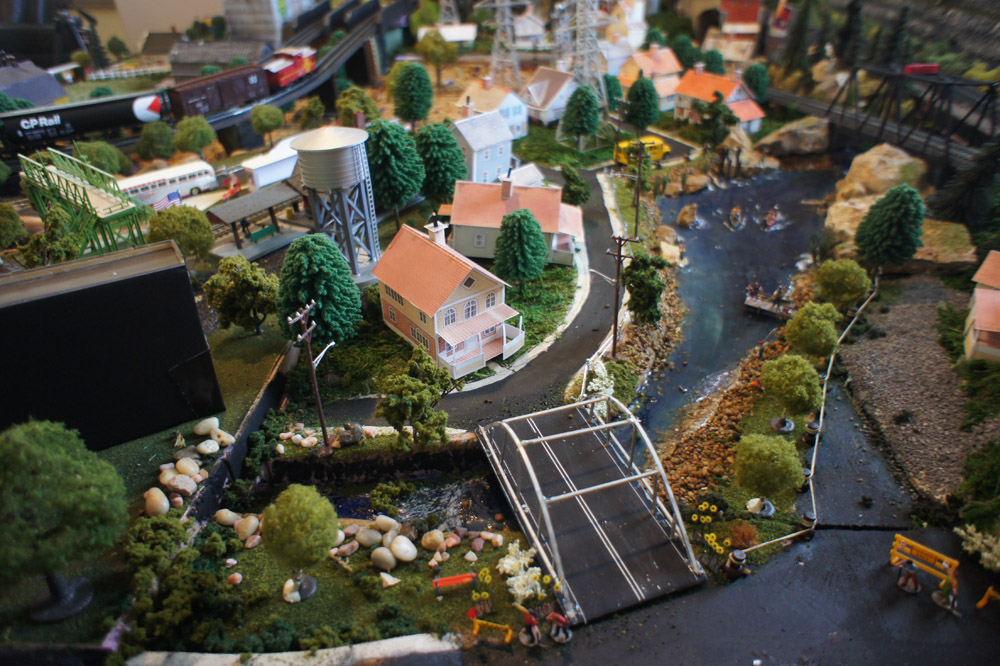
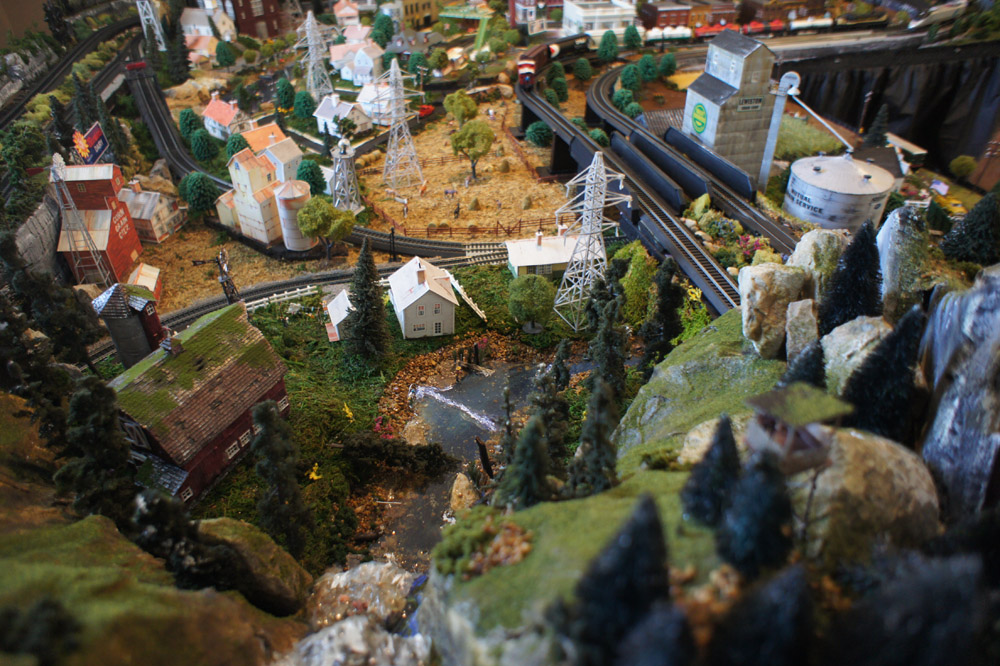
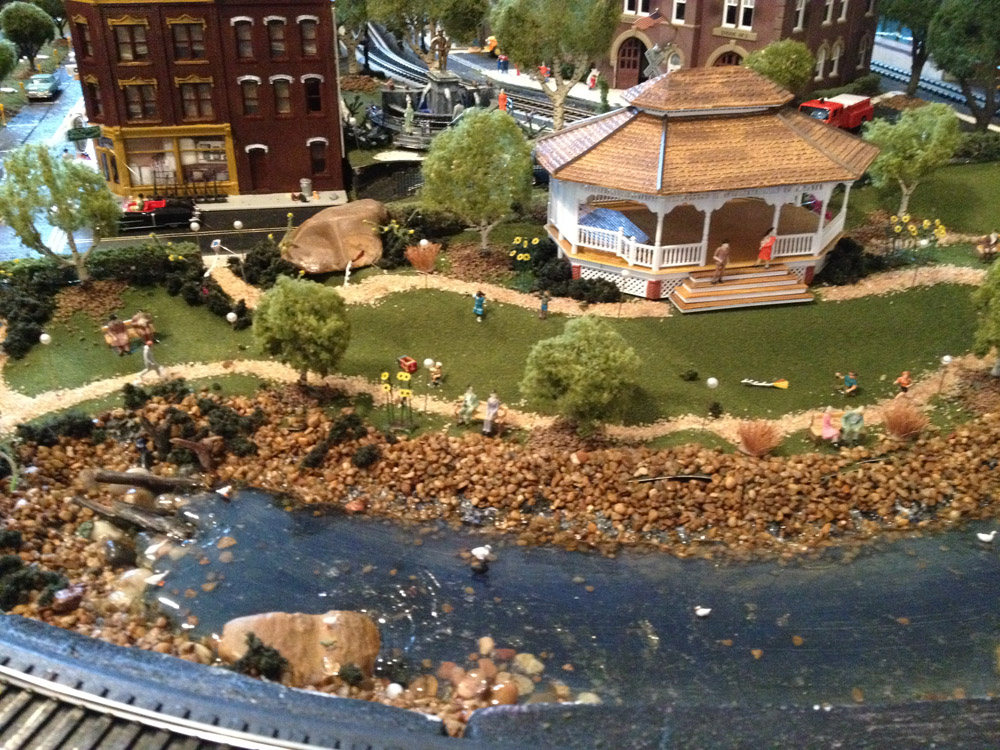
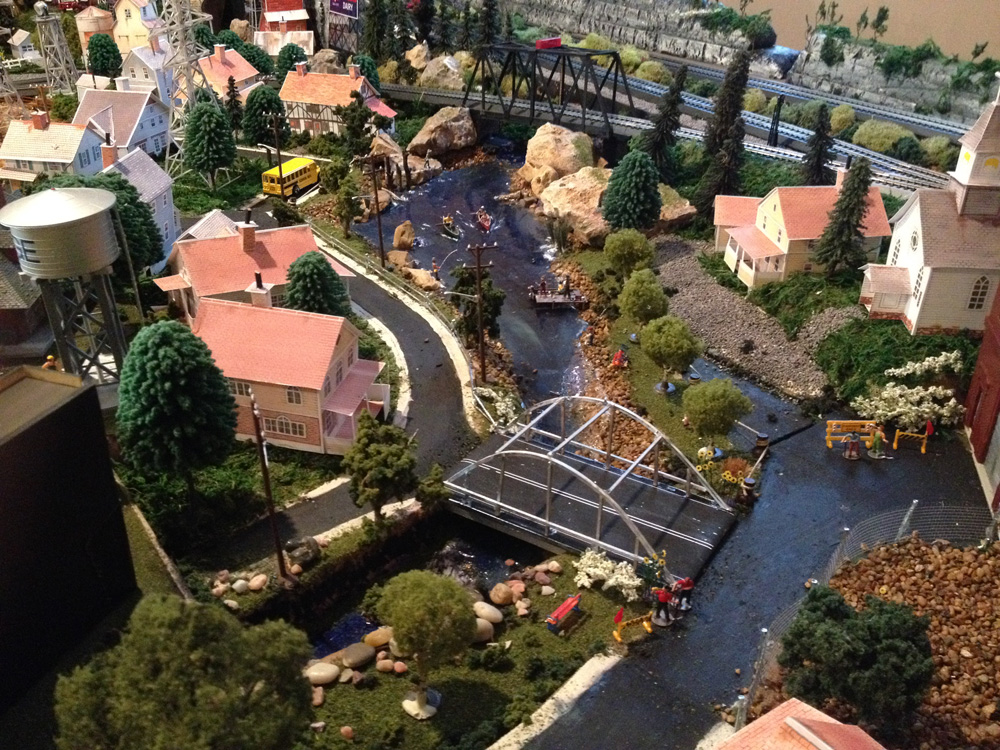
“I’ve been adding details in sections over the past 3 months. some of the additions are scratch built ( the bridge over the stream, some of the trees, the chain link fence and the guardrails)

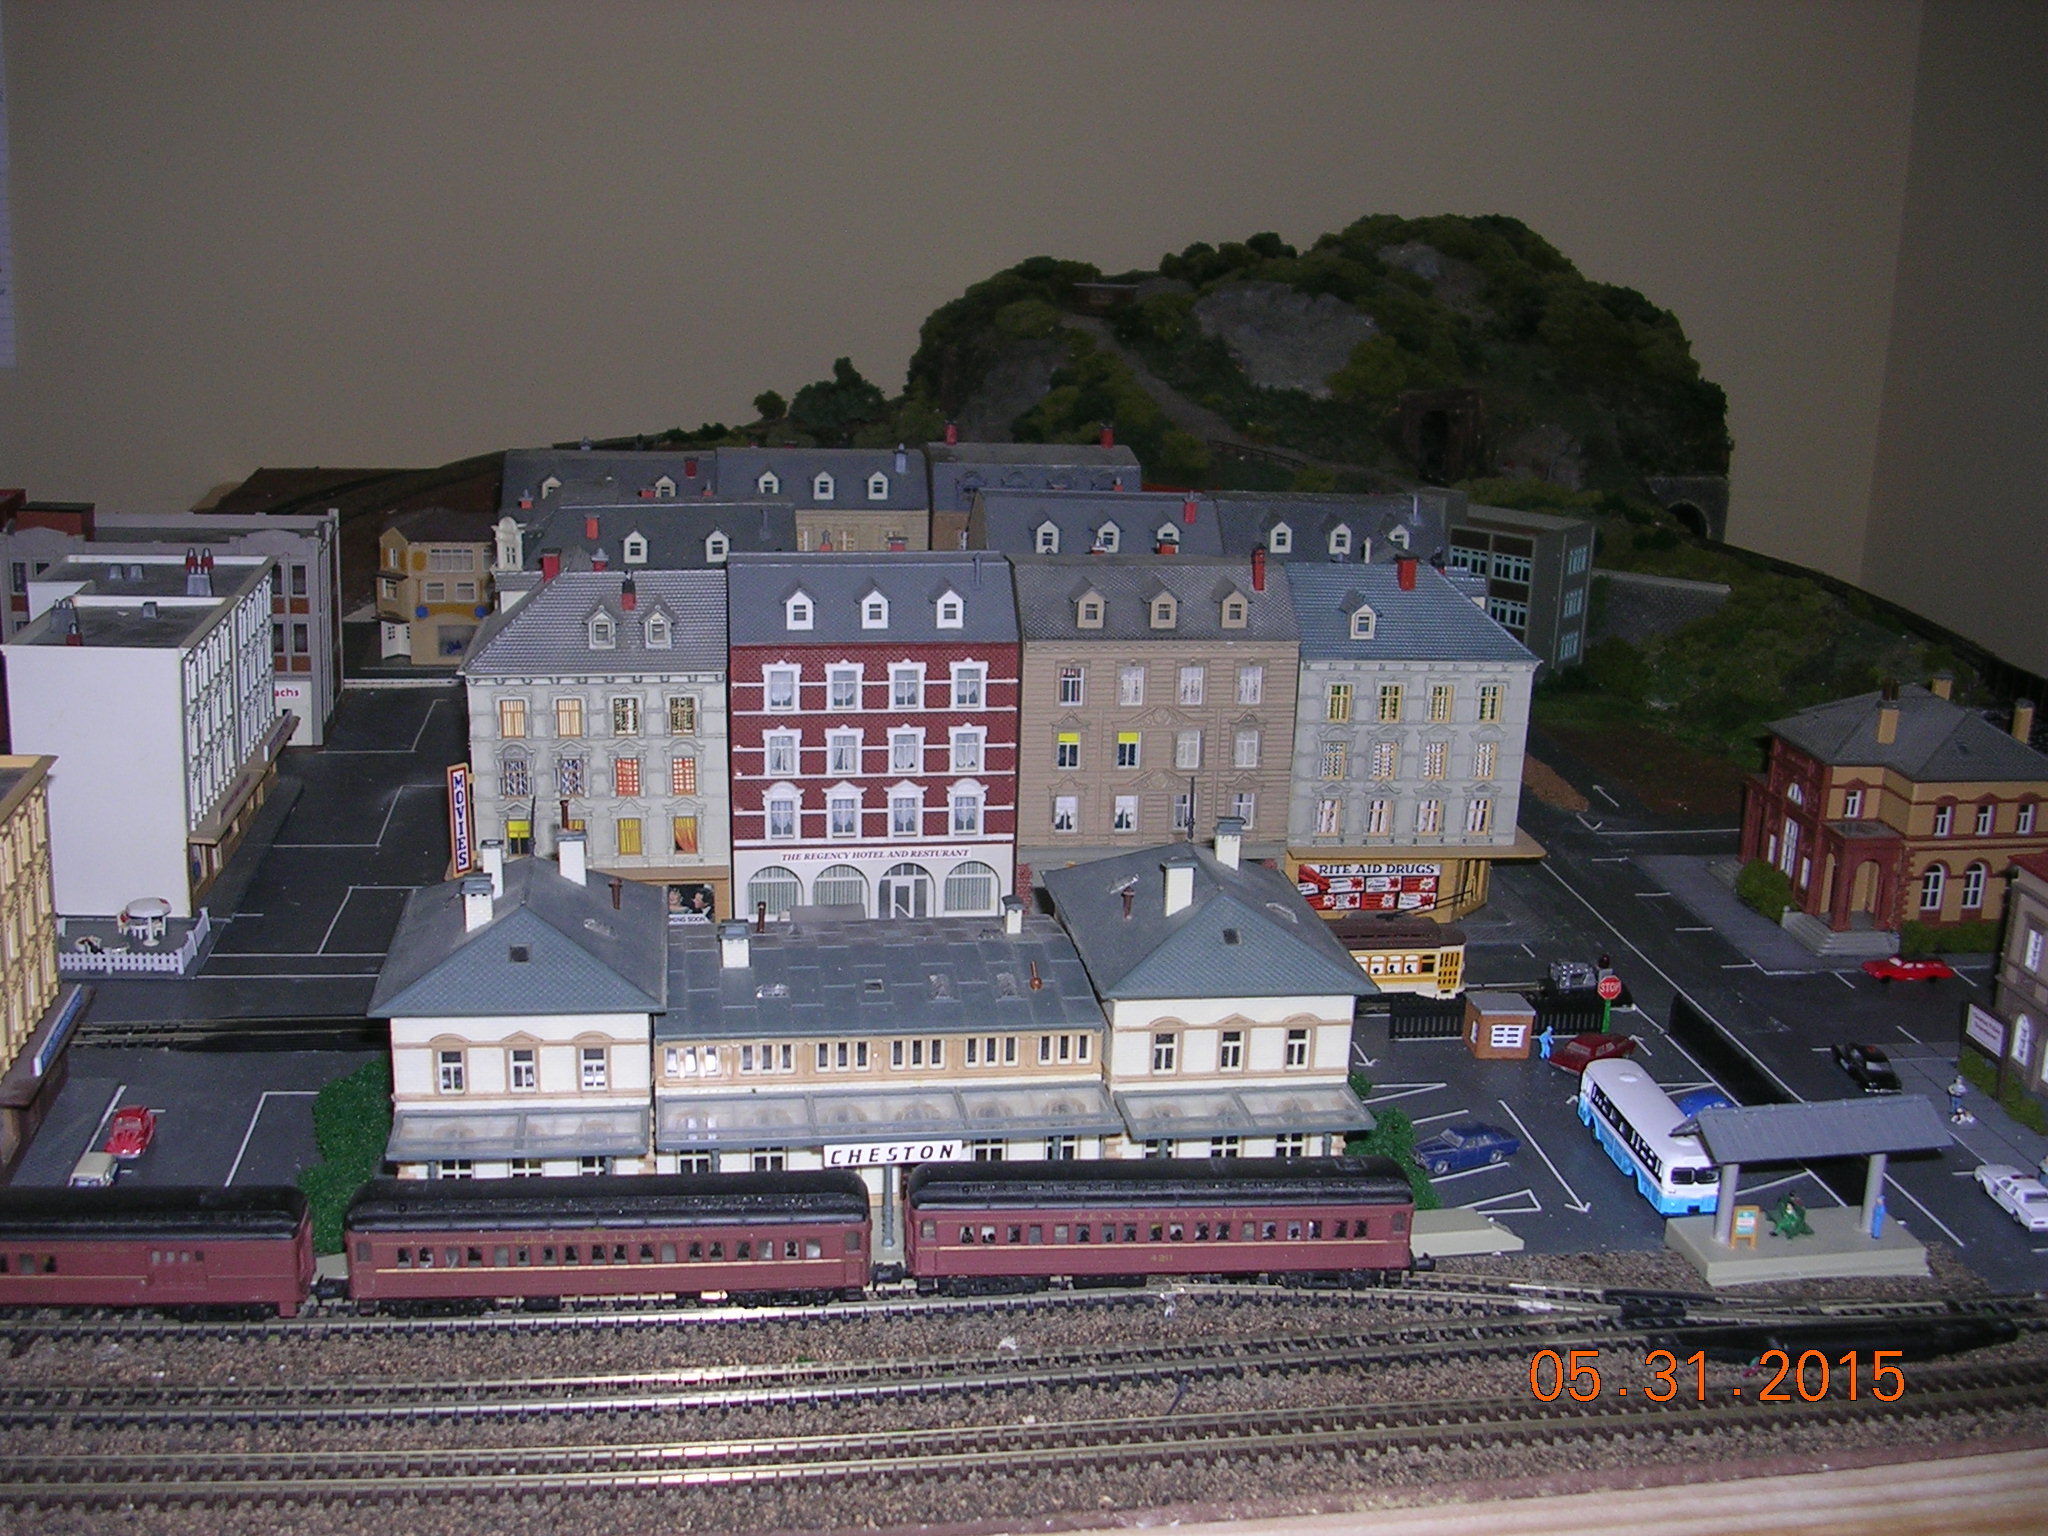
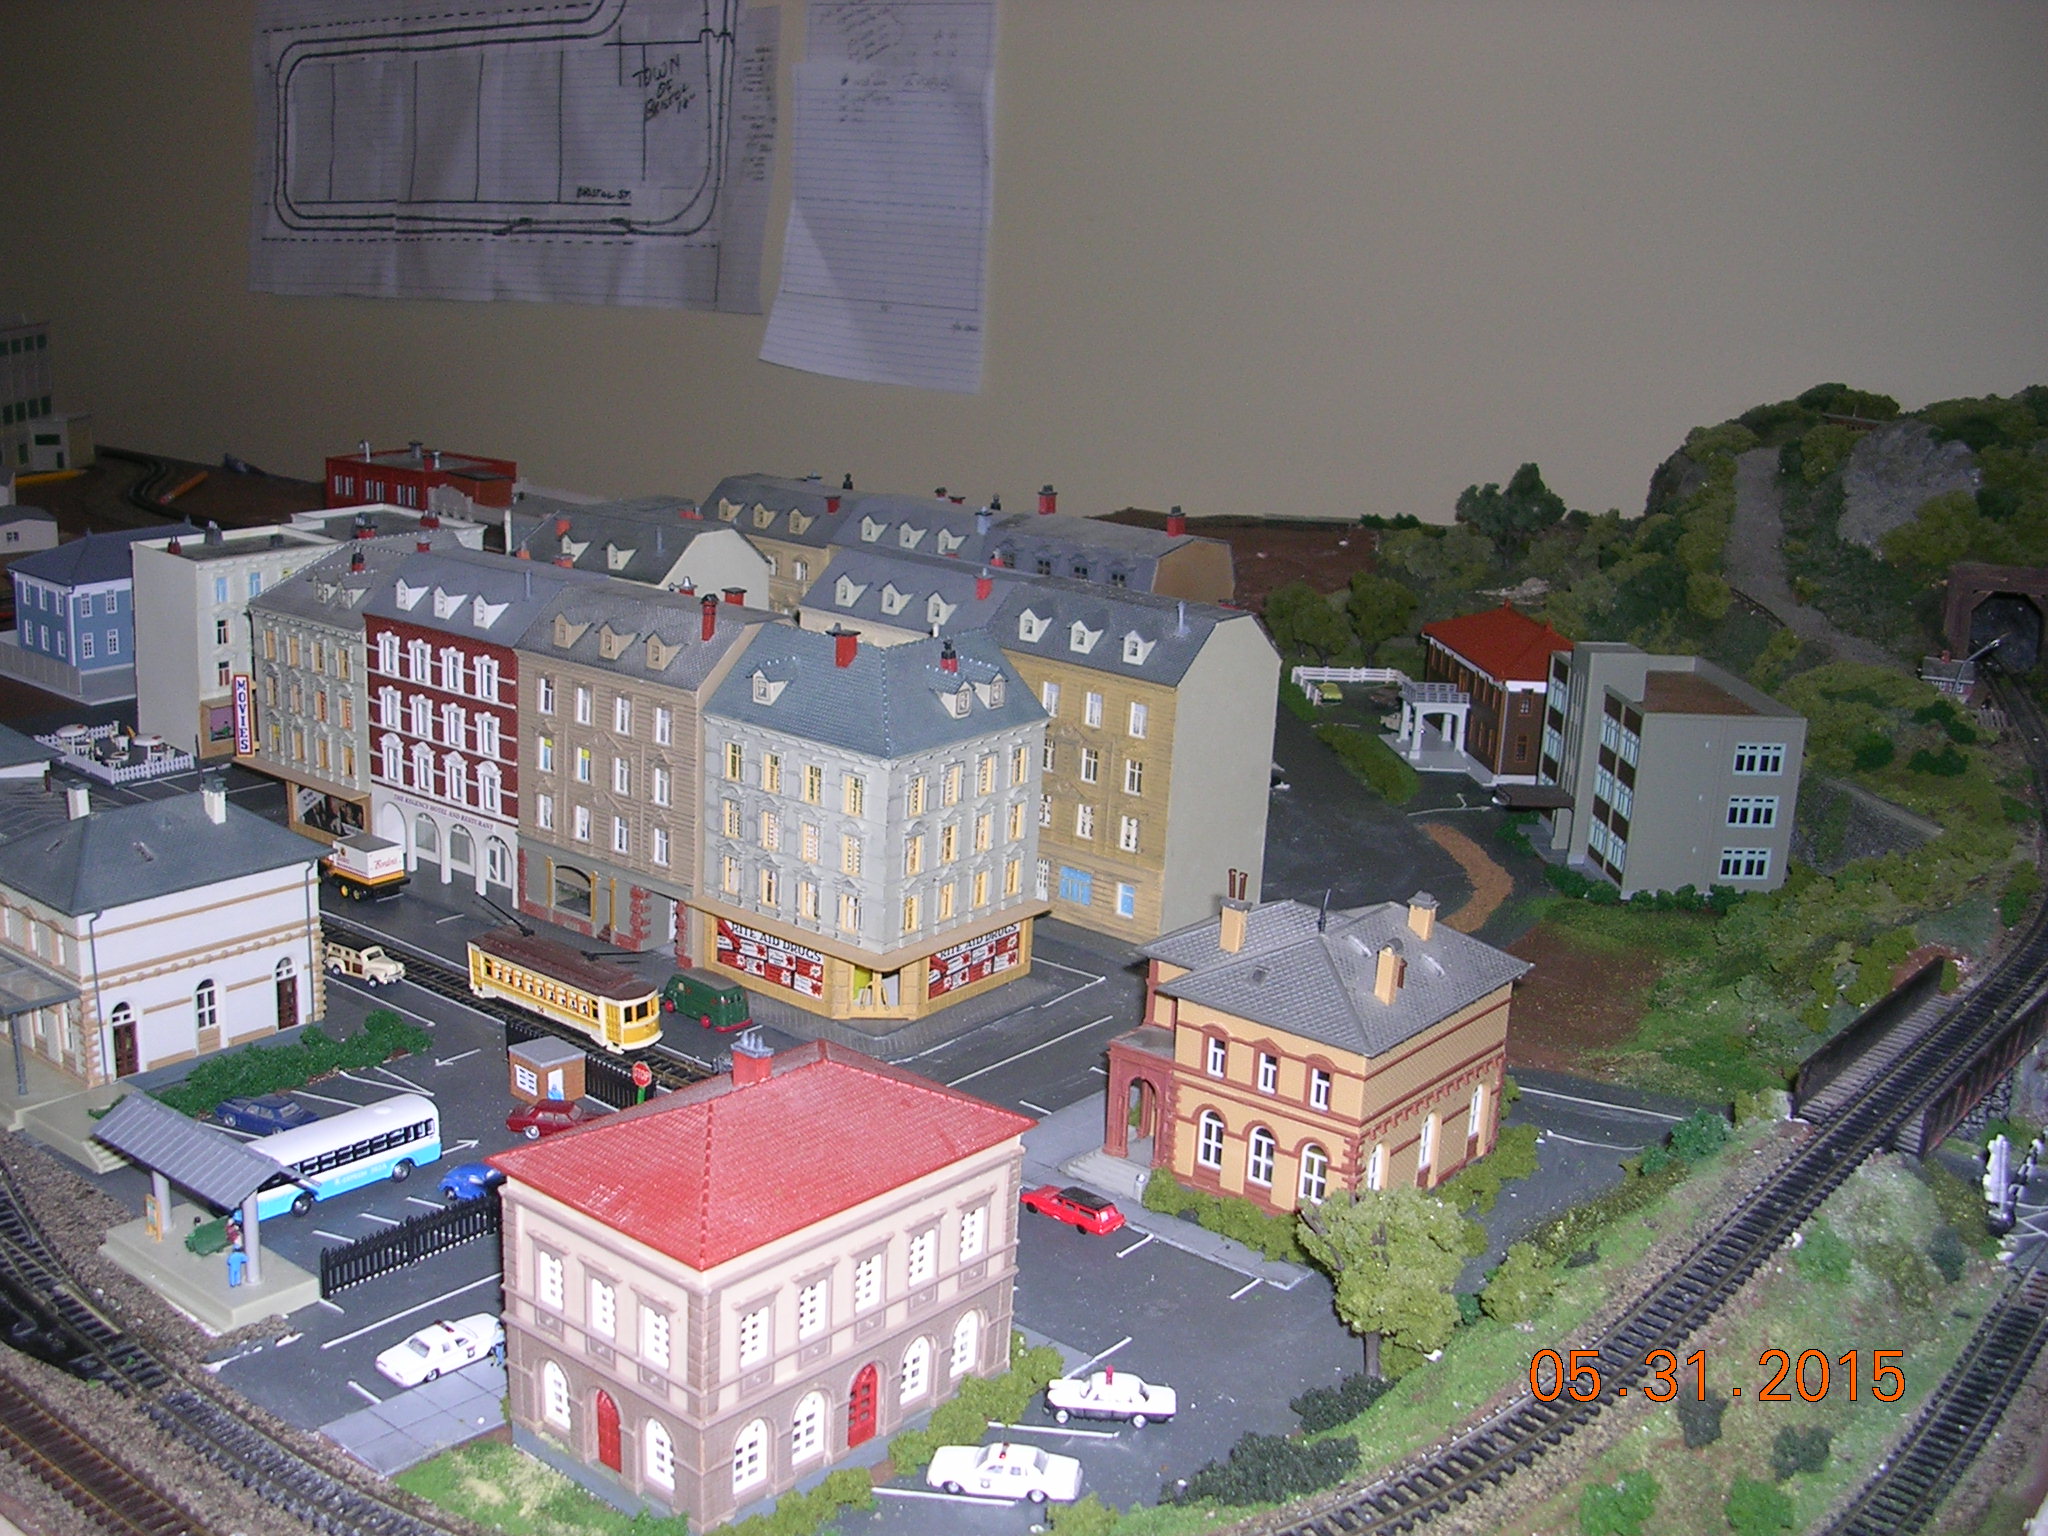
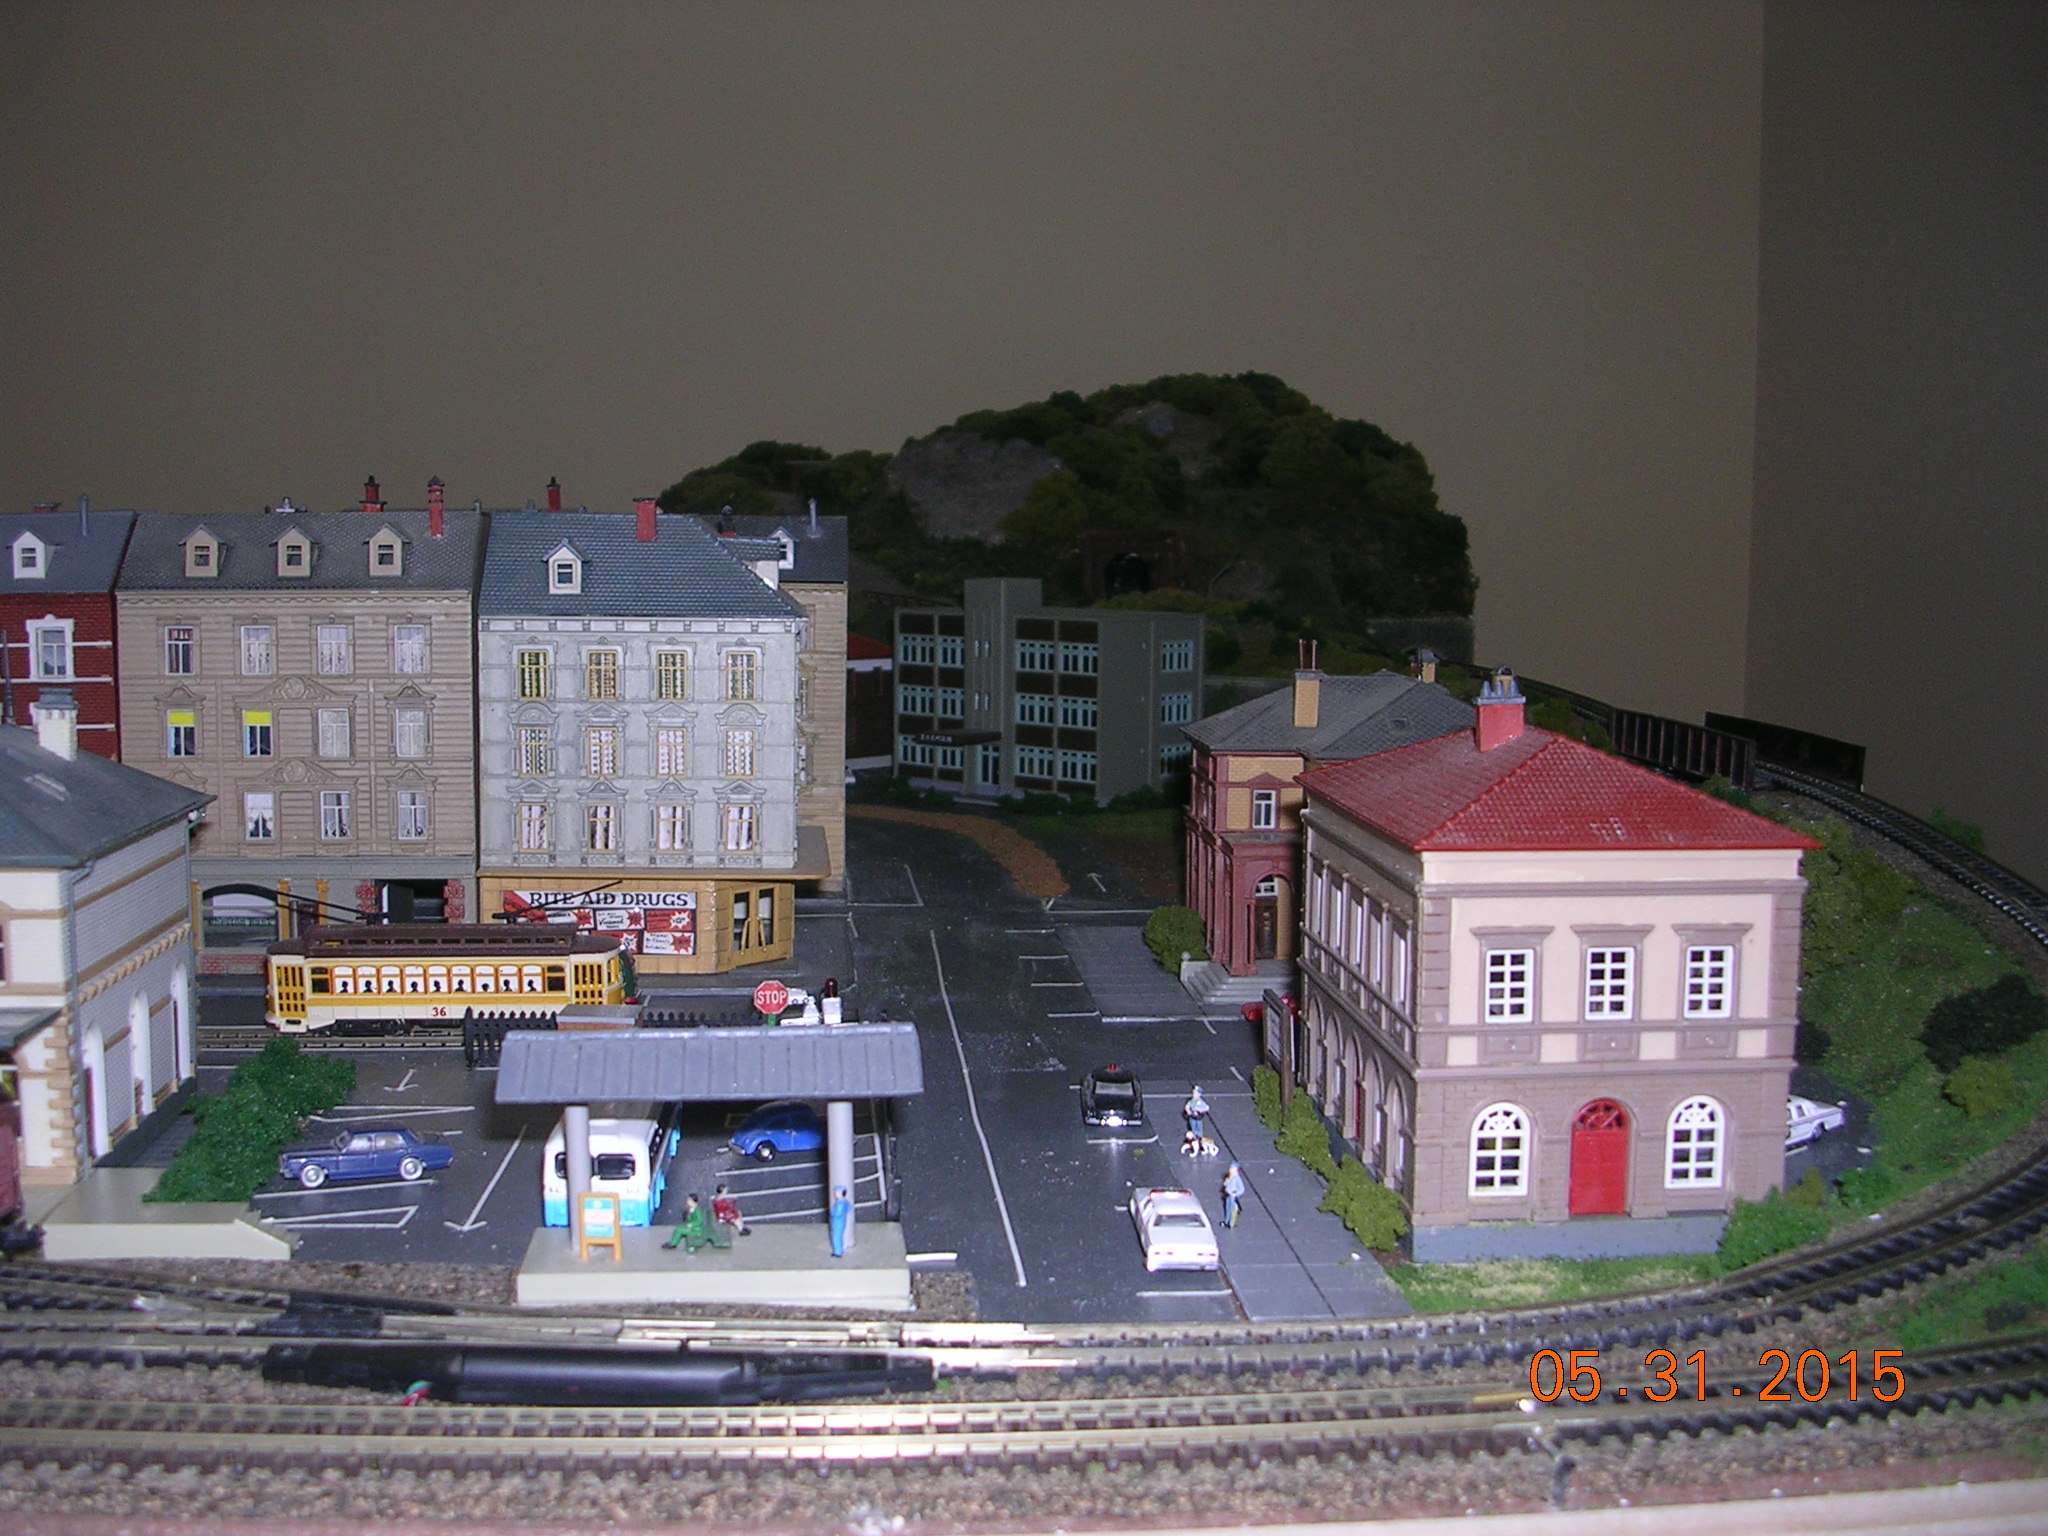
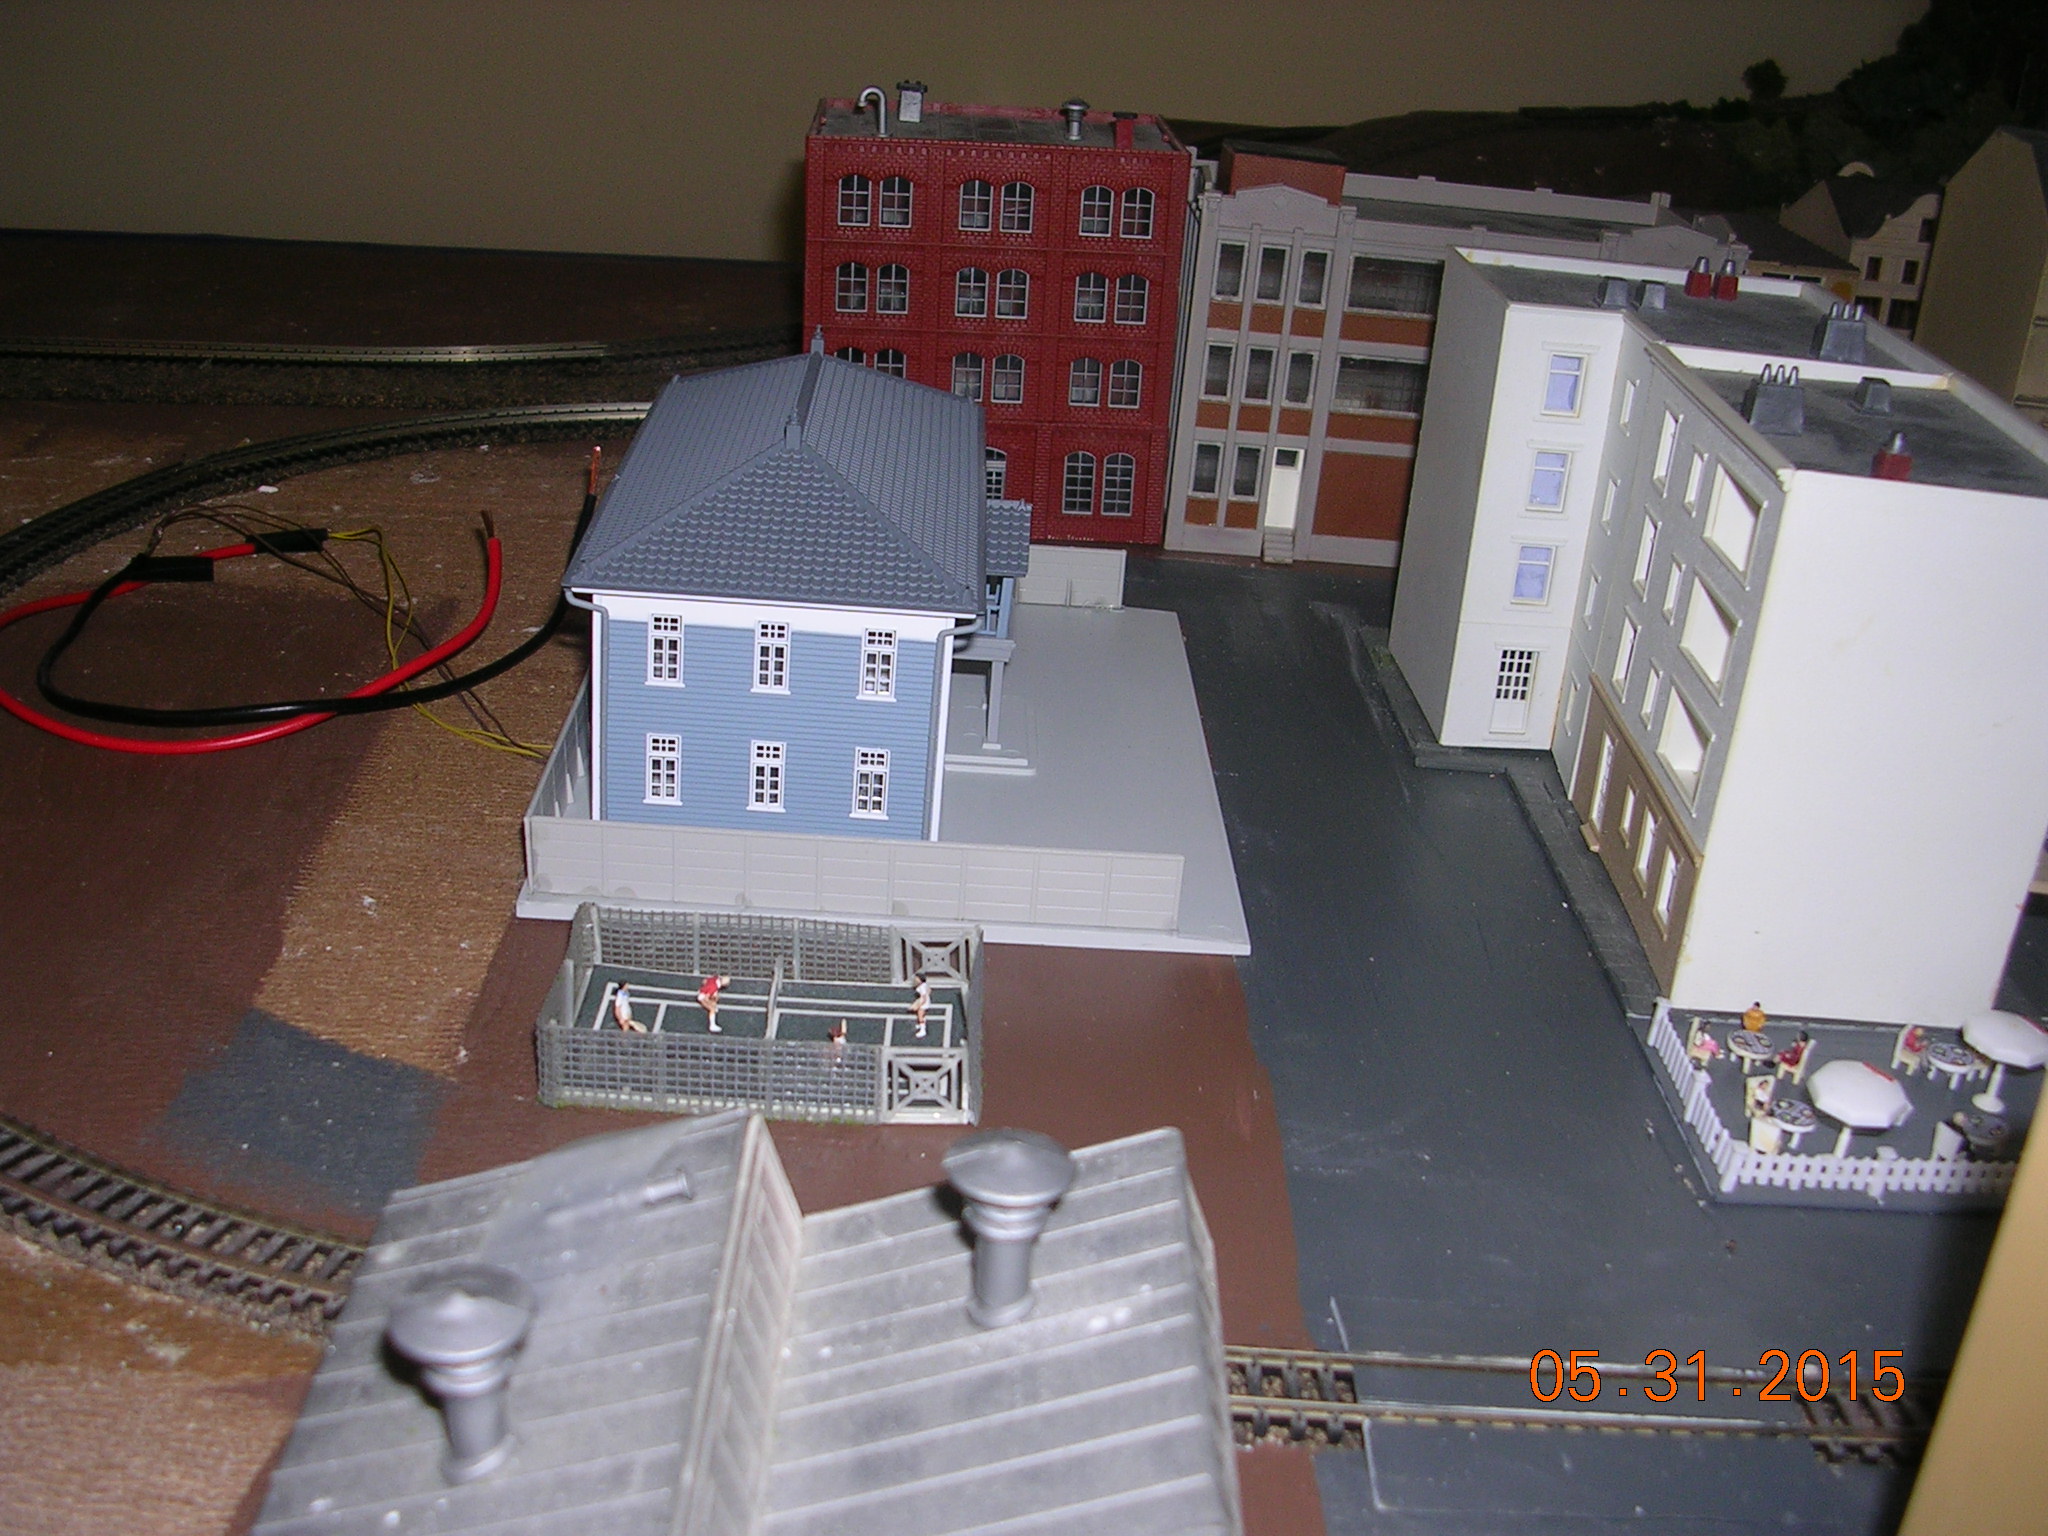
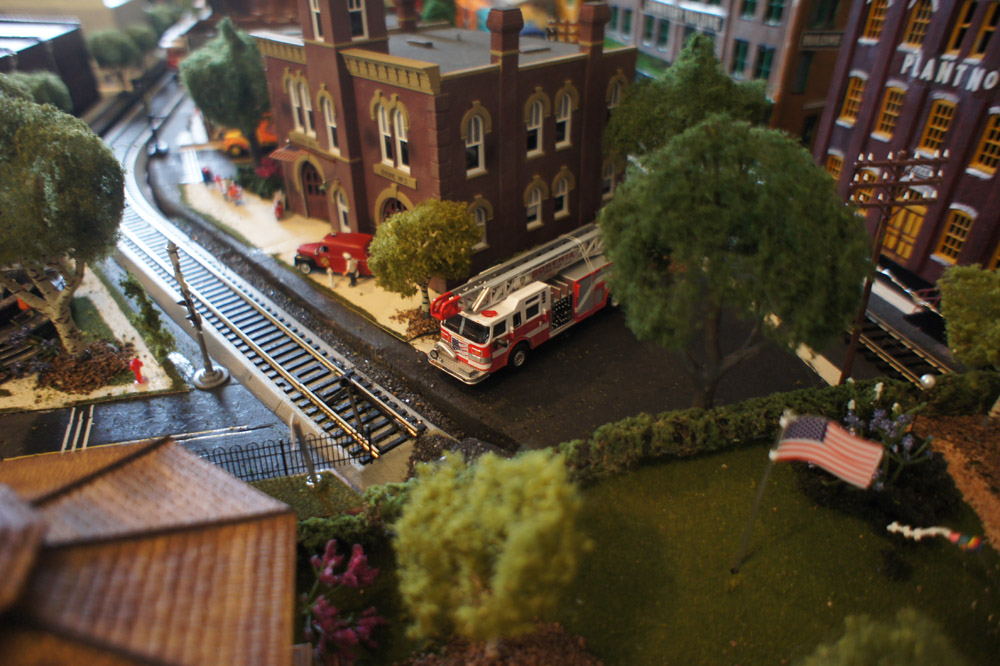
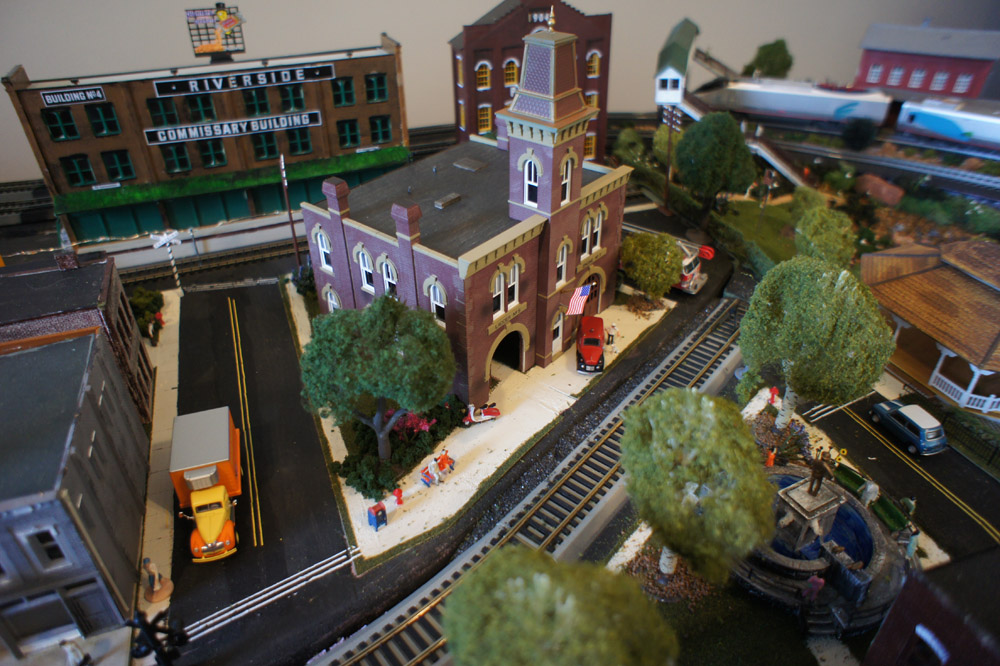
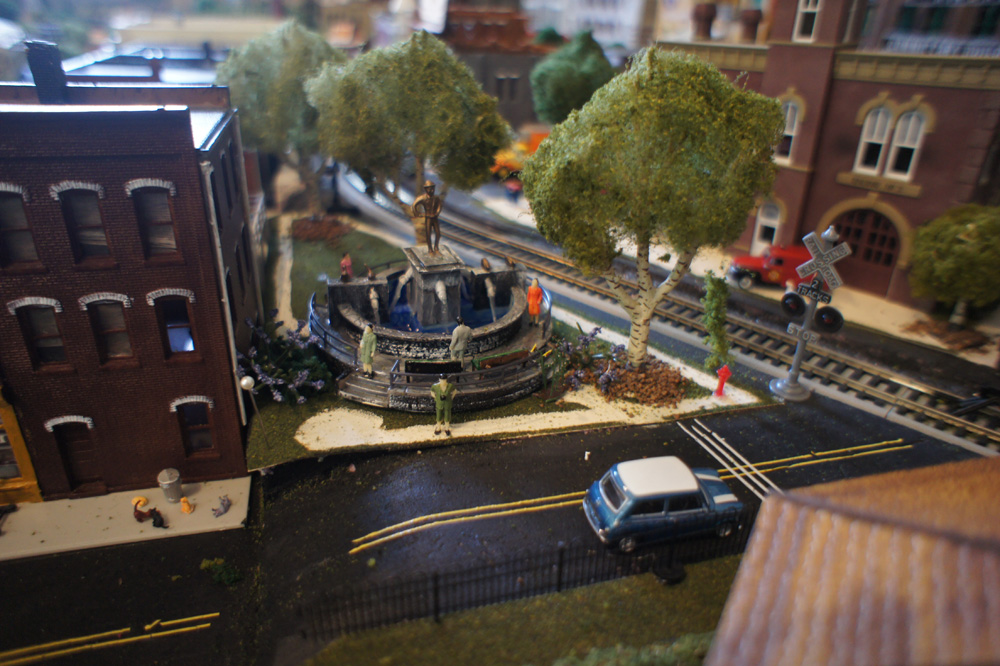
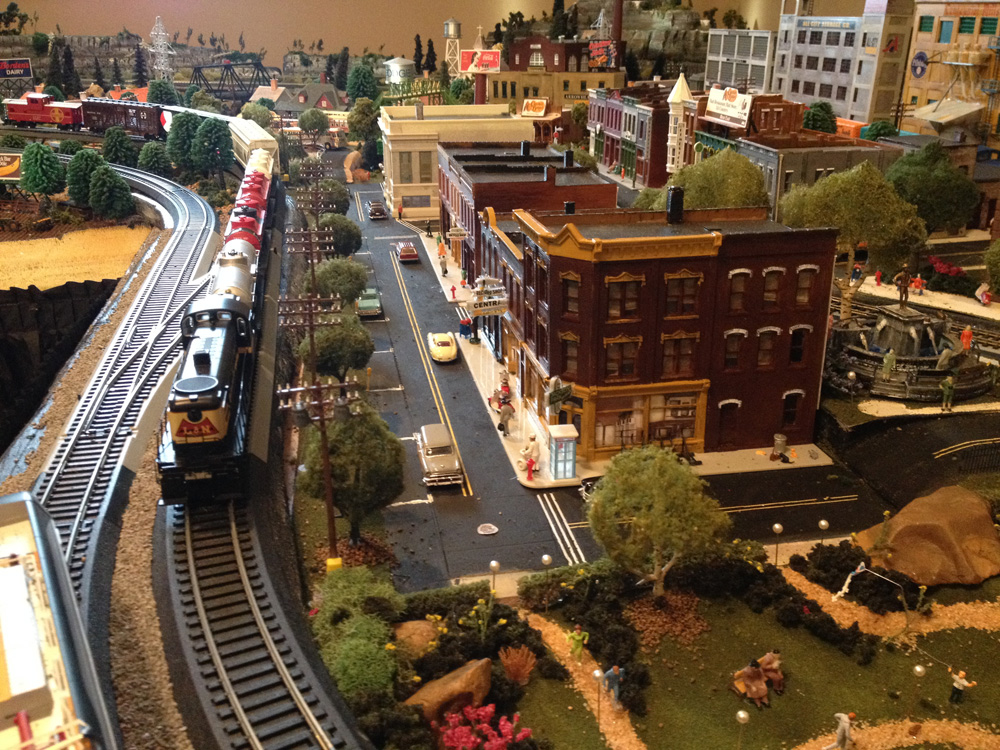
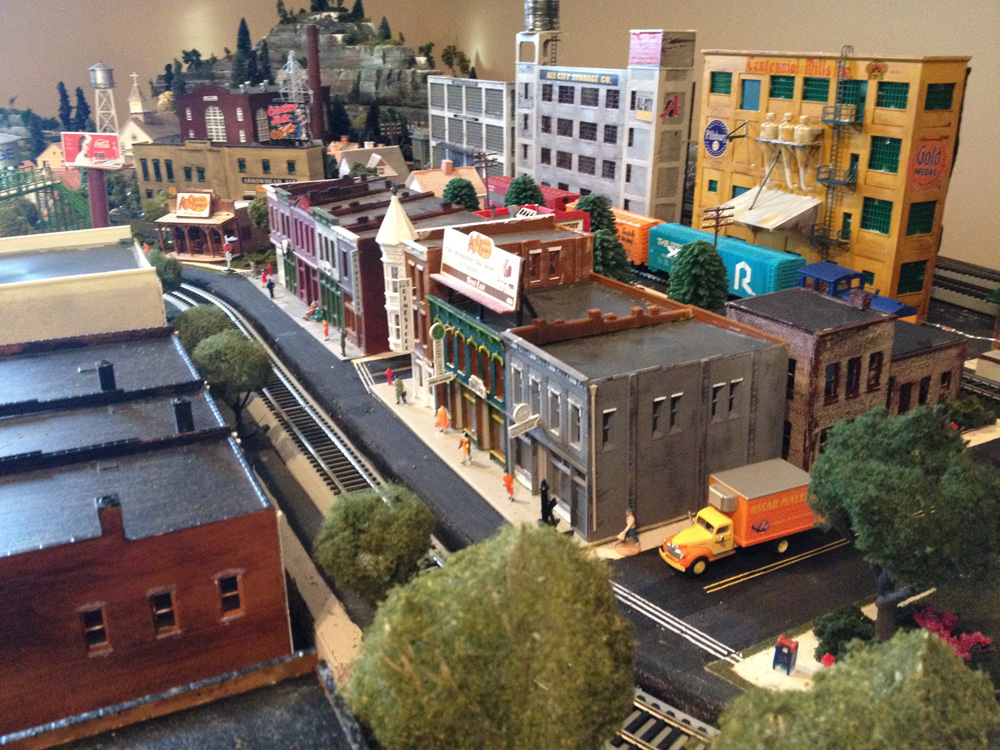
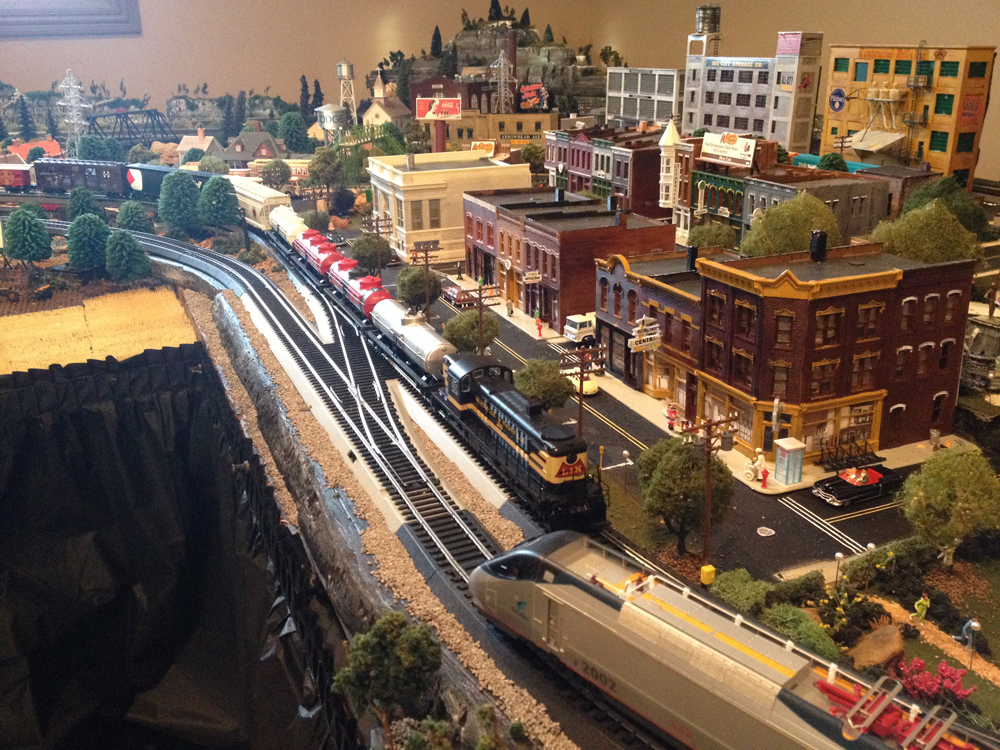
I worked on the downtown area adding additional trees, people, cars, and some animals. I added some great HO scale neon signs. Each one has multiple animation sequences. They look great and add a bit of realism.

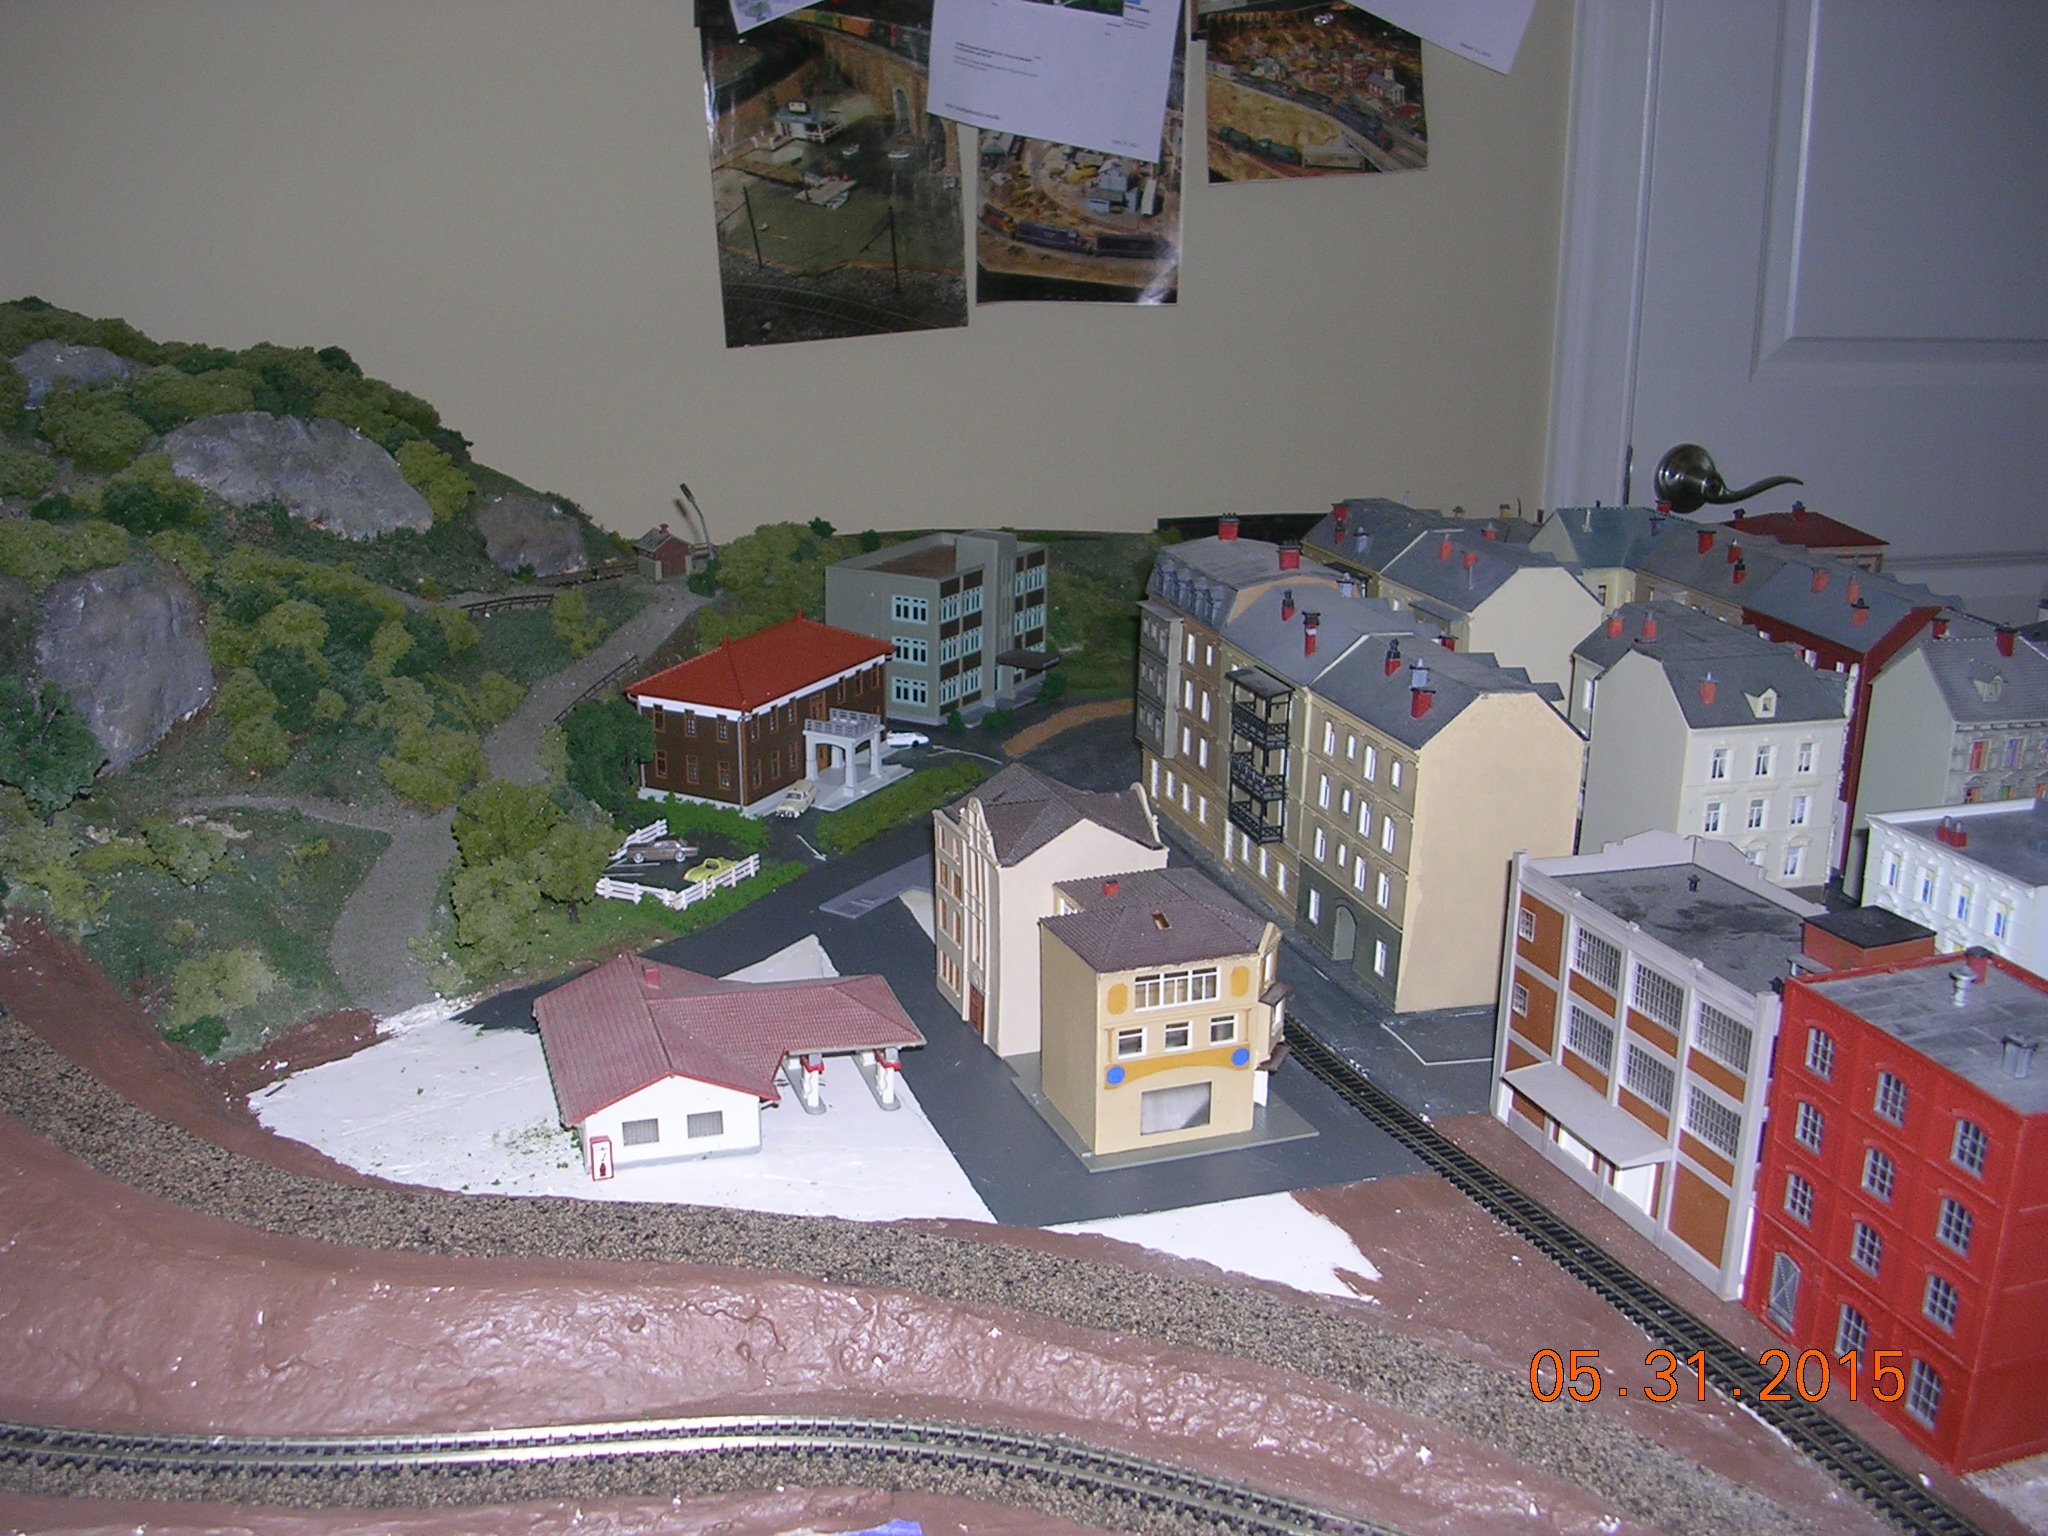
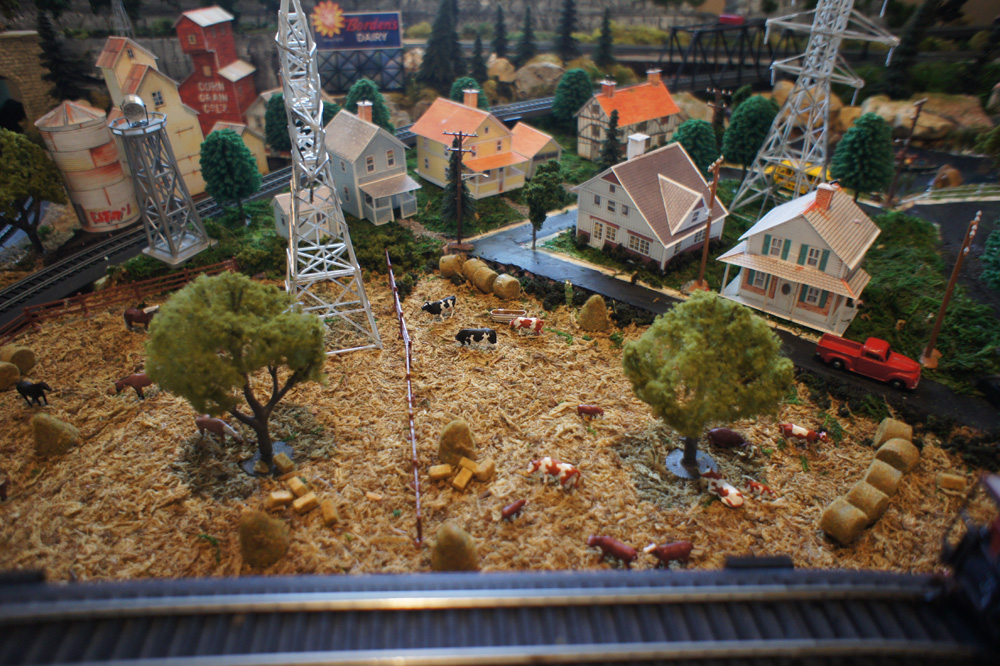
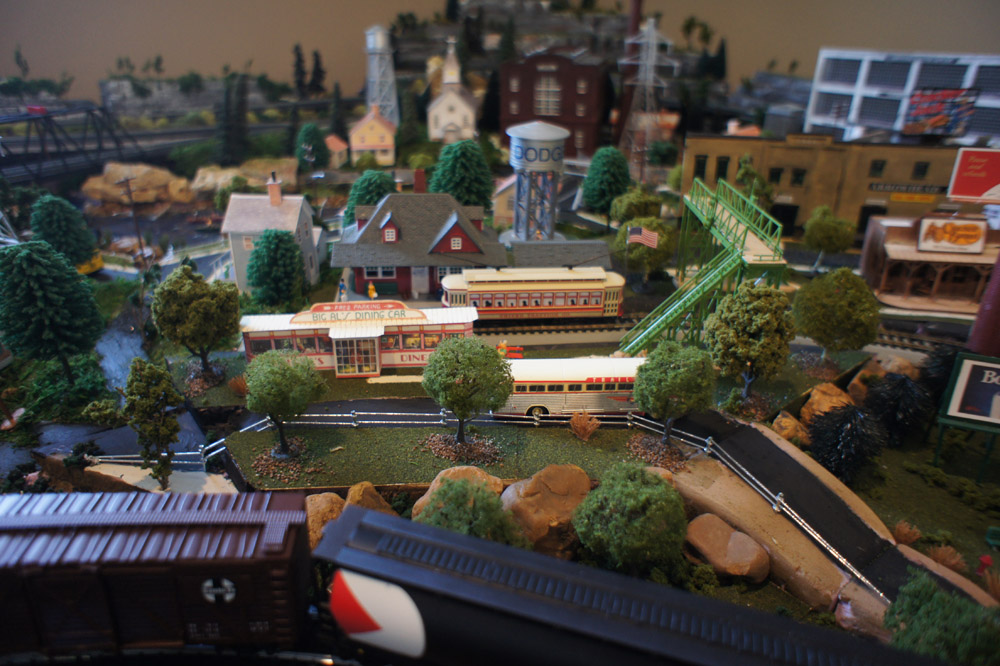
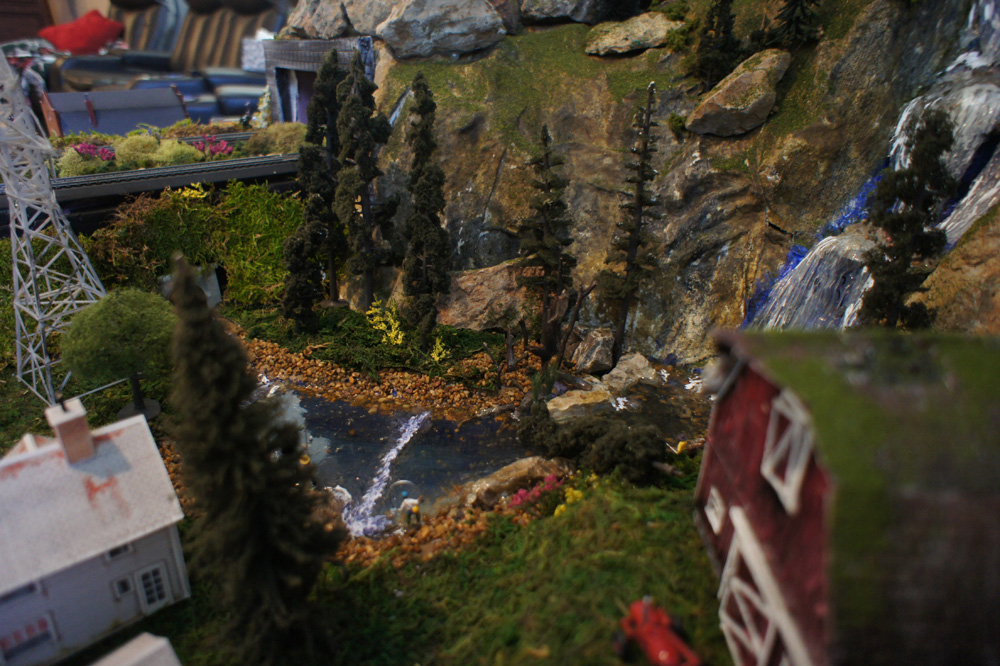
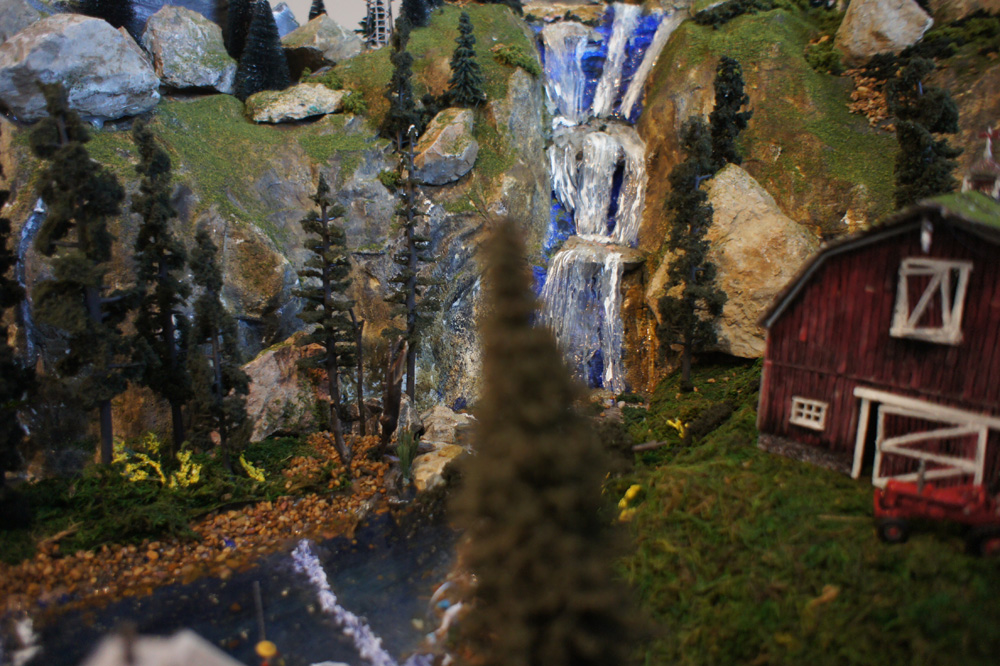
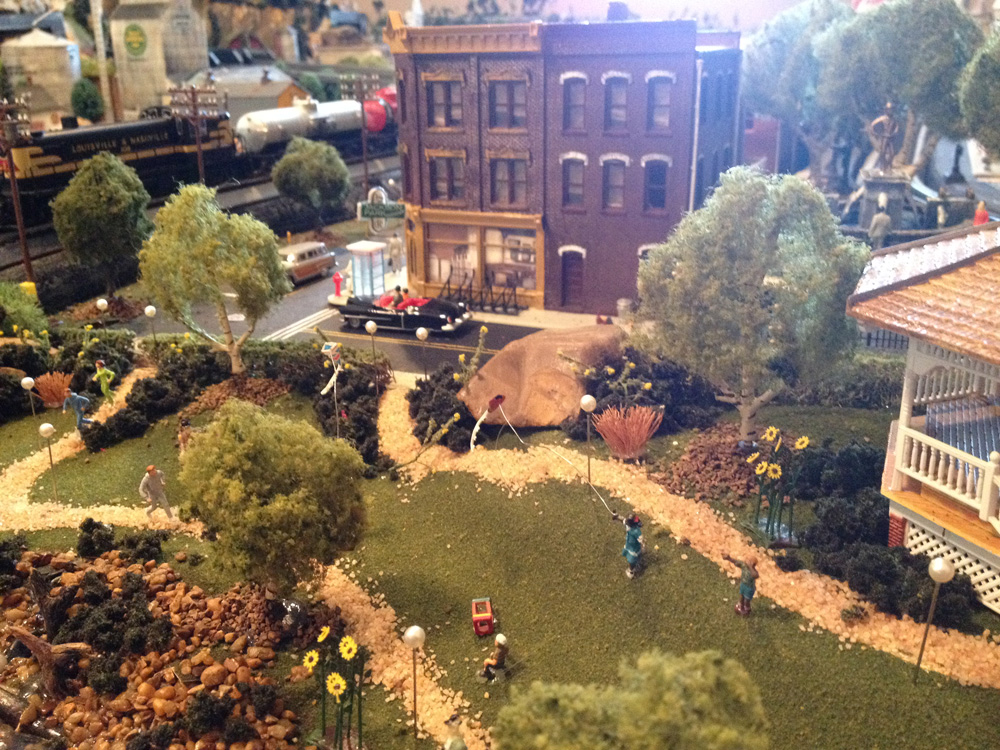
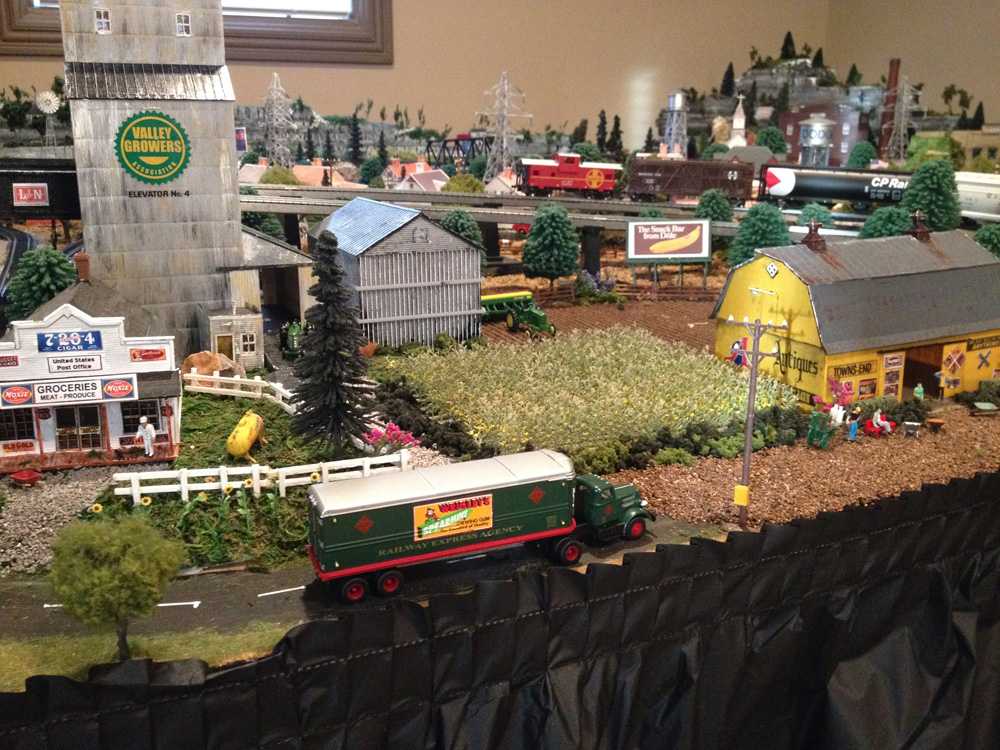
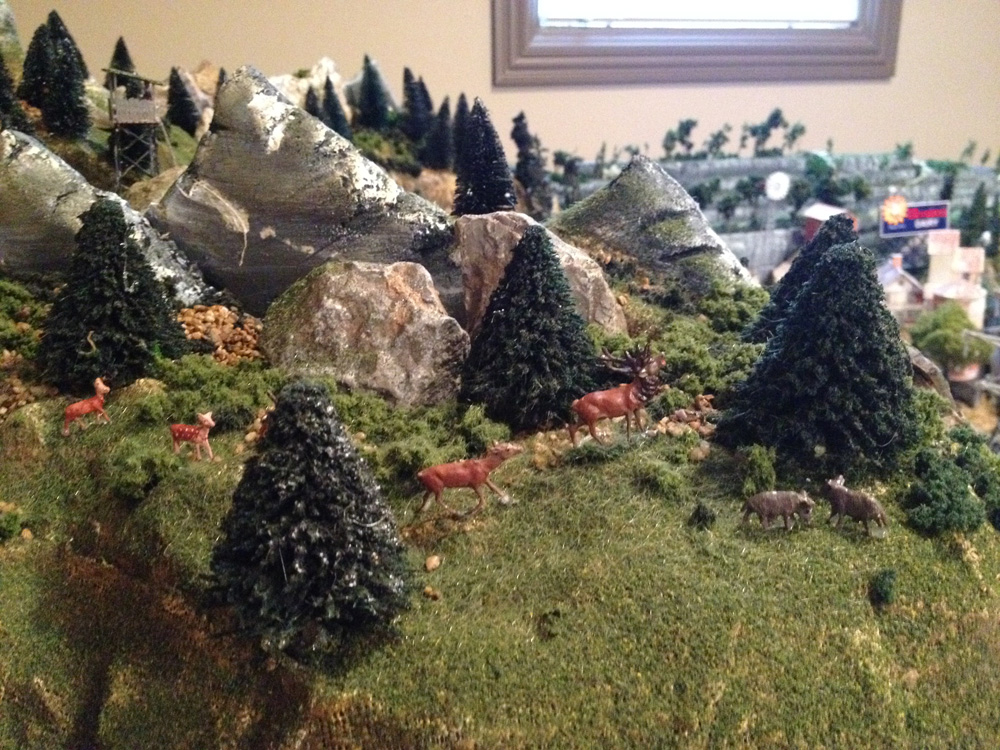
The park has been fun to work on. I added joggers, kids flying kites, ducks and swans in the pond and a few other touches like the flag. In the farm and mountain sections I used some real rock , plaster, and shaped and painted foam. Some of the elements are not exactly to scale but I think they look ok.

I use Bachmann EzTrack and their wireless dcc controller. Ive enjoyed the ease of operation and the realistic lighting and sounds on the locomotives. My next additions will be lighting and crossing gates. I’m not an electrician so I’ll be looking for some help with this part.

Mike”

SONY DSC

SONY DSC

SONY DSC

SONY DSC

SONY DSC

SONY DSC


SONY DSC

SONY DSC

IMG_2093

IMG_2094

IMG_2097

IMG_2099

IMG_2101

IMG_2105

IMG_2108

IMG_2113

IMG_2115


And now more from Arnie:

“Hi Al,

While you were working on the update of the blog, I was working on a new video. I think it will go well on the new blog though it’s a bit unusual for the time of the year.

That is, it’s a video on my newest steam locomotive acquisition – the Berkshire #1225 which was built in 1941 and is still in mainline excursion service. Despite it’s being well known as an excursion train, it came into renown when it was used as the prototype for the steam locomotive in the Warner Bros. animated hit movie, “The Polar Express.”

This video is my rendition and simulation of the Polar Express excursion train in a fictional plot; that is, the Polar Express excursion train’s visit to the Susquehanna Valley and Gulf Summit Rwy (my N scale layout) at the onset of the year-end holiday season.

I hope you and the readers will find the video as enjoyable as I did in making it.


Thanks again for all your hard work on the new blog and my inclusion in your Hall of Fame.

Arnie”

Well, what can I say, other than it should be me thanking Arnie for all his contributions and expert advice over the years (particularly so with this).

Please do keep ’em coming, folks.

Latest ebay cheat sheet is here.

Best

Al
.


More railroad missives

“Hi Al. First of all ..Great job on your blog.

I do enjoy seeing how creative others are with their projects. I haven’t thought about model railroading for almost 40 years, then last year when we were reorganizing some storage totes I came across all the old stuff from my childhood. I decided to build a 14 x 10 room in the basement for the hobby.

My Grandfather started working for the Canadian Pacific railroad in 1918 in northern Ontario, Canada and on to the Pere Marquette in the 40’s in southern Ontario and eventually on to the Chesapeake and Ohio until his death in 1967. As a kid, my father took me all over to watch and ride trains and it stuck with me. I have included a few pics showing my progress on the layout which will be 3 levels modeled after the 1940’s to 1960’s railroads my Grandfather experienced.

Cheers

Al (from Canada)”

IMGP1565

IMGP2238b

IMGP2245b

IMGP2251b


“Hi Alastair.

Yes Your right I have been receiving your emails now for quite a long time, I do find them helpfull and inspiration at the same time. Some articles are really good others just helpfull.

Last year i was a member of a local model railway club, It cost me £80 and to be honest learnt nothing. Now However the £80 saving is used to build a layout for me, yes its slow going. However your emails have really made the difference.

My layout is loosely based on The Somerset and Dorset Railway, see pics enclosed, shows just how far i,ve got since last september the whole lot is hand made by myself and most is reclaimed wood.

Thanks John”

model railroad layout

Img_0138


Sierra Exif JPEG


And the talented Dave has been back in touch! Here he tells us how he dreams up some of his ideas:

“Having visited this Model village and railway I was most interested in the harbour scene with the castle in the background. If this was incorporated in my model railway with say a track running up to the harbour this then could incorporate Unloading from small boats to cargo vans. With a backdrop of the Castle would be something spectacular on a layout …this is some project that I may consider during the next winter months .

Again this is something to do when out and about , keep your eyes open for scenes which give you inspiration.

Dave”


Big thanks to everyone – especially Canadian Al and John. It’s all about making that start! Course, I’m biased, but this will help if you want to bite the bullet. Not that I’m biased or anything!

And thanks to everyone who has emailed me about the ‘new’ site format. I really, really appreciate it.

Keep ’em coming, folks.

Best

Al

PS Latest ebay cheat sheet is here.


How to wire model train street lights

Darrell’s been in touch with How to wire model train street lights:

AL:

I have learned so much from your readers and thought I would send you one of my pet projects. My layout is still far from being complete. Much detail to do.

But I always see layouts with street lights, but haven’t seen any with street lights on the telephone poles as in my home town.

This project is so simple and easy it is insane !!!! And you can make these up in less than 10 minutes each, once you do the first one.

1. Slide LED legs through the side braces on standard telephone poles.

2. Bend the LED slightly so you have a downward angle.

3. Solder the lead wires to the legs of the LED and bend the legs down alongside the telephone pole.

4. Cut the square base off the pole and slide a section of heat shrink tubing over the pole and wires.

5. Shrink the tubing with a hair dryer and paint the pole and tubing brown.

6. Dab a spot of silver paint to the very top of the LED, to simulate the metal dome.

You can adjust the length you want the LED to protrude from the Pole, and experiment with shrink tubing to get the proper size. Don’t worry about the solder joints touching, as the heat shrink and side arms on the pole will keep the legs of the LED just far enough apart to prevent shorting.
Hope you enjoy the photos. Looks great in rural areas too.

Keep those hints and tips coming in !!!

Darrell”

How to wire model train street lights

How to wire model train street lights

How to wire model train street lights

How to wire model train street lights

How to wire model train street lights

How to wire model train street lights

A big thanks to Darrell, it reminded me of this post: Model train street lamps.


Now Schiffy has been in touch with some old pics:

“Hi:

I’ve enjoyed all the tips and especially Dave’s videos. I recently moved to Wilmington, NC from Virginia. I had to tear down my layout (Bristol & Cheston). I made the decision tear it down completely and rebuild. I did save some landscaping that my wife made. I’ve gotten a lot of great ideas from the folks responding to your e-mails. I also gave a lot of thought to the economic activity to help determine the layout design. Moving goods and services between the two towns is important.

This is an attic layout that when finished will be 4 feet by 15 feet in scale. The base is made of ready to assembly cabinets. I had a need for storage of buildings, supplies, etc. The grid work is made up of 1 x 3 pine attached to the cabinet tops. I cantilevered the top over the base cabinets to get the 4 feet of width. Cabinets are only 2 feet deep. I used recycled 2 x 4 drop ceiling tiles on which to lay track and build up terrain. It is easy to handle and can be carved.

There are two towns. Cheston, the city you see the photos is partially complete. Cheston has a trolley system. There will be an industrial/commercial area to economically support the city. Future plans also call for a small resort town, Bristol, with a waterfront economic activity on the river and some local farming that will supply Cheston and Bristol with fresh veggies and meat products.

If what I am doing is of interest I will be happy to supply details of construction methods and wiring for this DC system. I thought a lot about DCC and haven’t ruled it out. A lot of my locos are not ready for conversion and it would be bloody expensive to buy all new stuff.

Schiffy”

model train buildings

model train buildings

model train buildings

model train buildings

model

model train buildings width=

model train buildings

A big thanks to Darrell for his take on how to wire model train street lightsand. Thanks to ‘Schiffy’ too. I do love seeing your creations and solutions, even if they are a few years old.

That’s all for today folks.

Please do keep ’em coming.

And if today is the day you get started on your layout, the Beginner’s Guide is here.

Best

Al

PS Latest ebay cheat sheet is here.