HO scale railroad crossing

Dan’s been back in touch – this time he very kindly answers your questions on his HO scale railroad crossing:

“I had a few questions about how I did some of the details and such. This instalment will address them.

I will begin with the individual pieces at crossings.

The tack board material looks more like a rubber type of material rather than cork. As I mentioned, my source was from cut off pieces of folding doors used as room dividers and tacking up posters and such.

You might find it a big box store or a DYI supply store as bulletin boards.

crossing ties

I used profile ties (sleepers) for the 10 foot and the longer 15 foot switch ties.

Profile ties are not square. These easily fit with wither code 100 or code 83 track.

I have code 83 track and have the thinner thickness as the flat side. I stained them after the work was done fitting everything in place.

I have prestained ties but wanted to do my own staining. My ties were from Campbell and the stained ones were from Clover House. They are not longer in business. Alas, the situation all around.

ho scale railroad crossing for passengers

Here is a crossing for passengers at the station at Almost. Use 2 ties as the thicker part nearest the rail and single ties for the part between the tracks. Sand down the edges to make a smooth transition between the tie height difference. You don’t want the passengers to trip. Stain as you like.

close up of ho scale railroad crossing

A closer look.

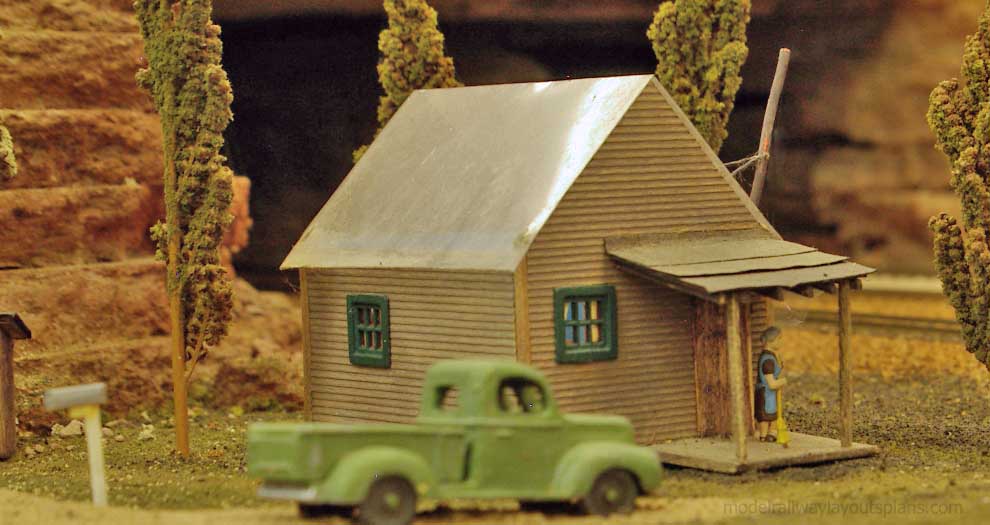
HO scale truck

Here is a crossing where the track is an an angle to the roadway. It is surprising how much material you will need when the crossing is not 90 degrees.

I used three and a half 10 foot ties and 2 15 foot ties for the outside of the track. You can just see the individual 10 footers. Be sure to bevel the ends at each end of the crossing. The prototype often has a sheet of steel to deflect dragging equipment.

ho scale railroad crossing

This crossing is on a 30 inch radius curve. I used a nail file to profile the curve so the flanges do not scrape the ties. This was done after the ties had time for the white glue to set up.

HO scale turnouts on road

I am a little crazy. I like to put crossings right through the switch work. It is more work but worth the effort. It is more interesting and it is prototypical.

You will notice that I used the 10 foot ties between the rails. I staggered them and trimmed the ends to fit. I pit in one set with the short piece needed. Then started the next row with a 10 foot one next to the short piece and so on.

I used the 15 foot pieces for the roadway between the tracks.

The larger gaps in the rail is for the power blocks. I used a “Y” switch to go from two to three tracks. You gain a car length using “Y”s at either end of the siding.


HO scale railroad crossing:

HO scale turnouts on road

Another view of the crossing.

tack board for ho scale railroad crossing

Here is a piece of the cut off tack board. The tack board material is on a hard particle board kind of material. The original panel was anywhere fro m 8 feet to 15 feet or more. They were room dividers.

tack board for model railroad

A close up of the backing on the tacky material. I used a box knife to cut whatever shape I needed. Then pried up the tack material. This is flexible but not flimsy. I used white glue to hold it down. I also weighted it down overnight.

You can paint it and sand it where needed. It turned out that the pieces matched the code 83 track exactly. I would guess that a thin shim would let it match the code 100 track.

tack board for model trains

A close up of a typical HO scale railroad crossing.

ho scale railroad crossing

Close up of that crossings end at the edge of the layout. I used cork roadbed to get the road up to level with the track. The tack board material is flexible enough to not have to do that. This represents a main highway and a hump would not be good.

HO scale town

For the town of Almost, I used a large sheet of the tack board material that for the town shape. This made it very flat. Everything is on a base of plywood and then Homasote.

I used Walther’s sidewalk pieces to make up the “block” sidewalk. The buildings were kits that were modified to fit together as one building.

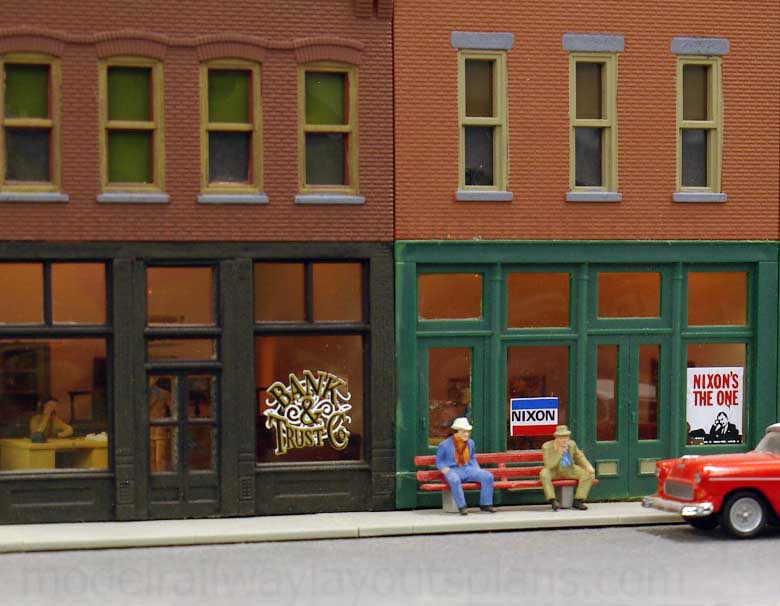
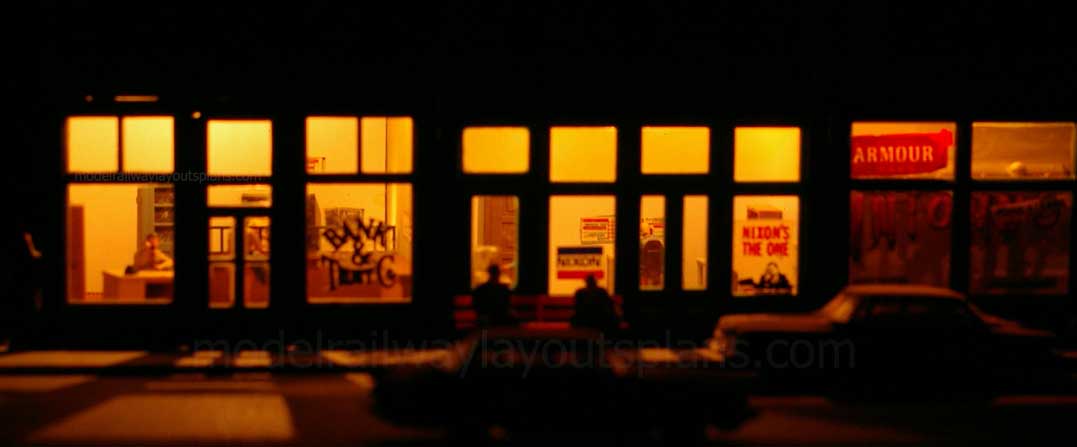
I am modeling 1958 to 1961 or so. To set the era there is Nixon headquarters and a lair’s bench out side the office. There is other signage to help set the era.

HO scale town

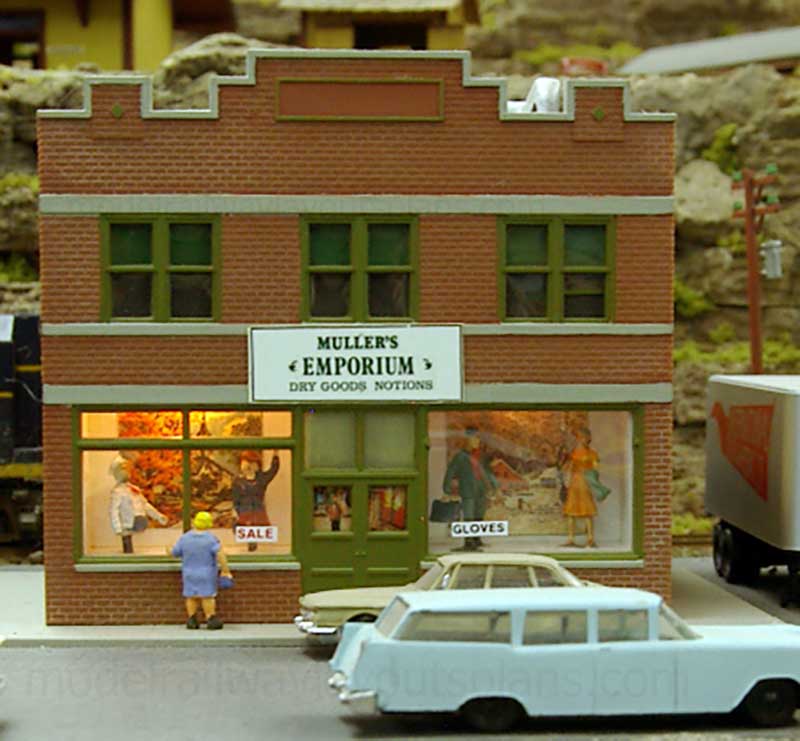
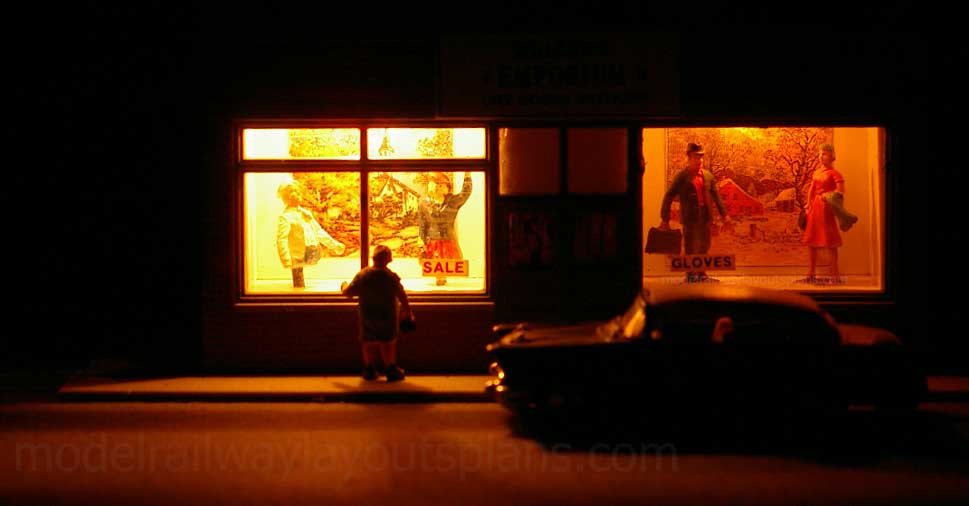
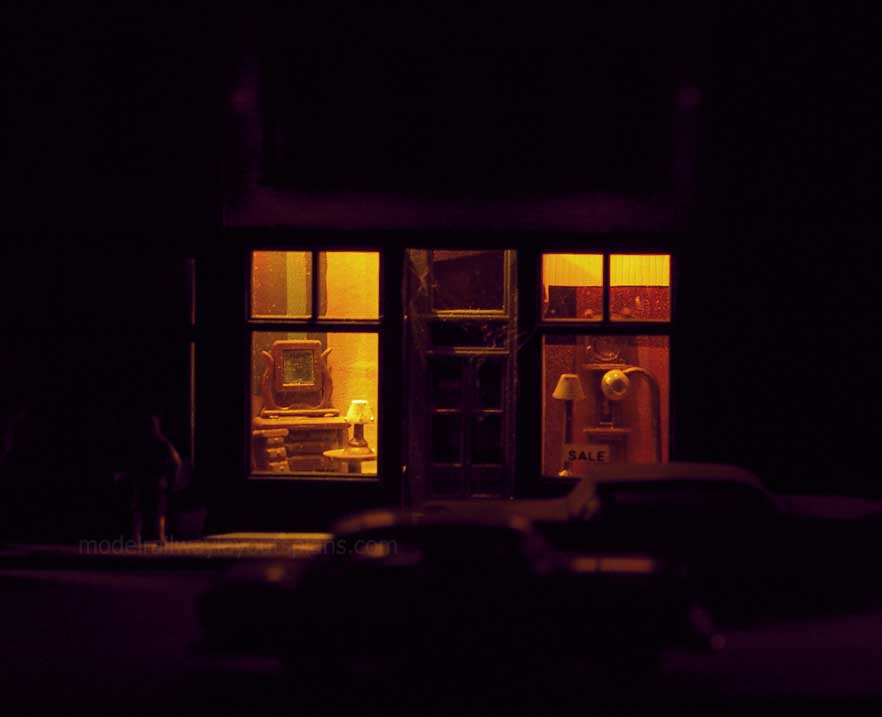
As I have said before, it is the little things that bring the layout to life. Everyone likes the sausages in the window.

Ho scale town LED light

Early evening at Almost. I rarely run at “night” however, I can make it evening if I want.

That is all for this time around. Next I will show how rainbow canyon came to be with the long trestle.

Thanks again,

Dan”

A huge big thanks to Dan for taking the time to post this post together on his stunning HO scale railroad crossing.

His previous post on roads is here:

HO scale roads.

And there’s also his stunning scenery post here:

Model train Santa Fe scenery.

There’s also Rob’s excellent ‘how to’ on signals: Model train crossing signals.

That’s all for today folks.

Please do keep ’em coming.

And if today is the day you get started on your layout, the Beginner’s Guide is here.

Best

Al

PS Latest ebay cheat sheet is here.

PPS More HO scale train layouts here if that’s your thing.


Model railroad crossing

George has been in touch with his excellent ‘how to’ on a model railroad crossing:

“Big Al:

This diatribe is how I am providing crossing signals at roads crossing tracks.

There are IR sensors to sense incoming trains and the gates go up & down with flashing red lights. All gates are scratch built.

Commercial products ( very hard to get ) that do the same thing cost at least $180 a crossing with all the electronics and at 9 crossings this amounts to $1600 that I aint got.

First I cant thank John Frye enough for his submission to the infamous Al Lee site regarding IR signals because I would have never been able to do this without his brilliance.

The materials are available on Evil bay and Amazon and I figure it costs about $20 per crossing plus wiring and a lot of labor and swearing.

I am now looking into 3D printing the actual crossings because they’ll look & work better than the shop built prototype.

IR detector: Arduino PIC AVR IR Infrared Obstacle Avoidance Sensor Module Object Detector- about $2.00 ea.

Relay: 1 Channel Relay Module 5V Optocoupler LED for Arduino Pic ARM A. About $3.00 ea

Servo testor 3CH -about $3.00 ea. MG90S 9g Servo Motor Micro Metal Gear- About $4.00 ea. (2 rqd). Female ended 3 wire cables for servos.

This pic is of the prototype that actually works when I pass my hand between the IR bulbs.

HO scale railroad crossings

The servo motor is under the foam, has a piano wire connect to it and the arm of the signal above.

The signal was made from wooden stirrers, hard maple for the base & turret & 18” ply for the arm. The lights will come later. Again I’m not content with the look and planning to 3D print this.

Below is a wiring diagram.

The three wires are cables made for servos and the squares are female connector ends.

The basic operation is: all servos are connected with a positive, a negative-, and a yellow signal current wire.

In this case we use the testor to provide the signal and the servo will revolve 90 deg back & forth in response to the testor input.

The IR detector senses a train then sends a signal to the relay, the relay turns the testor on or off and then the servos rotate to move the crossing gate up or down.

Each testor can work up to 3 servos and we have 2.

Model railroad crossing wiring:

HO scale railroad crossing wiring diagram

This is a pic of the Servo testor. You remove the knob & blue cover and solder two wires as per the following
pics.

HO scale model railroad crossing servo tester

Right hand pic shows the back of testor with 2 wires soldered.

This pic is of an IR detector out of the box. We have to cut the white & dark LEDs and wire them so the bulbs will be placed on the layout facing each other, on each side of the track and hidden in the scenery.


IR detector

This pic shows a test rig with the rewired IR bulbs and a functioning setup.

Put 5 V dc to the TB and all devices will show lights and if you place something between the IR bulbs the servo will rotate 90 deg.

HO scale railroad crossing test rig

There is a micro switch attached to the servo that will turn the blinking red lights on & off. The servo arm pushes the switch arm.

There are 2 servos below and 2 crossing signals above but only one servo needs a micro switch to work the lights on both signals.

This endeavor might seem daunting but it really is not bad once you built one.

It is time consuming, tests your soldering skills, and is fiddly connecting that piano wire from the servo to the crossing signal.

Because I dabble in S scale my crossings are to scale, look right, and except for a too quick action are my answer to proper crossing signals.

Now I just have to figure how to connect a clanging sound and I’ll have it just right. The criteria is it must not be pricey.

Best

George from LI NY”

A huge big thank you to George for sharing his excellent ‘how to’ on his model railroad crossing.

As George says, some projects may look daunting, but broken down in to steps, they are too bad at all, and as George has shown, they can save you a small fortune.

There are quite a few posts on signal wiring on the blog now, and I’m pleased it’s helping a few of you out.

Here’s the post George mentions above on IR detection:

Model train IR detector.

Also, these may help:

Model railroad signal wiring.

HO scale railroad signals.

HO scale signals.

That’s all for today folks.

Please do keep ’em coming.

And if today is the day you get started on your layout, the Beginner’s Guide is here.

Best

Al

PS Latest ebay cheat sheet is here.

PPS More HO scale train layouts here if that’s your thing.


HO scale roads

Dan’s been back in touch – this time with some very good advice on HO scale roads, as you’ll read:

The construction of ‘Almost’.

Almost is so named because it is almost at the summit of that division.

The summit happens to be in a tunnel therefore, “almost to the summit.”

Rail enthusiasts all know that many names along the railroads have interesting names. In the US there is Altamont, Mount Summit Crestline and so on.

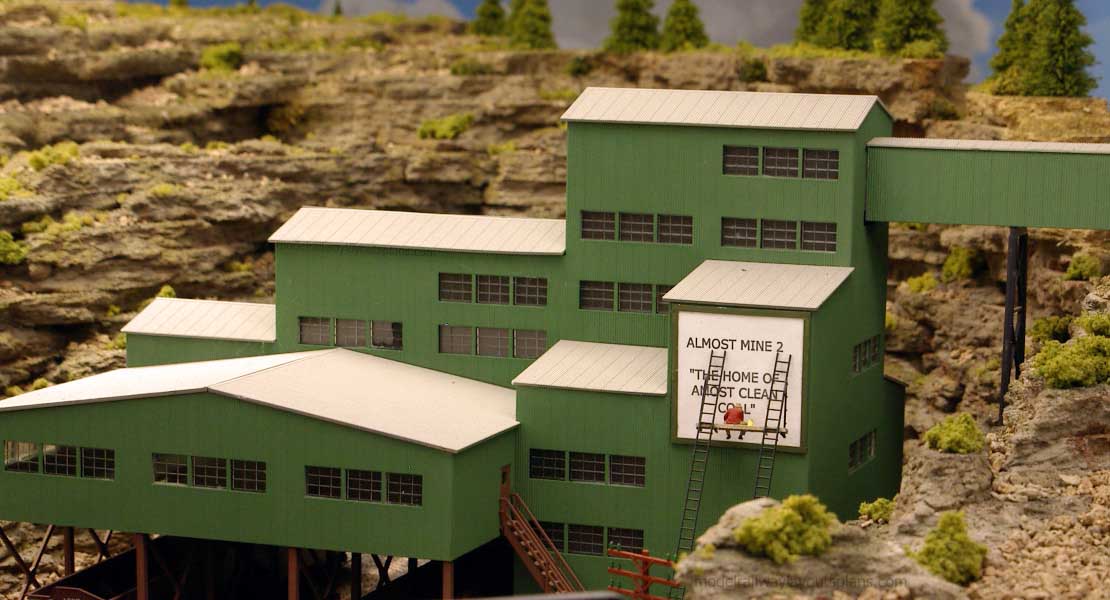
Almost has had the good fortune to be the home of Almost Mine the “Home of Almost Clean Coal” because of the low sulfur content. The station at Almost is having an addition added to it to handle the population growth. The station is a Campbell kit.

Above Almost is Ruth, a station on the old mainline that eventually goes to the resort, Burnt Lake. You will see that in another installment.

In keeping with my narrative, Almost represents the realignment and lowering of the grade and double tracking the mainline when money came available.

Let the construction begin!

The section of the layout that will be shown under construction.

HO scale track plan

The basic open grid work foundation.

HO scale bench work

A view looking the other way.

HO scale bench work

The first part of Almost was the coal mine. Notice that colored rocks are of the other side of my last post. There is quite a reach over the rocks and track in place. Usually not a good idea.

HO scale rock formation


This happened because the original plan was to be on the upper level even with the track already in place. If the mine would have stayed in place, it would have messed up the view block my hills/mountains I use for this. You would see a mine sticking up in the air. View blocks prevent seeing the entire layout at one time.

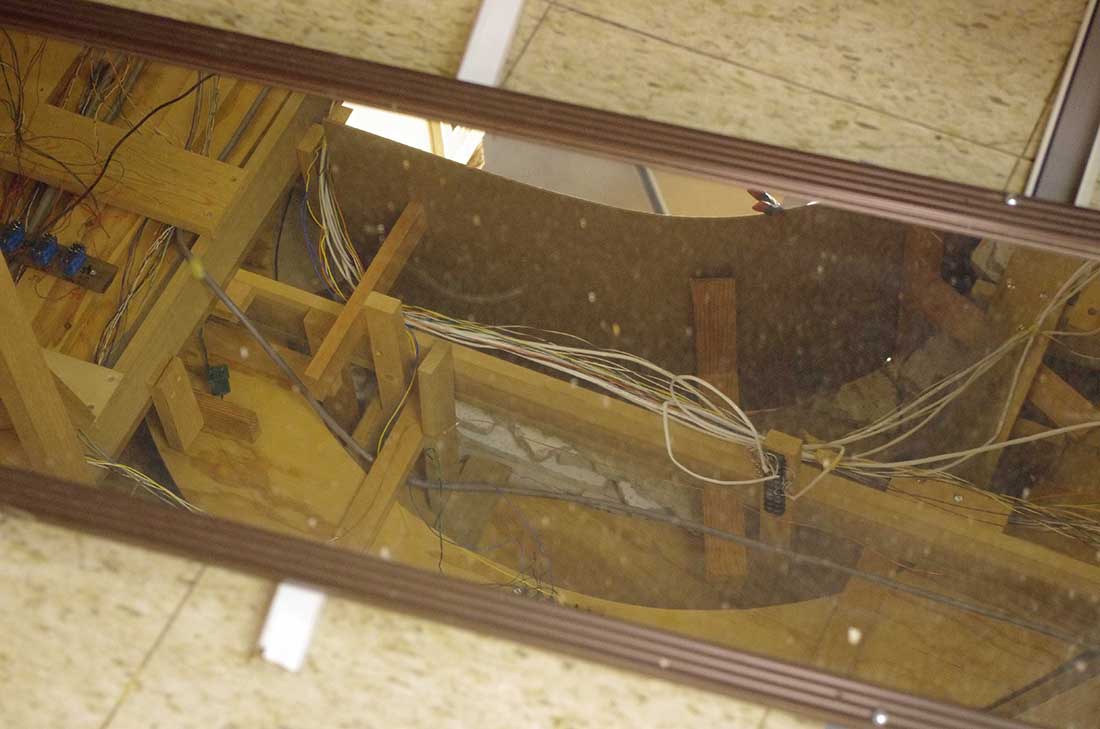
I have built two telescopes and amused to seeing things in reverse. I used a mirror to help place the ceiling tile rocks.

The mine in place. The Walther’s New River coal mine.

HO scale coal mine

This shows the general positioning of things. The unballasted track with the yellow Rio Grand loco is “Denver” the storage/staging track for interchange.

model train sidings

Making rocks.

model railroad rock formation

HO scale roads up to Ruth on the old mainline. Note the use of Sculpta mold as a base to smooth out the path of the road. It has black paint added to the Sculpta mold mix.

model railroad rock formation

The road is an interesting material. My brother-in-law worked at a place that made folding doors. You have seen them in schools and used tack boards. The tack board material has a buckram base with a cork like material over it. It is about 1/4 inch thick. He gave me cut off pieces. I could easily cut it to any shape and length I needed. It can be sanded and painted with craft paint.

As a teacher I never quit teaching. I used this particular section to teach the fact that roads often rise and fall with the terrain and the railroads go a flat as possible.
The area above Almost.

HO scale rock cliff

This is the base for the HO scale roads in the previous photo heading toward the tunnel.

HO scale rocks

The railroad tunnel and a highway tunnel to the right.

model railroad rock tunnel

Basic painting done here. The upper track will also have a tunnel. You can see the Sculpta mold base for the road up to Ruth. Also, look at the pieces for the road crossing. This is the tack board material. All road crossings on the layout are individual boards. More about that later.
HO scale weathered rocks


Moving along.
HO scale laying track

Nearly finished roughing in.

HO scale rocks

I have sprayed a mix of India ink and alcohol on the rocks. More where I wanted a damp look or where the exhaust would show on the rocks.

HO scale weathered rocks

Almost as it was in 1995. I have added more cars and finer detail over the years.

HO scale roads

You can see the workers adding to the station. You cant see the skill saw in the workers hand bu the saw horse. A skill saw did not exist when I did this scene. However, there was a lumber jack set. I cut off the chain part of a chainsaw and bingo, a skill saw.

HO scale roads

Store fronts.

HO scale roads

A very important part of a layout (If you have the space.) is to have some interesting scenery between the viewer and the trains.

HO scale roads

Some scarce vegetation and small kitty litter rocks. Some ceiling tile have acoustic noise reduction holes in them. Used to our advantage, they look like drill holes when they were clearing the rocks.

model railroad tunnel

Another fine detail. A fallen rock and some Sculpta mold dirt that has filled in.

HO scale roads

Panorama of Almost

model railroad cliff freight

The rest of Almost.

HO scale roads

I hope my fellow Bloggers like these.

Dan”

Stunning stuff – A huge big thanks to Dan for sharing his pics and obvservations on HO scale roads, it’s simple advice but it made me think about what looks natural and what doesn’t.

If you missed his last post, it’s here:

Model train Santa Fe.

That’s all for today folks.

Please do keep ’em coming.
And if today is the day you get started on your layout, the Beginner’s Guide is here.
Best

Al

PS Latest ebay cheat sheet is here.

PPS More HO scale layouts here if that’s your thing.