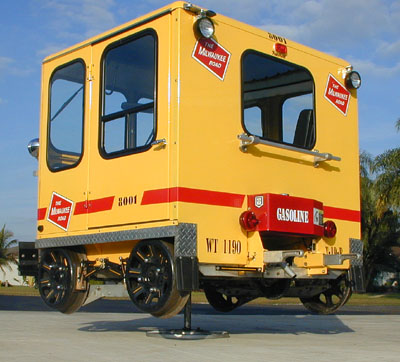
James had a problem – his model train keeps derailing.
But he came up with a simple and clever solution:
“Hi Alastair
I will be sending update photos of the StarrPoint layout shortly.
Ran into some issues that set me back however now “on track” ( get the pun ) to complete the first half of the layout. The back half of the layout will be completed hopefully by the first of the year.
One of my issues was the rolling stock and some engines de-railing. So I scratch my head and since funds are limited needed an inspection car. So I built one cheaply. I think your readers may fine this interesting on how I did this.
Total time, 1 hour.
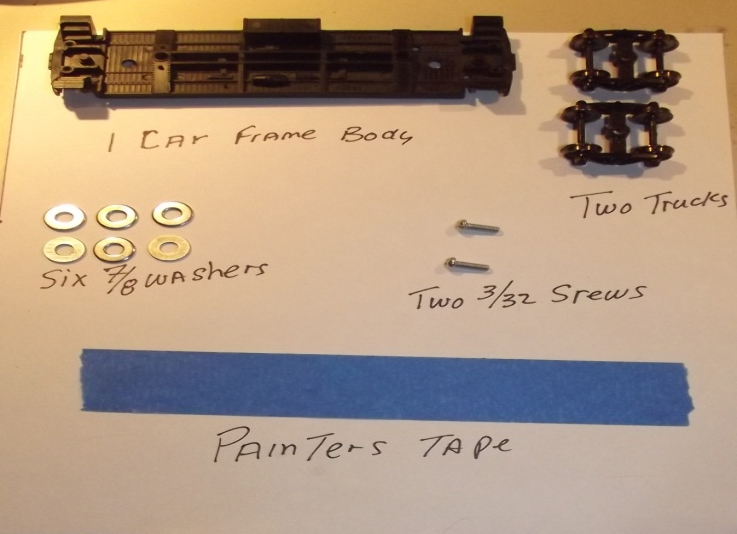
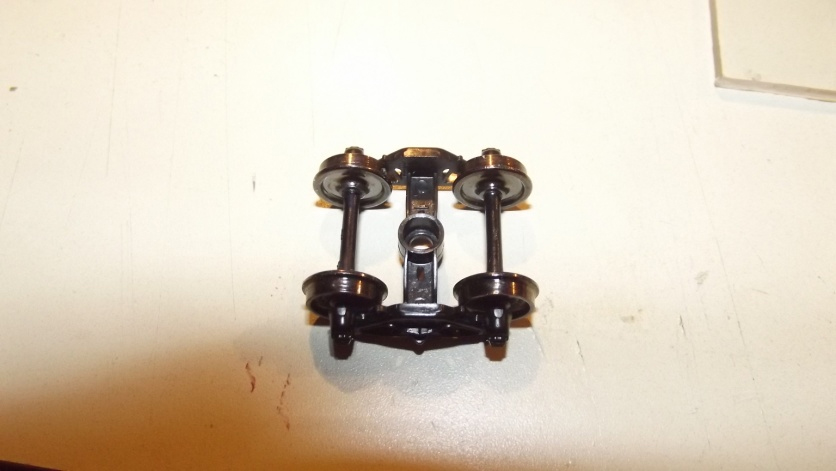
The parts are simple: 1 rail car frame, 2 trucks, 6 washers ( 7/8 size ) 2 screws ( 3/32 size ) and 1 piece of plexi glass
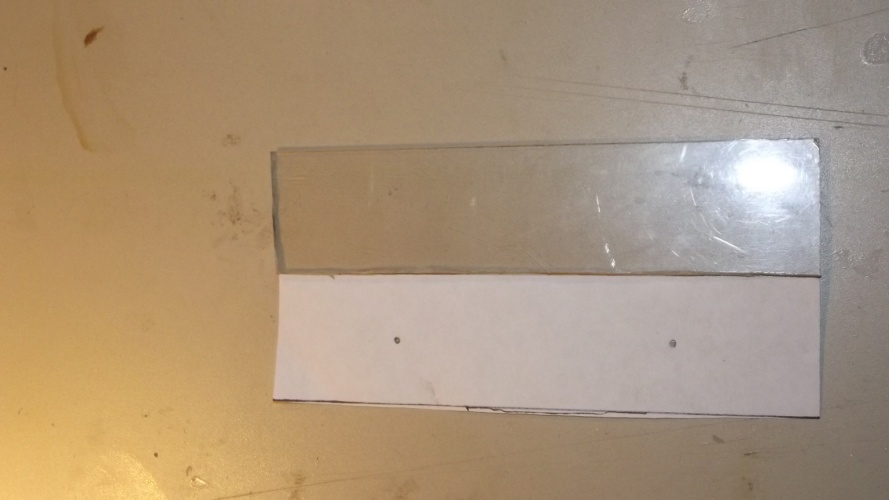
Take the plexi glass and cut it the size of the rail car frame.
Take a piece of scrap paper and make an outline of the rail car frame. Then cut to the size of the car frame, and place it on the plexi glass.
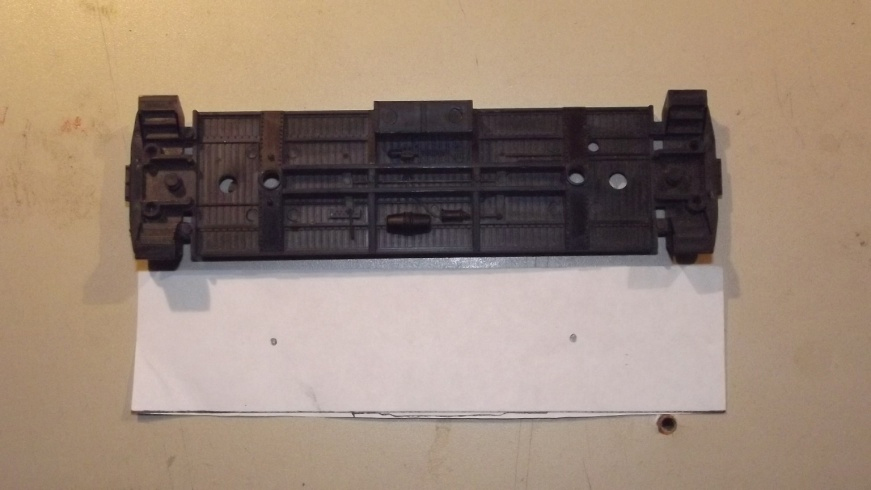
Take the car frame and place that on top of the paper. With a mechanical pencil, mark on the paper the place of the “rail trucks”.
Make sure the car frame is straight when doing this.
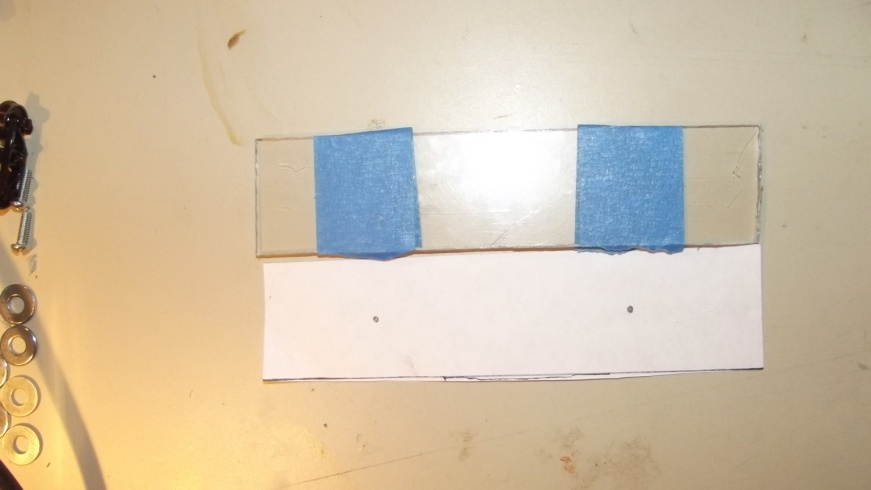
Now remove the car frame, take the paper and lie that next to the plexi glass and place the painters tape in the exact place of the marks you made on the paper. Next place the car frame back on the plexi glass and mark the tape for the position for the screws.
Now for the hard part, drilling out the holes for the screws. I have a drill press in my room that made this part easy, however it can be done with a regular drill as well, just take your time. With the tape in place you need to drill the two holes marked on the tape with a 3/32 drill bit.
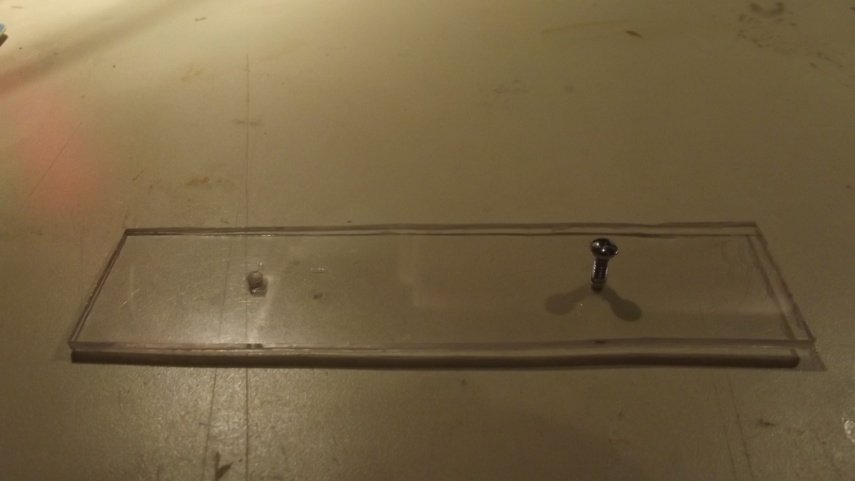
Once the holes are drilled, and I did it from both sides to ensure the holes were completed correctly, remove the tape. Now the screws WILL NOT be easy to screw into the plexi glass. Take one of the 3/32 screws and screw it through the hole using a electric or battery operated screw driver. Believe it or not, the screw will self tape the plexi glass.
Once the screw holes are tapped, you are ready to assemble.
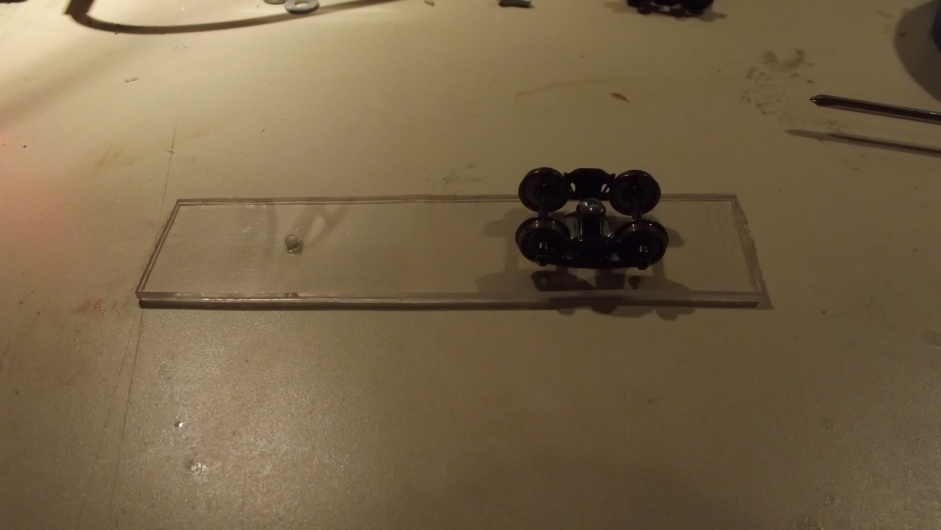
Take 3 of the 7/8 washers and place them on the plexi glass at the hole sight.
Model train keeps derailing:
Take one of the trucks with the hole that is indented ( see picture ) and place a 3/32 screw there.
The other side of the truck has the flat portion at the screw hole The flat side has to sit on the washers.
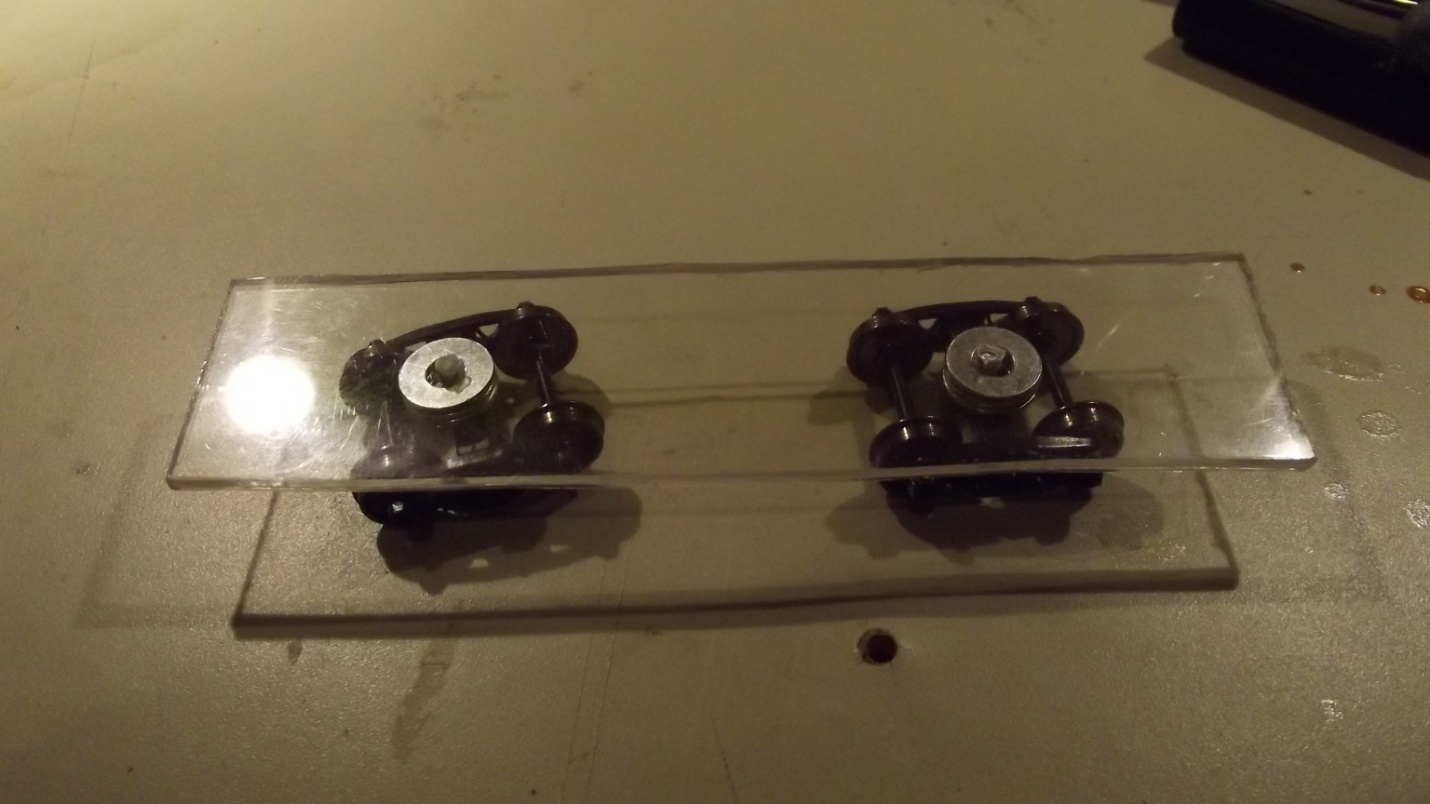
Now with a regular or Philips screw driver, depending on the screw heads you have, screw the parts together.
Then do the other rail truck in the same manner. Now you will have to make some adjustments on how tight to make the screws. The rail trucks should SPIN freely so that the inspection car can navigate the curves without any issues
And here is what it looks like when fully assembled
Total cost, $5.00… One of the inspection cars advertised in Model Railroader was selling for $25.00.
For about an hour’s working time and a few parts you too can have a reliable way of checking for track issues with your own inspection car that will not break the bank
Have fun and Happy Railroading
James Volmer Snr”
An excellent ‘how to’ from James – what a way to sort your track out if your model train keeps derailing – thank you, James.
It reminded me of Mal’s excellent posts on dertailing: