Coal mine track layout – Ian’s

Ian has been in touch with his coal mine track layout:

“Hi Alastair,

thanks for sending all of the tips and photos – they have been great help to someone like me who at the age of 66 is just starting out. I have been a scale R/C aeromodeller for over 50 years so I thought I would make a change. I am also learning the “lingo” which is very interesting.

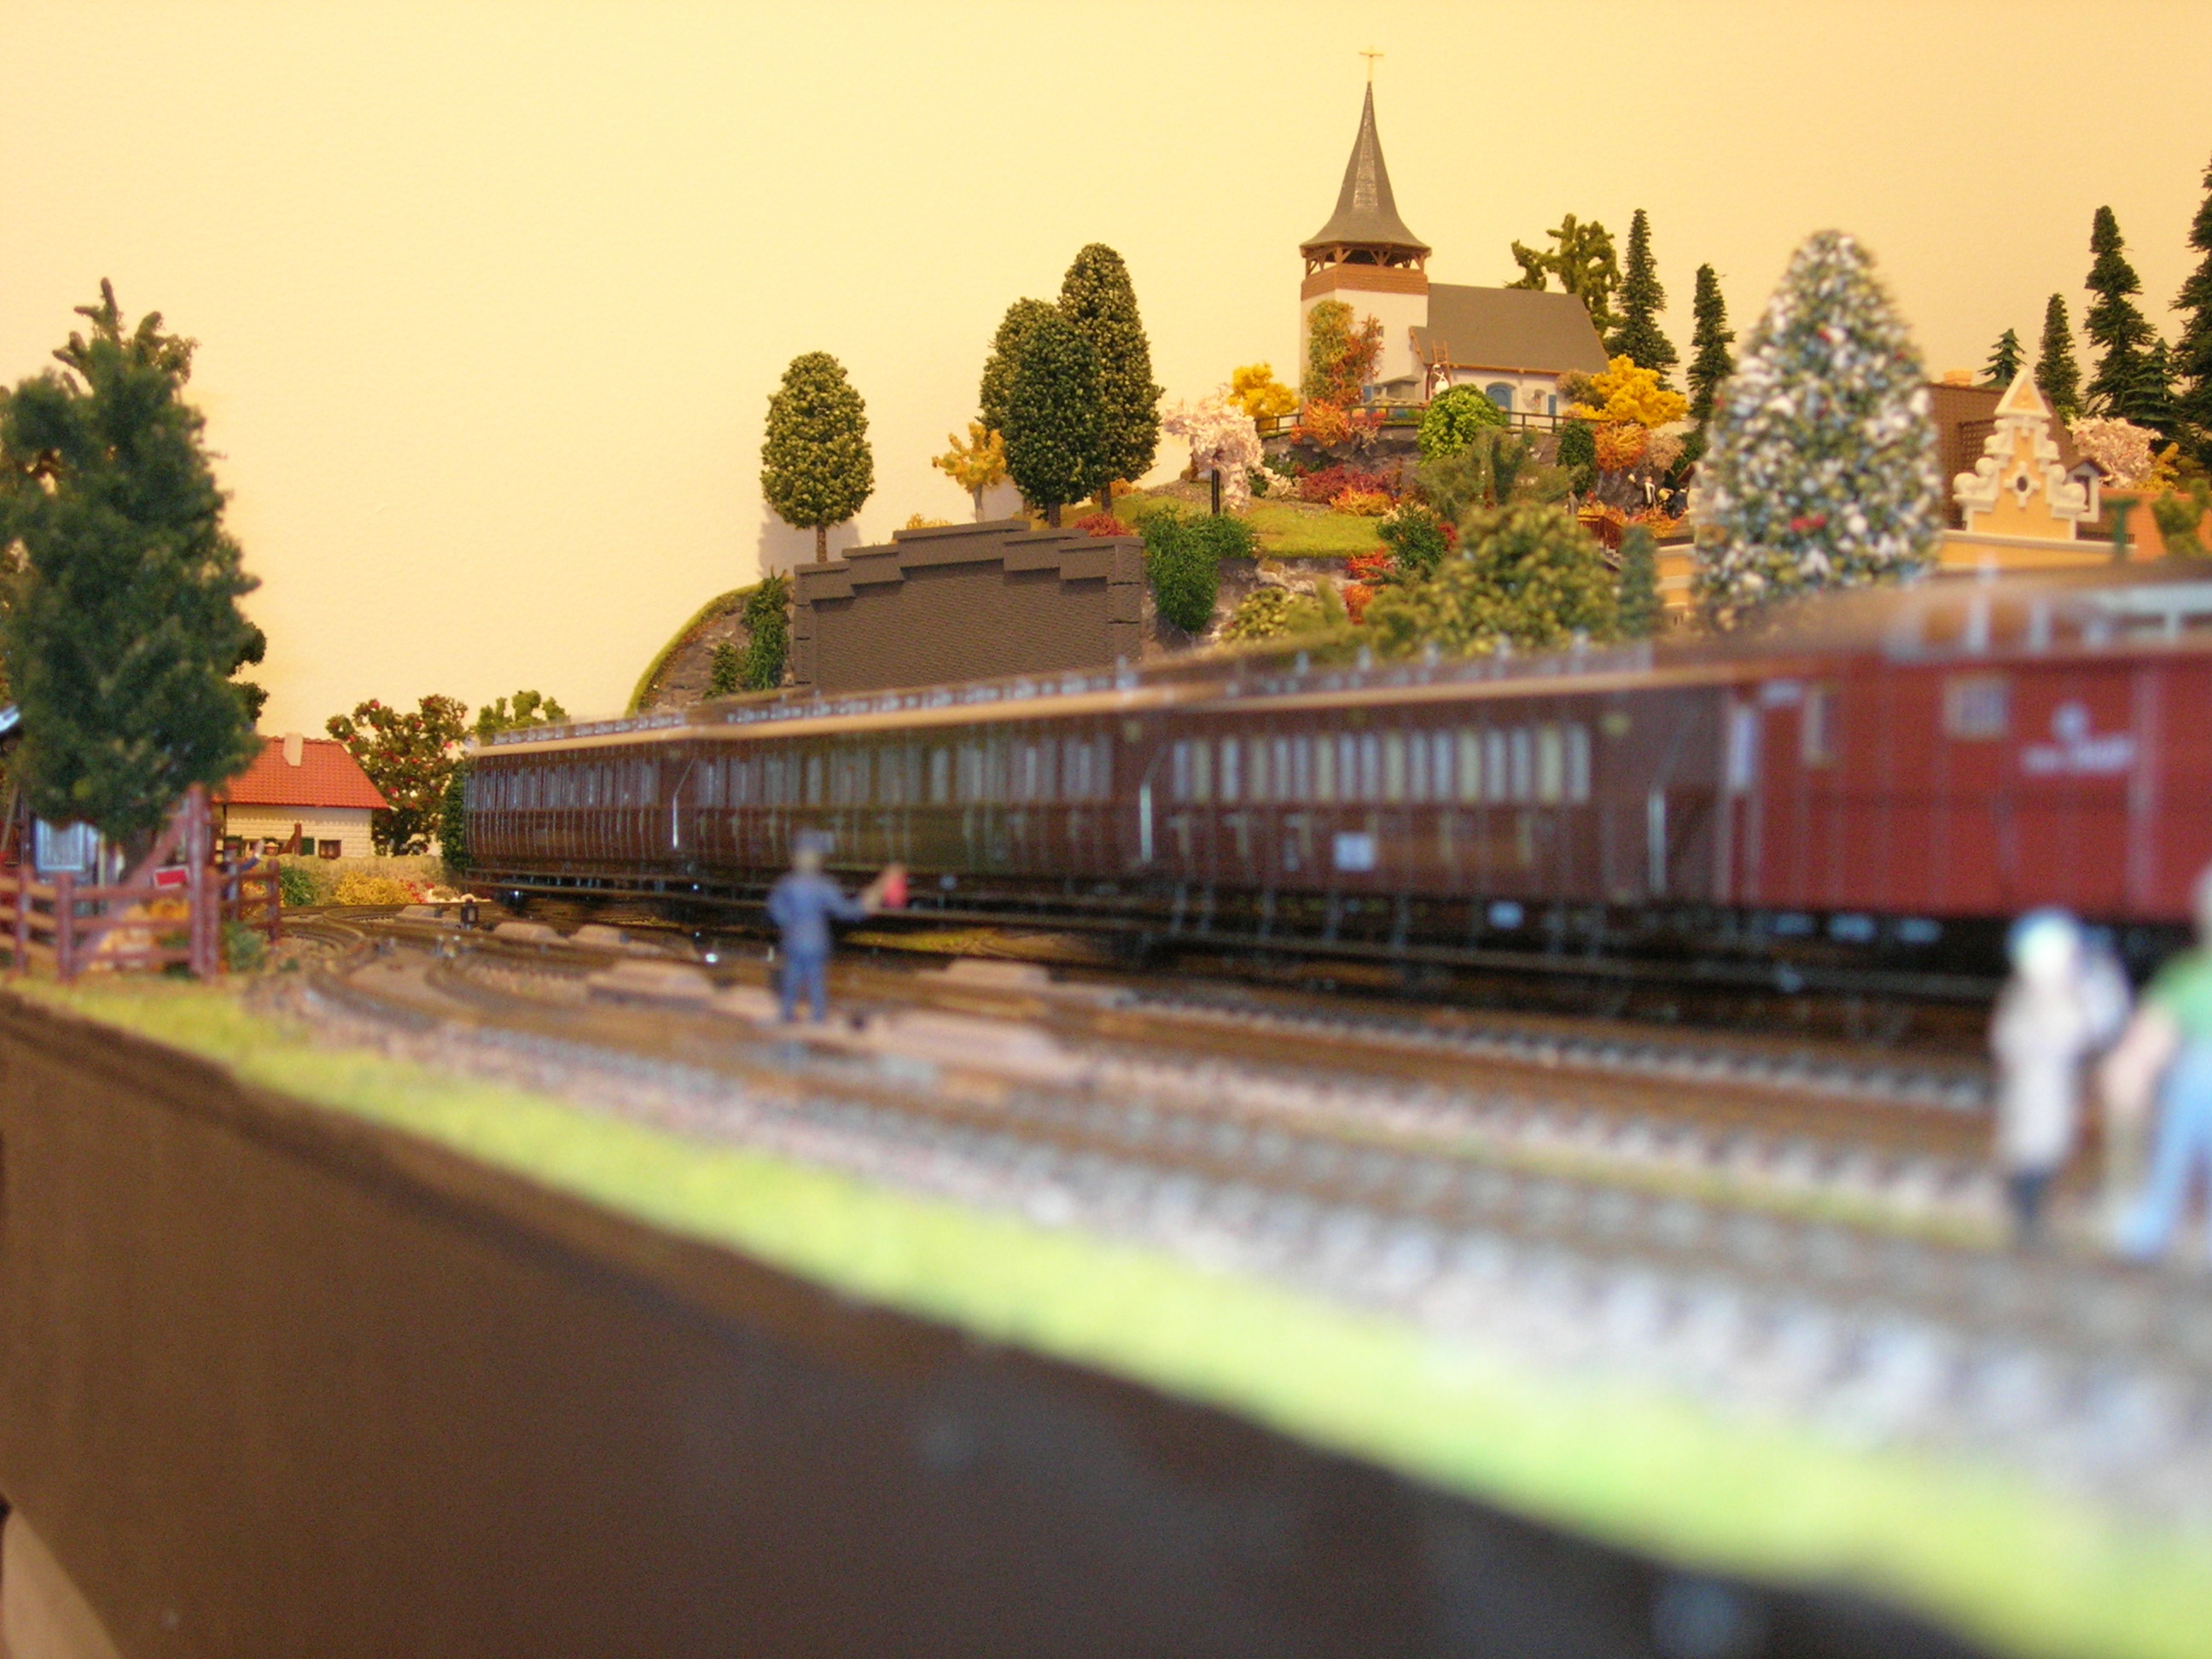
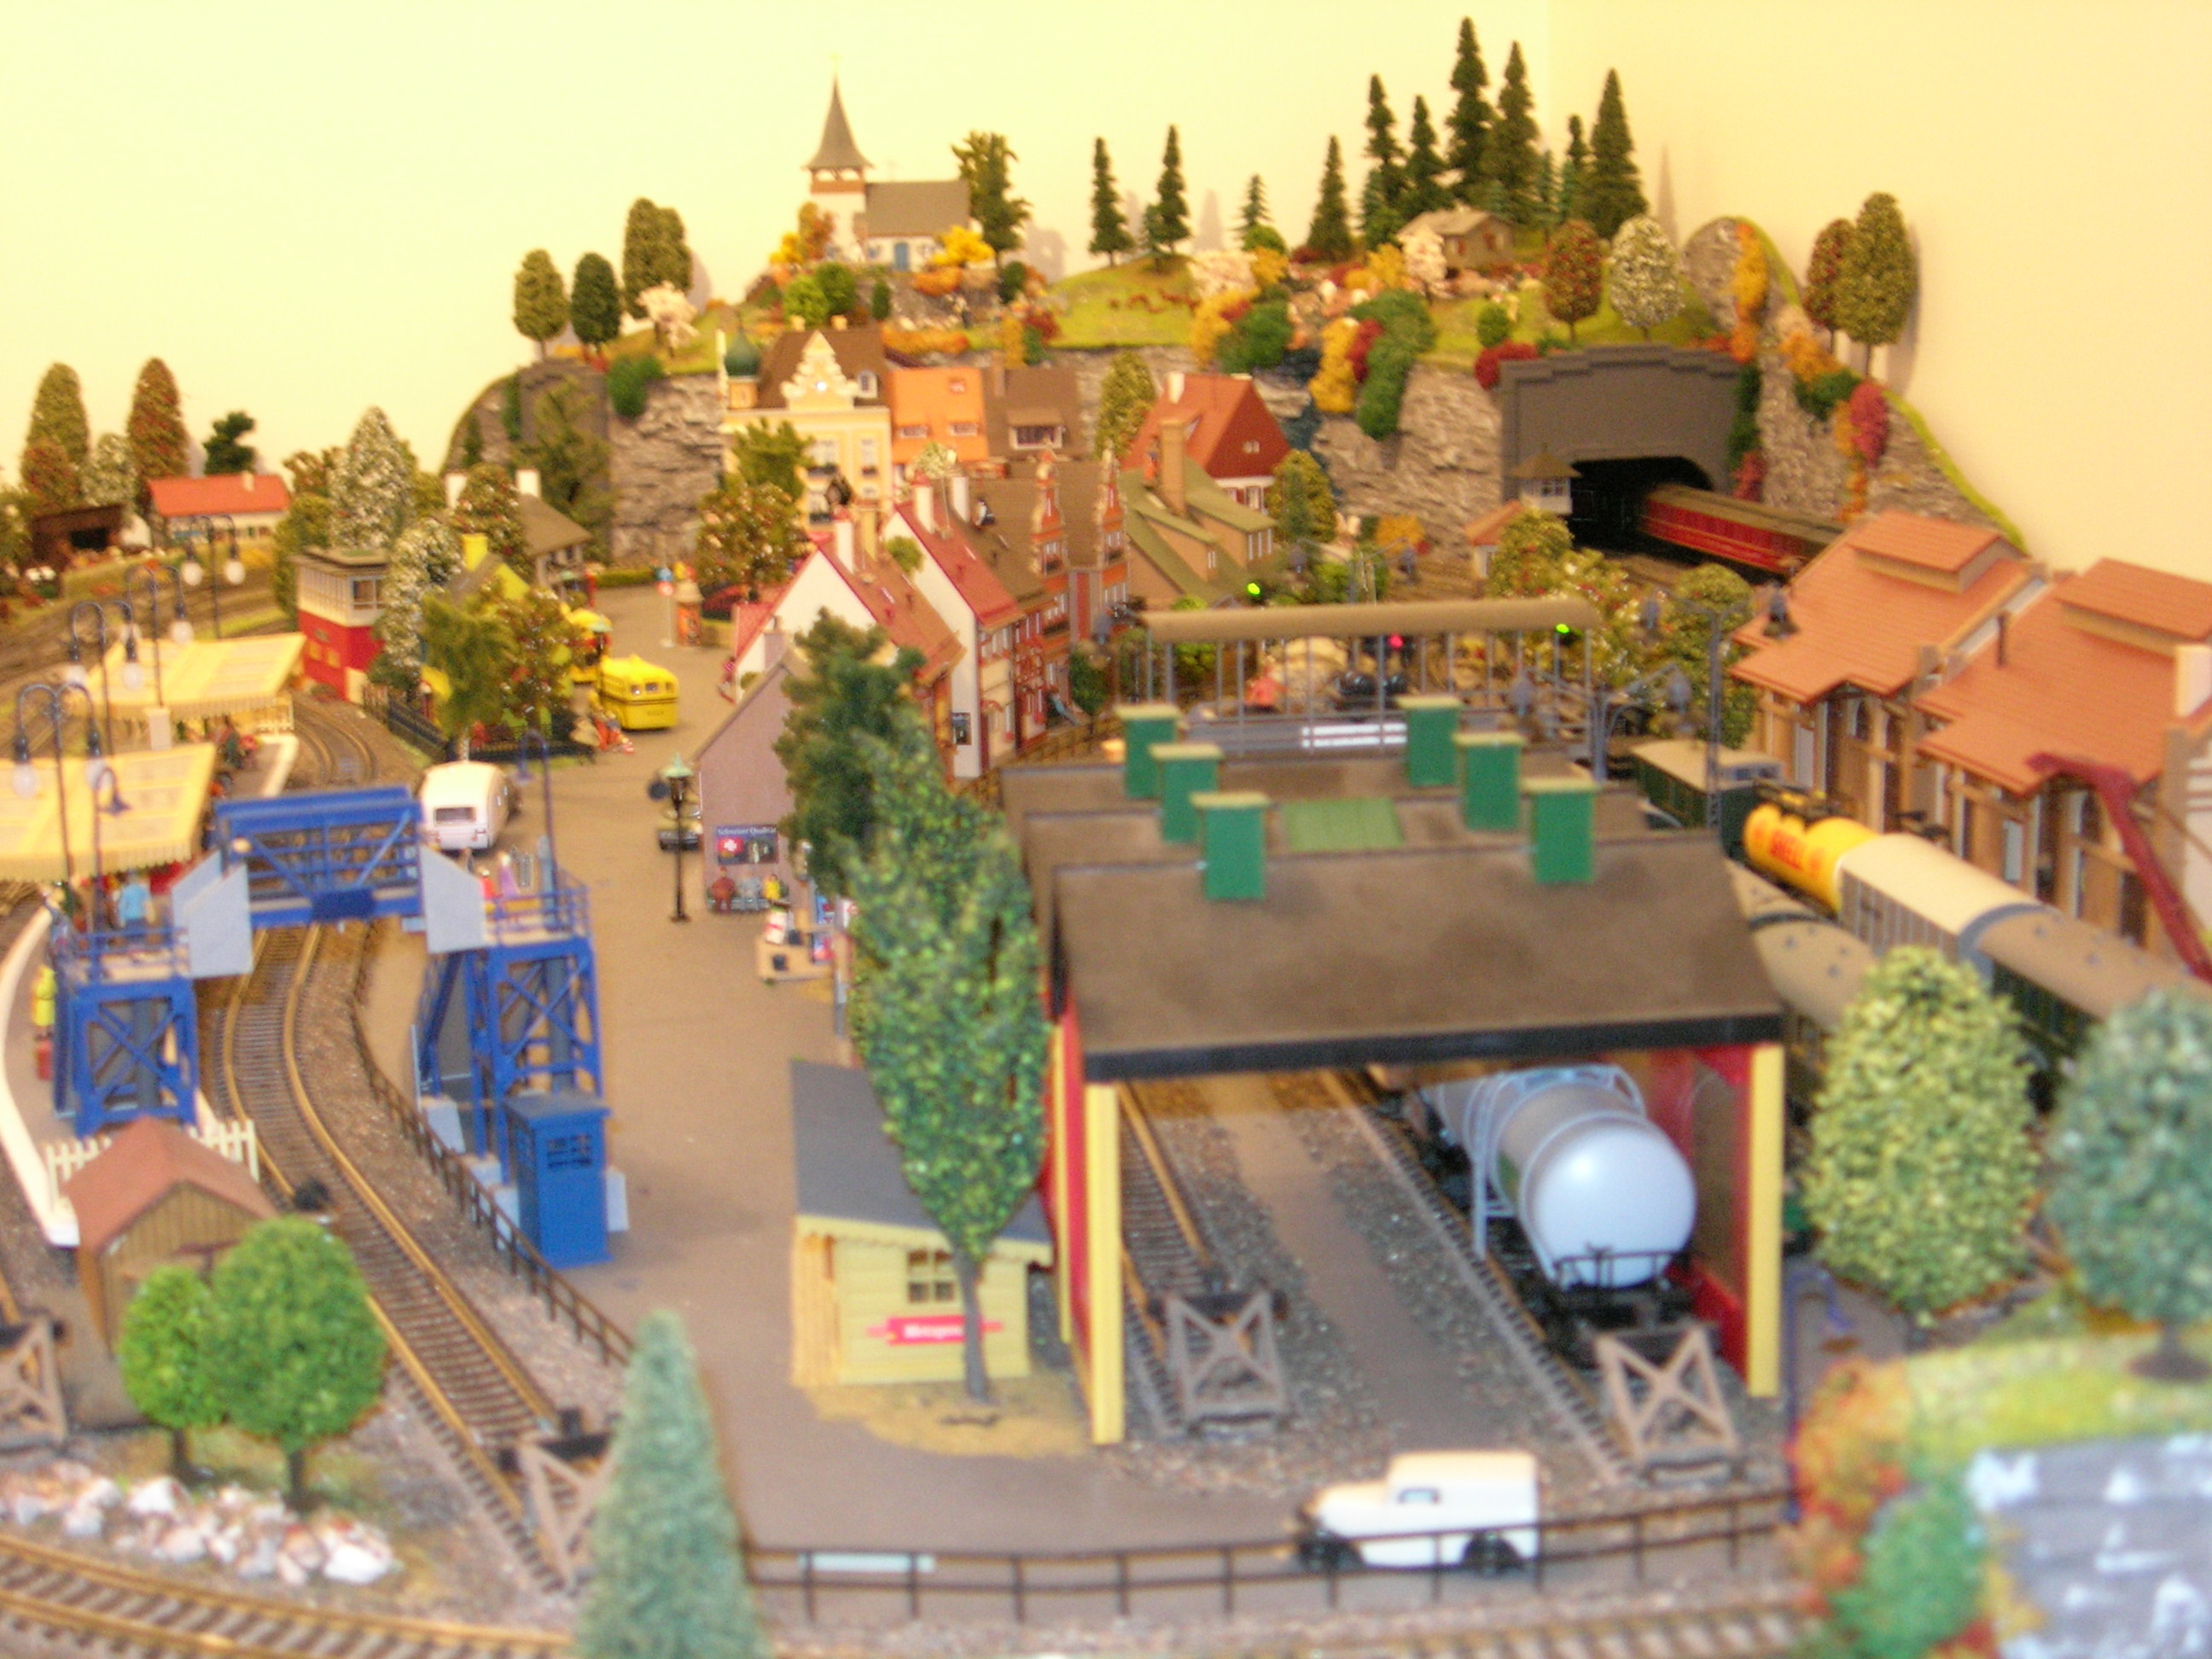
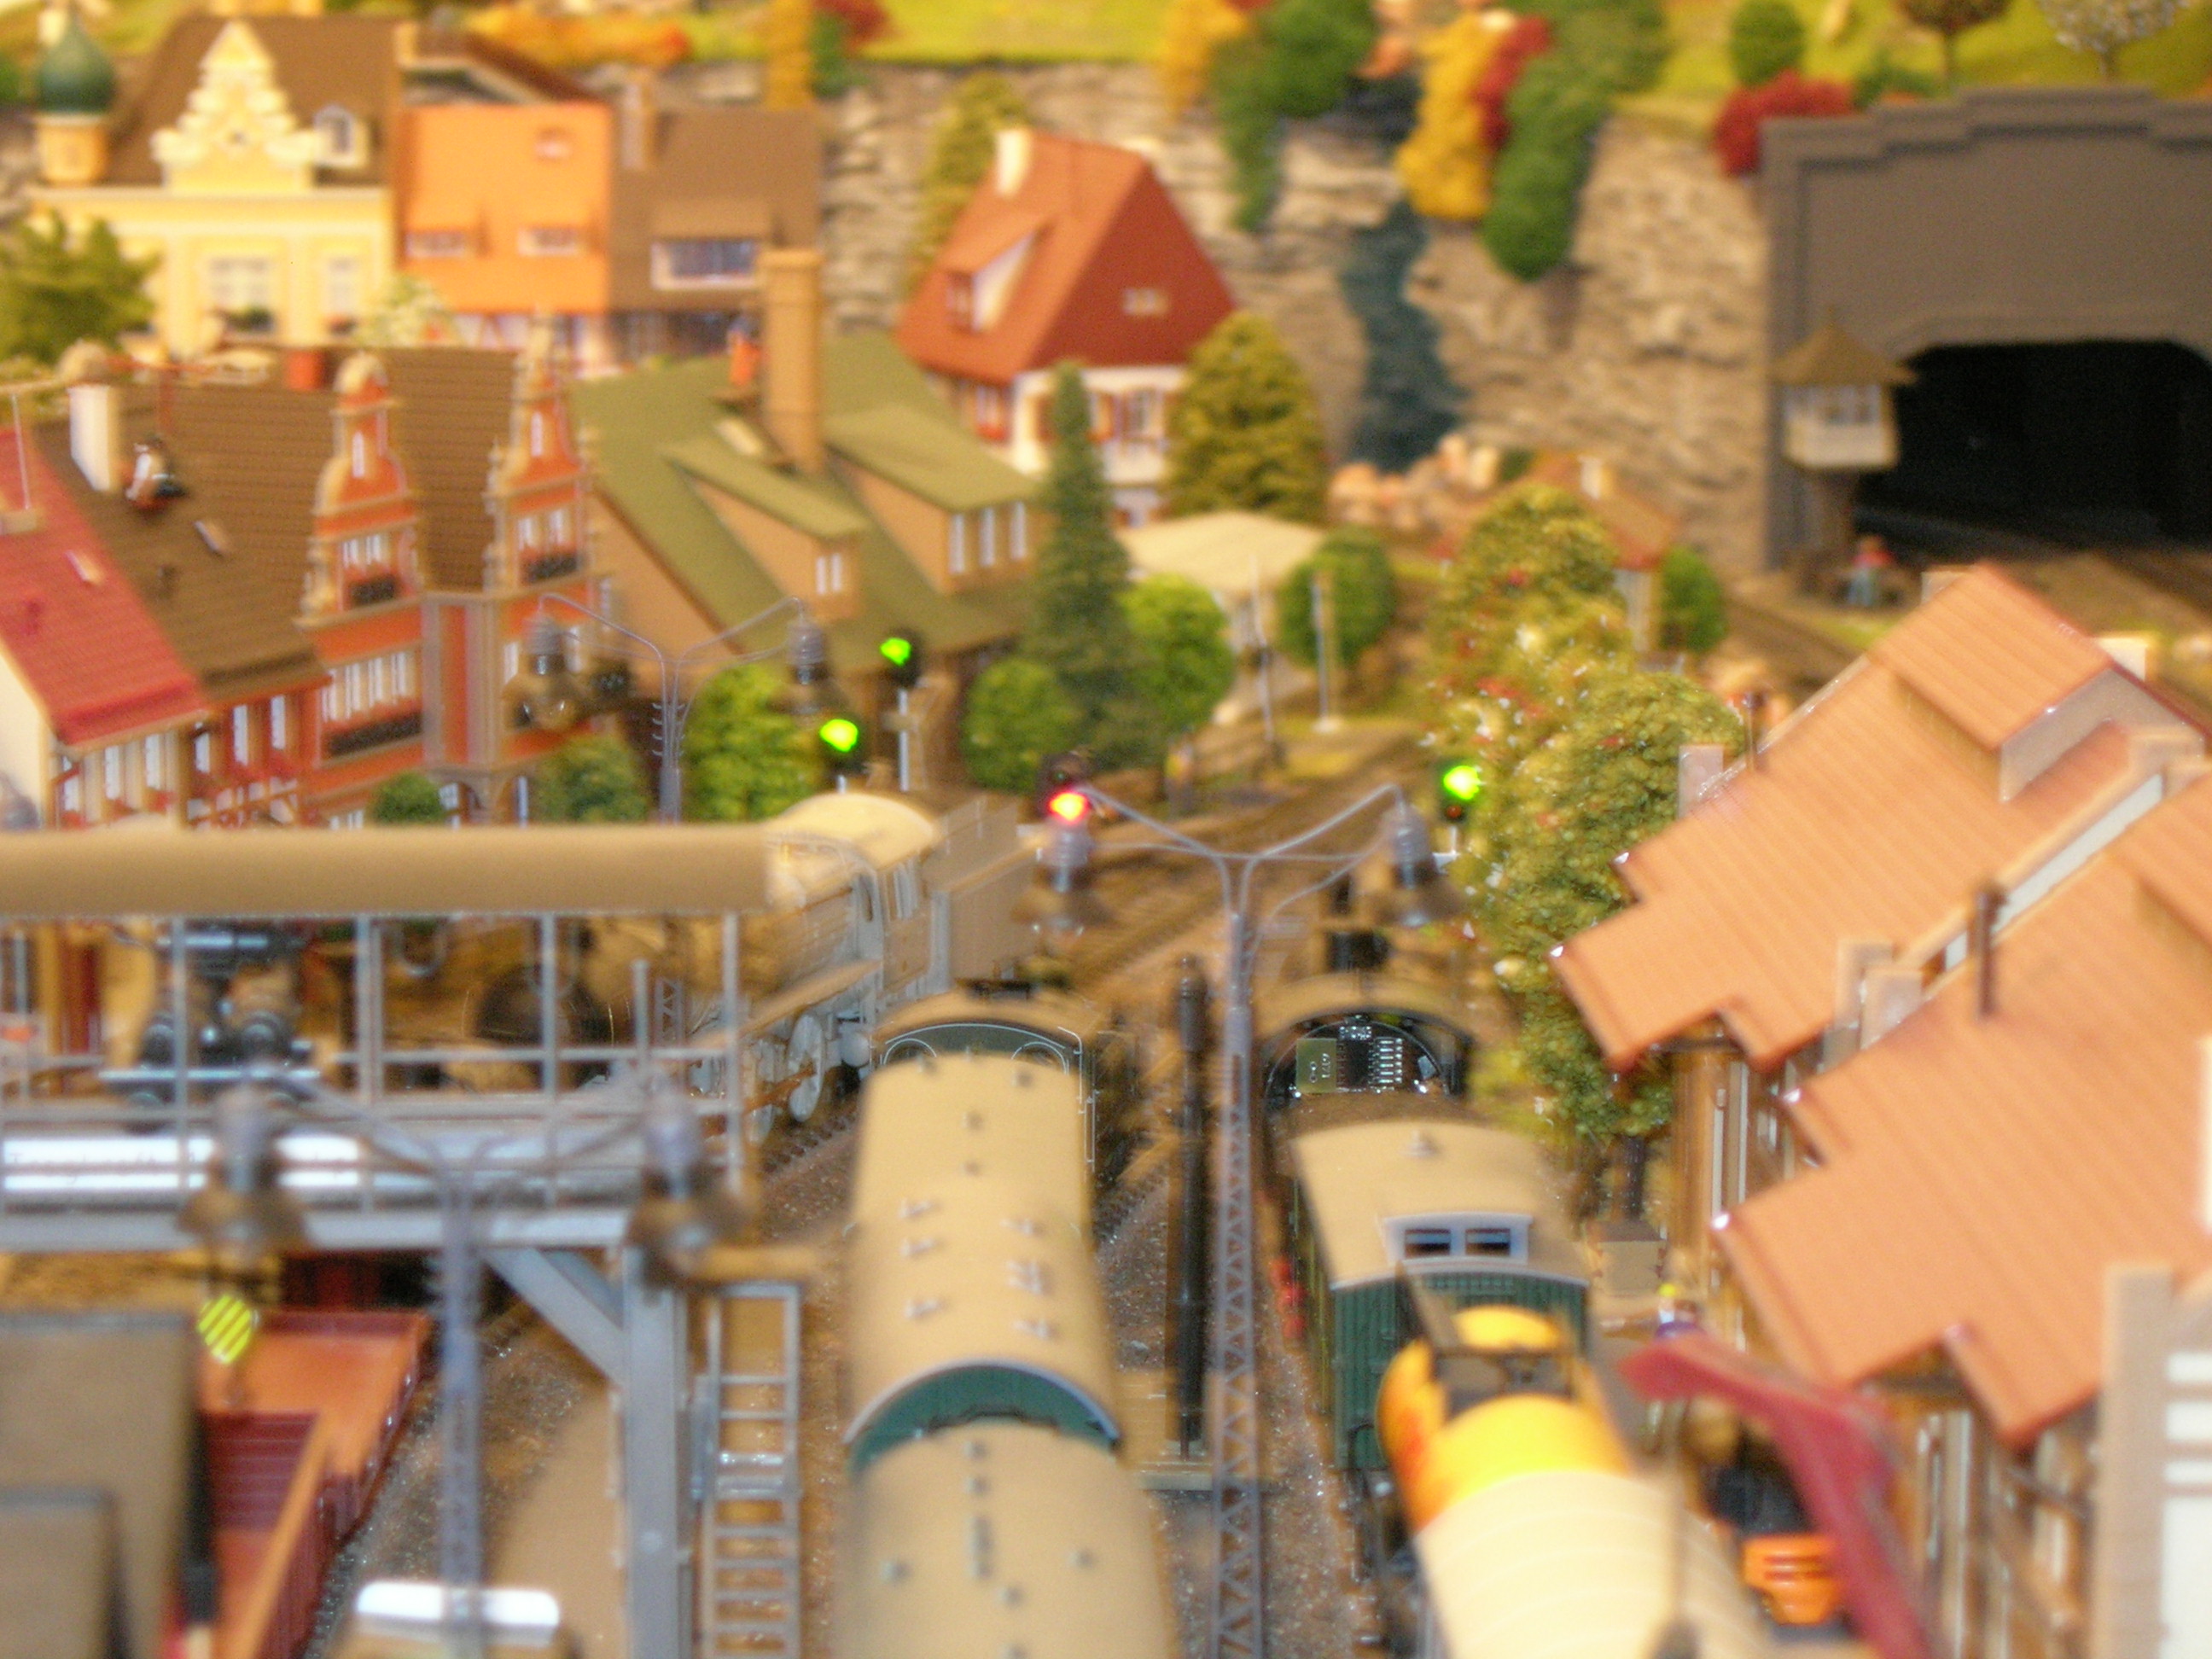
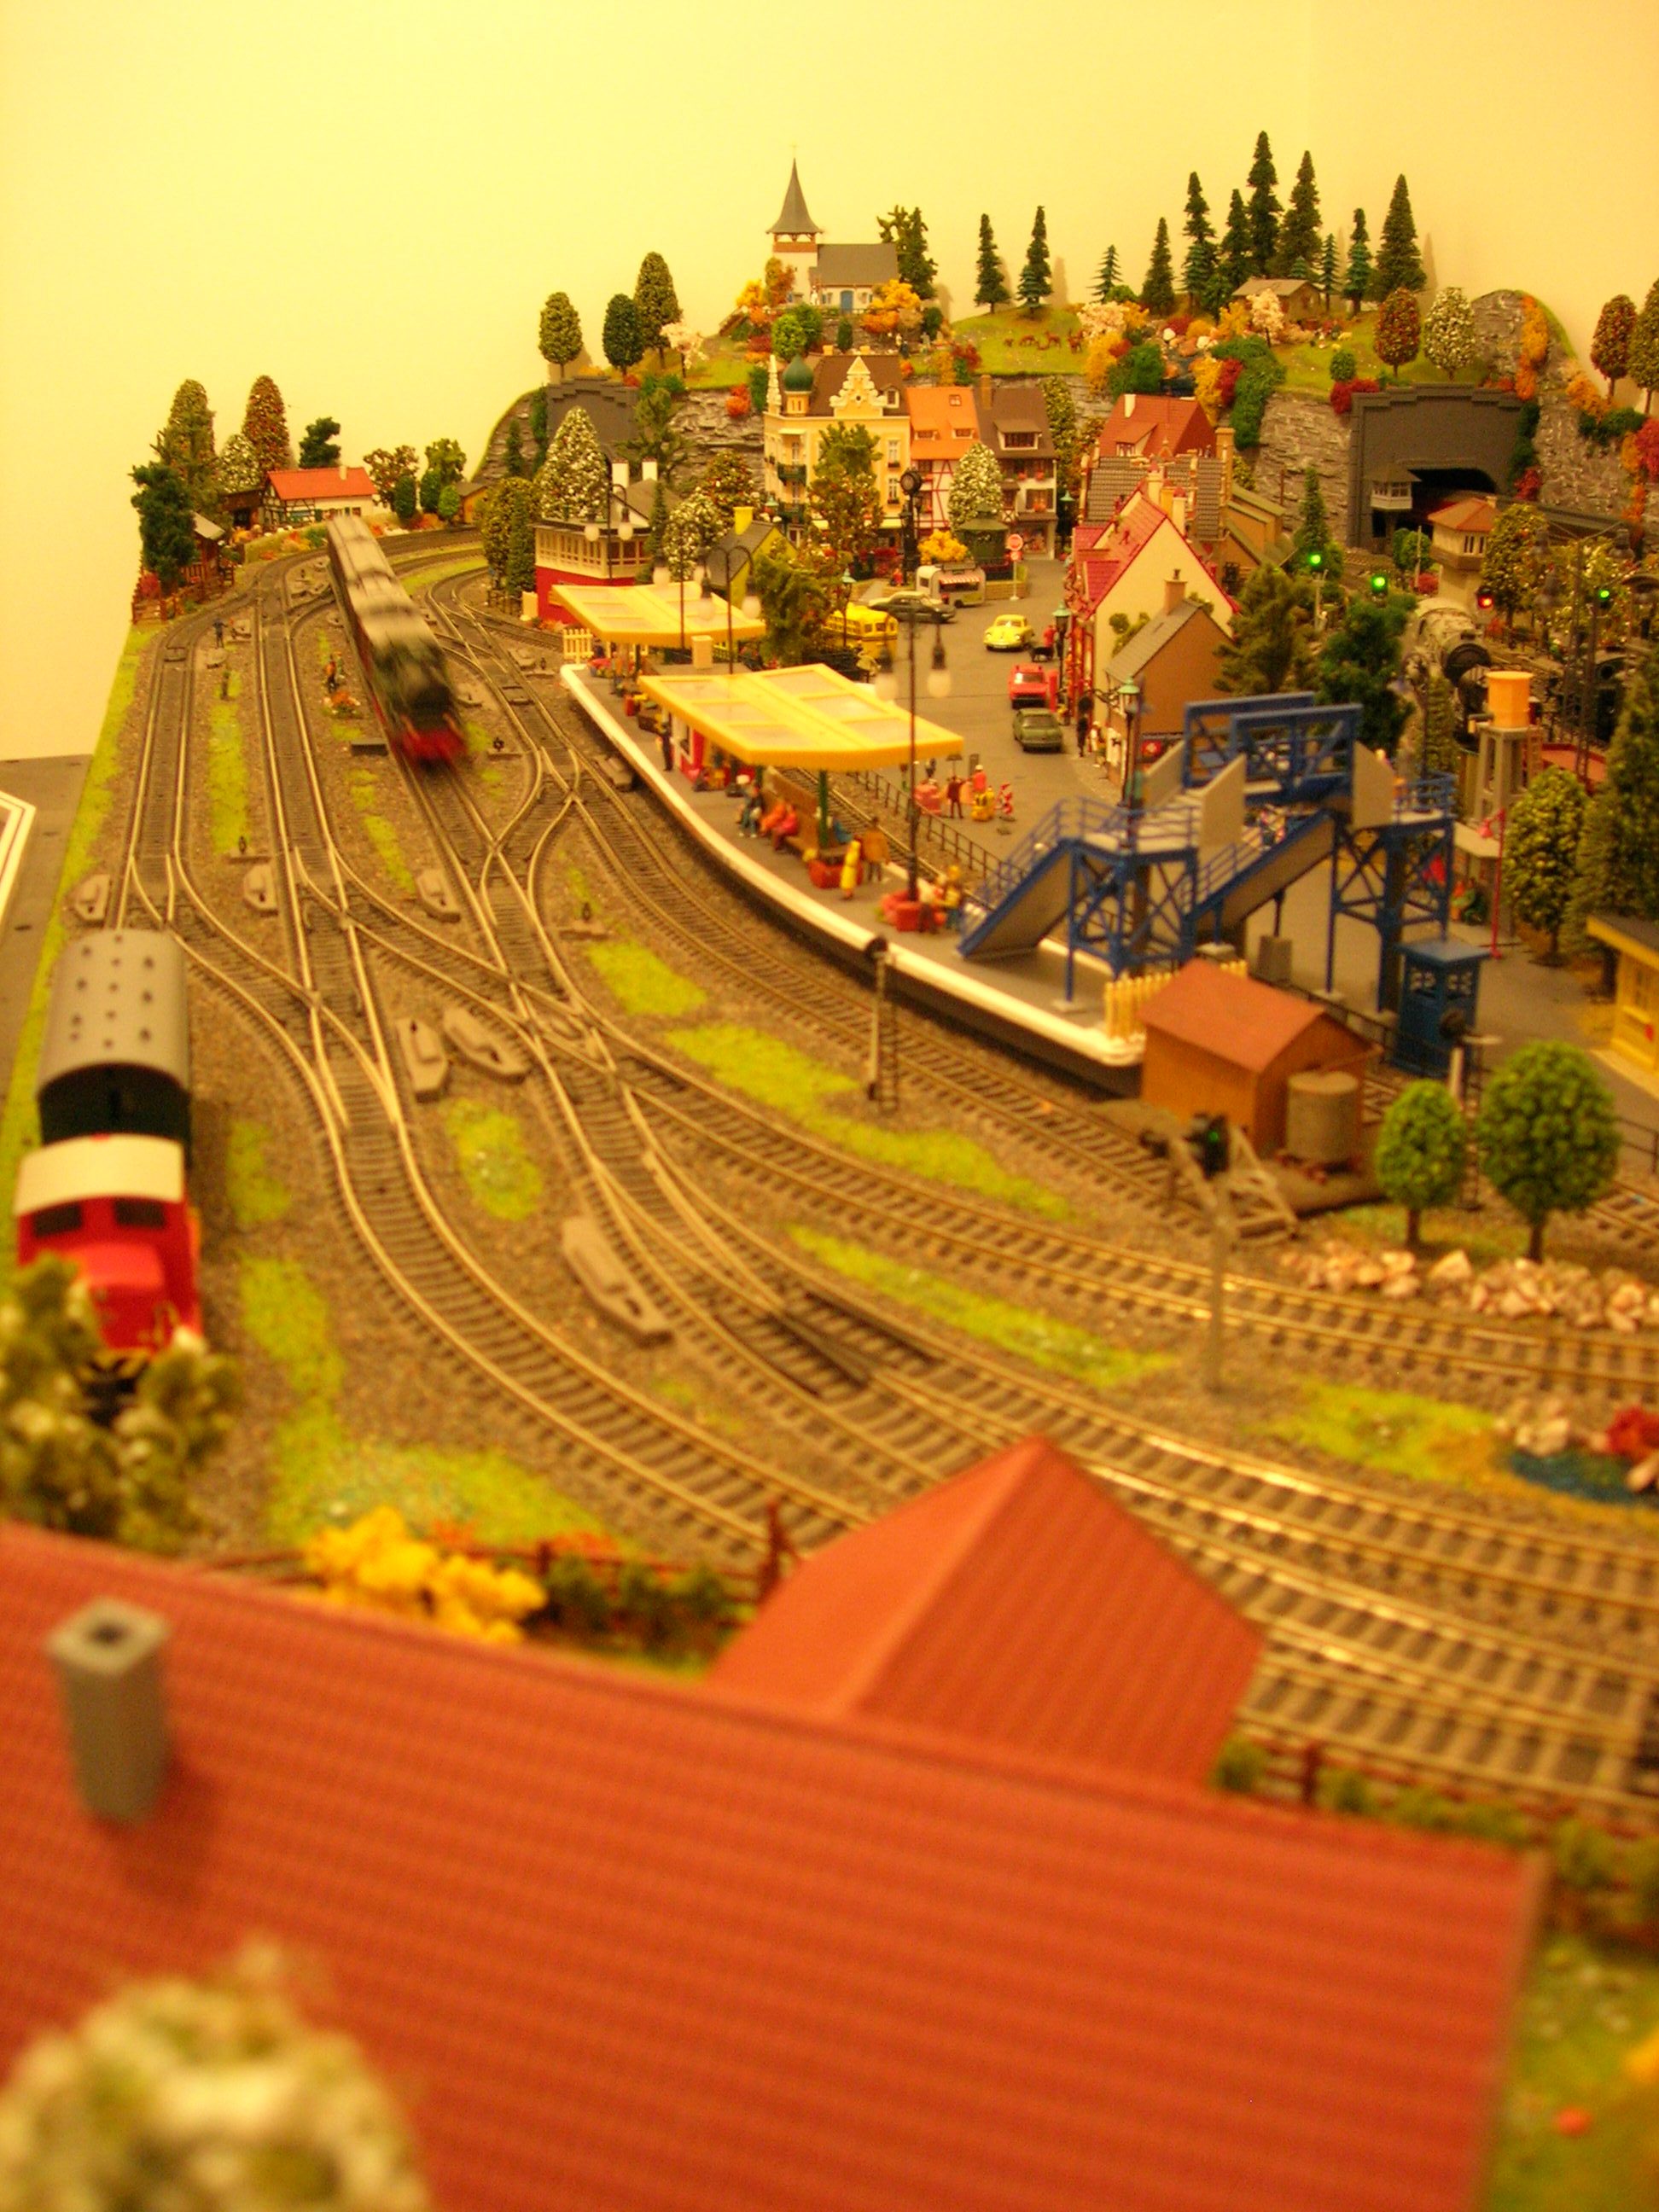
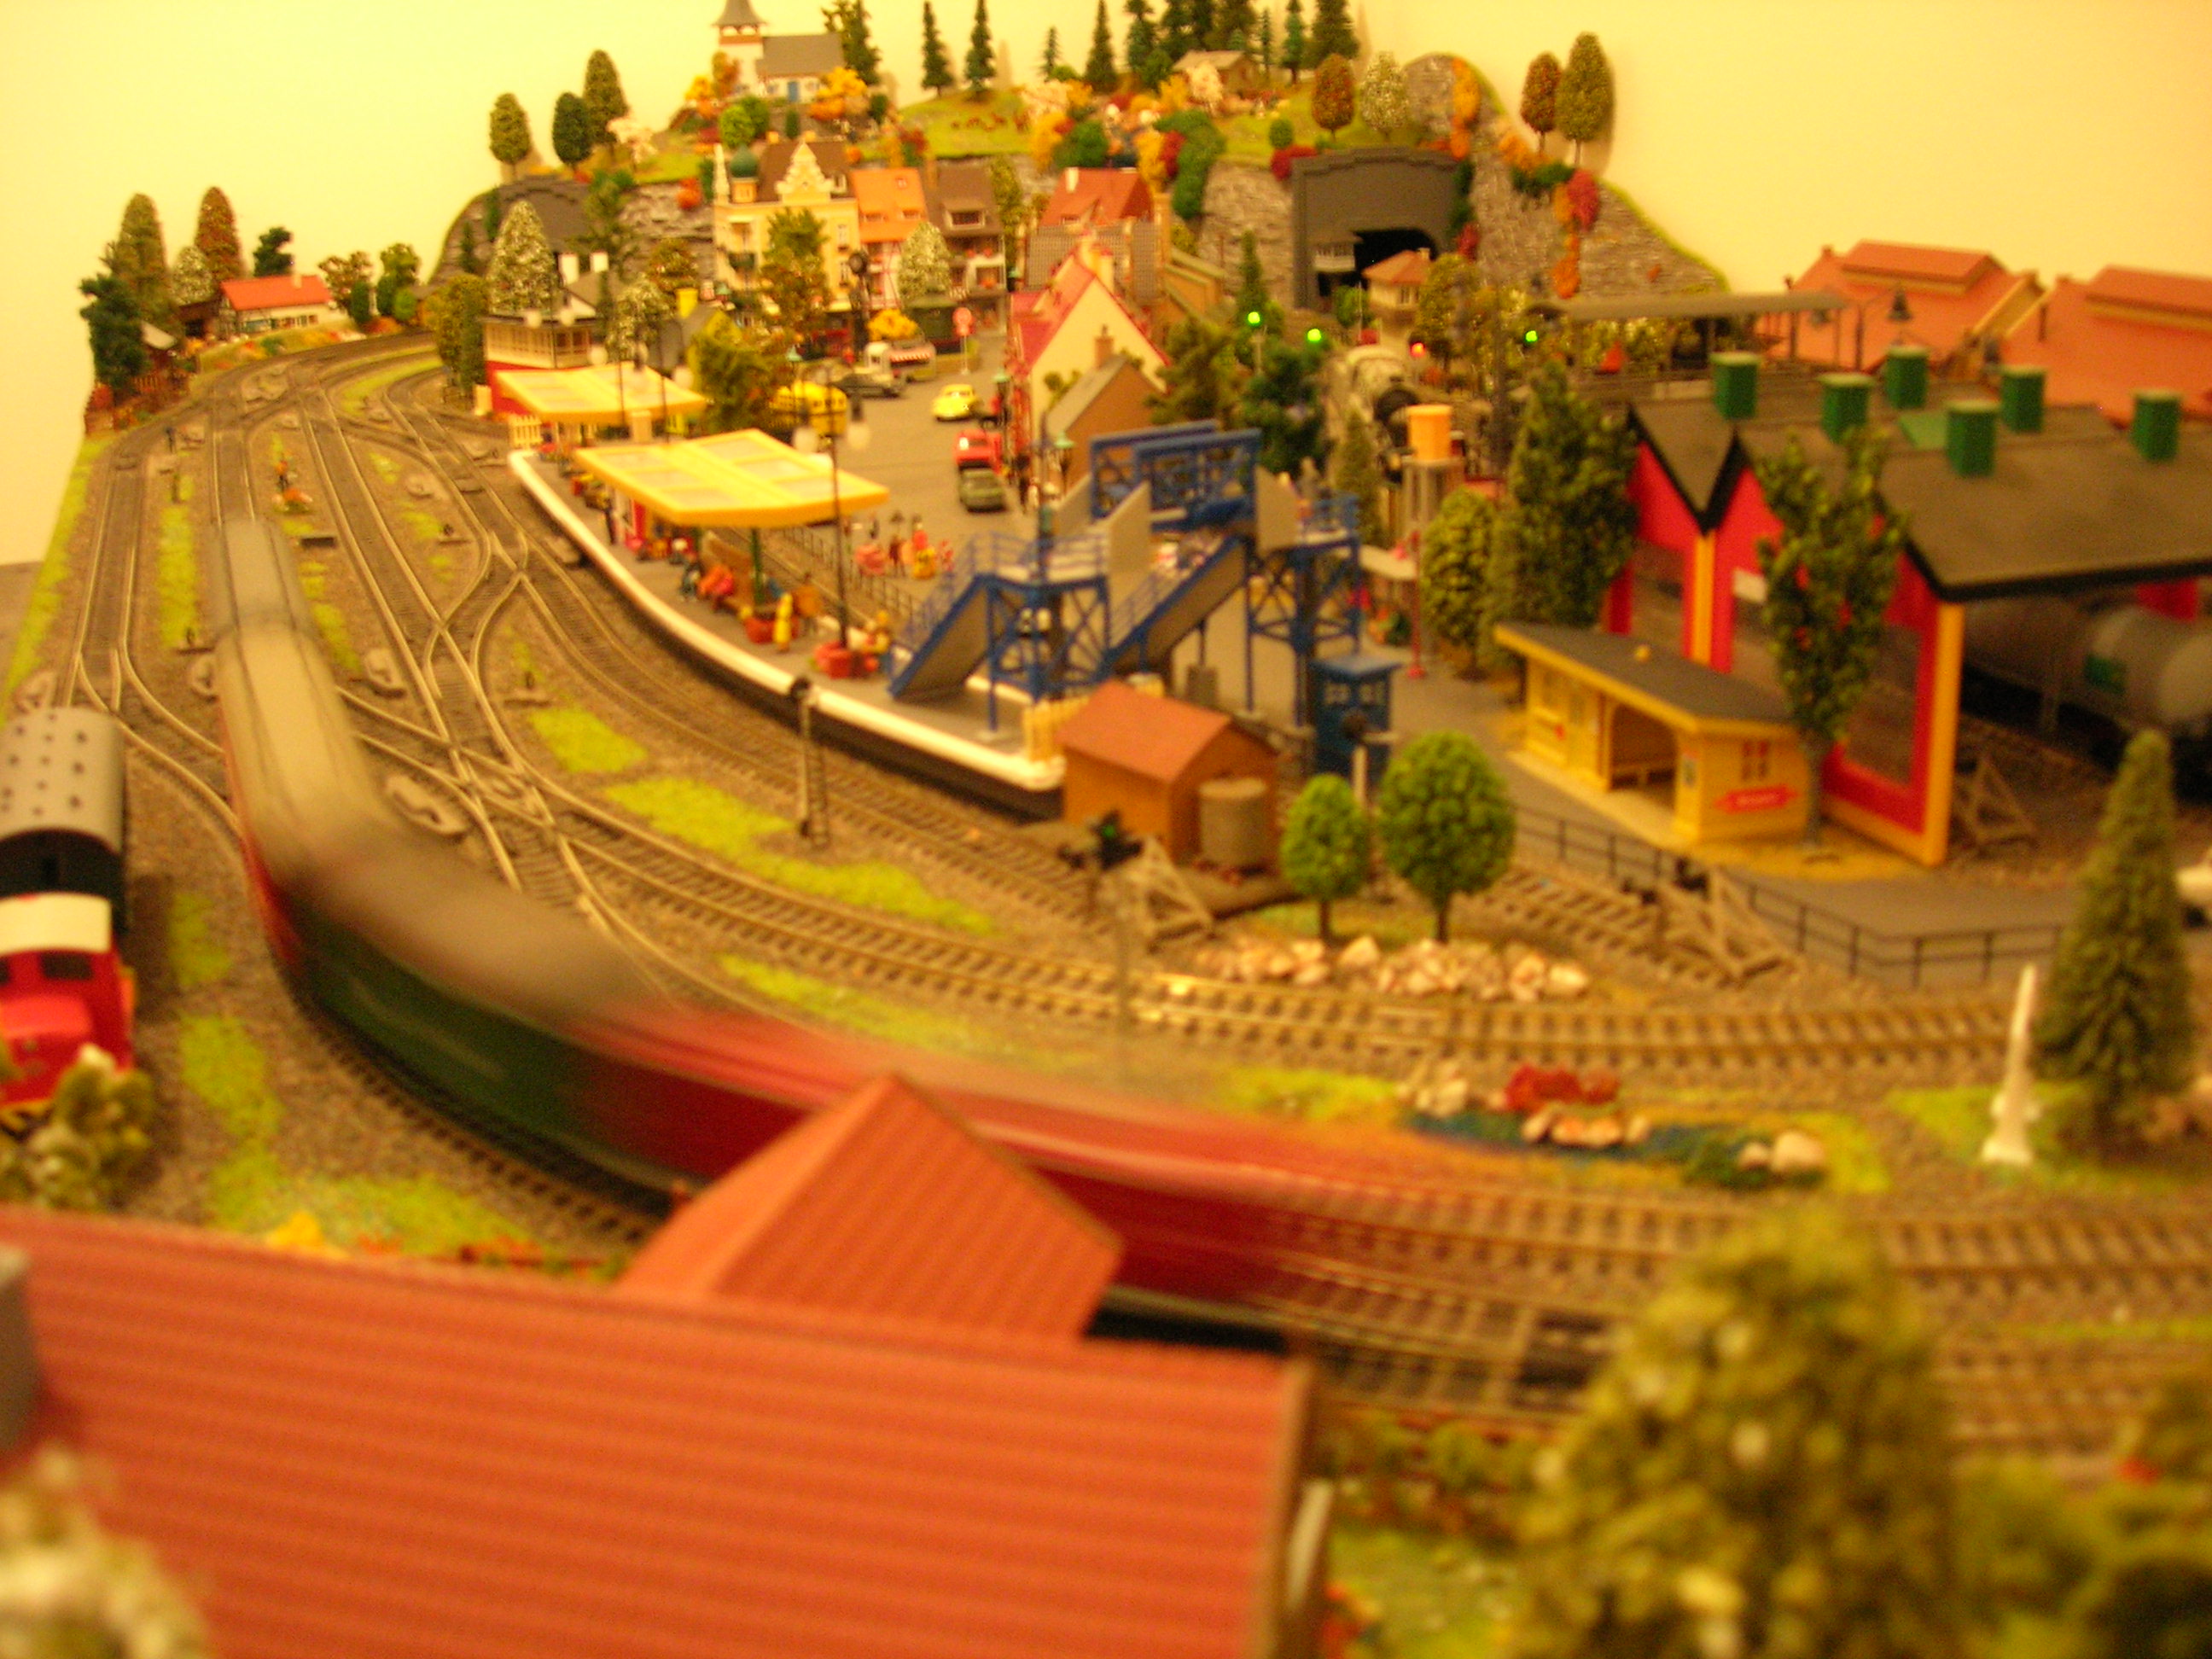
I have also included a shot of my layout so far. I only have a small area (3.5 mtrs X 2.4 mfrs “L” shaped) It will be two early 19th/20th century coal mine layouts with a river running through both.

I will be using On30 size Porter Spectrum locos pulling coal trucks around two separate tracks. These are perfect for tight curves.There is a siding and other areas of interest.

Because of the shallow depth of the layout I have digitally printed a background and 50mm in front of that a plaster cliff face with LED’s on the base between the two to give a more 3D effect (looks great at low light) The waterfall has bee “roughed in” and the river has to have the rapids enhanced before I can go any further.

You can see the four bridges stacked on the left wired up and set to go.. Before I can install them the track on the bridges will have to be have ballast added and then the wooden girders and the bridges glued in place, and after that the rest of the track will be laid with ballast.

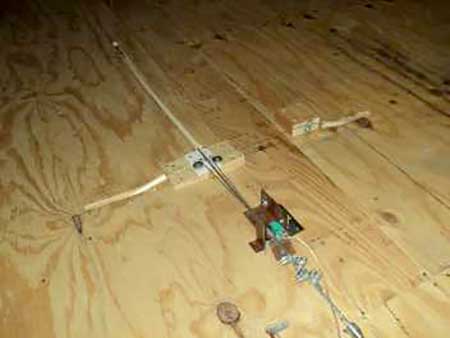
Now, speaking of ballast I purchased a Proses Track Ballast Spreader. I have tried it out on a test piece of track and it works just fine but the leading edge of the spreader being 90 degrees catches on the “spikes” or whatever you call them, so what I did was lightly sand a 45 degree angle on the leading and trailing edges (there goes my aviation talk again) so they would ride over the lumps and bumps. I hope you can see it in the photo.

I was told when I started this hobby that you never finish a layout and I can see why. I have been going to model railway exhibitions for years and finally decided to bite the bullet. I have built a few scale buildings and trees but the installation will come much later.

I am more interested in running the two tracks for some time to make sure all is ok. As some parts of the tracks will be hidden behind trees and buildings they will be difficult to get to – so no tunnels on this layout. By the way I tried laying the track on a foam base with thin Super Glue and it works great. Just pin the track in place and a few minutes later ….. voila !!! All fixed down.

Going by my photo of the layout, if anyone has any comments please let me know – I am new to this.

Kind Regards

Ian”

A big thank to Ian for sharing his coal mine track layout.

There’s quite a few of these on the site now.

Here’s a few more:

HO scale coal mine layout

HO scale coal mine

N scale coal mine

Coal mine railroad

Now on to Jon:

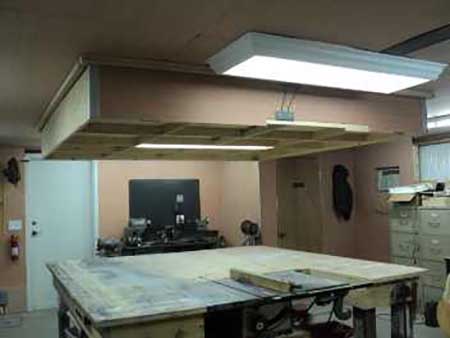
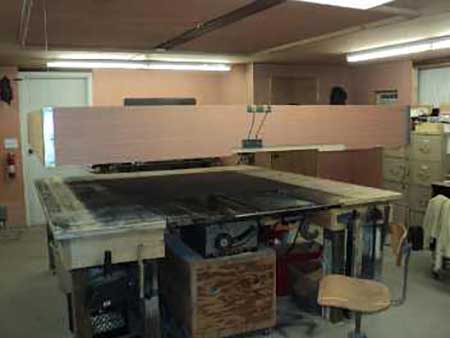
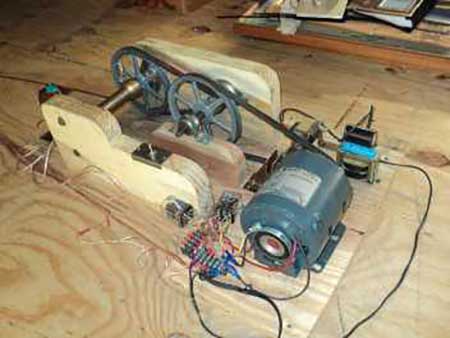
“Here’s how I solved the limited space issue in my workshop. The mechanism is made mostly of bits & pieces from junk box and scrap pile. The layout is just starting, but closed cell foamboard and 1/8” plywood will keep the weight down. The “picture frame on the ceiling makes the layout dust proof. All 4 “backdrop” sides fold down for easier access. The table is 8′ x 8′. It takes about 4 seconds to raise or lower. The light for the workbench automatically connects when the layout is up.To overcome reach issues to active track (N gauge), there will be a removable center section with no active components, just structures and scenery.

Jon in Texas”

model railroad bench

 table for Coal mine track layout

Coal mine track layout hoist

hoist model Coal mine track layout


“Dear Mr. Lee,

I have two tips to offer, maybe three…

Model railroading is the perfect hobby from my point of view…

From my point of view, model railroading offers more opportunities for creative self expression than any other hobby I am aware of.

Here are my tips… They apply to model railroading and to life..

1. It is more fun to be a participant than a spectator… build something!

2. Start small, failure is less painful and success comes more quickly.

3. Have fun… Play with new ideas and materials.

Sincerely,

John”


And now my friends, I’ve decided to put some of the questions I get time and time again to bed. So let’s start with this one:

How do you decide what scale to model in?

Answers please!

That’s all for today folks.

A big thanks to Ian for his coal mine track layout and to Jon too.

Please do keep ’em coming.

And if today is the day you say no to being bored, the Beginner’s Guide is here.

Best

Al


Need buildings for your layout? Have a look at the Silly Discount bundle.

N scale water tips – and some sound advice

Sebastian has been in touch with his N scale water tips – and Frank has some sound advice too:

“Hi there!,

I’ve seen many people asking how to model water effects, and i’d like to share some tips from my n scale layout, if you like it, feel free to share it with everyone.

First of all, just paint with acrylic colours, and model water as you wish (waves, sea, deep water, etc). in my case, i painted dark blue to deep water, and mixes with white to model superficial water. white paint for waves with a normal brush to give those “foam” effects.

Finally, when paint get dry, cover the painted area with “mod podge” (i had some difficults to get it, because in my country (chile), nobody sells it).

Wait to dry, and enjoy the effect of waves, glow effect, and the best…on a cheap way!

Sebastian”

n scale water

n scale water

n scale water

n scale water

n scale water

A big thanks to Seb for sharing his n scale water tips.

There are lots of posts on water scenery on the blog now, here are a few more:

How to make water for model railroad

HO scale waterponds

Model train waterfall

N scale waterfall

Model train water effects

Cheap way to make a water feature for model train

There are lots and lots more but we’ll leave it there for the mo.

Now onto Frank:

“Hi Alistair,

I am just starting on the journey but I have quickly realized that catering to the hobby can be like pouring money down a big hole , with proper this and proper that could cost me a small fortune.

I have just laid the ballast for my track. This was after much deliberation -how much track to have and where to put it. I used all the help I could get from all different sources and then set up the lay out ,making sure the joins were square and then running the train (flying Scotsman) to make sure the turns were not too tight and that everything was tickety boo.

I priced up some ballast for the track but it seemed a bit expensive, and so used GAP7, gritty sand that is used to lay pavers. This appears to be about the right scale and works well. I got a 20Kg bag for $10 as opposed to about $50 worth of modelers stuff.


I used the accepted method of application (soaking and 50% glue)and after leaving it all to dry overnight, got out my dustbuster and gave it a once over. Of course some of the ballast was removed during this operation as well as the oversupply of ballast about the track.

During the track laying phase I had run the train around the track to ensure its smooth running as well as making sure the points were working,and carefully wiped any goo off the track as I went. This was repeated the next day when dry.

The carefully removed ballast (with the dustbuster) was replaced with homemade grass –to give it a more operational look.

The grass was made using a tip from another trainer. I used sawdust that I had for my fish smoker and put it in a jar with some green food colouring.Works well ,how green is dependent on the amount of colouring used obviously but I must have managed it alright because the grass is green and didn’t take too long to dry out, in fact it just soaked it up and I sort of judged when to stop.

The main thing is that I am happy with the way things have gone.

My next challenge is to assemble the cut out models that I have bought so that I can set up the rest of the landscape scenery to suit.

I have already thought of using the back boards as a way of extending this, because I have limited myself to an area of only 1.2 x 2.4.

I have braced the track bed and converted a single bed wooden frame (off the side of the road)to elevate the track to about eye height when sitting down (about 1.2m). This was achieved by using the beds’ slats as the legs. With 3 legs down each side the table is surprisingly level and also stable .

Regards

Frank”

Some sound advice from Frank. Don’t be shy with your tips if you have any – please do share!

Lastly, if you’re after the silly discount link for the printable buildings, it’s here:

printable buildings Silly discount bundle for just $29.

That’s your lot for today.

Please do keep ’em coming. Really. Otherwise there’d would be no blog at all..

And if today is the day you grab inertia by the scruff of the neck and make a start, the Beginner’s Guide is here.

Best

Al

PS More HO scale train layouts here if that’s your thing.


Need buildings for your layout? Have a look at the Silly Discount bundle.

7×10 ho scale layouts – Paul’s

Paul’s added to the 7×10 HO scale layouts on the blog:

“Hi Alastair,

Normally, I’m a man of few words, but I have enjoyed reading the tips and viewing the photos and movies of the model railway buffs.

So I thought I’d send a few photo’s of my HO Layout of which I started with a – 8’ x 4’ ( 240cm x 120cm ) table, which has now grown to the extent that I can’t reach the centre of the table due to, in total, 5 extensions with a size now measuring – 10’ 4” x 7’ 4”, ( 315cm x 223.5cm ) and hoping nothing goes too wrong? The extensions are detachable. I have done since these photos.

Kindest regards.

Paul ( Australia )”

7x10 ho scale layouts

7x10 ho scale layouts

7x10 ho scale layouts

HO scale model railroad

model train layout

model train layout


7x10 ho scale layouts

7x10 ho scale layouts

7x10 ho scale layouts

7x10 ho scale layouts

model railroad bench

model train bench

7x10 ho scale layouts

7x10 ho scale layouts

A big thanks to Paul for sharing adding to the 7×10 ho scale layouts.

And just for fun – seeing as I get the odd mail on it – here’s a whole town that you can make with one download


Next some more of your tips:

“Bark from trees such as oak or ash will make good rock faces.”

Stewart”


“I use real tree branches to make trees for my o scale layout. Bunch them like a real tree, and wire them together. Put some crayola air-dry clay on it for the trunk. Paint it brown. Trim any wire that is exposed-try to put it where it will not show. Then use a glue gun/glue to apply elk fern on the branches to make it look like a real tree. These can be made any size, or any way you like them to be. You should make a base as well, or use some other way to keep them upright. I always get a lot of compliments on them! Trim the branches to lengh with a pruner or wire cutter.”

Cudds”


“If anybody has a bush outside your house that has red berries on it. These makes great trees for ho scale railroading. The way to make a tree out of the red berries twig is to take off all of the berries roll the twig in elmer glue and then in that stuff that is like green sawdust used for grass and you can have a instant tree leave the berries on the twig and you will have a apple tree

David”

That’s all for today peeps.

Please do keep ’em coming.

And if today is the day you do the unthinkable and make that all important start, the Beginner’s Guide is here.

Best

Al

PS More HO scale train layouts here if that’s your thing.


Need buildings for your layout? Have a look at the Silly Discount bundle.